Thornburg Henges is an Animus Anomaly in Eurvicscire of Assassin’s Creed Valhalla.
Your task is to get to the top of the anomaly and collect the data packet.
Here’s how you can solve the Thornburg Henges Animus Anomaly in AC Valhalla.
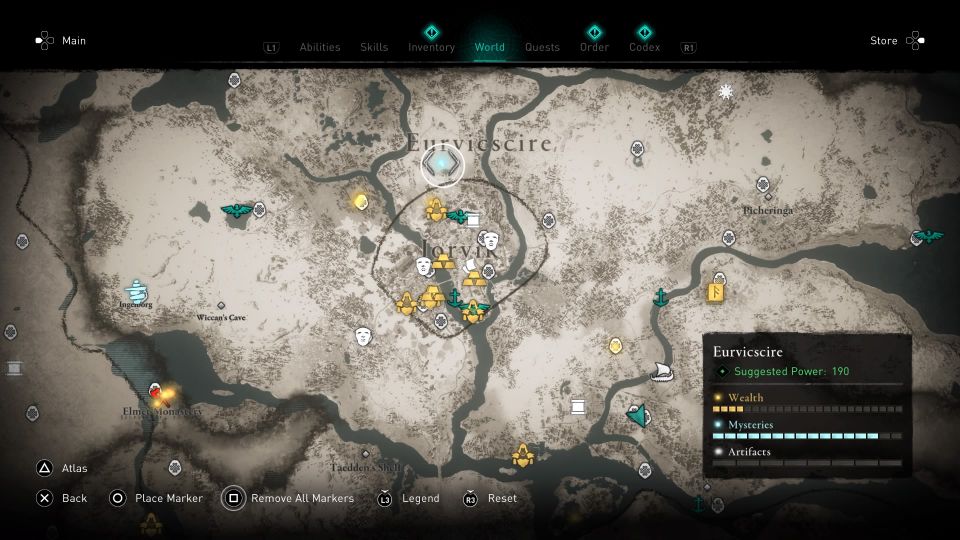
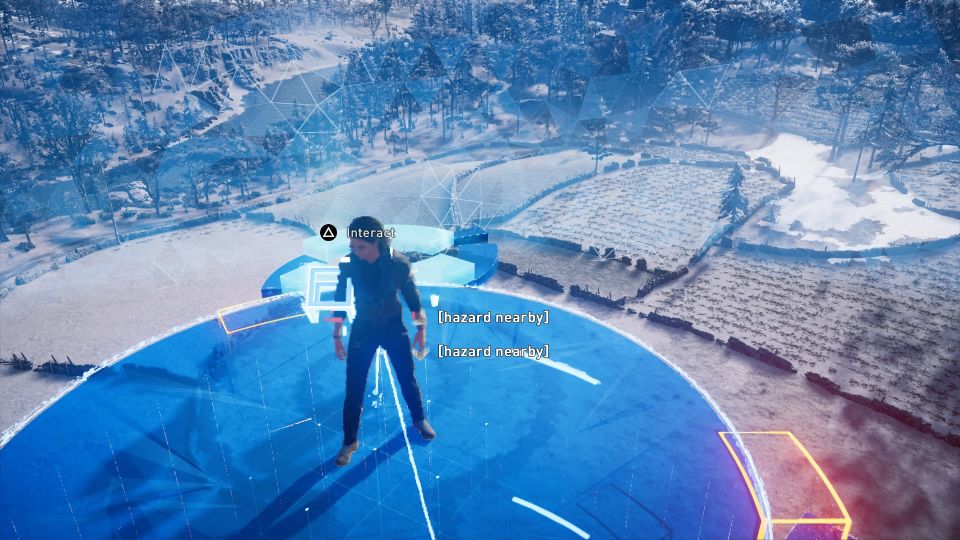
To begin the mystery, get to the location shown below, marked by the map marker. It’s north of Jorvik.
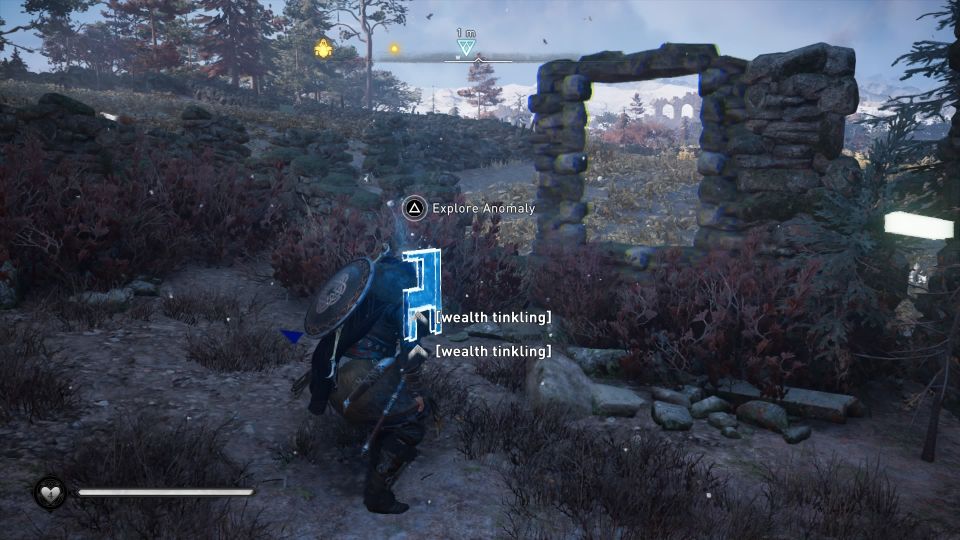
Explore Anomaly to begin.
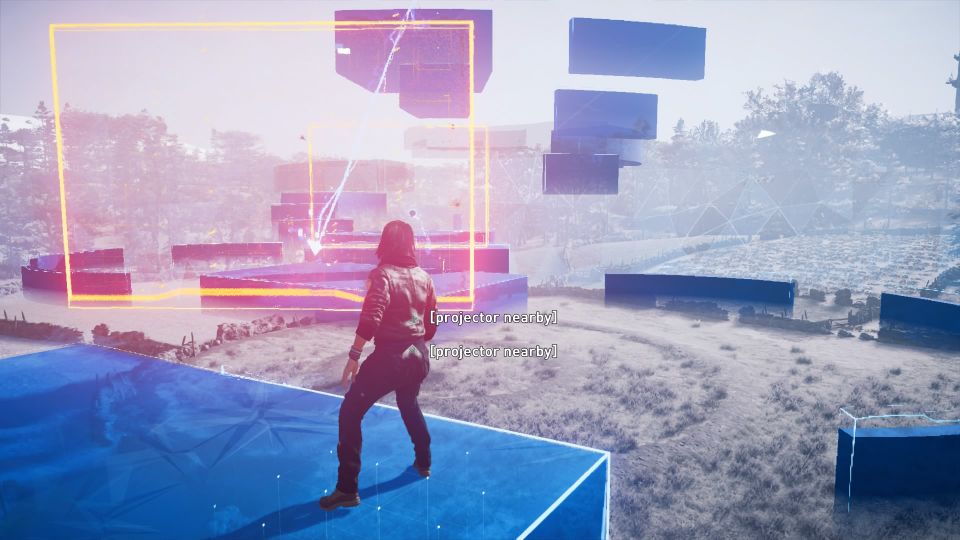
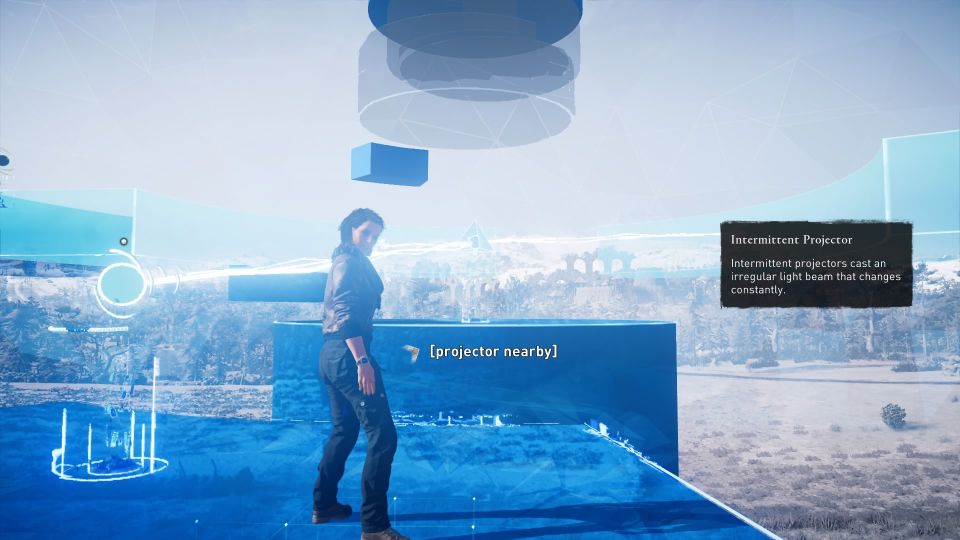
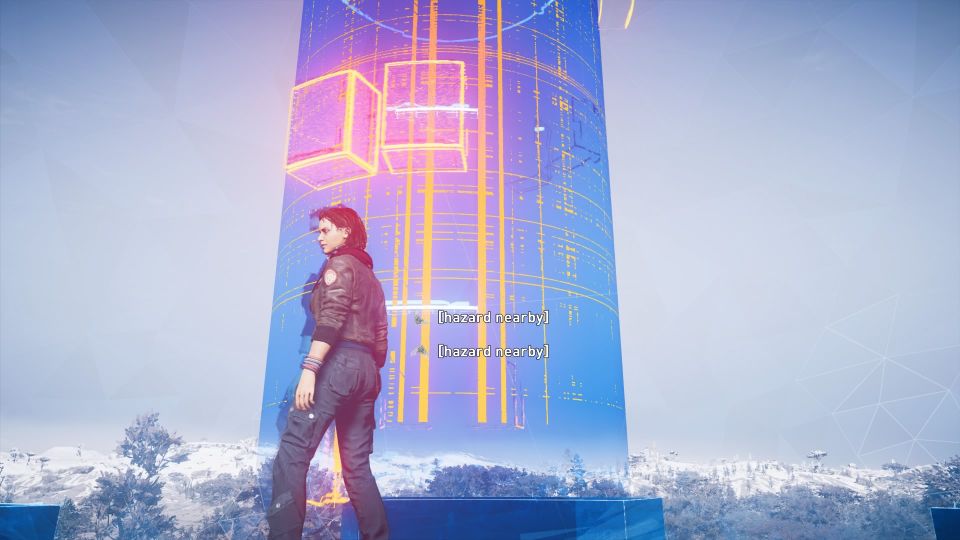
Head to the middle and you’ll see an unstable structure / block.
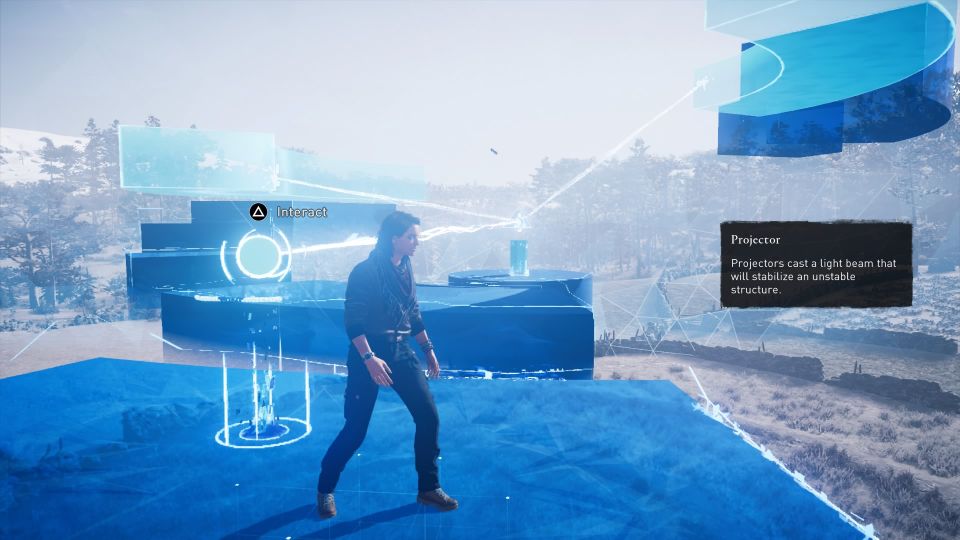
Use the other projector to point at the block. This will keep it steady.

The aim is to get to the top but you need to complete both left and right sides.
I’ll divide this guide into two areas.
How to solve the right-side puzzle
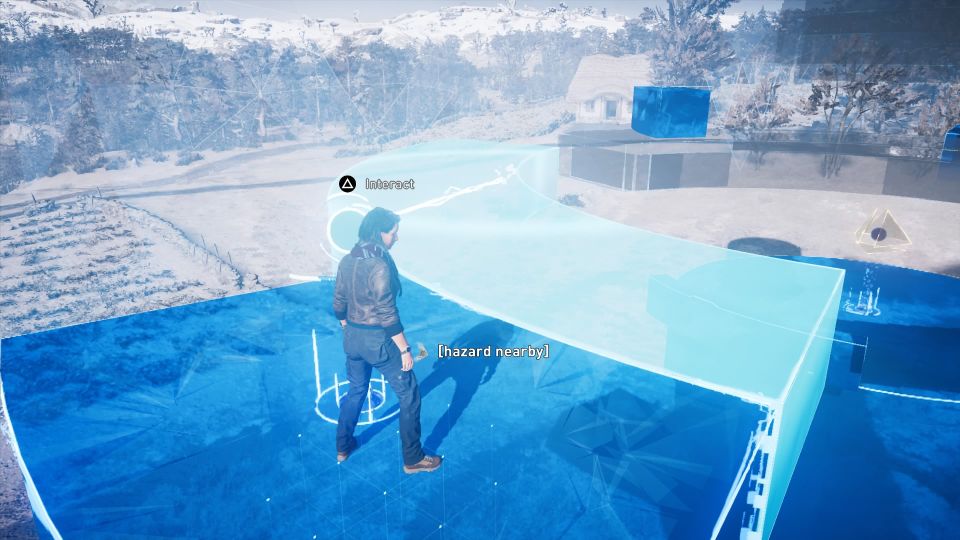
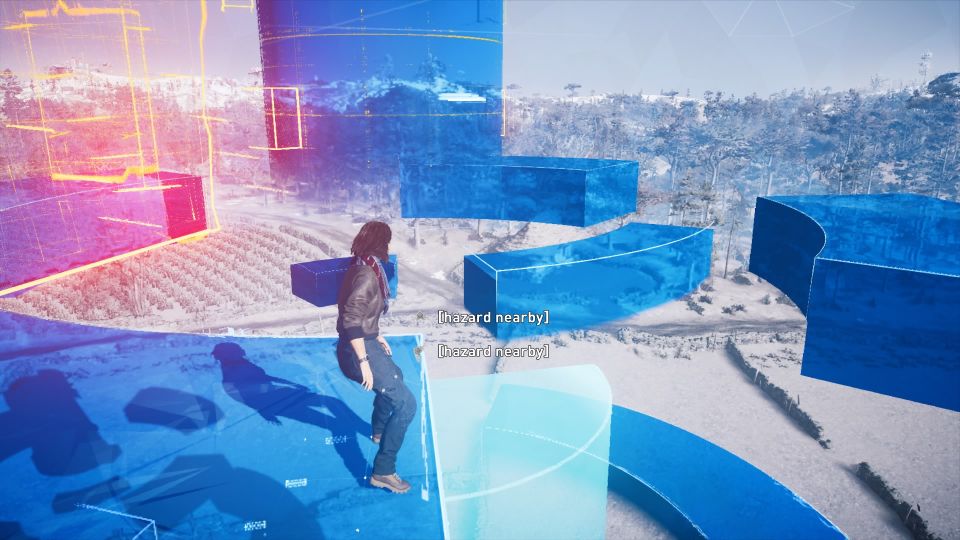
We’ll start with the right side first. Jump onto the curved blocks first. Avoid the moving hazards.
You will then reach a projector. Point it towards the crystal splitter in the middle.
Now, you have to rotate the splitter.
The transparent blocks above will keep moving unless you aim the light beam at it.
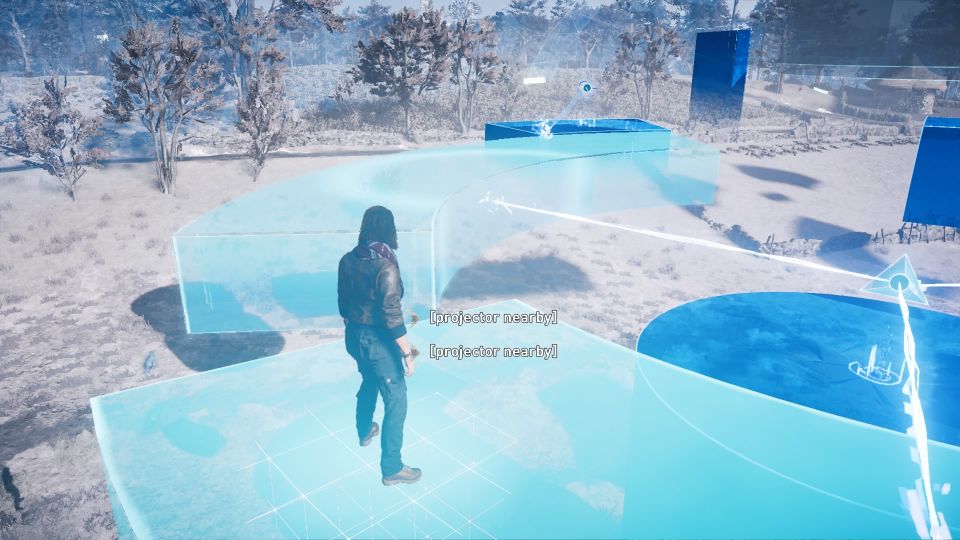
Wait for the transparent blocks to stop at the exact spot (image below) and then point the light beam at it. You need the taller block to stop at that position as you have to climb up.

Climb up the blocks and reach the upper projector.
For this projector, aim at the bottom block in the middle of the anomaly (image below). Make sure you’re able to climb on it later. You can follow the position in the image below.

How to solve the left side puzzle
Now, head to the left side puzzle.
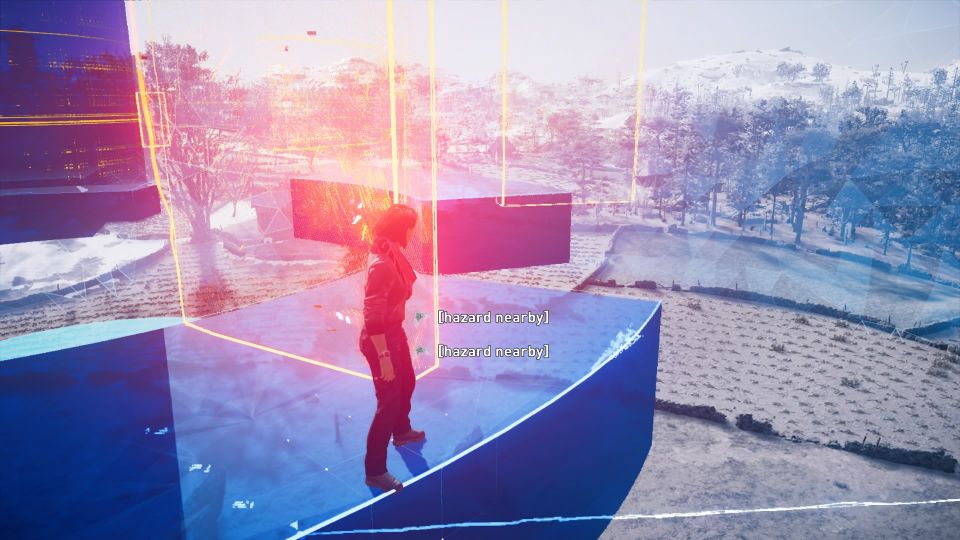
There’ll be moving hazards here. For the first hazard, you can avoid it by timing your walk.
For the second moving hazard, you may need to hang onto the narrow block instead of walking on it.

You’ll need to move sideways (while holding onto the block) until you get past the hazard, as shown below.

You will then reach another projector.
Aim the projector at the splitter.
Go to the left side projector now and aim at the curved block directly in front of you.
Now, you need to get to the right side projector. Time your jump properly as the block is unstable.
Use the right side projector and aim at the upper transparent circular block (image below).

Go back down to the projector in the middle that is currently aiming at the splitter. Move it to aim at the lower circular block (image below).
The reason for doing so is because the right-side and the middle projectors have the same timing. If you use the left and right side projectors, you can’t climb up in time.

Now, head to the circular blocks and climb up.
You will reach another projector.
Use this projector to aim at the upper transparent block in the middle of the anomaly (image below). Put it on the same side as the lower block.

Before you can get back to the middle of the anomaly, move the left-side projector and aim it at the transparent block near the middle.
Otherwise, you can’t go back to the middle.

How to get the data packet
The two transparent blocks in the middle of the anomaly are now lit.
Climb up using those blocks.
You’ll then reach a part with moving hazards and blocks.
You can avoid these hazards while standing on the block, as they are either more towards the right or more towards the left side.
The aim is to climb onto the circular block in the middle, but you need to get onto the small intermediate block first.
After passing by three hazard walls, jump onto the small intermediate block.
From the small block, you need to jump onto the circular block’s handles.
You also need to time the jump as there are small moving hazards. This part is annoying because your character sometimes jump to the bottom instead of to the handles.
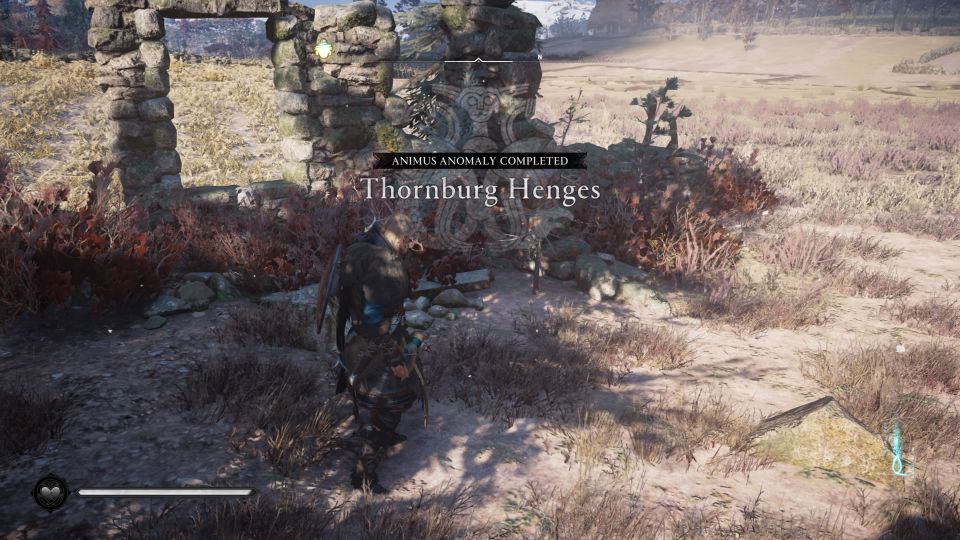
Finally, you’ll be able to reach the data packet.
Thornburg Henges Animus Anomaly completes here.
Related posts:
AC Valhalla: How To Find And Defeat Gotafrid Fair-Robes
AC Valhalla: Rodestan Monolith Standing Stones Guide
Assassin’s Creed Valhalla: The Village Jurthgard Walkthrough