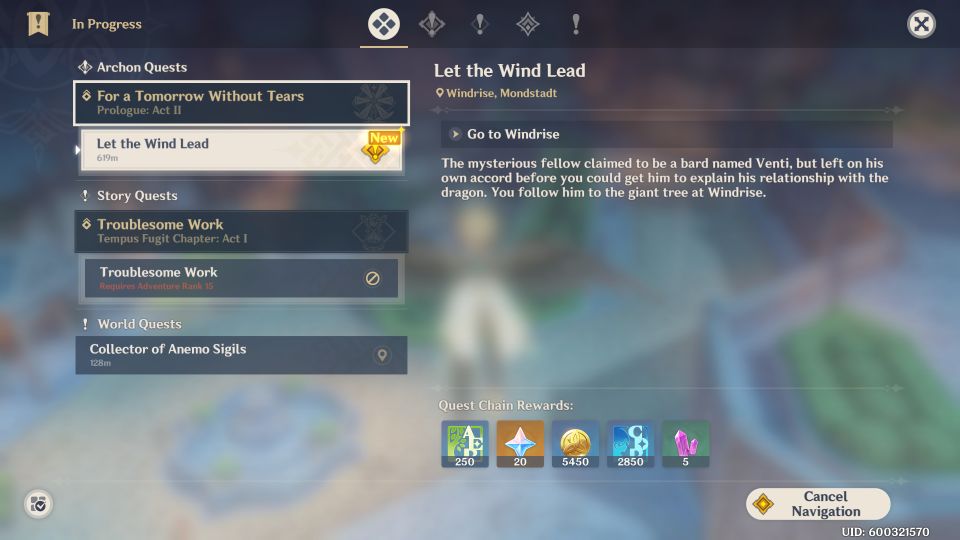
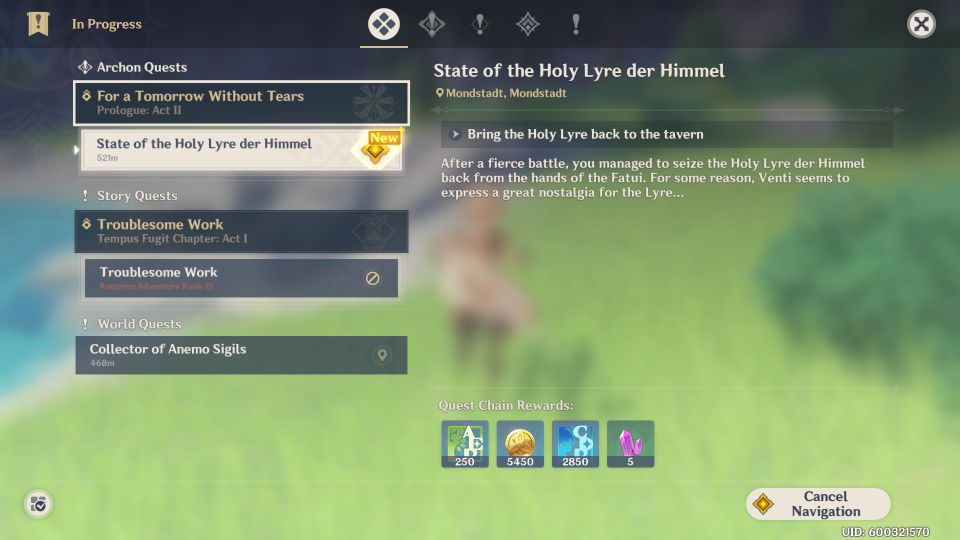
For A Tomorrow Without Tears is Act 2 of the Prologue in Genshin Impact.
Your task is to basically help Venti the bard to repair the Holy Lyre and summon Dvalin.
Here’s a walkthrough of For A Tomorrow Without Tears in Genshin Impact.
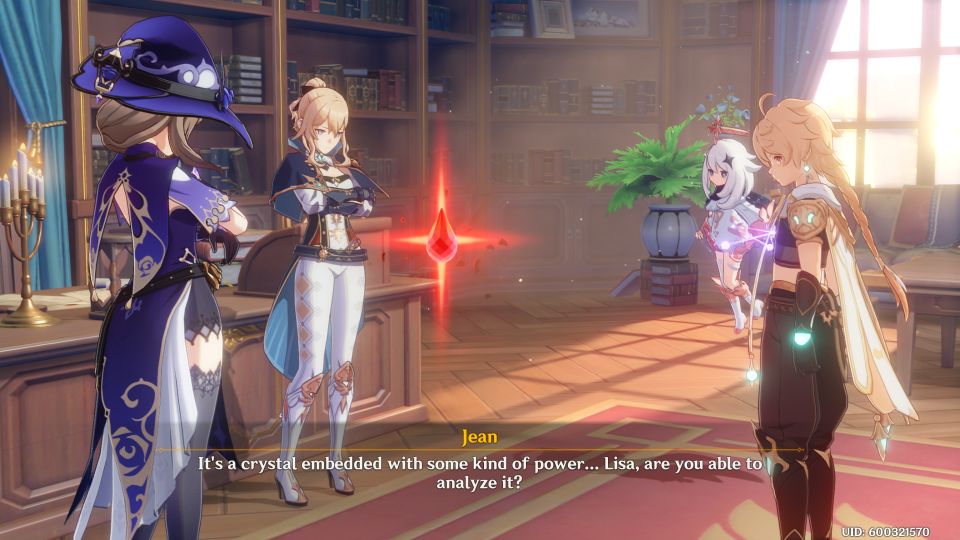
To begin the quest, meet up with Jean at the Knight’s building.
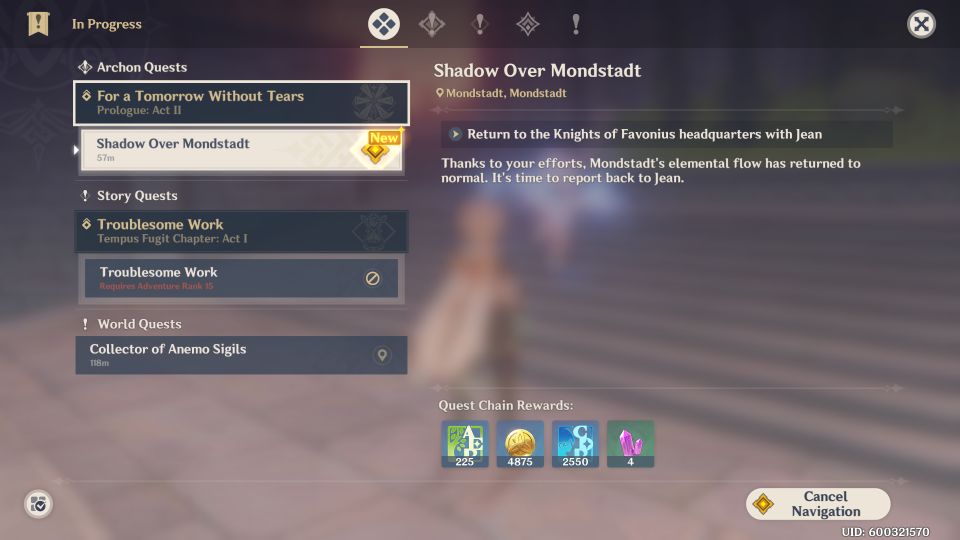
Shadow Over Mondstadt
They will start to analyze the crystal you found in an earlier quest.
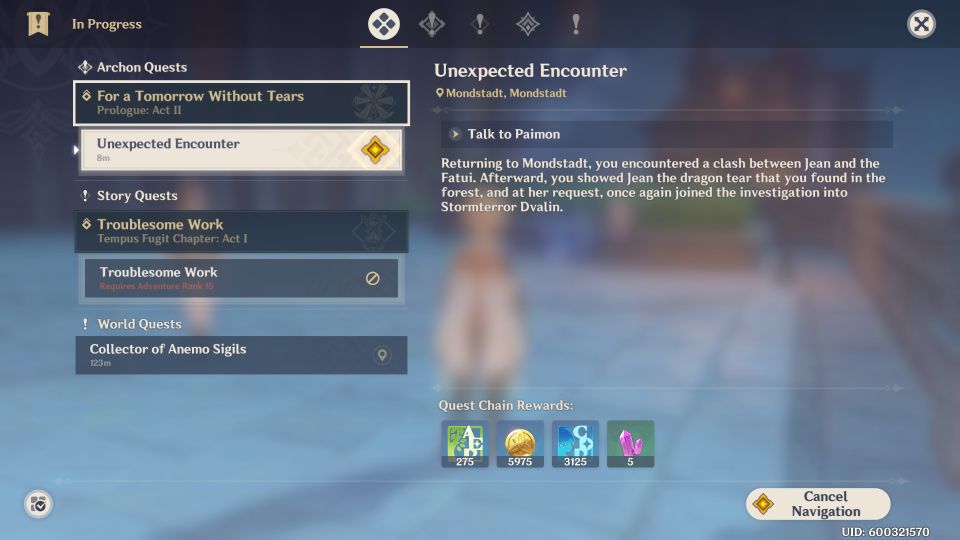
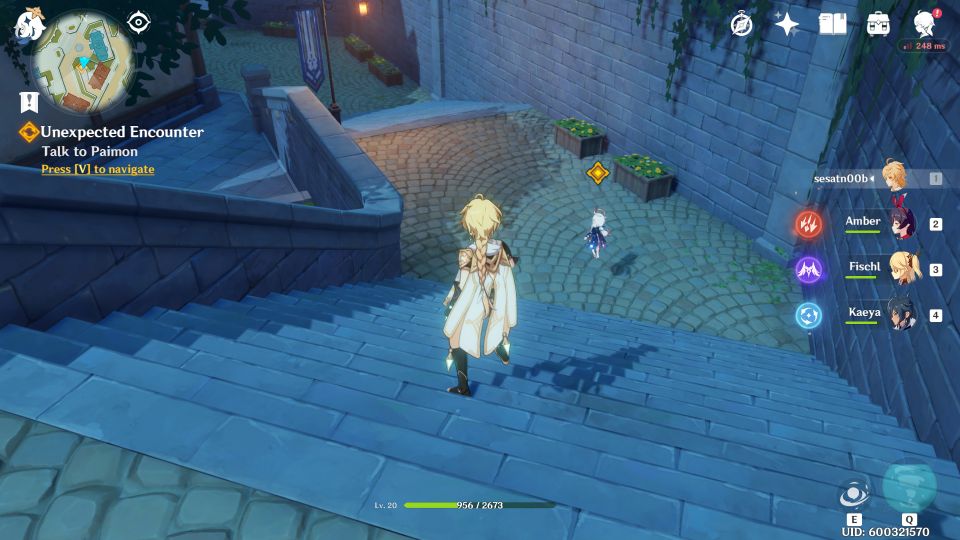
Unexpected Encounter
The next sub-quest is Unexpected Encounter. Talk to Paimon to begin.
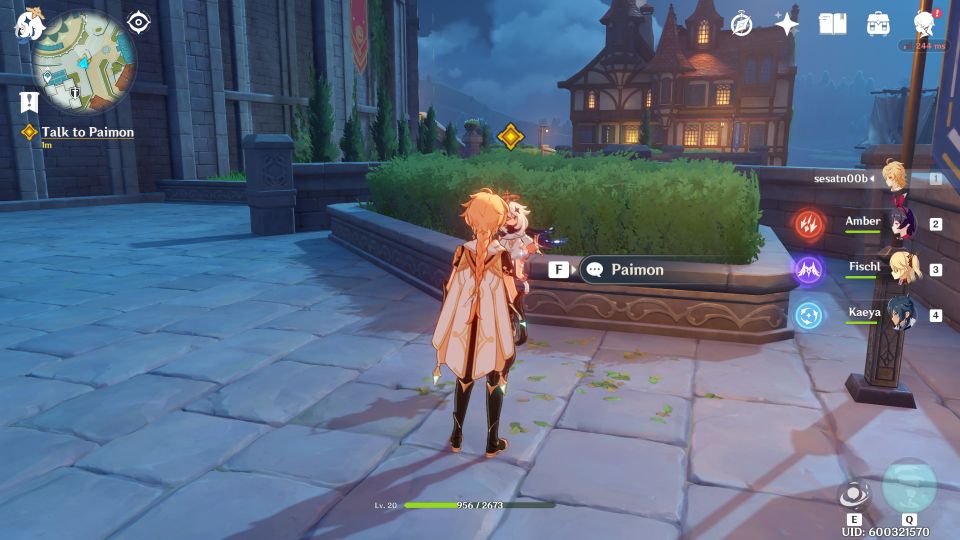
You will then notice Venti who is running away. Talk to Paimon again who went to chase after the person.
Use elemental sight to see Venti’s footsteps. Follow it all the way.
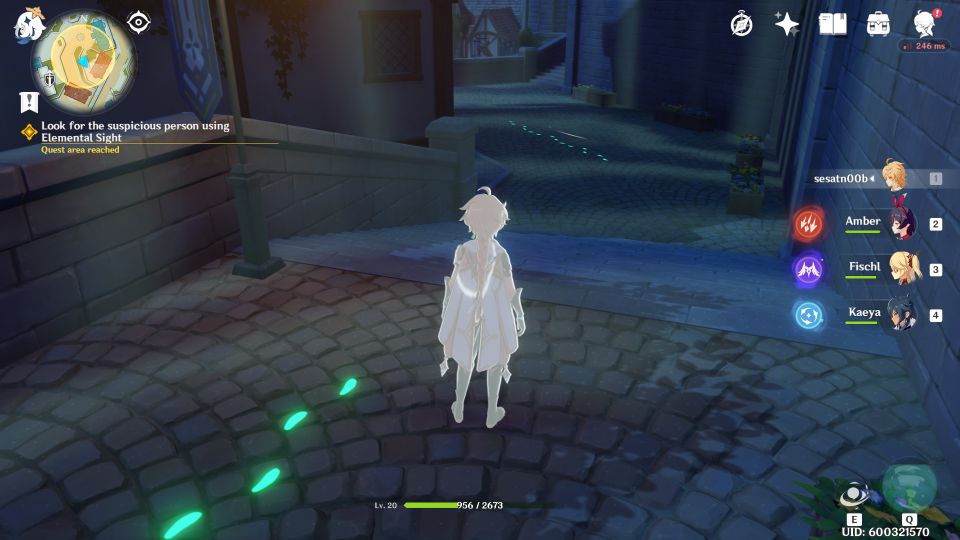
You will reach a dead end which is a wall. Climb up the wall and use elemental sight to see more footprints.
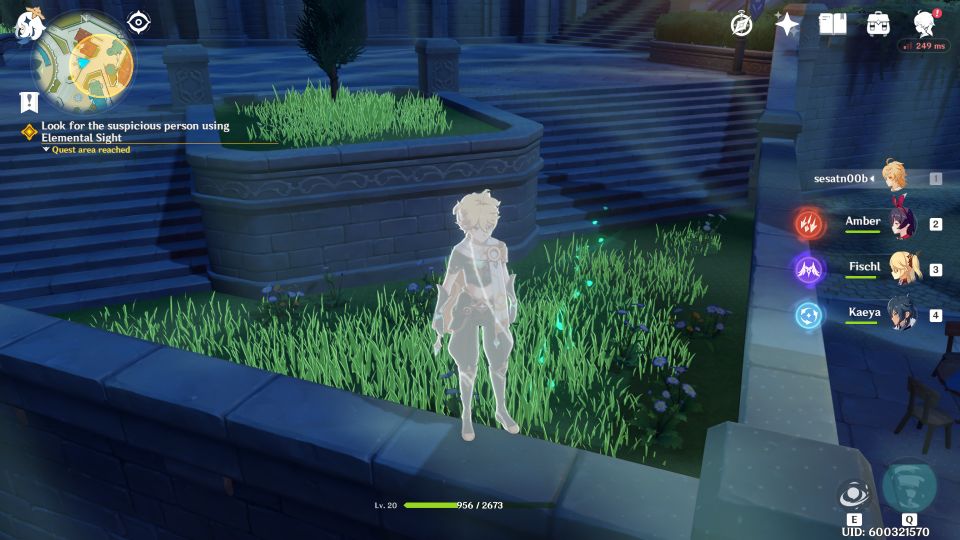
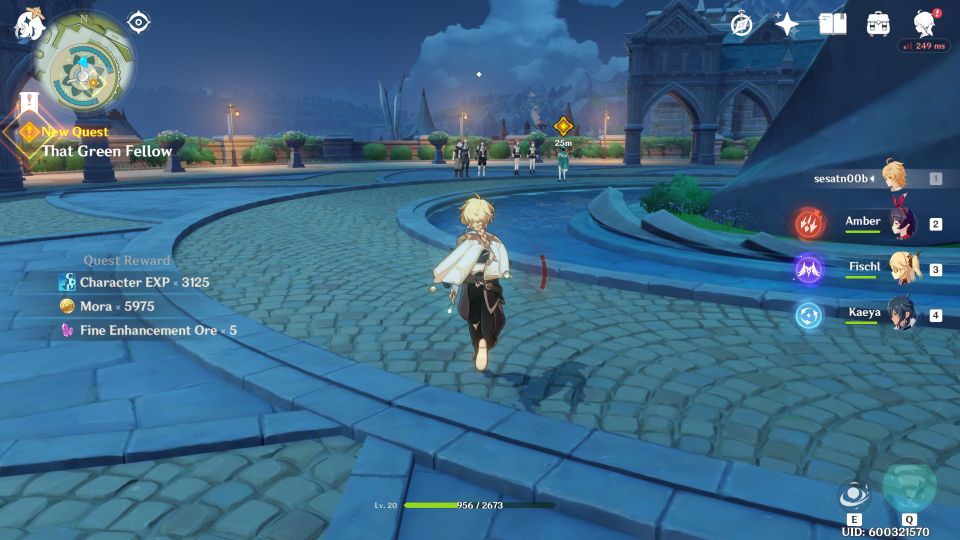
Continue following the footprints until you reach the courtyard in Monstadt.
Let the Wind Lead
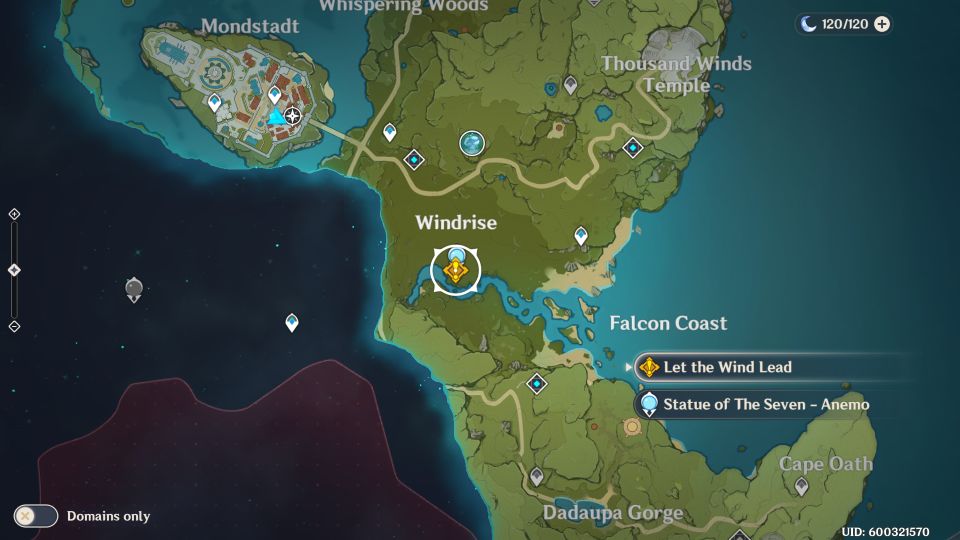
Go to Windrise.
The location is provided in the map. It’s near the Statue of the Seven.
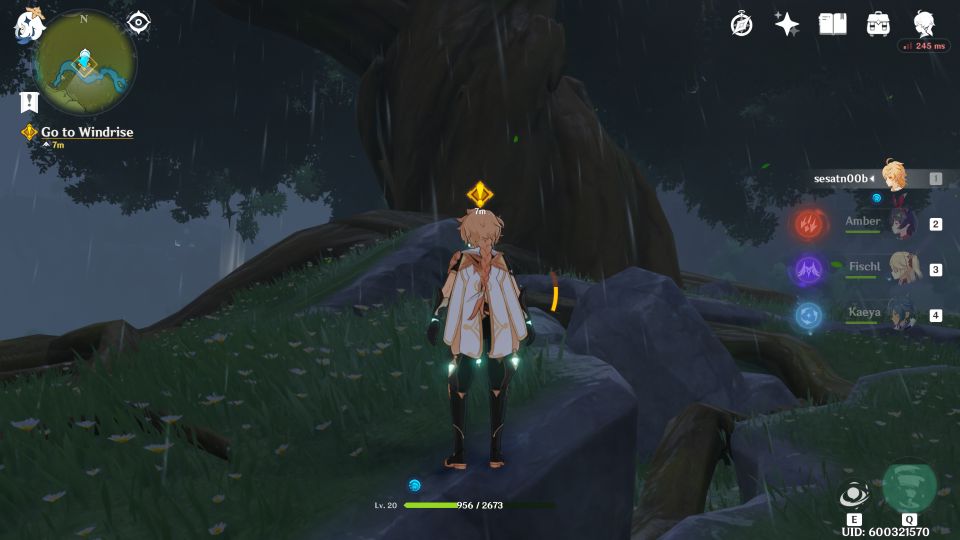
You will see Venti near the giant tree. Talk to Venti.
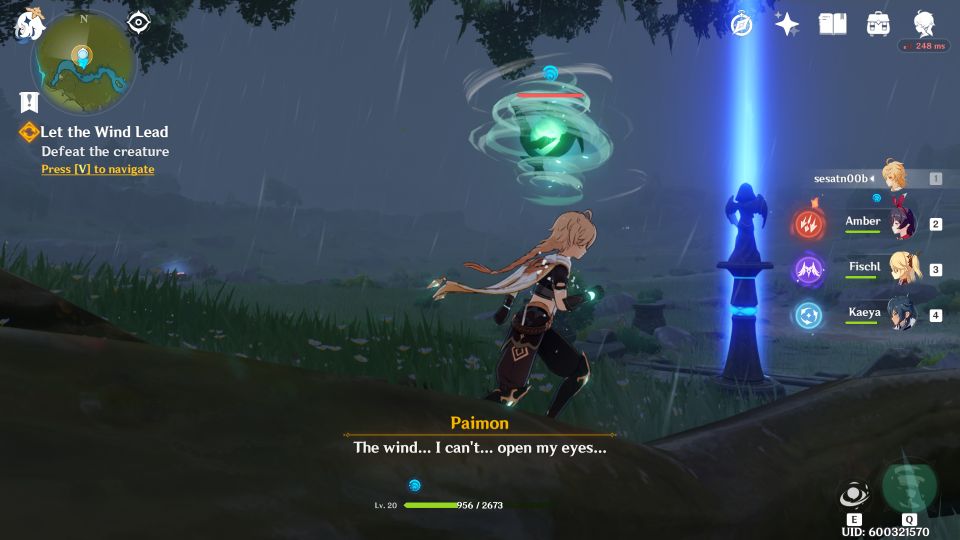
A wind creature will appear. Defeat the creature first.
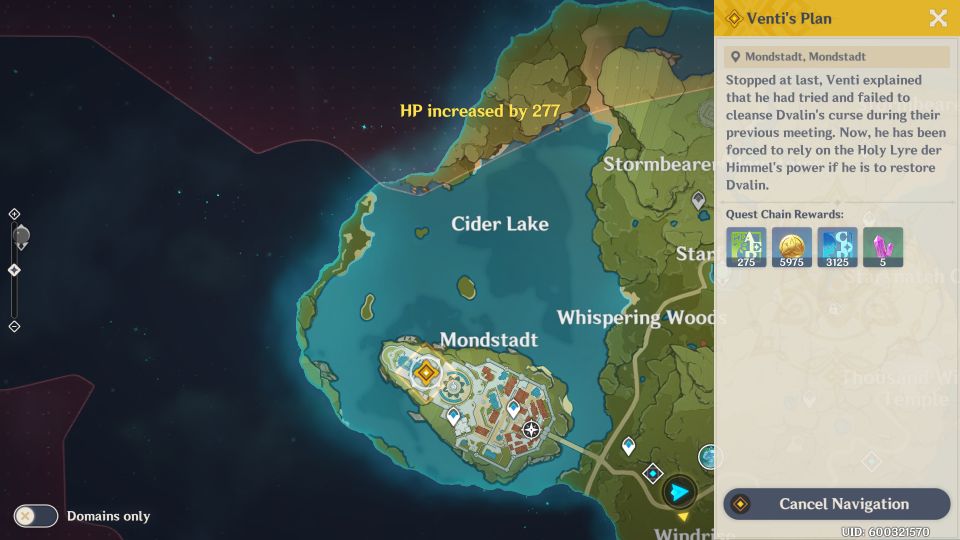
Venti’s Plan
Next, go back to Mondstadt’s cathedral.
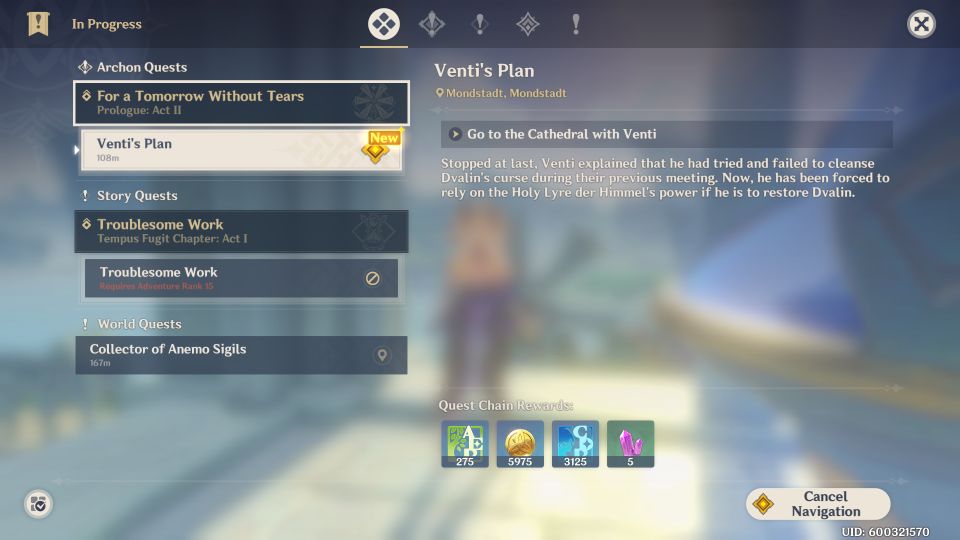
It’s at the highest spot in Mondstadt.
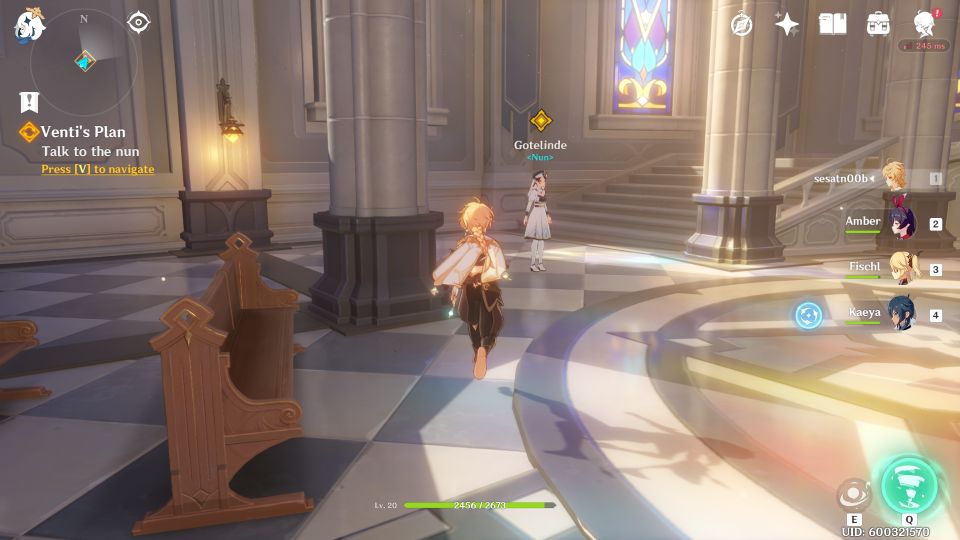
Talk to Venti who is waiting in front of the cathedral.
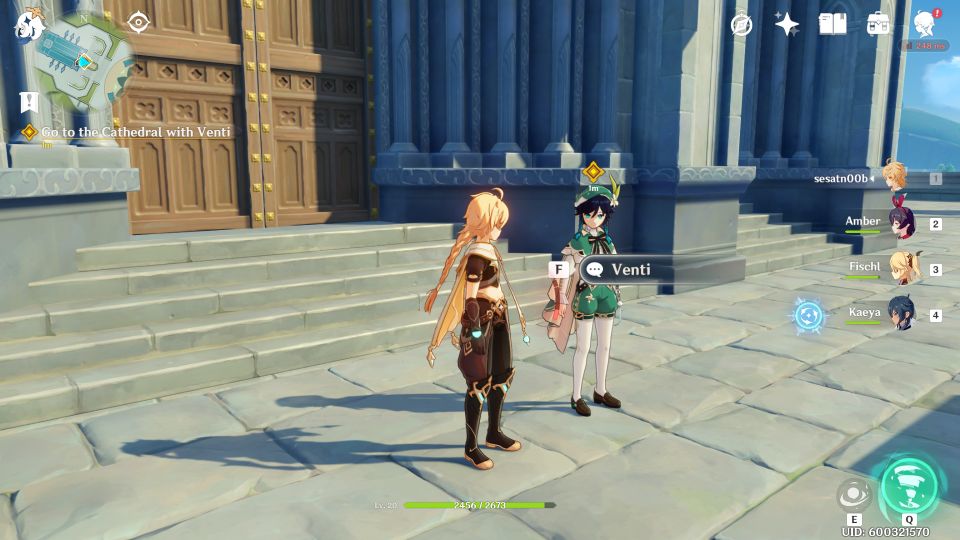
Enter the cathedral and talk to Venti again. He will try to persuade the nun but fails.
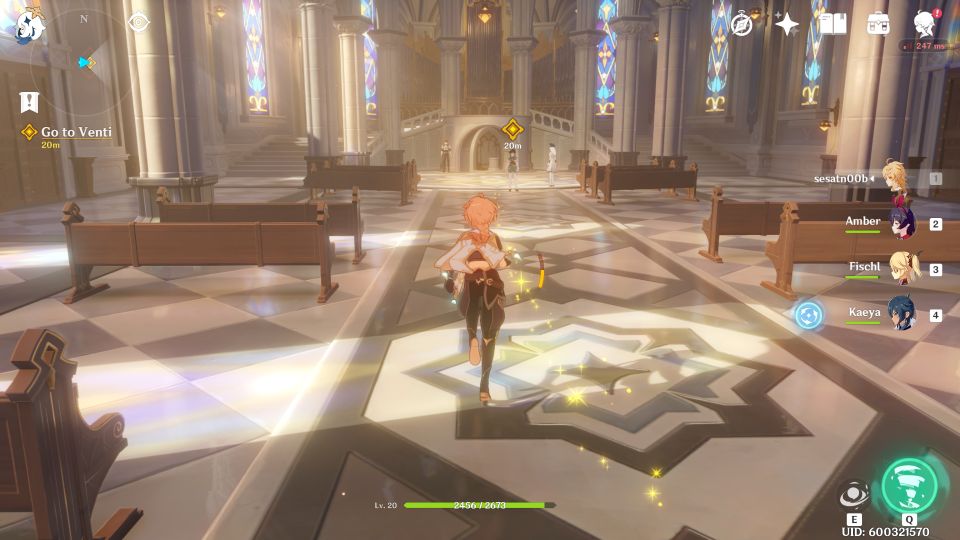
You will then have to talk to the nun, but there’s no way she’ll let you get the Holy Lyre.
Venti’s New Plan
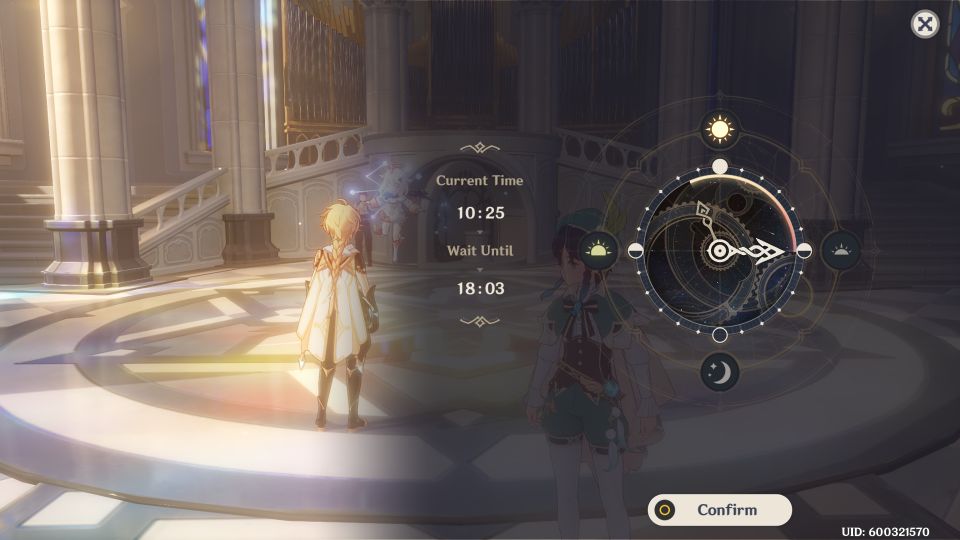
To proceed, change the time to 6 pm. Use the menu on your left side to change the time.
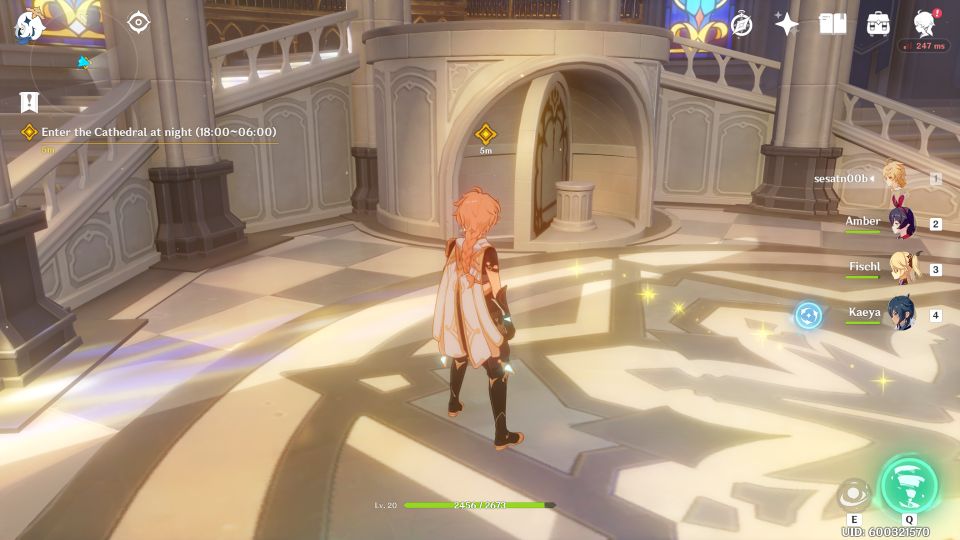
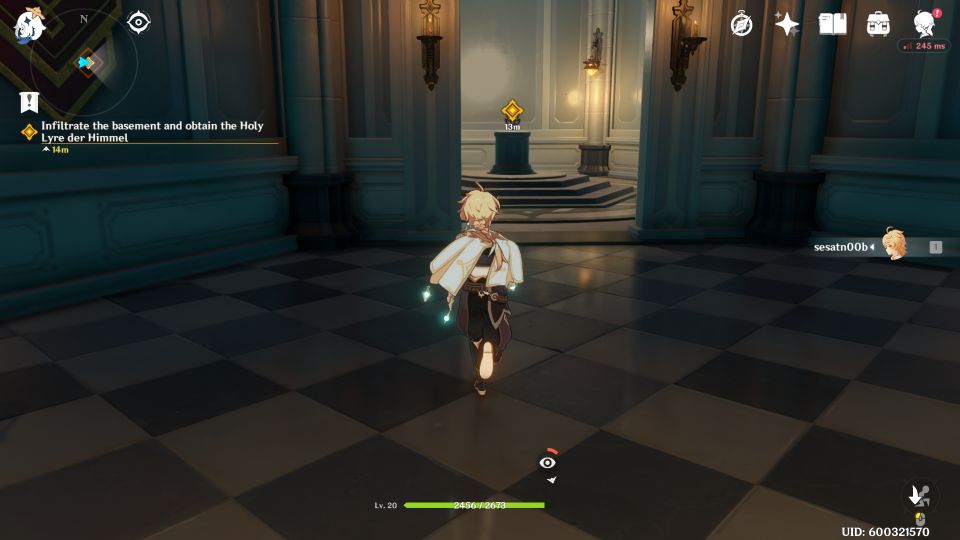
After 6 pm, enter the cathedral’s basement (image below).
Here, you need to infiltrate the basement. There are many guards inside.
You just have to sneak by them and it’s quite easy because they take a long time to notice you.
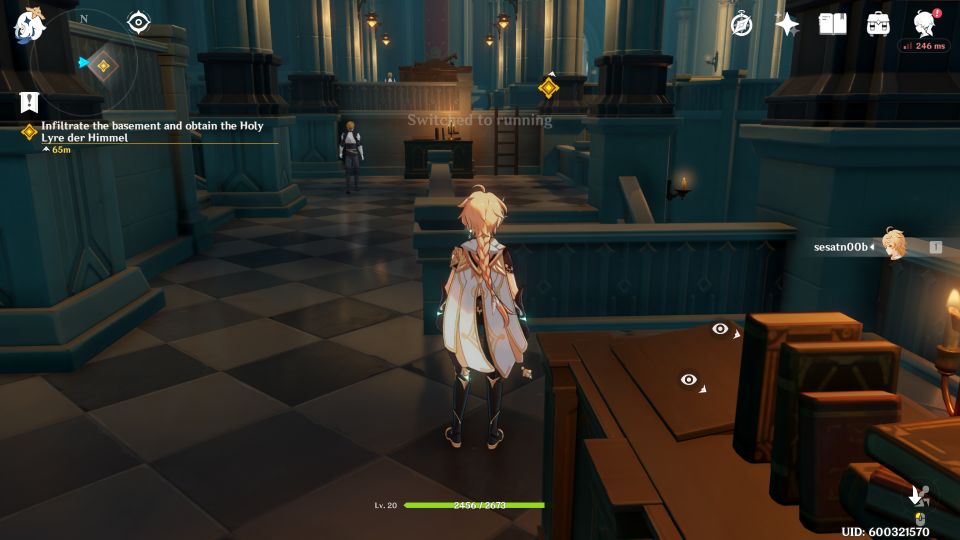
Get towards the end of the basement to grab the Holy Lyre.
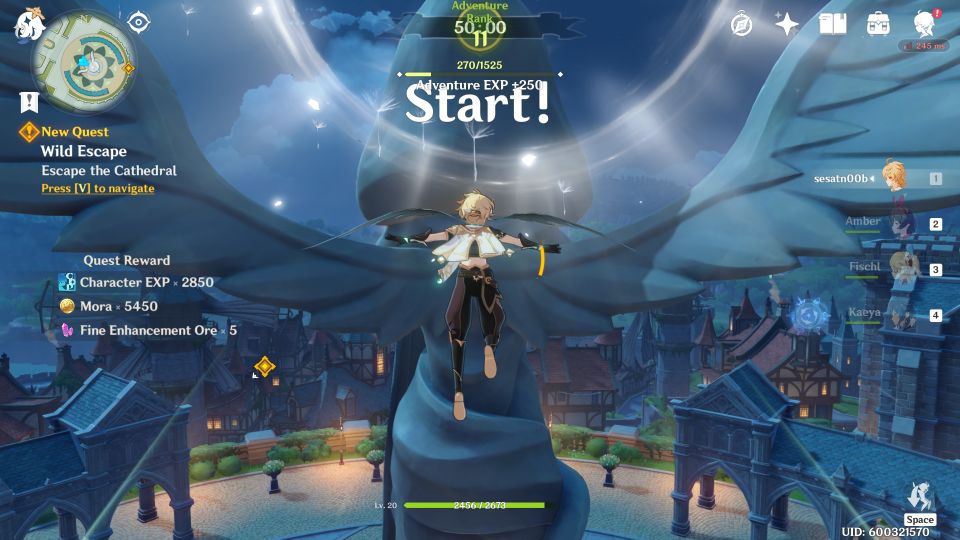
A cutscene will load and someone else steals it before you.
Wild Escape

You then need to run away from the cathedral. Glide and follow the rings in the air.
You will then reach the tavern.

Enter the tavern and you’ll be introduced to Diluc.
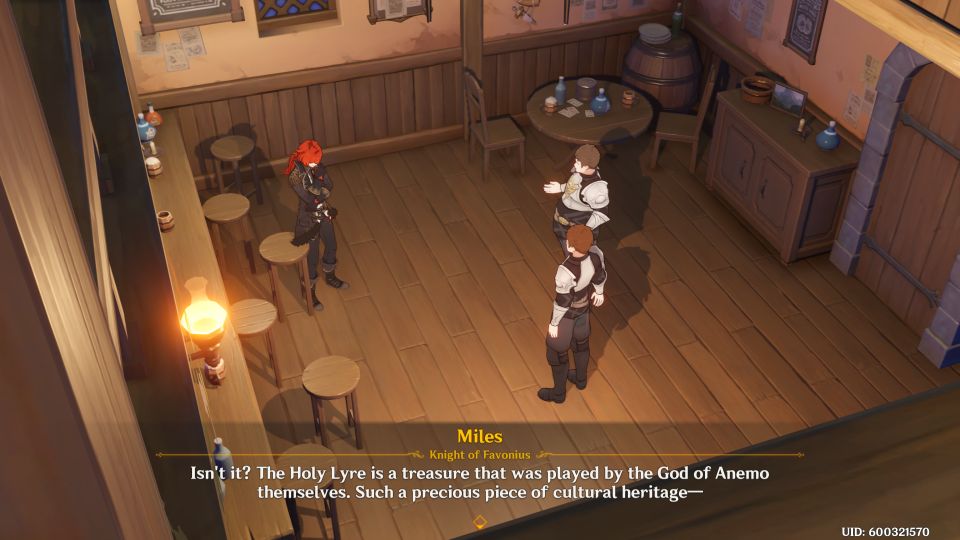
Talk to Diluc at the ground floor to proceed.
He will agree to help with the Holy Lyre.
Behind the Scenes
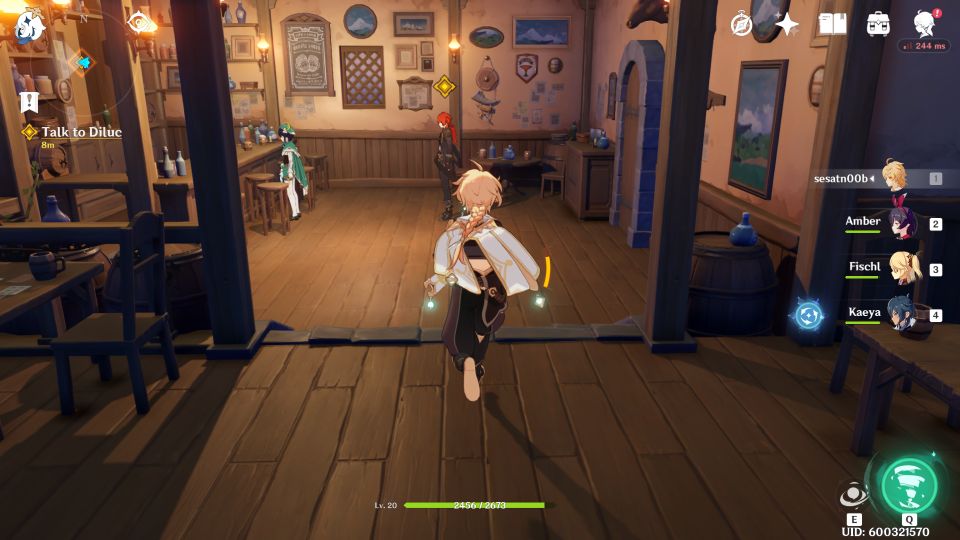
First, you have to leave the tavern.
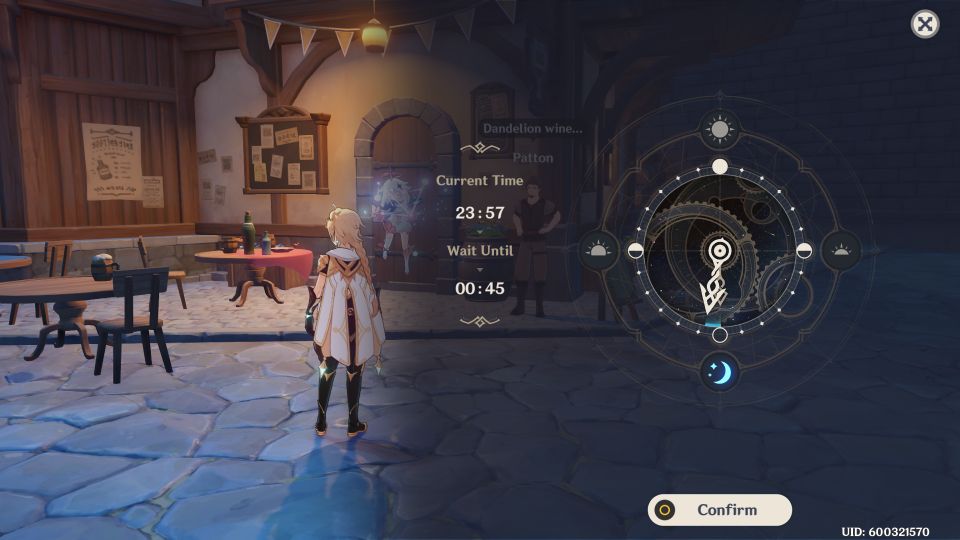
Next, you need to discuss with Diluc’s contact in the tavern. Before re-entering the tavern, change the time to midnight.
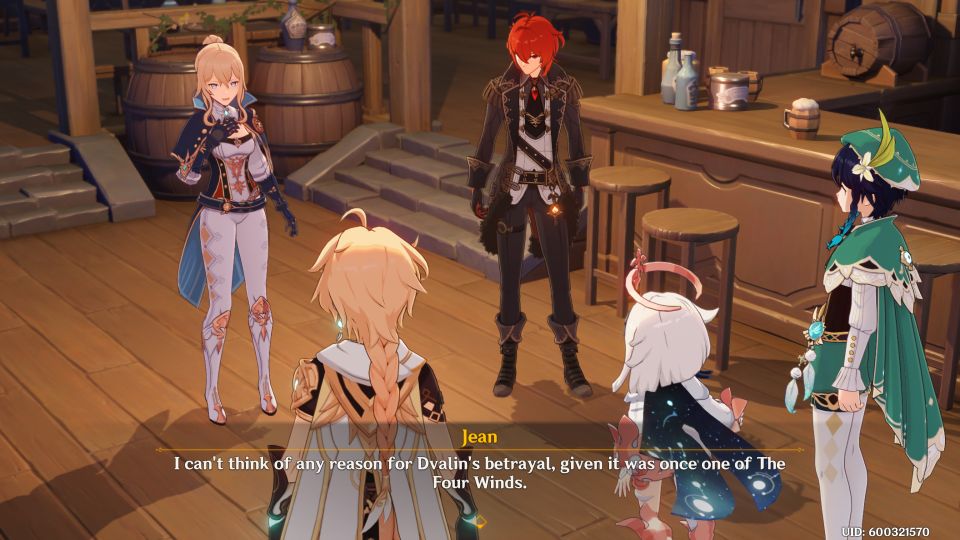
Here, you will realize that Diluc’s contact is actually the Grand Master Jean herself.
Chasing Shadows
The next sub-quest is to find out who stole the Lyre.
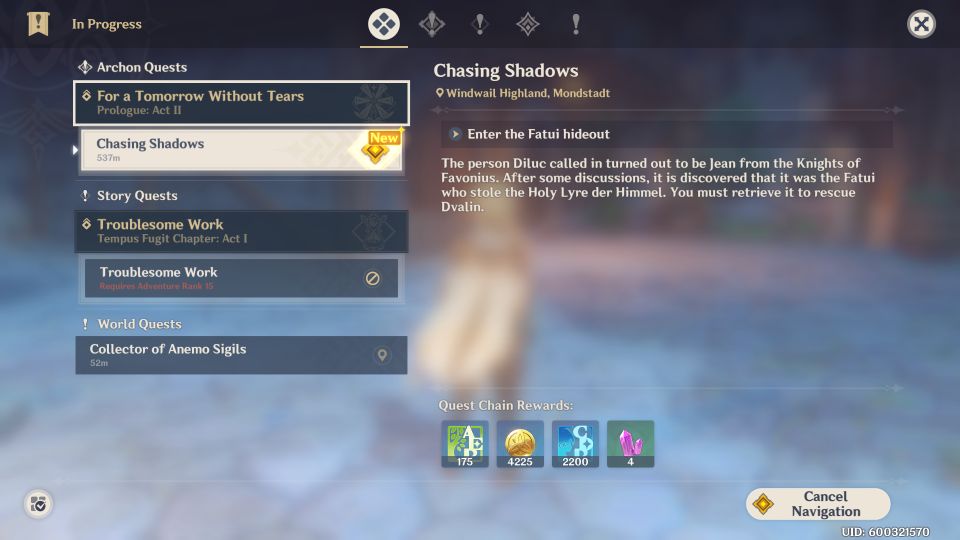
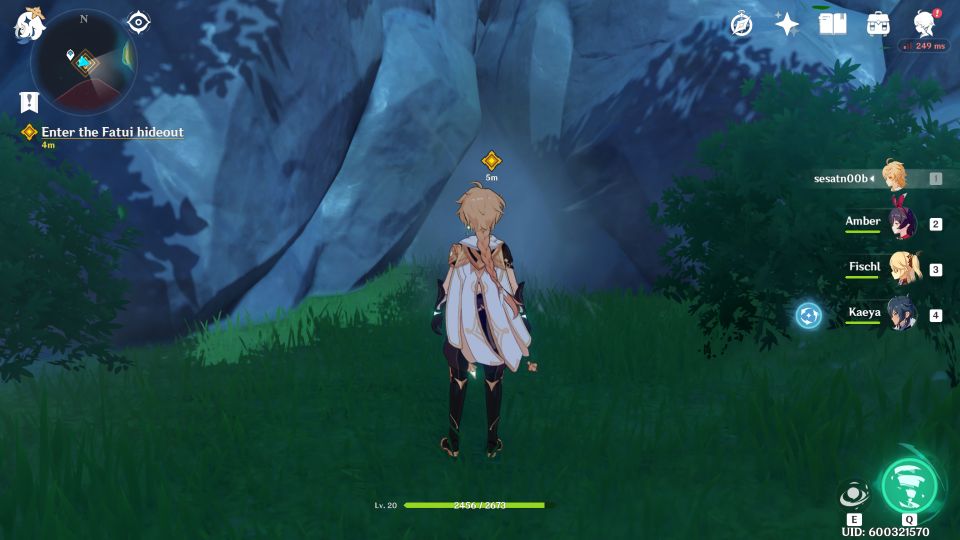
Go to the Fatui hideout. The location is provided in the map.
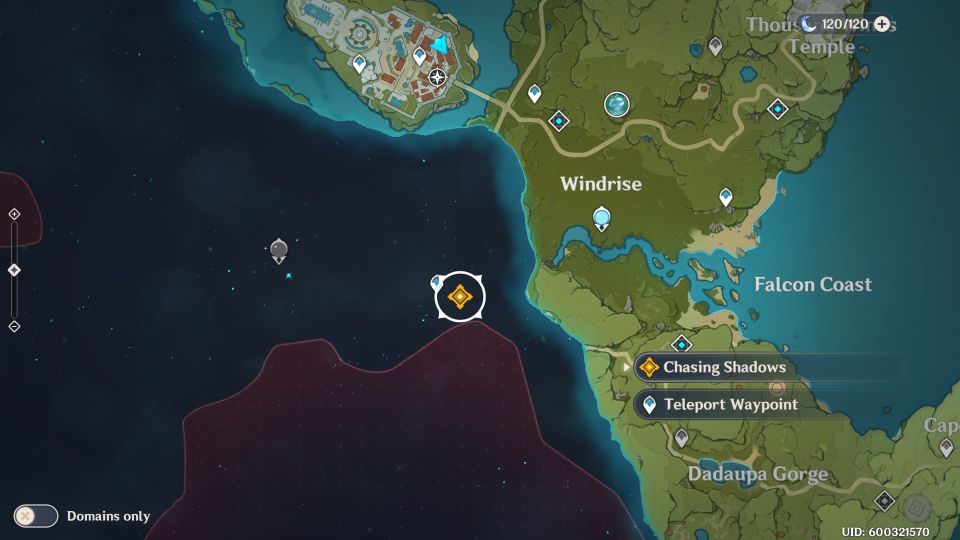
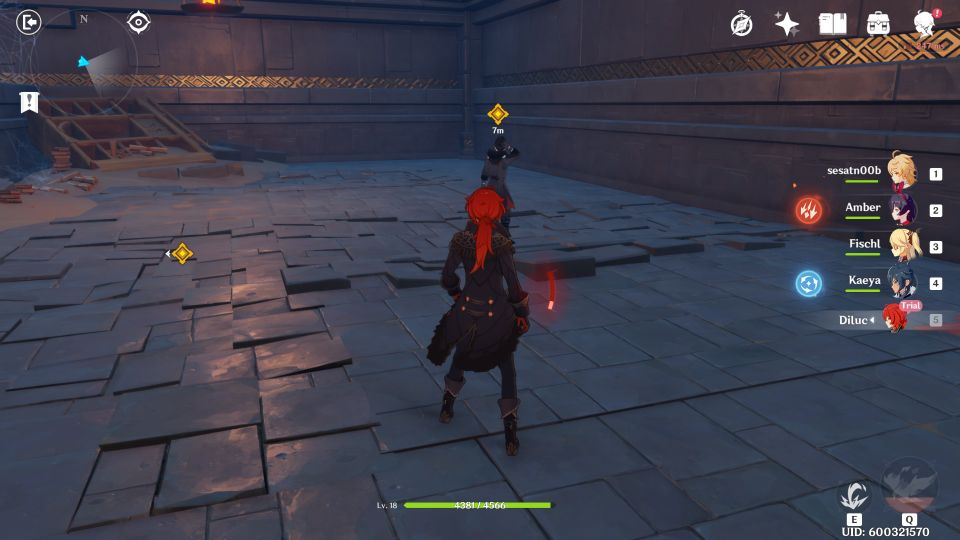
Enter the hideout when you’re ready. The recommended level is around 17.
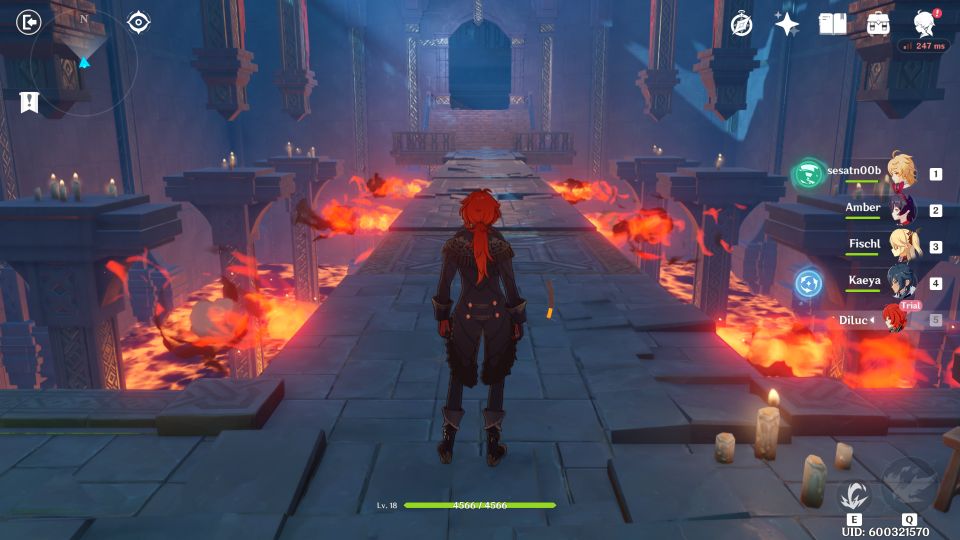
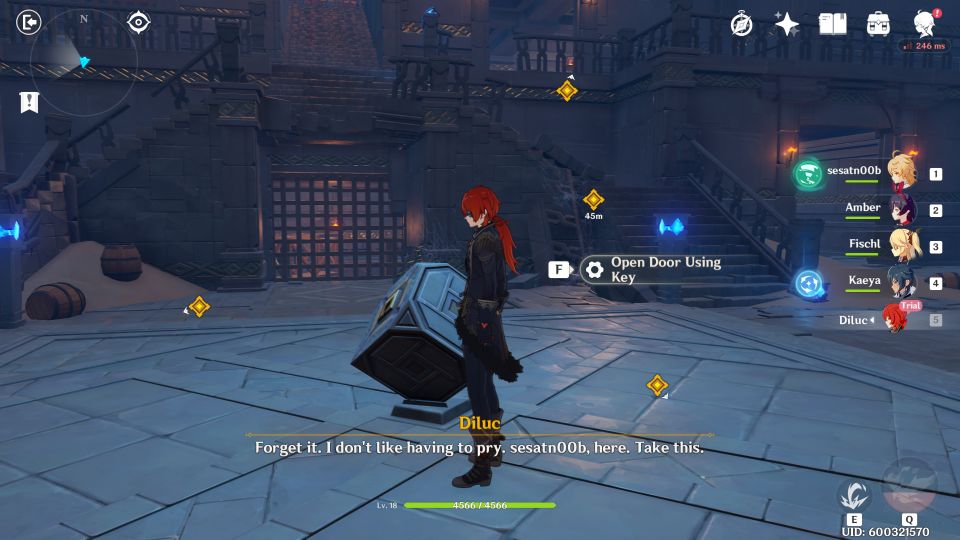
This time, you will get to use Diluc as a trial. His attacks are much stronger.
At the start, you have to get through the flames. As you walk ahead, the platform will start moving and the flames will block you. Just jump over them.
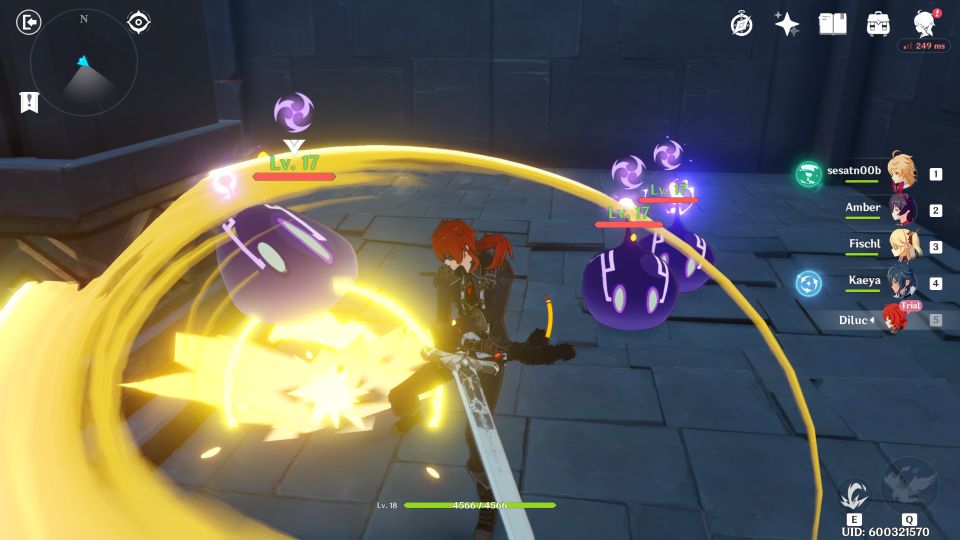
Take out the slimes you see.
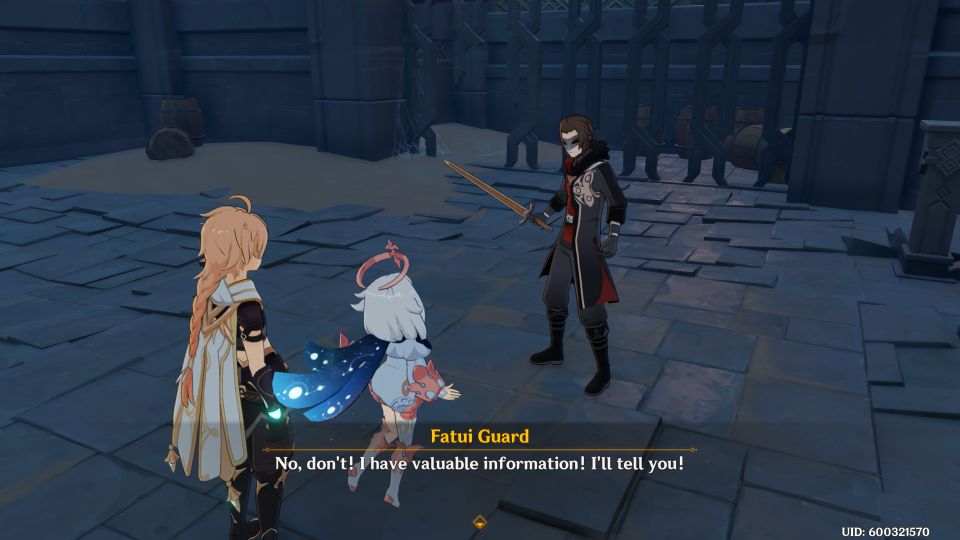
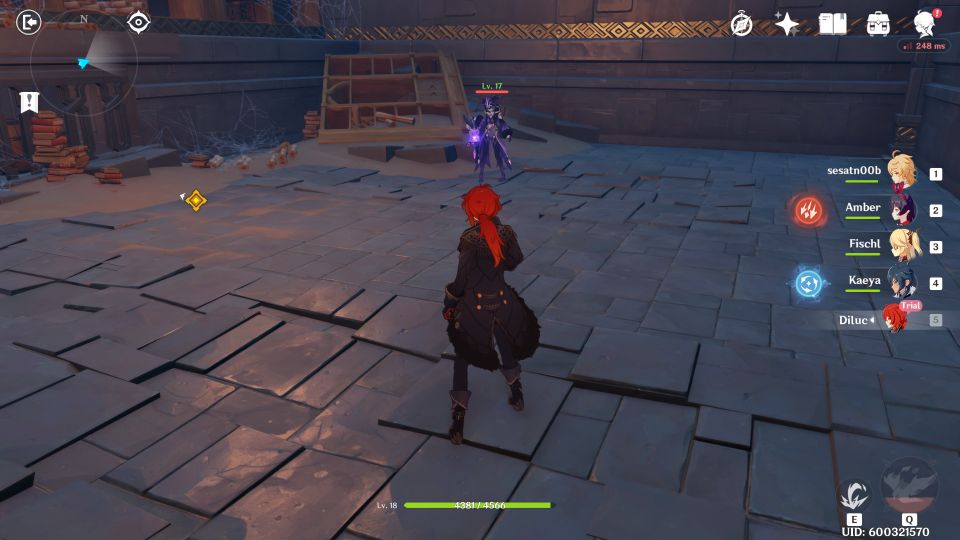
Go in further and you’ll meet a Fatui Guard. Just scare him away.
Next, you’ll reach an area with a console in the middle. You need a key to operate it.
There are several rooms you have to check to get the key.
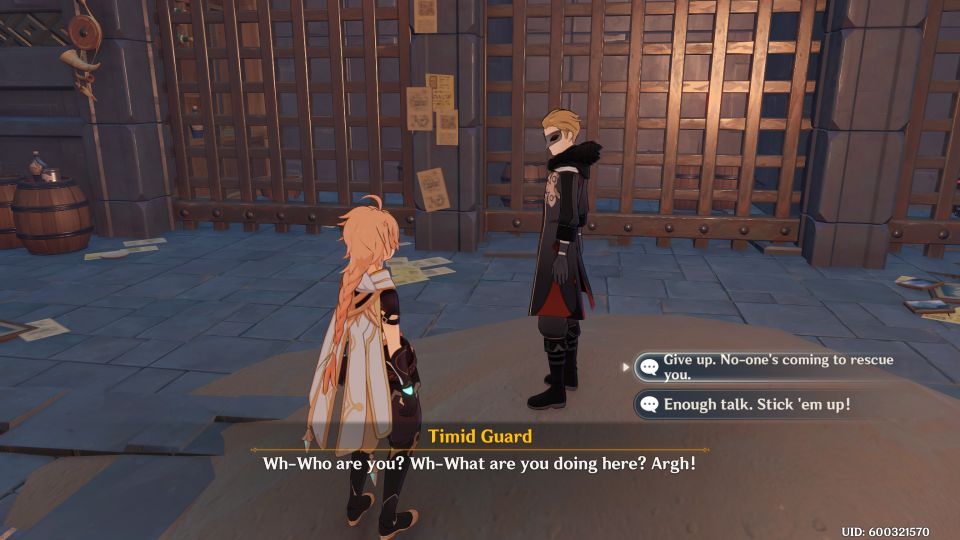
In one of the rooms, you will find a Timid Guard. Intimidate him to scare him away but he doesn’t have the key.
In the next room, there are items you can pick up but the key isn’t here.
Mobs will however spawn as you pick up the items.
There’s also another room with another Fatui Guard. Talk to him.
An enemy will spawn here. Defeat the enemy.
The room you’re looking for is the one with the treasure chest that’s guarded by magic.
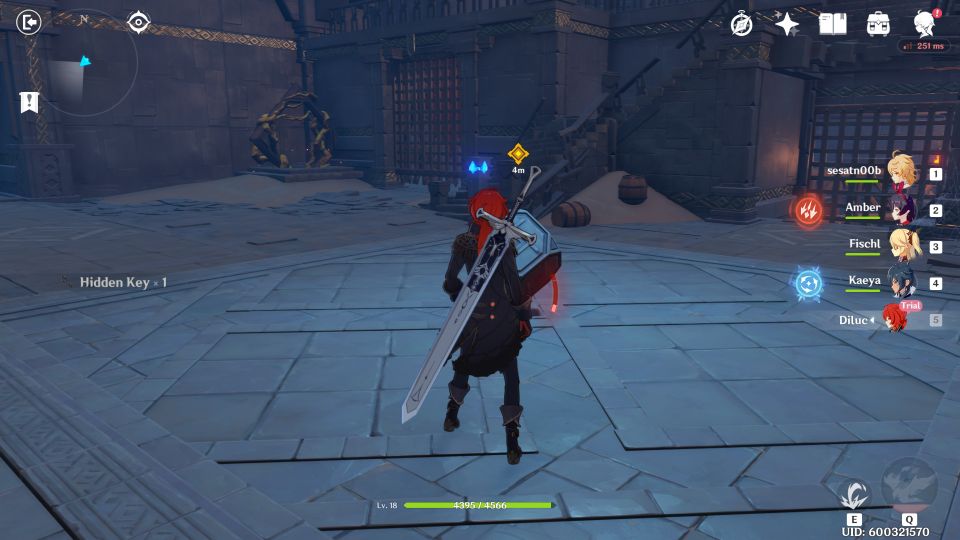
Defeat the enemies to unlock the chest. The key is inside.
Go back to the middle to use the console and open the door.
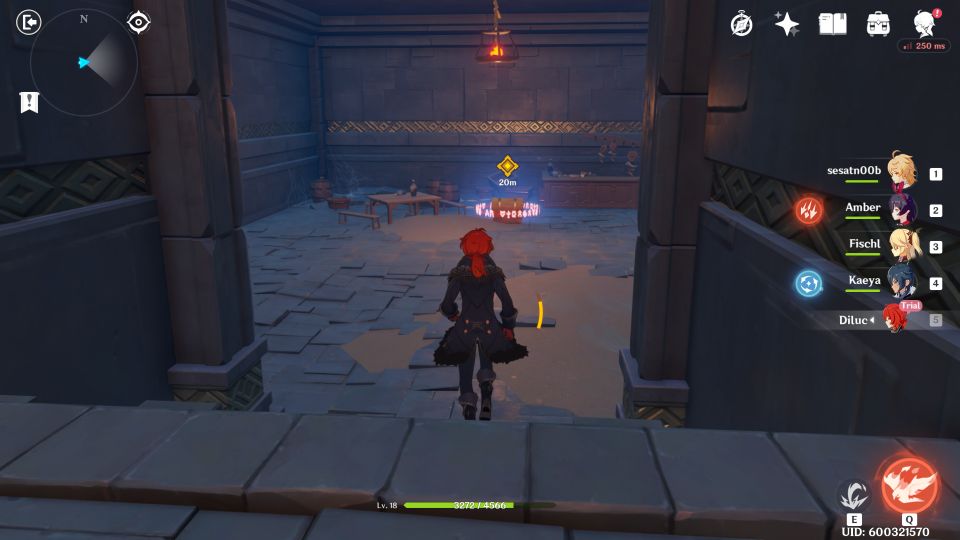
Continue going ahead until you reach an elevator. Use the console to go up.
Finally, you’ll come across Fatui Zamenhoff. He uses flaming attacks and is capable of short-term invisibility.
You can use Diluc against him, since Diluc’s raw damage is insane.

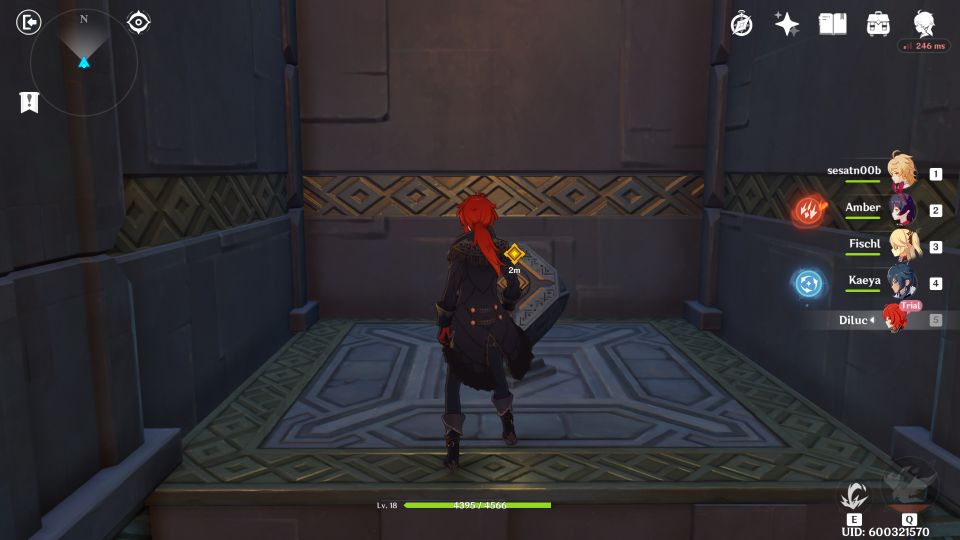
After defeating the Fatui, take the Holy Lyre.

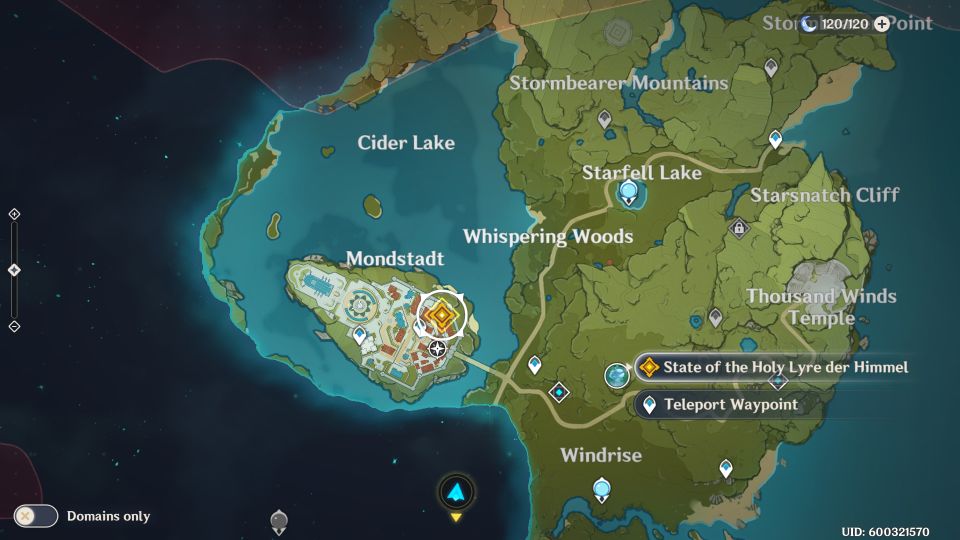
State of the Holy Lyre der Himmel
Return to the tavern in Mondstadt.
They will ask you to repair the Holy Lyre. Just drag the tear down.
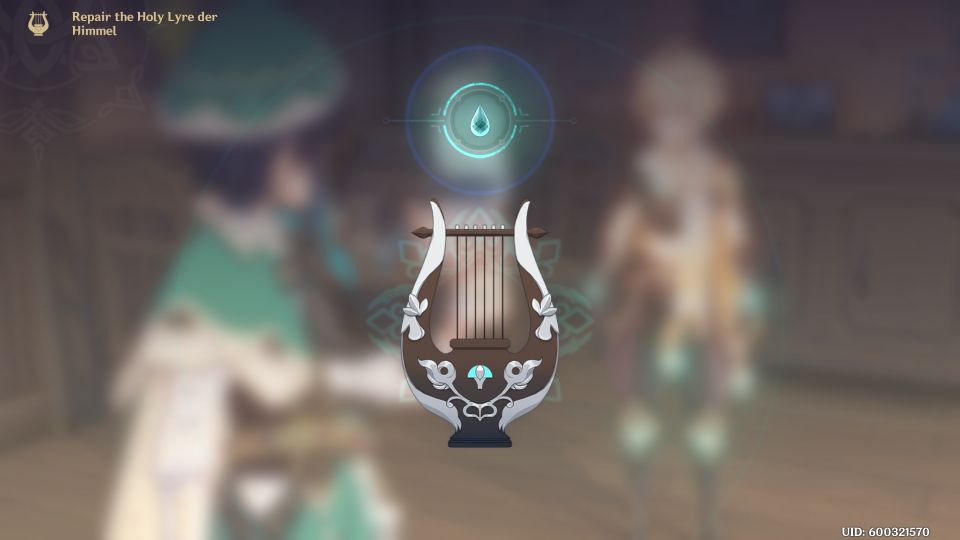
Complete the following sub-quests
After this, there will be a few more sub-quests to complete to get three corrupted tears, and finally purifying them.
Reunion with the Dragon
The last sub-quest is to reunite with Stormterror.
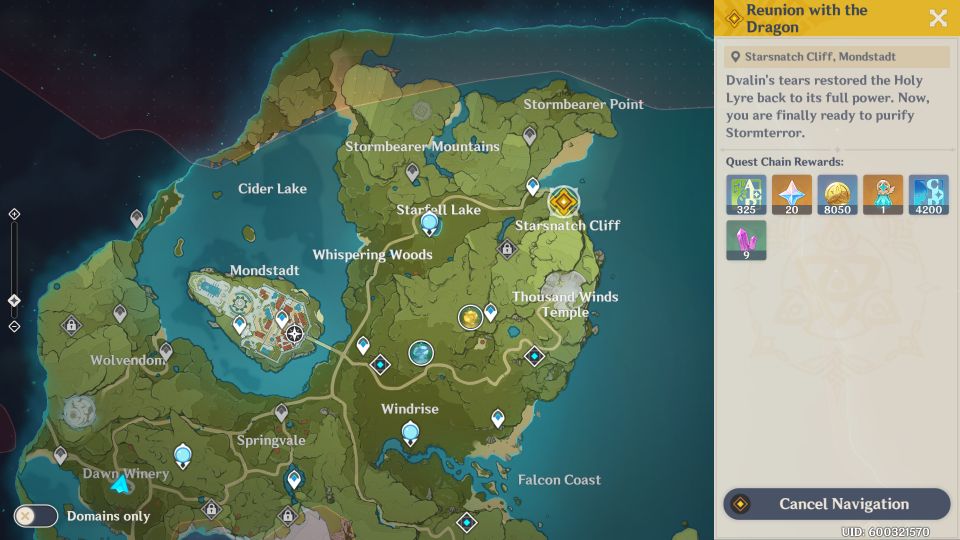
Go to Starsnatch Cliff to meet with the rest.
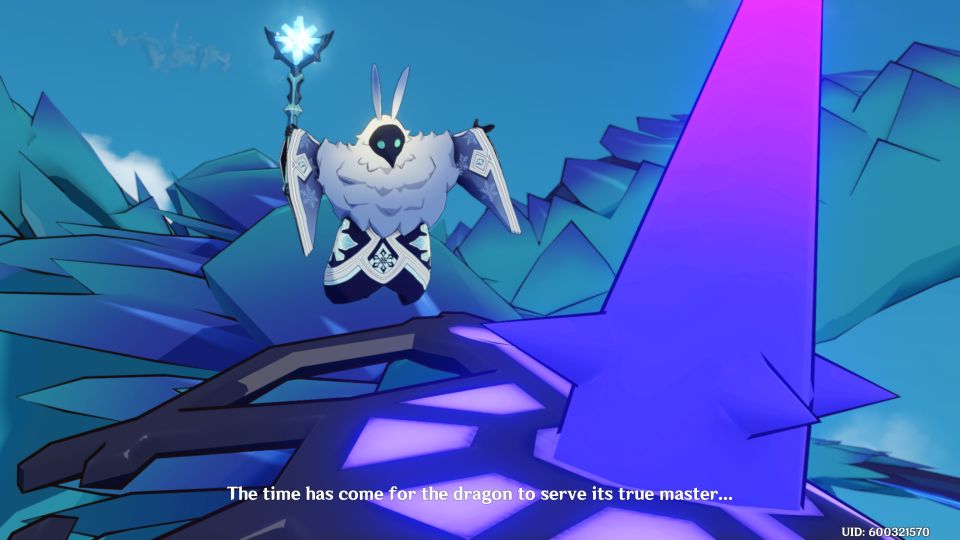
You have to go all the way up the cliff and a cutscene will be triggered.
During the cutscene, the bard Venti will play the lyre and Stormterror shows up. However, the dragon seems to be brainwashed by the Abyss Mage.

Stormterror will then leave with the mage and Act II completes here.
Related articles: