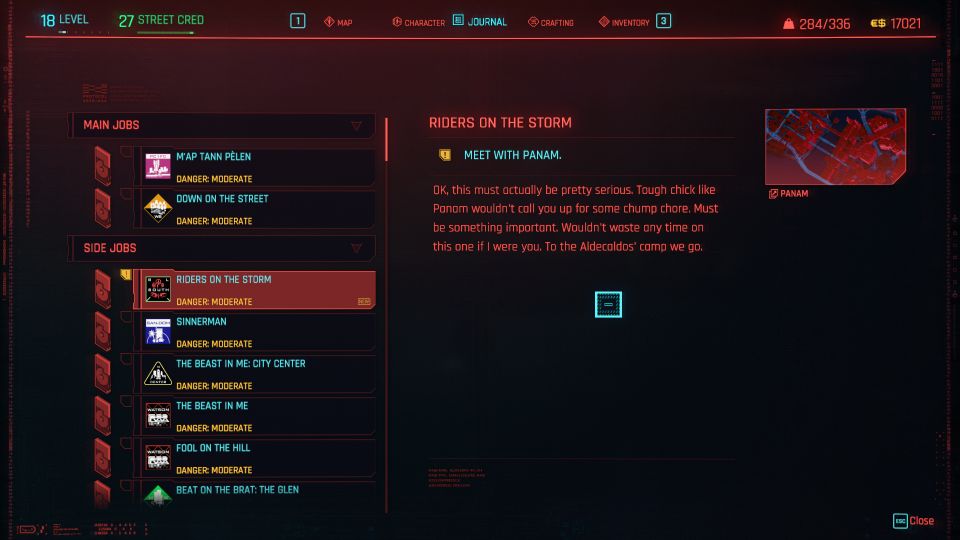
Riders on the Storm is a side mission / job in Cyberpunk 2077.
Your objective is to help Panam save Saul from the Wraiths.
Here’s a walkthrough of Riders on the Storm in Cyberpunk 2077.
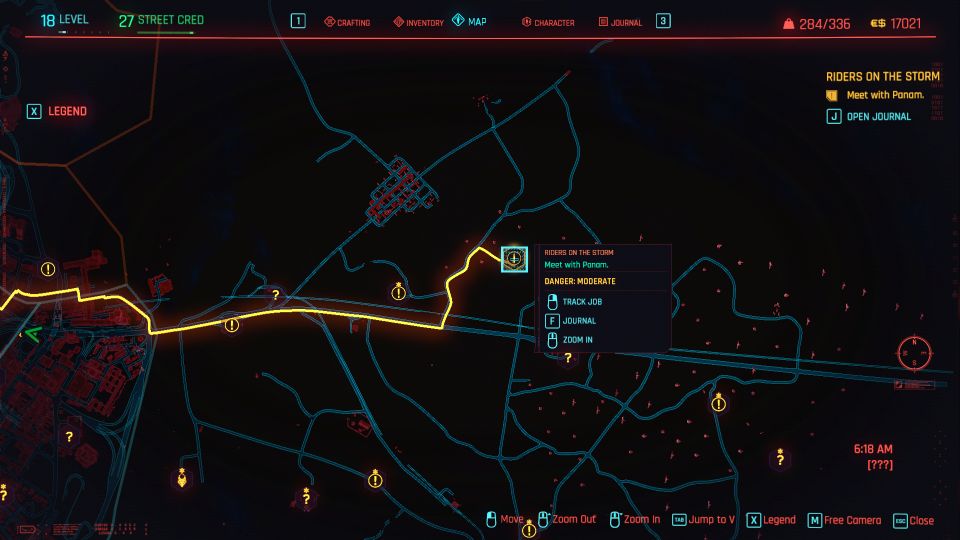
Meet with Panam
After getting the call from Panam, meet her at the Aldecaldos camp. The location is provided in the map.
You will see her waiting at her vehicle. Talk to her.
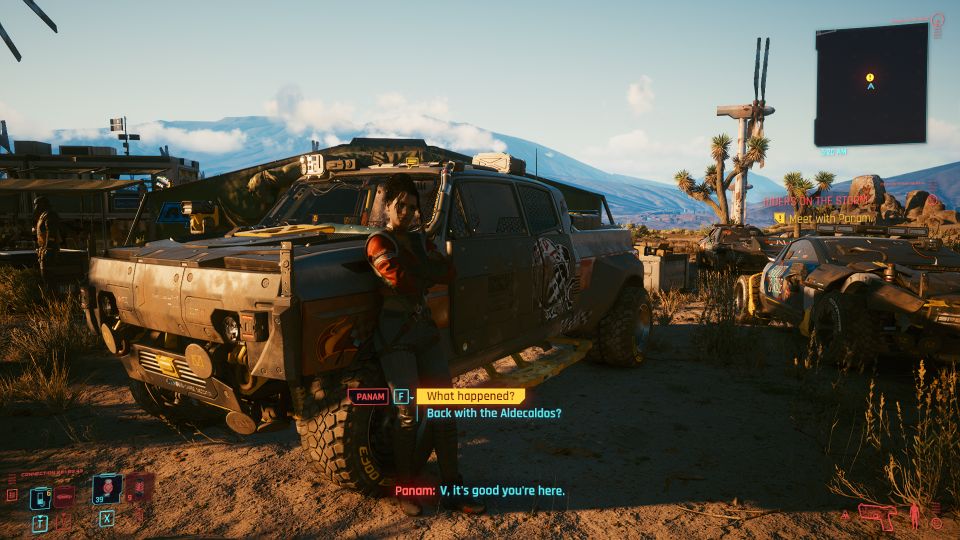
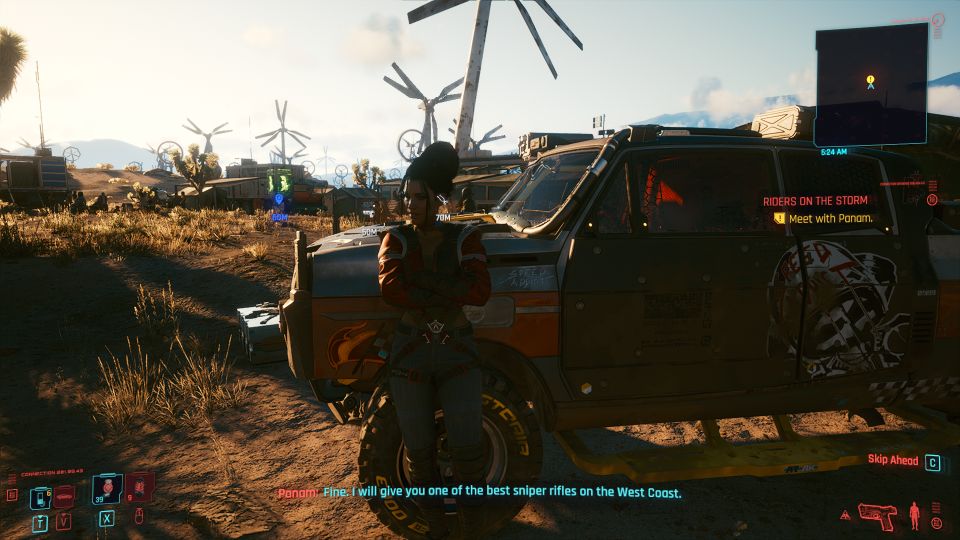
During the conversation, you can mention you won’t help for free. She will then talk about a sniper rifle reward.
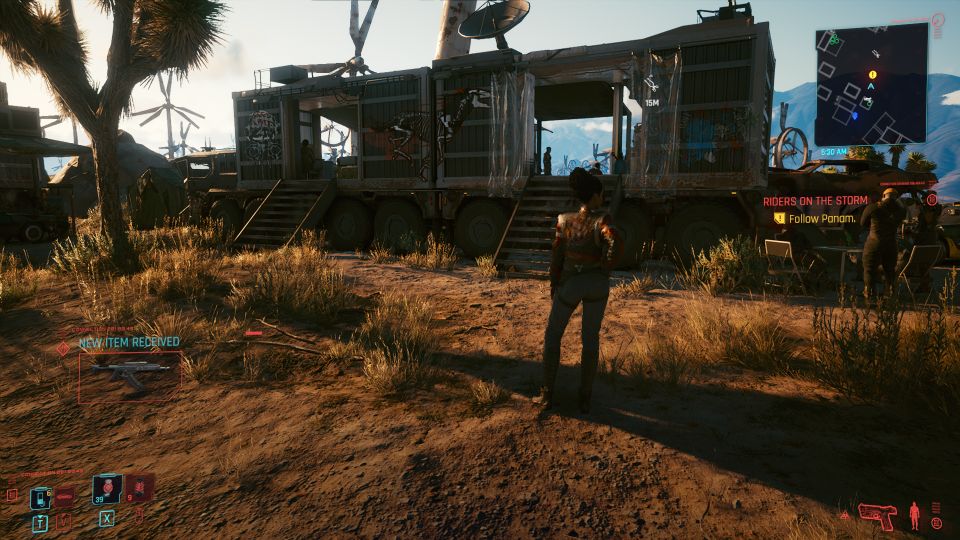
Follow Panam
Follow Panam to meet the rest of the crew.
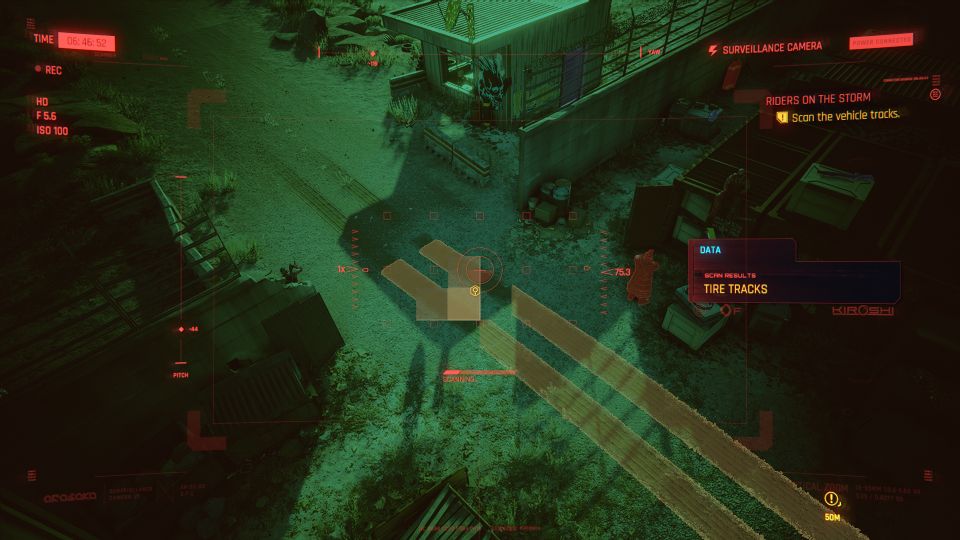
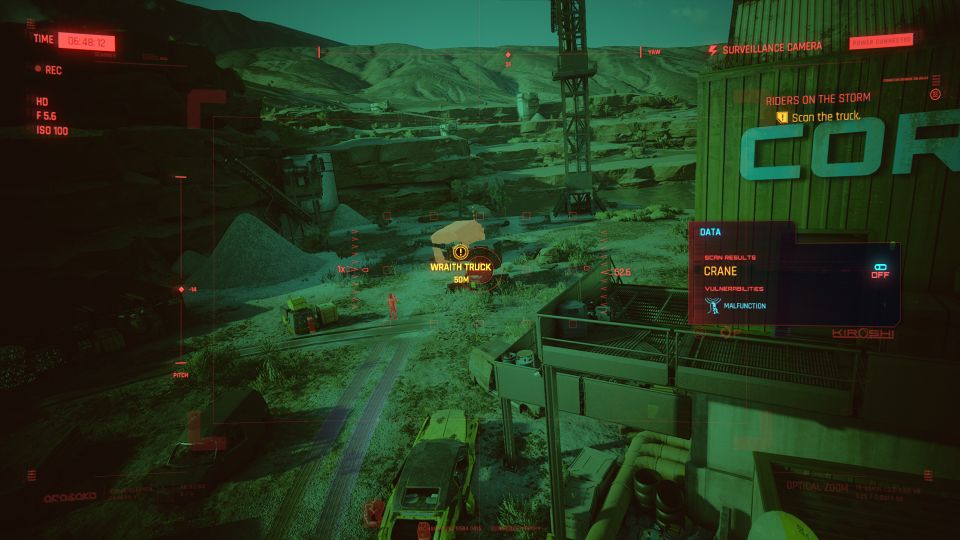
Scan the base
Mitch will then let you see through the camo drone. You can analyze the base and look for ways to enter and save Saul from the main building.

Scan the vehicle tracks.
Next, scan the Wraith truck.
Take SuperJet
Mitch will then hand over a SuperJet which is to be used for Saul.

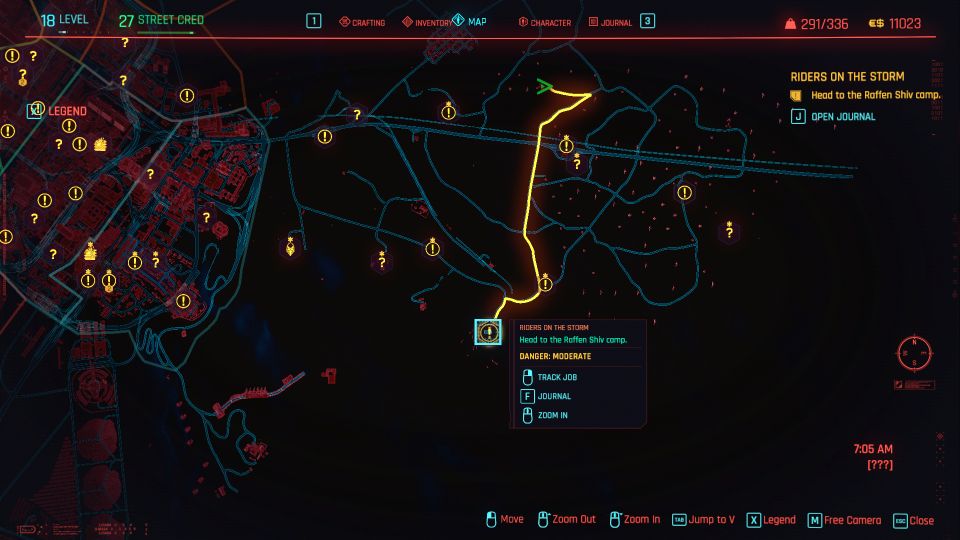
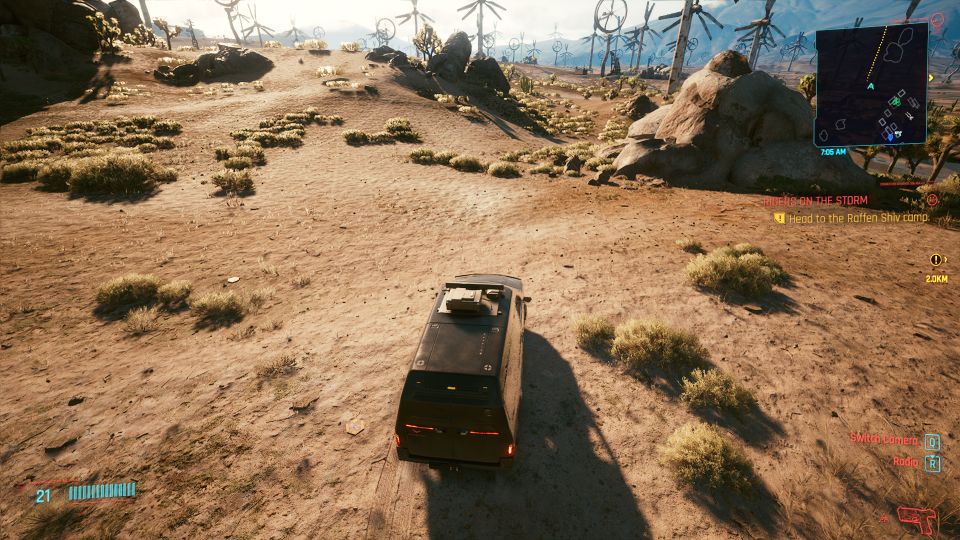
Head to the Raffen Shiv camp
Next, get to the Raffen Shiv camp. The location is provided in the map below.
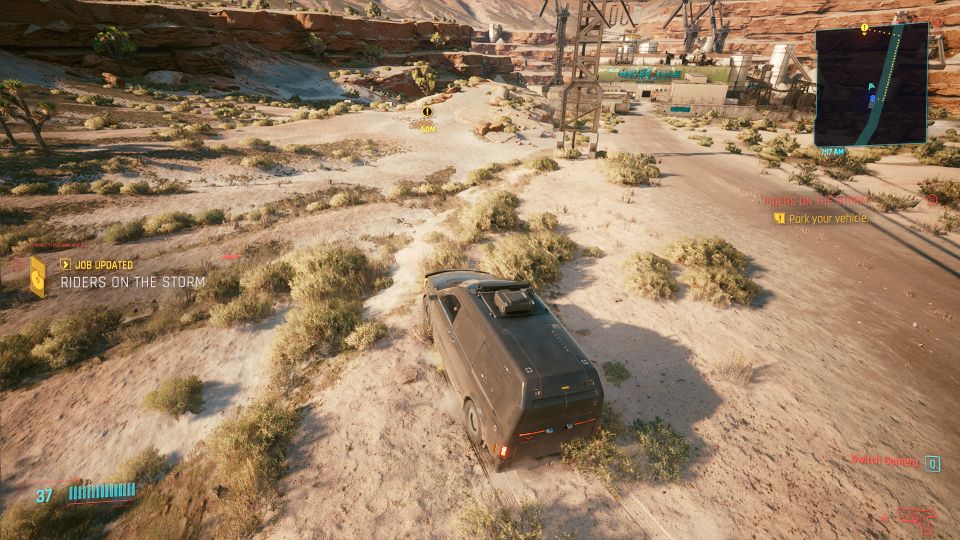
This time, you’ll be the one driving.
Once you’ve reached the area, park the vehicle at the marked spot.
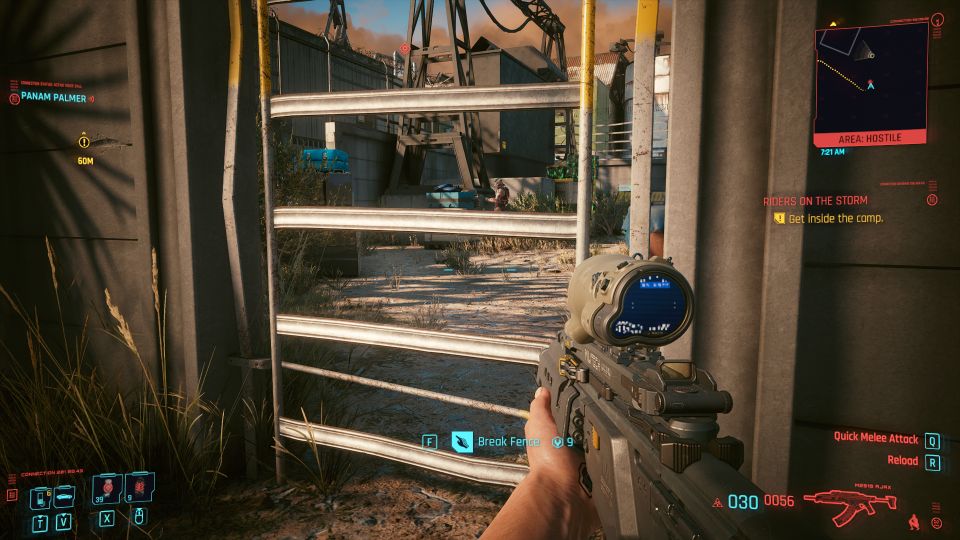
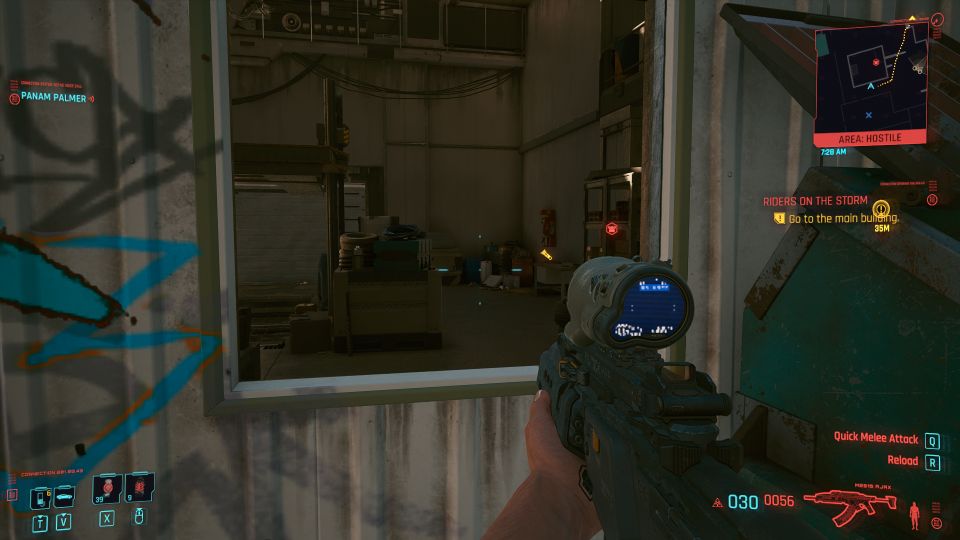
Get inside the camp
There is more than one way to enter the camp. I used the alternative way which is to enter through the fence at the right side.
This method requires that you have the requisite ability to break the fence.
Enter the compound and you’ll see an enemy. You can take him down quietly.

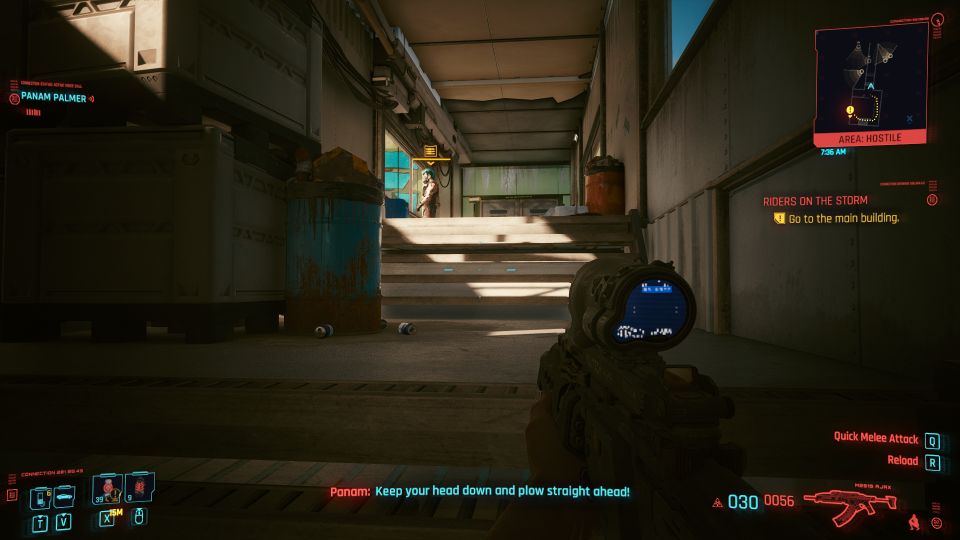
Get to the main building
Break the next fence.
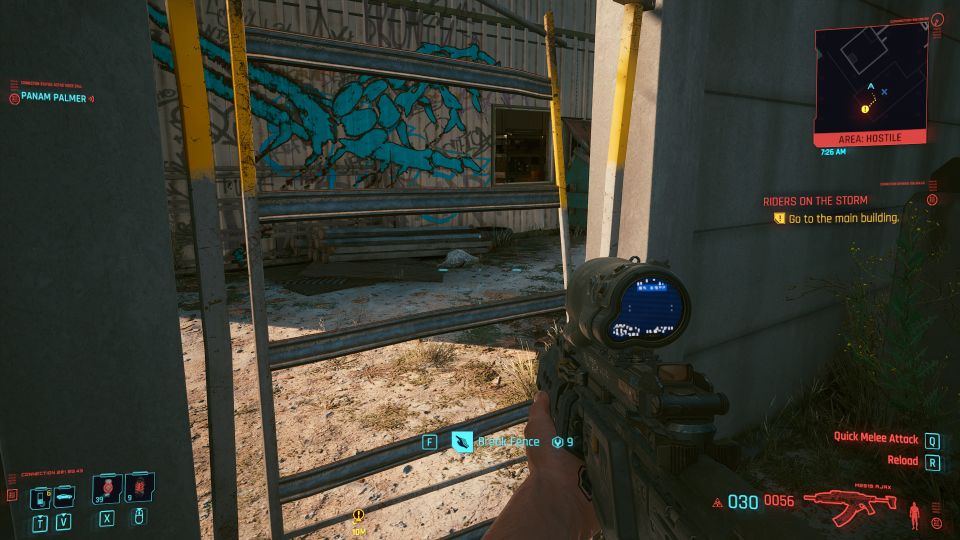
Enter the garage which is directly in front of the broken fence.
Head upstairs and you’ll see the walkway towards the main building.
There will be enemies waiting. You can stealth kill them.
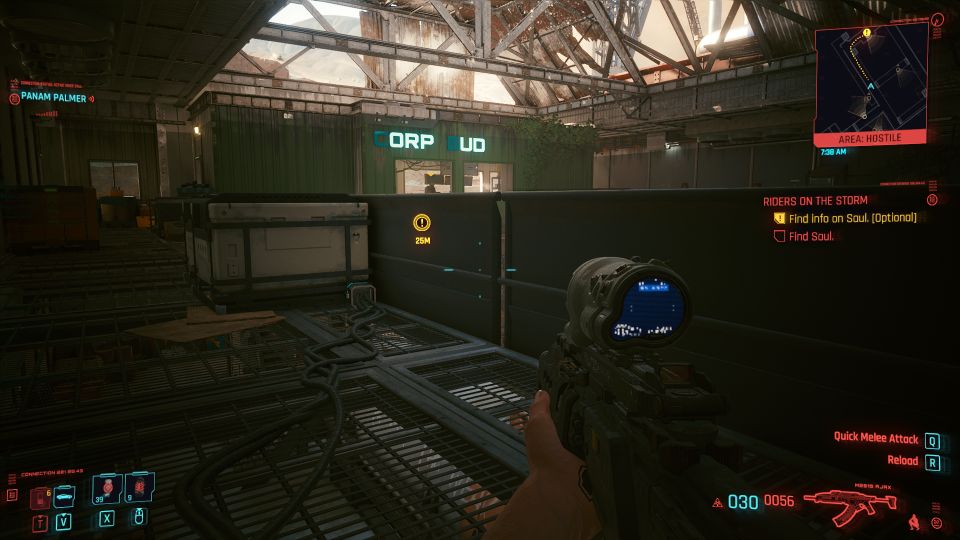
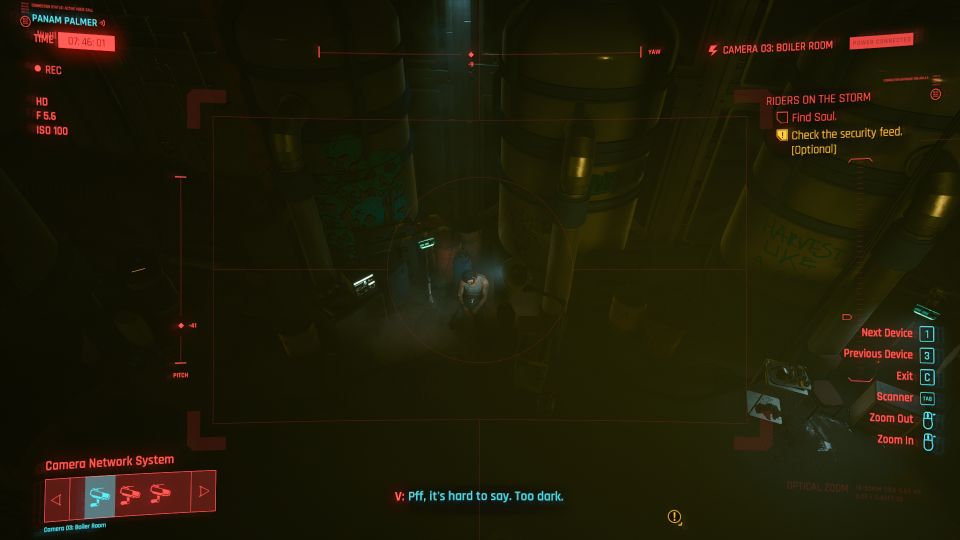
Find info on Saul (optional)
You can find information on Saul through the control room in the main building but it’s optional.
The control room is quite obvious as it has the lighted words on the room.
Enter and take out the guard. Another guard might see you and enter the room.
Hide at the side and quietly take him down.
Then, go to the computer and use it. Access the camera.
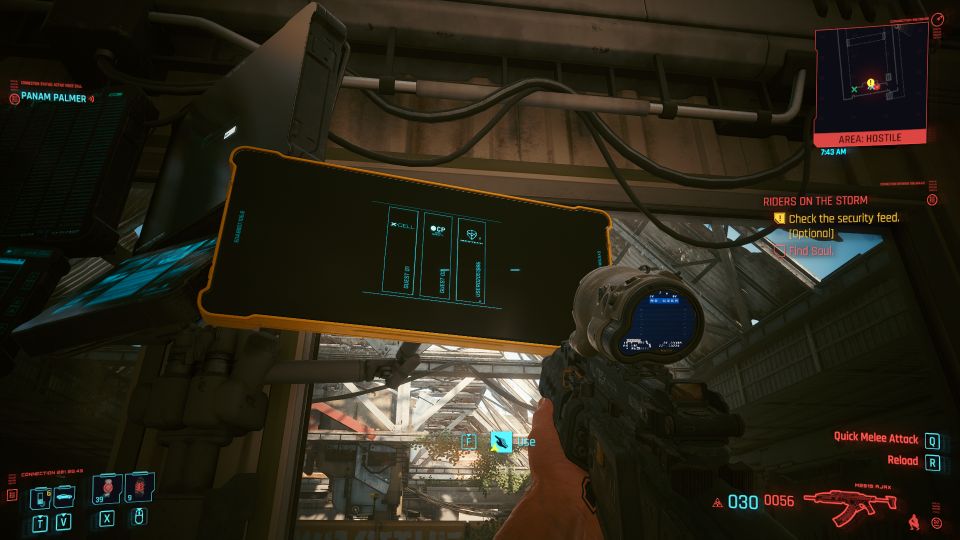
With the camera, you can see Saul captured in the basement.
Free Saul
Head downstairs and on the ground floor, you’ll see the stairs to the basement directly in front of you.
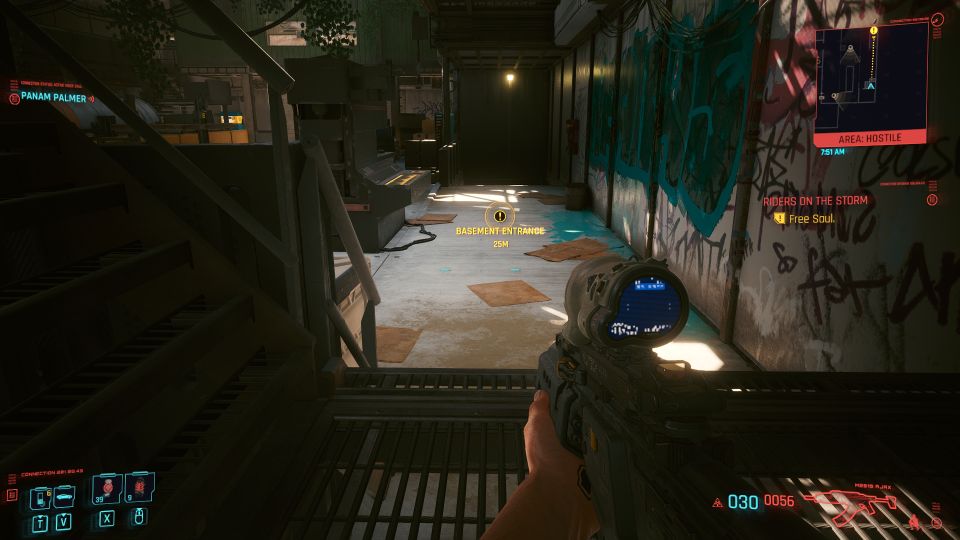
You will come across guards down here.

Head to Saul’s location as marked on the screen and you’ll find him.
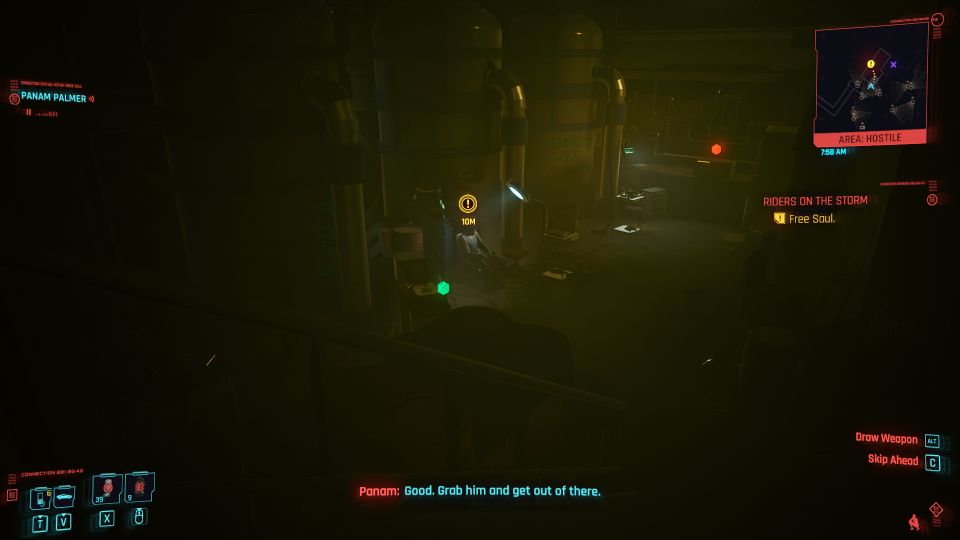
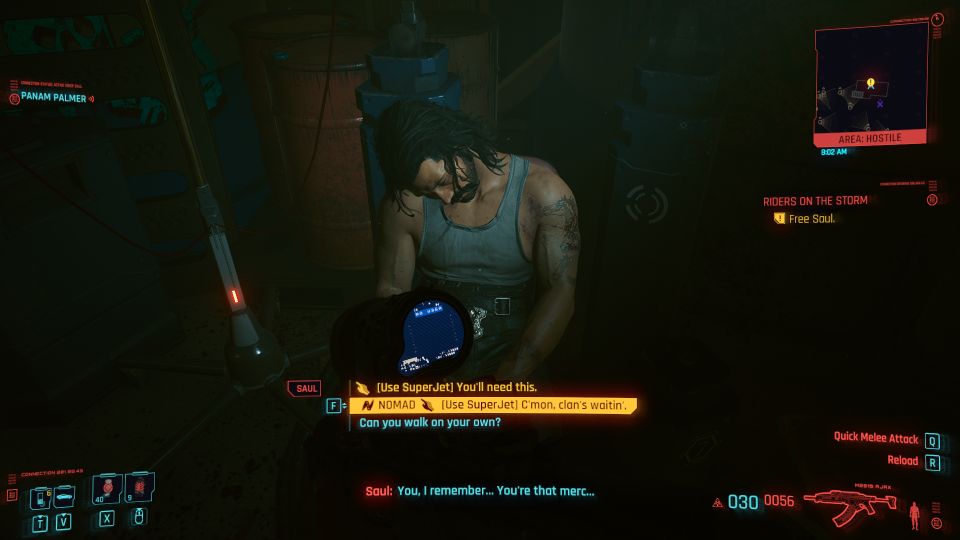
Help to free him.
Give him the SuperJet as well to allow him to walk.
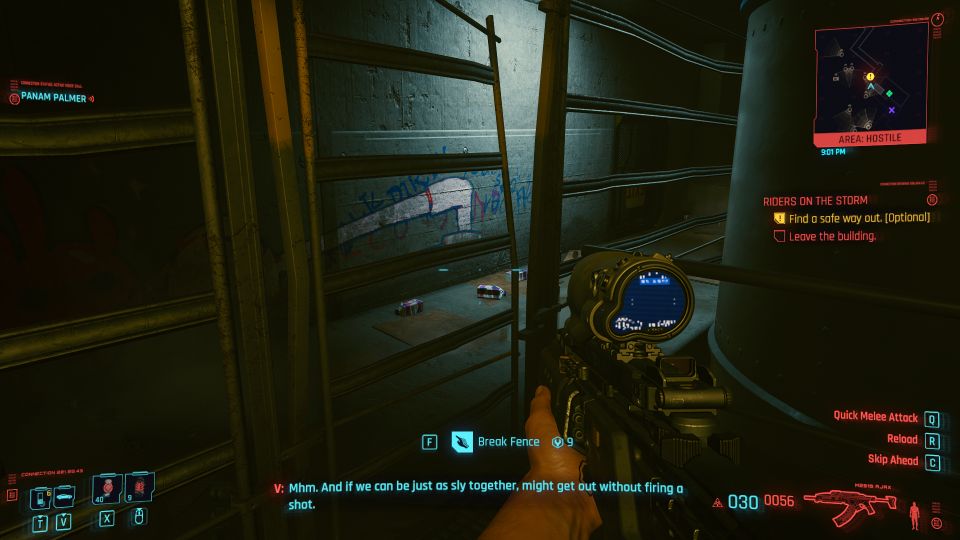
Find a safe way out
The best way to go out is actually through the place Saul was rescued. There’s a fence you can break as long as you have the necessary attribute level.
This will lead you to the maintenance tunnel free from enemies.
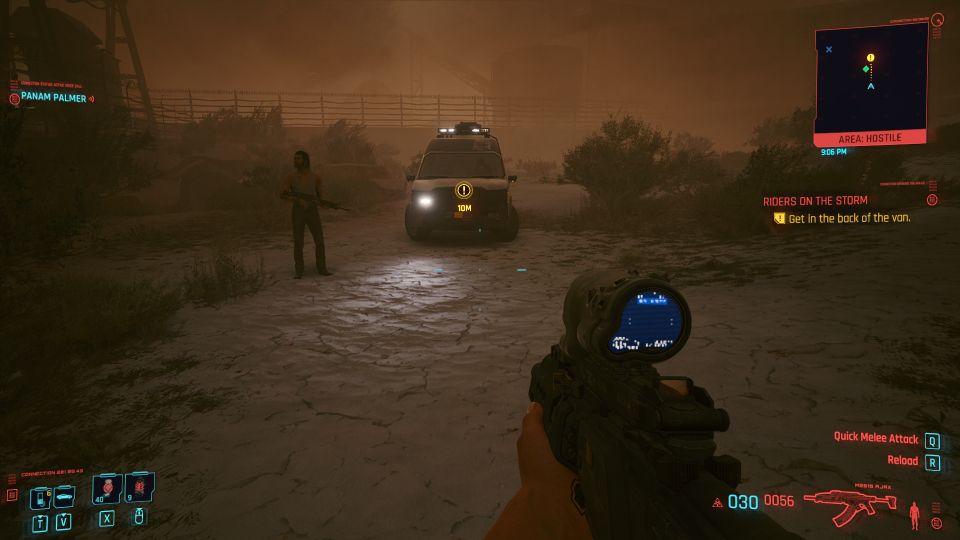
Get in the van
Once you’re out of the tunnel, you will see the van. Enter the back of the van.
Wait for Saul to enter first.
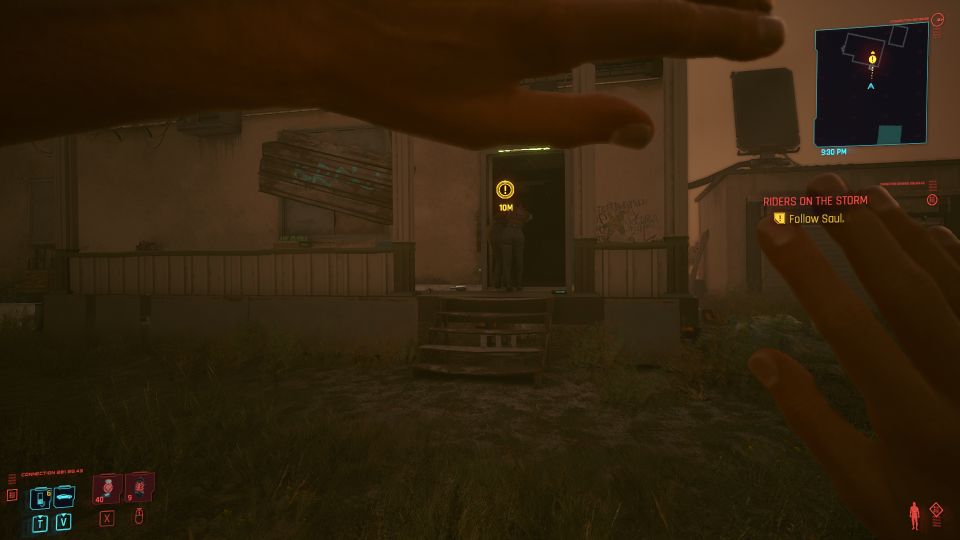
Follow Saul
After reaching a shelter, follow Saul and Panam into the shelter.
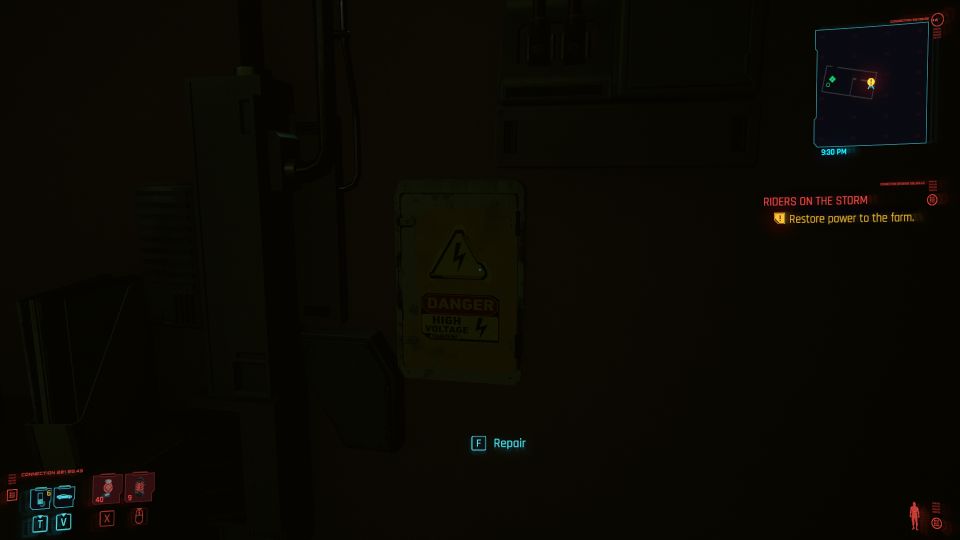
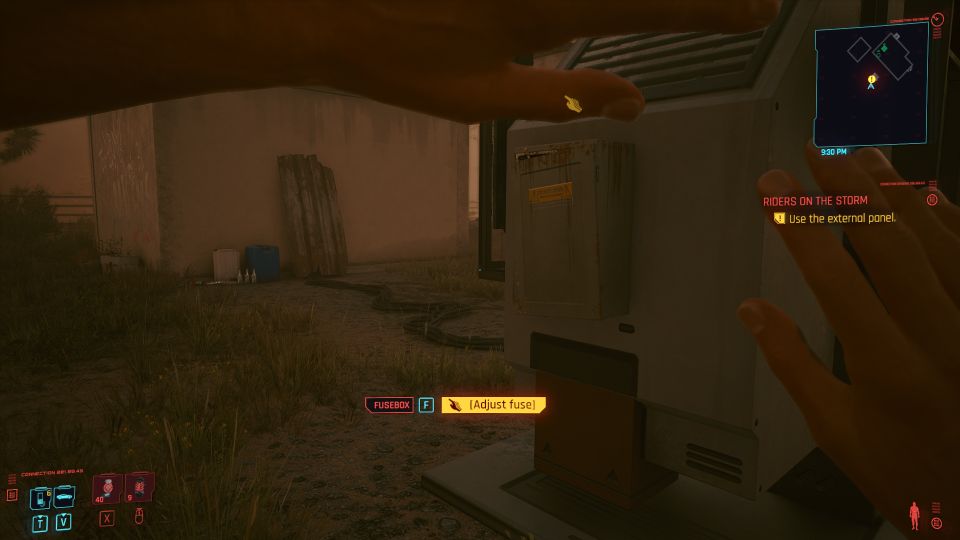
Restore power
Go to the next room and repair the fuse.
Then, go out of the shelter and walk towards the back.
Use the external panel and adjust the fuse.
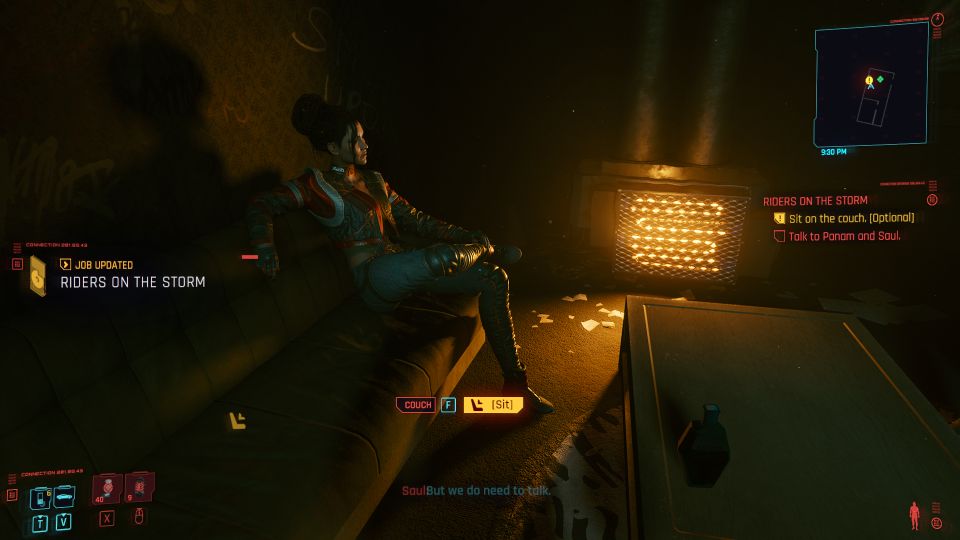
Talk to Panam and Saul
Once the light and heater is on, talk to the both of them.
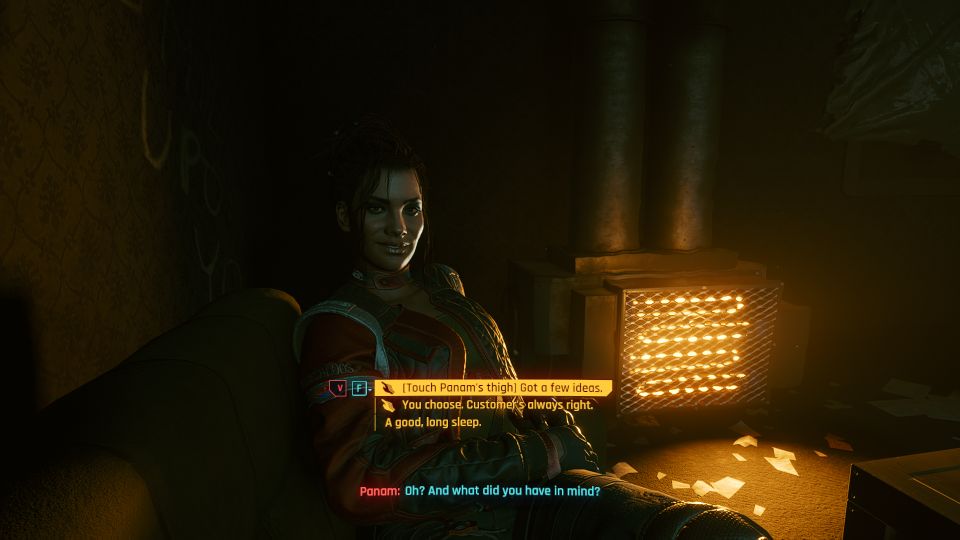
During the conversation, I chose to side with Panam and she’ll appreciate it later.

I also tried to seduce Panam but it ultimately didn’t work. She’ll keep you in the friendzone for now.
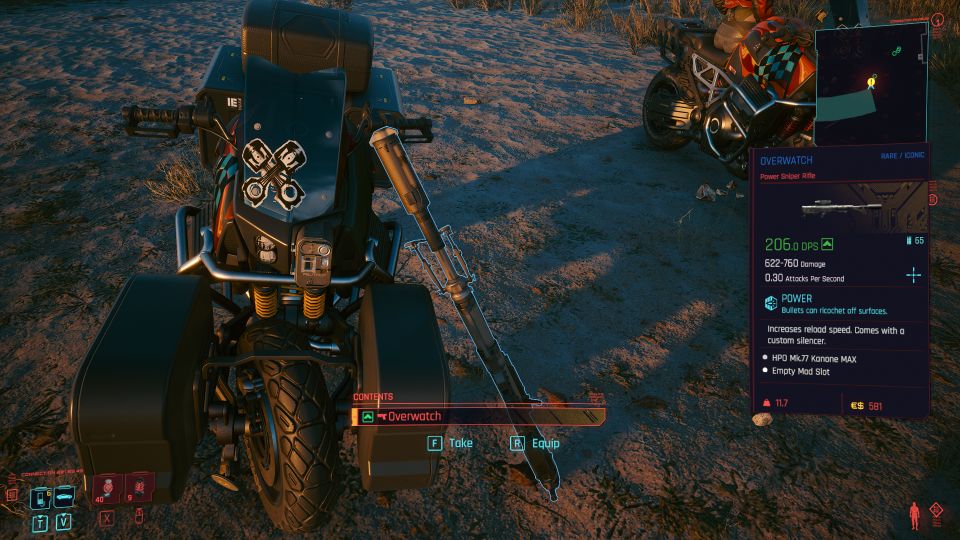
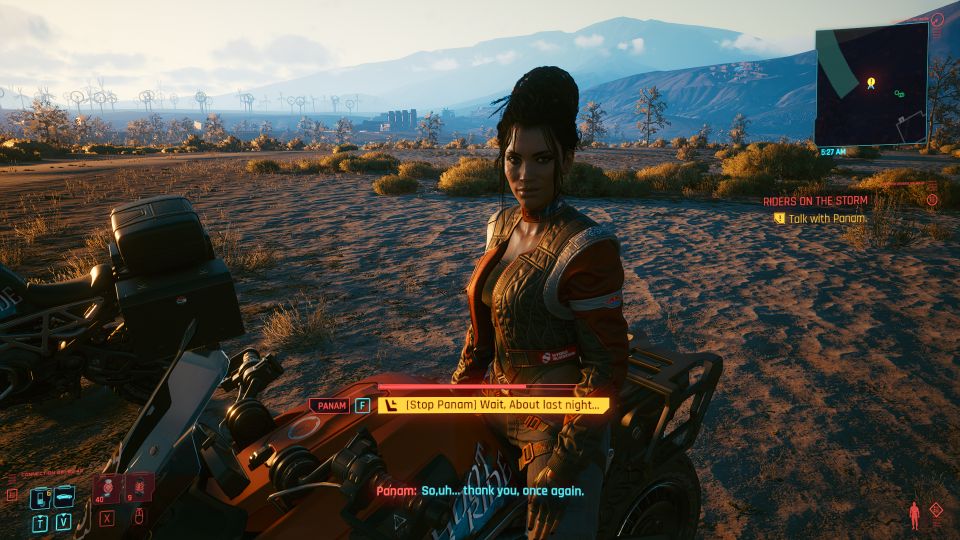
Talk to Panam
The next morning, talk to Panam again.
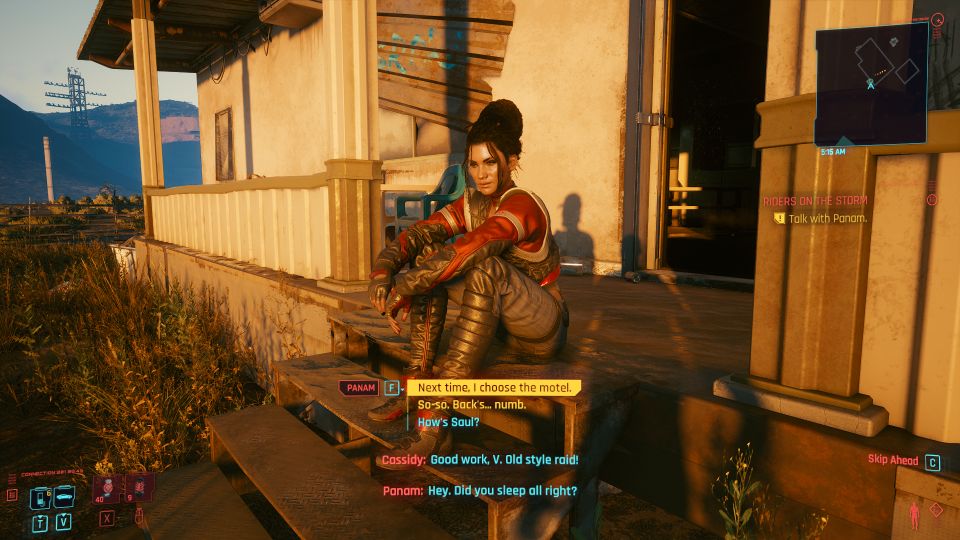
She will then present the sniper rifle as a reward. Pick it up from the bike.
Towards the end, there’s a short time for you to ask her about last night.
If you do so, she’ll kiss you and say goodbye. The mission ends here.
Related posts:
Cyberpunk 2077: I Fought The Law (Mission Walkthrough)
Cyberpunk 2077: These Boots Are Made For Walkin’ Walkthrough