I Fought The Law is a rather long side job / mission in Cyberpunk 2077.
Your objective is to meet with the Peralez and find out if Rhyne’s death was planned.
Here’s a walkthrough of I Fought The Law in Cyberpunk 2077.
Danger: Moderate.

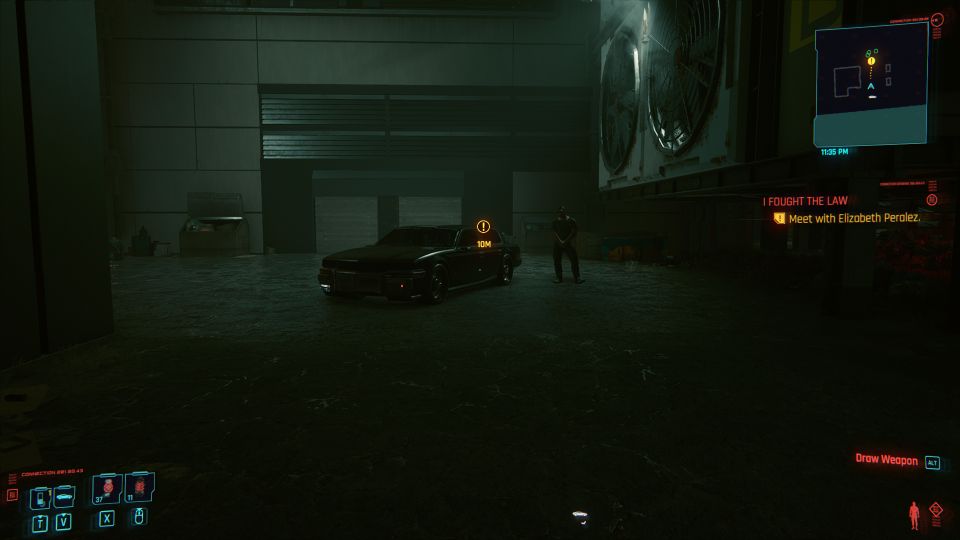
Meet with Elizabeth Peralez
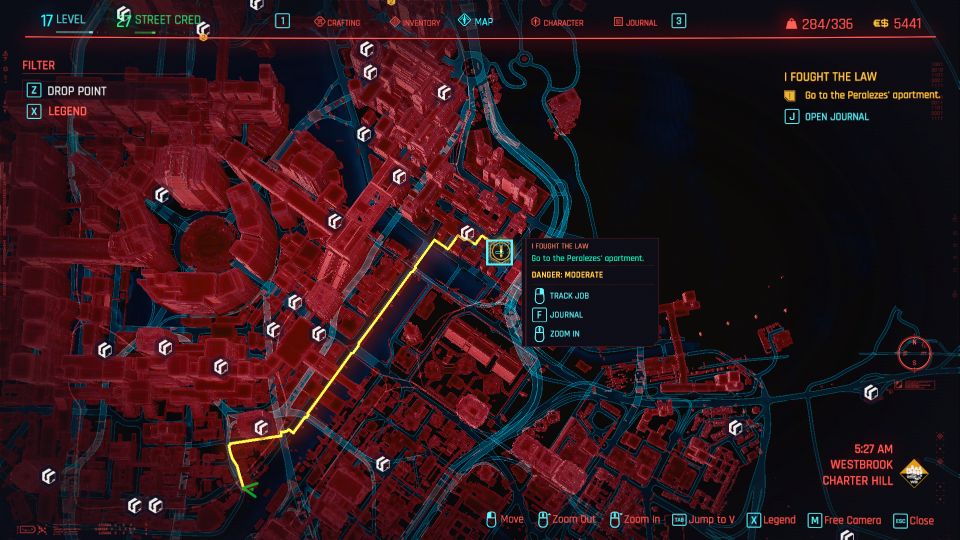
After she calls you on the phone, meet her at the location marked on the map which is in Heywood.
I received the call sometime in Act 2, after finishing a few main jobs.

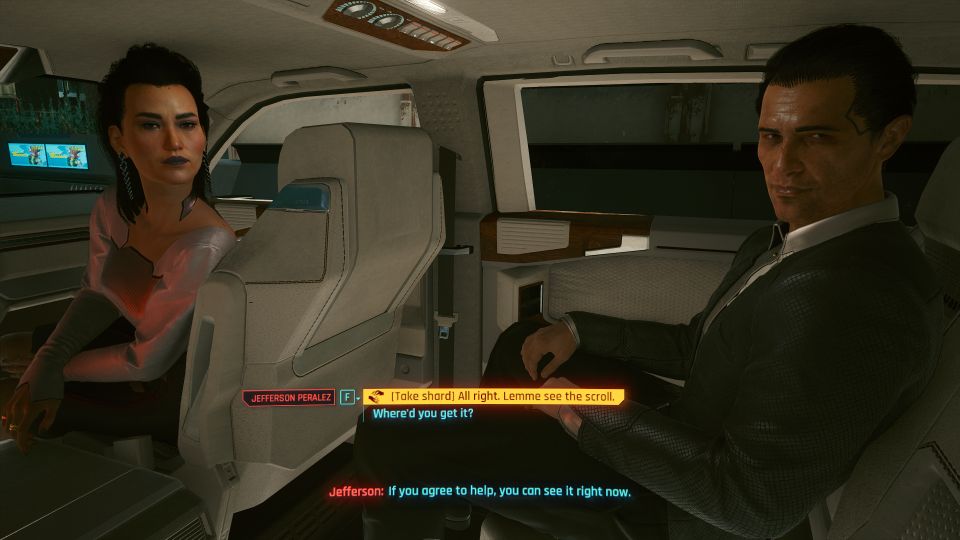
Enter the luxury car.
Analyze the braindance
Jefferson and Elizabeth Peralez will ask you to analyze the braindance of Rhyne’s death.
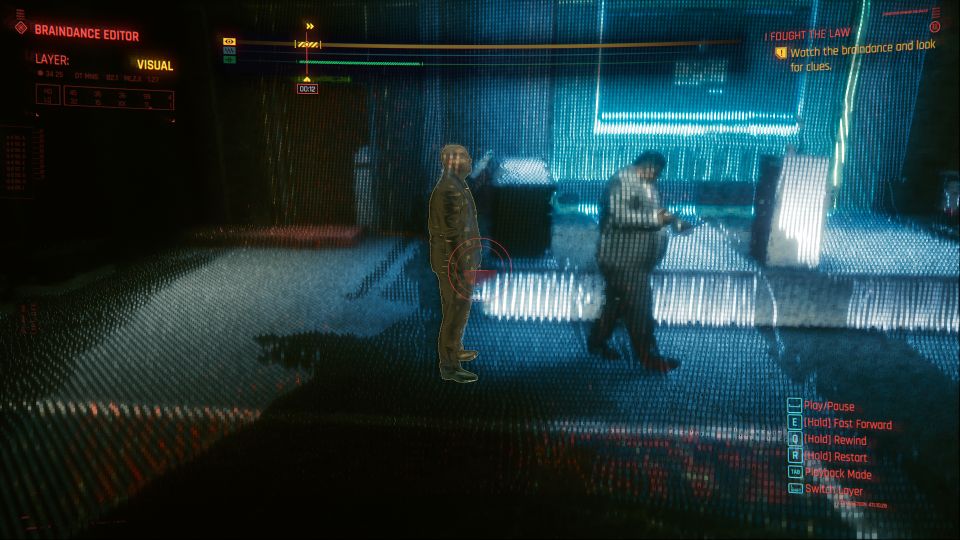
For this particular braindance, there are six things you have to analyze.
Four is in the visual layer and two in the audio layer.
Visual layer
One of them is the man standing there.
Another is the door, which indicates that someone (possibly Holt) left just before the incident.
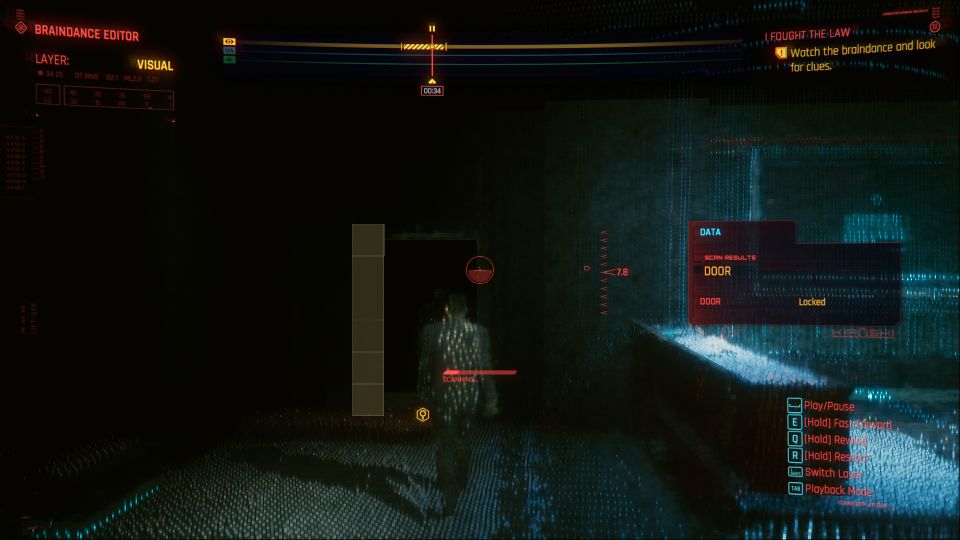
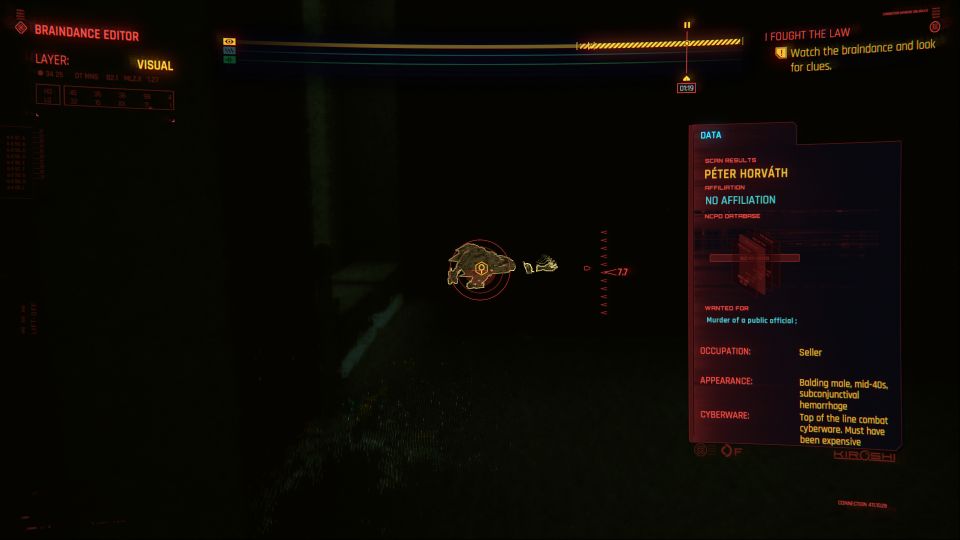
The third one is Peter Horvath, the cyberpsycho.
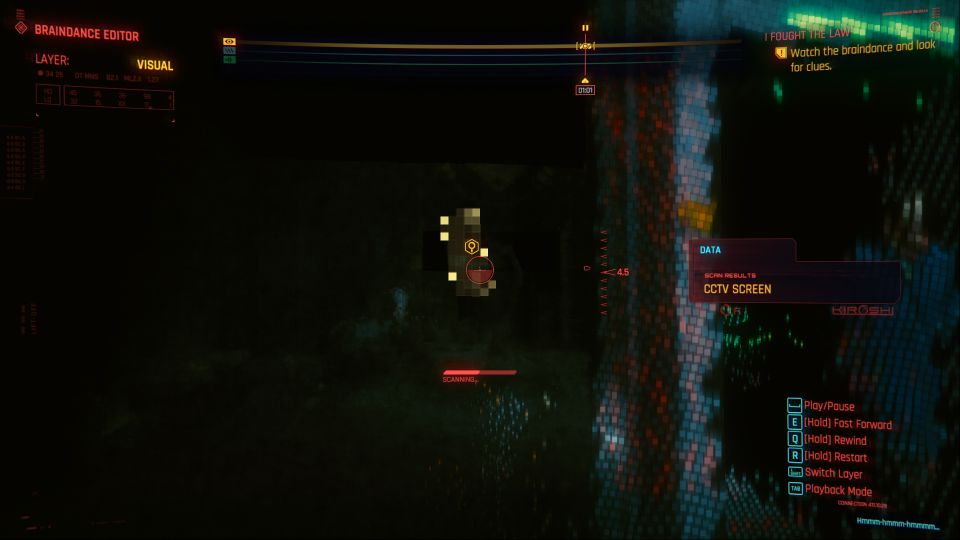
Fourth is the CCTV screen at the time Peter walks into the conference building.
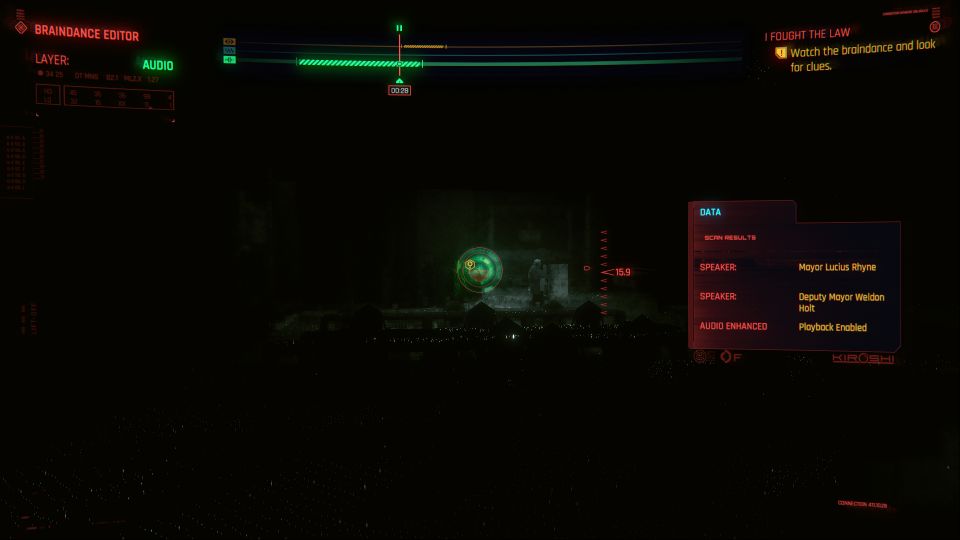
Audio layer
As for the audio layer, one is at the conference itself.
The other is the phone call that Peter Horvath had.

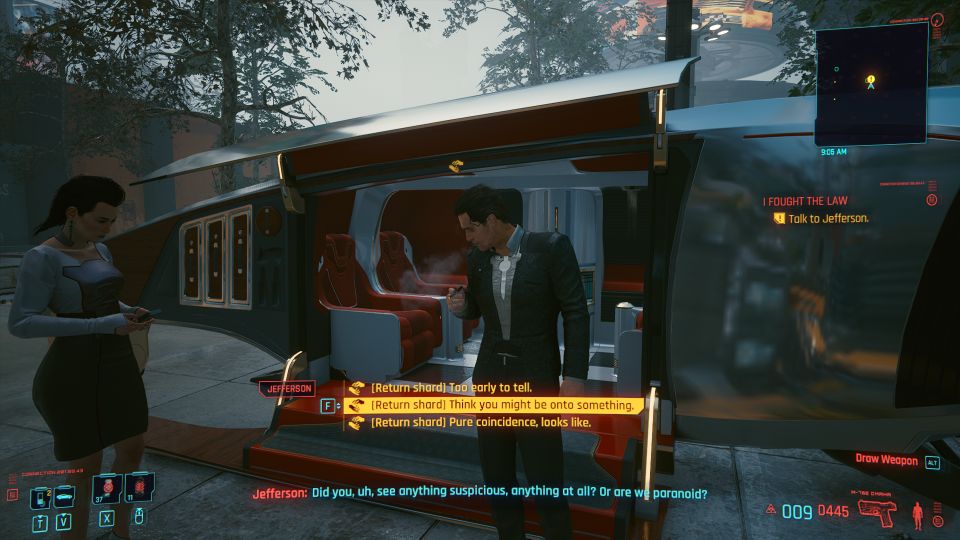
After the braindance, you can tell him what you found. I personally chose “think you might be onto something”.
Call Detective Ward
Jefferson will give Ward’s number to you.
Call him on the phone.
Meet with Ward
You can meet him at Chubby Buffalo’s in Heywood. The location is marked on the map.

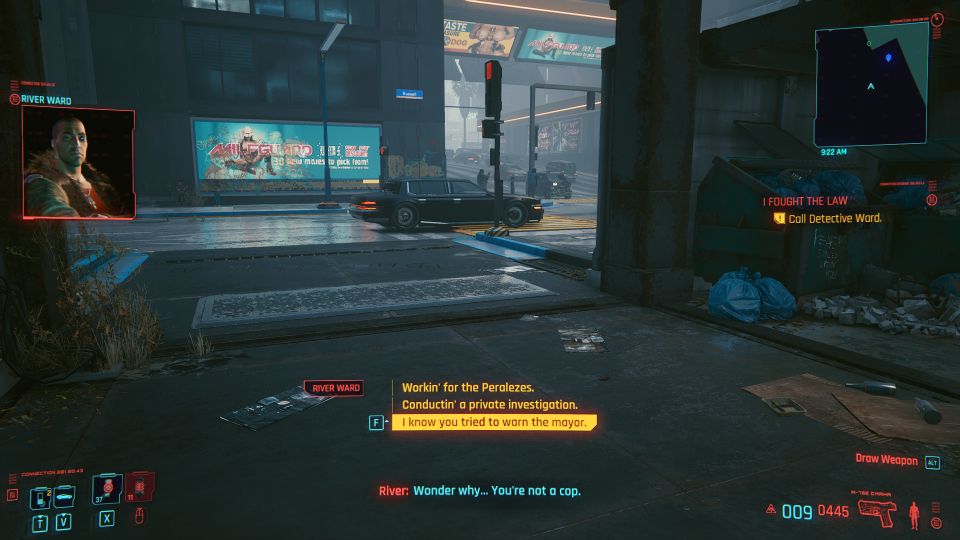
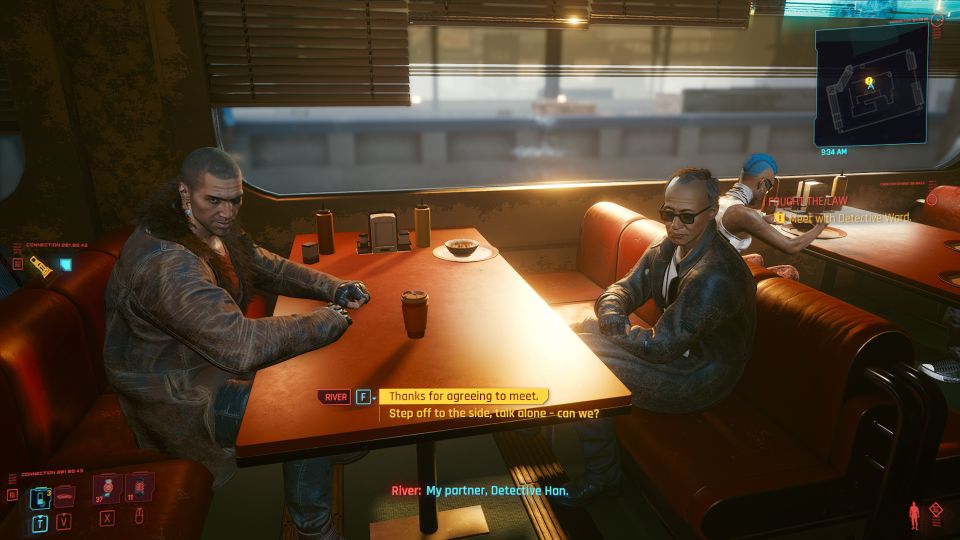
Enter the diner and you’ll see Ward River with another person named Detective Han.
Talk to him to discuss the matter.
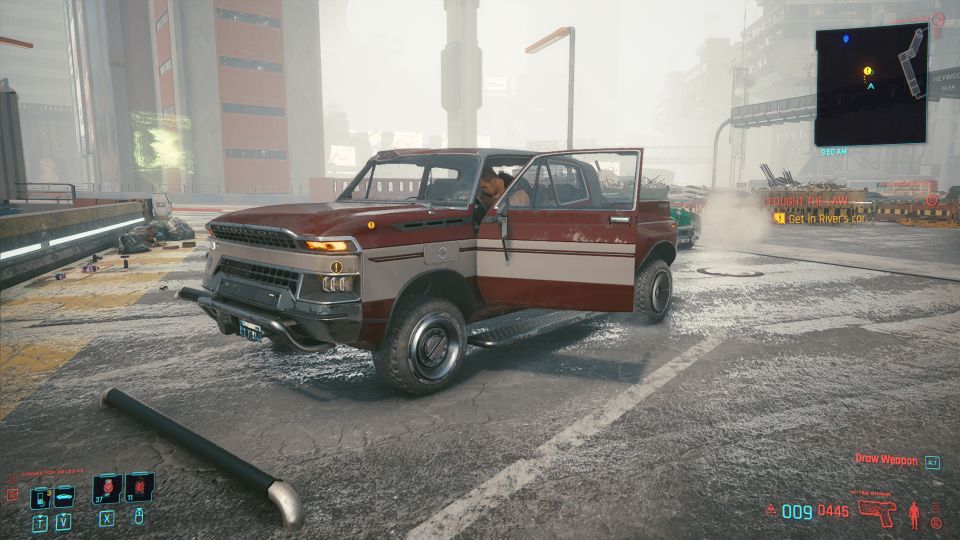
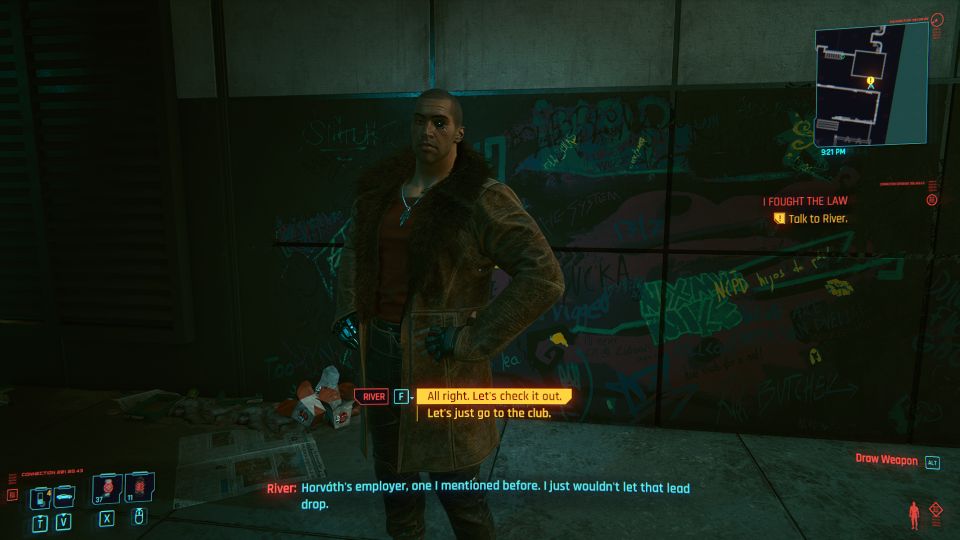
Get in River’s car
Follow River to his car to continue the conversation.
Get to his CI or Horvath’s employer first
Whichever you choose, you should be able to do both.
So it may not matter for now.
Meet Neil
I chose to meet River’s CI (informant) first.

Enter the building and tell Neil that Igor sent you.
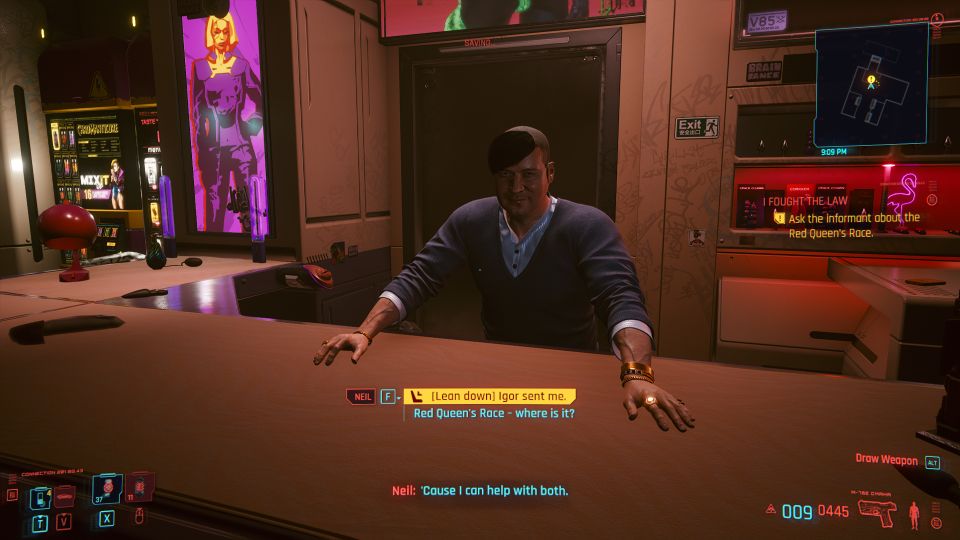
He will then run away.
Chase after him and he’ll eventually get stopped by River.

After getting information, you can choose to go to the club or go to the market to meet Horvath’s employer first.
I chose to go to the market which is optional. The employer won’t have any good leads.
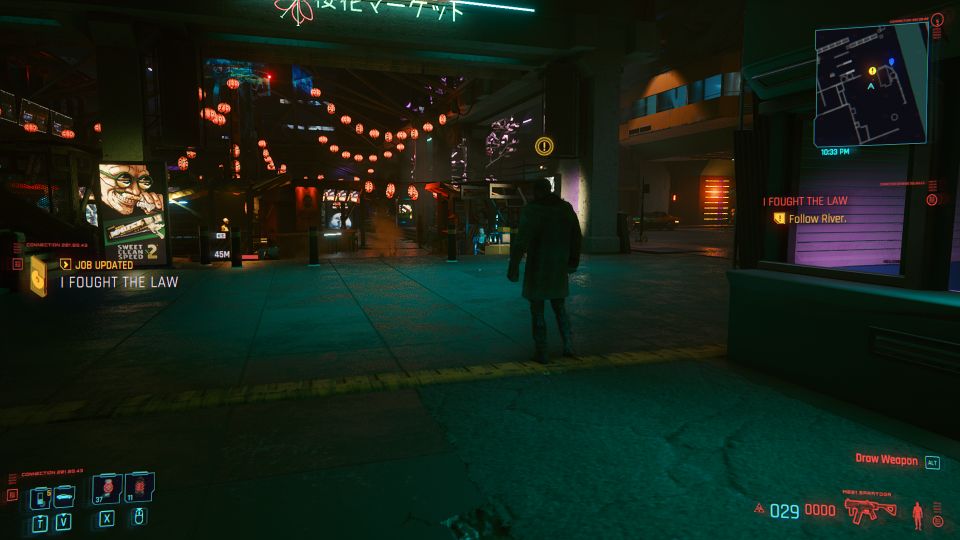
Get to the market
Follow River in his car and he’ll bring you to the market.
Get down from the car and follow him.
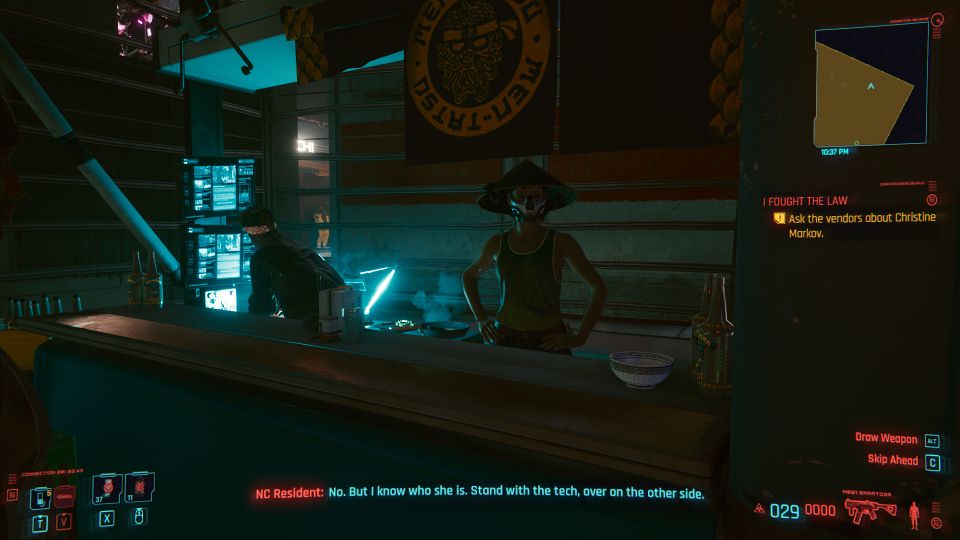
Ask the vendors about Christine Markov
Head towards the right side and ask the vendor about Christine.
She’ll then give you Christine’s location.
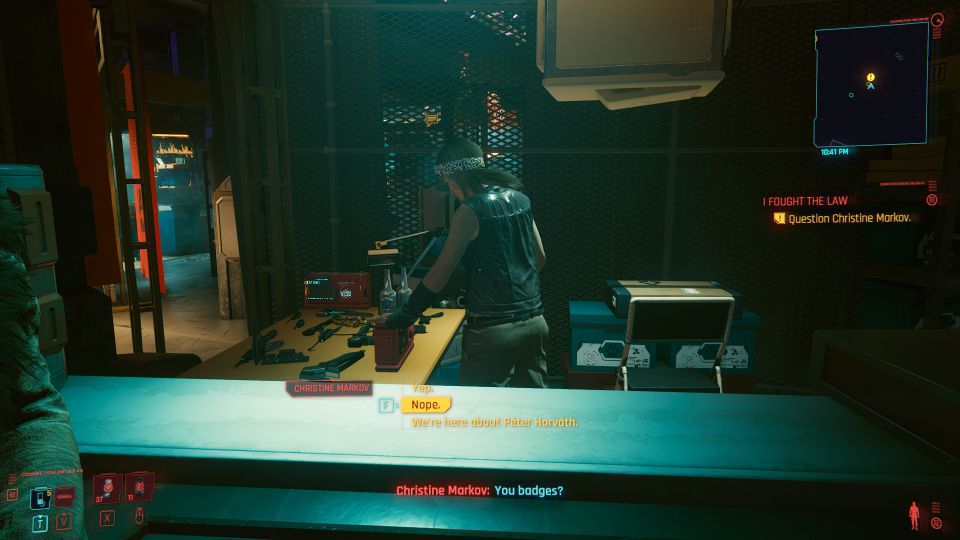
Talk to Christine Markov
Head to the location provided and question Markov. She won’t have any good leads.
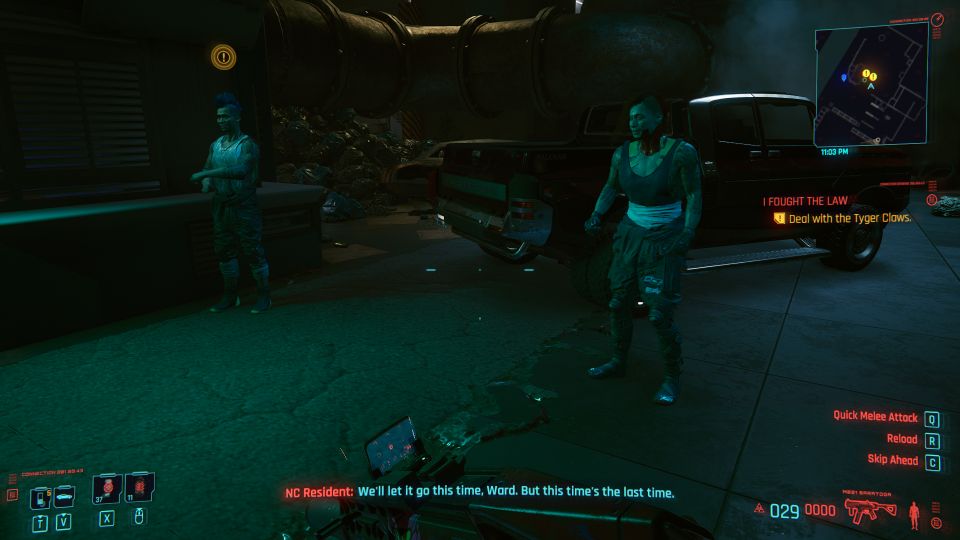
Deal with the Tyger Claws
After heading back to the car, you’ll see Tyger Claws thugs waiting.
You can get them to stand down if you choose “Gentlemen, please”.
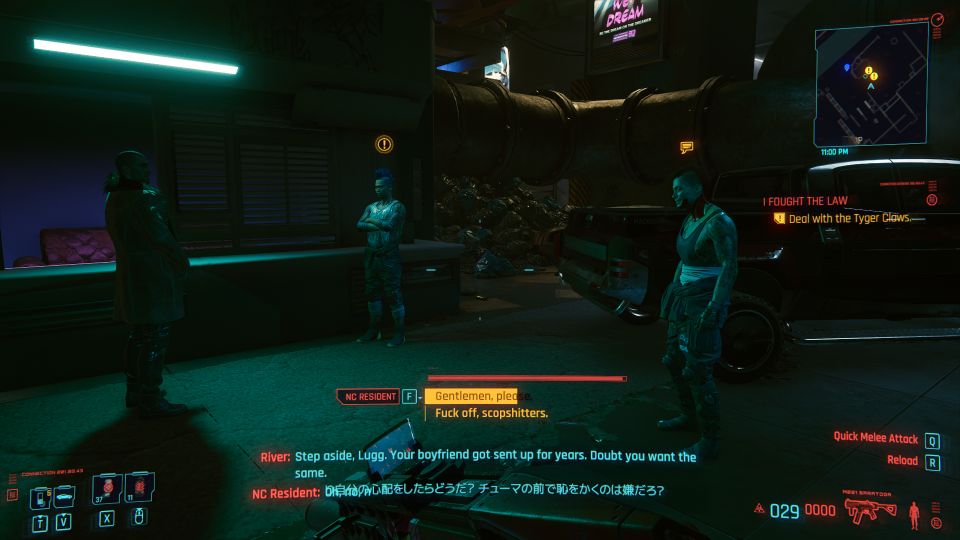
Next, just jump on the spot and they’ll be satisfied.
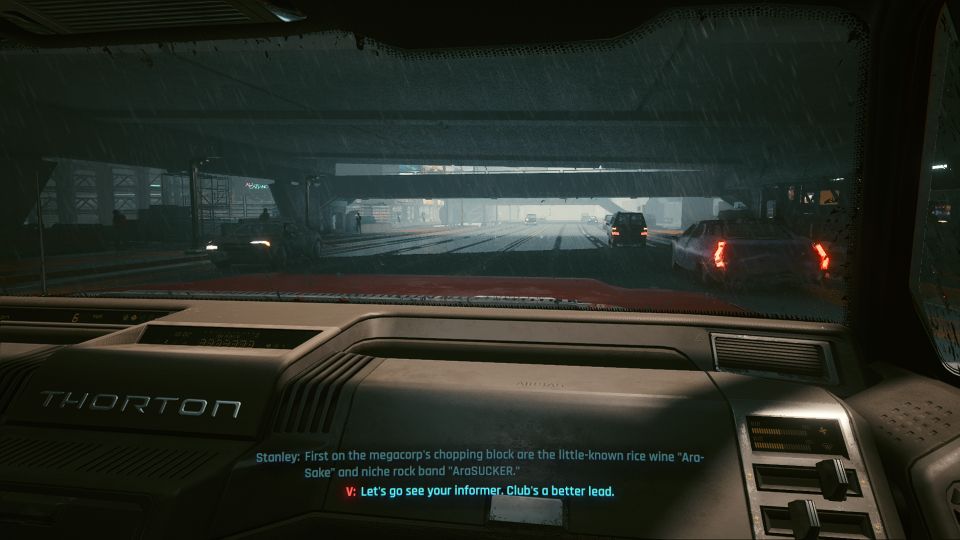
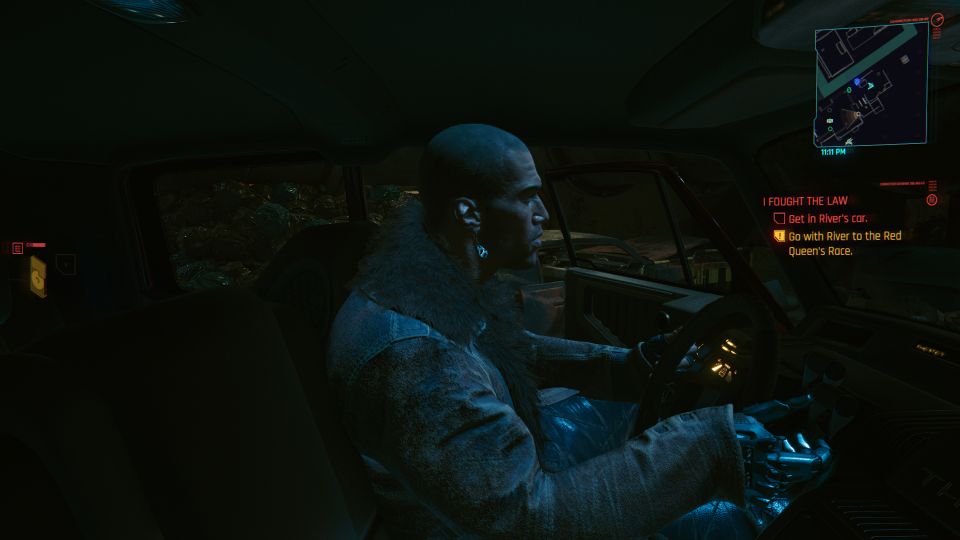
Get to the Red Queen’s Race
You can now choose to follow River straight to the Red Queen’s Race club.
Enter the warehouse
You can enter the warehouse from either the front gate or the side.
The front gate has an Animals’ member though.
If you go to the side, you need level 6 Technical Ability to open the gate.
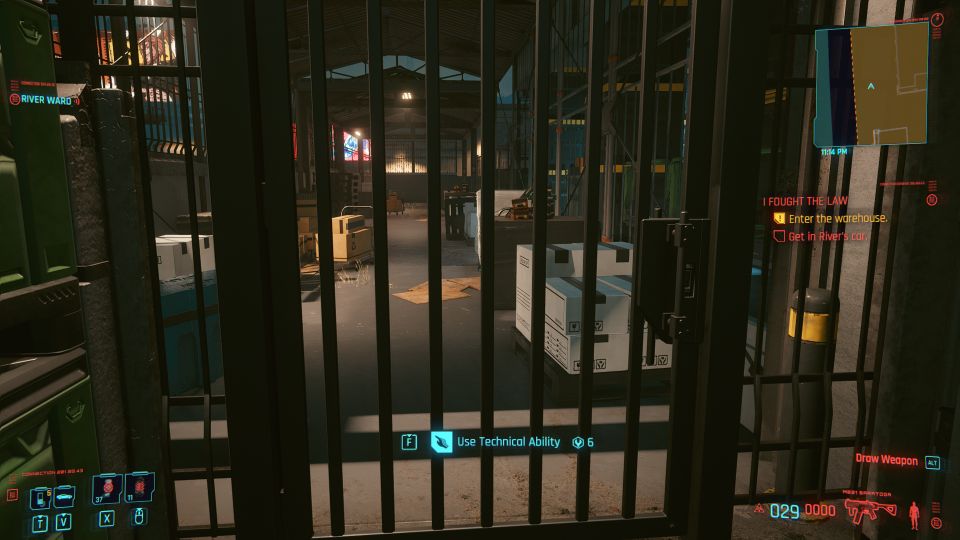
I used the side way. Climb up to the top and you can enter the warehouse.
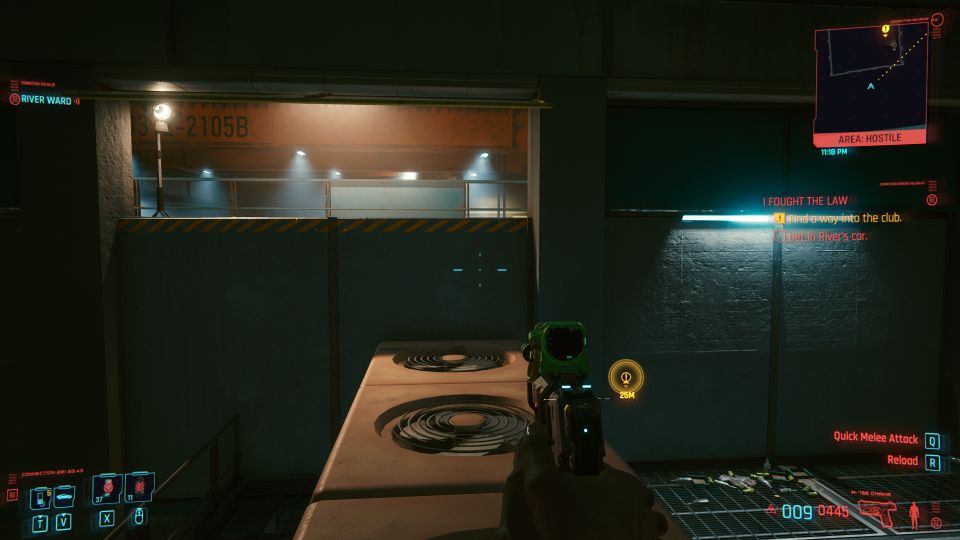
Find a way into the club
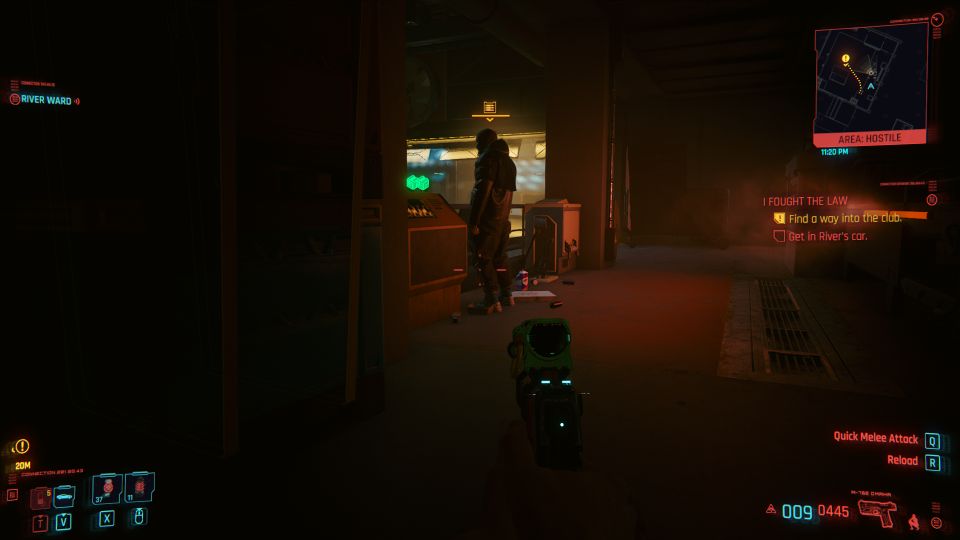
Once you’re in, you will see a few enemies. You can take the first guy down quietly.
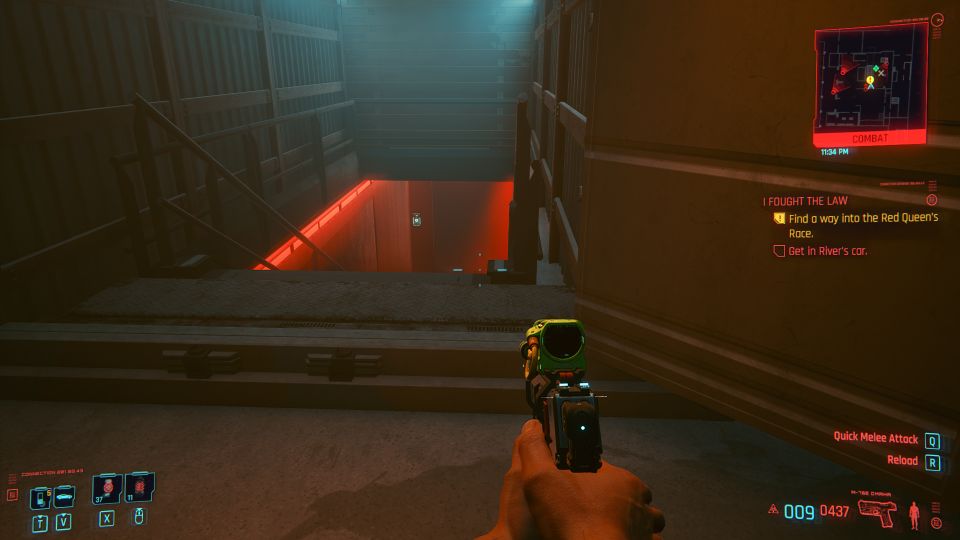
Head down and you’ll see more thugs. The entrance to the club is inside the container.
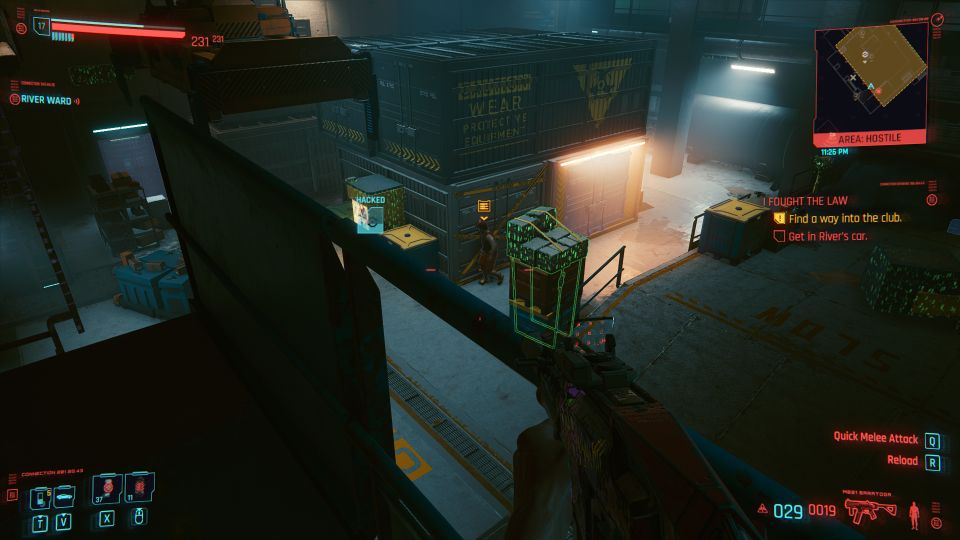
Once the container door is open, you can walk downstairs.
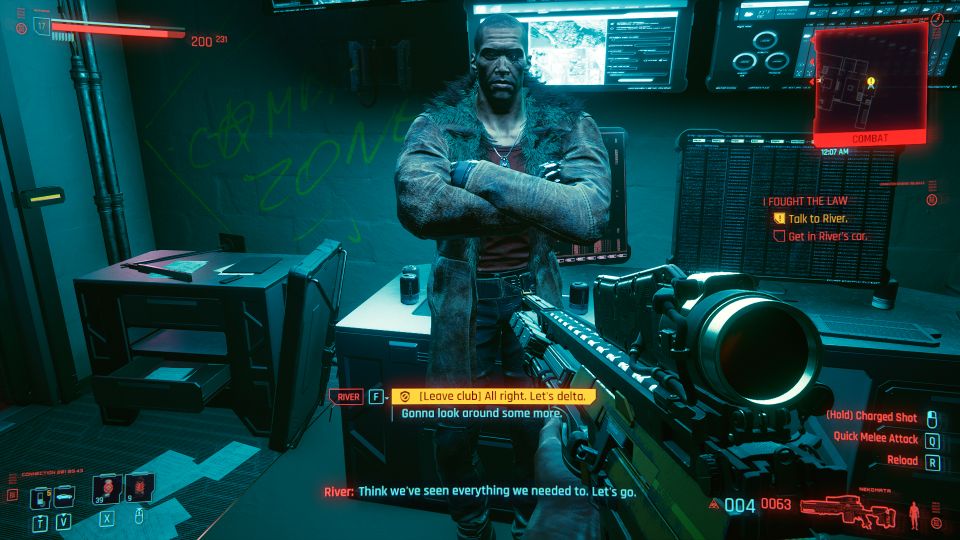
Incapacitate the Animal boss (optional)
Once you’re in the club, you will come across many Animal members. There’s also an optional objective to defeat the boss.
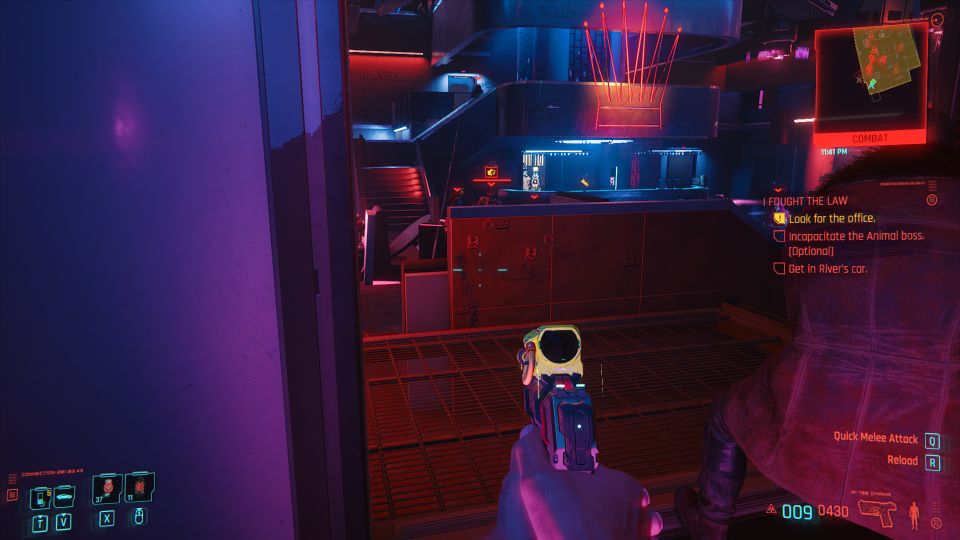
Check the computer
The main objective now is to find the office.
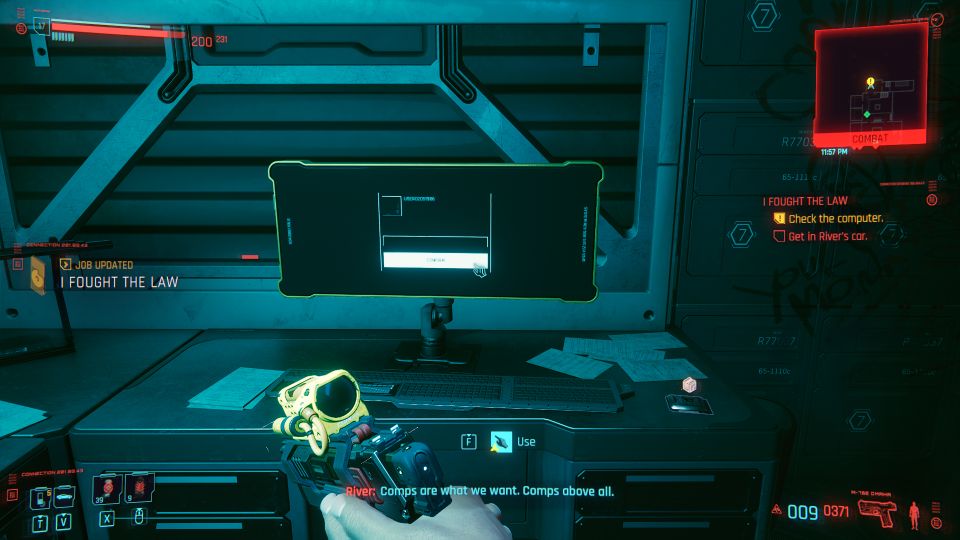
Once you’re in the office, use the computer to find data.
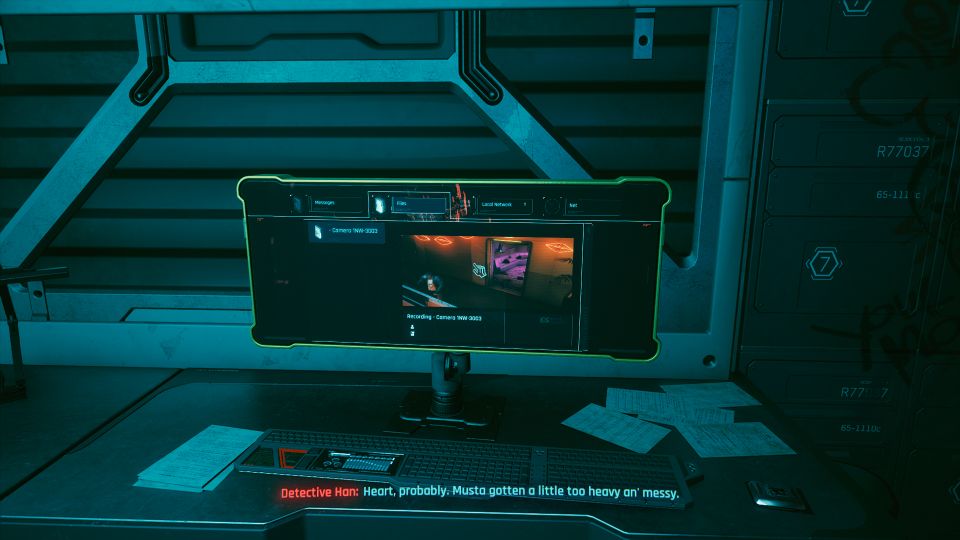
Open the “Files” tab and you’ll see a video. Watch the video and you’ll see Detective Han involved.
Talk to River
Next, you can either leave the club or continue to explore first.
In a room beside the office, there’s actually a BD that you can use, but it will almost kill V.
That’s how you’ll know how Rhyne was killed — by a BD virus.
Confront Detective Han
Next, meet up with Detective Han at the diner.
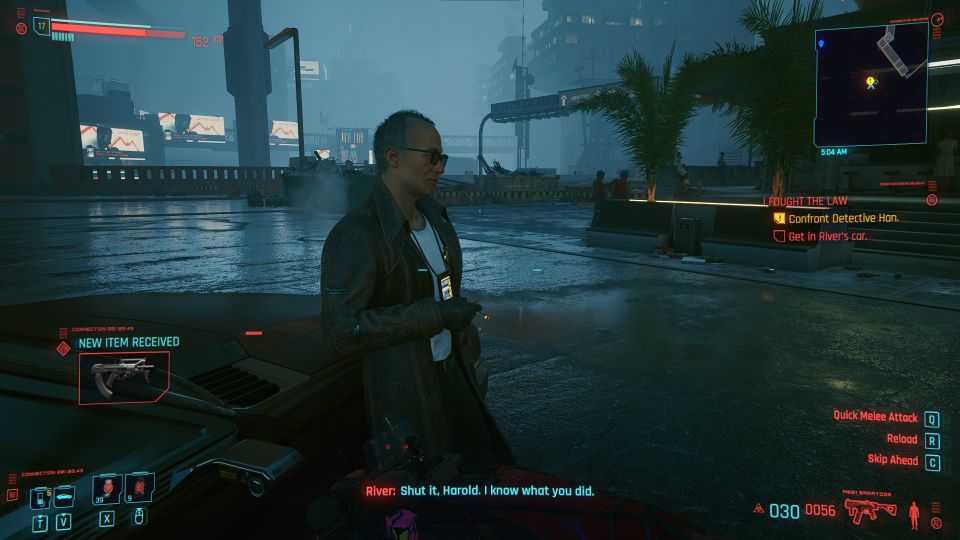
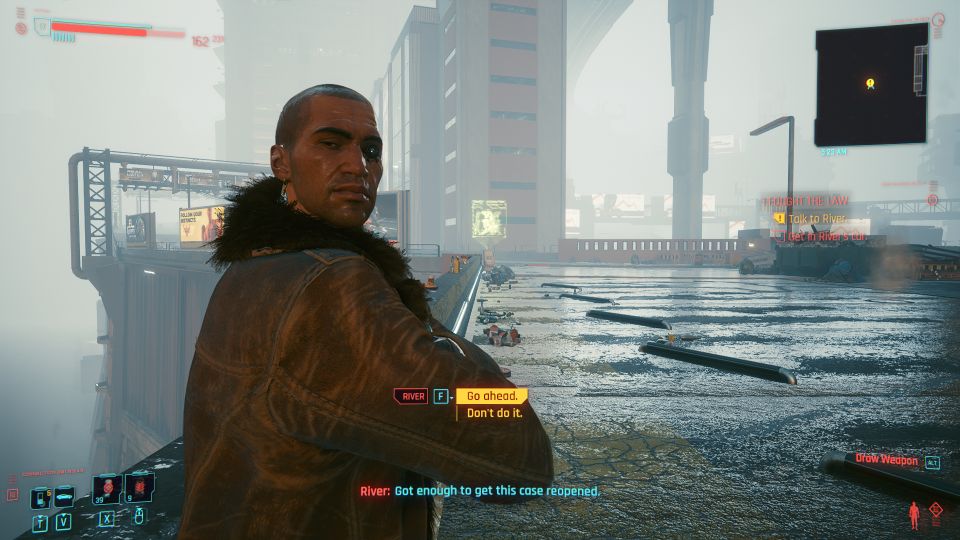
He will admit to the wrongdoing but River can’t do anything to him.
You can choose to either ask River to go ahead and report to Internal Affairs, or not to do it.
I chose to ask him to go ahead. I’m not sure if there’s actually a choice.
Call Elizabeth
Once you’re done, call Elizabeth Peralez.
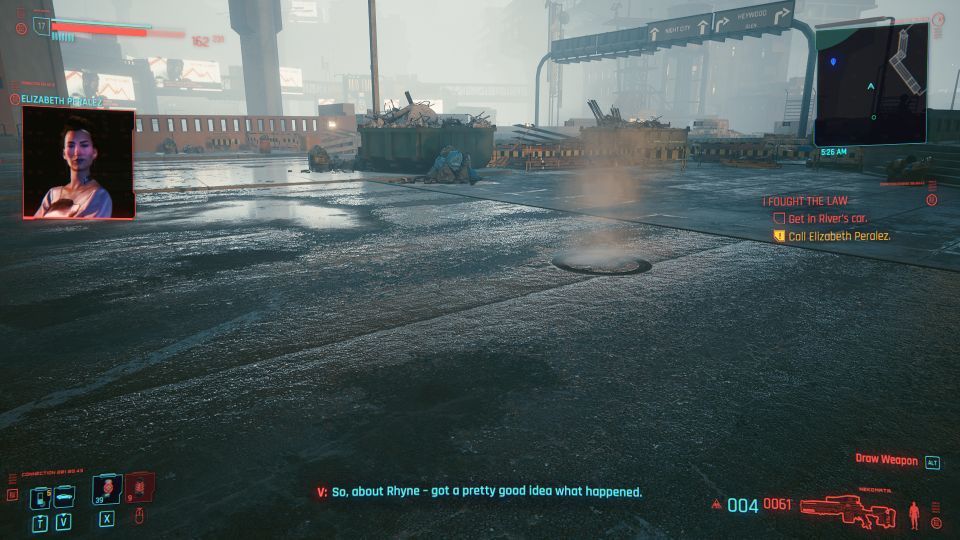
She’ll ask you to meet at her apartment. Get to the location marked on the map, in Charter Hill.
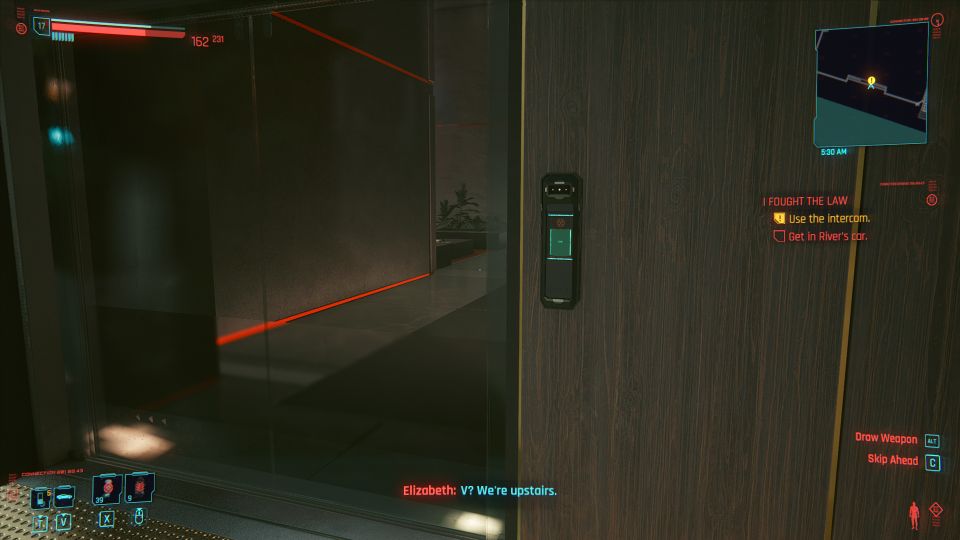
Enter the apartment
Use the intercom to gain access to the apartment.
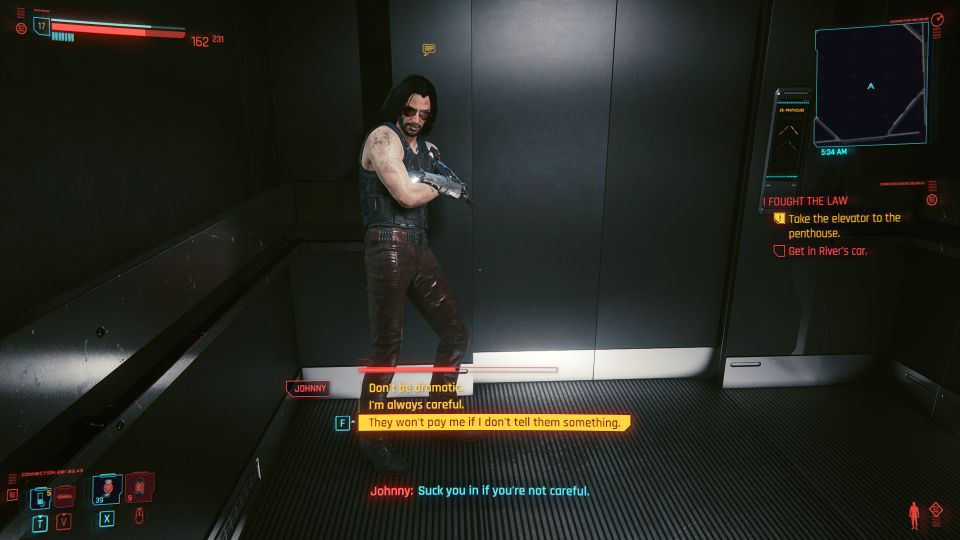
Inside, use the elevator to go to the penthouse.
When you’re using the elevator, Johnny will appear asking you not to proceed with it.
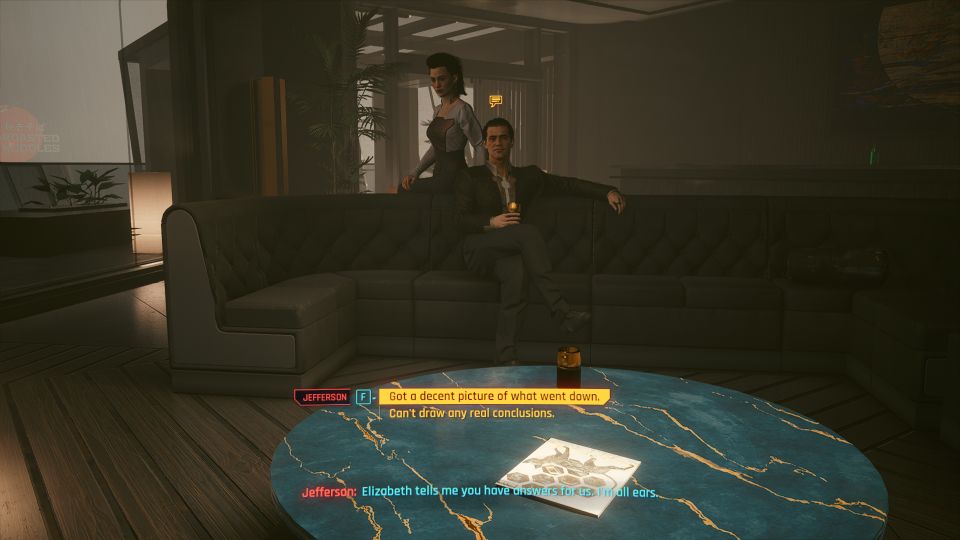
Talk to Jefferson
Finally, speak to Jefferson.
I chose the following options:
- Got a decent picture of what went down.
- Rhyne was murdered by BD.
- Police are on it.
Jefferson will be happy and you’ll get paid. The mission ends here.
At this point, I’m not sure if this affects any future job, especially since there was an option to say can’t draw any real conclusions.
Related posts:
Cyberpunk 2077: These Boots Are Made For Walkin’ Walkthrough