Gimme Danger is a main mission / job in Act 2 of Cyberpunk 2077.
Your objective is to make plans with Takemura and sabotage the float.
Here’s a walkthrough of Gimme Danger in Cyberpunk 2077.
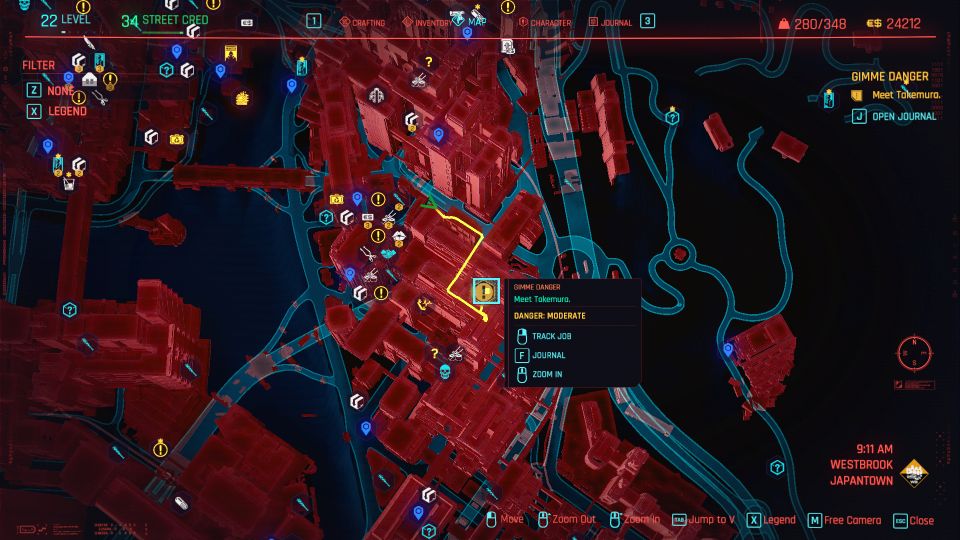
Meet Takemura
Takemura will still be in Japantown. His location is provided in the map.
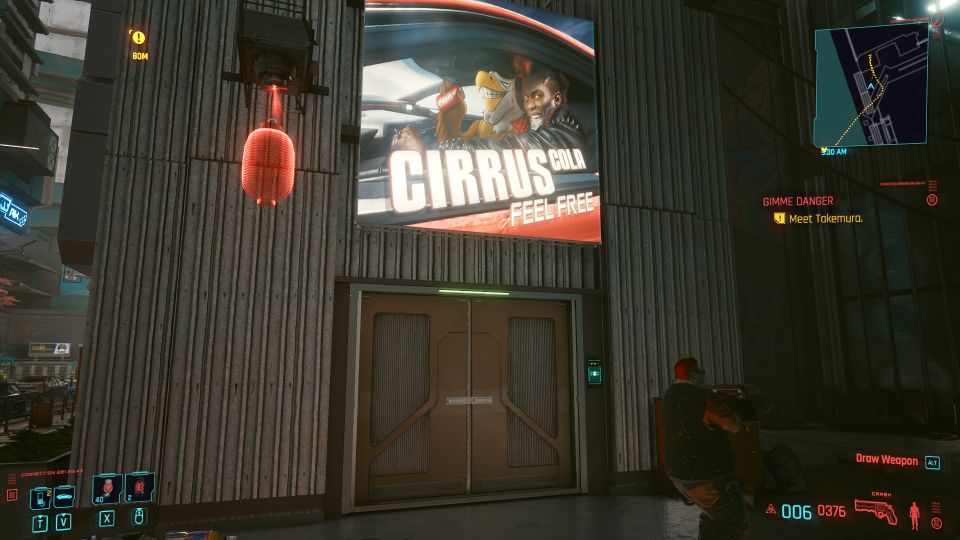
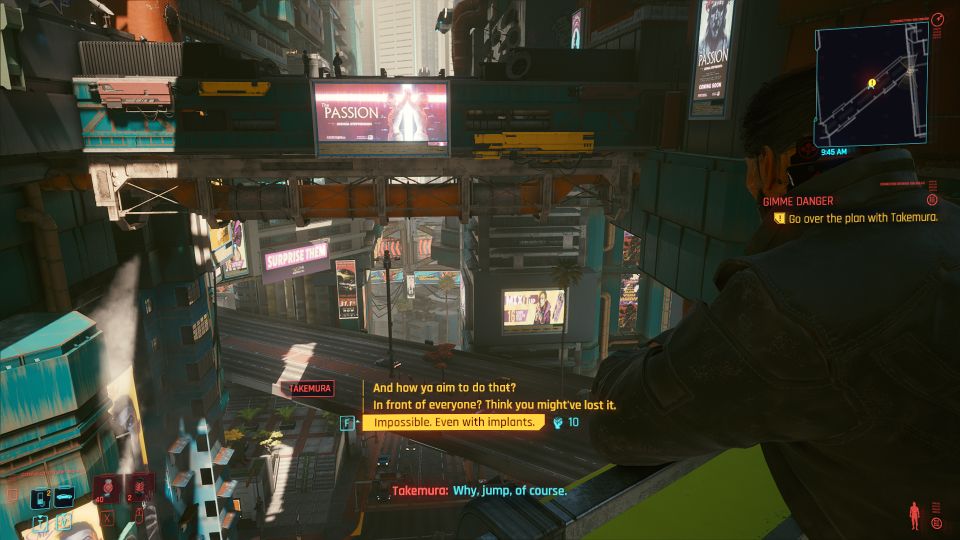
To get to the bridge up there, you need to use the elevator. You can use the elevator shown in the image below.
You will then see Takemura talking to some cops. Speak to him to go over the plan.
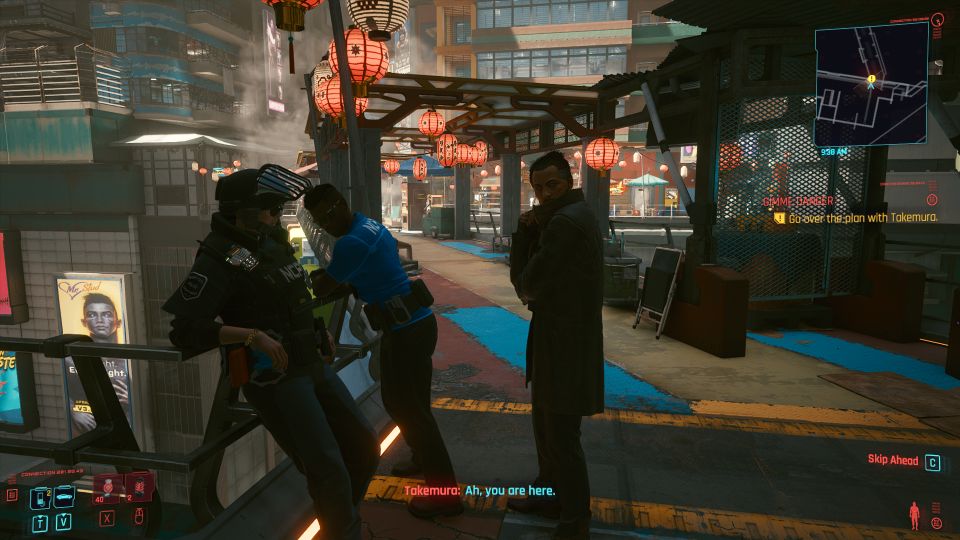
Go over the plan
Continue to go over the plan with Takemura.
Break into the security room
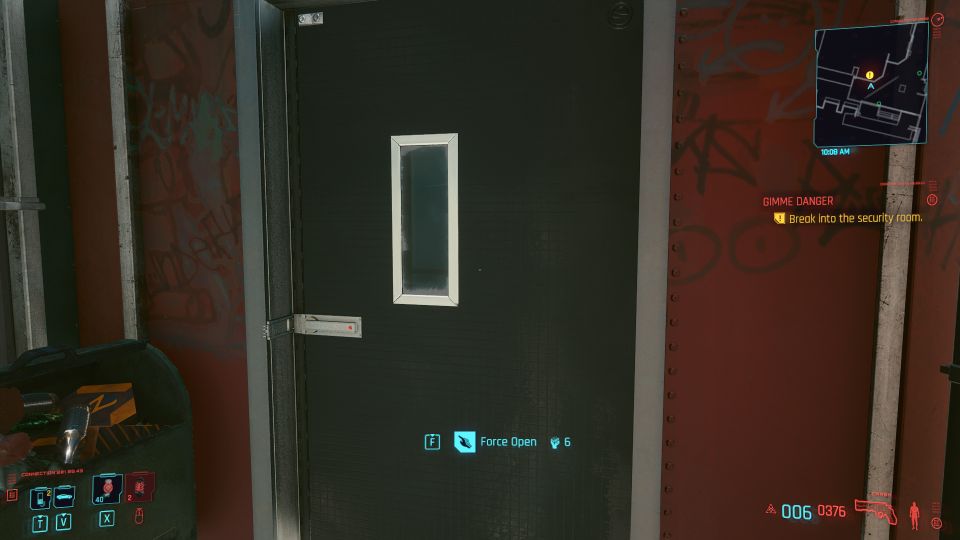
To test a shard Takemura just acquired, you have to break into the security room nearby.
You can force open the door with just level 6 Body. Without level 6 Body, you can apparently use a dumpster to the left and climb to the top (and then jump into the room).
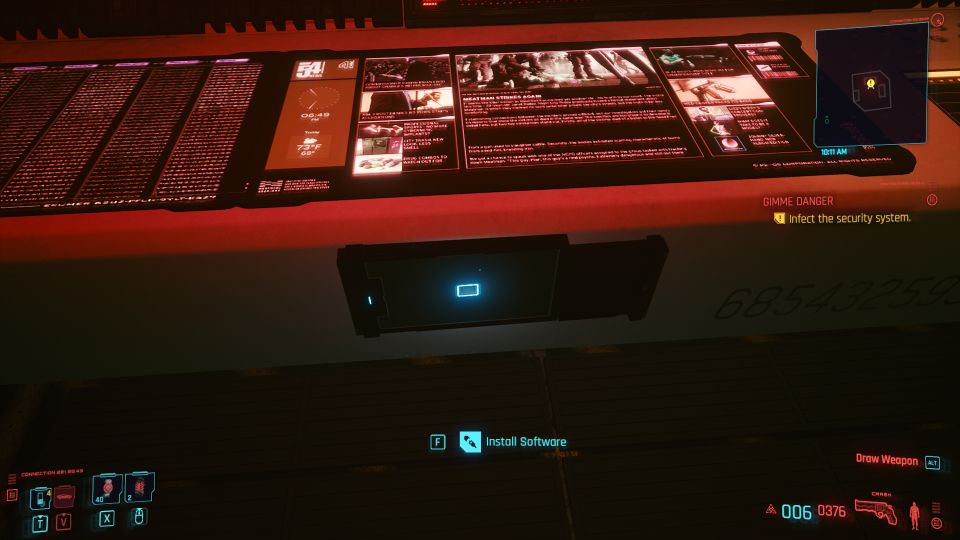
Get to the computer and install the software. You’re done here.
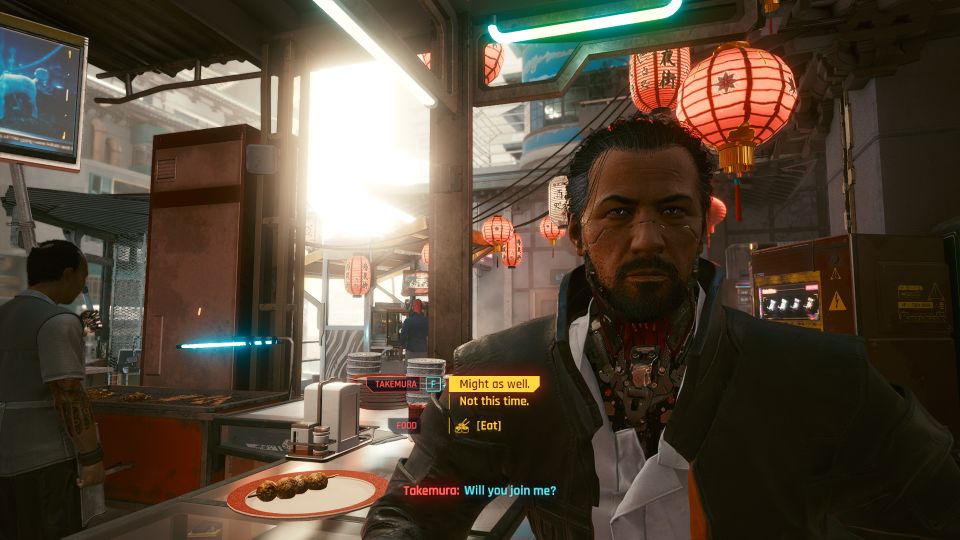
Return to Takemura.
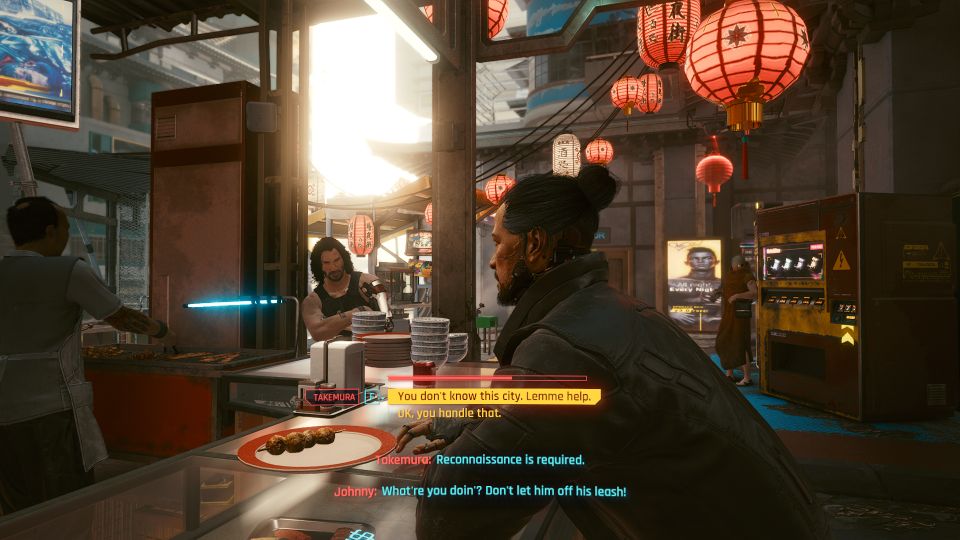
He will then invite you for some food.
Help Takemura or ask him to handle
I chose the first option “You don’t know this city. Lemme help”. Johnny seems to advise that you don’t let him get away.
Takemura will then agree and ask you to join him. You can choose to join him immediately and you’ll spawn at the location.
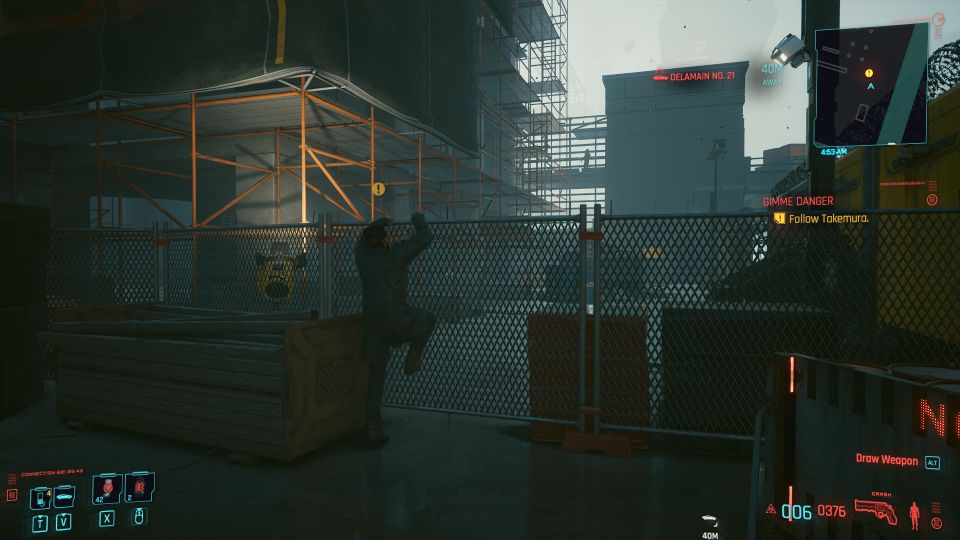
Follow Takemura
Now, just follow him to the top of the building.
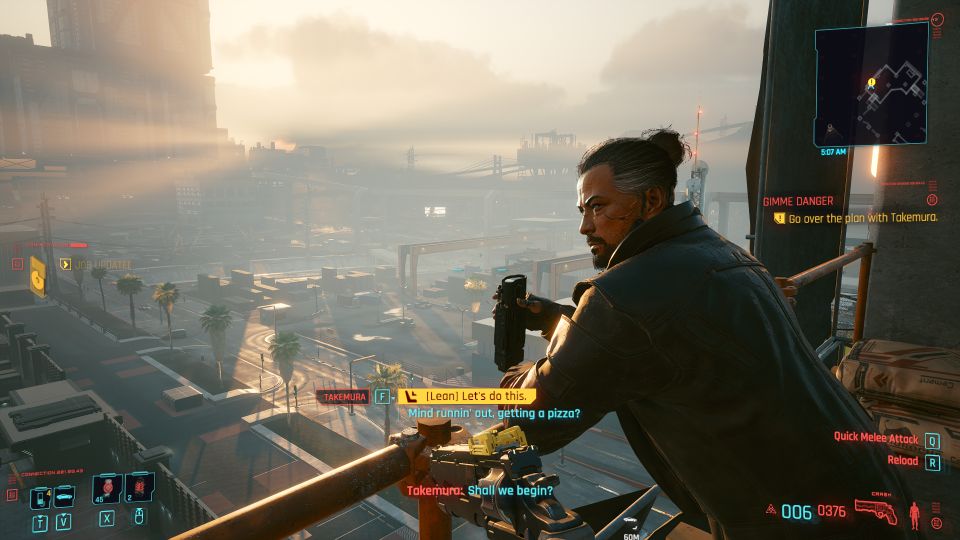
Go over the plan
Once again, go over the plan with Takemura.
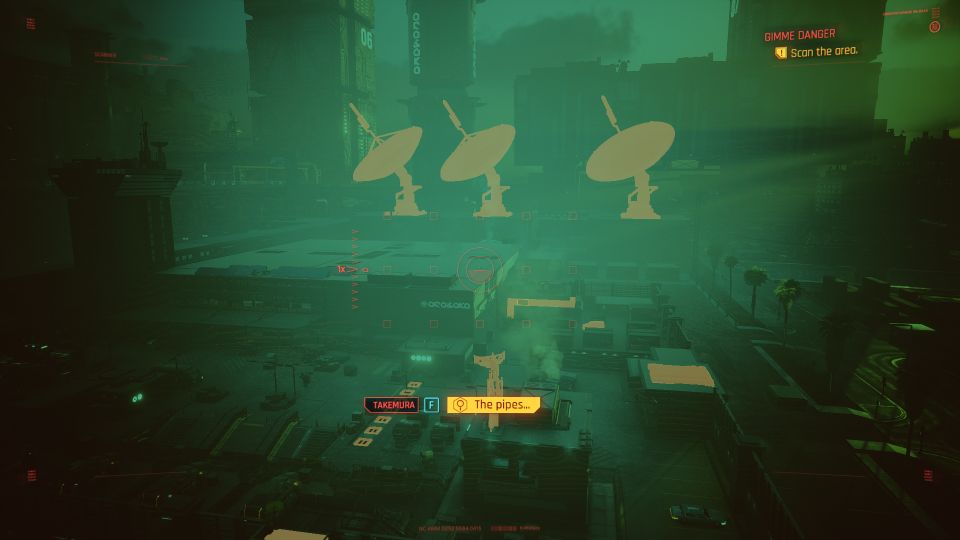
Here, you simply need to scan the area. You’ll be the one who has to enter later.
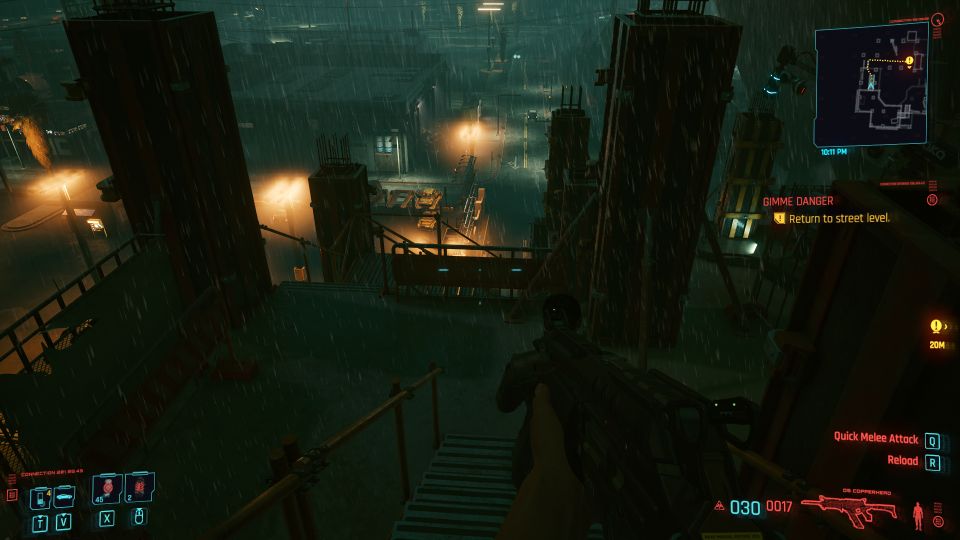
Return to street level
After all the conversation and when the time is up, go down to street level to break into the Arasaka industrial building.
Break into Arasaka Industrial Park
I broke into the area using the second gate on the right side of the park, assuming you started from the construction tower earlier.
This side only has 1 camera and 1 guard at the front.
I used short circuit and overheat on the guard, and disabled the camera. The others weren’t notified.

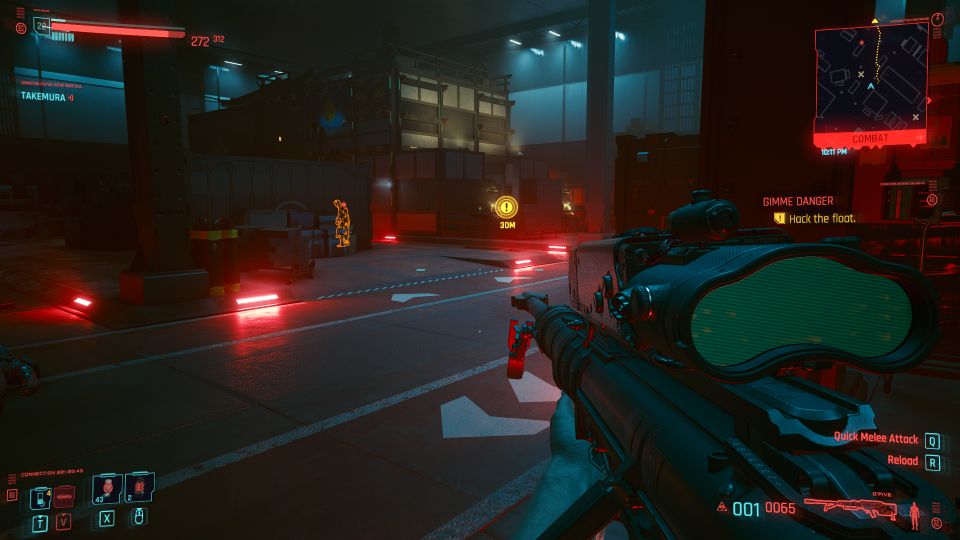
Sneak inside and you’ll see a mech. To get into the warehouse, I walked past the mech leaning towards the right side.
You can distract the guards by hacking the lights.

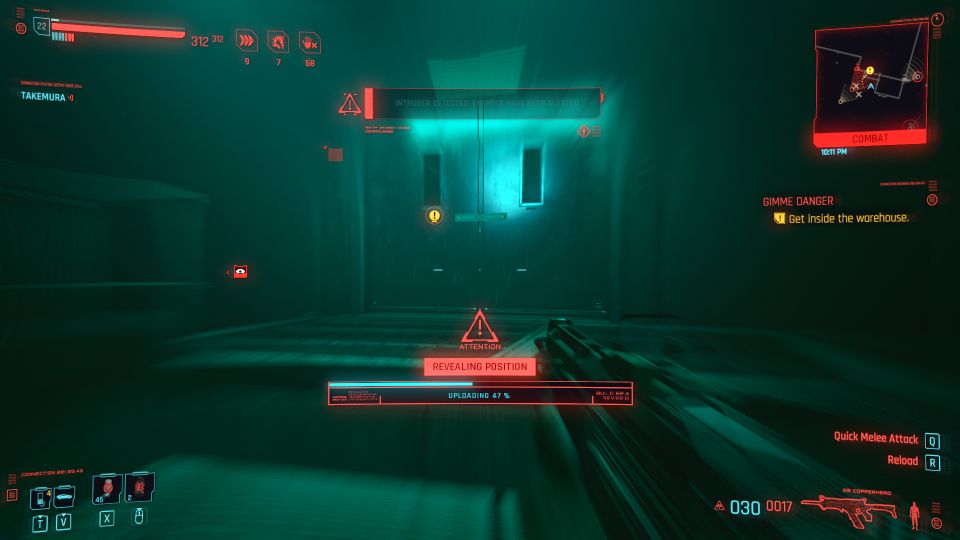
The warehouse door is open but there are many guards looking at it.
You can just rush in but they’ll definitely see you. Luckily, the mech and the guards won’t follow inside. However, there are guards inside the warehouse.
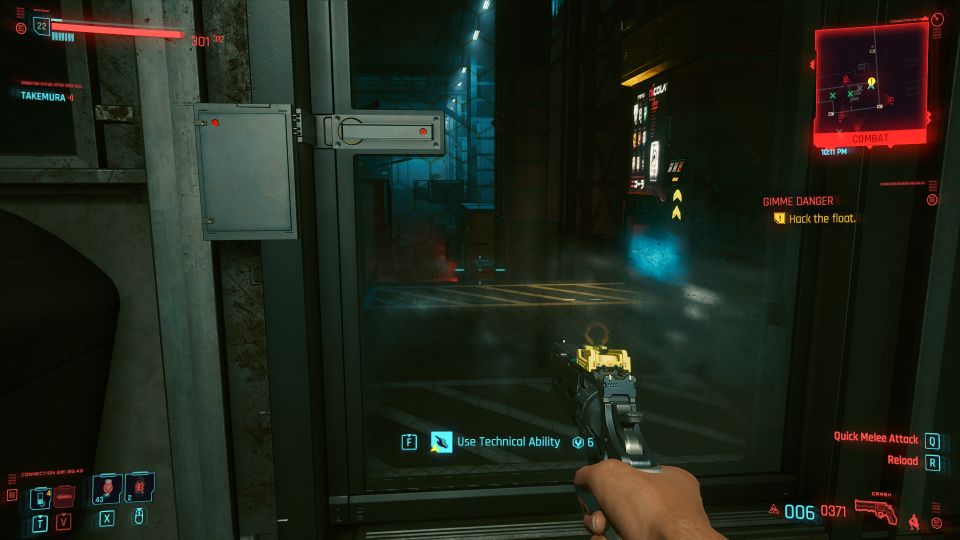
Hack the float
Once you’re in, head upstairs and take out the guards. You can open the door that leads to the floats using level 6 technical ability.
Once inside, just go all the way to the marked area.
Install software into the computer and you’re done here.

Leave the building
To leave the building, just go to the marked area. Climb up to the top and use the rooftops to get out.
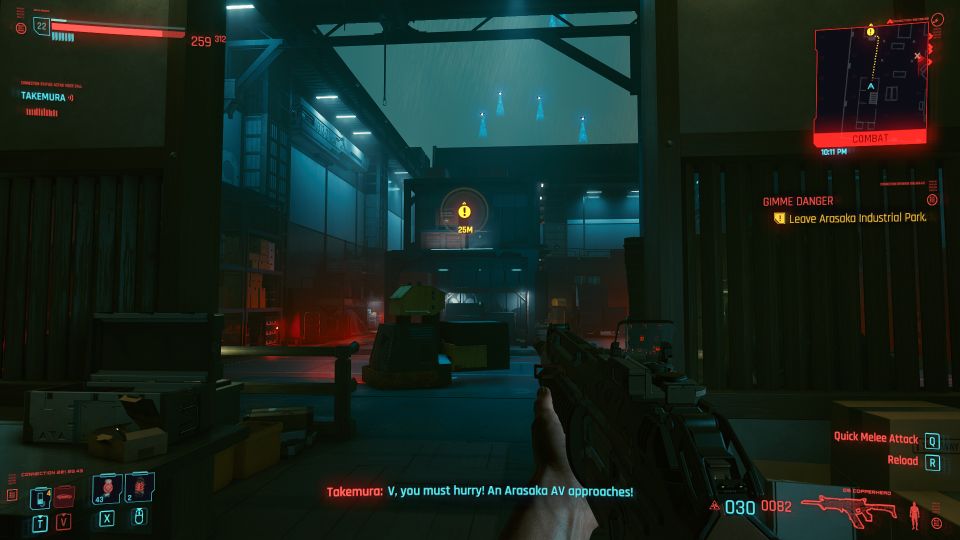
The mission ends here.
Related posts:
Cyberpunk 2077: Down On The Street Walkthrough