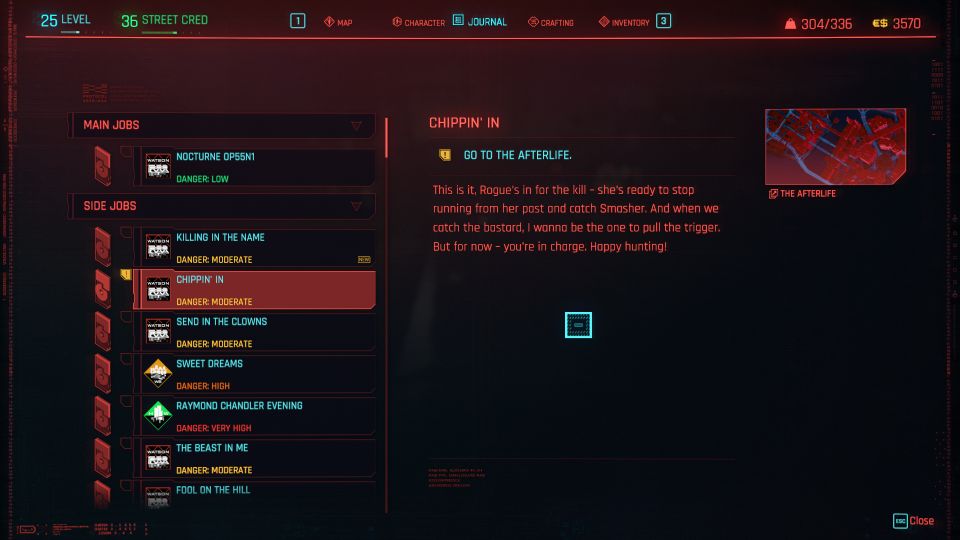
Chippin’ In is a side mission / job available in Act 3 of Cyberpunk 2077.
Your objective is to meet up with Rogue to find Adam Smasher.
Here’s a walkthrough of Chippin’ In in Cyberpunk 2077.
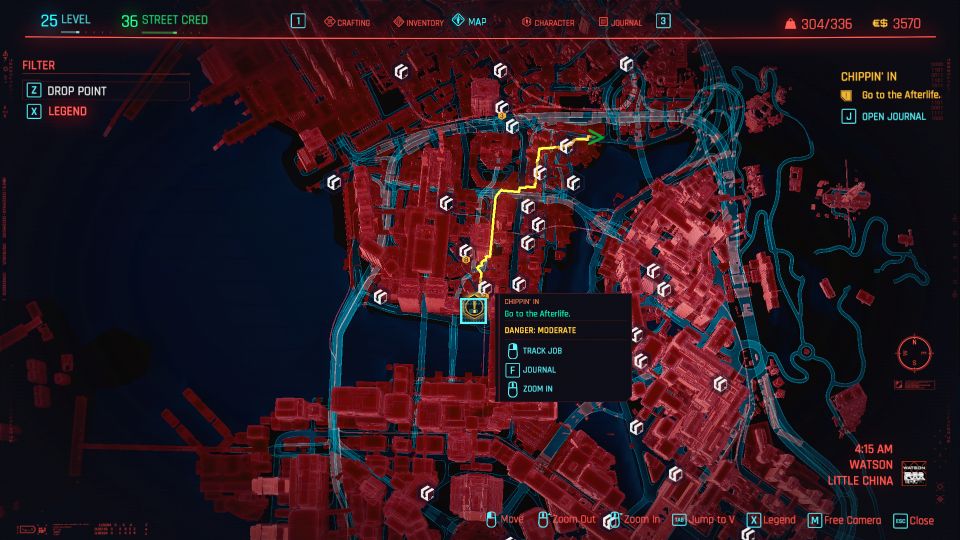
Go to the Afterlife
Head to the Afterlife club in Little China.
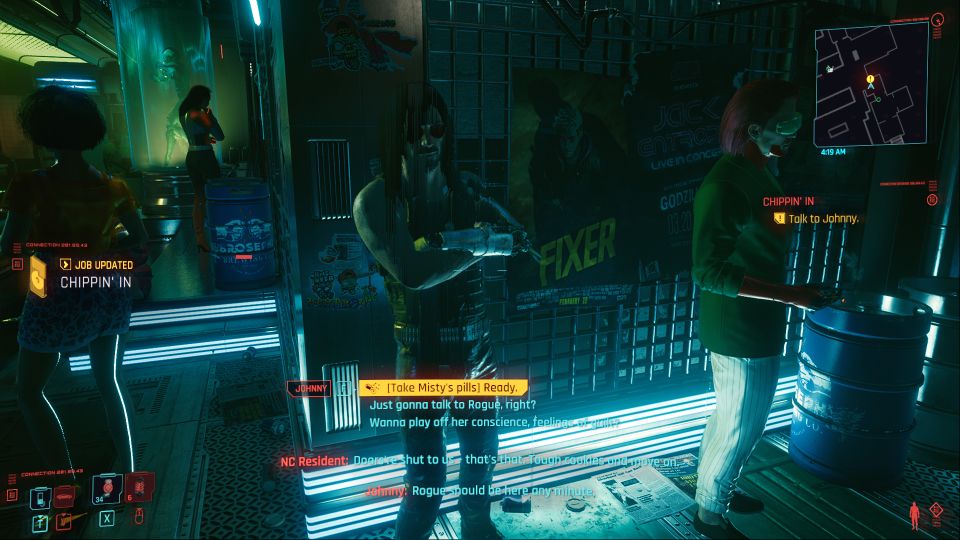
Talk to Johnny
Once you’re inside, talk to Johnny.
You have to take Misty’s pills to allow Johnny to take over.
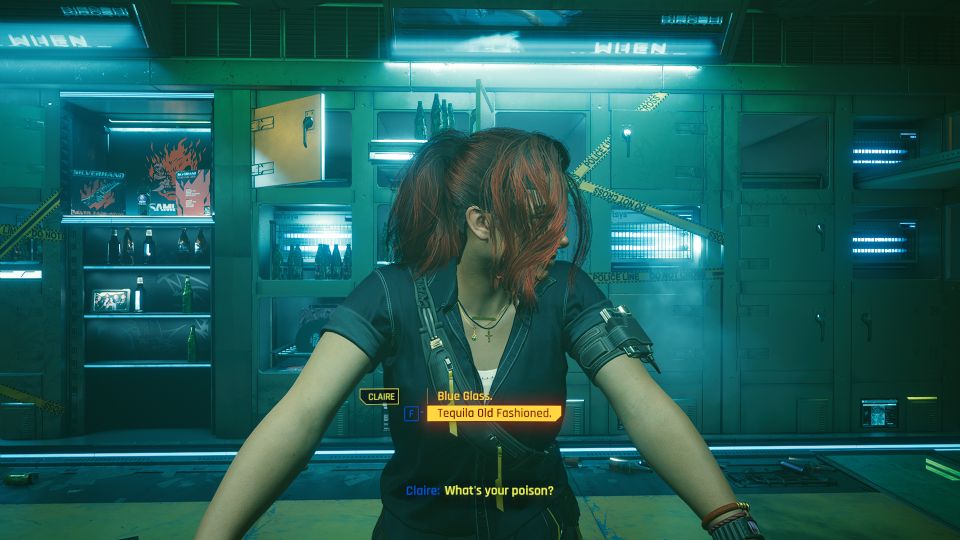
Play as Johnny Silverhand
The following scenes will be from the eyes of Johnny in V’s body. This is actually a separate job / mission.
Talk to Claire. If you choose Tequila Old Fashioned, it’s Johnny’s old drink.
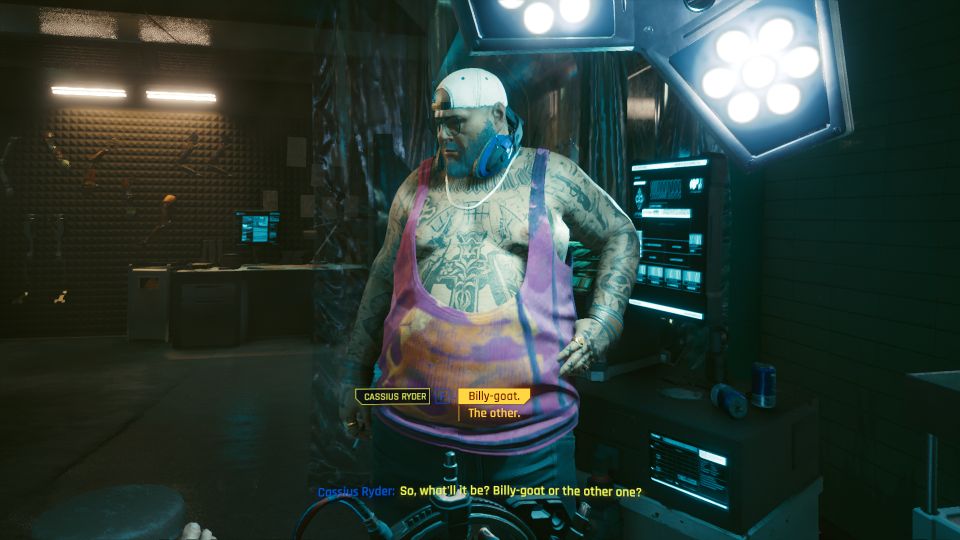
You will then meet Cassius Ryder. Here, you can choose between Billy-goat and the other. It’s a tattoo.
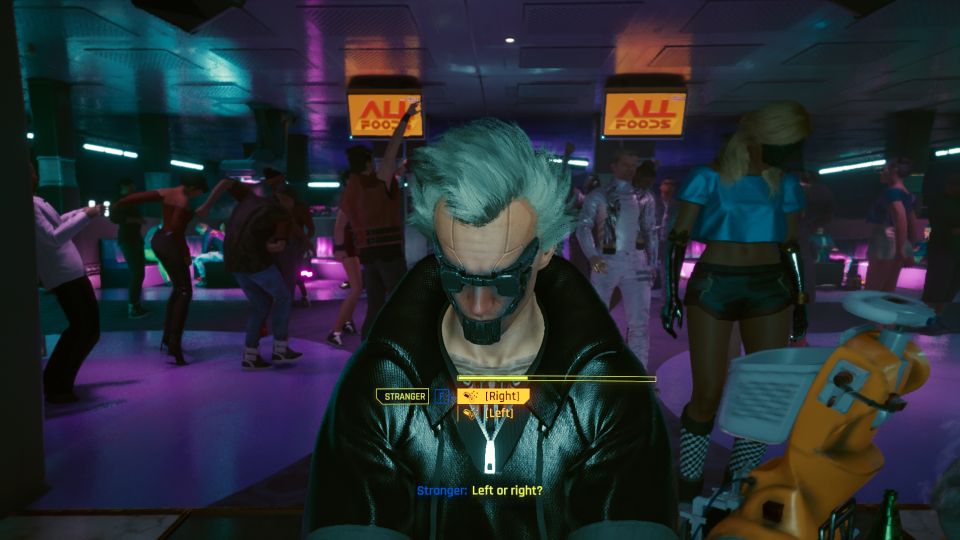
There’ll also be a reference to The Matrix where you have to choose between the red and blue pill.
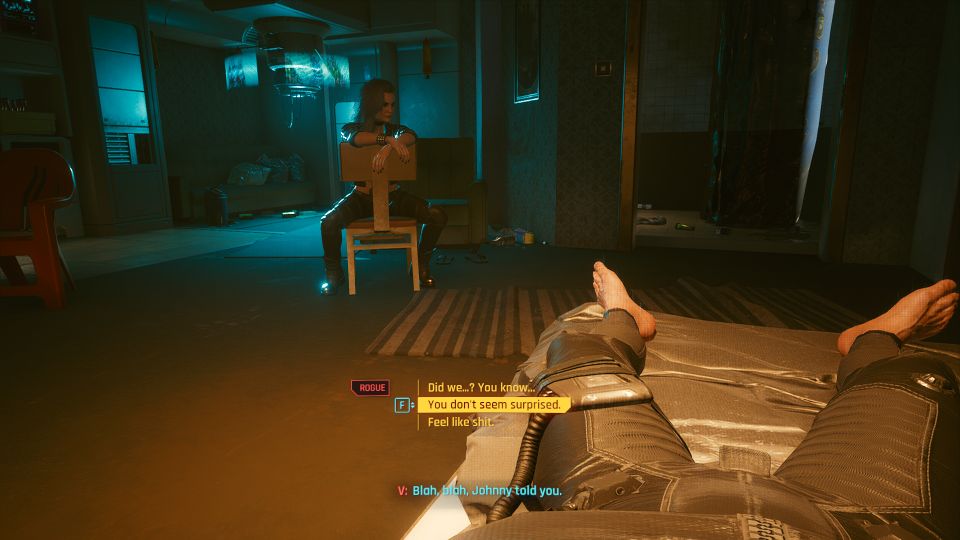
Then, you’ll somehow get entangled with some bouncers. I chose to punch them and get knocked out.

After the scenes with a prostitute, you will wake up as V again. You will meet Rogue here.
After this ends, you have to wait 1 day before Rogue calls. You can fast-forward time.
Meet Rogue
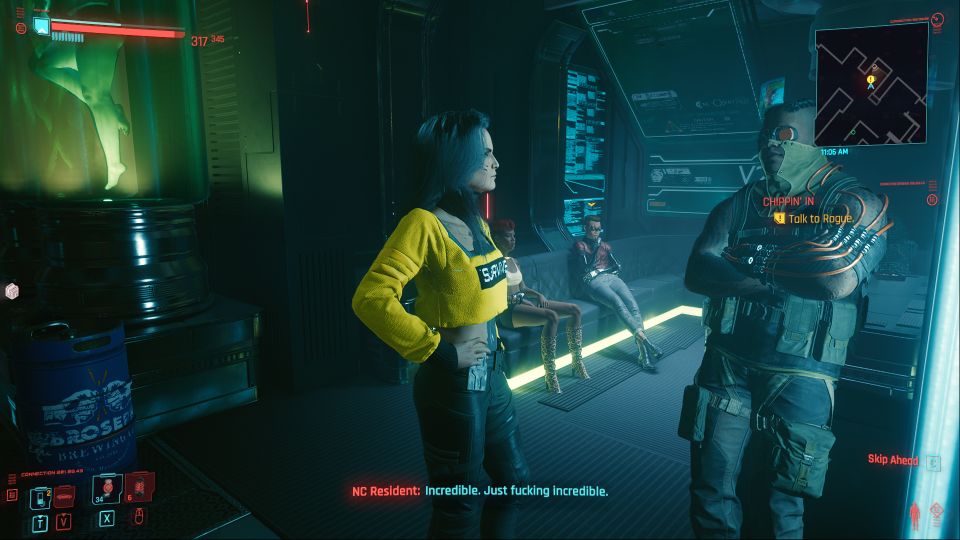
After she calls you, meet her at the Afterlife again.
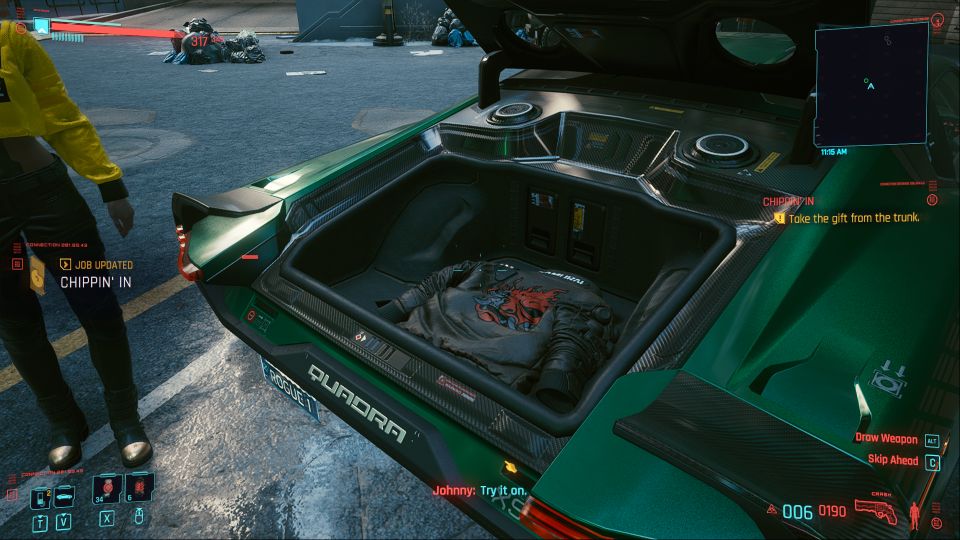
Take the jacket
Follow Rogue out. She’ll open the trunk and give a jacket to you. It says Samurai and belonged to Johnny.
It’s the same jacket as in the trailers.
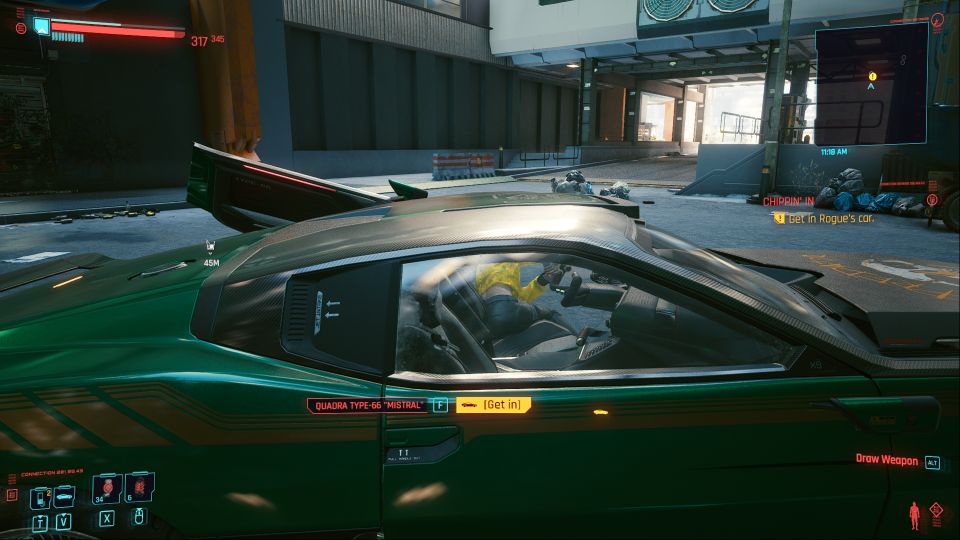
Get in her car
Enter the car and she’ll drive you to the location.
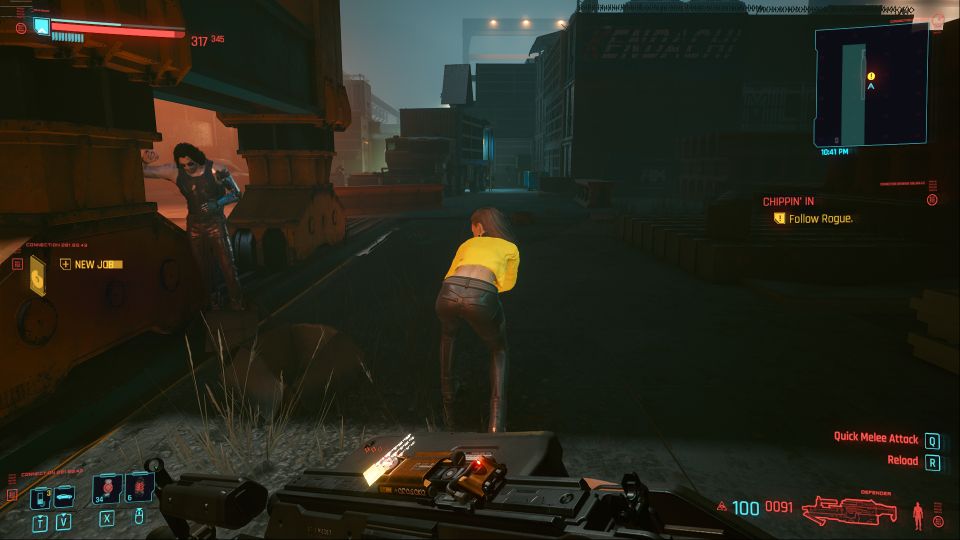
Follow Rogue
You will then reach a warehouse. Follow Rogue in.
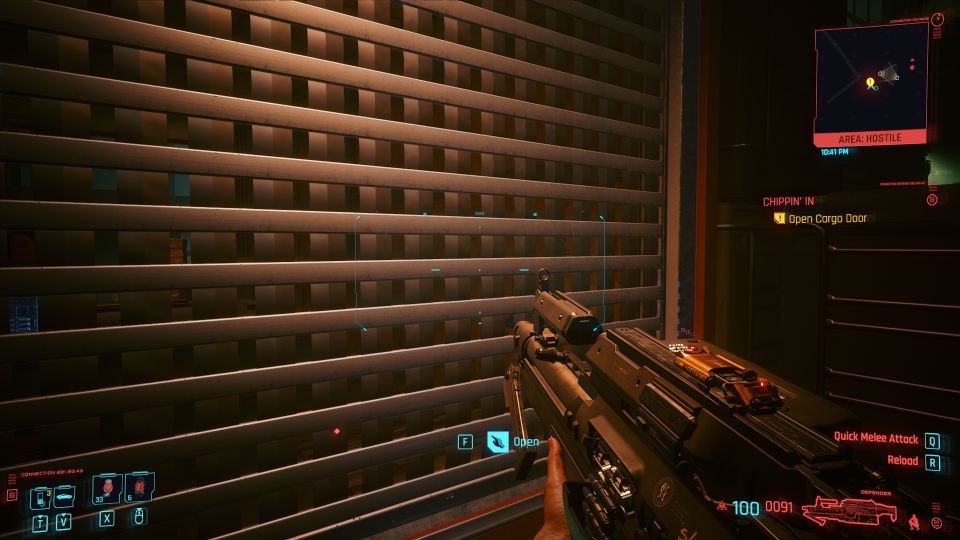
Open the cargo door.
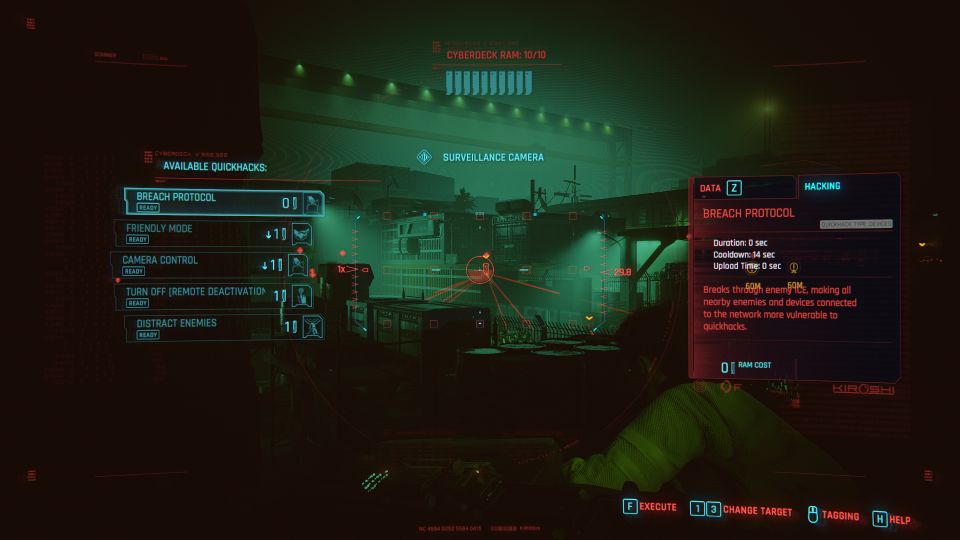
Find the dataterm
You will then need to find a way into the office to get the dataterm.
There are guards and cameras around. You may want to shut off the cameras.
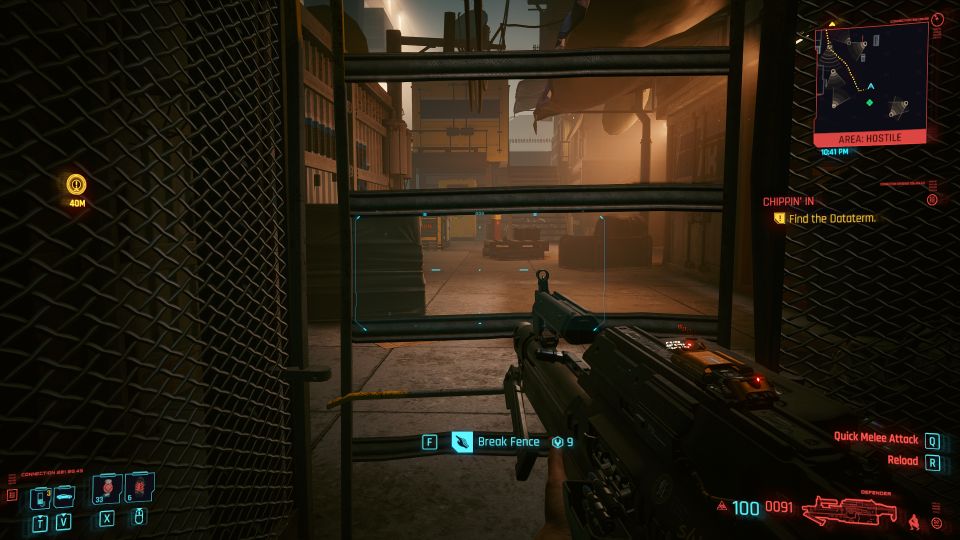
Break through the fence with level 9 technical ability. If you don’t have it, you may need to go a longer route.
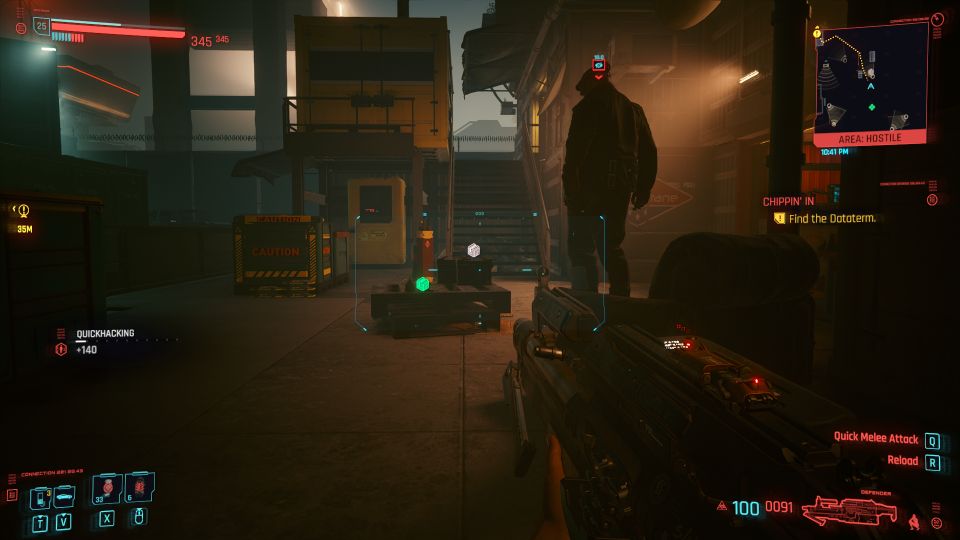
Continue ahead and take out the guards quietly.
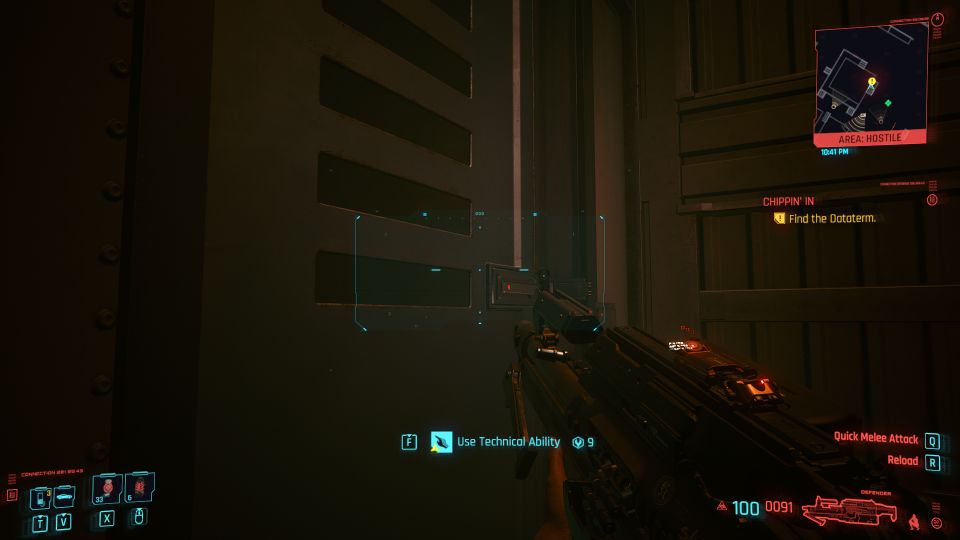
You should then reach the door to the office.

The door requires level 9 technical ability.
Like before, you may need to follow a different route if you lack the ability.
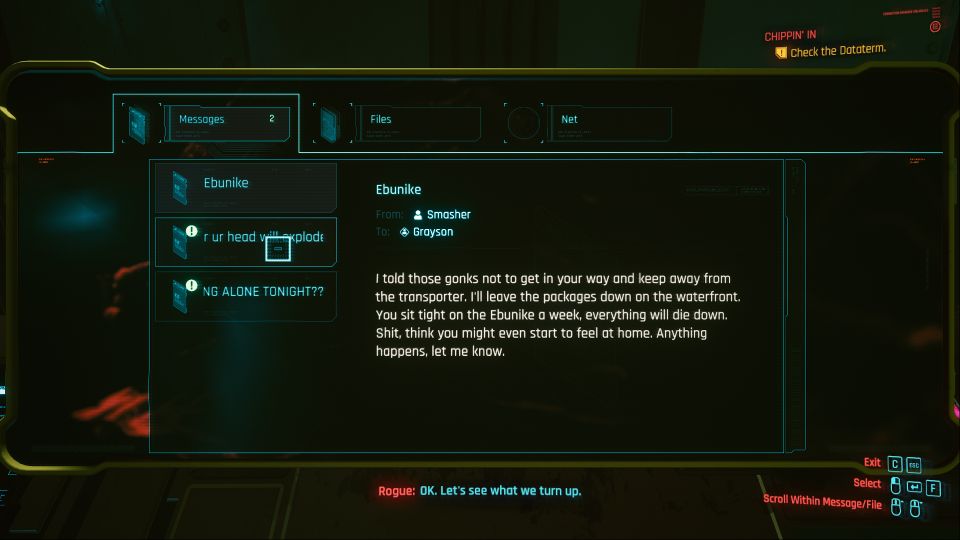
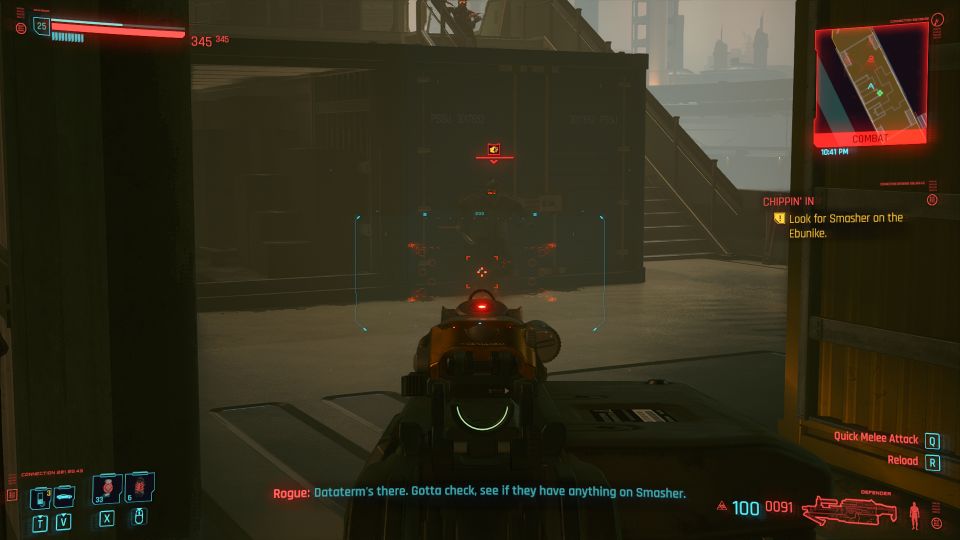
Check the dataterm
Once you’re inside, check the dataterm which is the computer.
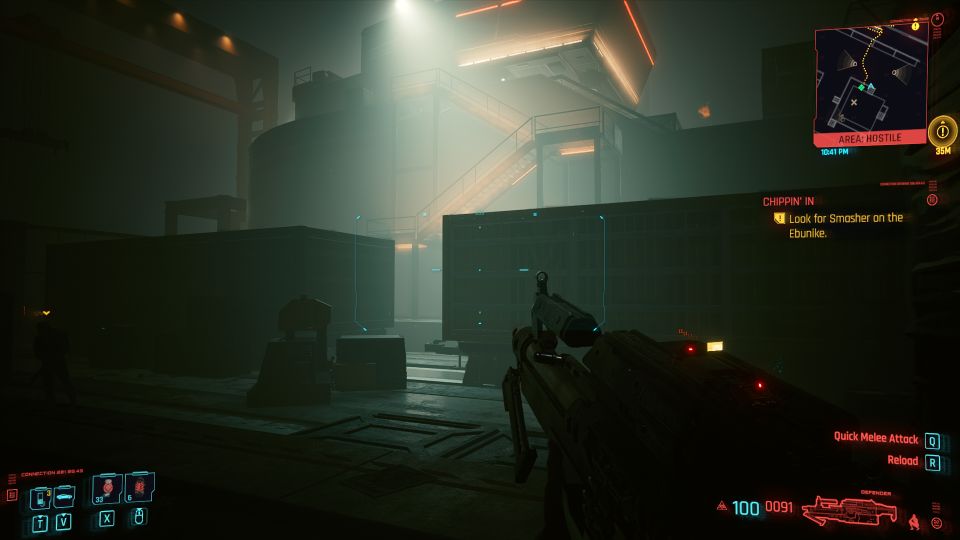
Look for Smasher
Continue to follow Rogue. Take out the single guard along the way.

You will reach the Ebunike. Climb to the deck.
Get to the front portion of the ship. You’ll encounter a few guards here.
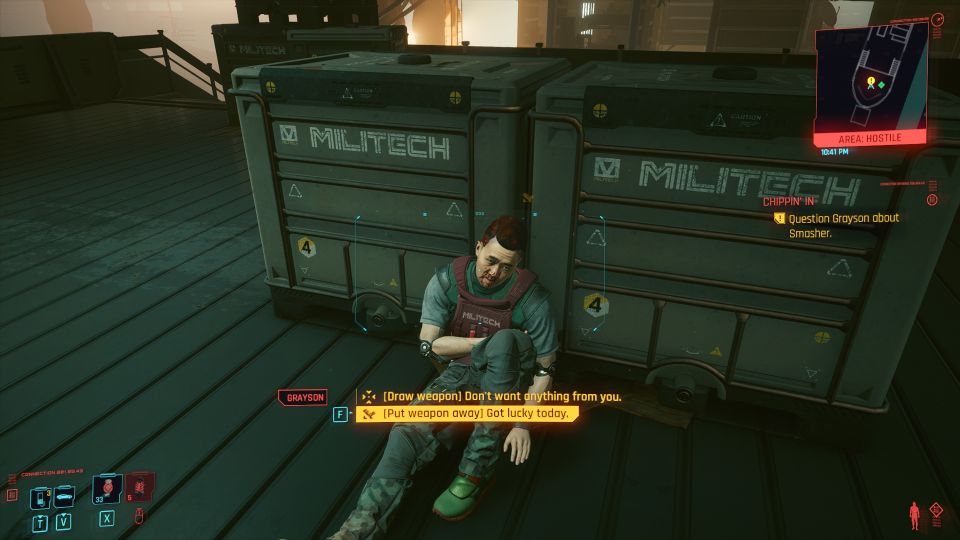
Defeat Grayson
Take out Grayson.
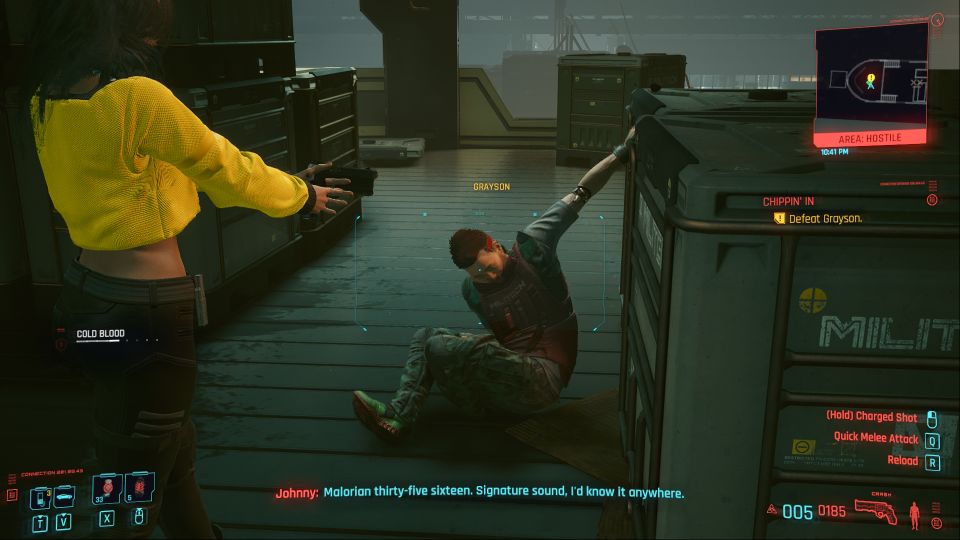
Once he’s down, take Johnny’s gun from him.

Question Grayson
You’ll then need to ask him about Smasher. He’ll tell you that Smasher is now head of Arasaka’s security.
You can then choose to either draw weapon or put weapon away. I chose to put weapon away.
He will then give you an access card that leads to Johnny’s ride.
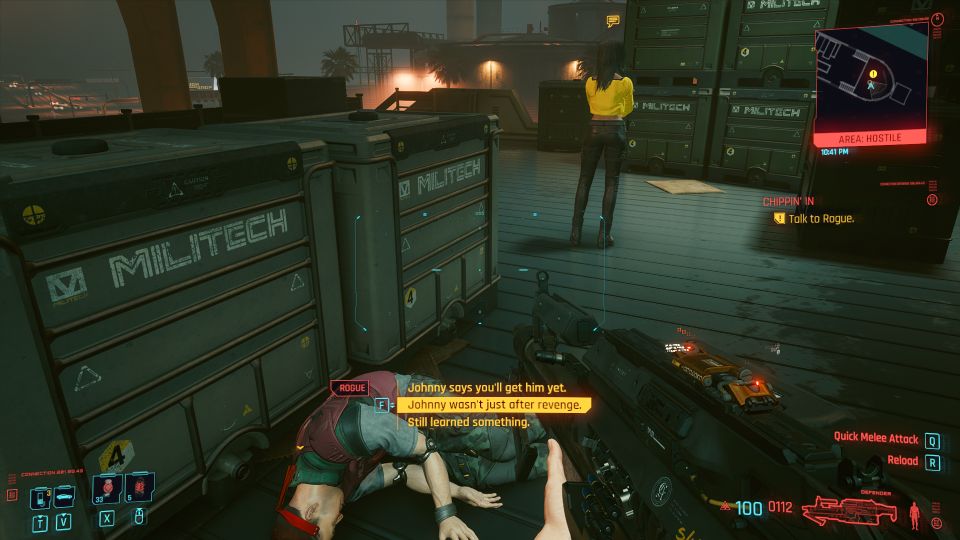
Talk to Rogue
Talk to Rogue again.
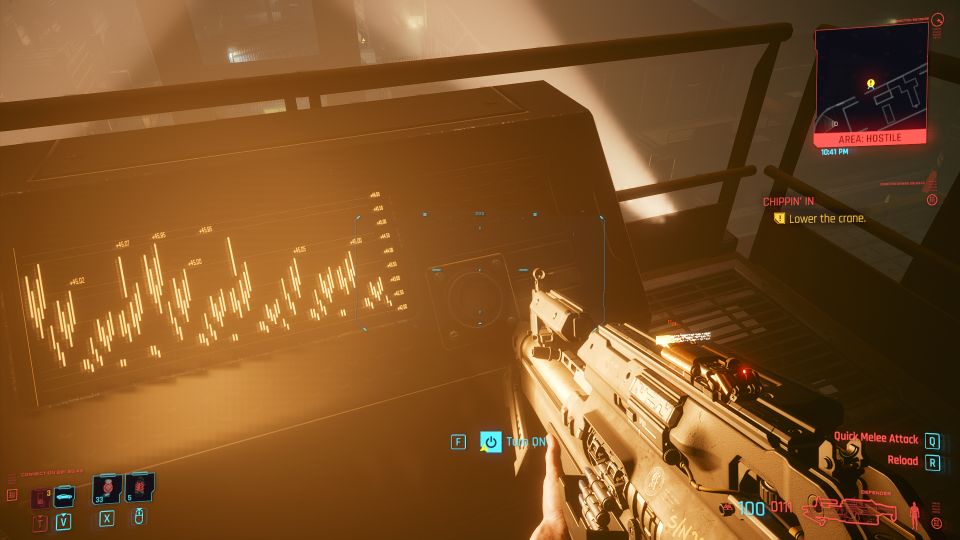
Lower the crane
To get to the container, lower the crane first.
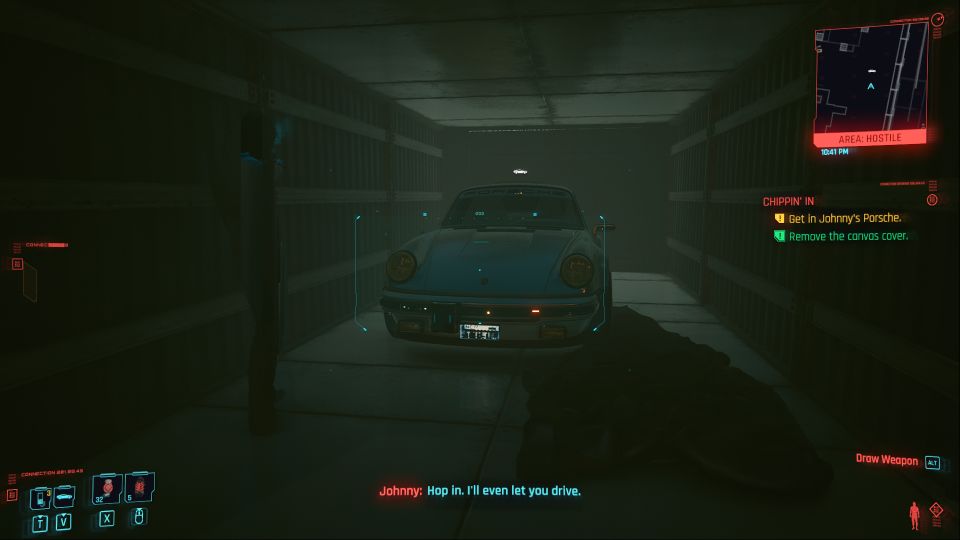
Open the container
Open the container using the access card earlier.
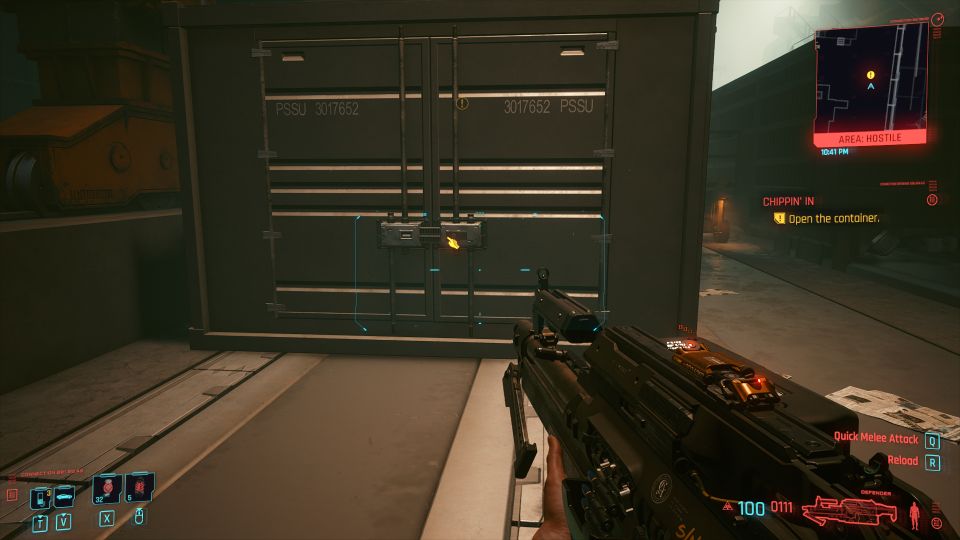
You’ll then find Johnny’s Porsche inside. Get in the Porsche as it’s now yours.
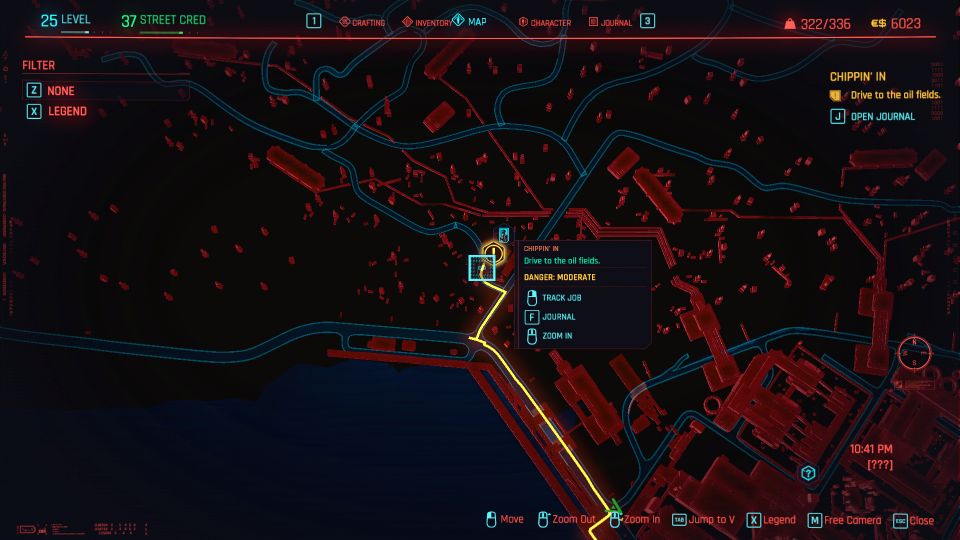
Drive to the oil fields
Head to the oil fields just north as Johnny was apparently buried there.
Talk to Johnny
After reaching the spot, talk to Johnny. You can try to console him here.
If you talk nice to him and be in good terms with him here, it may affect the ending of the game.
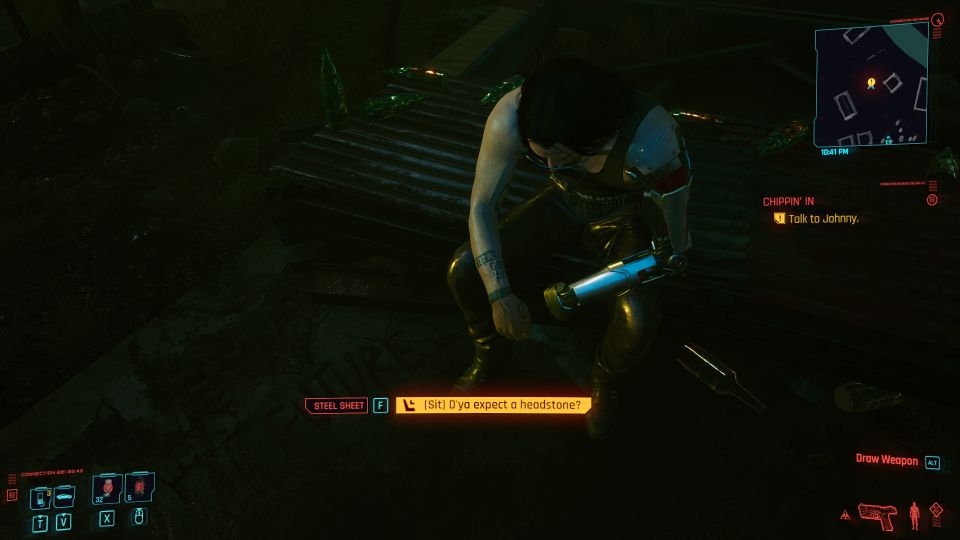
The mission ends after the conversation.
Related posts:
Cyberpunk 2077: Flight Of The Cheetah Walkthrough
Cyberpunk 2077: Both Sides Now (Mission Walkthrough)
Cyberpunk 2077: Search And Destroy Walkthrough