Belly of the Beast is a main job / mission under Panam’s choice in Cyberpunk 2077.
Your objective is to get into Mikoshi and insert the shard given by Alt.
Here’s a walkthrough of Belly Of The Beast in Cyberpunk 2077.
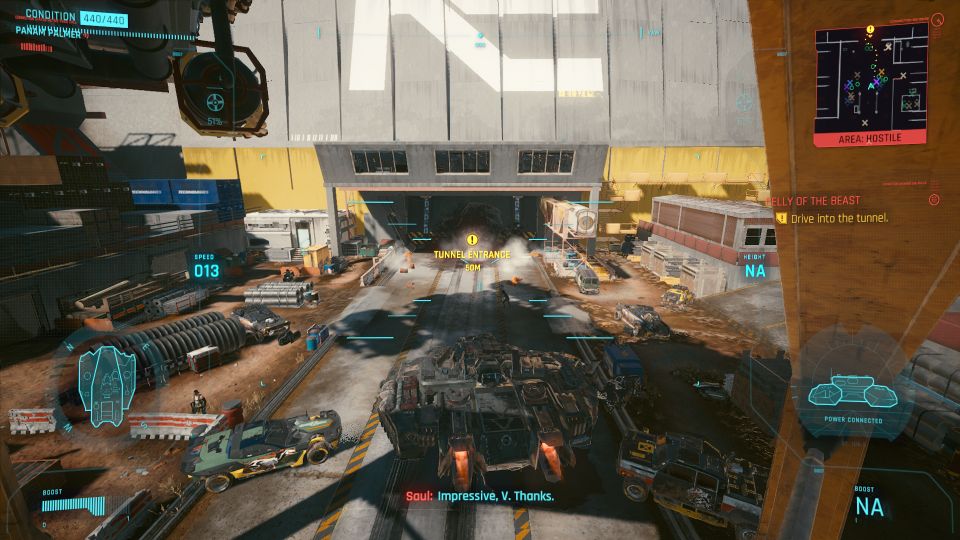
Drive into the tunnel
With the panzer, drive through the tunnel wall.
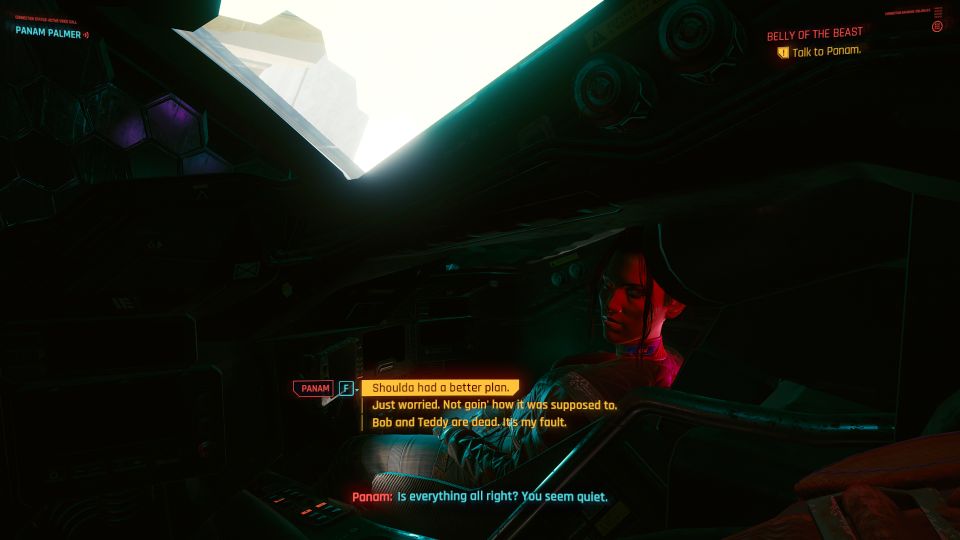
Talk to Panam on the way to Arasaka tower.
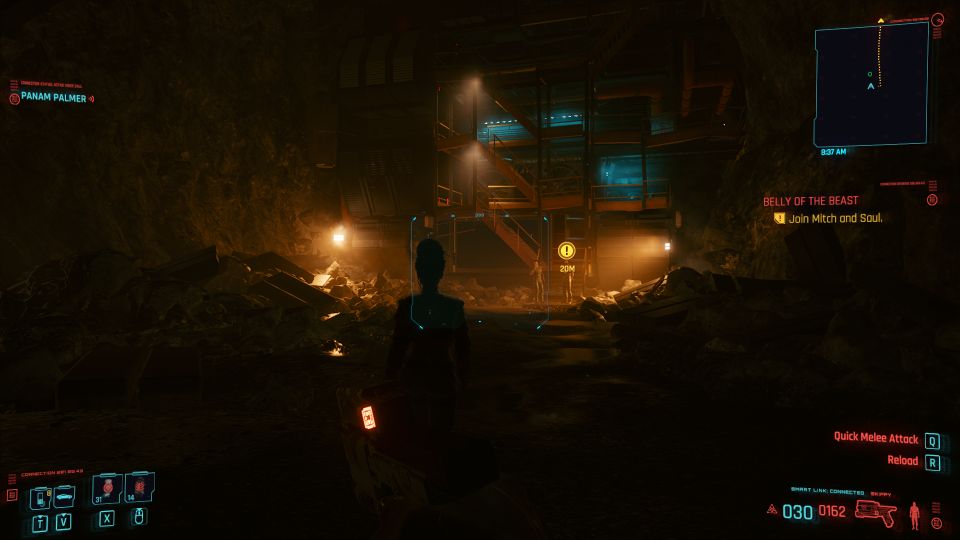
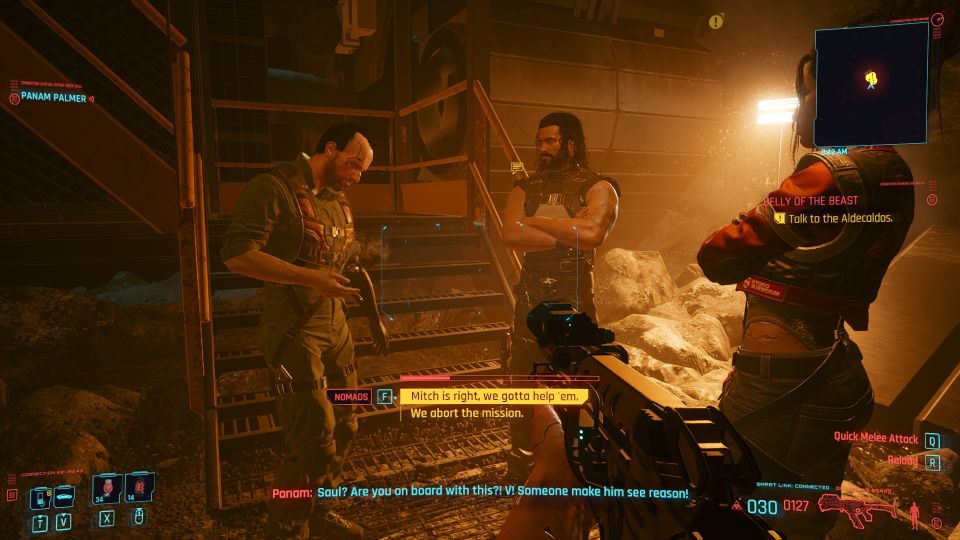
Join Mitch and Saul
After reaching the destination, talk to Mitch and Saul.
Mitch insists on going back to Carol. Choose to let Mitch go as he’ll survive in the end.
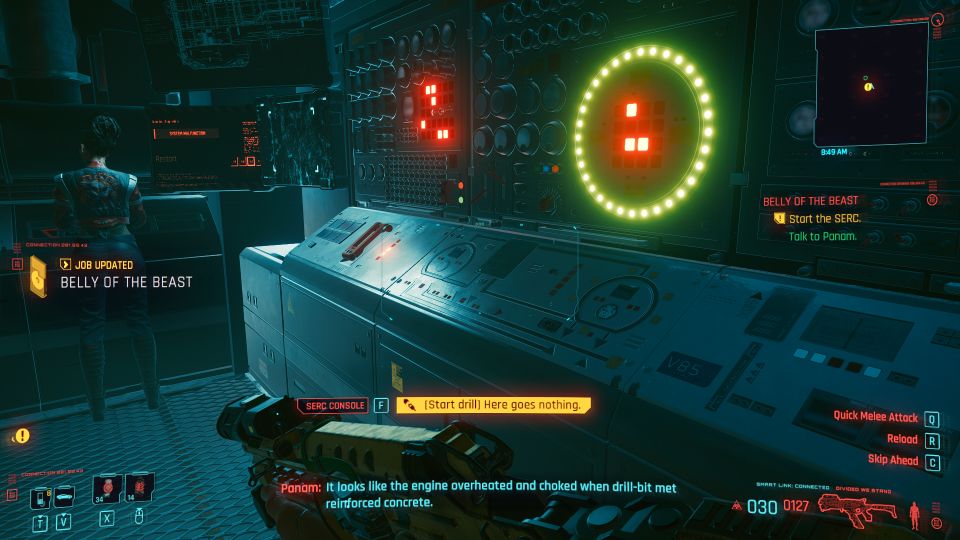
Start the SERC
Next, head upstairs to the SERC. Start the drill.
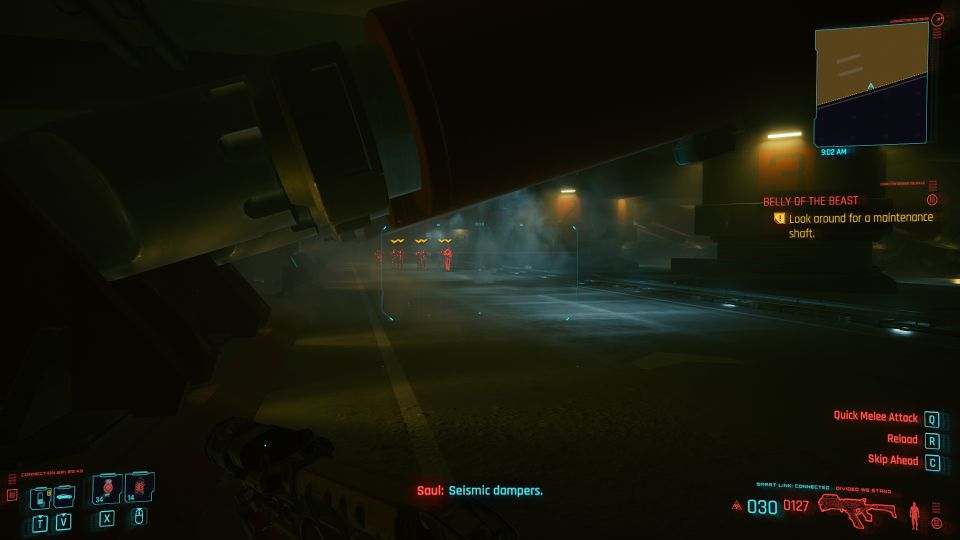
Look for a maintenance shaft
You will then reach an area with some bots patrolling.
The maintenance shaft is on the left side.
Wait for the bots to walk past, and then cross the road. Head towards the wall with “Sector B” written on it.
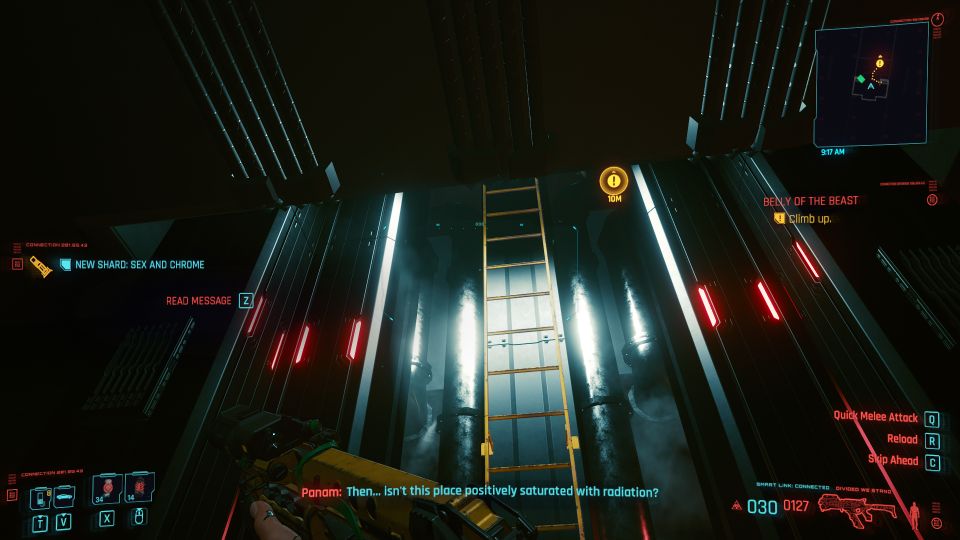
The ladder is on the right of Sector B.
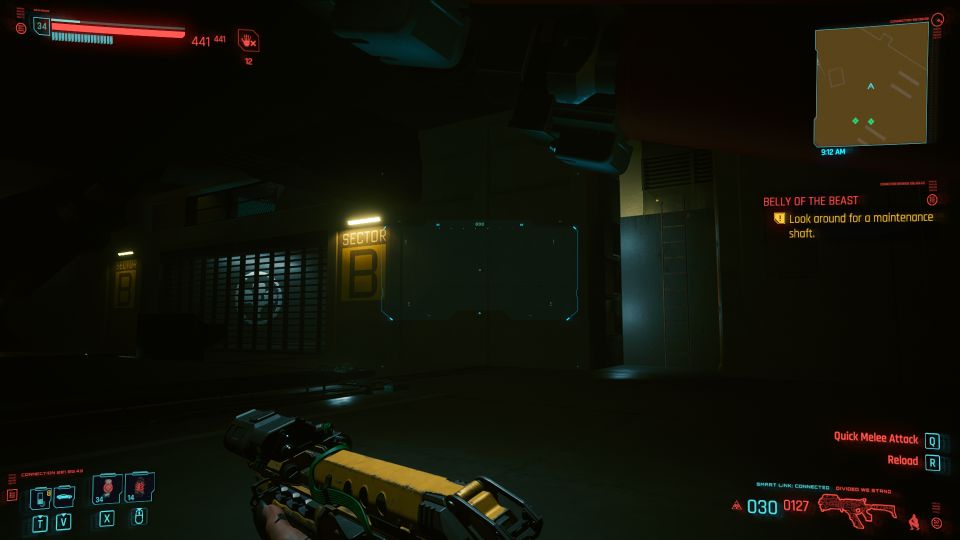
Climb up the ladder. Continue inside and you’ll find another ladder going up.
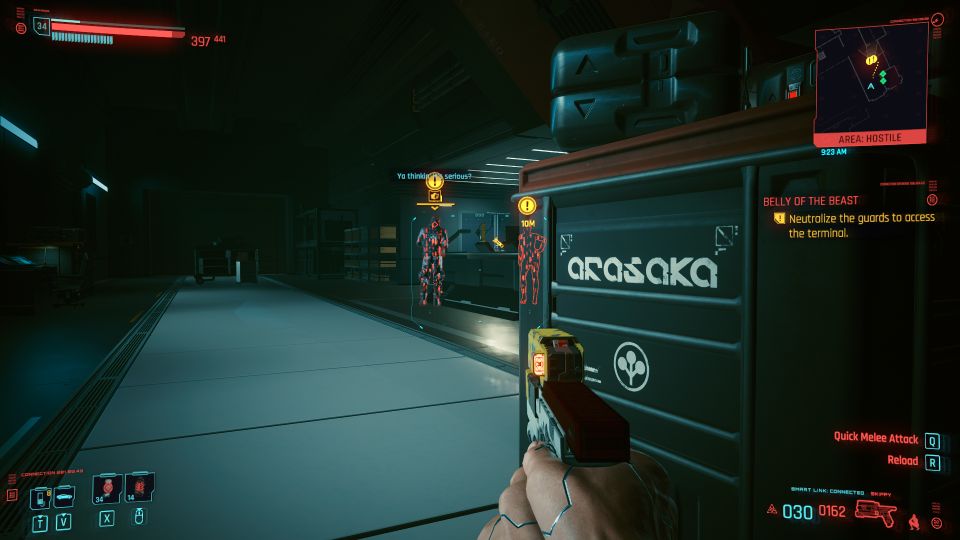
Neutralize the guards
You will then see two guards inside. Take them down quietly.
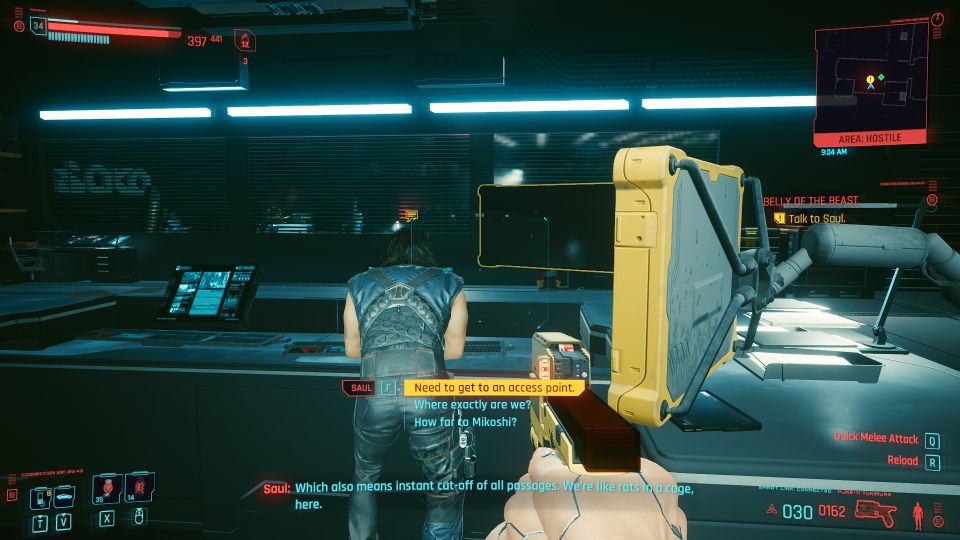
Then, wait for Saul to figure out what to do next.
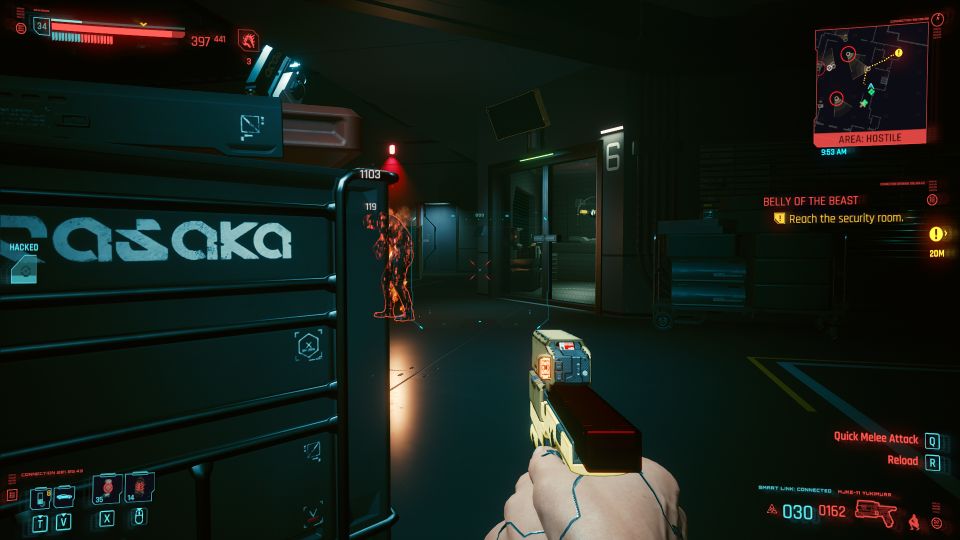
Reach the security room
If you wish to fight your way through, just pull up the shutters, which requires level 13 Body.
Otherwise, look for the staircase going downwards.
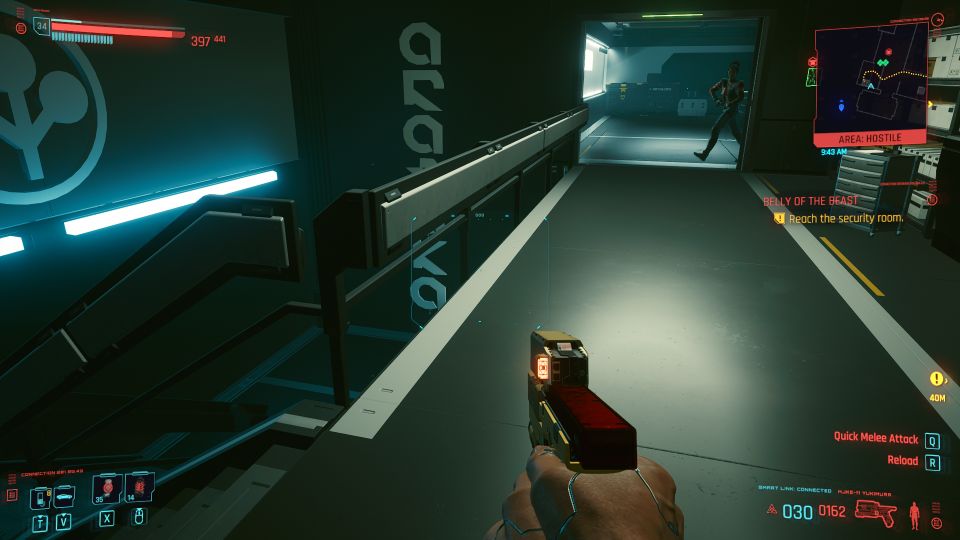
Take the guards down quietly as you make your way to the security room.

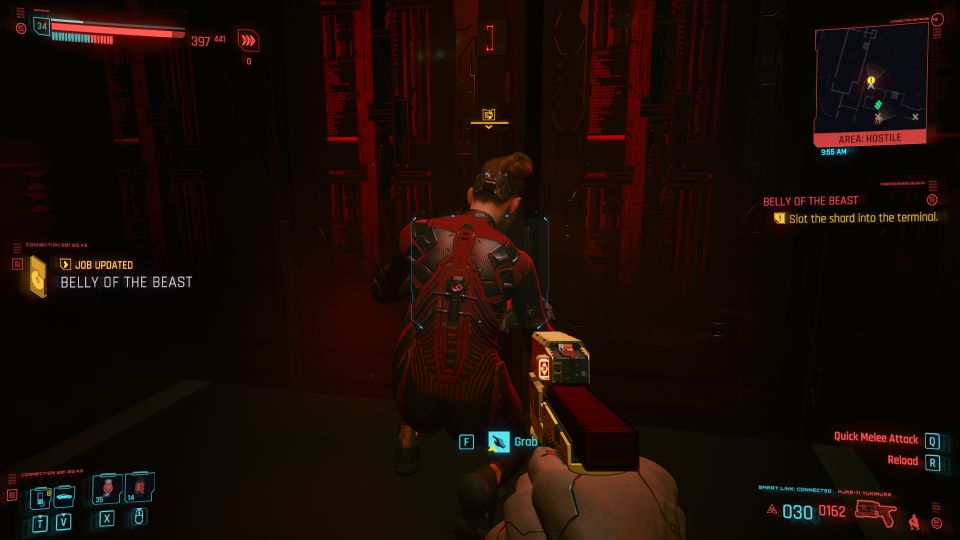
Slot the shard
Inside the security room, you will see an Arasaka officer. Grab and take her down.
Slot the shard into the terminal.
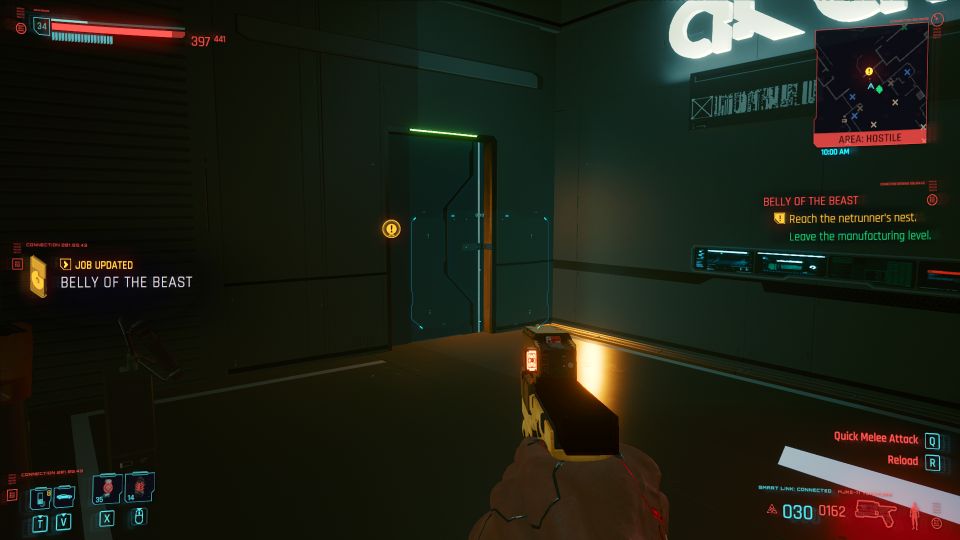
Reach the netrunner’s nest
Alt should disable most of the enemies. Head to the netrunner’s nest.
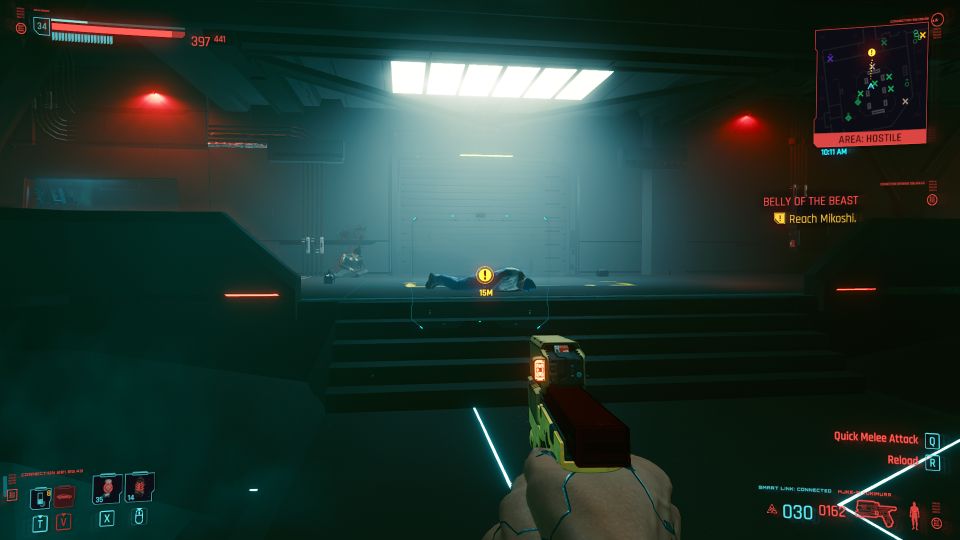
Reach Mikoshi
In the next area, go through the shutters to reach Mikoshi.
Adam Smasher makes his appearance and smashes Saul’s head.
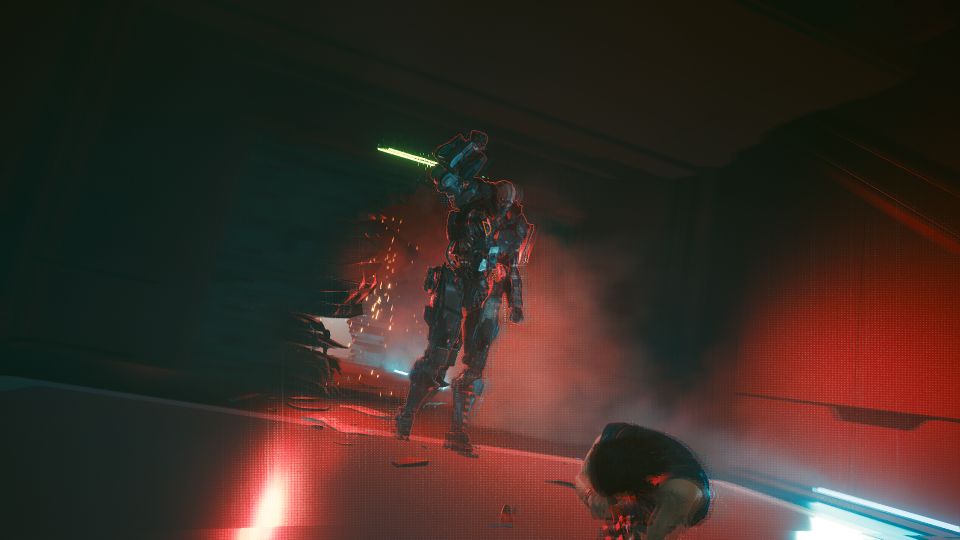
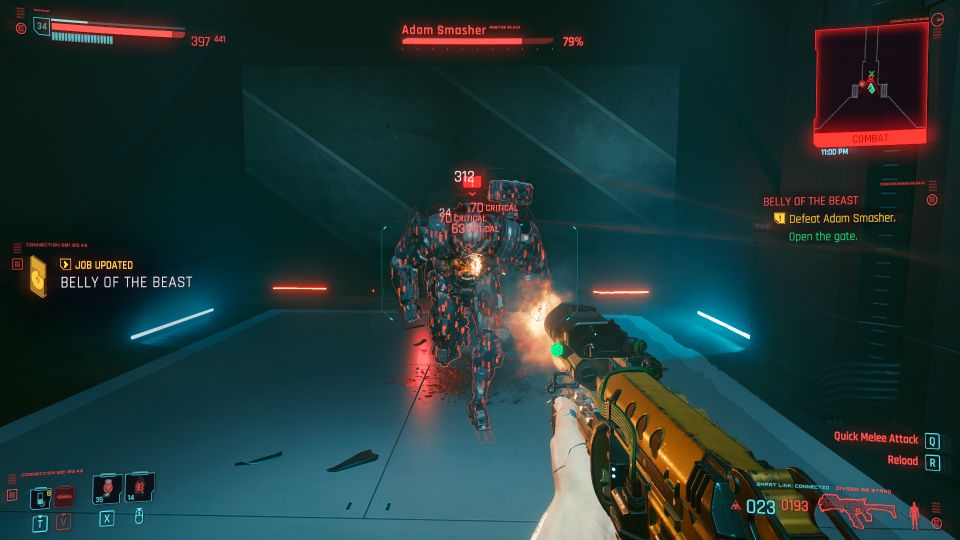
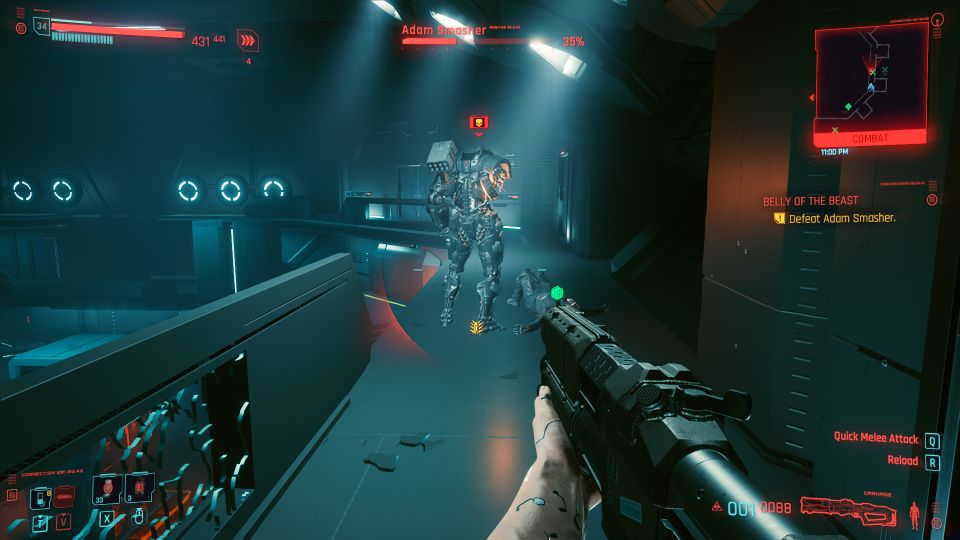
Defeat Adam Smasher
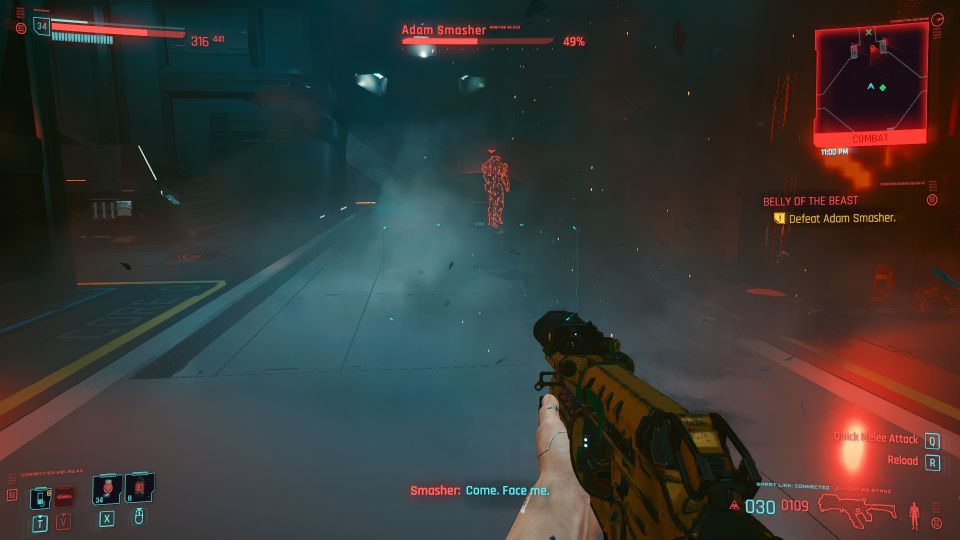
Here, you’ll finally get to defeat Adam Smasher. He is a tough one to beat as he has speed and powerful weapons.
Keep dodging backwards if he charges towards you.
You can just spam your grenades at him.
During the fight, he also uses missiles. You’ll know that it’s coming if you see the red circles on the floor. Just run out of the area as quickly as possible.
Apart from that, mechs and heavily armed guards will appear in the room. You don’t need to destroy them all.
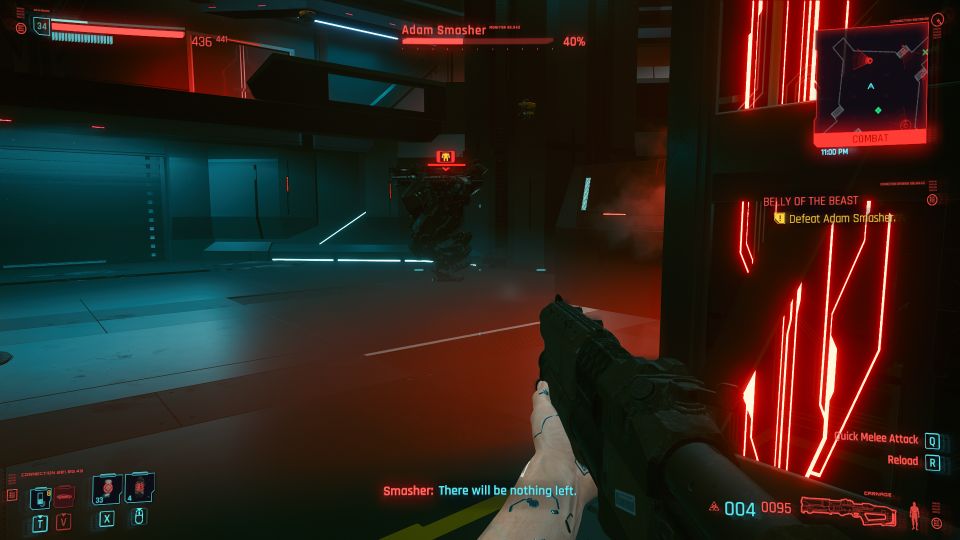
When Adam summons the mechs and guards, he might be standing somewhere at the top. Climb up and find him.
When I climbed up to attack him, he stayed still for awhile which may be a bug. This allowed me to lower his health by a lot.
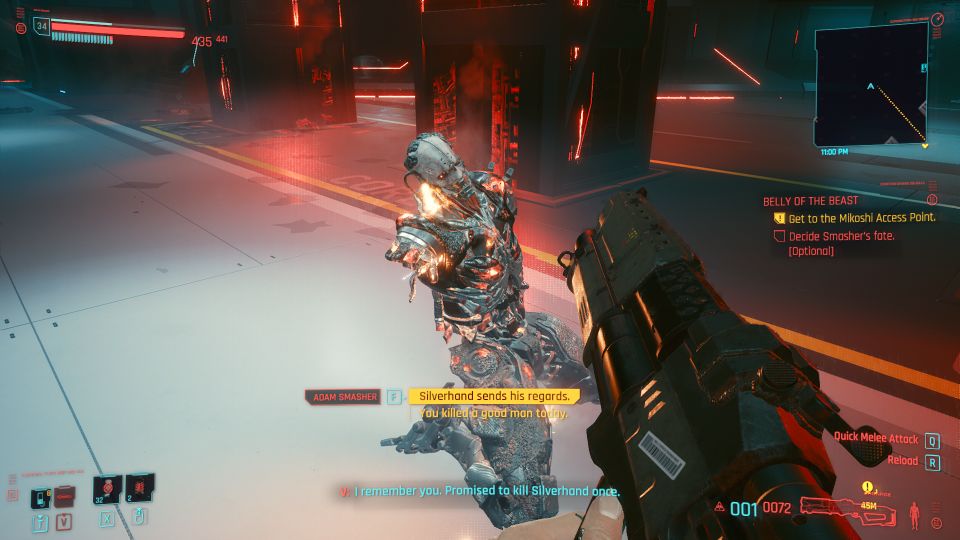
Decide his fate
After Smasher is down, you get to decide his fate and say “Silverhand sends his regards”.
Shoot him down.
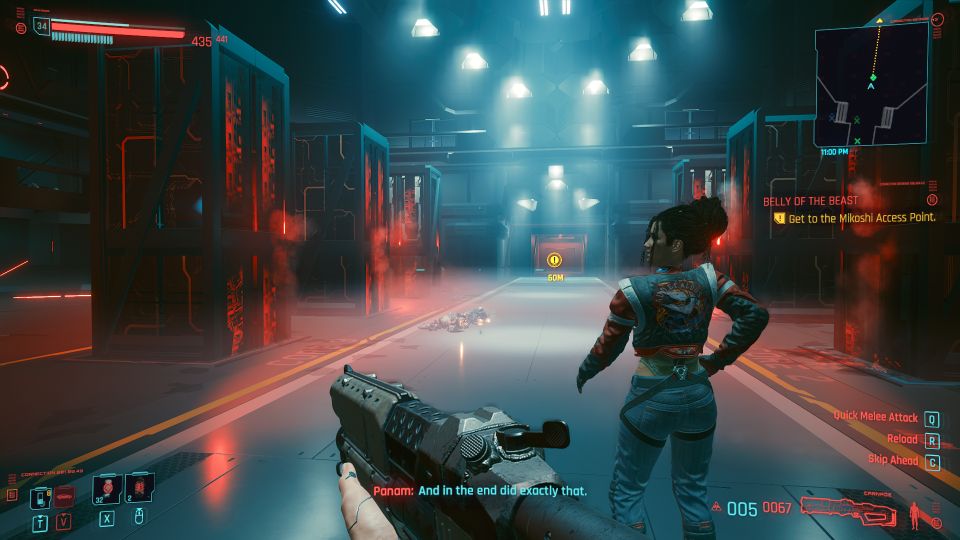
Get to the Mikoshi Access Point
Finally, head to the Mikoshi.
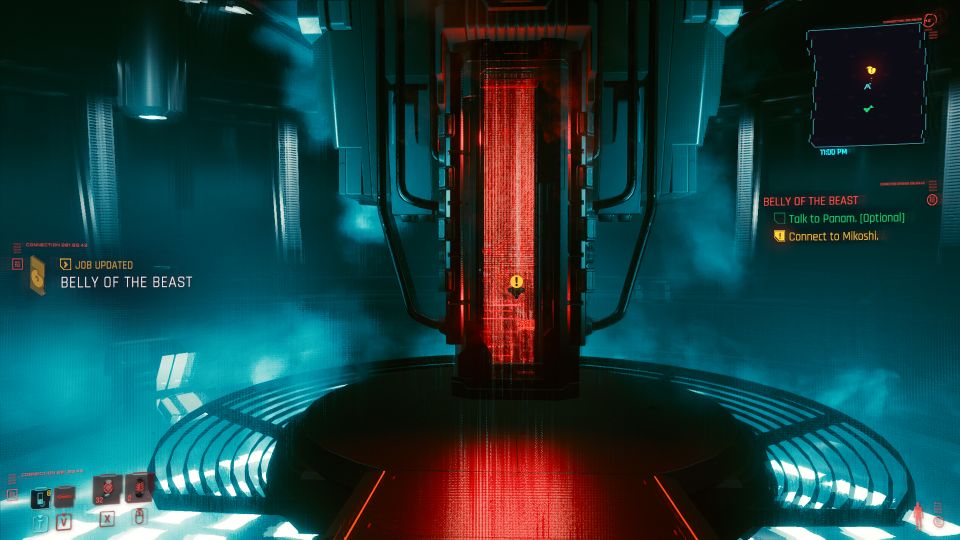
Inside the room, jack into the Mikoshi.
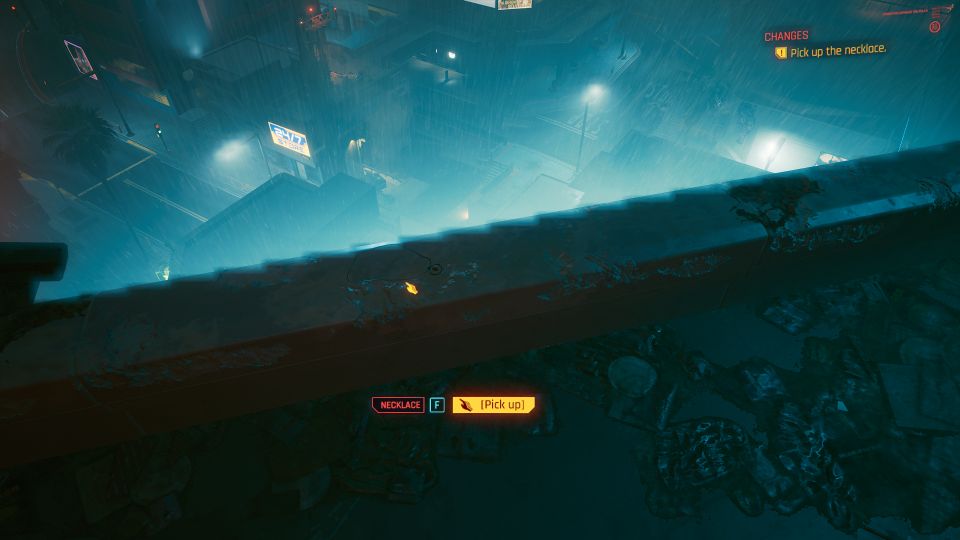
Get to the roof
You will then appear at the elevator at Misty’s place. Walk to the rooftop.
Pick up the necklace.
Head to the yellow beam
Once you’re in the net, keep walking towards the yellow colored beam at the end.
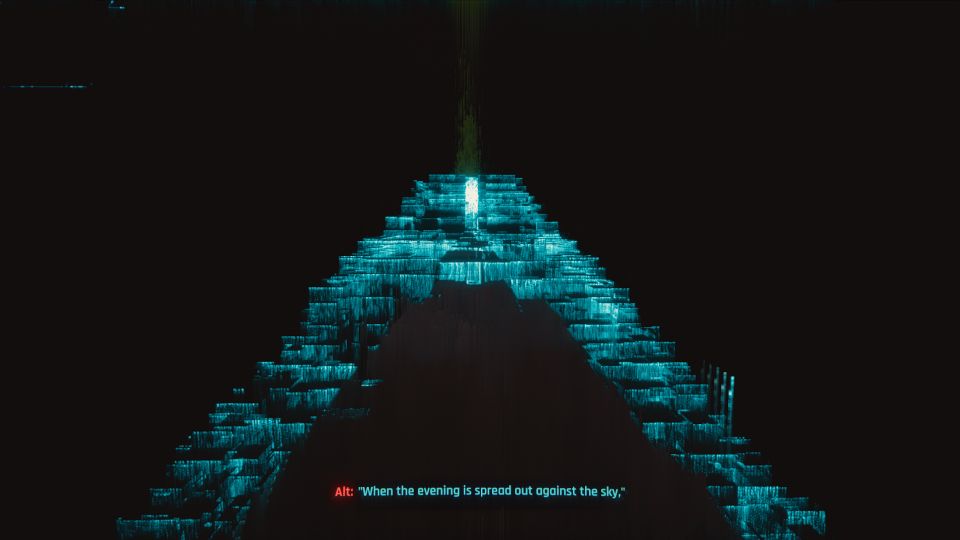
Climb up the stairs and you’ll see Johnny.
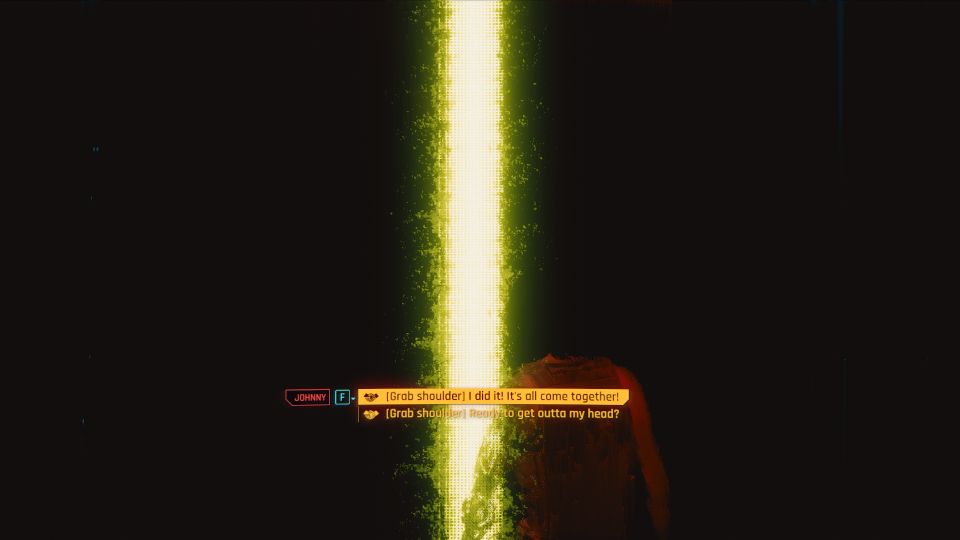
Talk to Alt (decisions)
You can then talk to Johnny. Both V and Johnny are constructs at this point.
You can then listen to Alt first.
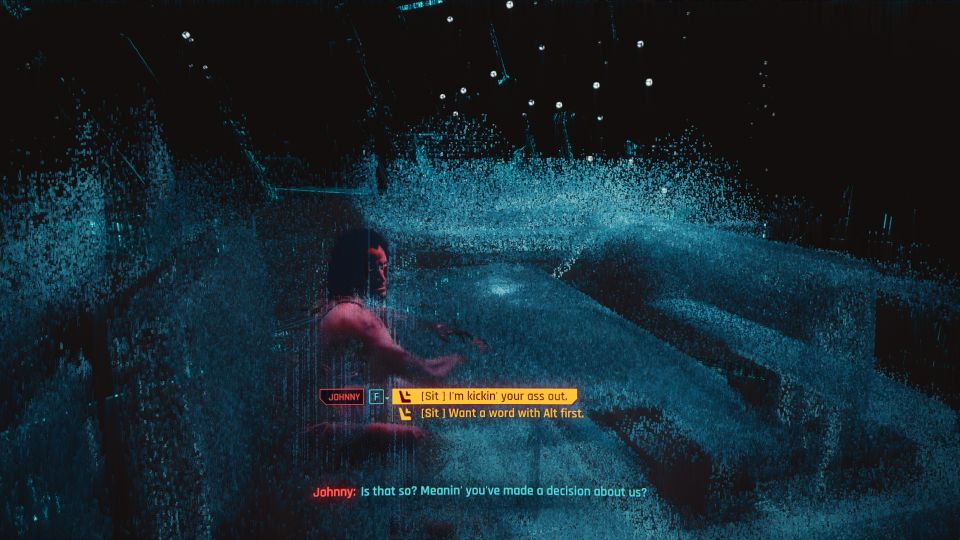
During the conversation, you have an option of letting Johnny take over the body and V disappears in to the cyberspace.
The other option is to live out the remaining six months. This one’s your choice.
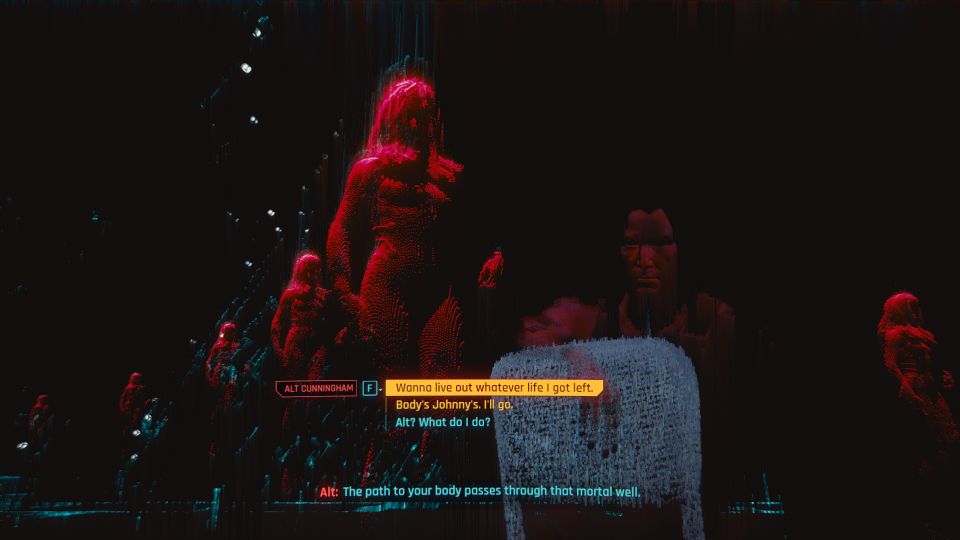
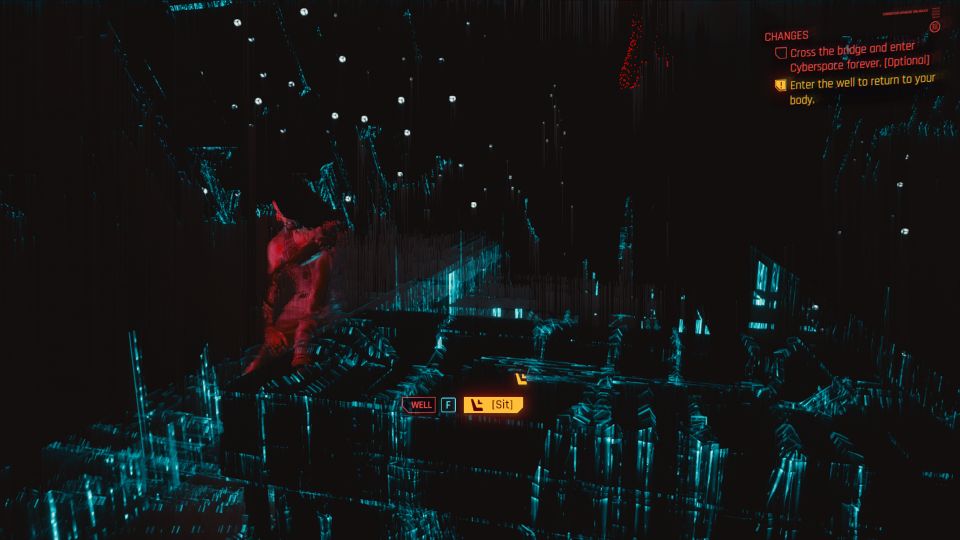
Enter the well or cross the bridge
If you cross the bridge, V disappears into cyberspace forever, and Johnny takes over V’s body.
If you enter the well, you will go back as V and you get to continue your life for a few months.
Depending on your choice, the next mission will be different.
I played as a male V and chose to go back to the body. In the next job, you’ll basically leave Night City with Panam and find happiness.
Related posts:
Cyberpunk 2077: Forward To Death Mission Walkthrough