Echoes of the Past is a Crimson Fleet mission available in Starfield.
Your objective is to go to Suvorov and look for the Kryx’s Legacy treasure.
Here’s a walkthrough and guide of Echoes of the Past in Starfield.
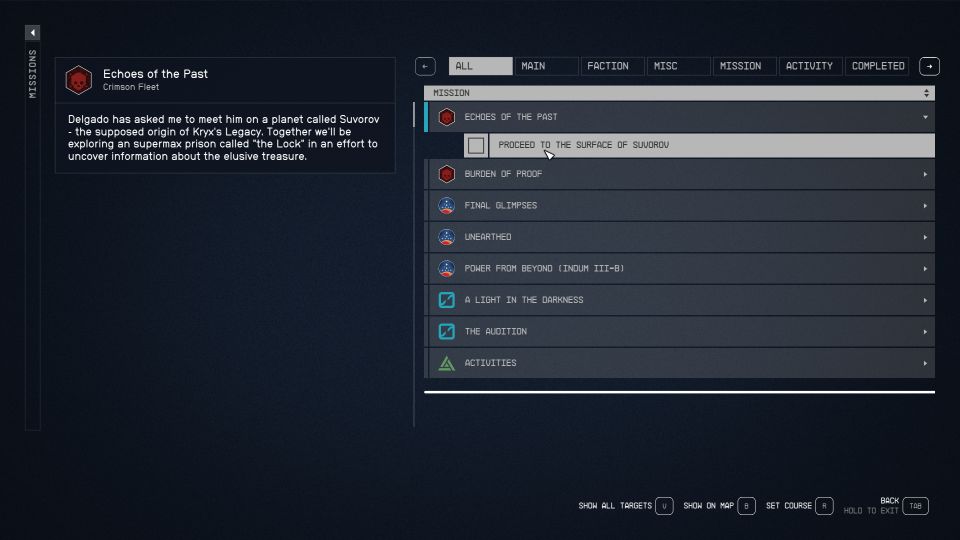
To begin the mission, go to The Lock on Suvorov.
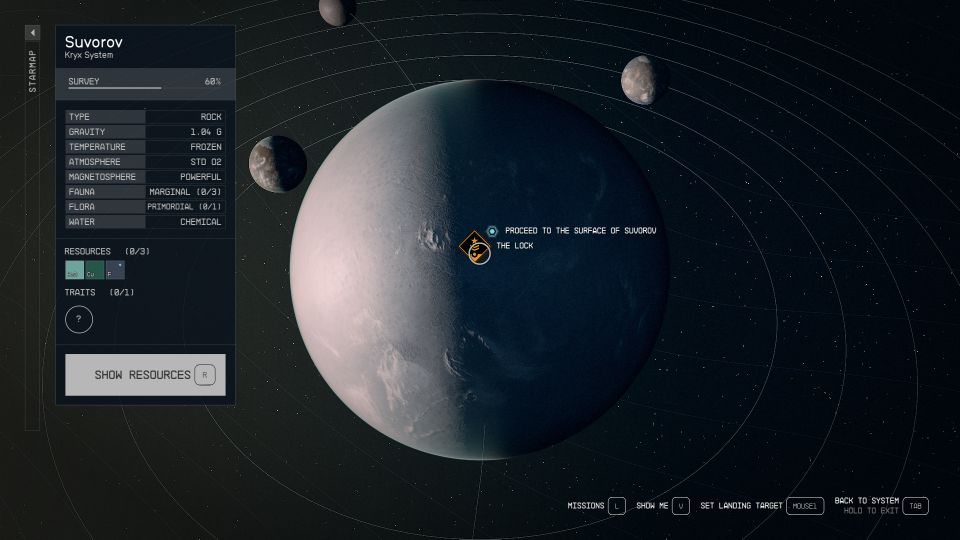
Meet Delgado
After meeting Delgado, head to the entrance to The Lock with the rest of the crew.
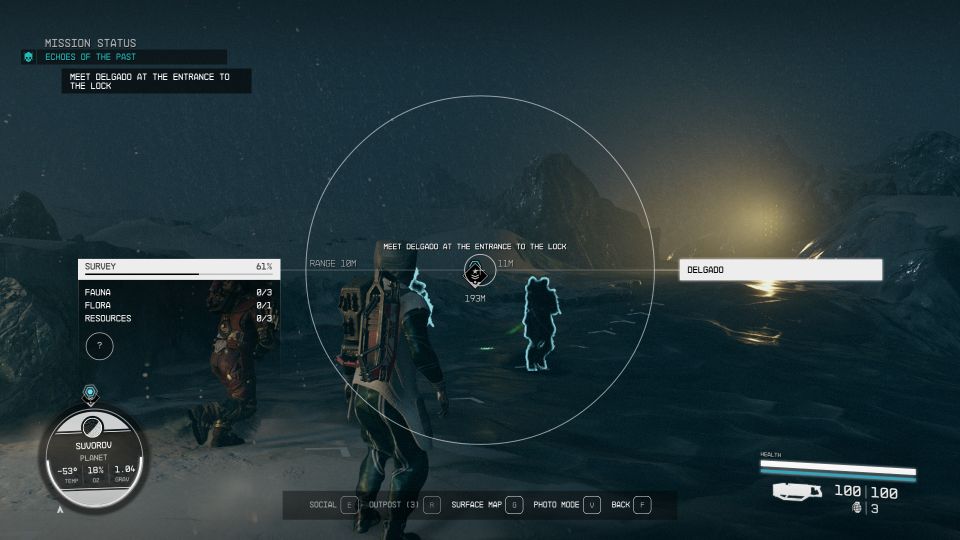
On the way there, you’ll meet plenty of creatures that will surface from the ground. If you use Sense Star Stuff power, you can see them before they come up.
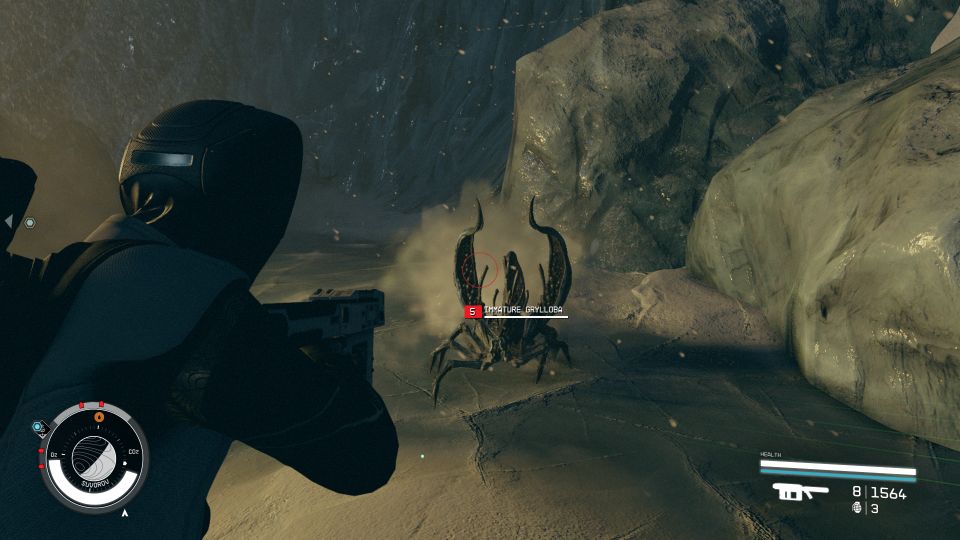
Once you’re at the door, talk to Delgado again.
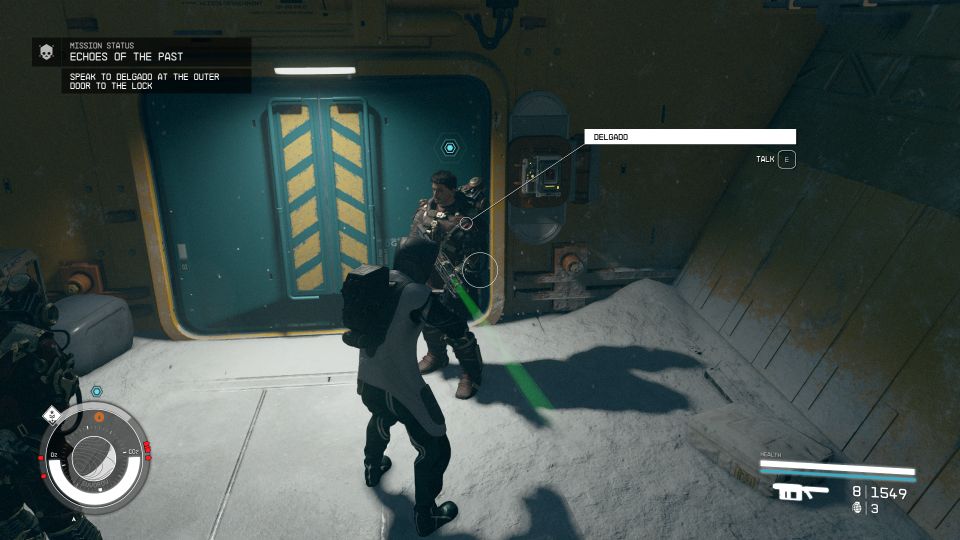
Secure the area
Head all the way down the stairs. You’ll see a wider area. Creatures will appear again. Take them down.
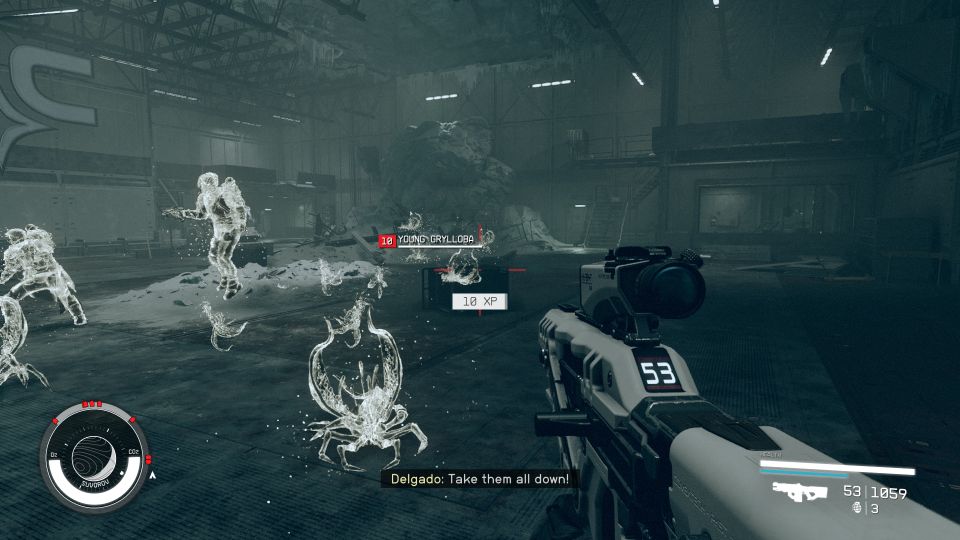
Speak to Delgado once the area is secure.
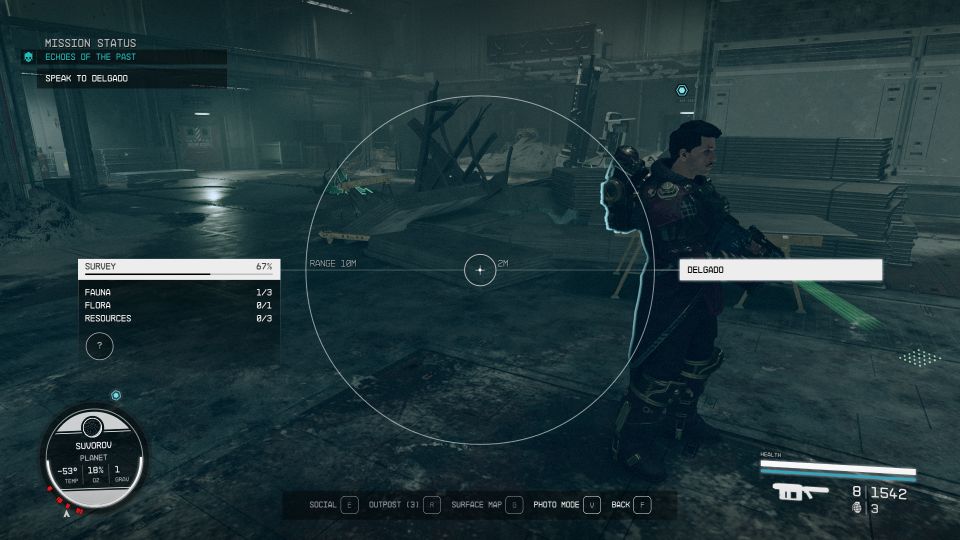
Proceed to the control room
Head towards the control room with Mathis.
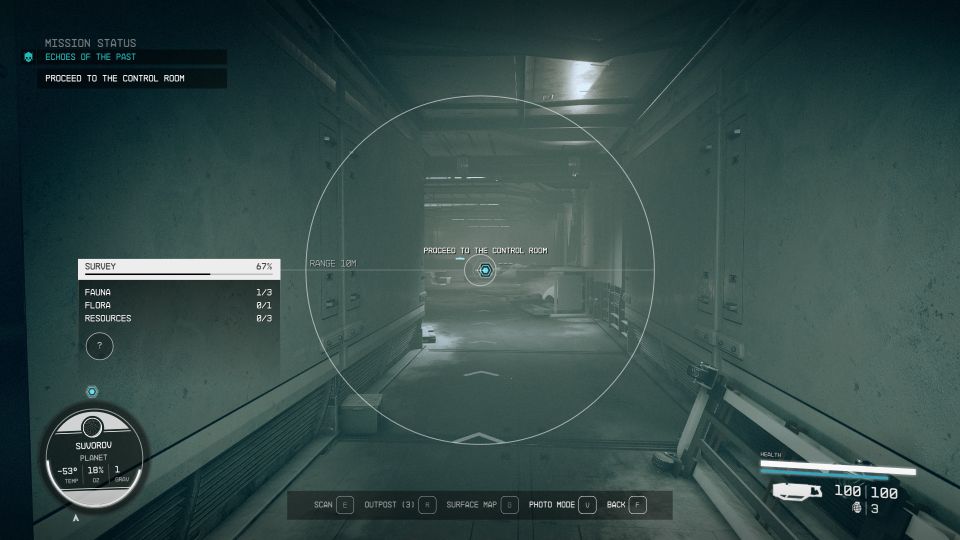
On the way there, the path behind gets blocked as ice collapses.
Mathis will then suggest betraying Delgado. I chose not to.
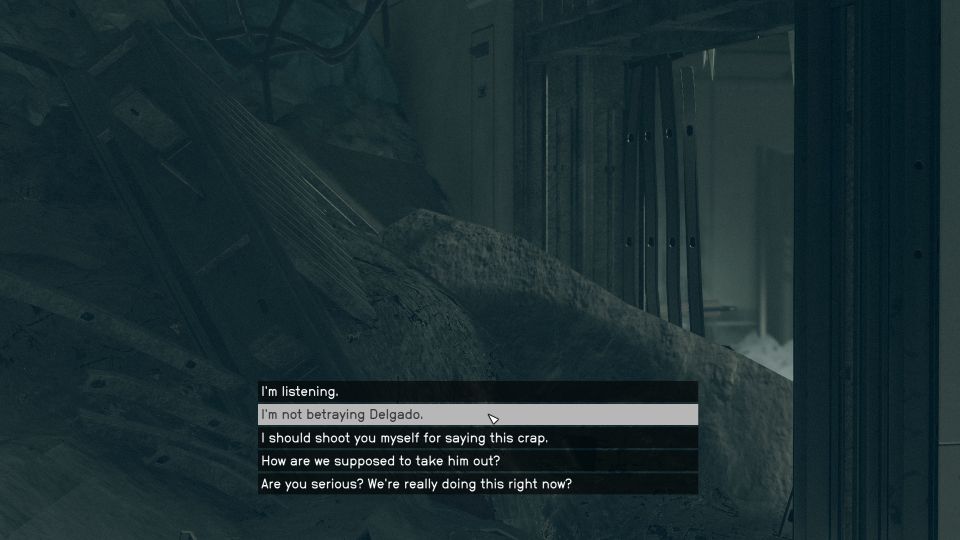
Bring down the loose door.
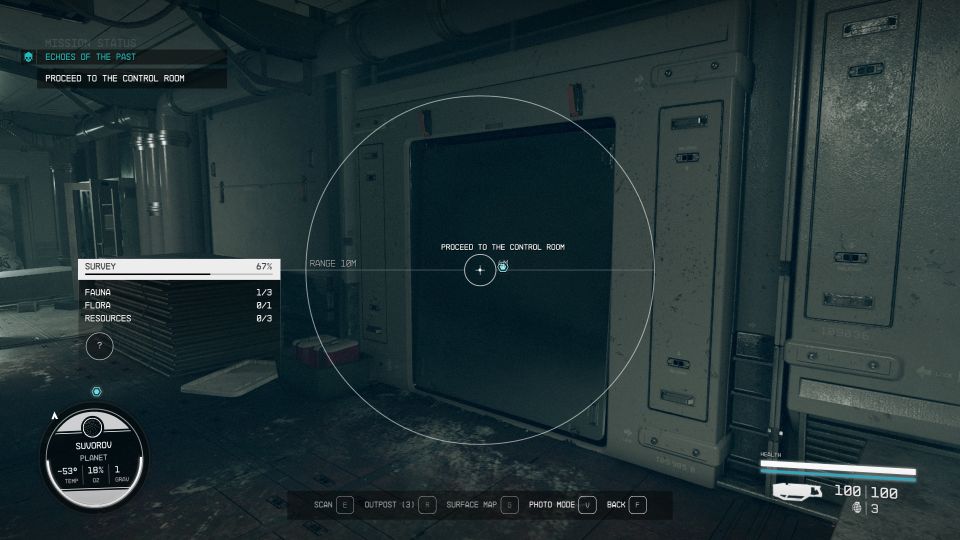
You’ll reach the control room. Use the intercom to speak to Delgado.
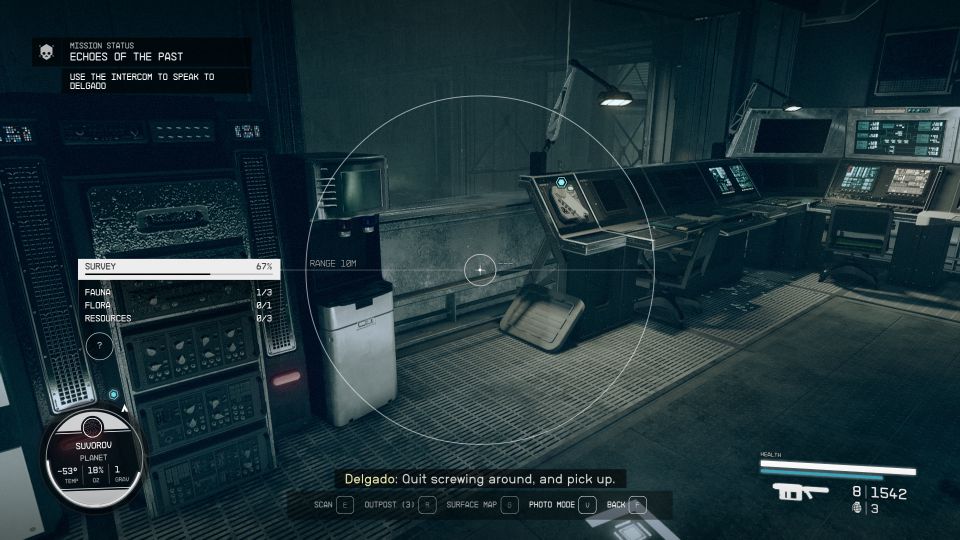
Open the doors for Delgado
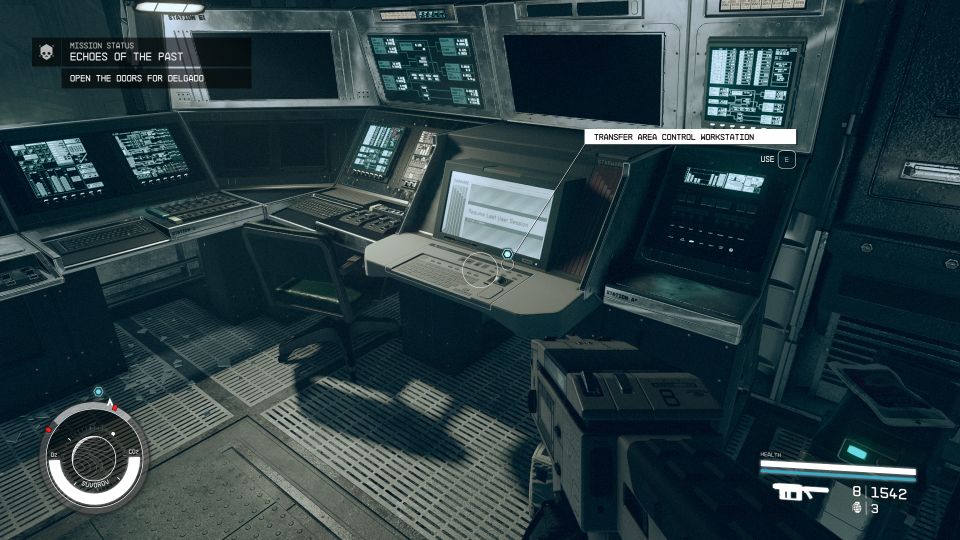
Next, use the Transfer Area Control Workstation to open the doors for Delgado.
Proceed to D-Block
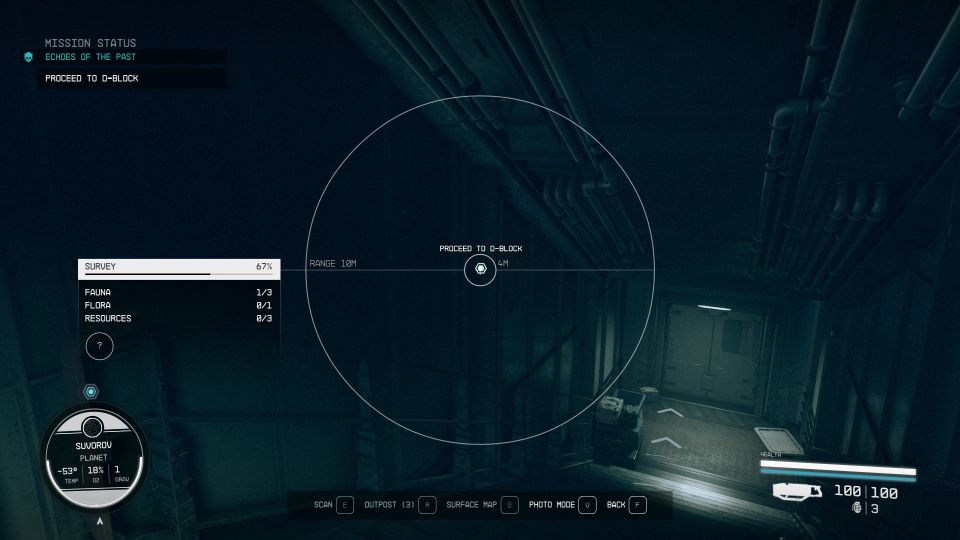
Continue ahead once the door is open. Head to the D-Block.
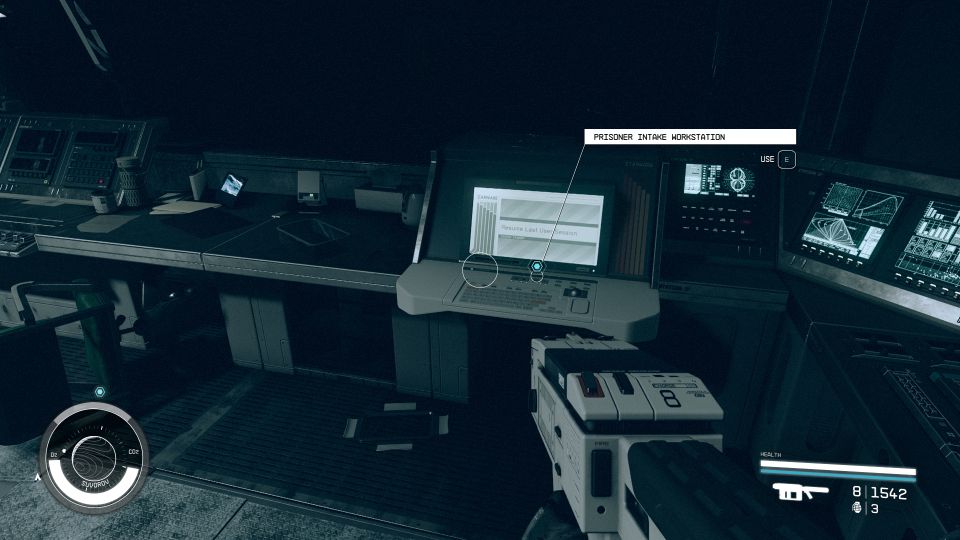
You’ll see a Prisoner Intake Workstation. Use it to open the door.
Enter D-Block’s Guard Tower
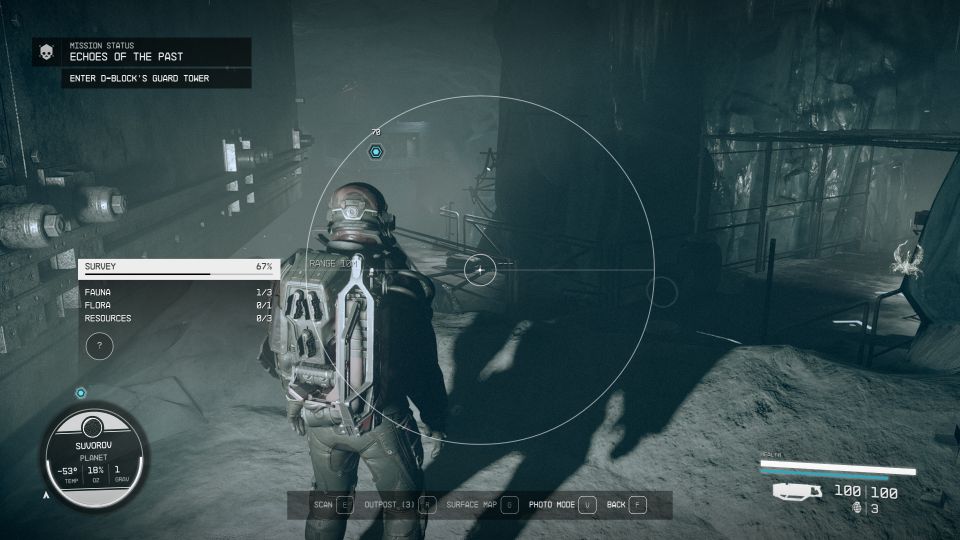
Now that you’re in D-Block, head to the guard tower marked on the map. There are plenty of creatures all over the area.
After reaching the guard tower, Mathis once again asks to betray Delgado. I chose to oppose him again.
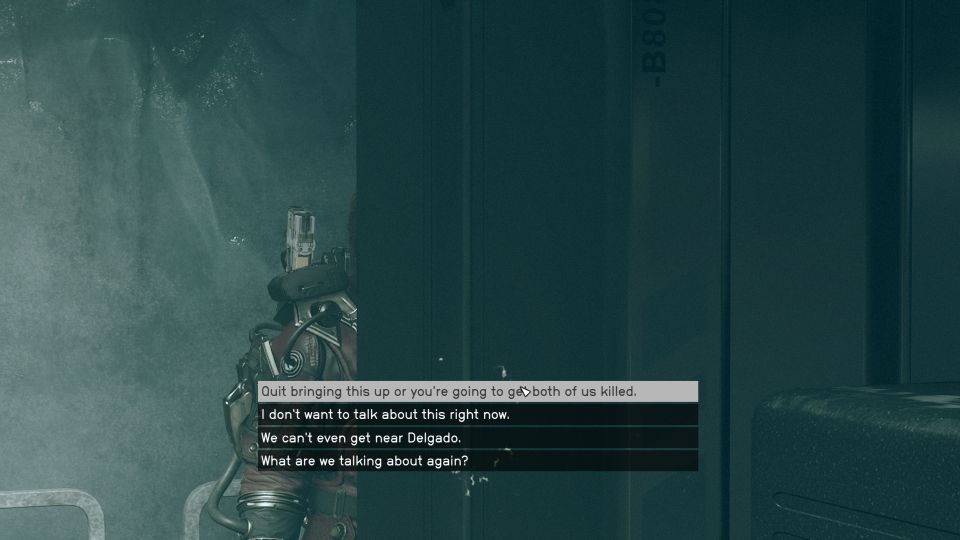
Locate Jasper Kryx’s cell
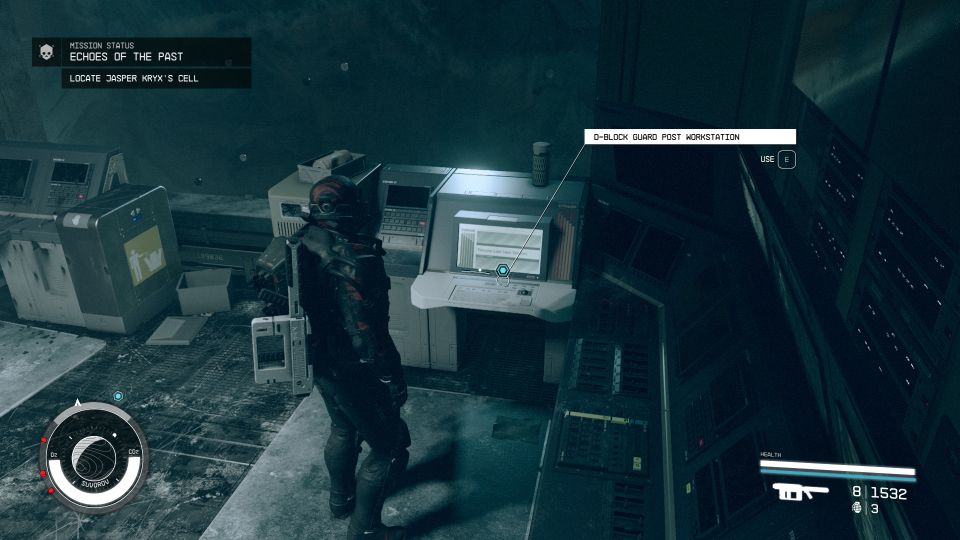
Use the workstation to locate Jasper Kryx’s cell.
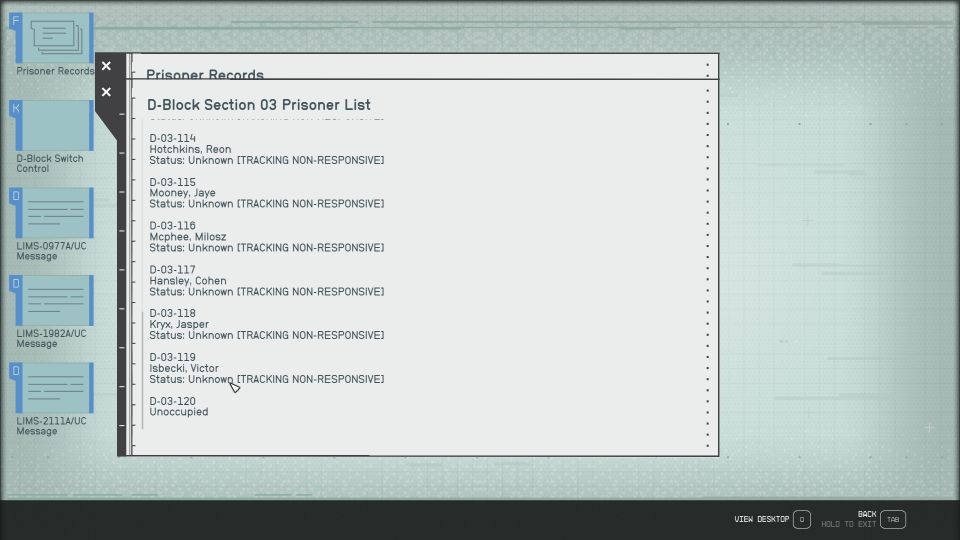
Look at Prisoner Records for D-Block Section 03 and you’ll see Jasper Kryx.
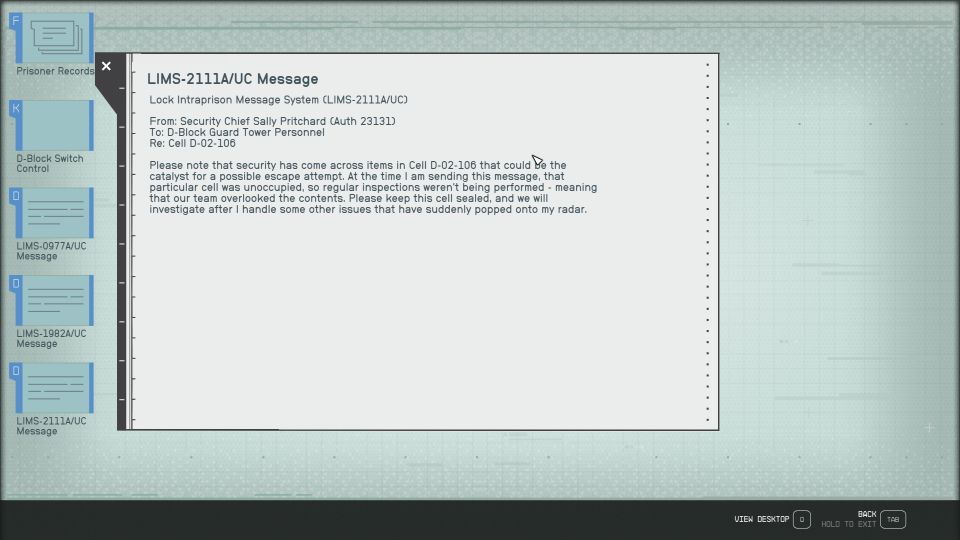
You can also look at all the other messages. The last one will unlock an optional objective.
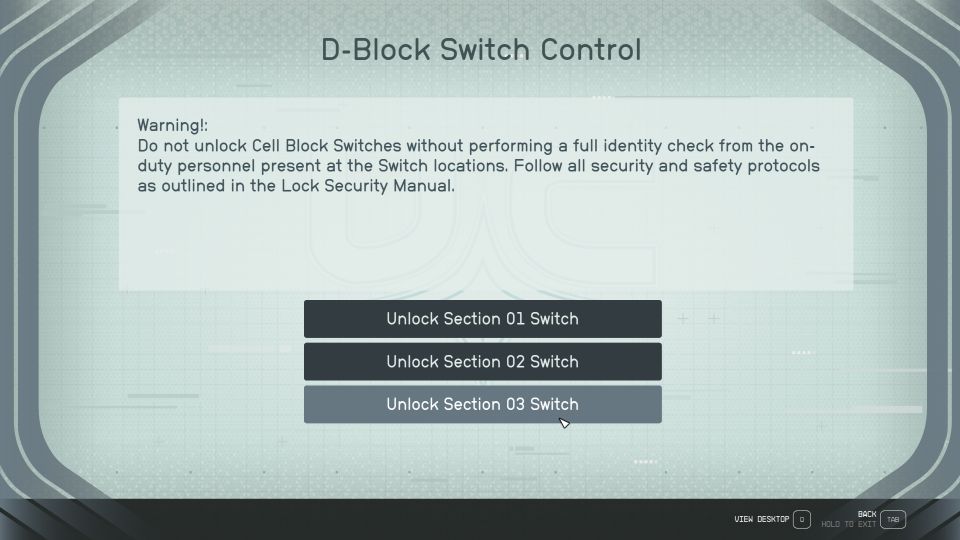
Use the D-Block Switch Control to unlock Sections 02 and 03 switches.
(Optional) Locate the cache in Cell D-02-106
This one’s optional. After unlocking the Section 02 switch, you need to look for the switch itself.
I found the switch in one of the buildings nearby. Activate the cell release switch.
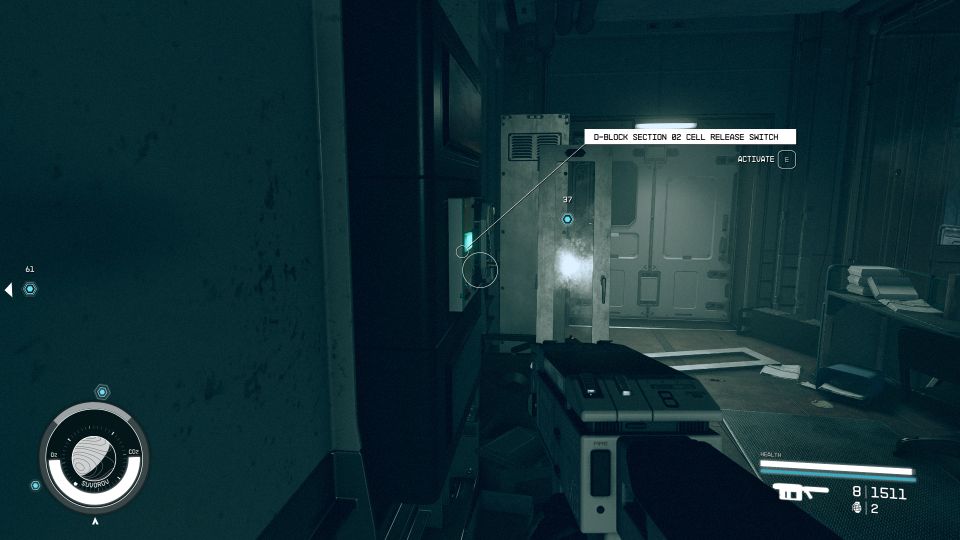
You’ll then be able to enter Cell D-02-106. Otherwise, it’ll say you need to unlock with a computer.
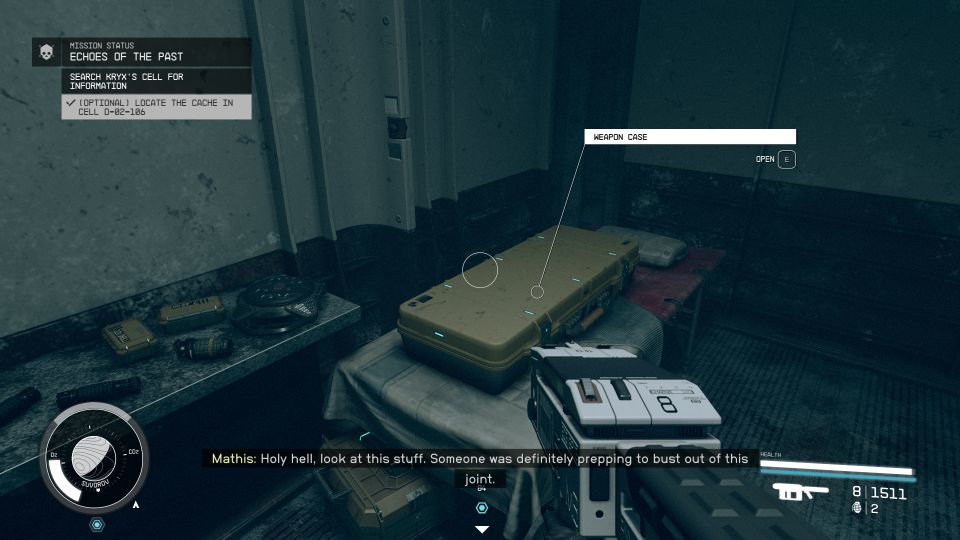
Inside the cell, you’ll find ammo, throwables and weapons.
Open cells in D-Block Section 3
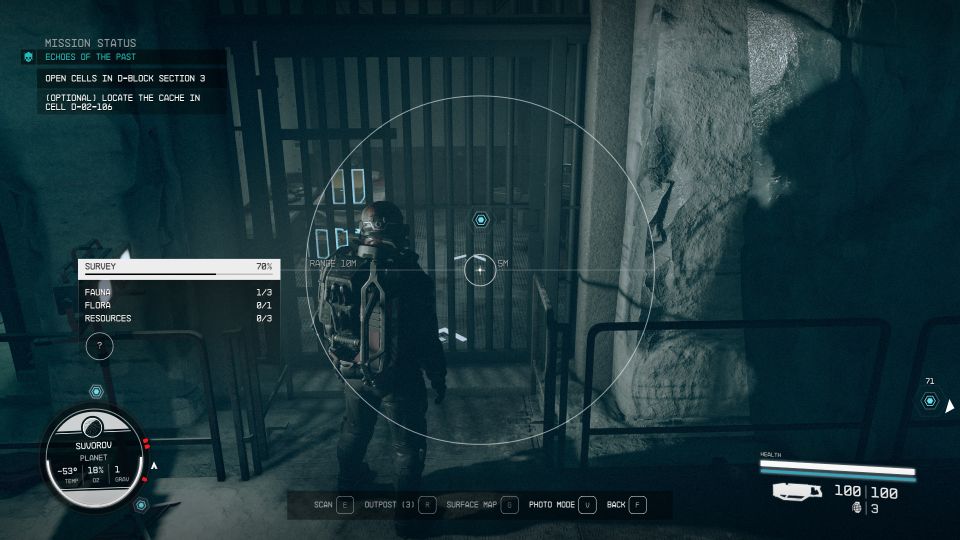
Now head to Section 3. You’ll see the switch near the cells. Activate it.
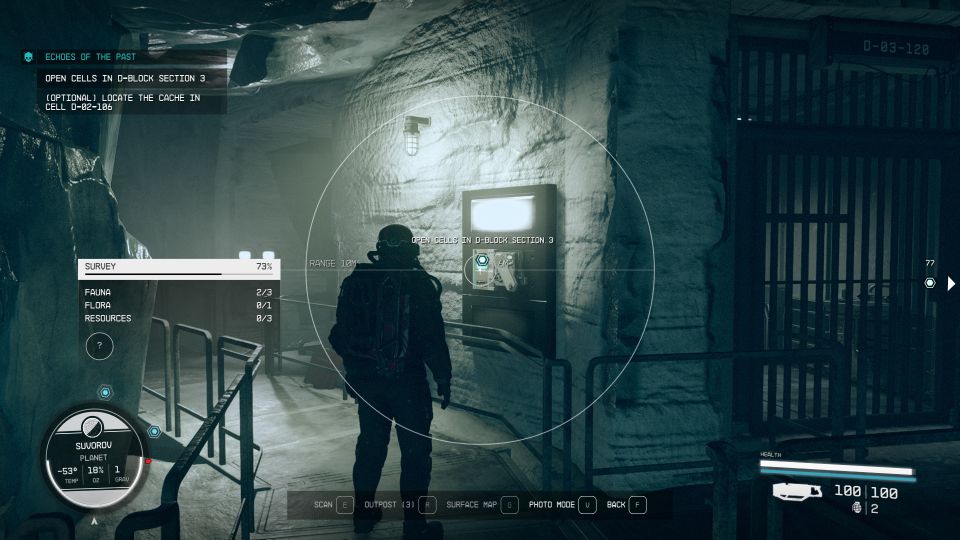
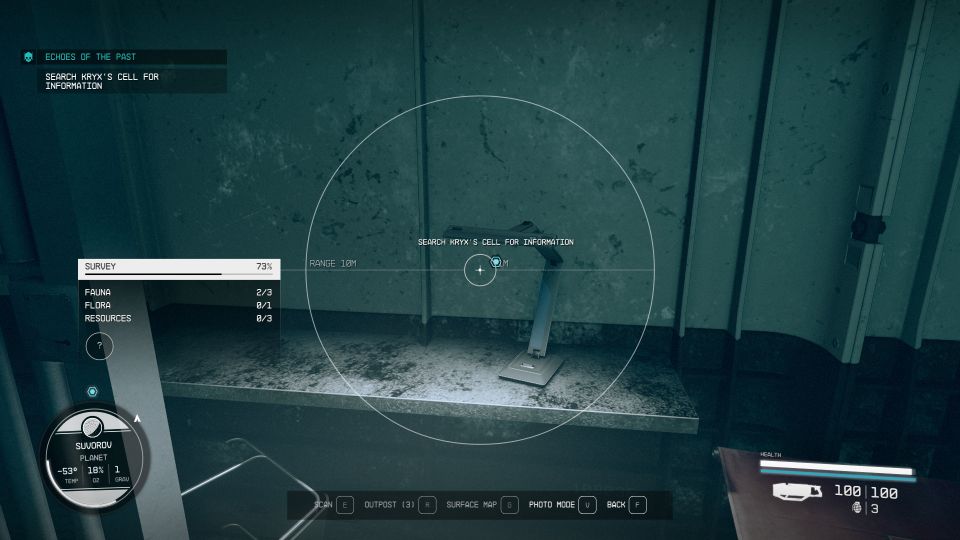
Search Kryx’s cell for information
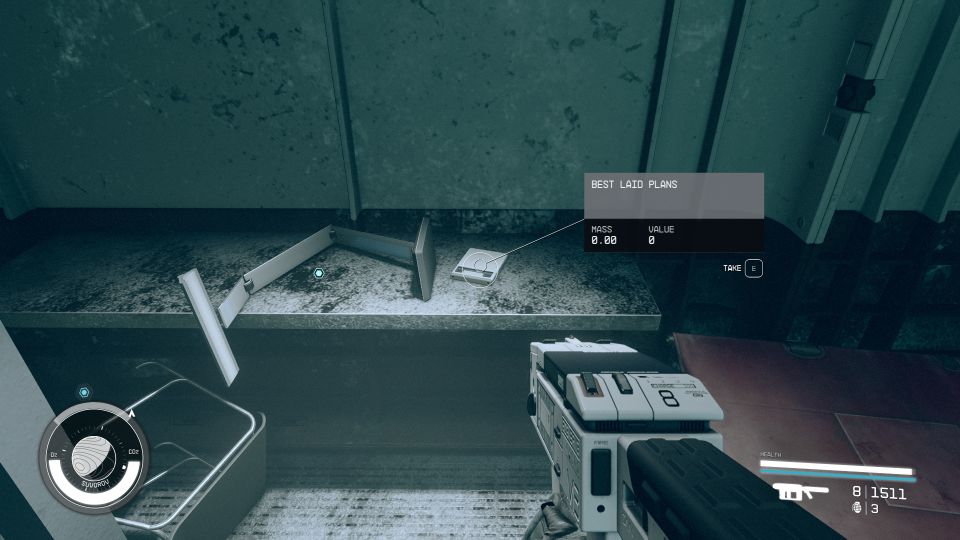
Go to Kryx’s cell. Search the lamp.
After moving the lamp, you’ll see the Best Laid Plans slate. Take and hear it.
Search Carter’s locker
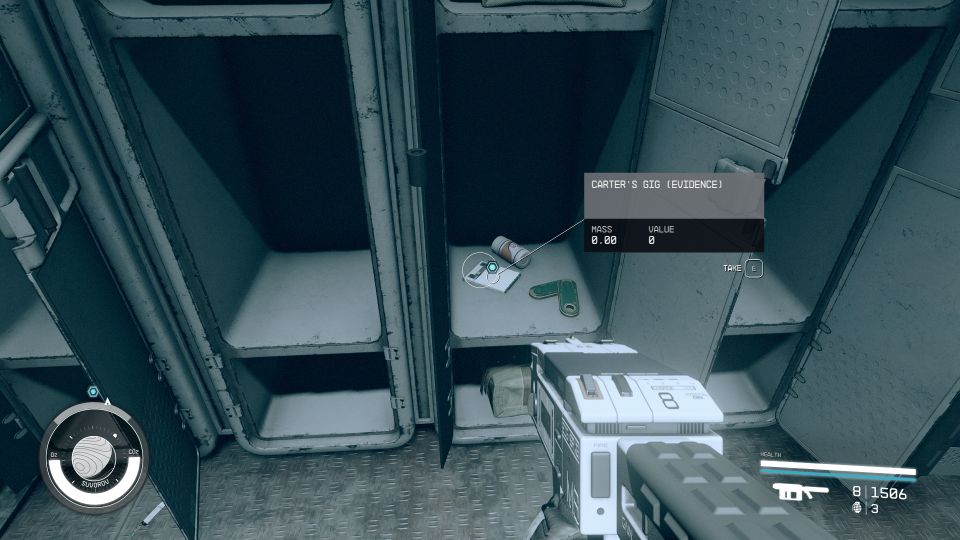
The slate leads you to the shower room in the area. Go there and search Carter’s locker.
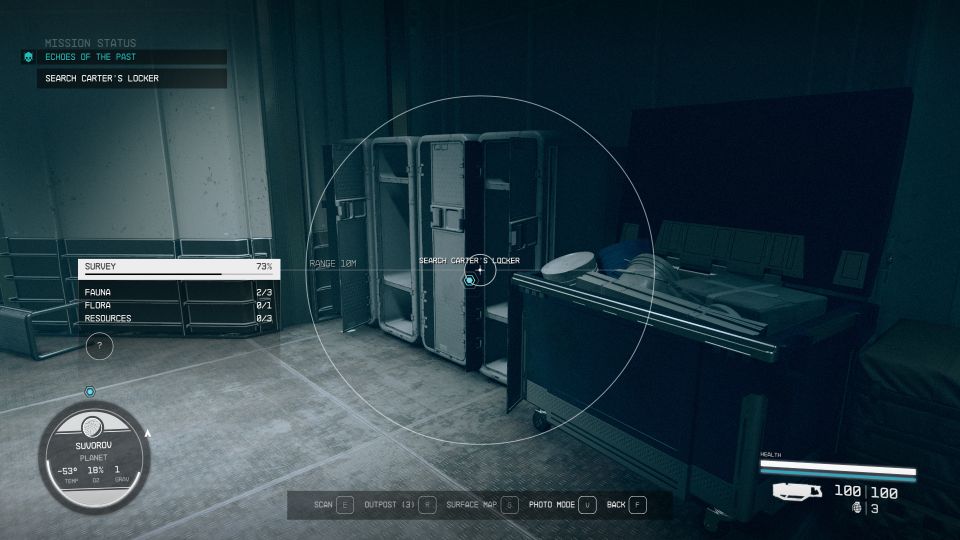
You’ll find Carter’s Gig (evidence). This evidence can later be given to UC Vigilance as part of another mission.
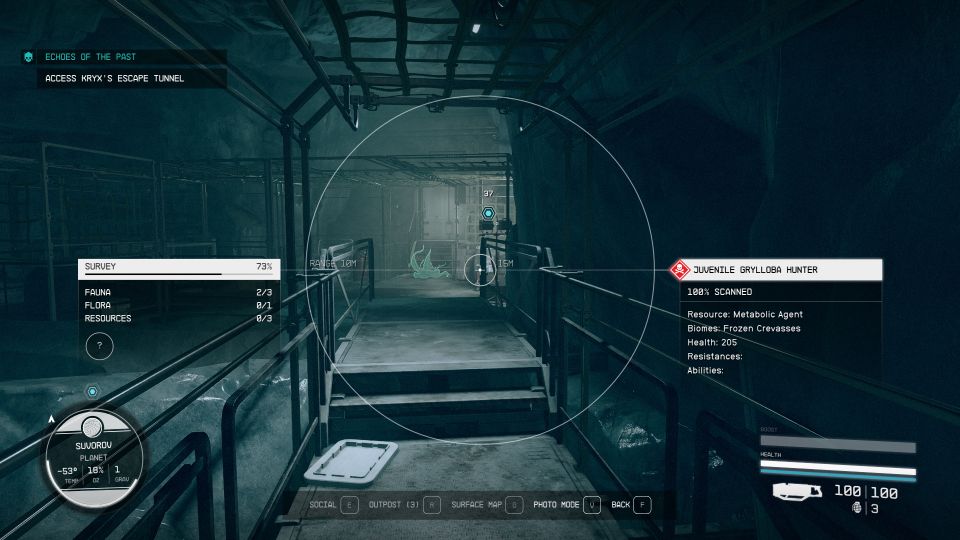
Access Kryx’s escape tunnel
Now, head over to the escape tunnel. More creatures await.
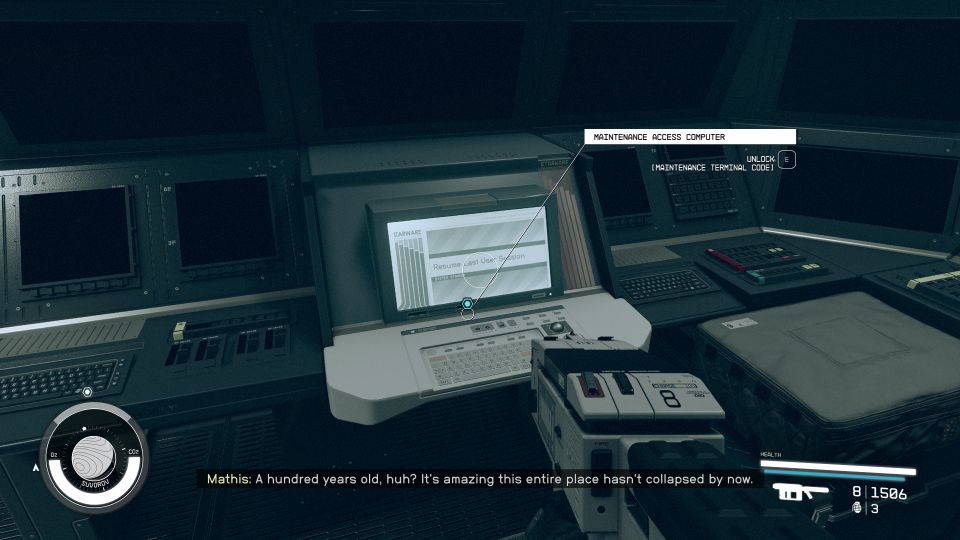
Use the Maintenance Access Computer to unlock the door.
Proceed to the shuttle bay
Then, head towards the shuttle bay. There are plenty of creatures here and also dead bodies that you can loot.
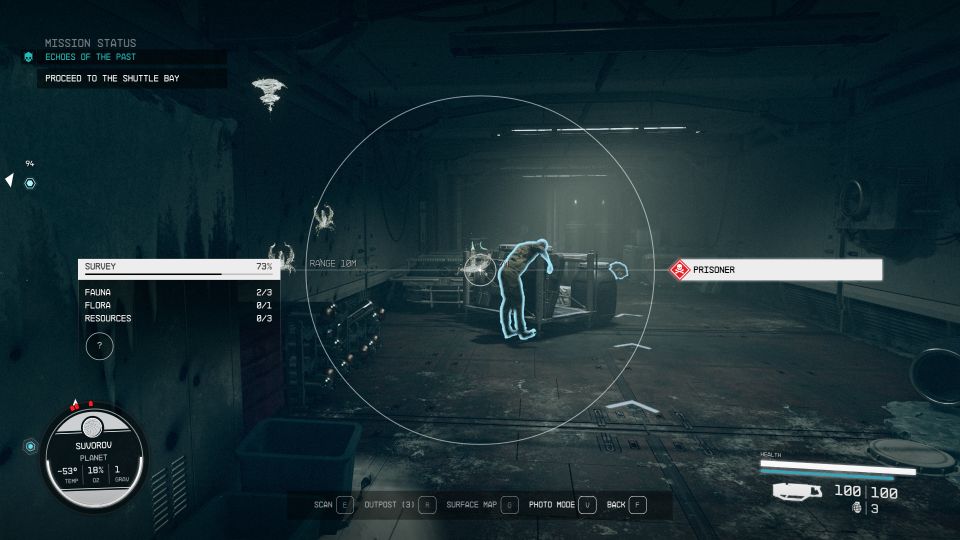
A wave of creatures might swarm towards you.
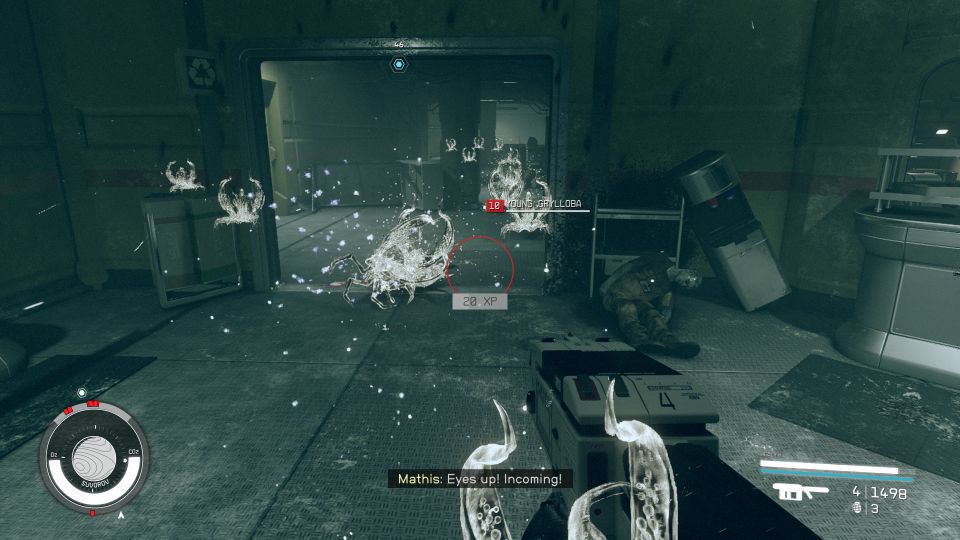
Talk to Delgado
At the shuttle bay, use the intercom to talk to Delgado.
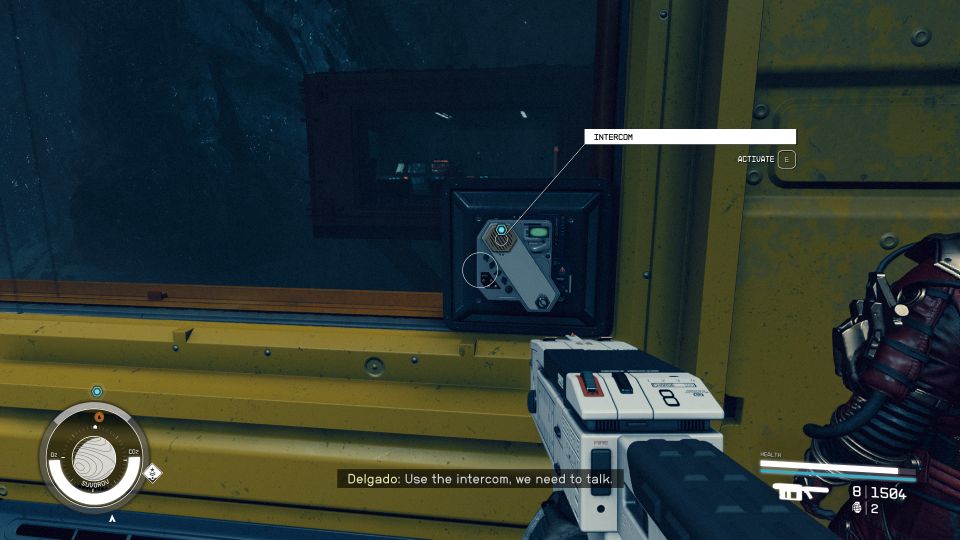
Speak to Mathis
Before leaving, talk to Mathis. If you had dismissed his idea of betraying Delgado, he’ll then ask you not to tell Delgado about it later.
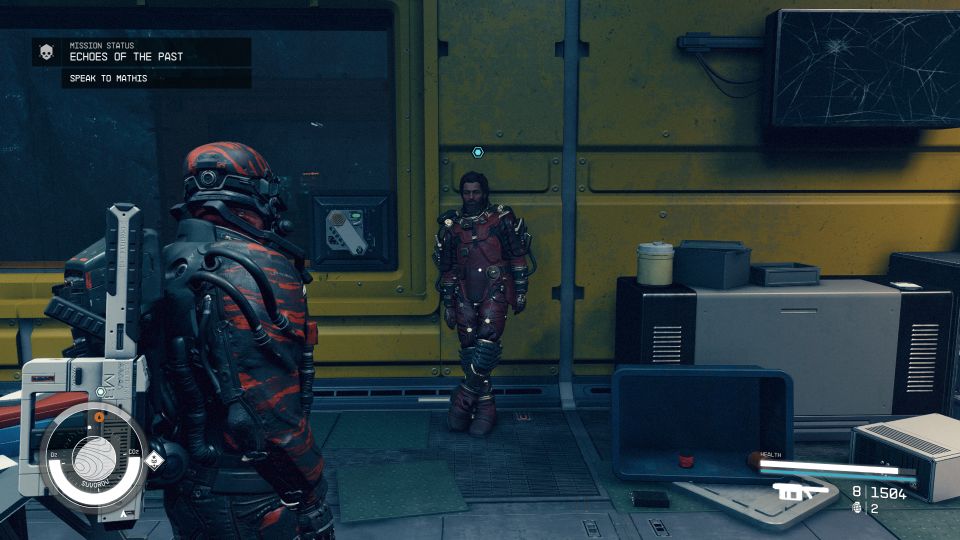
Secure the shuttle
Before you can leave with the shuttle, you need to secure the area.
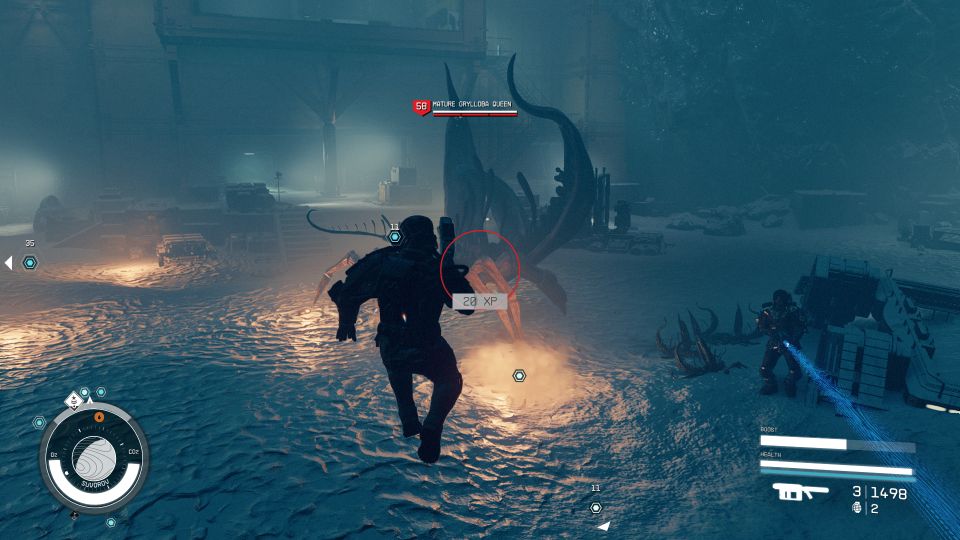
Creatures will start to come up from below.
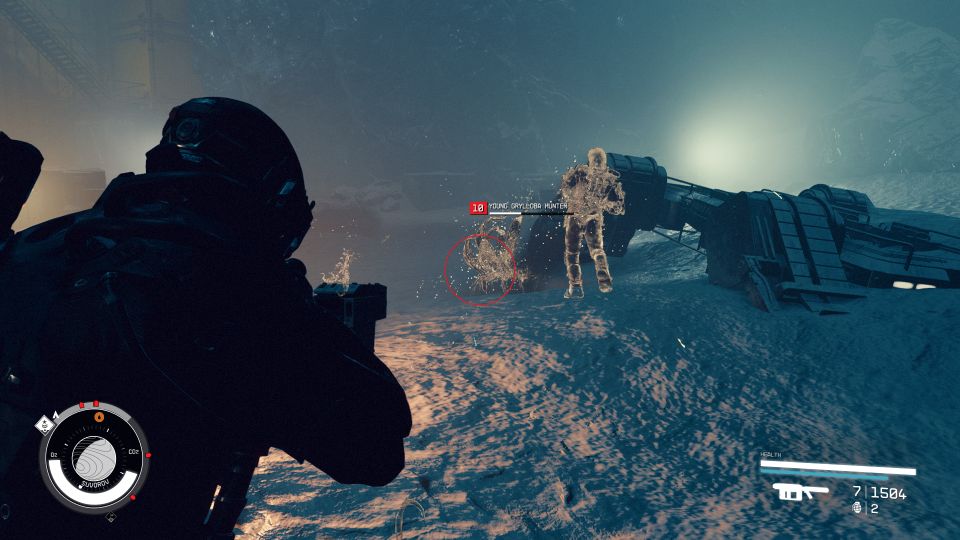
Then, the big one appears. It’s a Mature Grylloba Queen.
Use the shuttle to exit The Lock
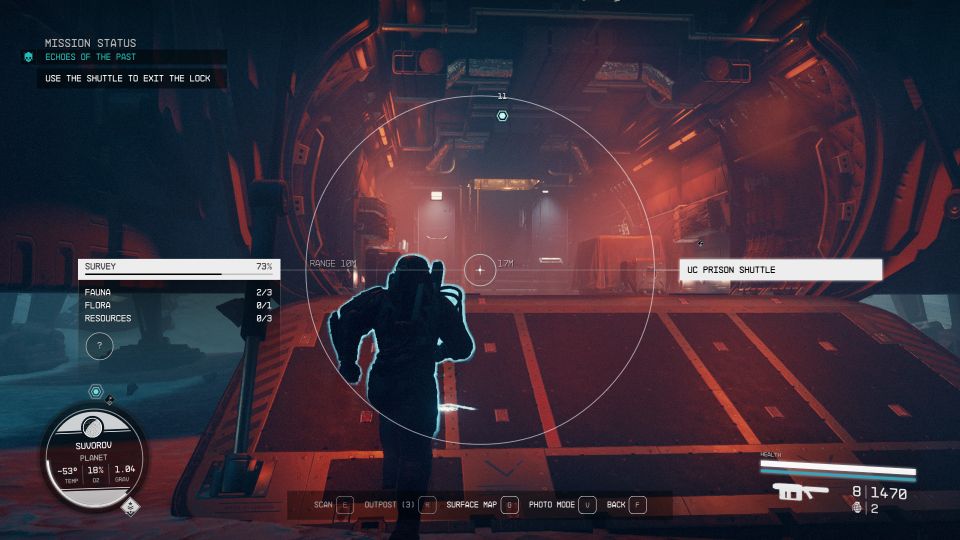
After securing the area, leave The Lock with the shuttle. Go to the pilot’s seat and head back to The Key.
Speak to Delgado
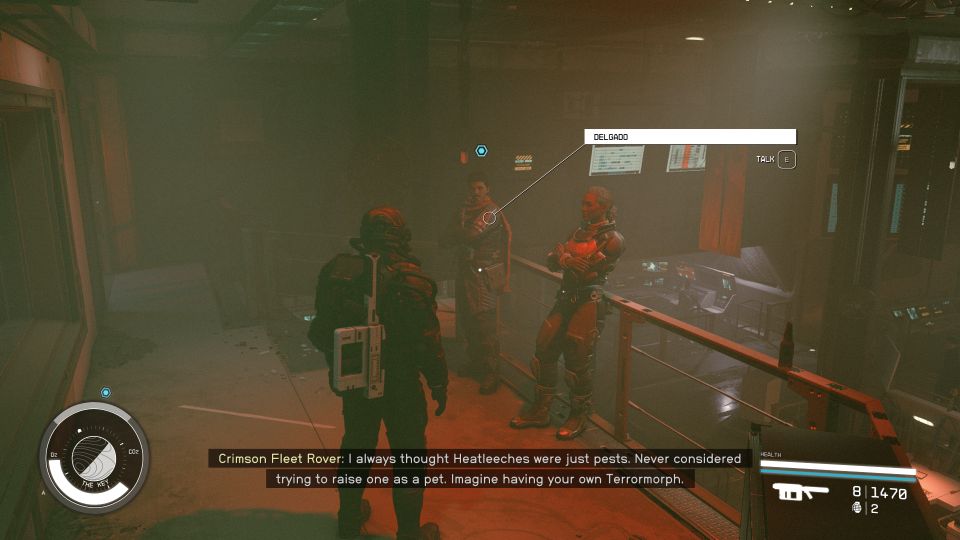
After boarding The Key, talk to Delgado.
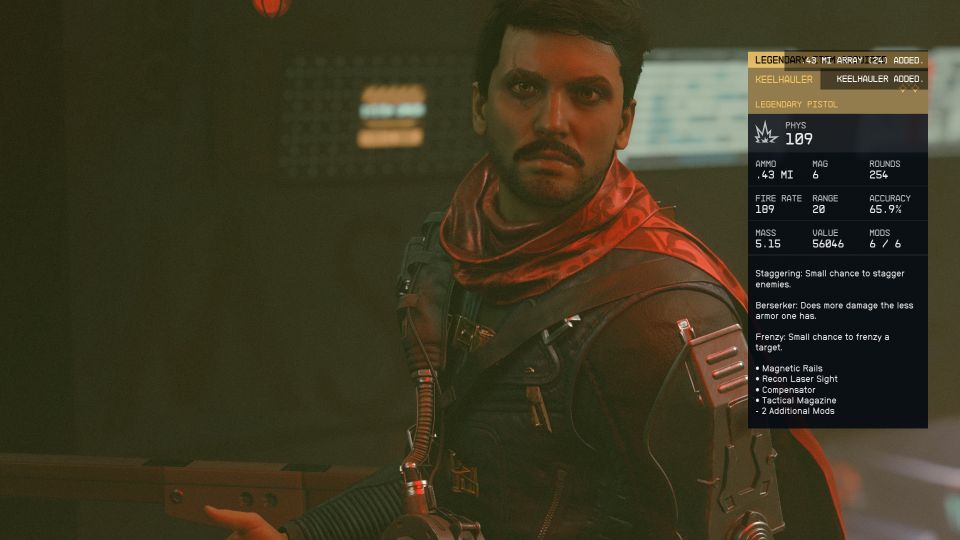
You’ll receive a legendary pistol Keelhauler for the job. It’s worth over 50000 credits.
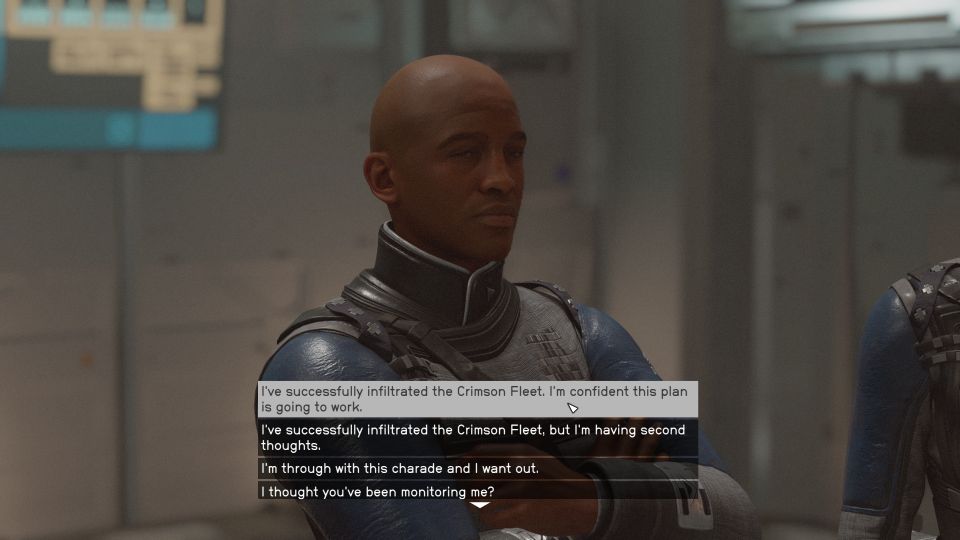
He’ll then ask you about Mathis. I chose to defend Mathis instead.
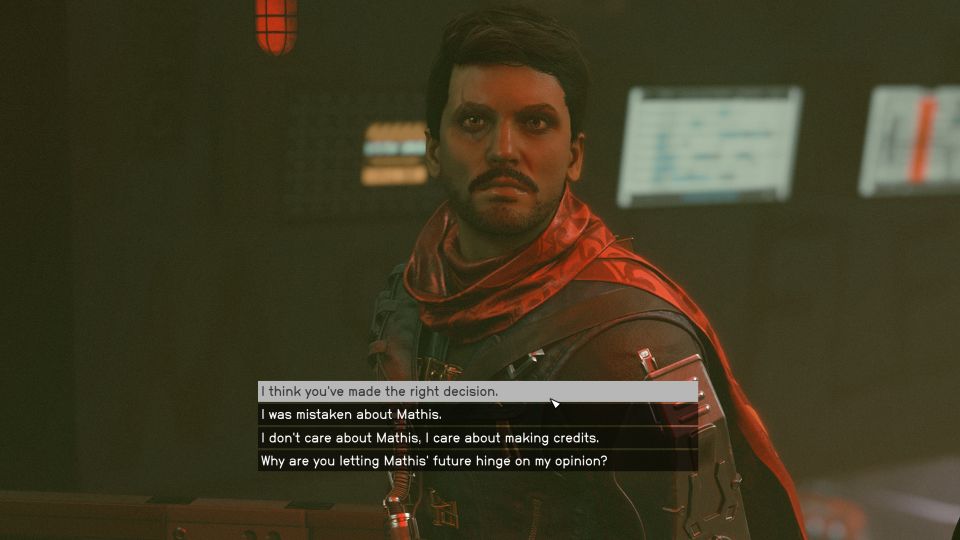
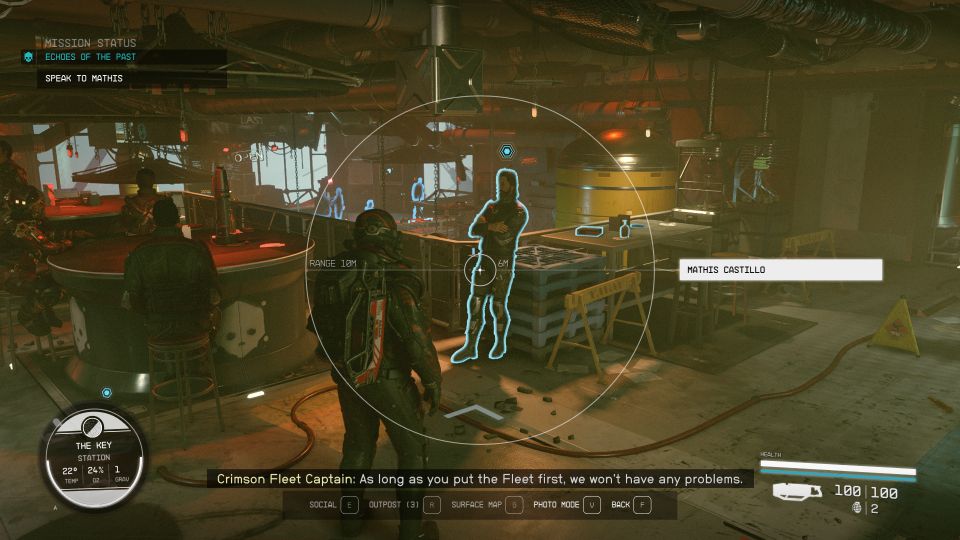
Speak to Mathis
If you had helped Mathis, talk to him at the bar.
He’ll thank you for it.
Speak to Naeva
Then, talk to Naeva at the same bar.
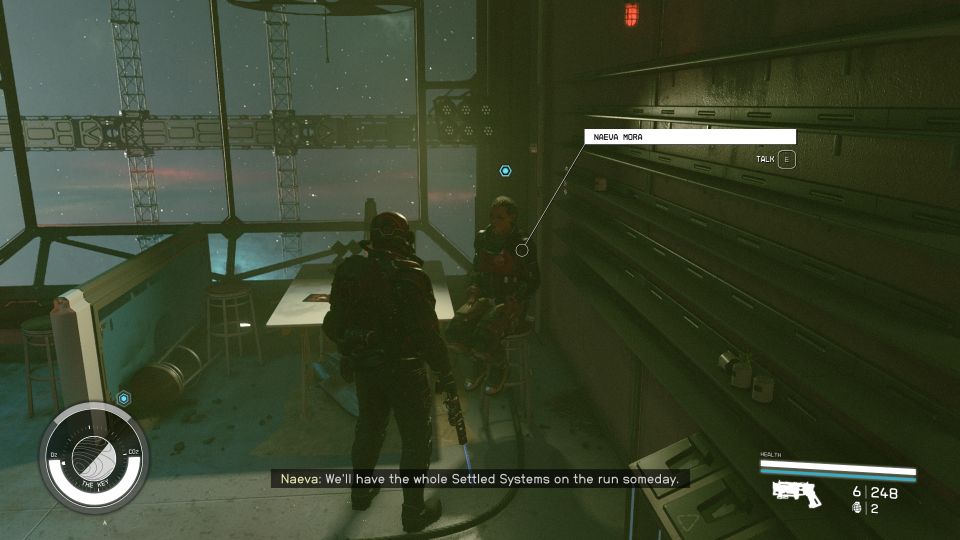
She’ll ask you to do an extra task for the GalBank job and you can’t seem to reject it.
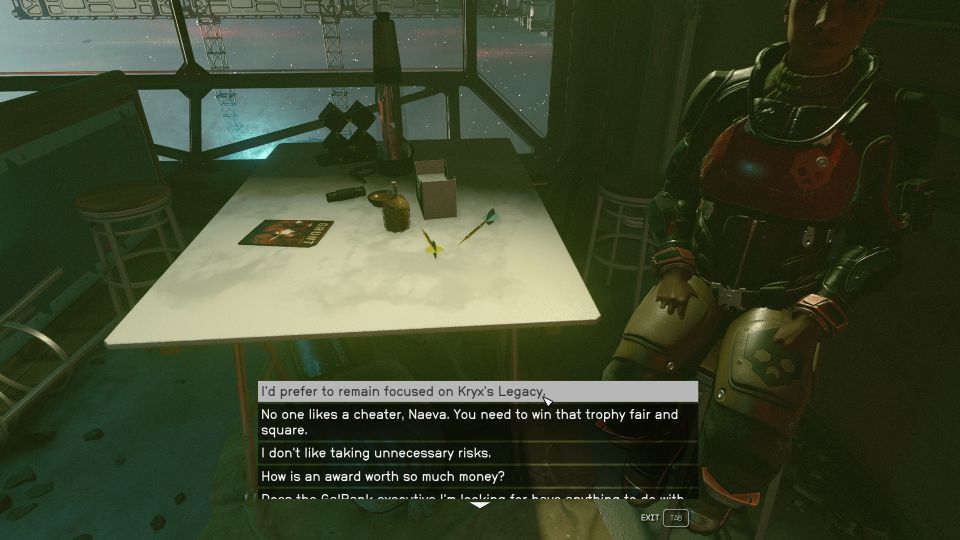
Report to UC Vigilance
When you’re done, report to Commander Ikande at UC Vigilance.
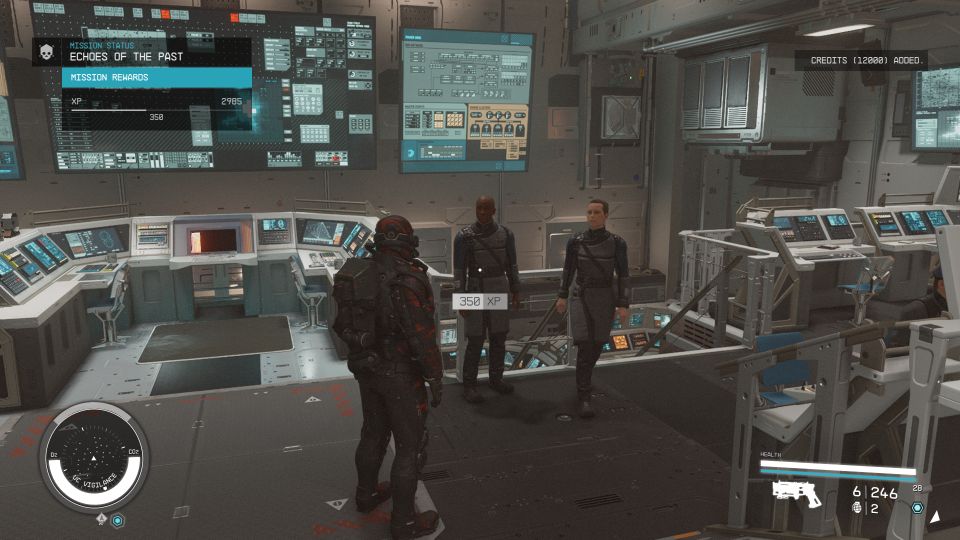
The mission ends here. You’ll earn 12000 credits.
Related posts:
