The Dying Lands is one of the main quests in Horizon Forbidden West.
Your objective is to enter the sacred cave and find out what’s going on inside with the machines.
Here’s a walkthrough of The Dying Lands in Horizon Forbidden West.
Recommended level is 15 and above.

Go to Plainsong
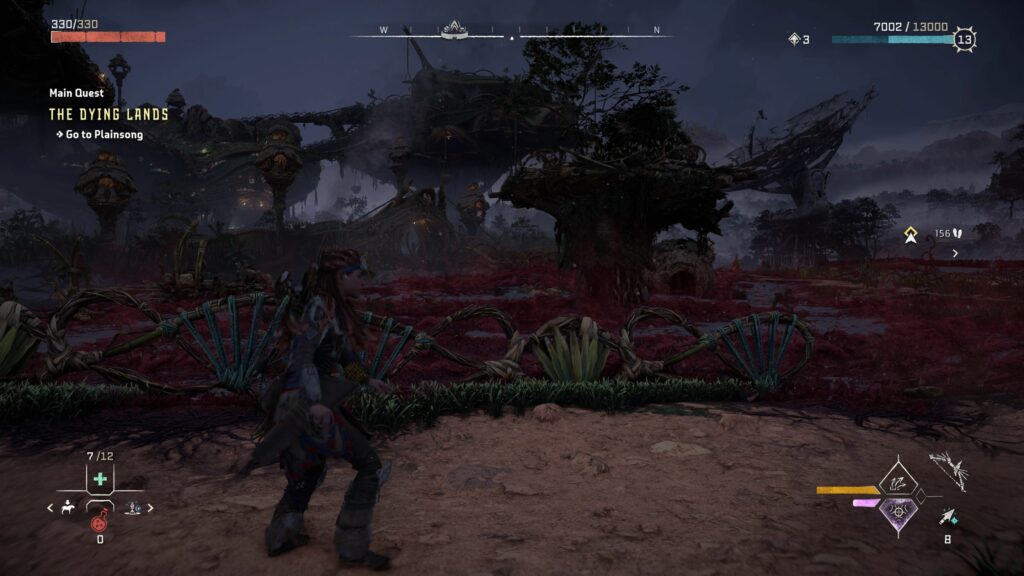
After the quest begins, head over to Plainsong as marked on the map below.
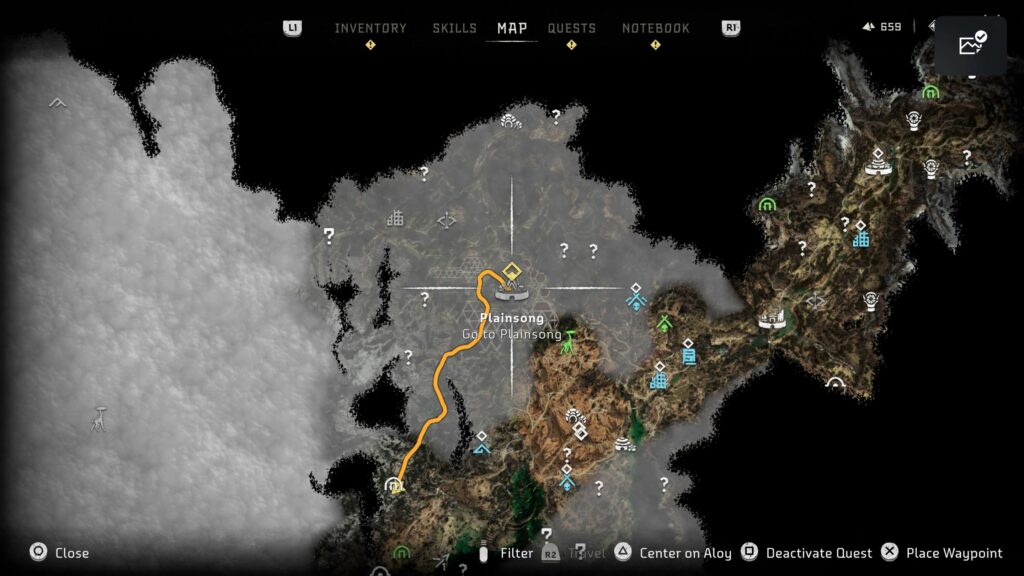
It’s a big settlement but it’s plagued with the red blight.
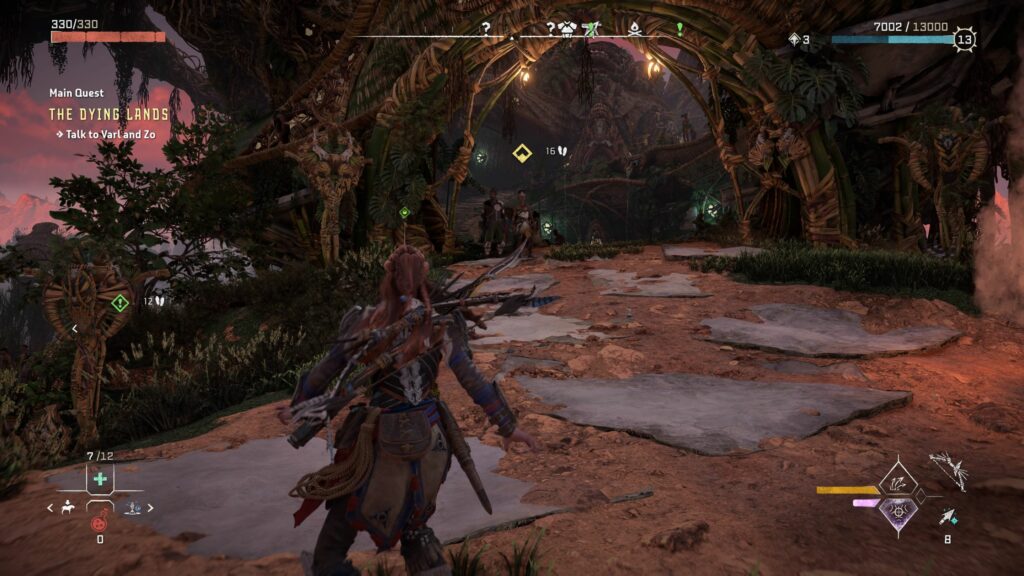
Talk to Varl and Zo
Speak with Varl and Zo who have been waiting for Aloy to arrive.
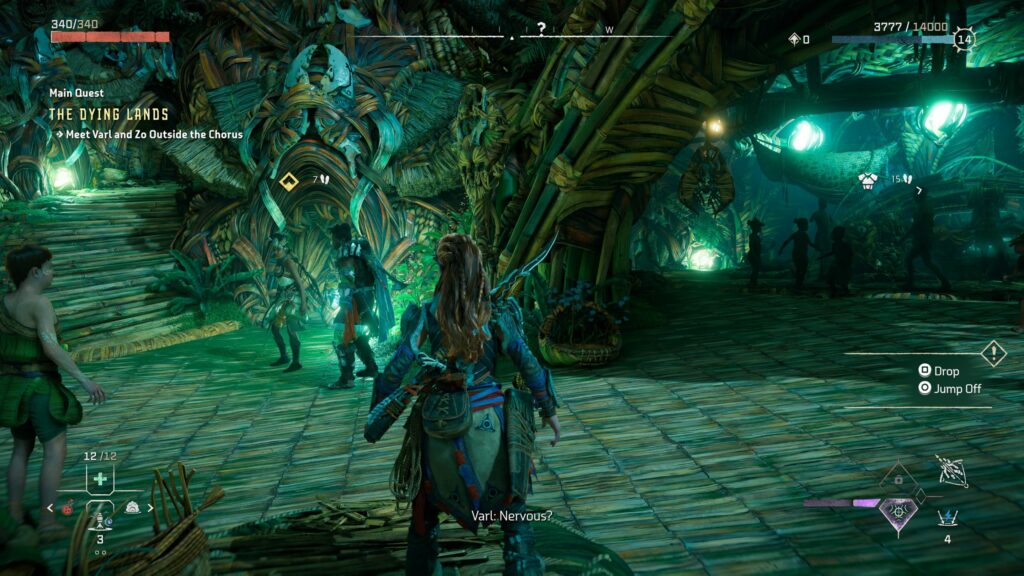
Meet them outside the Chorus
After the initial meet, talk to them again outside the Chorus, which is at the upper part of Plainsong.
You’ll be asked if you wish to proceed because this quest will take you to a new area later. You can probably still come back later to this area.
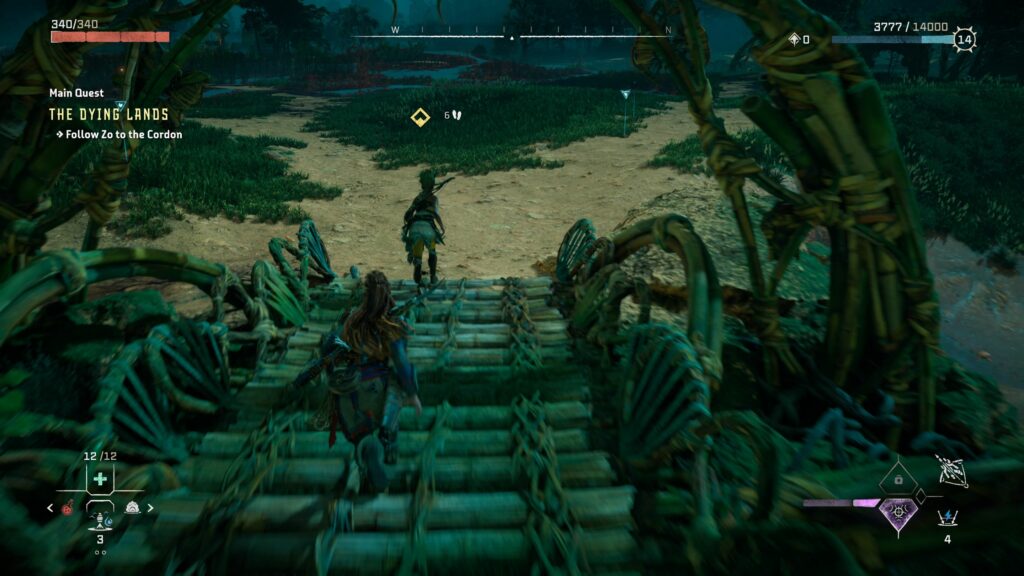
Follow Zo to the Cordon
After the meeting a wave of machines will attack. Follow Zo to the Cordon where the machines came from.
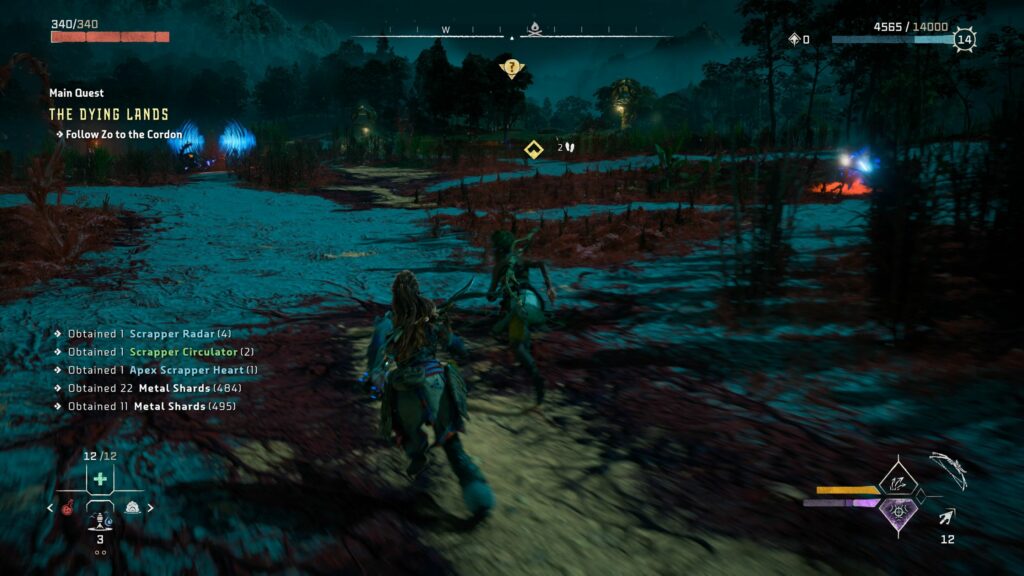
You can ignore the machines that are attacking the others.
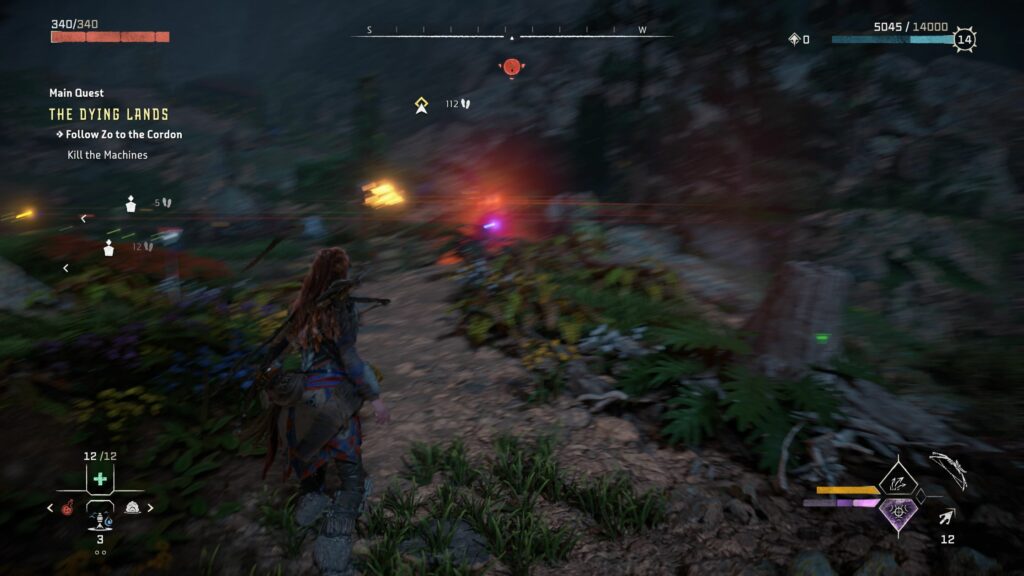
At one point you’ll be asked to defeat the machines.
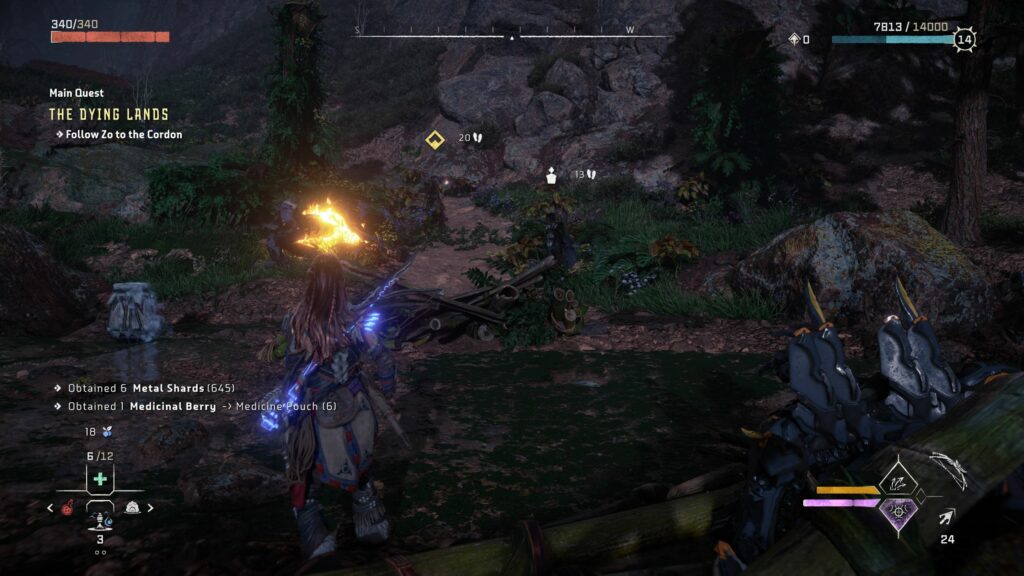
Then, continue following Zo to the Cordon.
Enter the sacred cave
Enter the cave together with Varl and Zo.
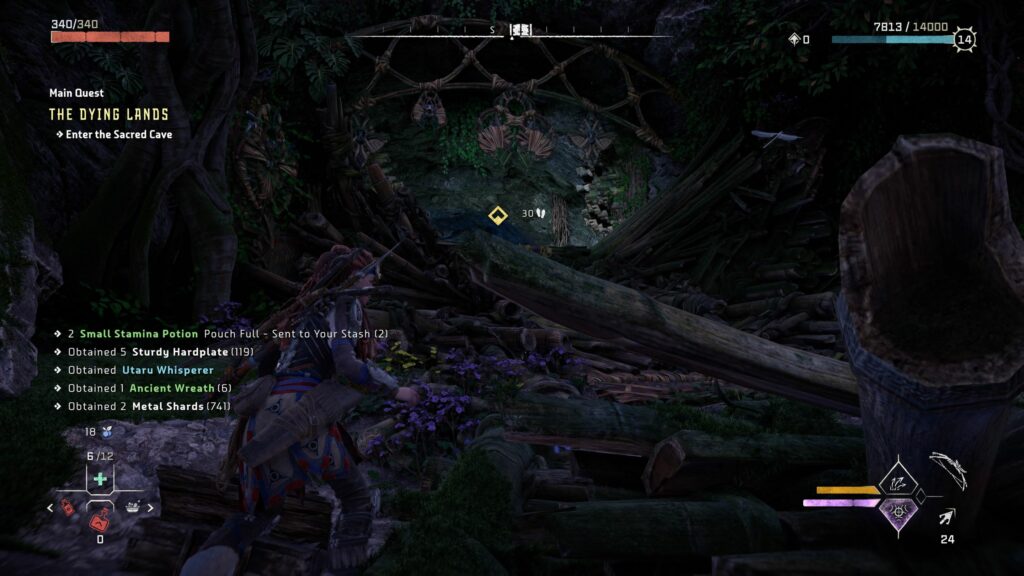
Explore the cave
Keep going until you reach the electric wall. Climb up the ledge on the right.
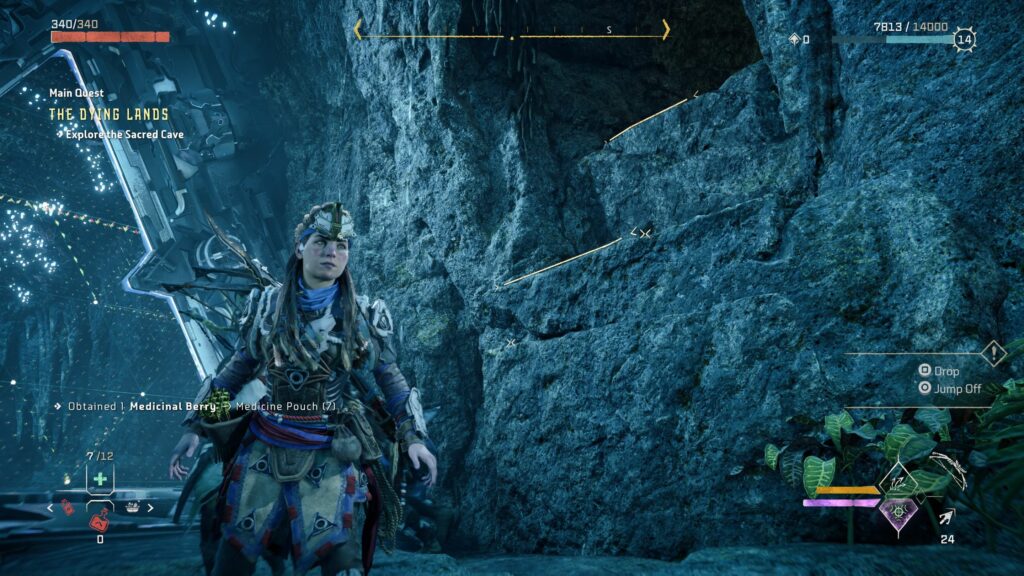
Follow the path and later jump to the other side.

Continue going until you see the huge door.
Override the door.
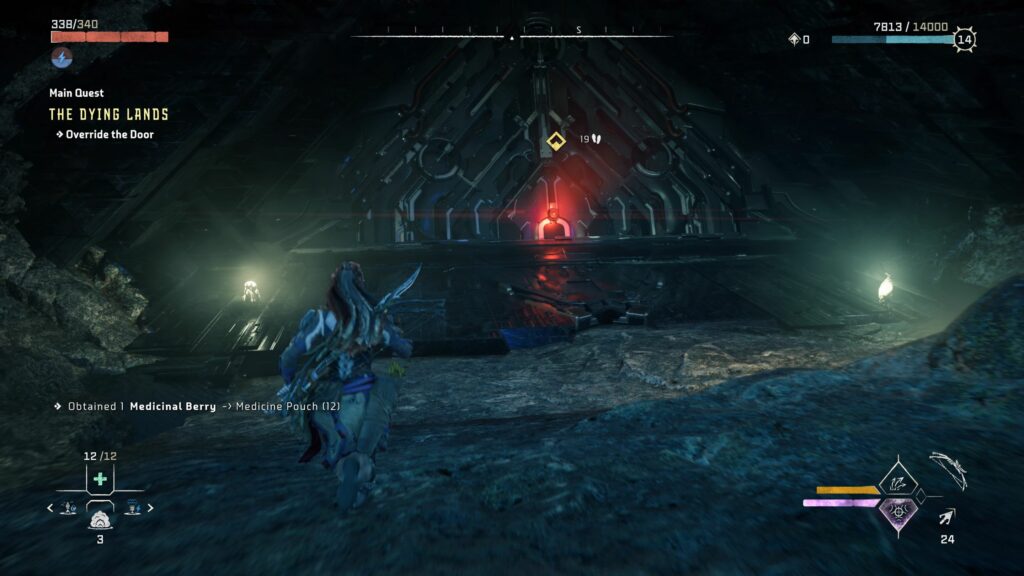
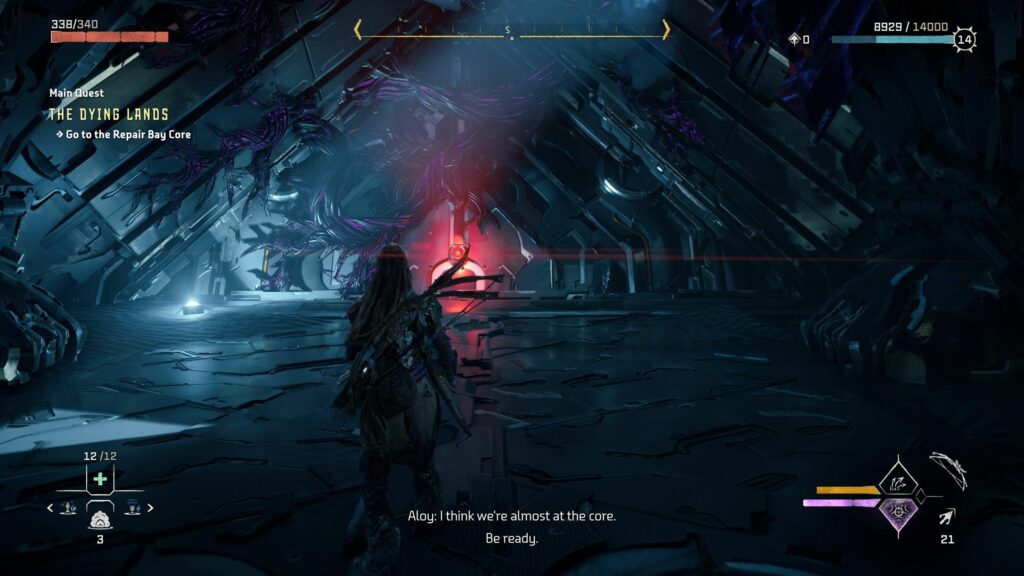
Go to the Repair Bay Core
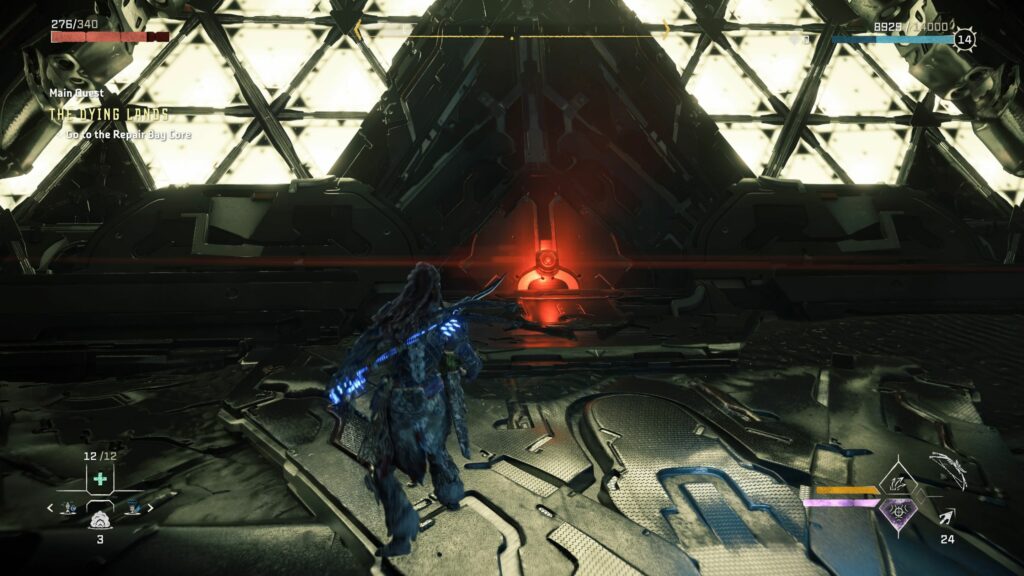
The aim now is to head to the Repair Bay Core.
As soon as you enter you will face three machines. Take them out.
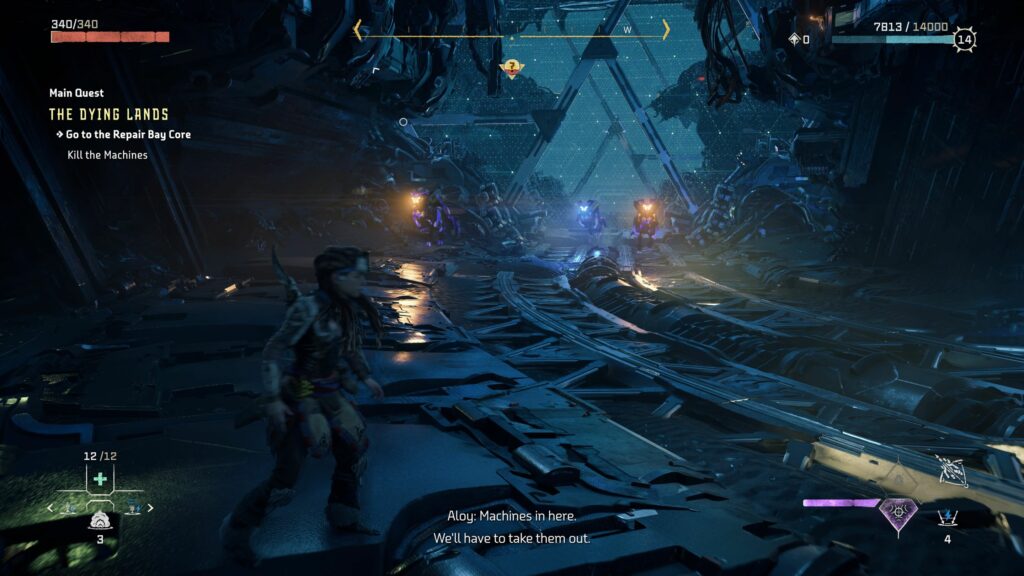
After the machines are dead, head to the big door and override it.
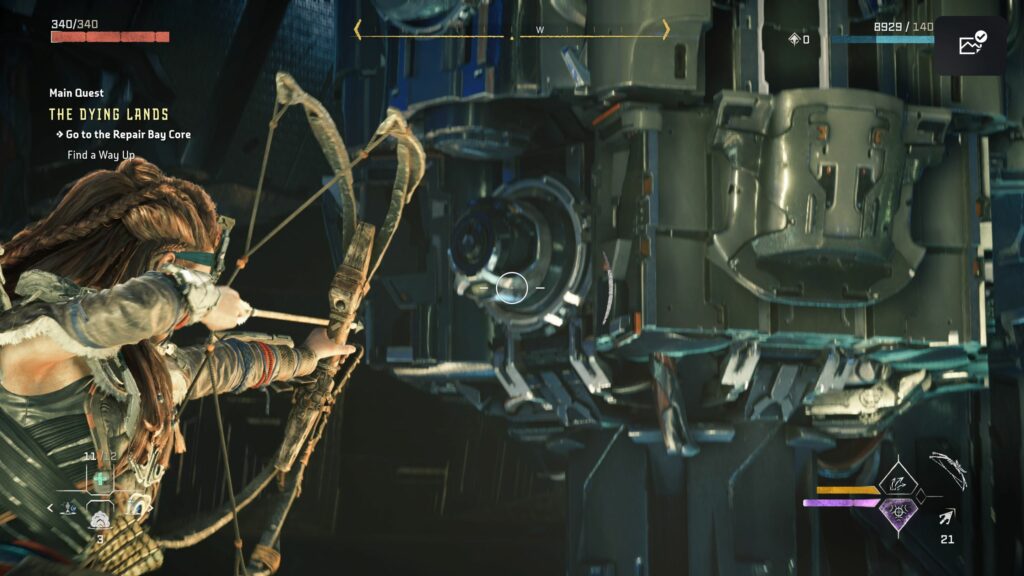
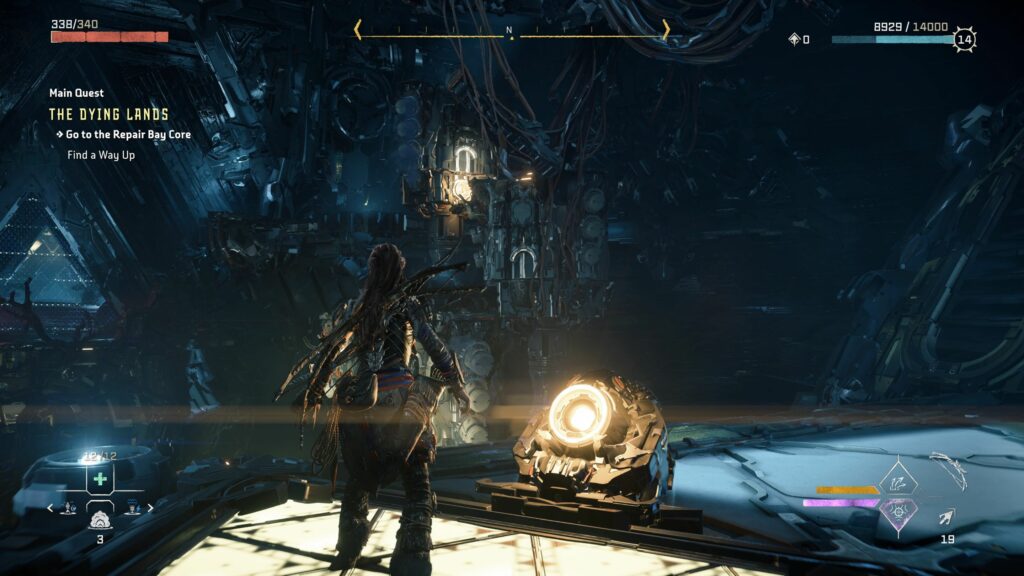
In the next area, you need to find a way up.
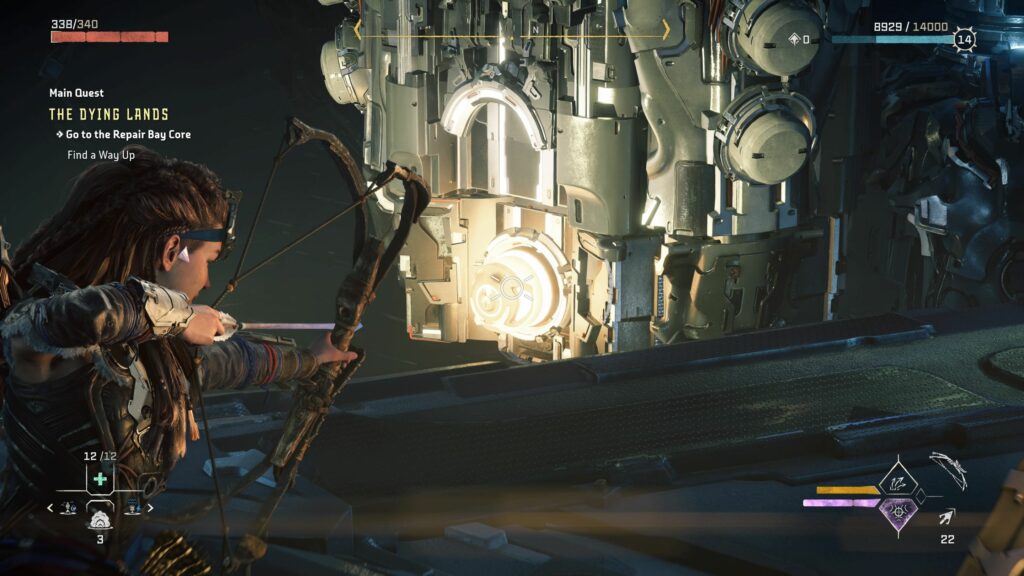
You basically need to shoot the gears when they light up in white. If it turns red it means the timing is off or it’s not the correct position.
Once you’ve done so, the gears will stop moving and you can jump up to the upper platform.
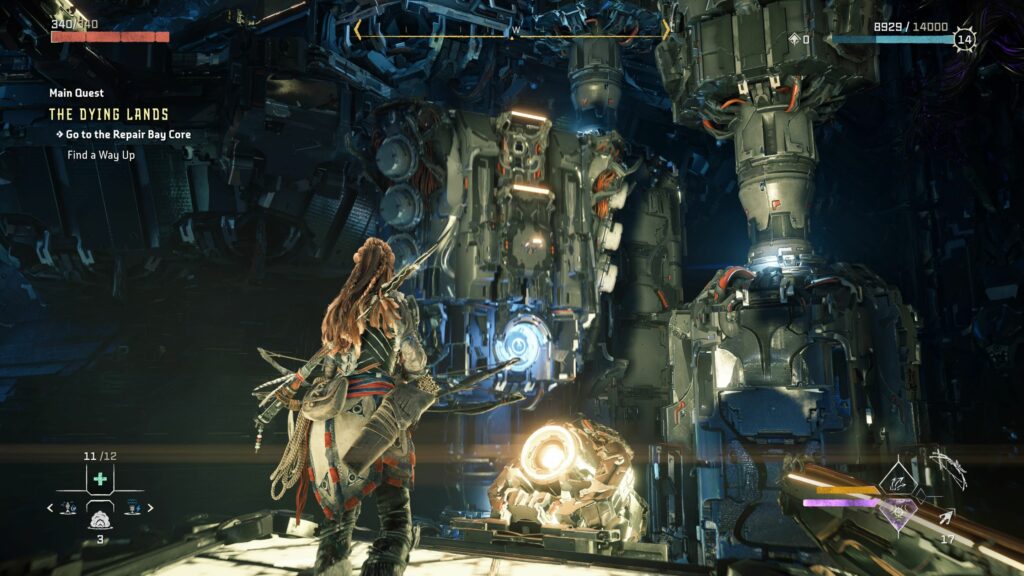
Do the same for the next few sets of gears.
After reaching the top, you’ll see a glass window which is broken. Attack it to destroy the glass.
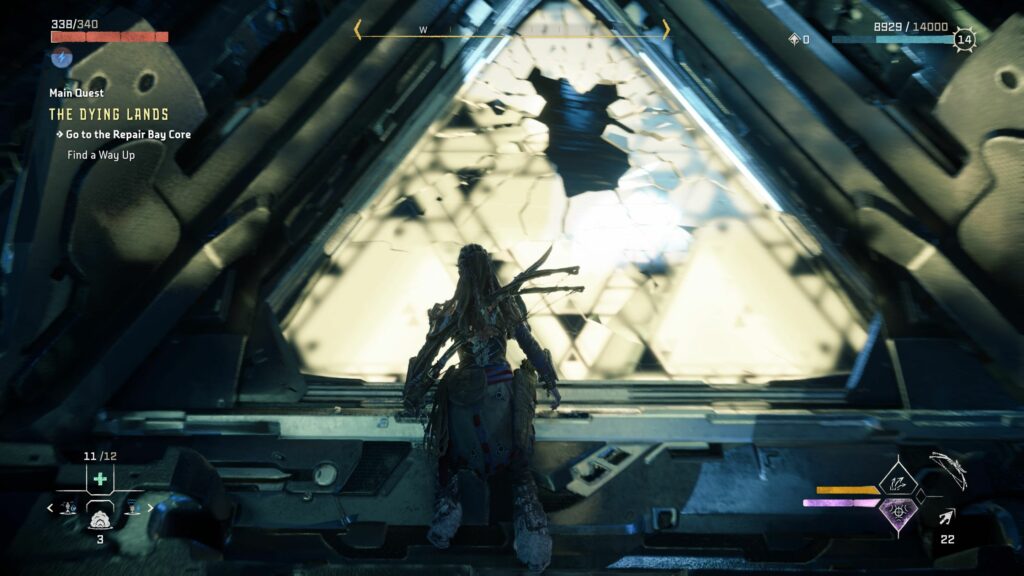
Enter the small room and you’ll see a crate.
Push the crate out of the electric wall.
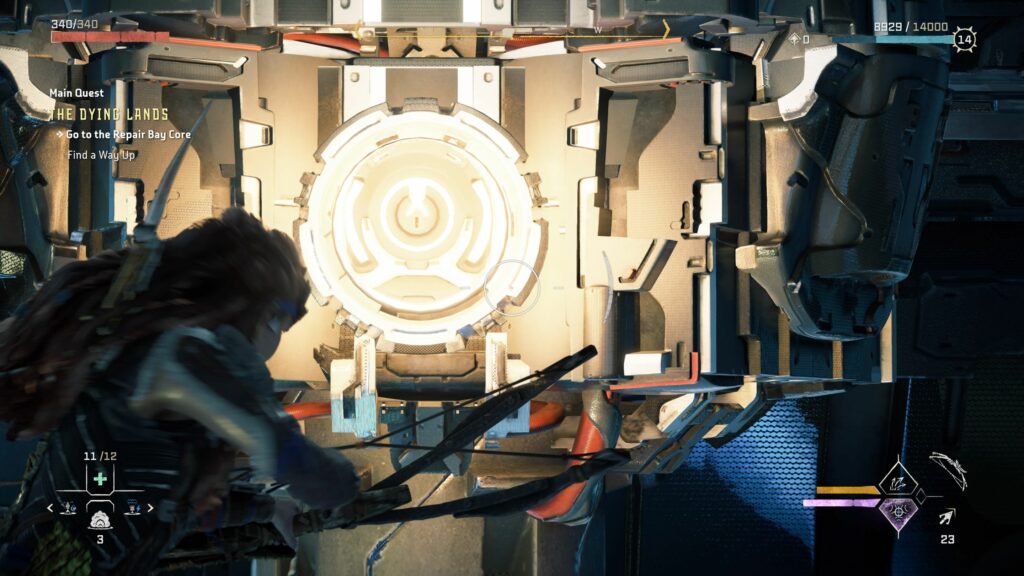
Then, push the crate towards the platform button.
You will now be able to shoot at the gears in front of you. Jump onto the platforms after the gears have stopped moving.

From here you can grapple to the next platform.
You will then be required to shoot more buttons to stop the gears.
This time, it moves much faster so you should already aim in concentration mode to slow down time.
There’s only a small amount of time before the white light disappears. Shoot it to stop the gear from moving.
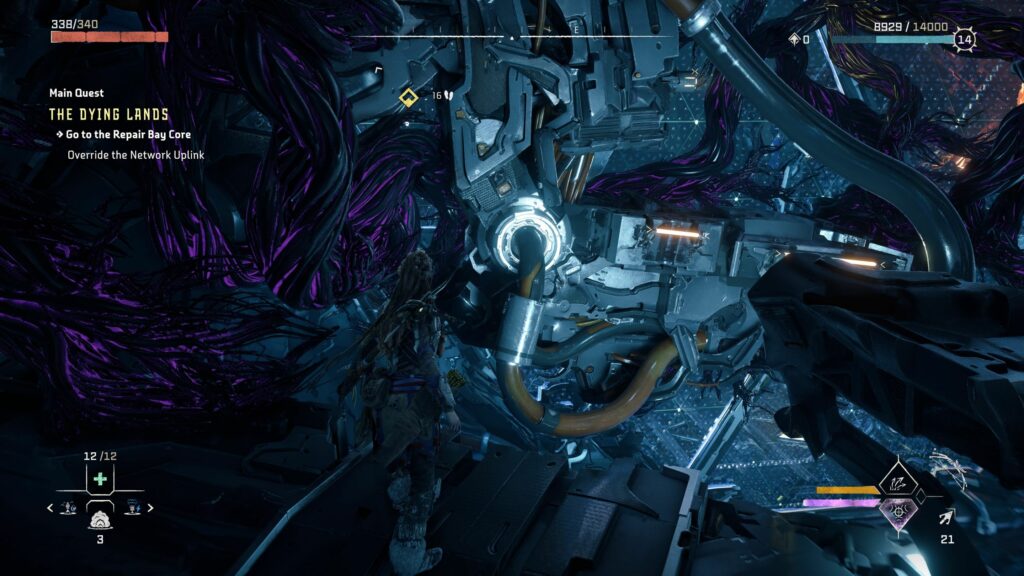
When you’re done, jump onto the new platforms and you’ll eventually be able to override network uplink.
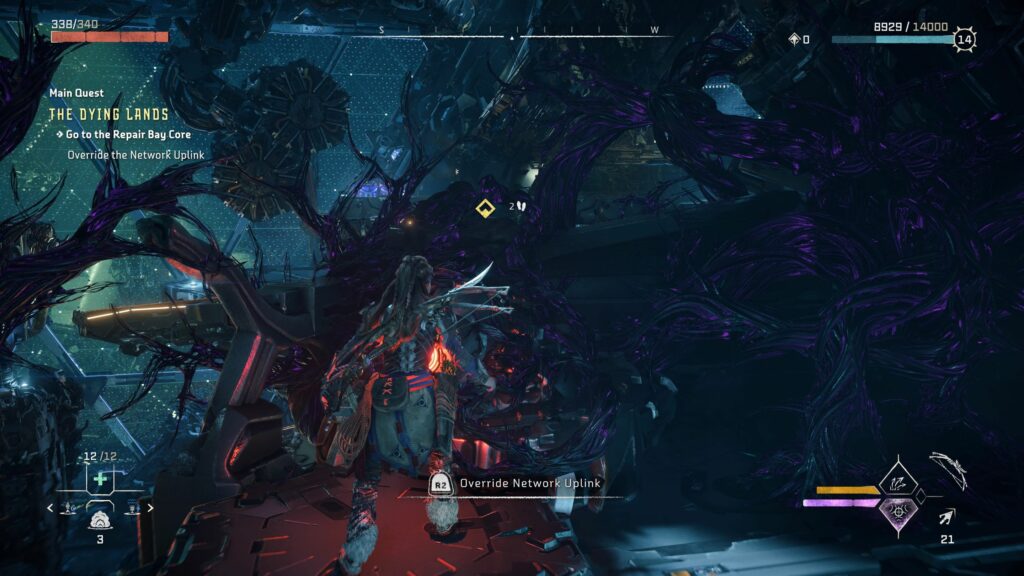
Now, head to the next area.
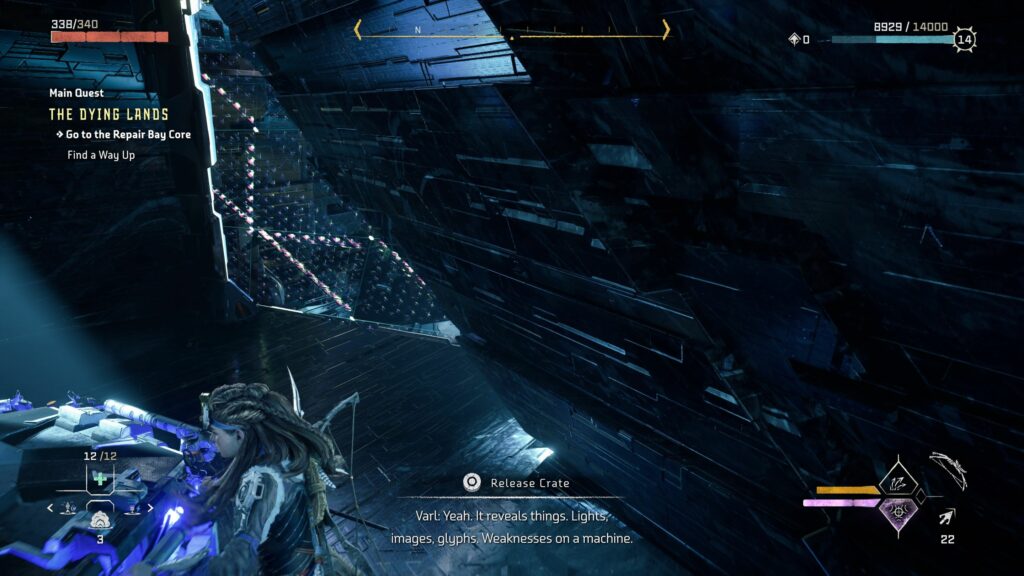
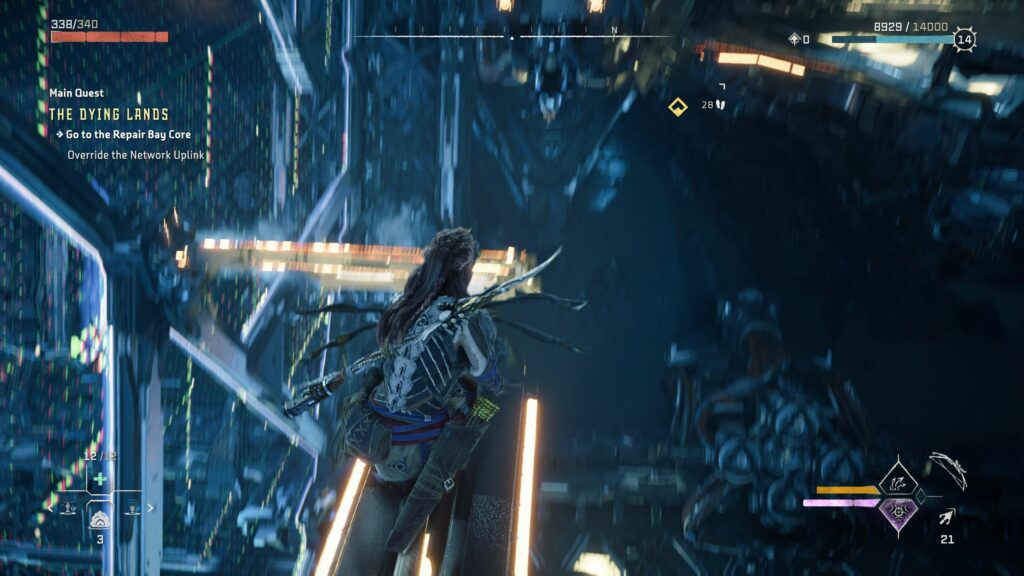
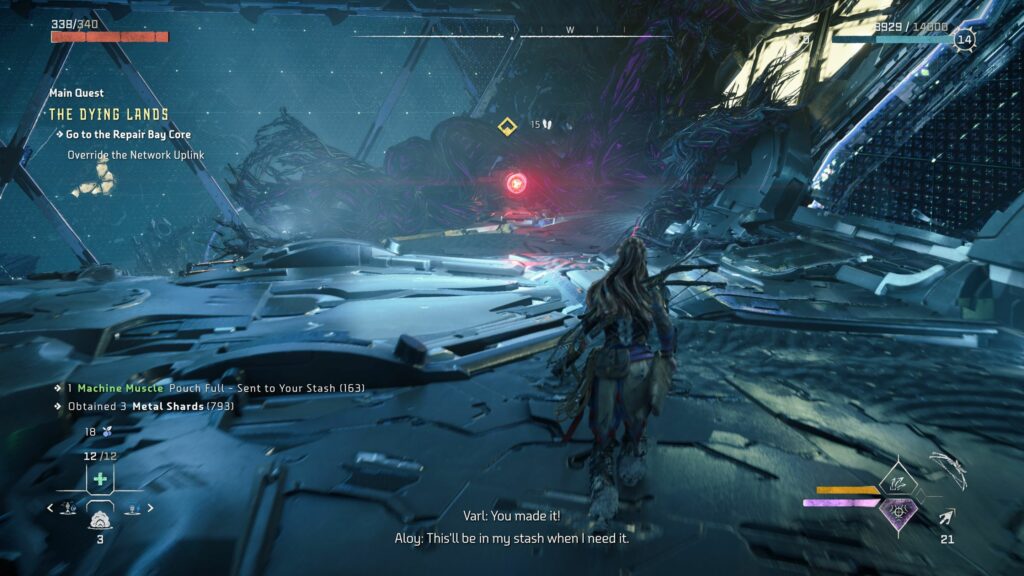
To jump to the other side, wait for the lower beam to pop up in front of you. Then, jump onto it and to the next ledge.
As you climb up, you’ll see a breakable window again. Break it and get the loot inside.
Come back out and head to the right side of the room (if you’re facing the glass window). Use focus and you’ll see a way to climb at the side.
You will then reach the upper floor with another network uplink to override.
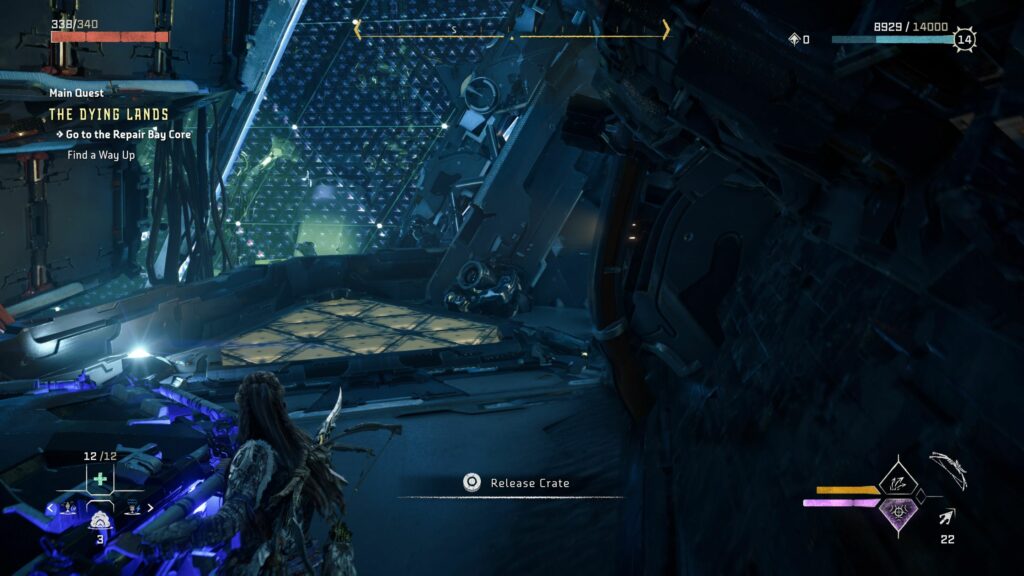
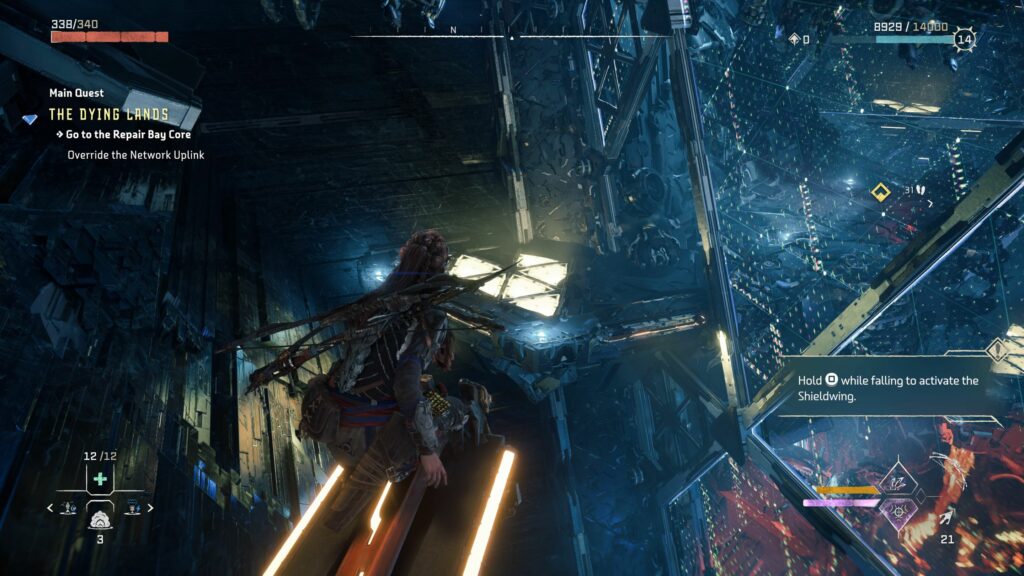
When you’re done, jump towards the lower platform and glide there.
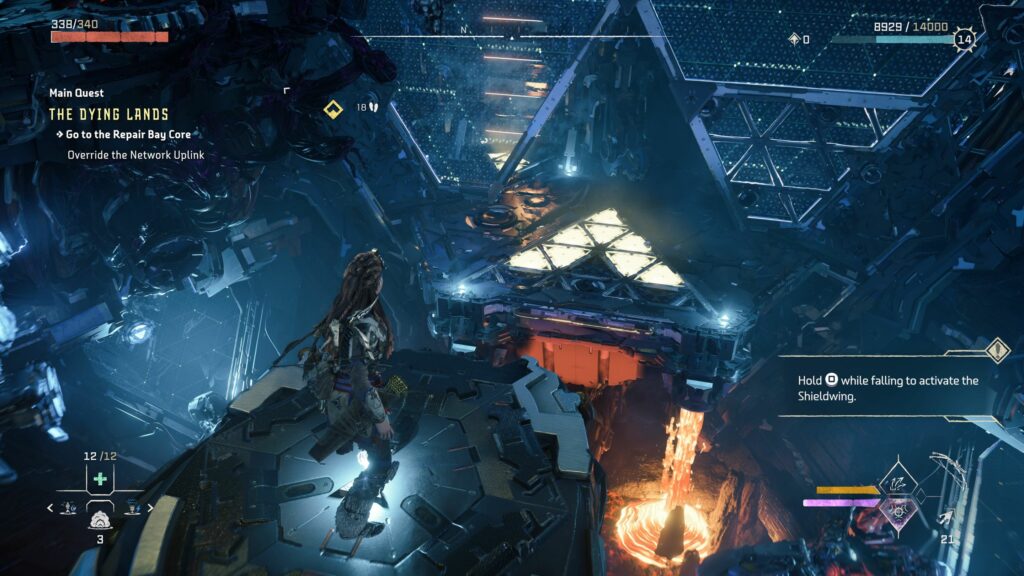
From the platform, look up and you’ll see a way to climb up.
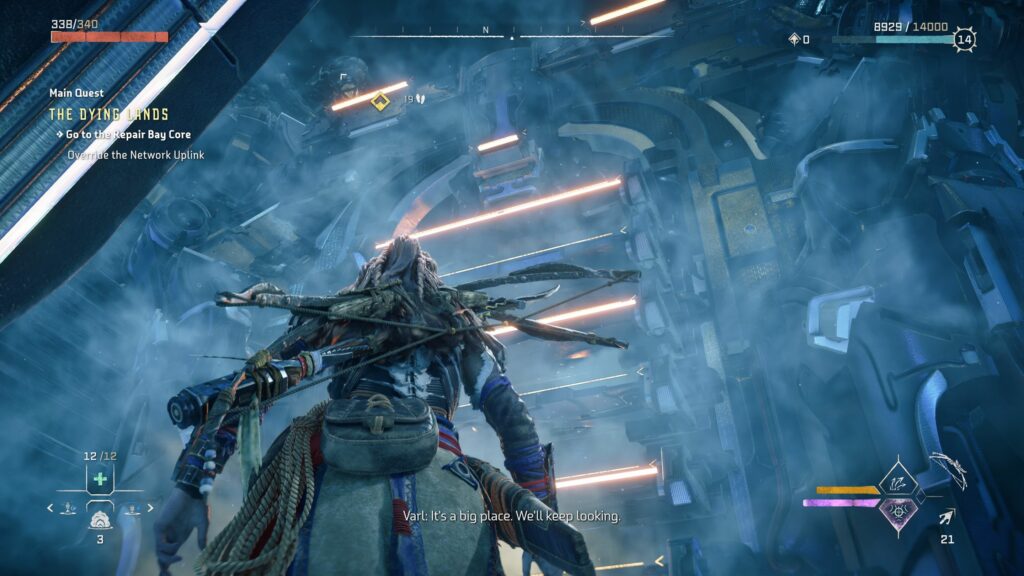
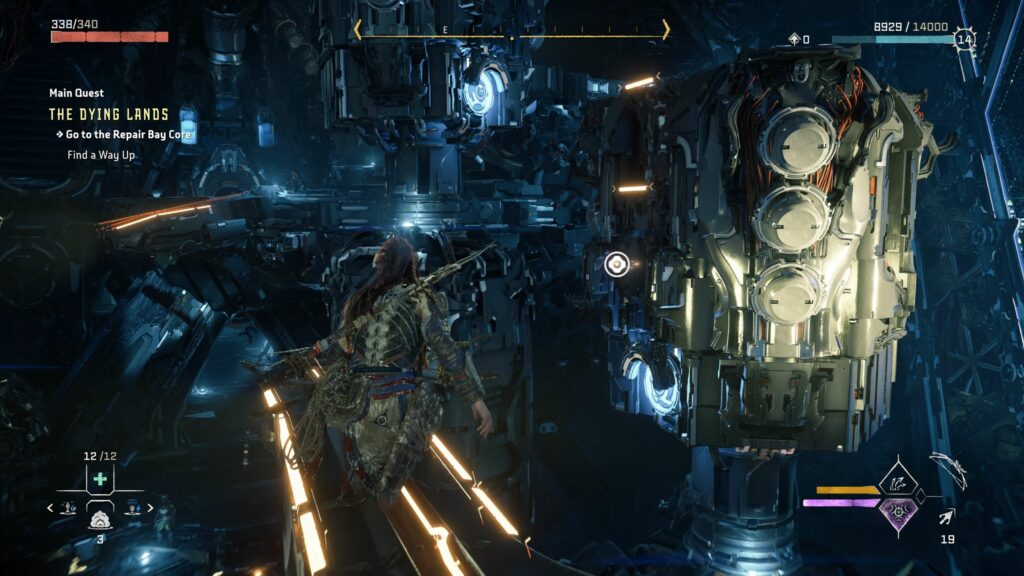
After climbing up, go towards the beam where you can stand and wait for machines to pass. Jump onto one of the machines and hang on to it.

Keep holding onto the machine until the end where the machine goes into an electric wall. Jump down before you hit the electric wall.
From there, you’ll see another beam. Jump and glide to the lower platform directly in front of the beam.
You’ll then be able to override the network uplink.
Once Varl and Zo comes, you can open the door to the next room.
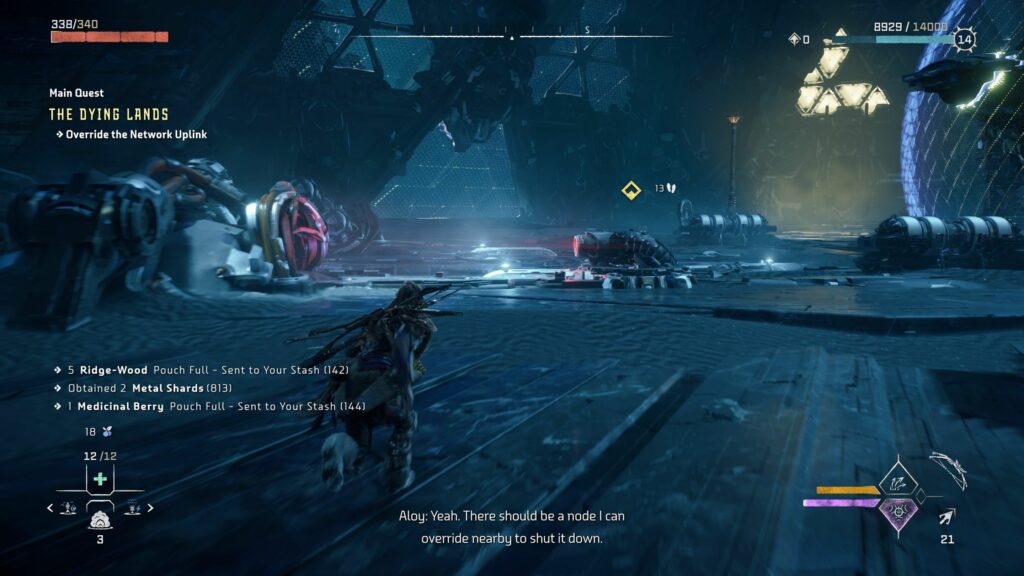
Inside the big room, you have to override the network uplink first.
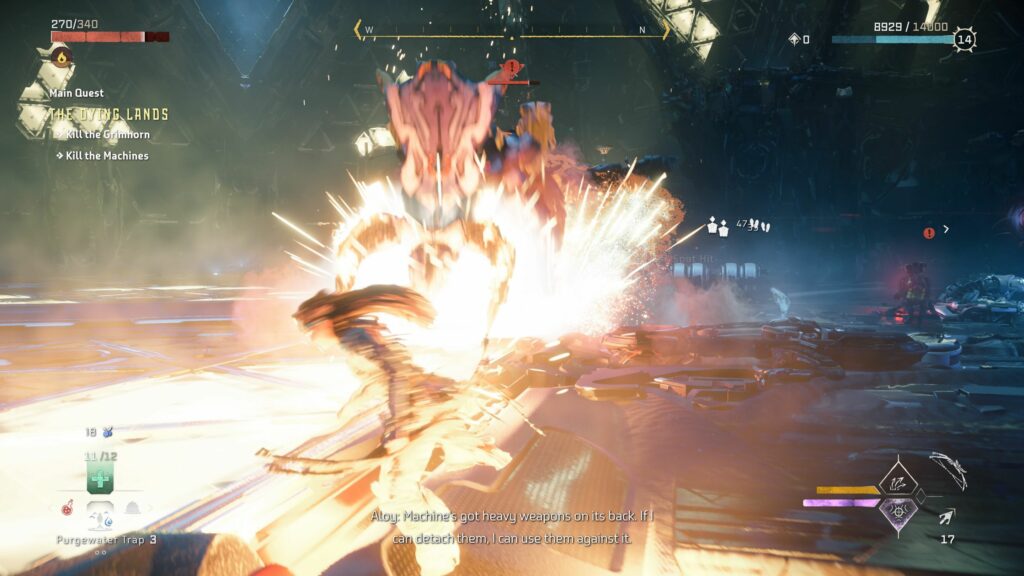
Kill the Grimhorn
You’ll then face a boss fight where you have to defeat a Grimhorn. Use focus on it to determine the weak links.
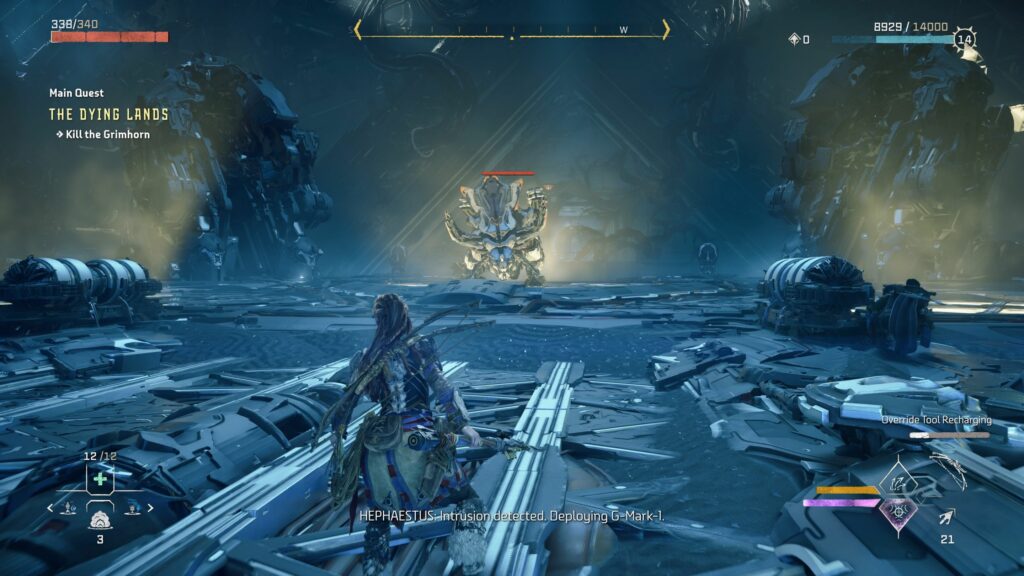
A few other machines will also appear and you have to take them out too.
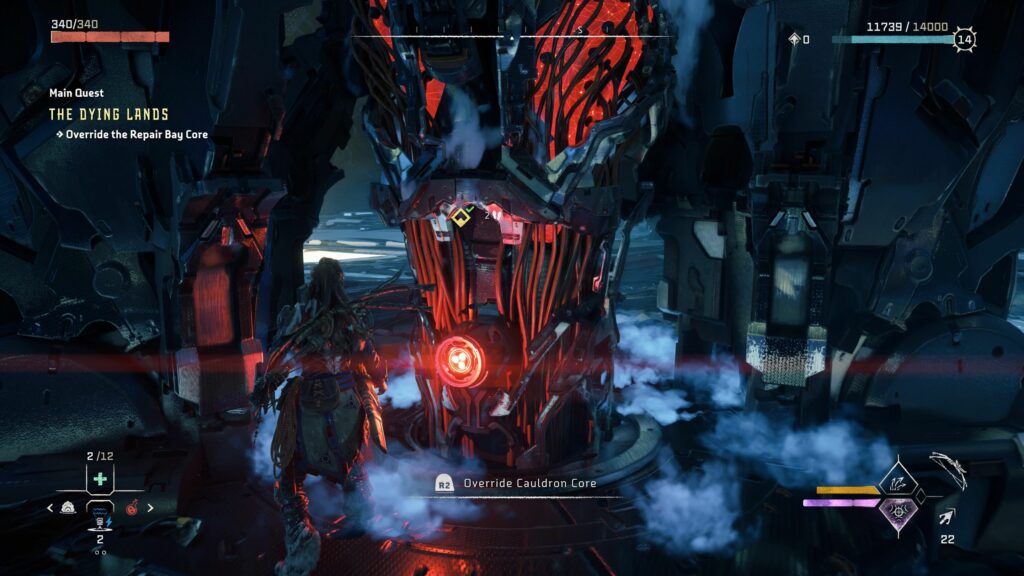
After the battle, override the Repair Bay Core and the quest ends here.
Related posts: