The Broken Sky is a main quest available in Horizon Forbidden West.
Your objective is to look for AETHER but before you can do so, you have to help Hekarro with getting the Sky Clan to send their champion.
Here’s a walkthrough of The Broken Sky in Horizon Forbidden West.
Recommended level is 17 and above.
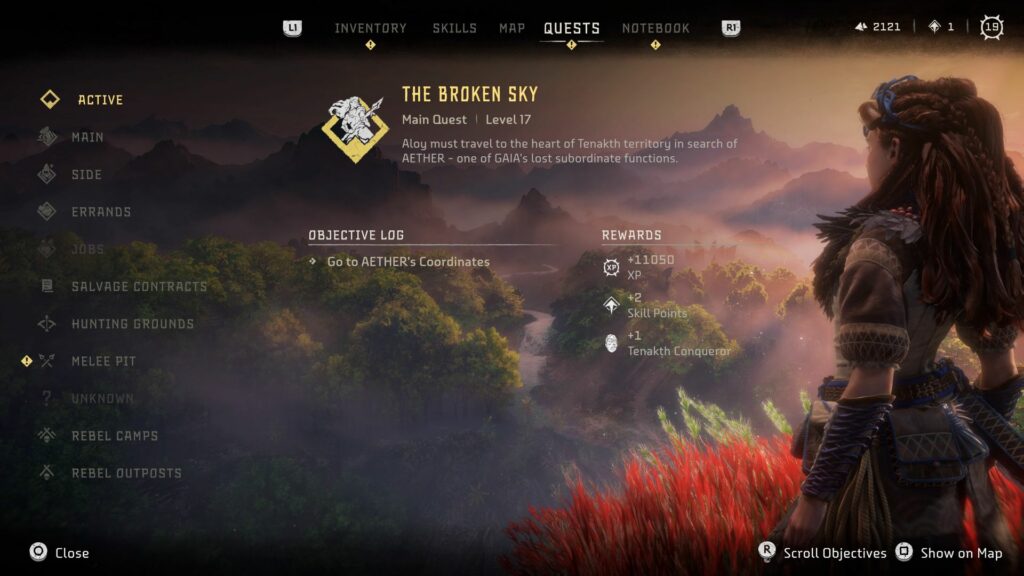
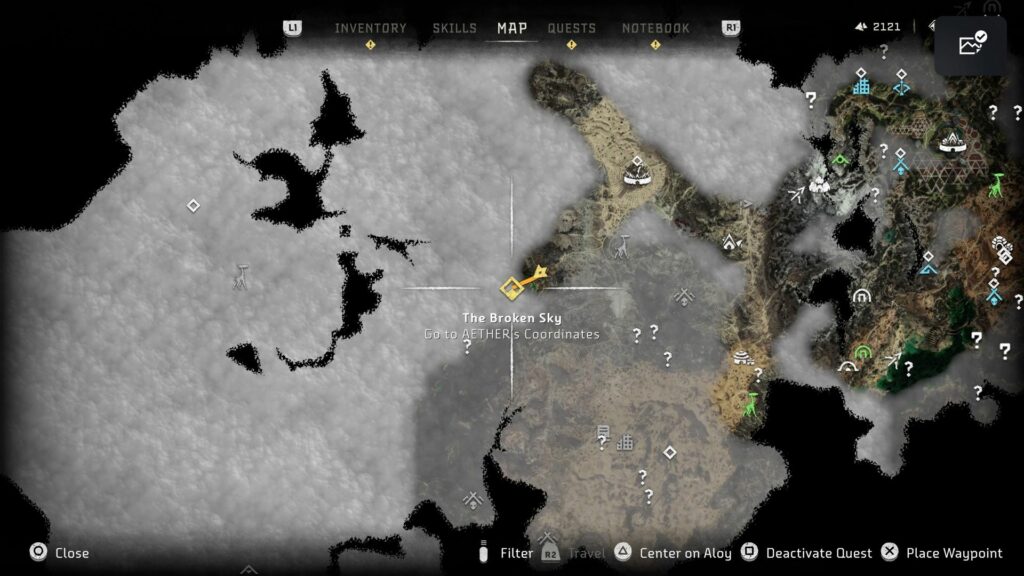
To begin the quest, go to AETHER’s coordinates. The location is shown in the map below, marked by the quest symbol.
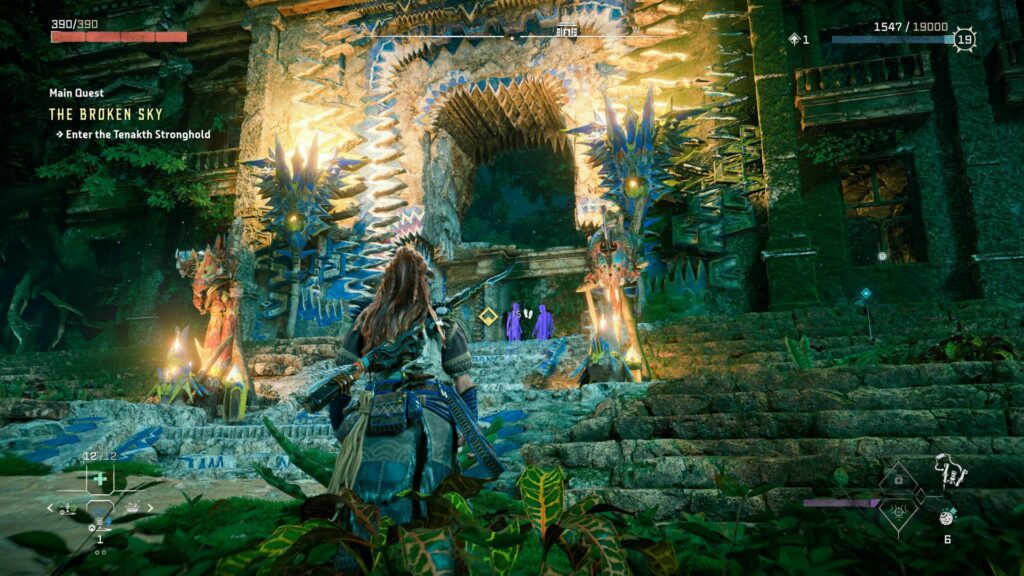
You’ll arrive at a Tenakth stronghold. Talk to the lady.
Go to the throne room
You’ll then be required to go to the throne room to meet Hekarro.
But before that, you can check out the Visions which is optional.
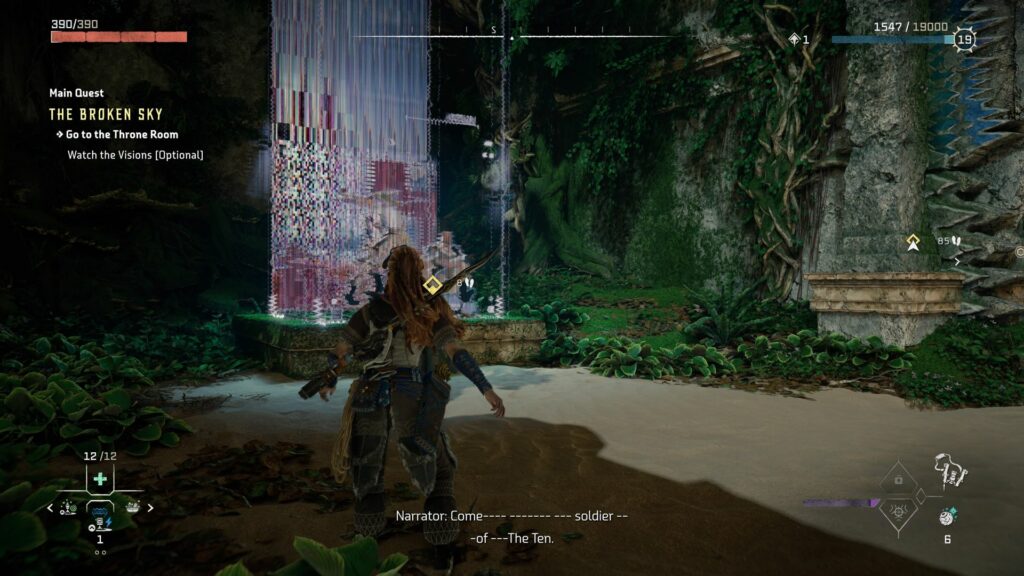
Once you’re ready, head to the throne room.
You’ll meet Hekarro and learn that the AETHER chip is in the basement. Hekarro knows about it and asks Aloy to help him in return for access to the basement.
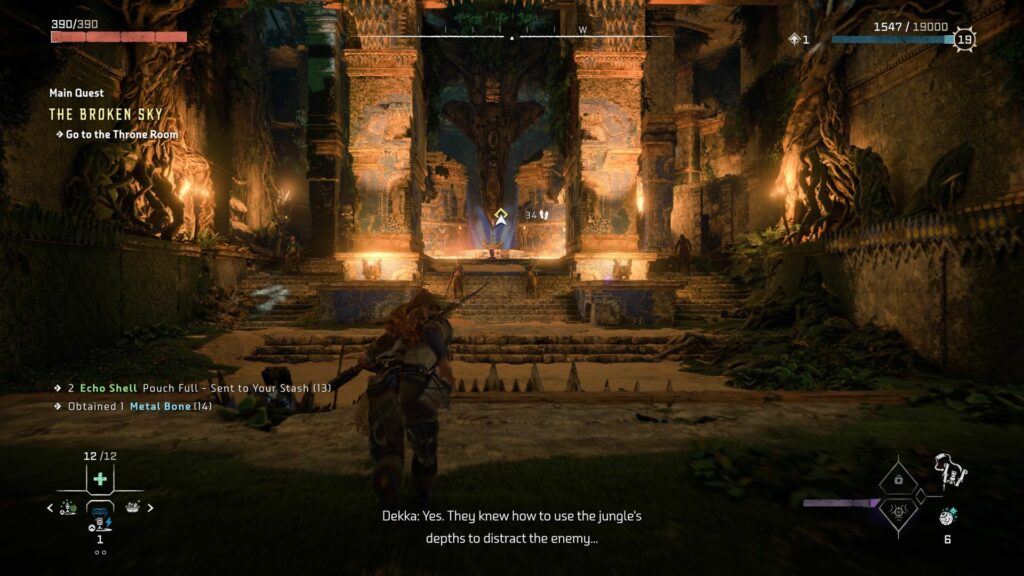
Talk to Dekka
After the cutscene, head back to the entrance to talk to Dekka.
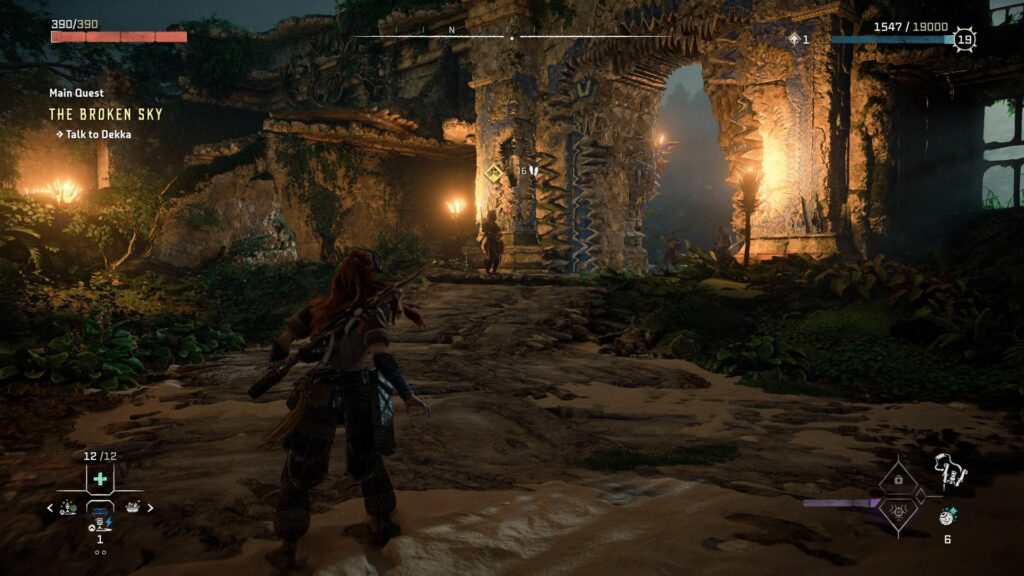
Meet Kotallo
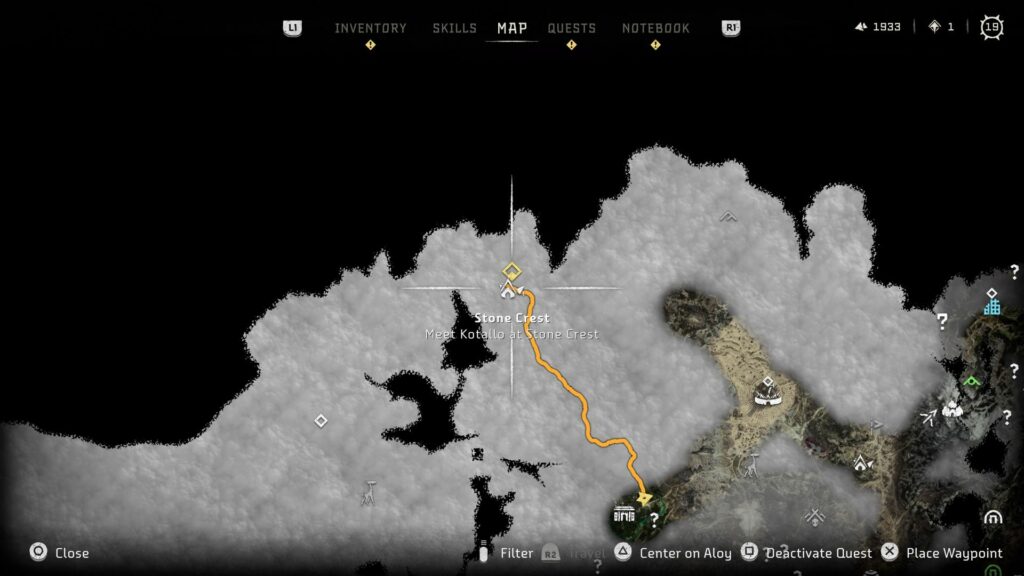
You’ll then need to head northwest towards Stone Crest.
The location is shown in the map below.
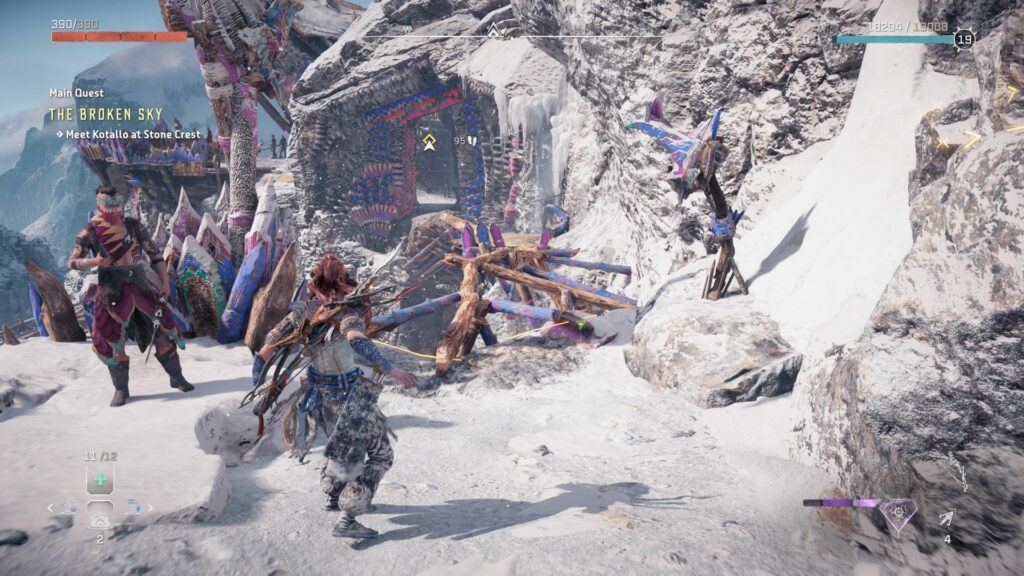
On the way there, you might see Sky Clan members fighting against the rebels. Take out the rebels.
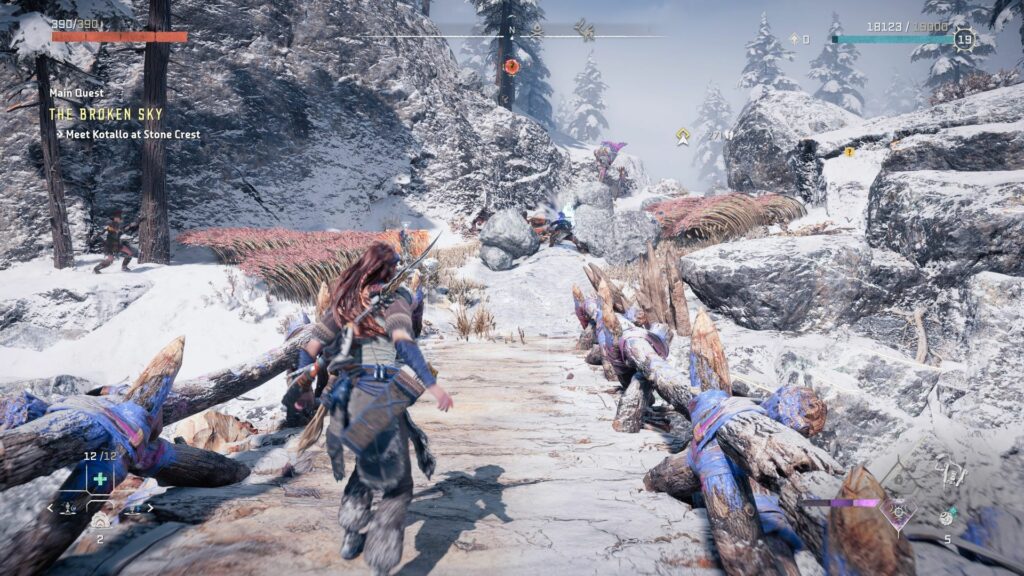
Continue towards Stone Crest.
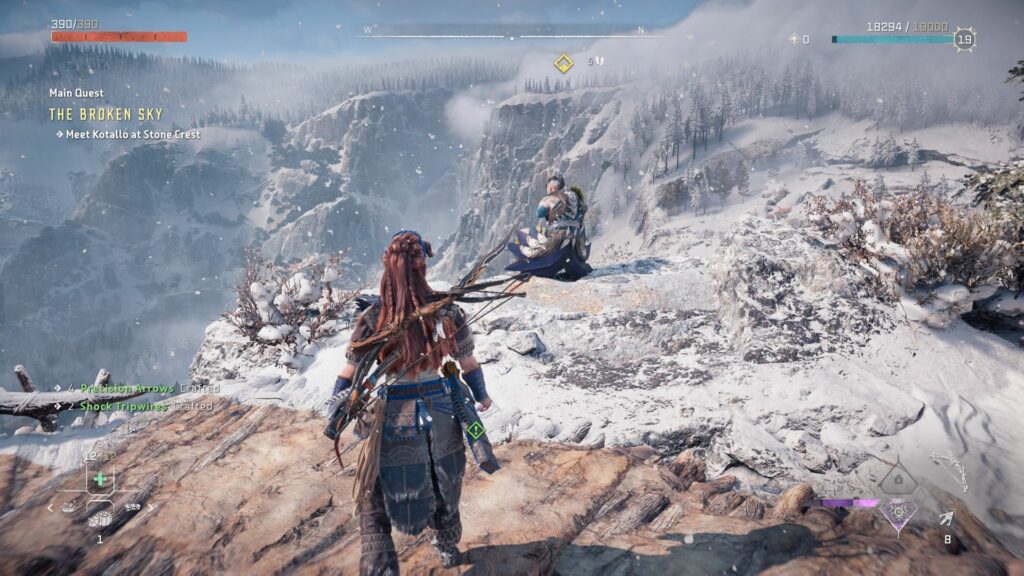
Talk to Kotallo. He is the one sitting at the cliff.
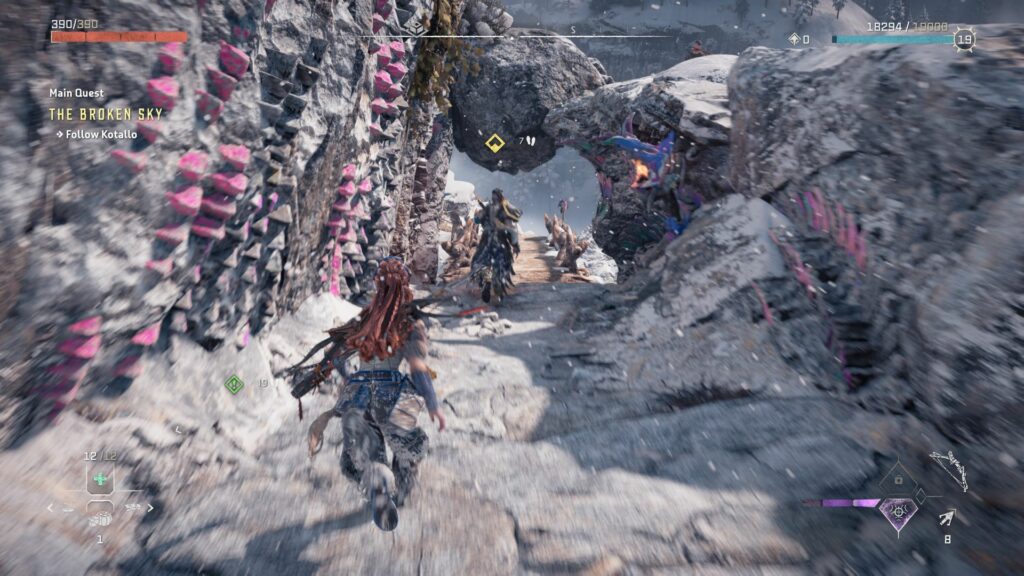
Follow Kotallo
Next, follow Kotallo as he leads you to the Sky Clan leader.
Along the way, you’ll have optional objectives to kill Regalla’s rebels. You can take them all out or you can just sneak past them.
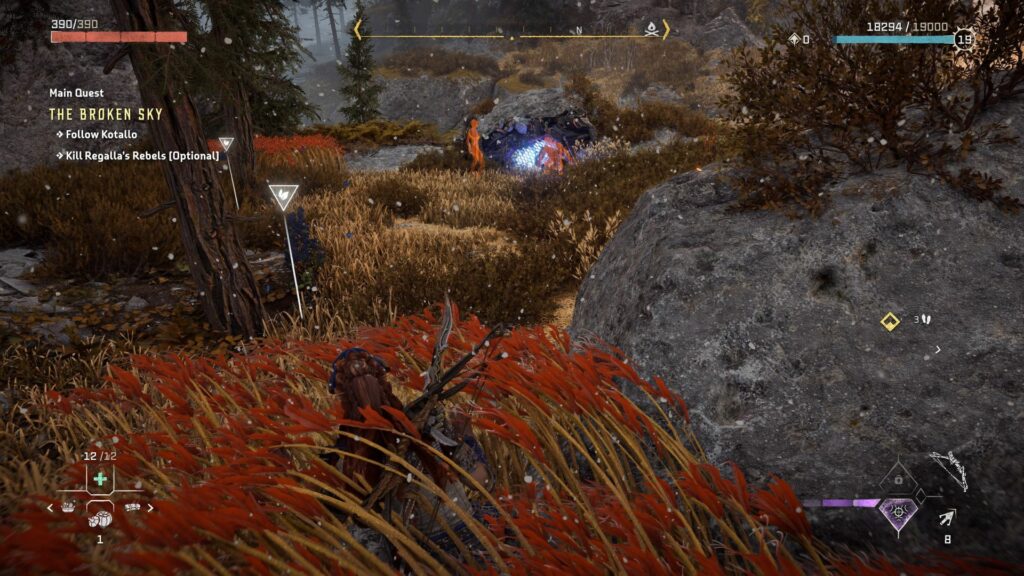
There’ll be more than one group of rebels.
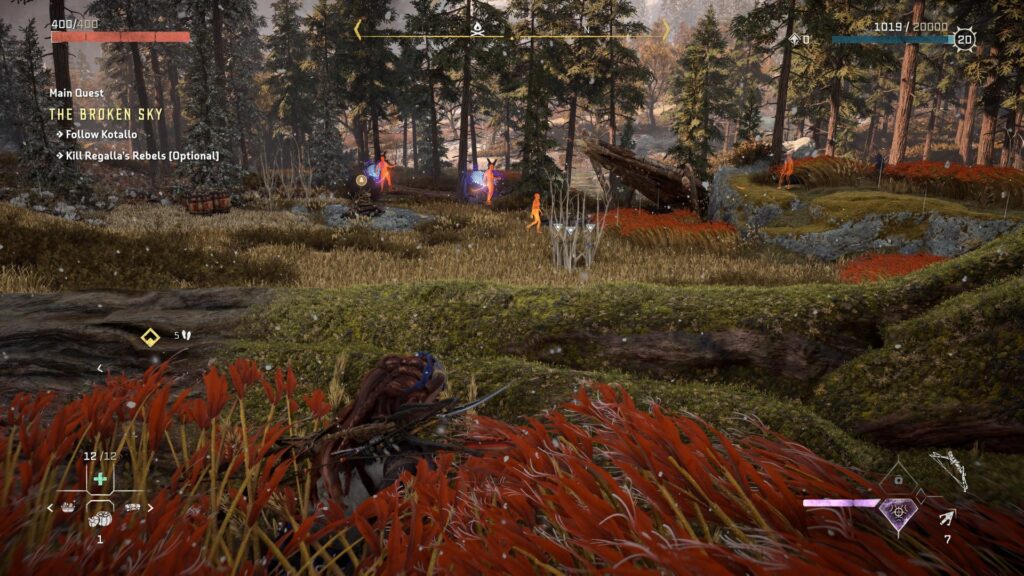
After going through the rebels, you’ll reach the Sky Clan stronghold called Bulwark.
When you’re ready to enter the stronghold, talk to Kotallo.
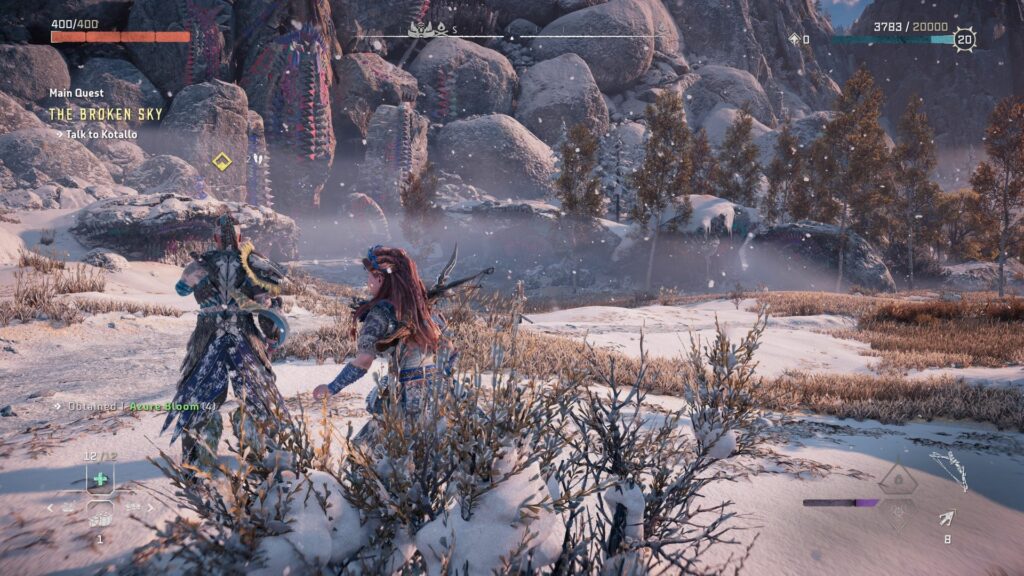
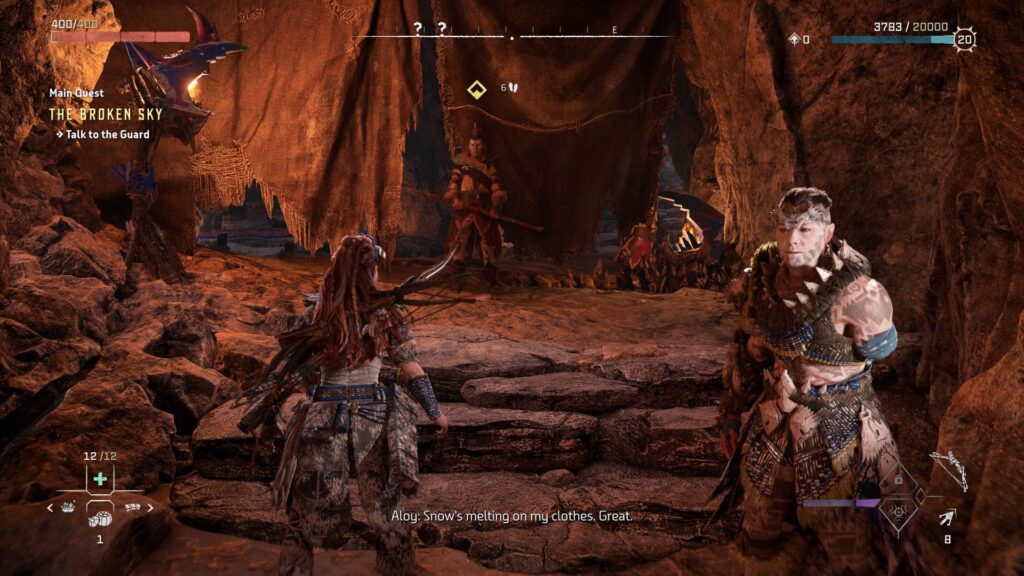
Talk to the guard
Continue to follow Kotallo until you reach a guard. Talk to him.
Go to the bottom of the Bulwark
Now, head to the main entrance of the Bulwark and glide all the way down (or take the lift).
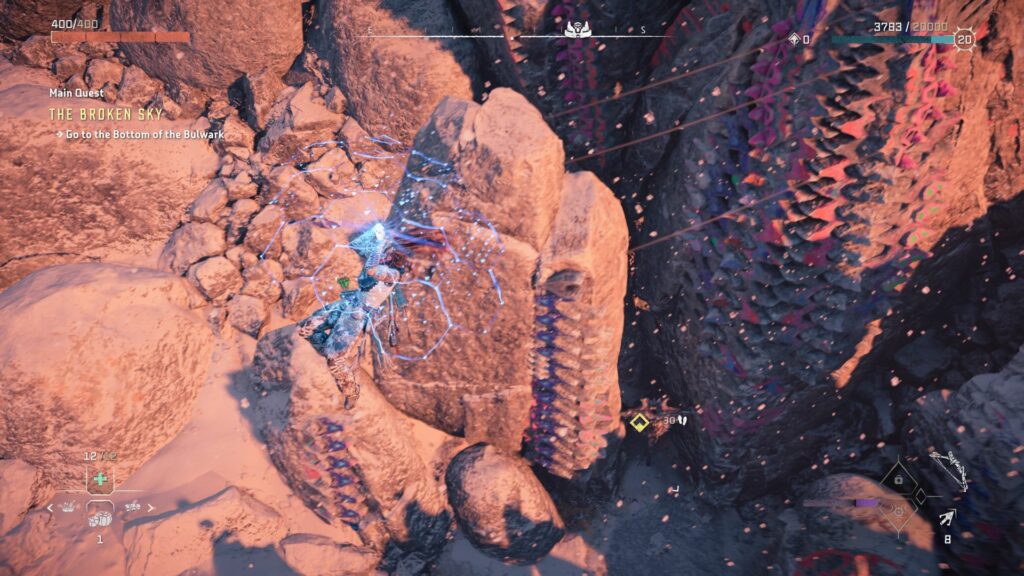
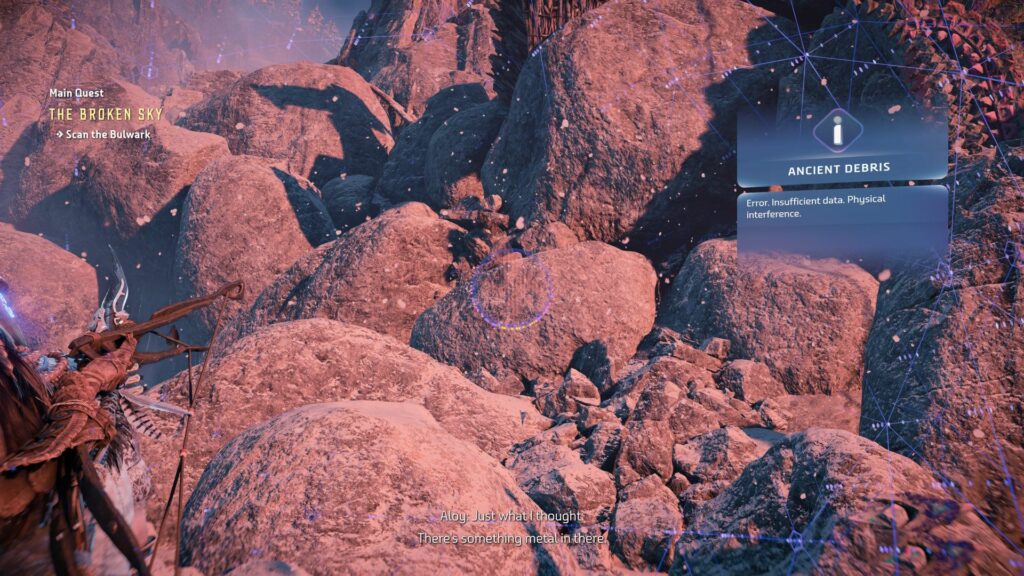
From the bottom, scan the Bulwark. Look for some metal debris at the left side of the rocks.
Find a path up the Bulwark
Next, go to the left side of the wall until you see a waterfall.
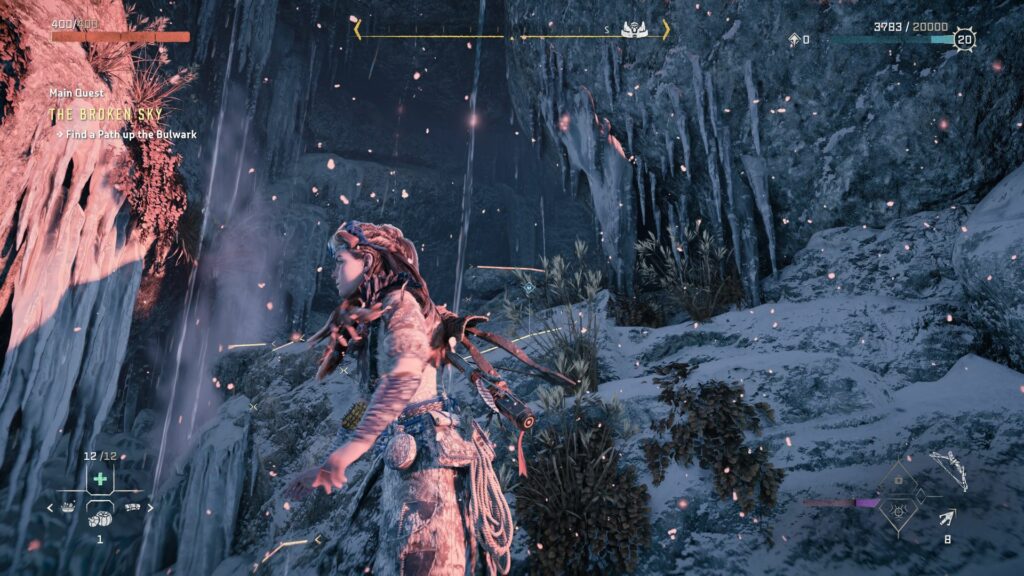
From the waterfall, you will see some loose rocks you can pry open.
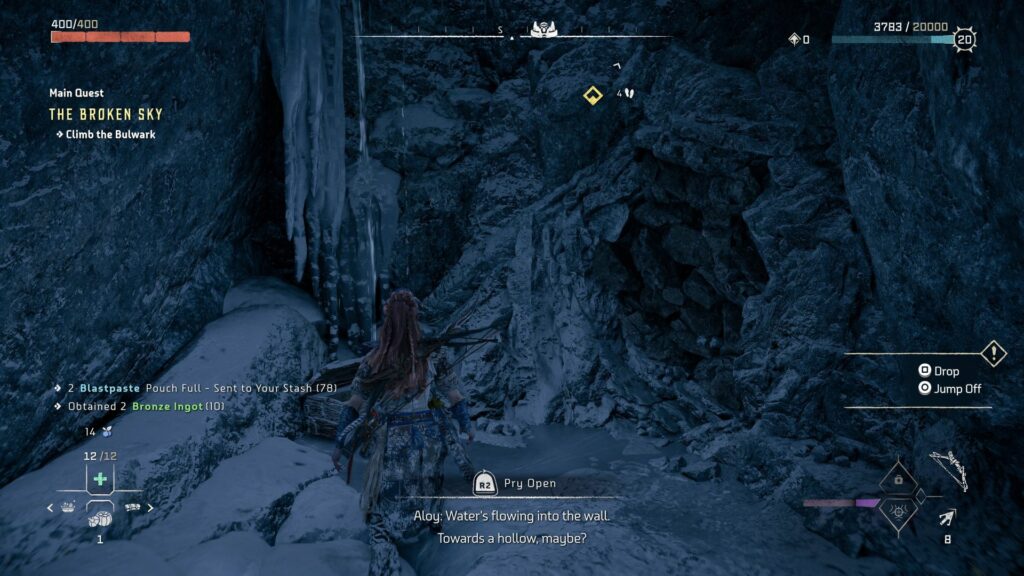
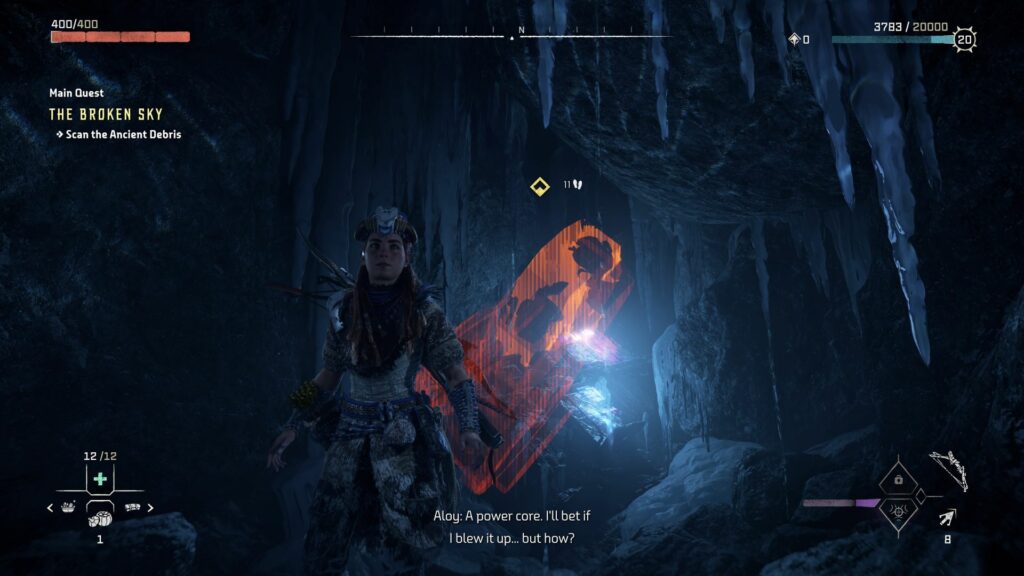
Go inside the hole and you’ll see a power core.
Return to Kotallo. He’ll be at the bottom of the Bulwark.
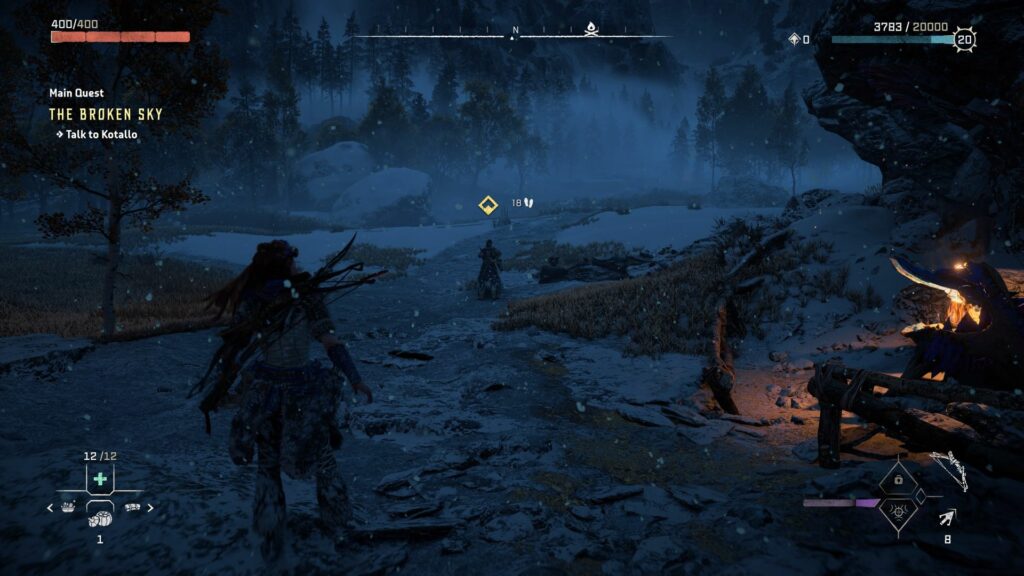
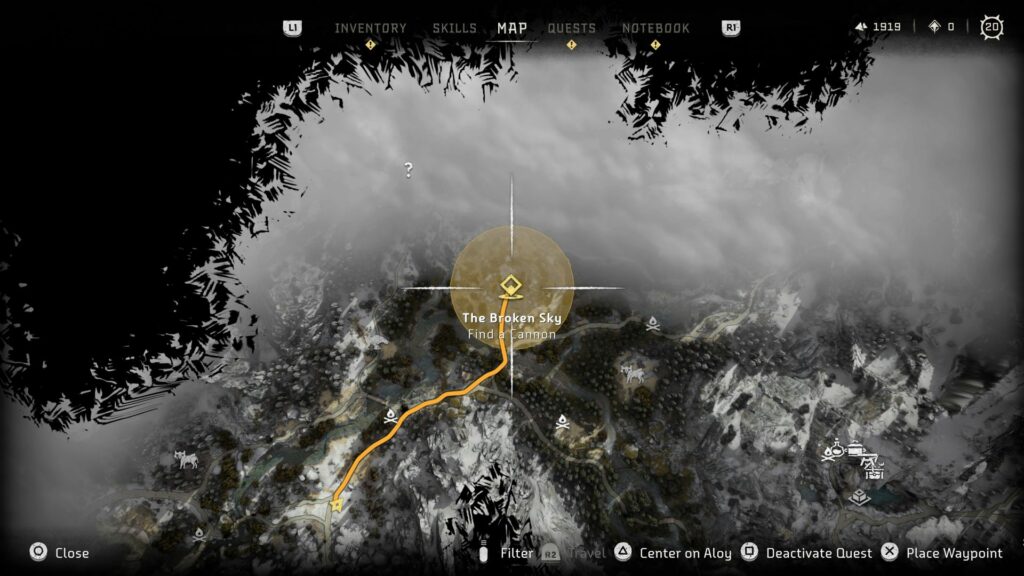
Find a cannon
To blast open the wall, you need a cannon. Head northeast to find one, as marked on the map below.
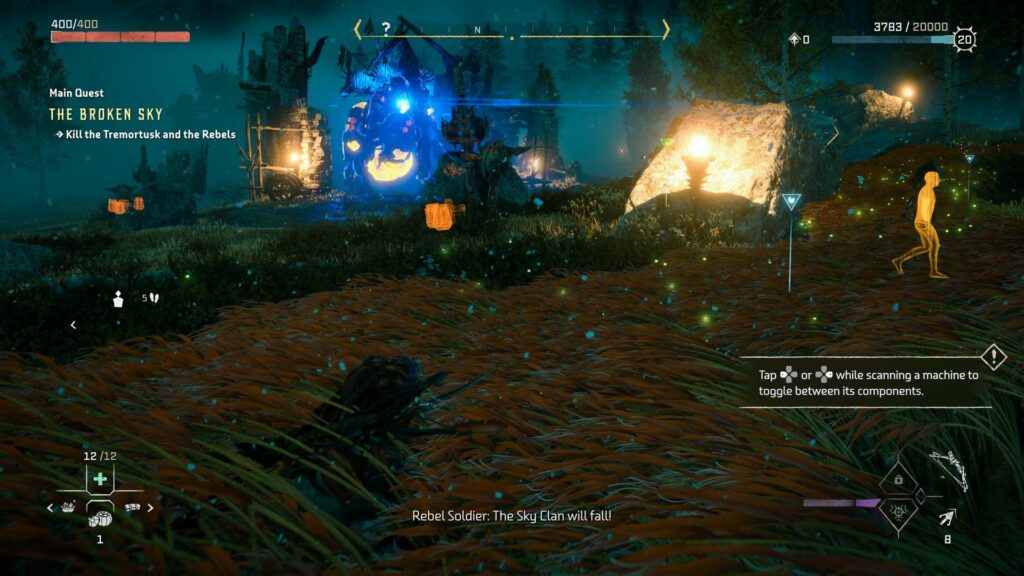
When you reach the location, you’ll see a Tremortusk and some rebels.
Kill the Tremortusk and rebels
You’ll need to kill the Tremortusk and the other rebels. Before going after the elephant machine, you can stealth kill some of the rebels.
Once you’re ready for Tremortusk, use focus to find the weaknesses. There are plenty and each part has a different function. For e.g. destroy the sac below the machine will get rid of its fire abilities.
You can also utilize the blaze barrels all over the area for explosive damage.
They’ll come in handy.
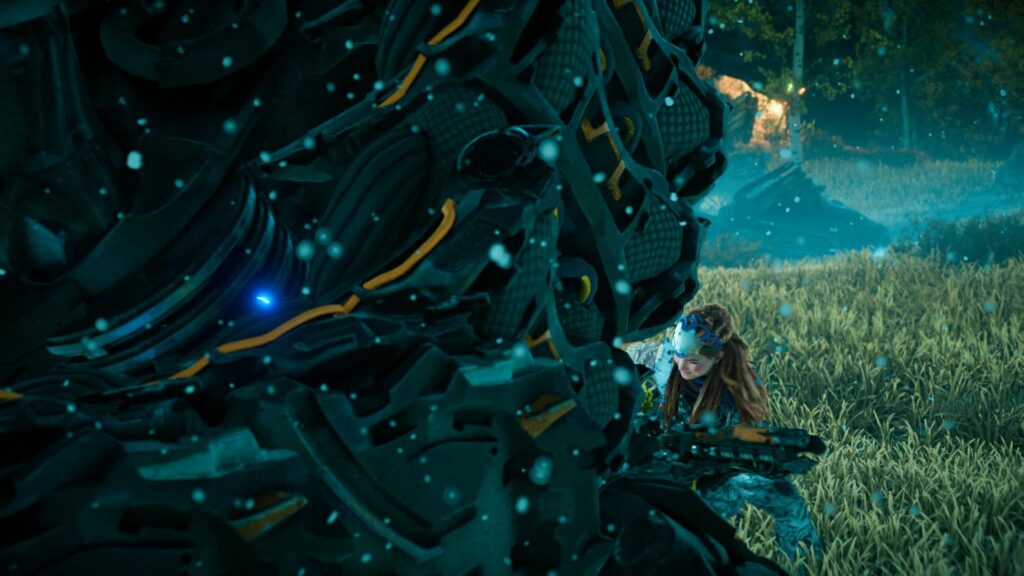
After taking all of them out, gather materials from the Tremortusk.
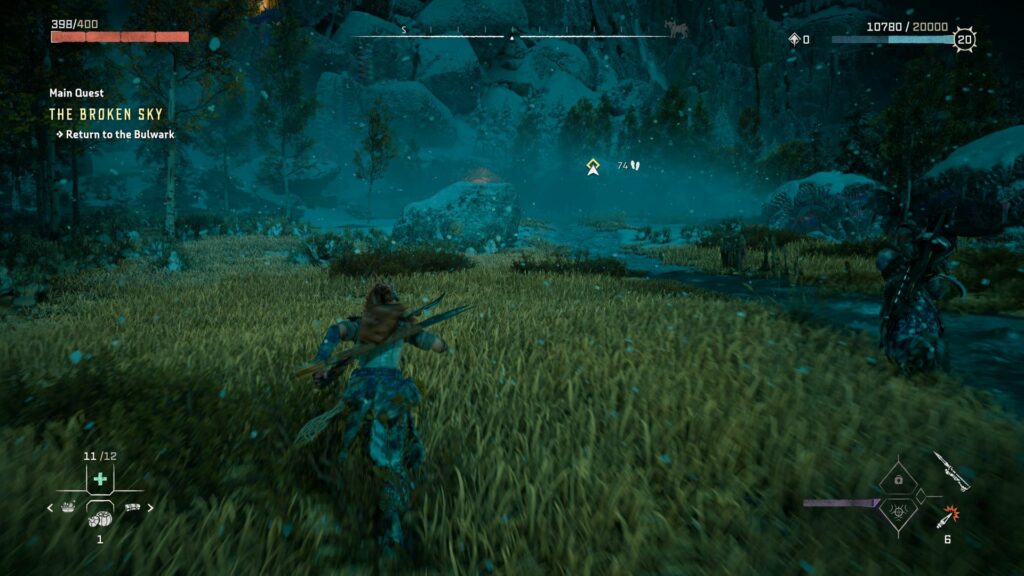
Return to the Bulwark with Kotallo.
Destroy the Bulwark
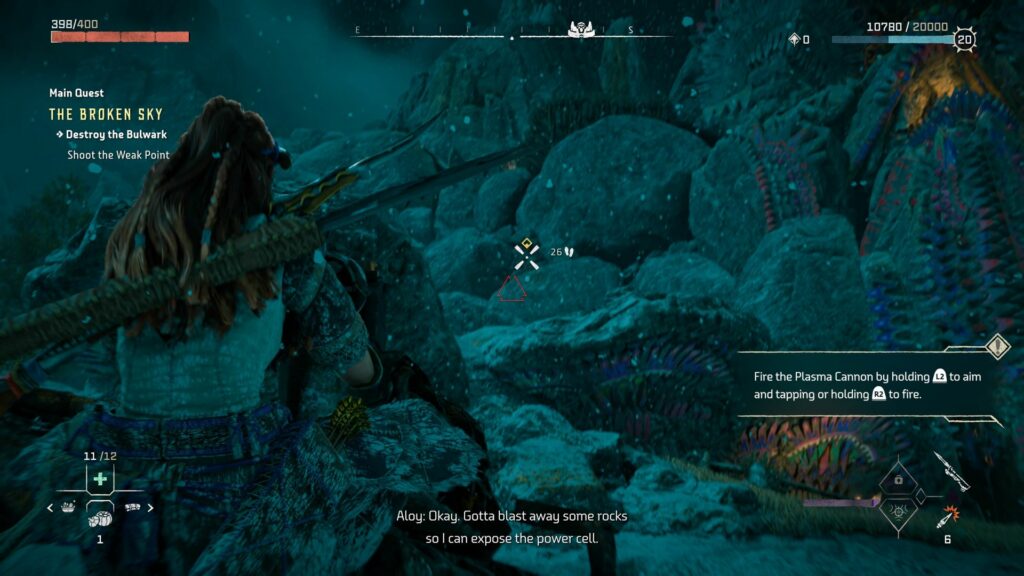
Finally, aim the cannon at the weakness on the rock to blast open the wall.
The quest ends here.
Related posts:
Horizon Forbidden West: Supply Drop Quest Walkthrough
Horizon Forbidden West: The Gate Of The Vanquished Walkthrough
