Horizon Forbidden West is finally released on the Playstation and we can’t wait to play more of the game.
The first main quest is Reach For The Stars and your aim is to find a backup copy of Gaia together with Varl.
Here’s a walkthrough of Reach for the Stars in Horizon Forbidden West.
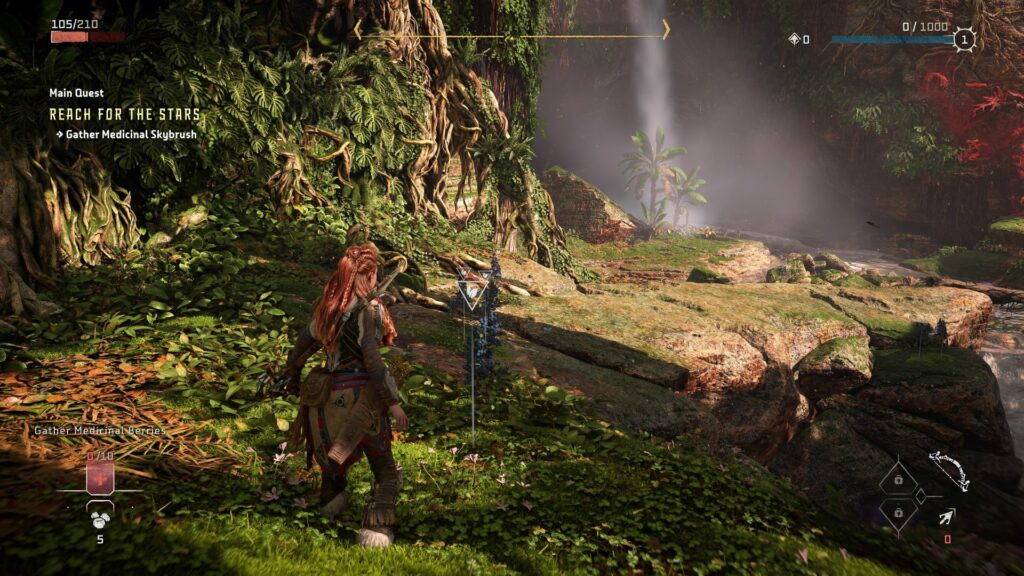
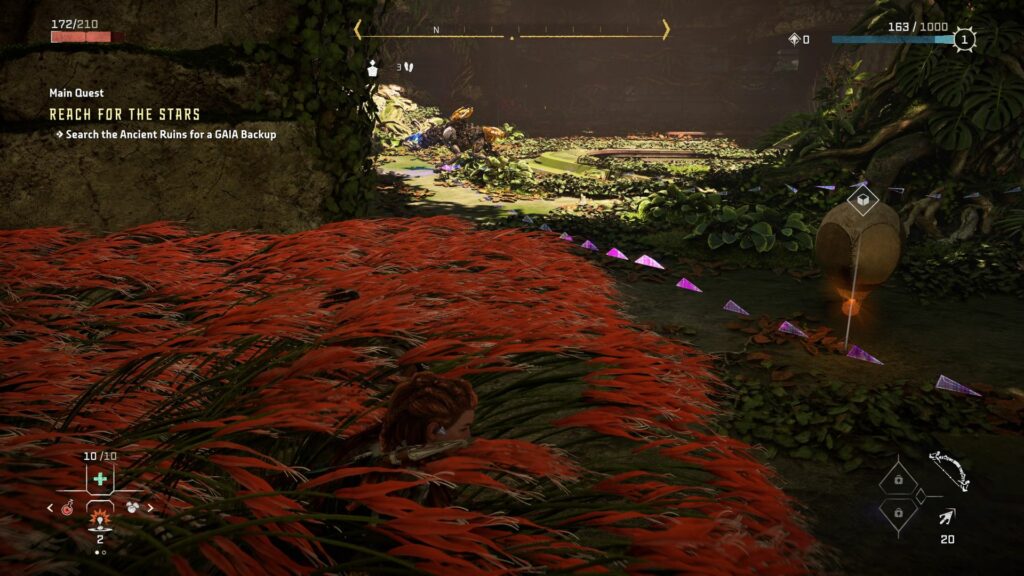
As you begin the game after the cutscenes, you have to gather medicinal skybrush from around the area.
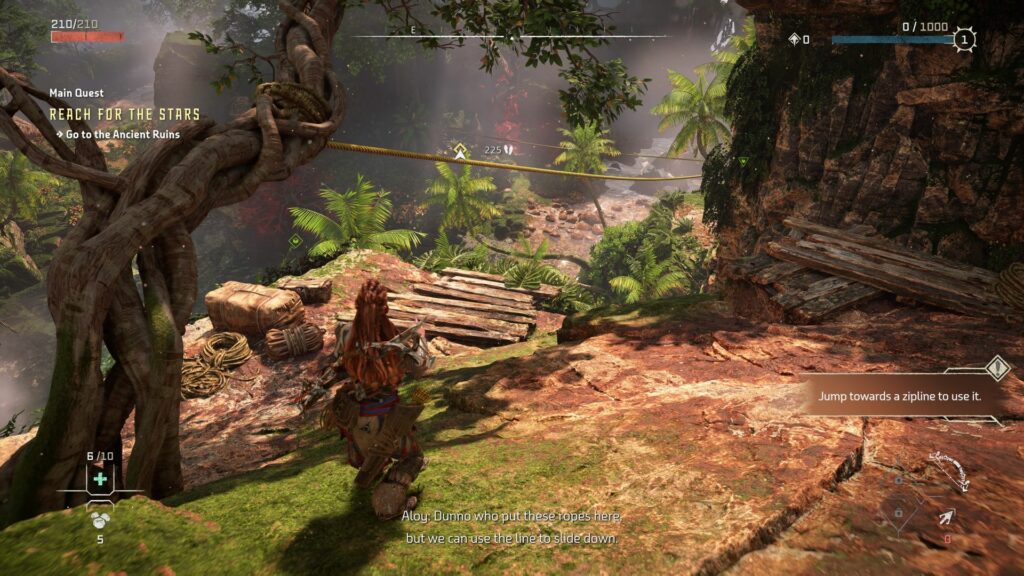
Then, head to the Ancient Ruins. Just use the zipline to go down and continue making your way there.
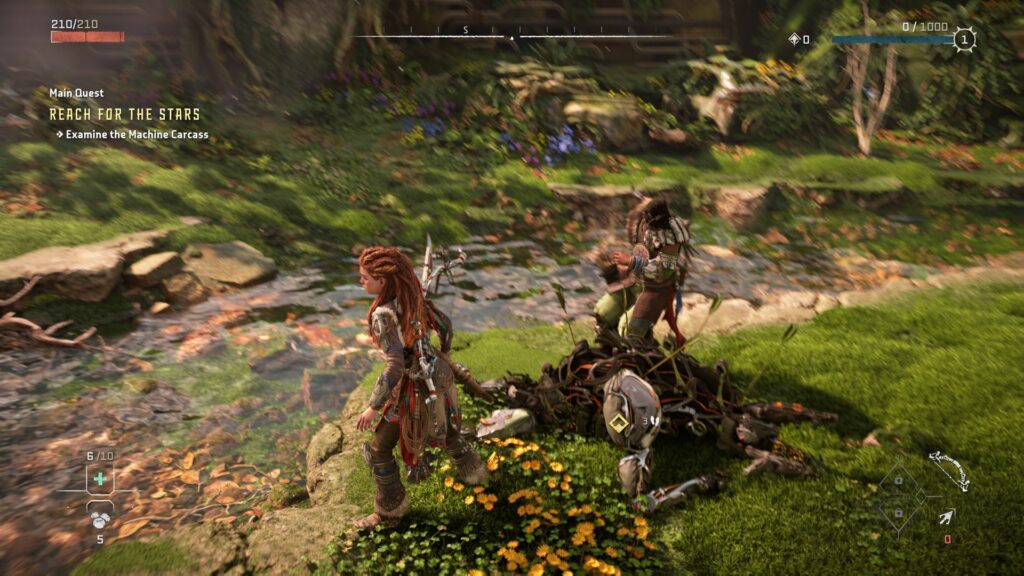
Examine the Machine Carcass
You’ll see a dead machine along the way. Just examine it.
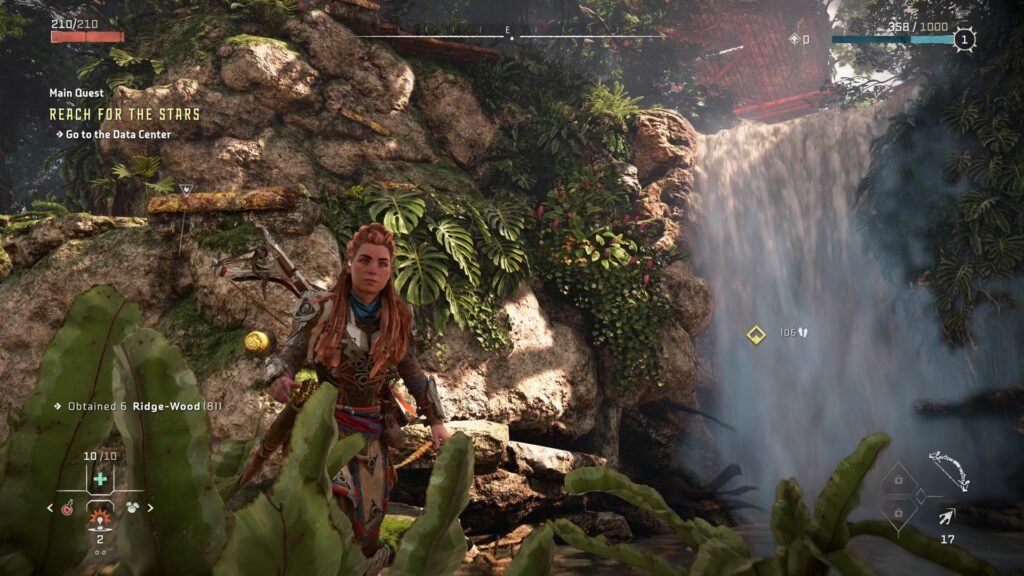
Gather Ridge-Wood
Then, the game will teach you how to make arrows. You have to gather ridge-wood first.
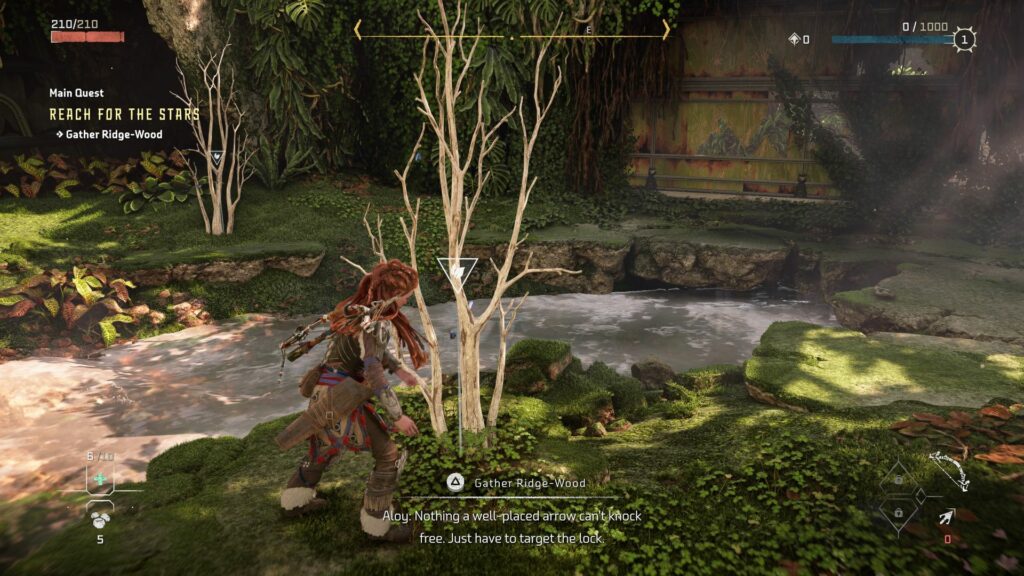
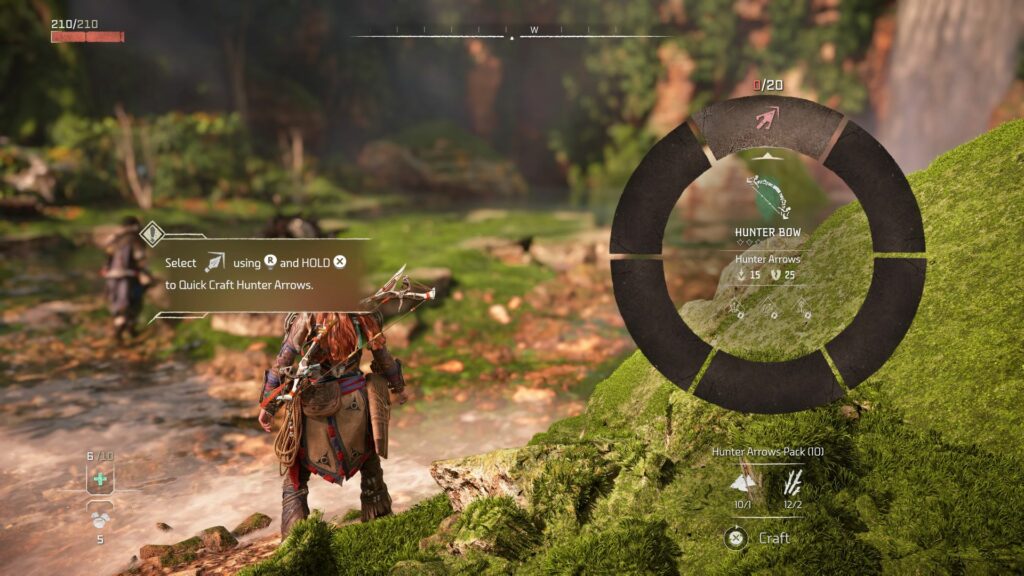
Head to your quick-craft and make arrows.
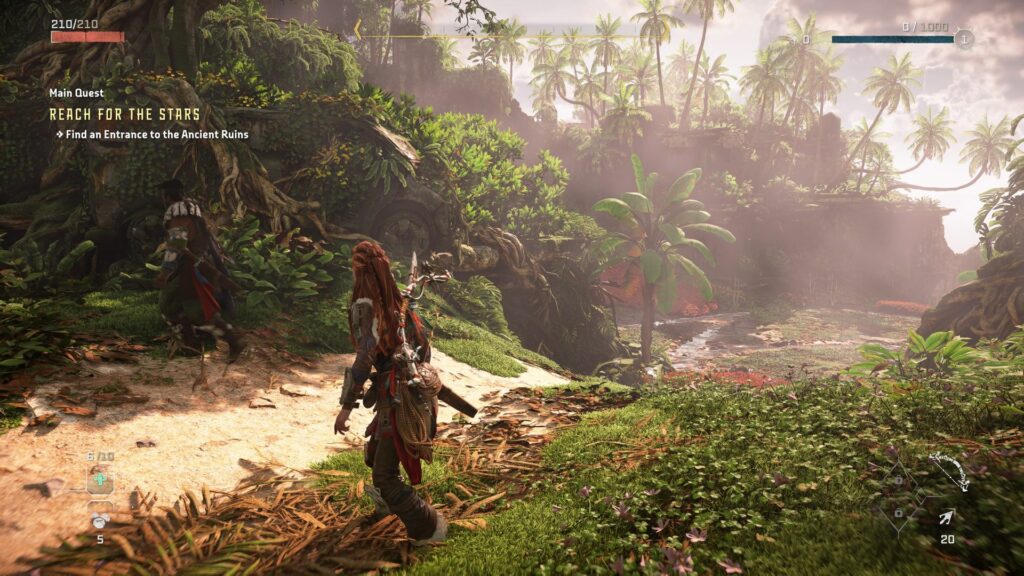
Go to the Ancient Ruins
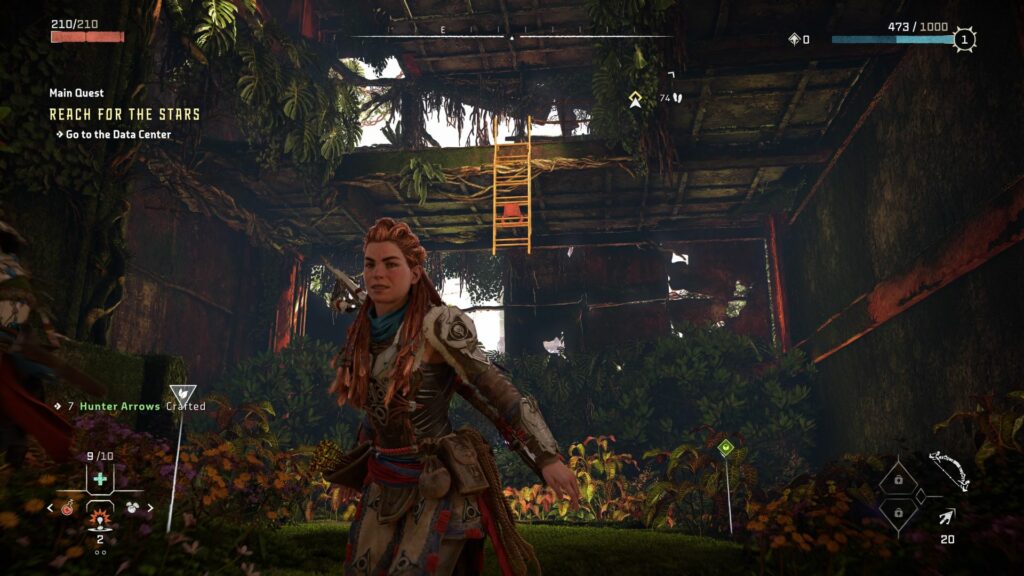
Continue going to the Ancient Ruins. To climb up, shoot the red part of the ladder and it will come down.

You will then need to find an entrance to the ruins. Head towards the right side of the map.
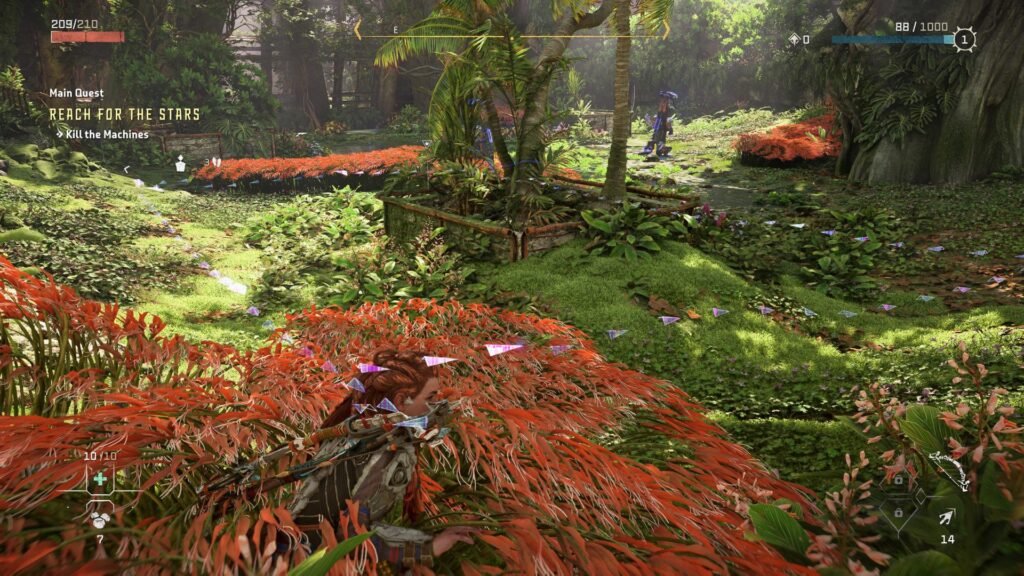
You will then see some machines. Scan the machines to find their weak parts (glowing in yellow).
Destroy the machines first.
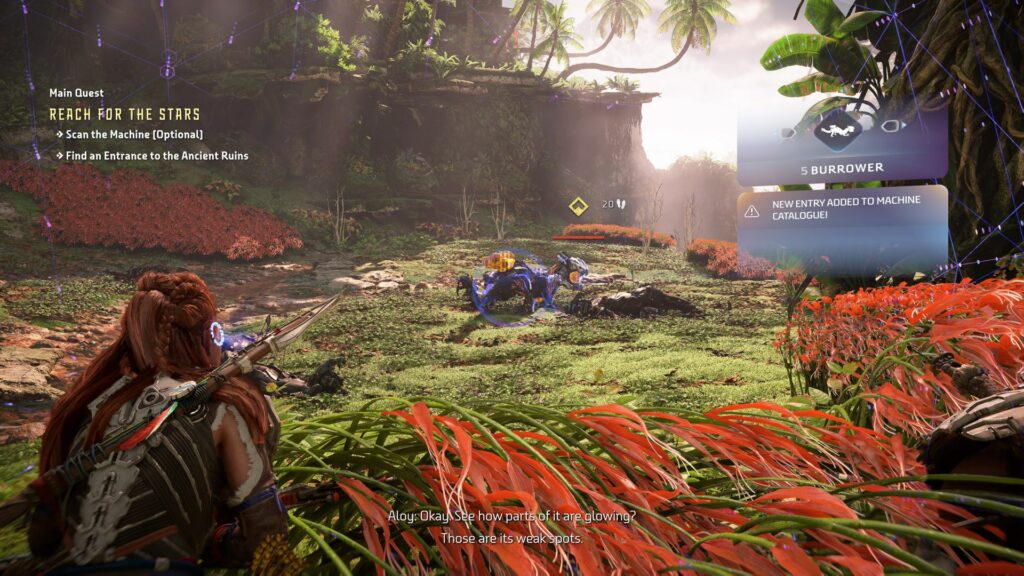
It’s optional but you can take out the machines quietly. Just use stealth kill when they come close.

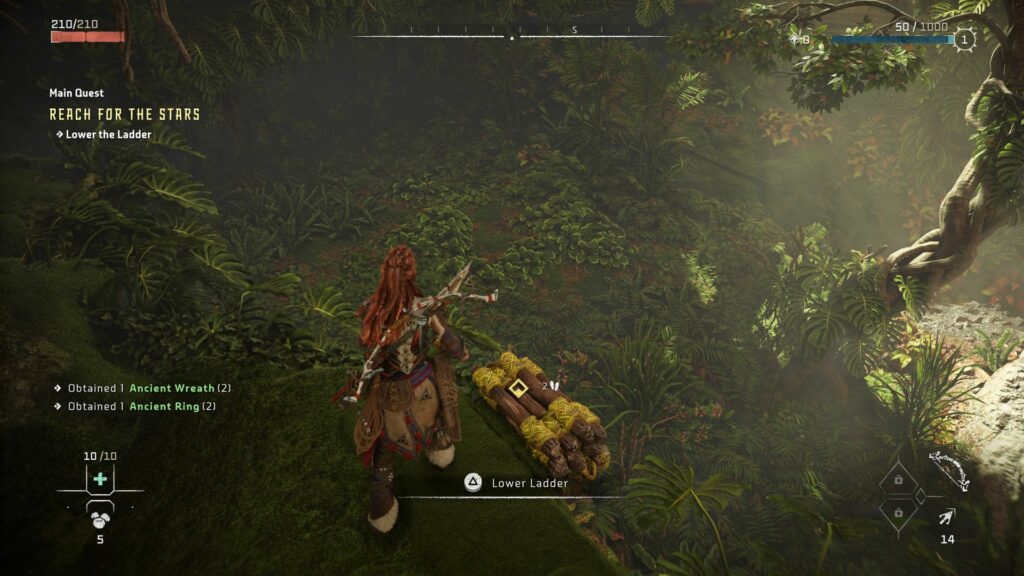
Once the area is clear, look for a ladder going up. Shoot the ladder down again.

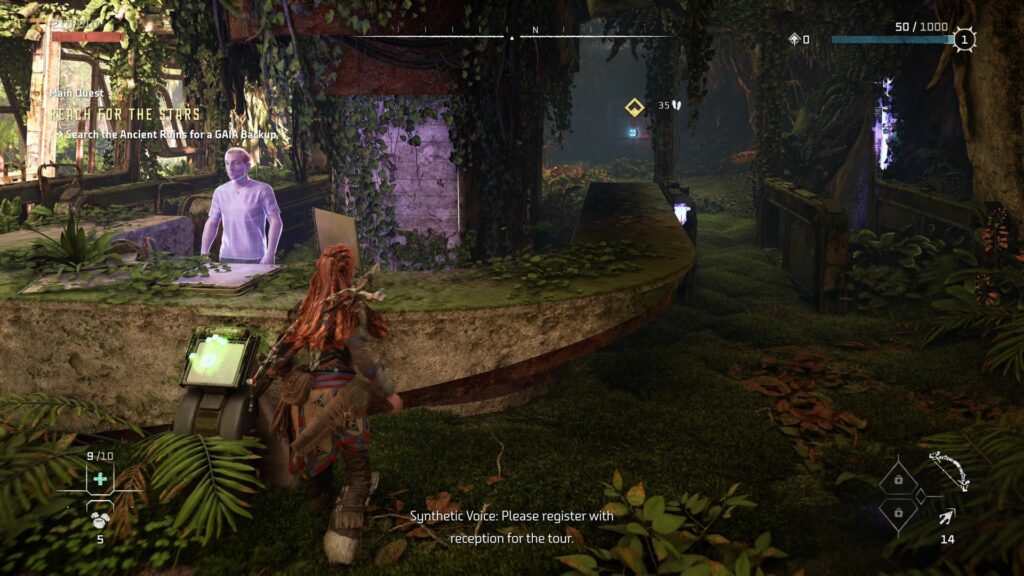
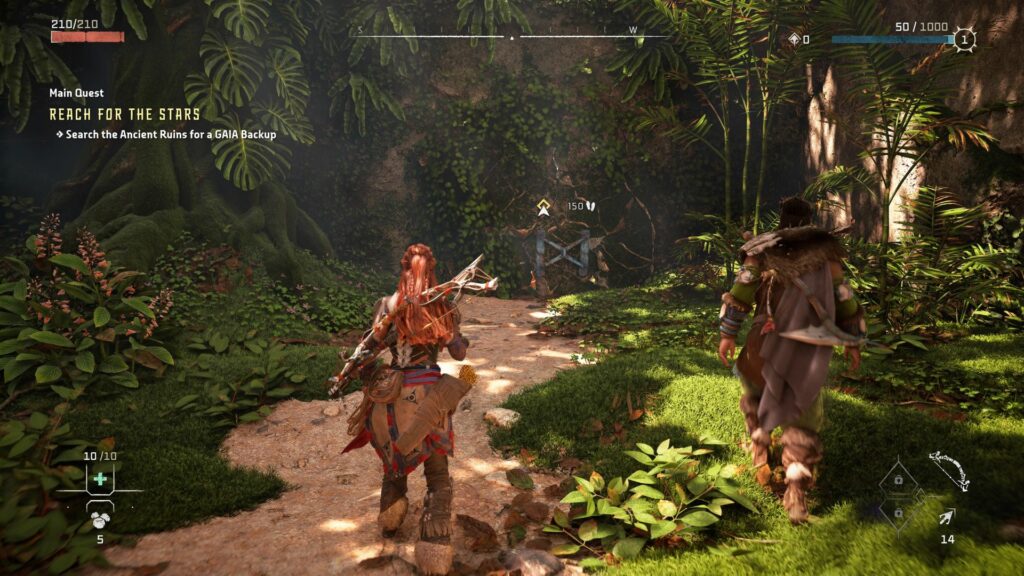
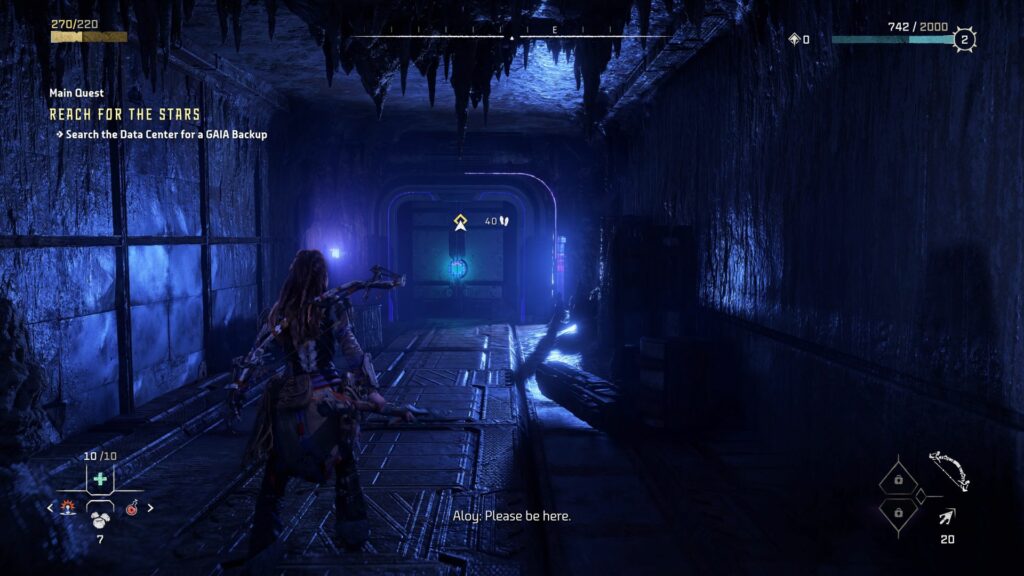
Search the Ancient Ruins for a GAIA backup
You’ll then see a holographic projection. Continue ahead.
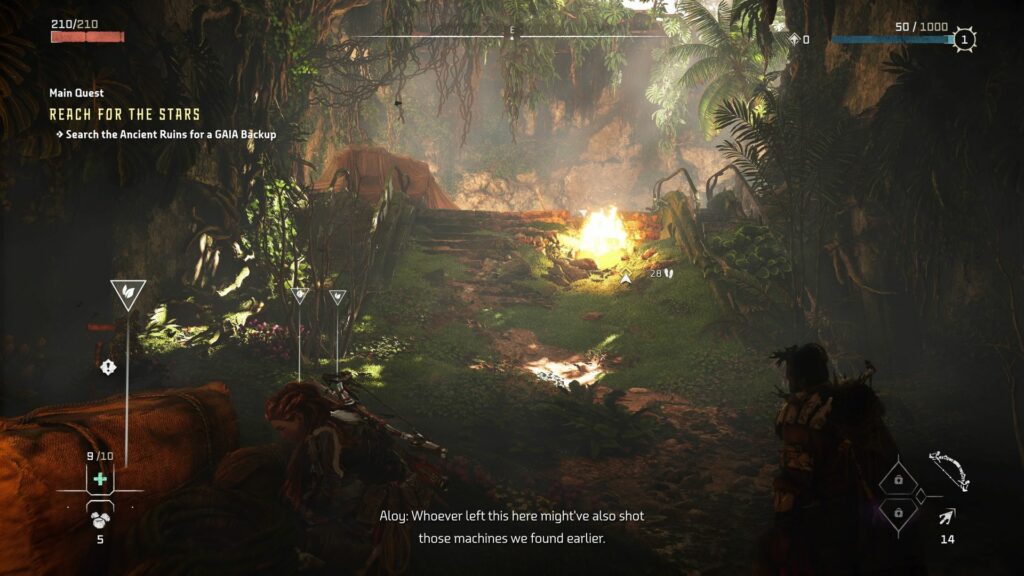
There’ll be some dead machines here. You have to examine the body first.
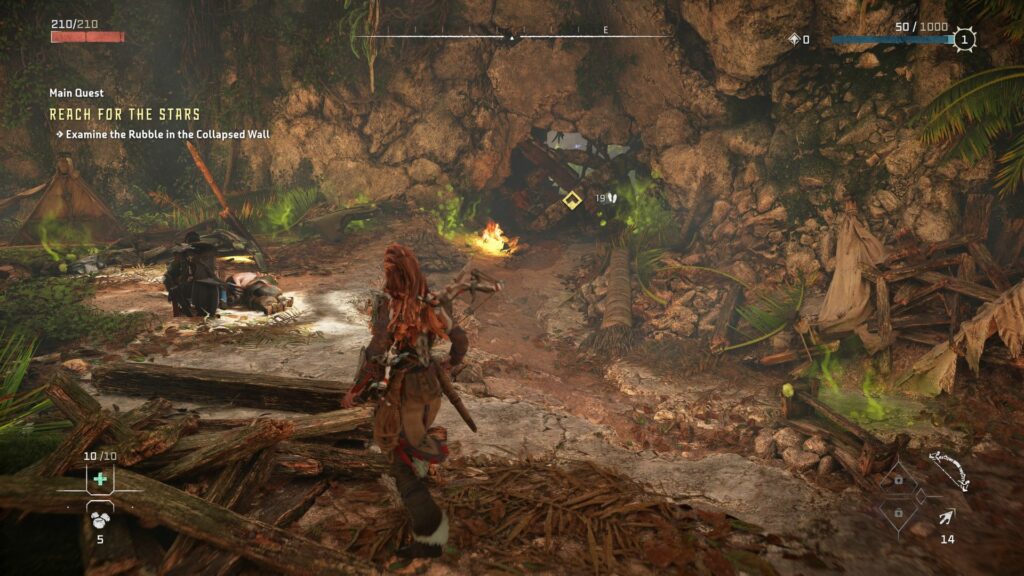
Examine the rubble
Continue ahead and you’ll reach a dead end. Examine the rubble in the collapsed wall and Aloy will need to craft a grapple.
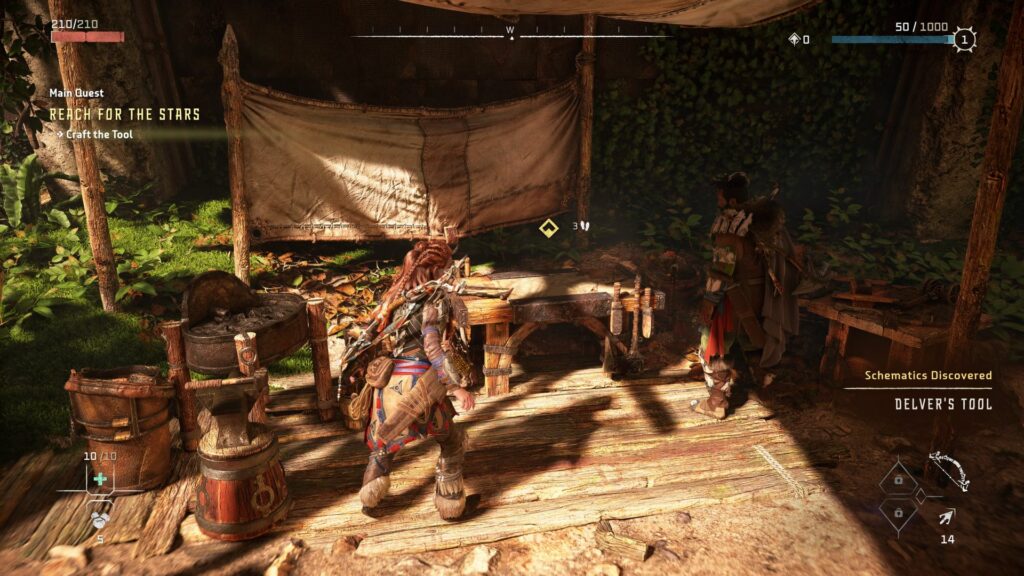
Use your focus and search the camp for repair parts. There are two parts.
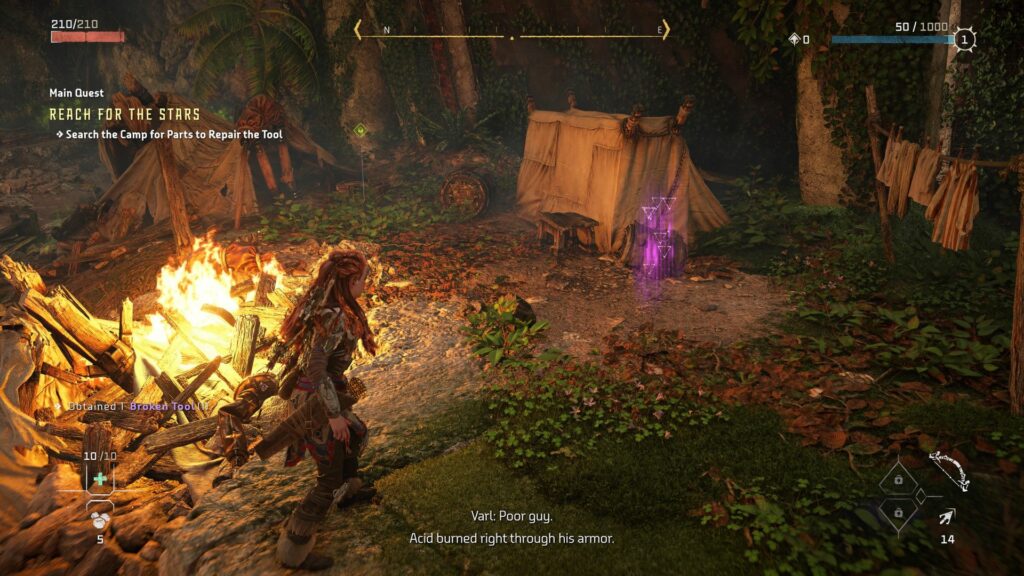
Once you’ve found the materials, go to the workbench beside Varl and craft the tool (pullcaster).
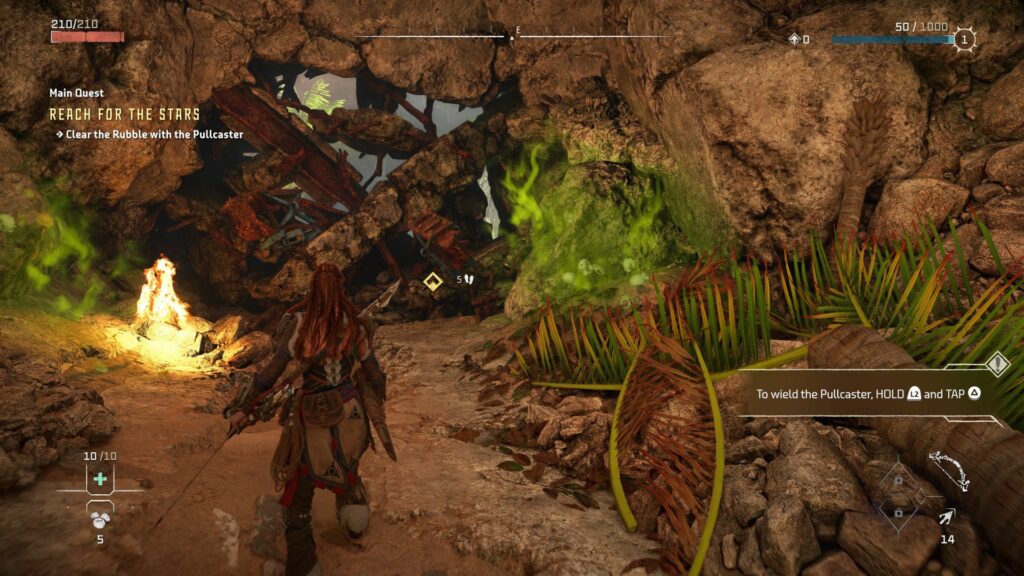
Clear the rubble with the pullcaster
Now, while aiming, press Triangle to use the pullcaster. Throw it against the metal parts and hold it.
Move backwards to pull the metal and clear the rubble.
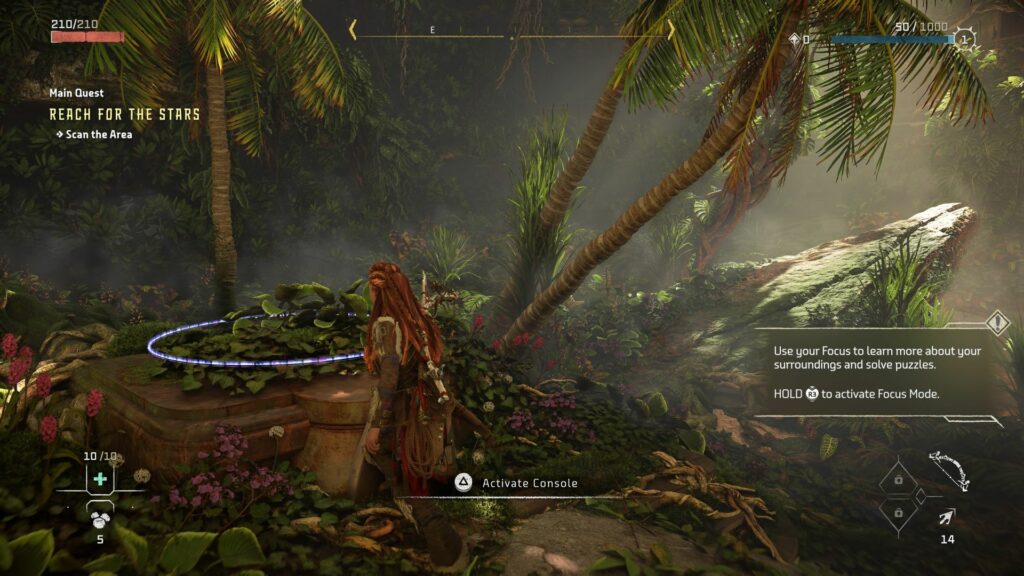
Scan the area
At the next part you just have to scan the area first and then activate the console.
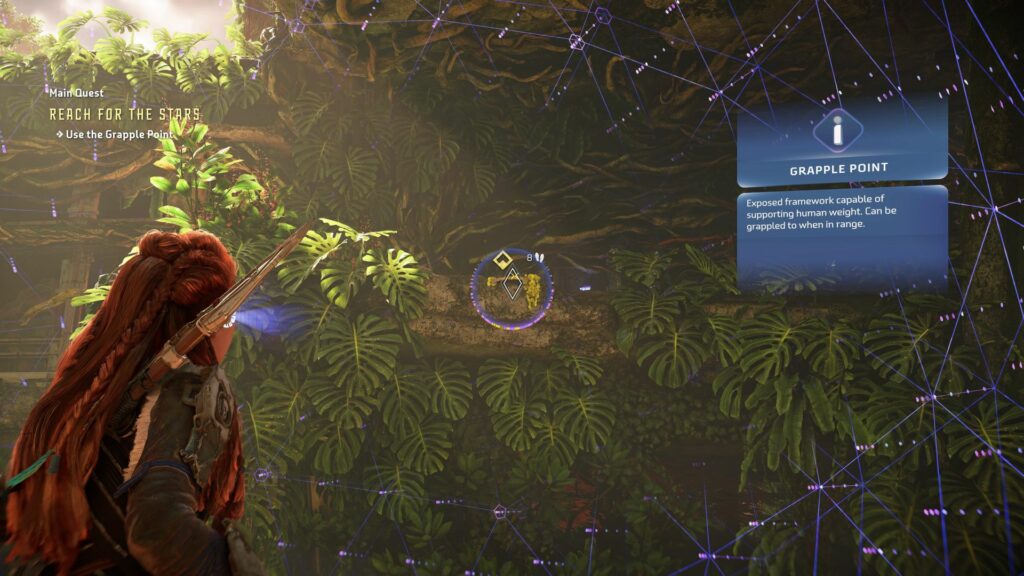
To go up, look for the grapple point. You just need to jump and in mid-air press jump again to hook onto the ledge.
Follow the path all the way and you’ll reach the ladder. Lower it down for Varl.
Search the Ancient Ruins
Continue ahead to the next rubble and clear it.
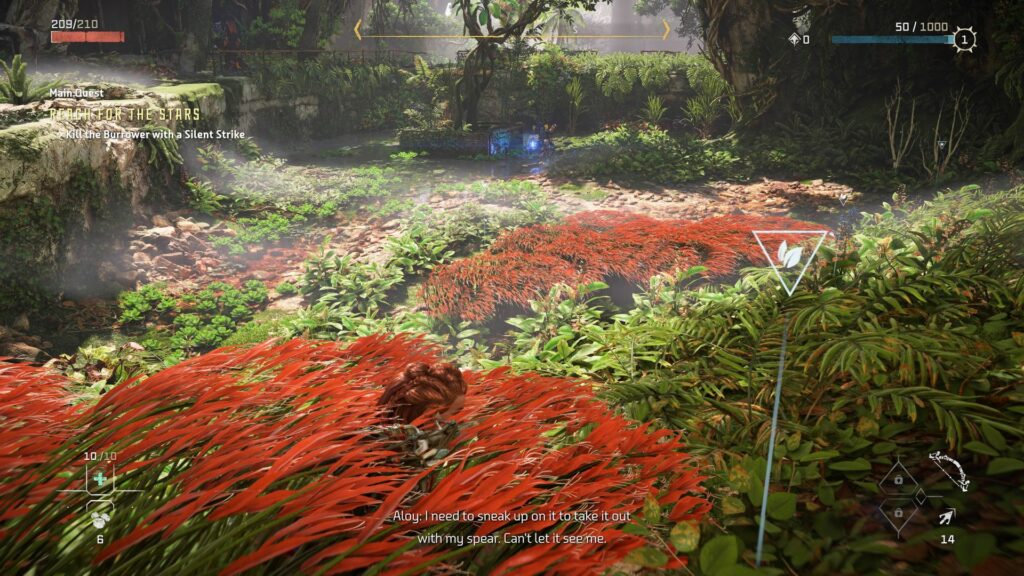
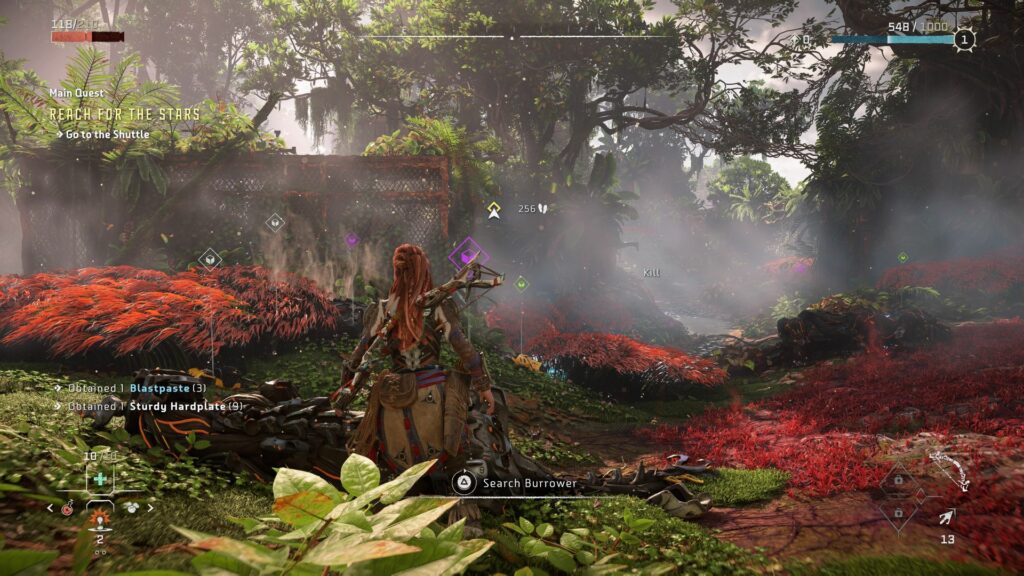
You will now meet more Burrower machines. Use focus to mark their path and wait in the bushes. Use a rock to distract them and crouch behind them to perform a silent strike.
Do the same for all the machines (or you can just go head-on which is tougher).
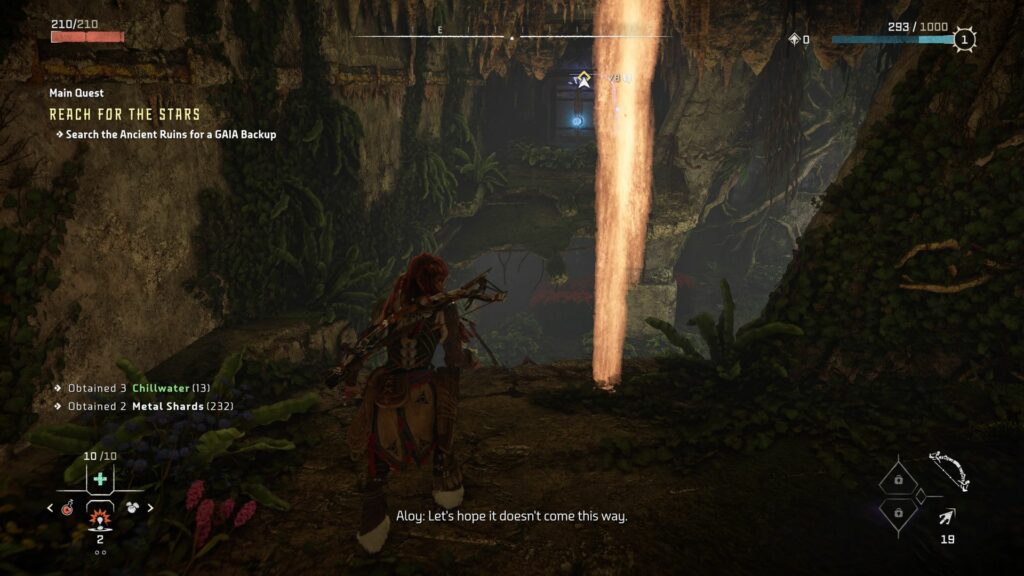
After the machines, continue following the path into a cave.
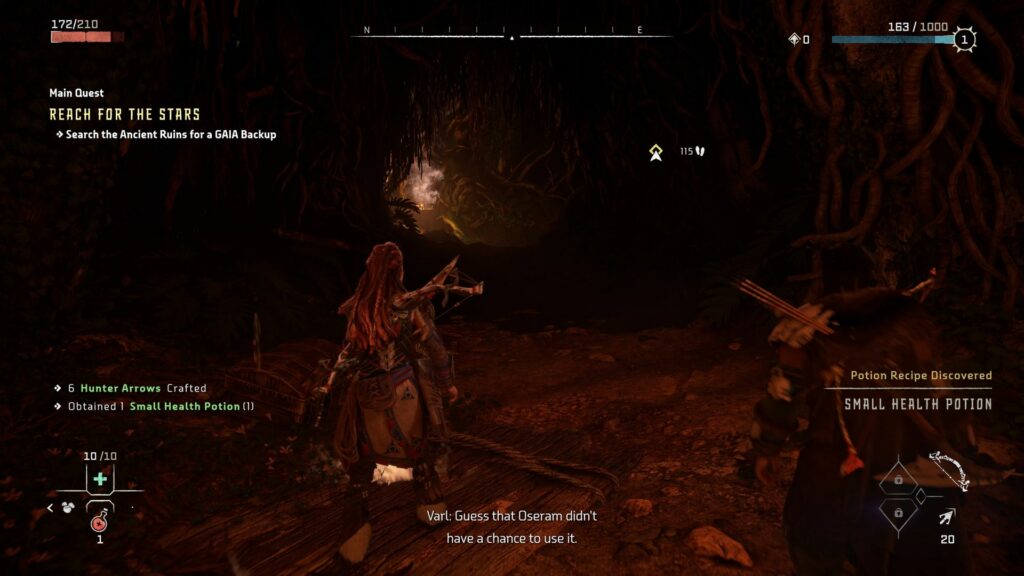
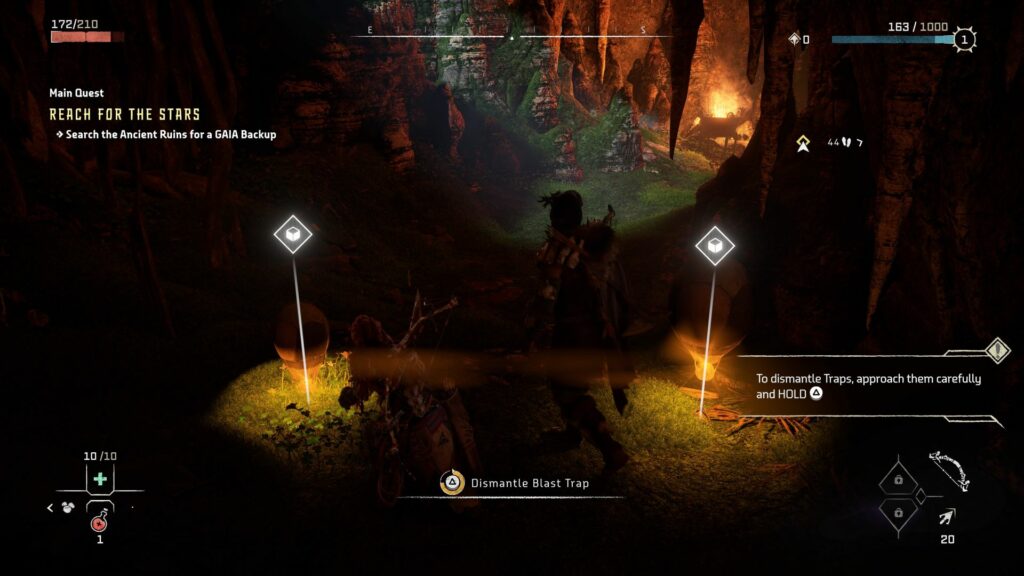
You will then see a few traps. Learn how to dismantle them.
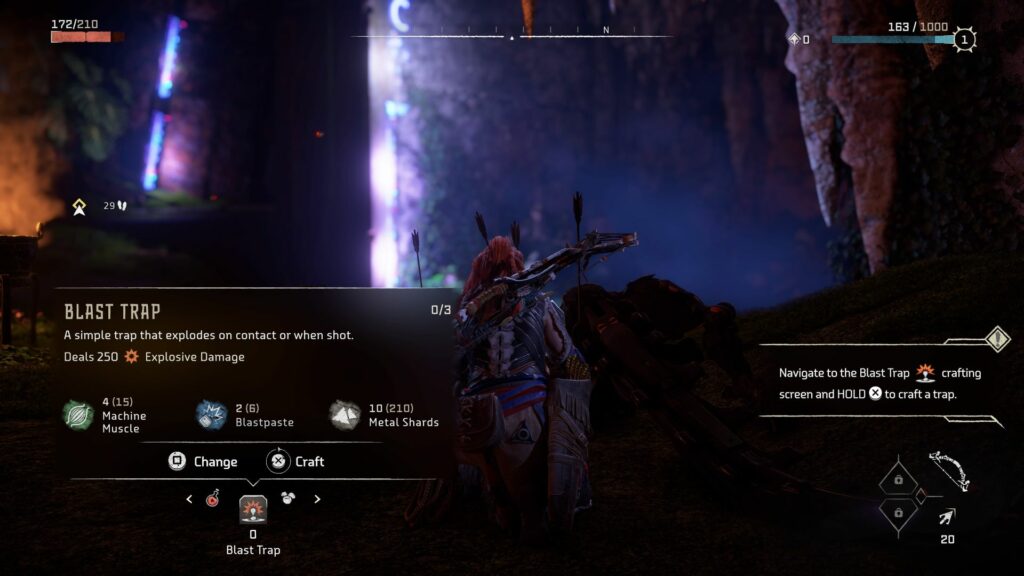
Craft a blast trap
The game then teaches you how to craft a blast trap. Pick up the materials from the cave.
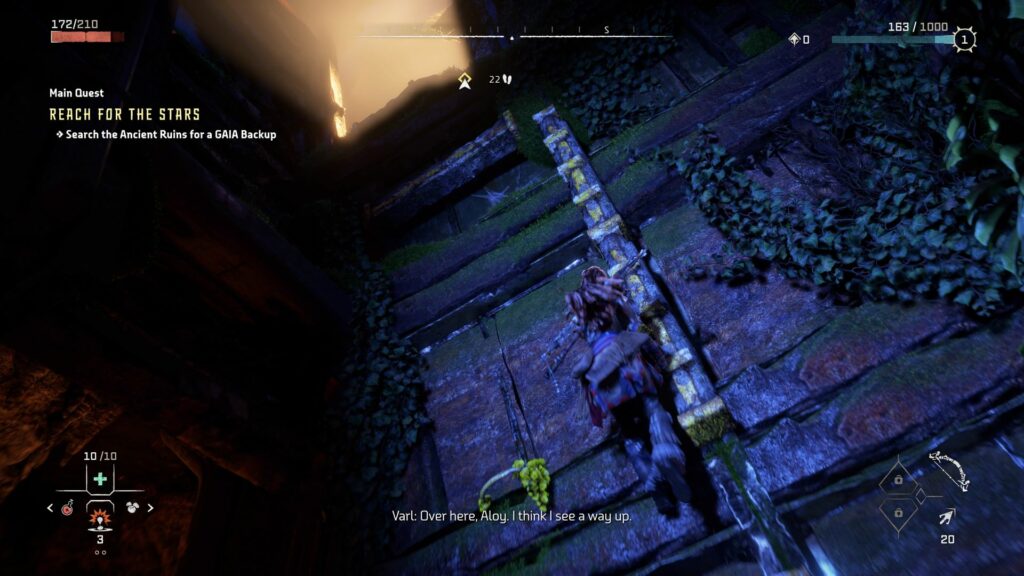
Once you’re done, look for a way out of the cave via climbing up.
Search the Ancient Ruins
Continue your search. You will meet more machines on the way.
After defeating the machines, make your way up and head into the lab.
You will see more holographic projections inside. Use focus to interact with some data points.

Once you’re done, continue to make your way up.

You will then reach some sort of a control room. Activate the holo projector.
You will learn that the backup of GAIA is probably at the data center.
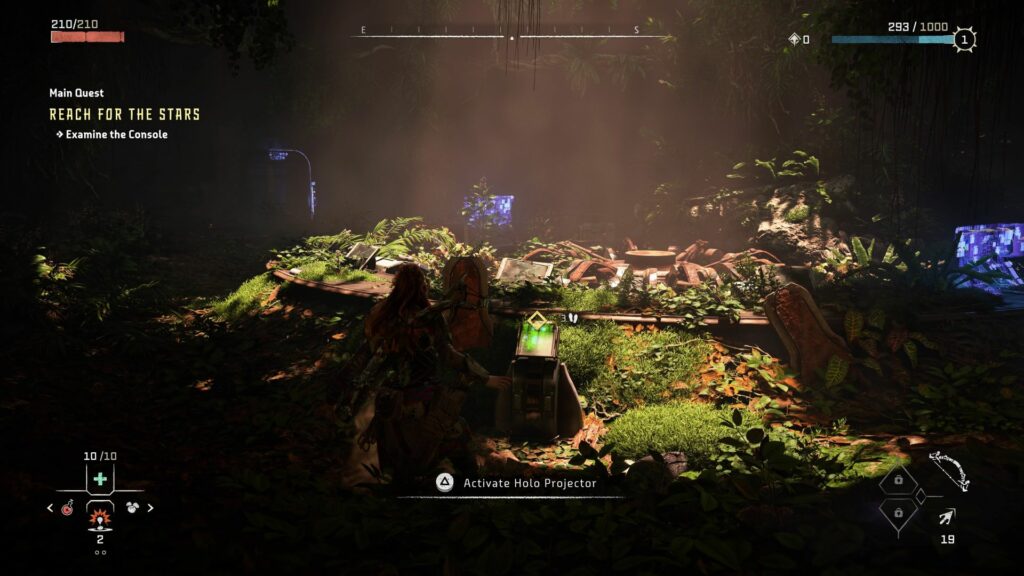
Then, Varl will hand over a weapon to you. Leave the lab.

Go to the data center
You’ll reach the outdoors again. You can use the new weapon you obtained from Varl which is a chill blaster.
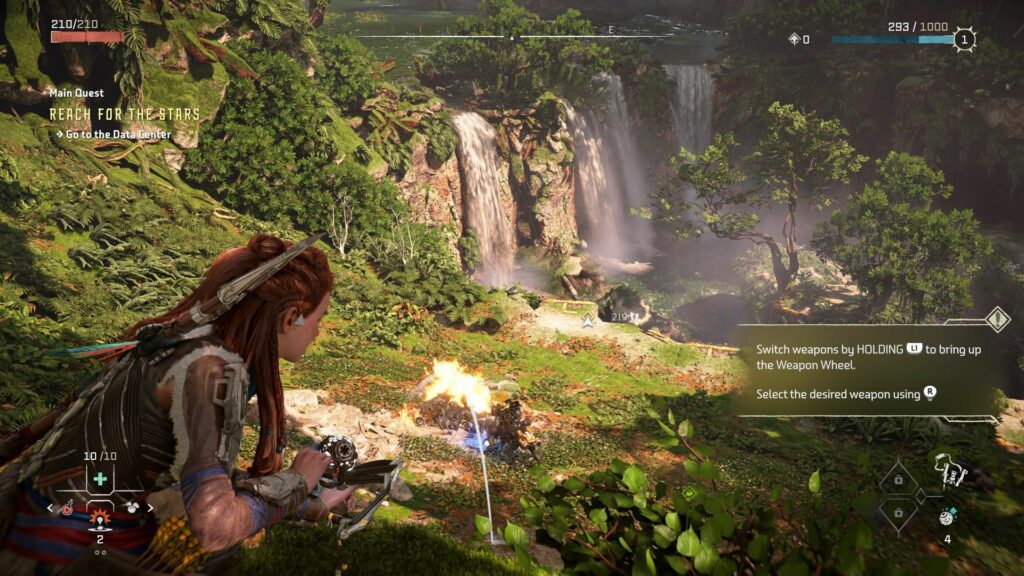
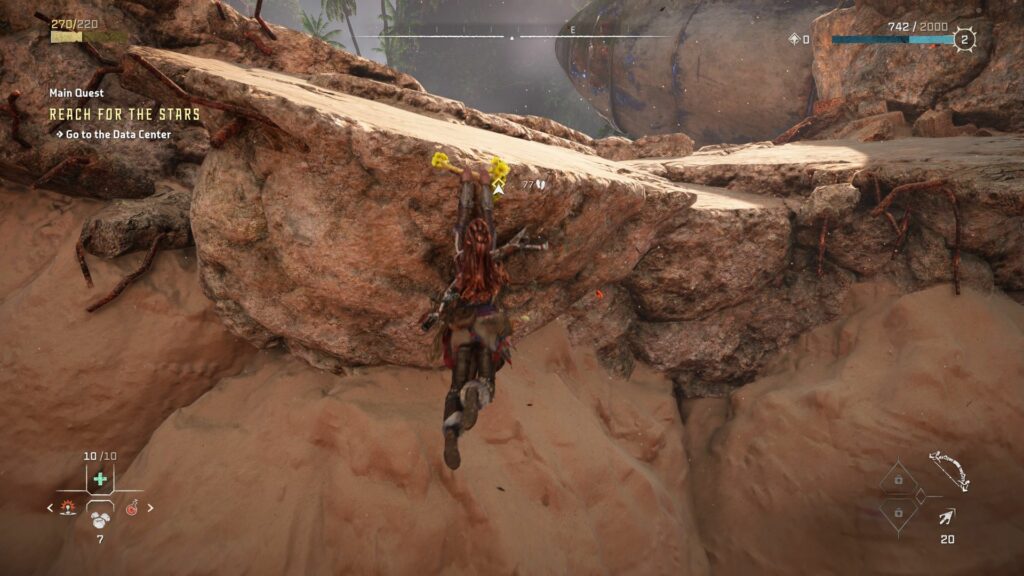
Make your way down and you’ll reach a waterfall. Near the waterfall, there’s a way to climb up.
Next, shoot down the ladder to climb up.
You will then see some snake machines during the cutscene.
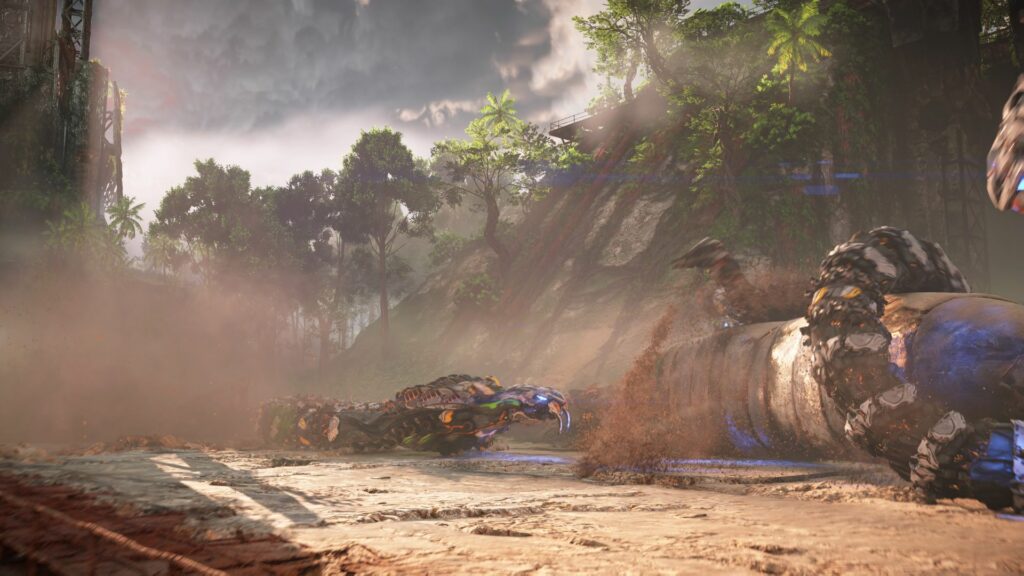
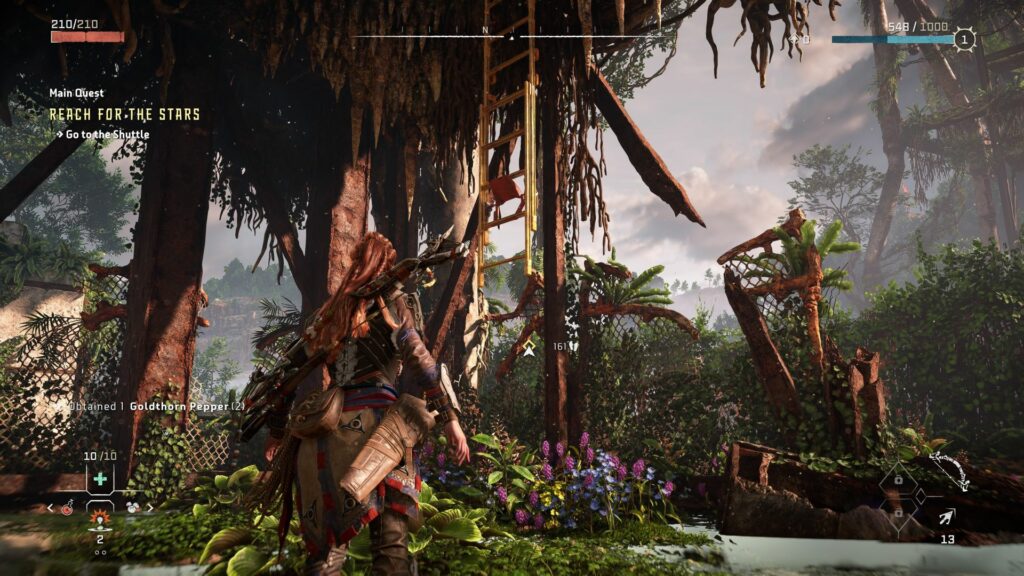
Go to the Shuttle
The objective now is to drop the shuttle to kill the snake machines.
Head towards the shuttle. There’ll be more machines along the way.
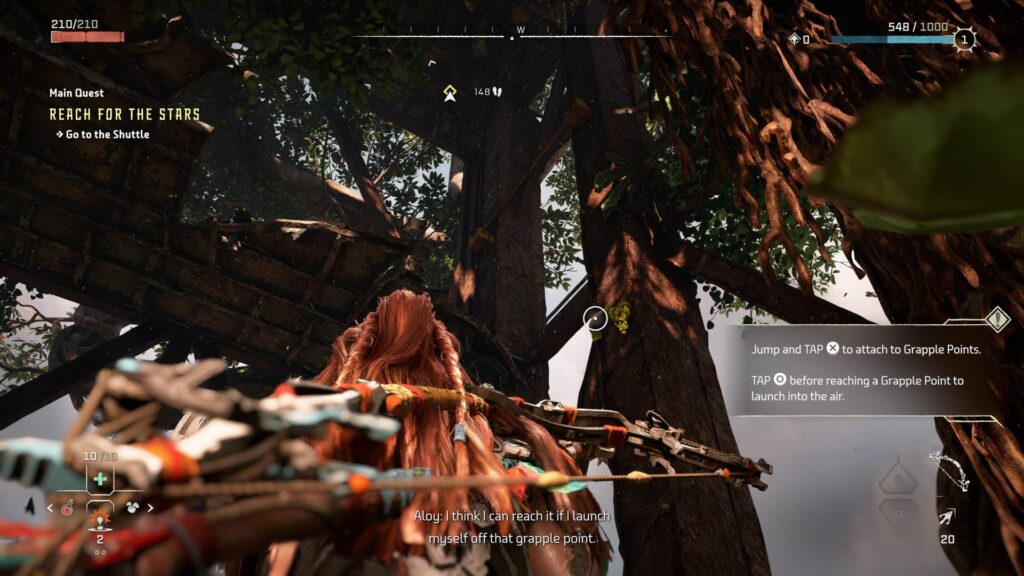
After you’ve passed the machines, climb up using the ladder.
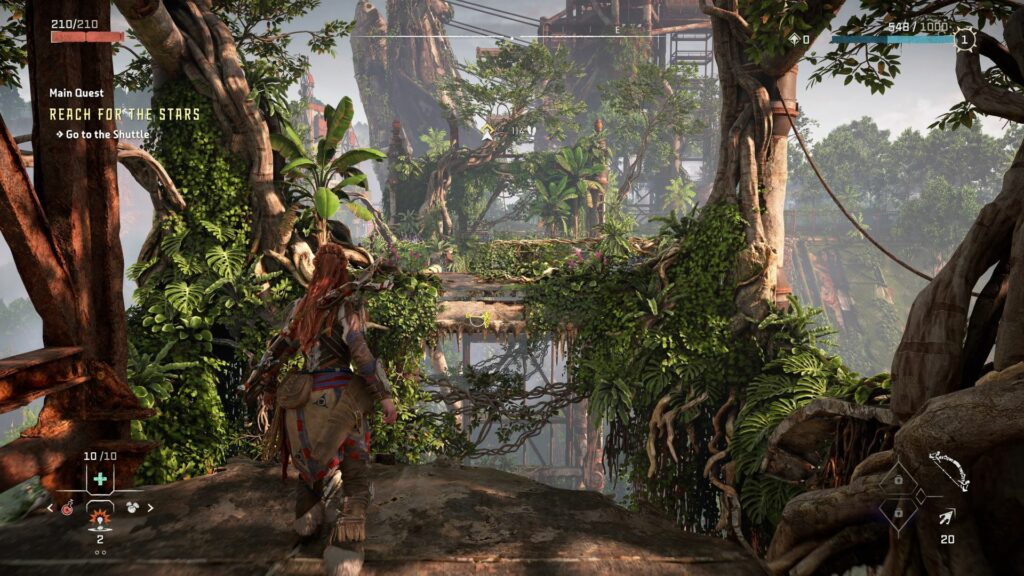
Use the grapple point to continue heading up.
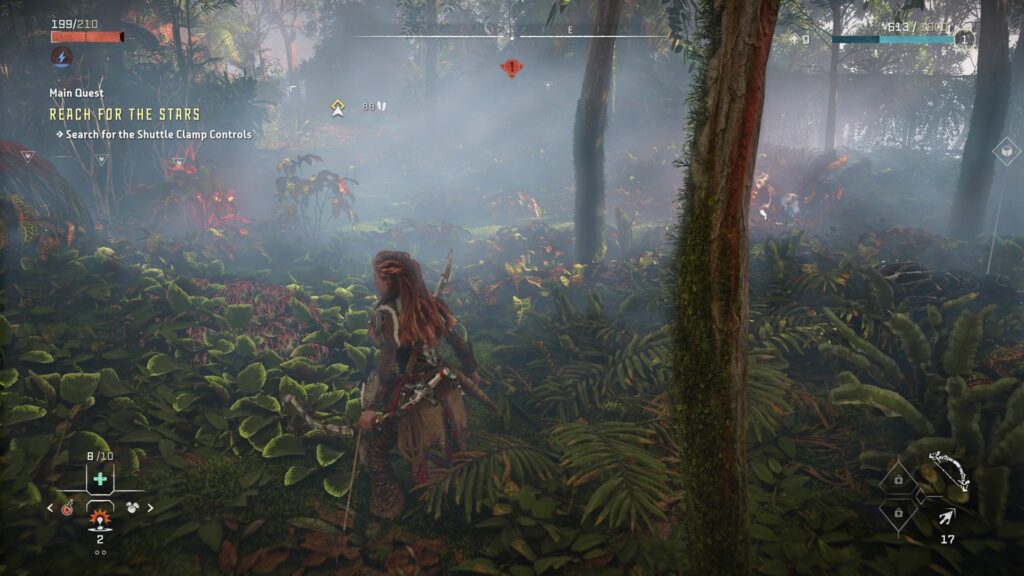
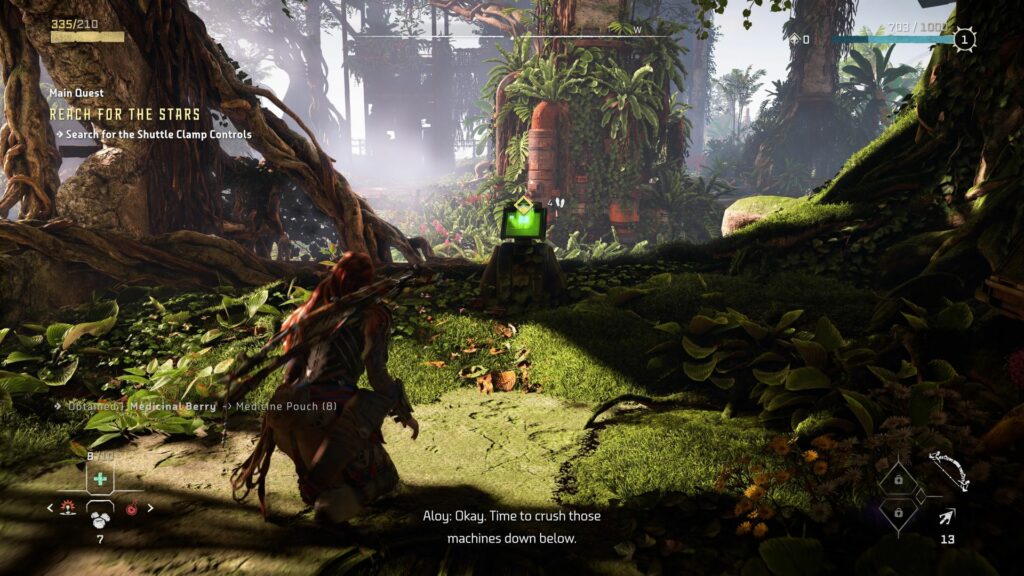
Search for the Shuttle Clamp Controls
You’ll encounter more machines as you look for the shuttle clamp controls.
Once the area is secure, head to the computer to release the shuttle clamp.
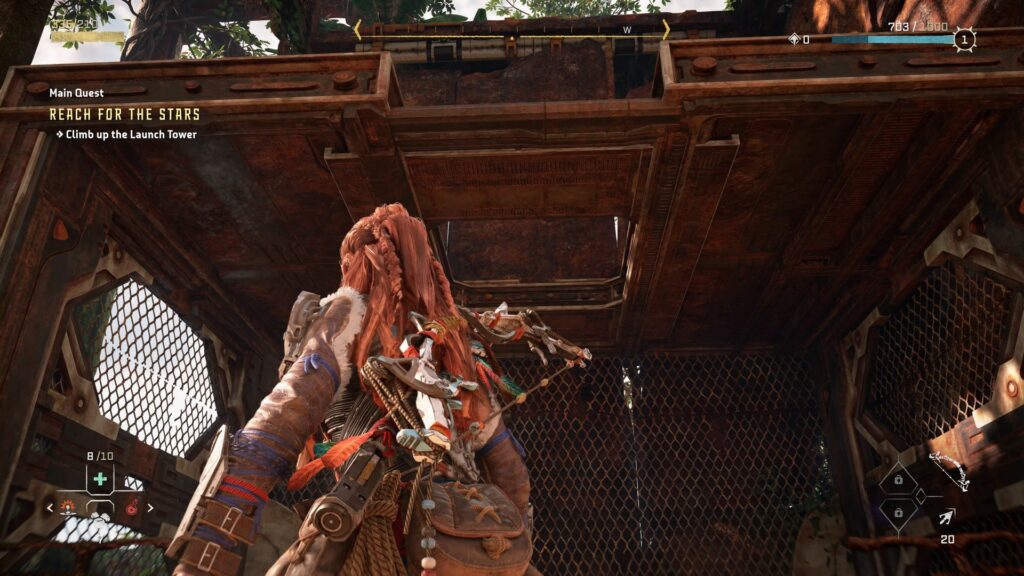
Climb up the launch tower
As the shuttle is stuck due to cables, you need to destroy the cables. To do so, climb up the launch tower.
Before you can go up, use your focus and scan on the protruding metal part near the tower.
Then, use the pullcaster to pull it.

Then, go to the bottom of the tower and climb up using the small gap at the ceiling.
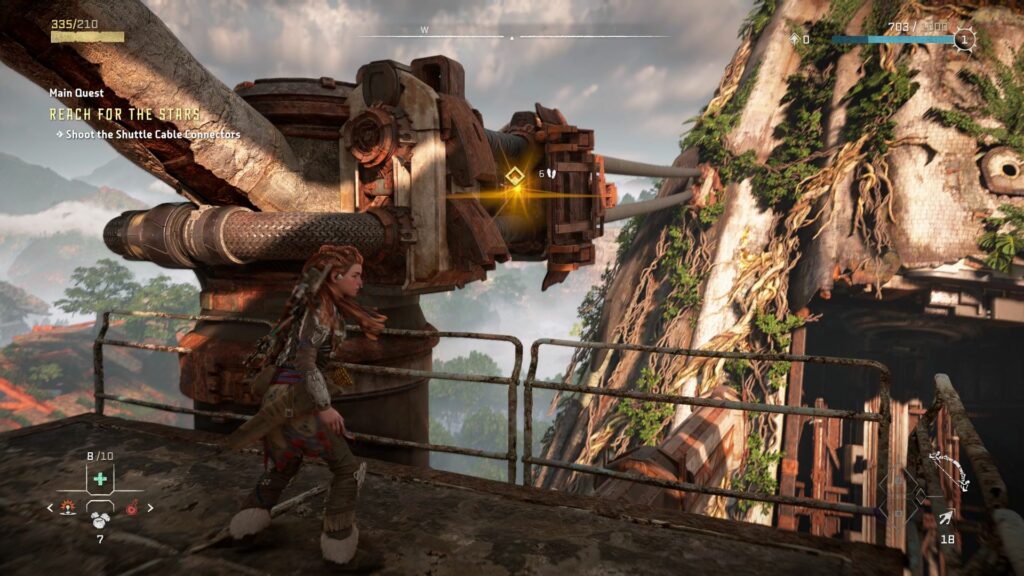
Once you’ve made your way up, shoot at the connector to remove the cable.
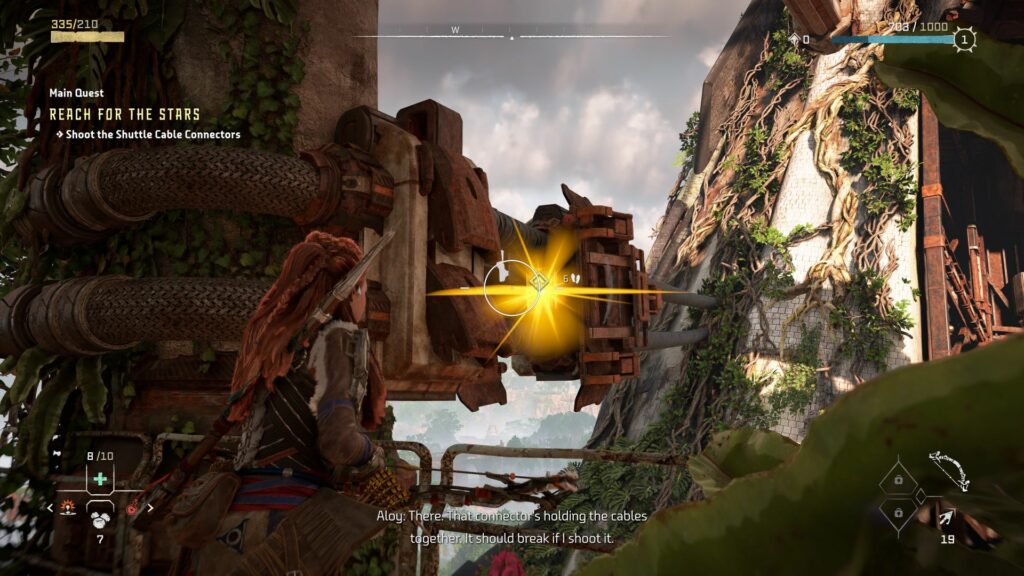
As the shuttle is still stuck, you will need to climb up higher to shoot the second shuttle cable connector.
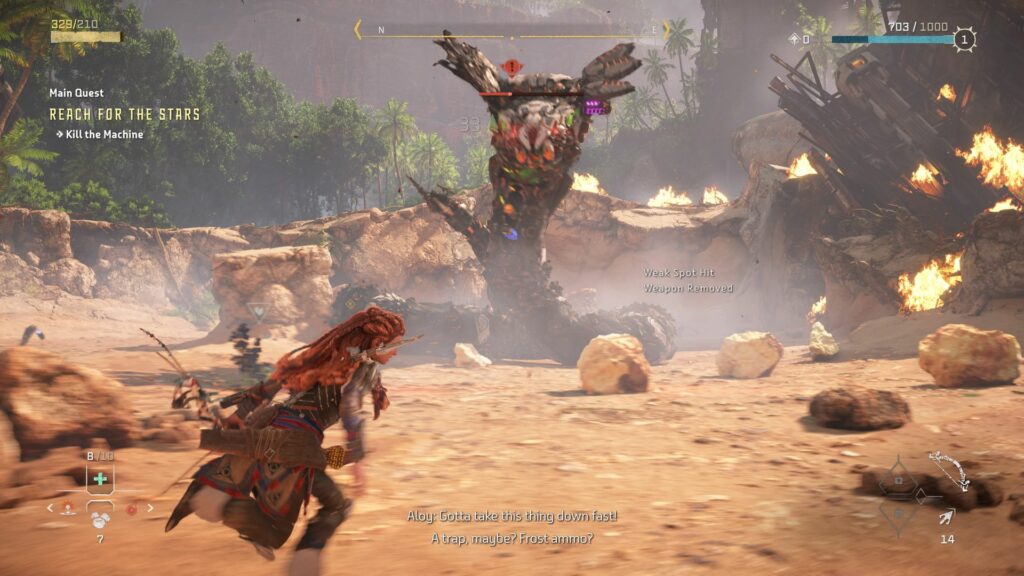
Kill the snake machine
After the shuttle falls, Aloy will also fall to the ground. One of the snake machines is still alive and you have to kill it.
This fight is divided into two parts.
For the first part, you can mostly hide behind the big rocks when it shoots poison.
Use focus to find the glowing weak parts and use arrows to destroy them.

For the second part, you can’t hide behind the rock.
Rely on your focus mode (which slows down time) to destroy the weak parts.
There’s also some heavy weapons on the ground that you may use against the machine.
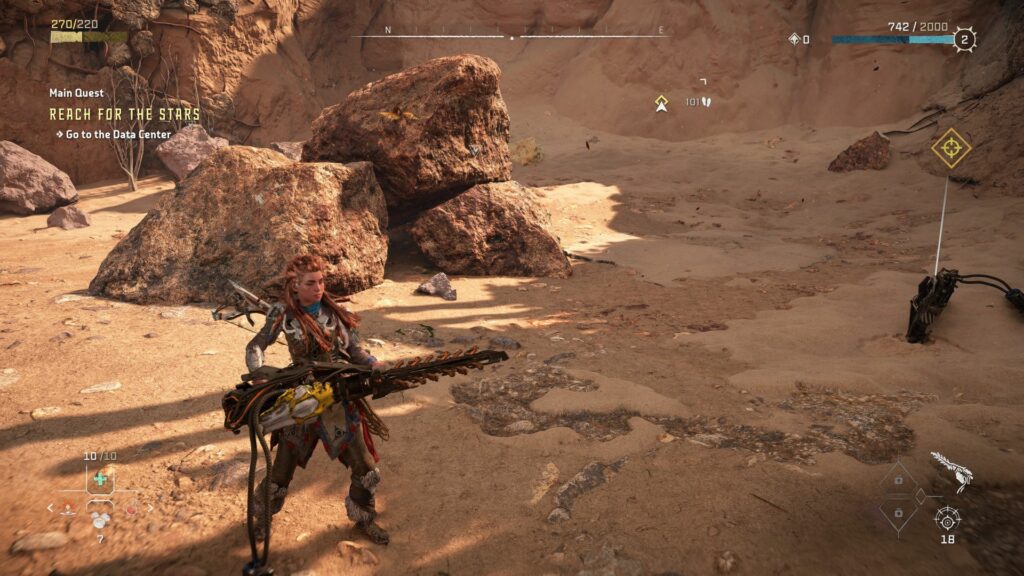
Go to the data center
Make your way out of the pit by grappling up.
Head to the data center and make your way into the room. You’ll then learn during the cutscene that the actual backup isn’t here.
This quest ends here.
Related posts: