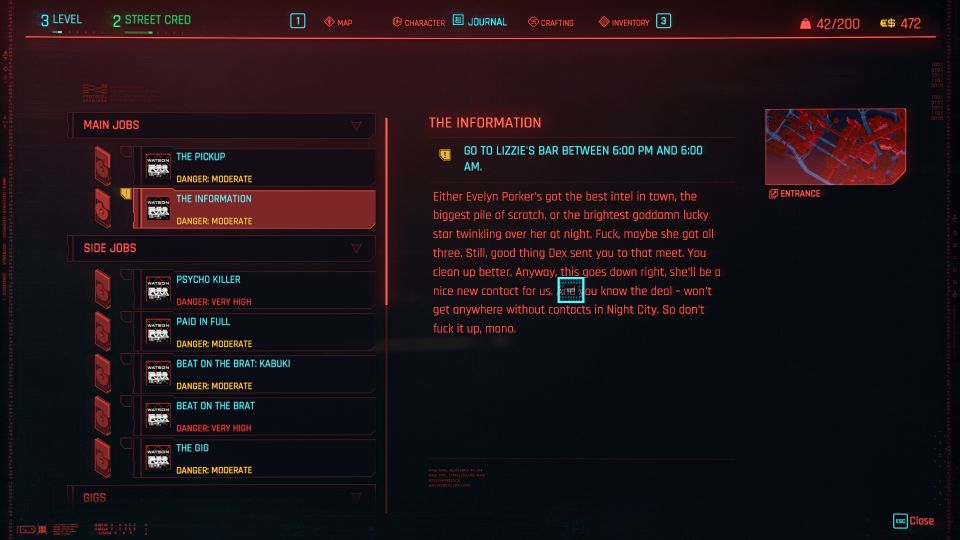
The Information is a main mission in Cyberpunk 2077 relating to braindance.
Your objective is to meet Evelyn and do a braindance to get more info on Arasaka.
Here’s a walkthrough of The Information in Cyberpunk 2077.
Danger: Moderate.
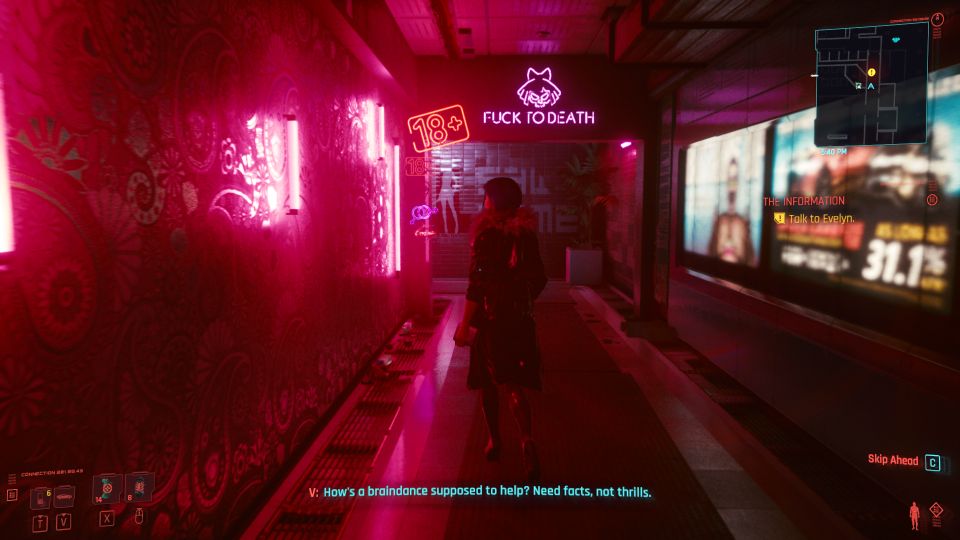
Go to Lizzie’s Bar
Head to Lizzie’s Bar as marked on the map.
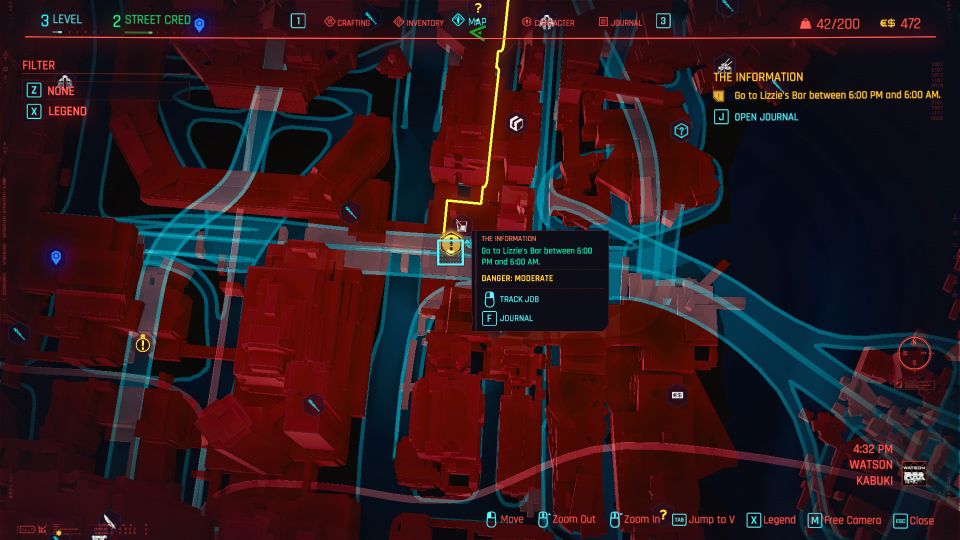
You need to come here between 6 pm and 6 am.
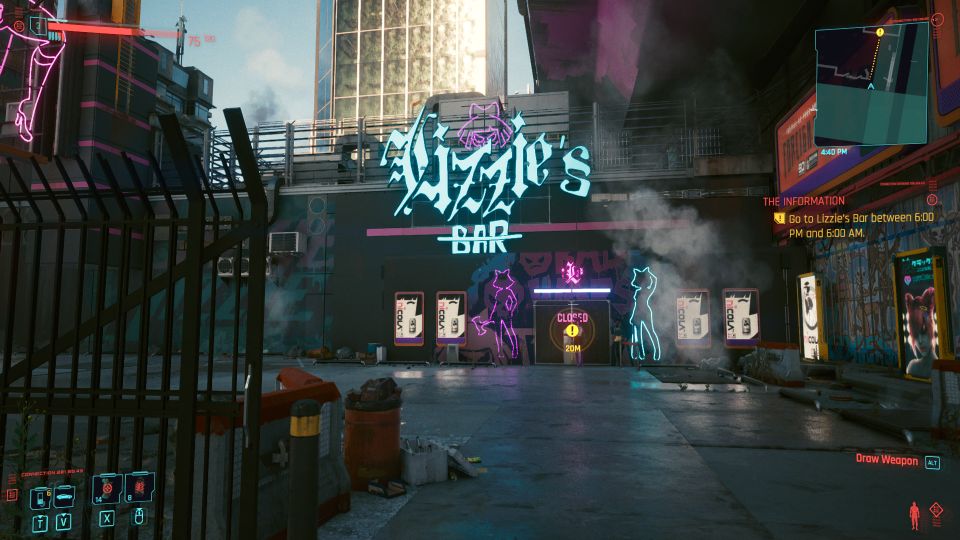
To skip time, just go to your menu and you’ll see the option. You can choose how many hours you want to skip.

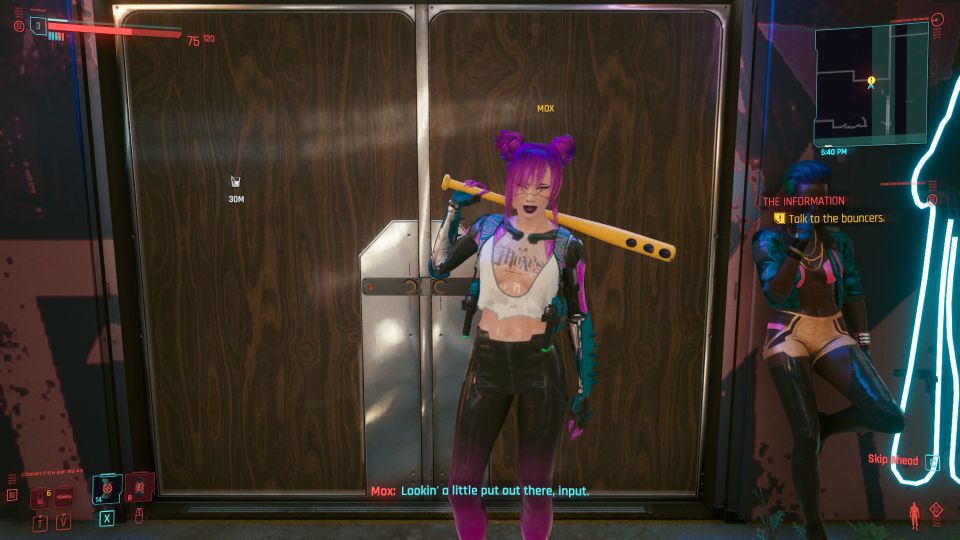
Once you’re here at the right time, you’ll meet Mox. Talk to her to get in.
Talk to the bartender
To look for Evelyn, sit down at the bar.
Tell him you’re looking for Evelyn.
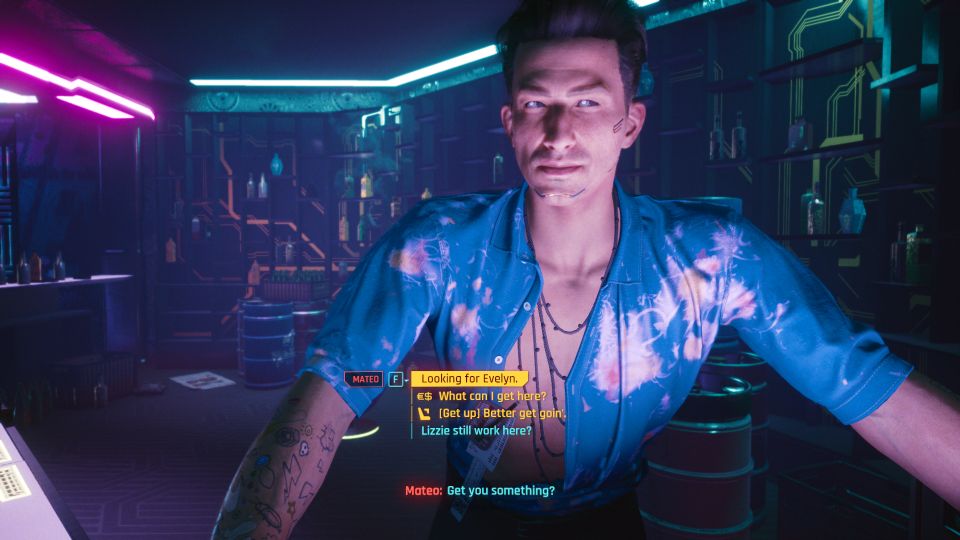
It doesn’t matter what you choose and you’ll still find Evelyn since she’s beside you.
I chose “Name’s V“.

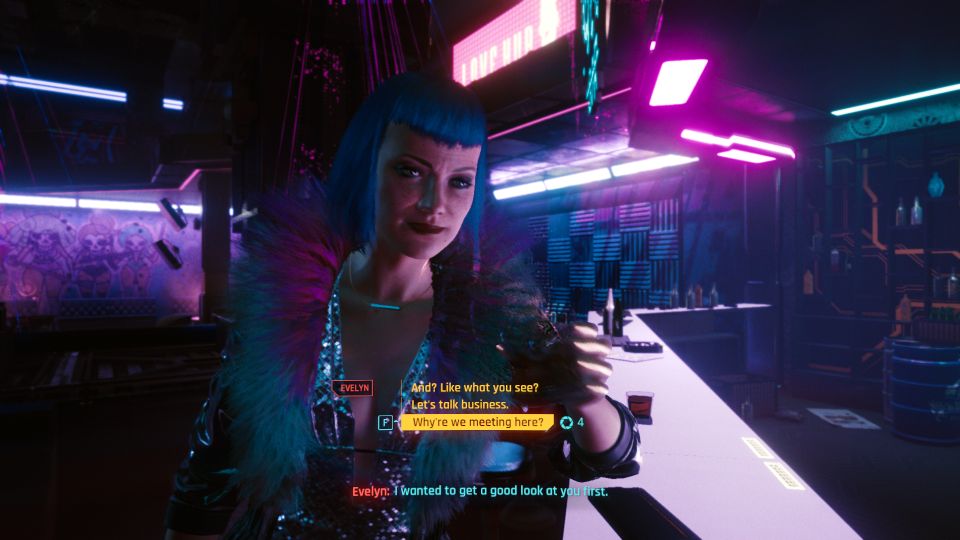
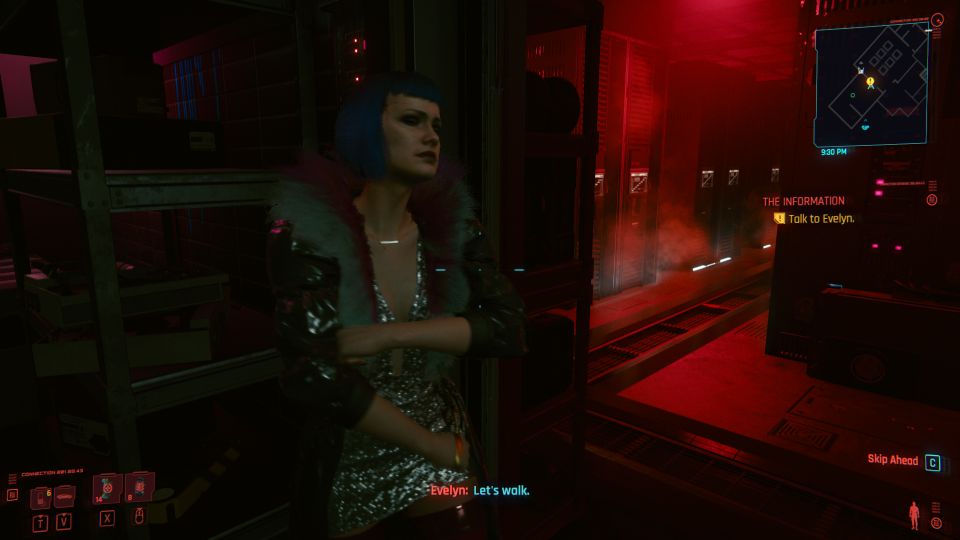
Talk to Evelyn
Speak to Evelyn next. Tell her “why’re we meeting here” and she’ll lead you to the room.
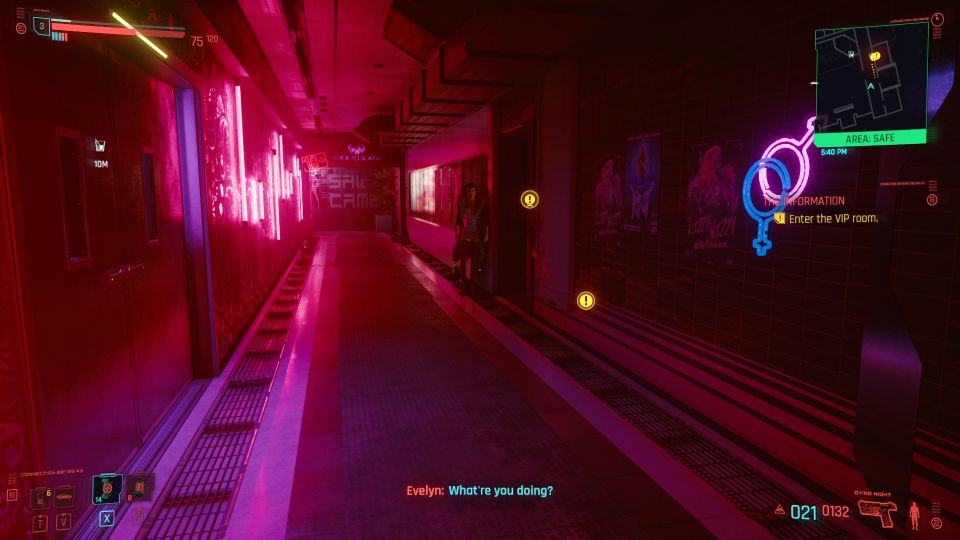
Enter the VIP room
To discuss further, follow Evelyn to the VIP room.
The conversation choices here may not matter.
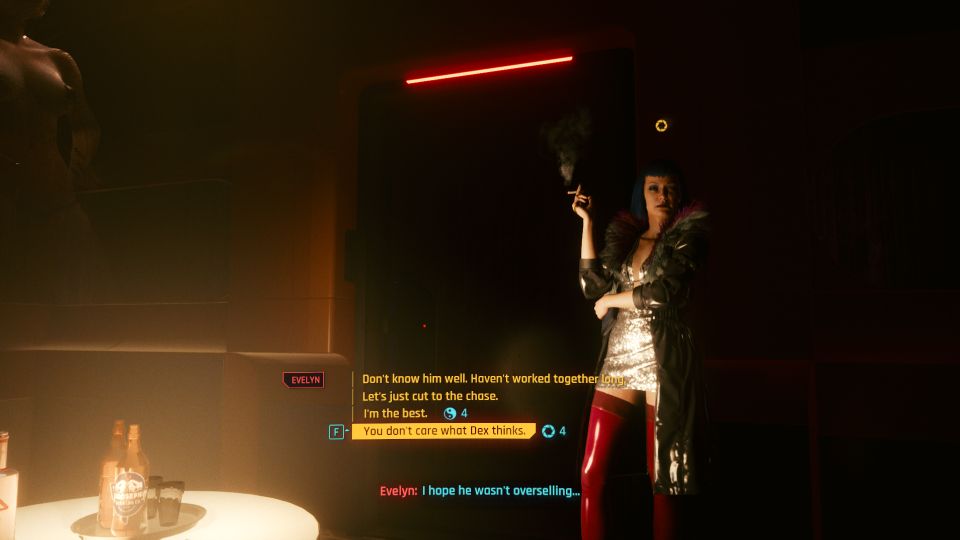
After the talk, follow Evelyn as she leads you to Judy to do a braindance.
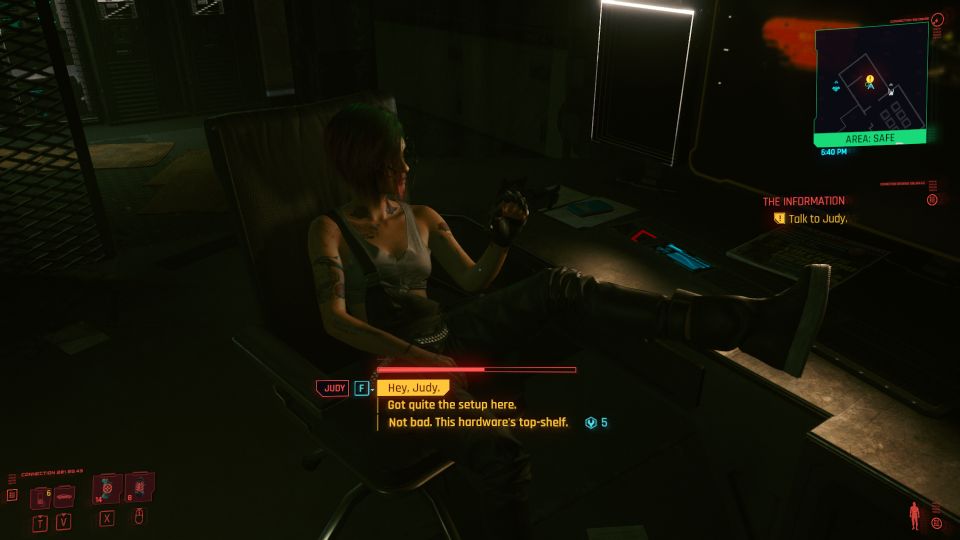
Talk to Judy
Next, talk to Judy. It’s fine if you don’t reply or anything.
Sit on the chair
To begin the braindance, sit on the chair.

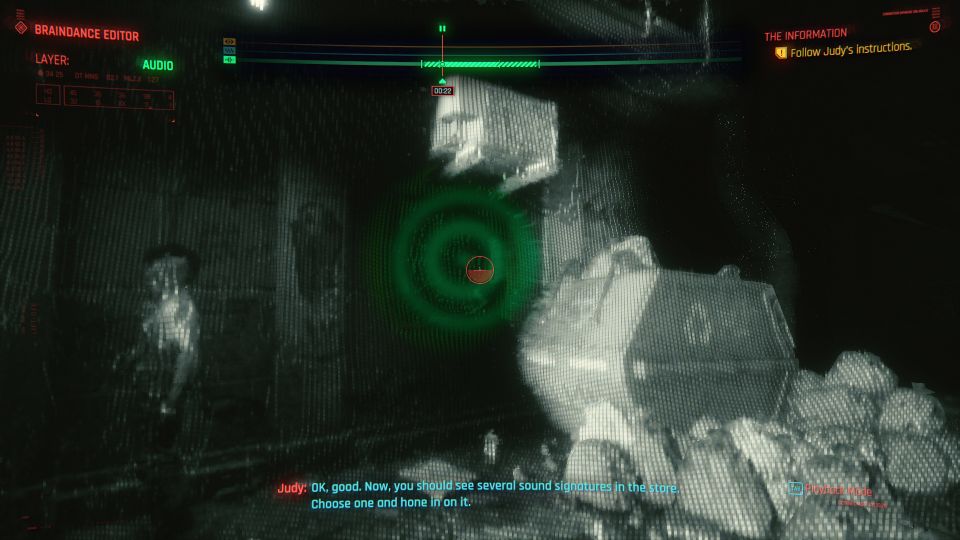
Follow Judy’s instructions
Inside the braindance editor, Judy will give instructions. Just follow her instructions like fast-forwarding, resetting and rewinding the timeline.

She’ll also ask to play the recording until you spot the gun.
Once the gun is out, just hover over the gun to scan it.

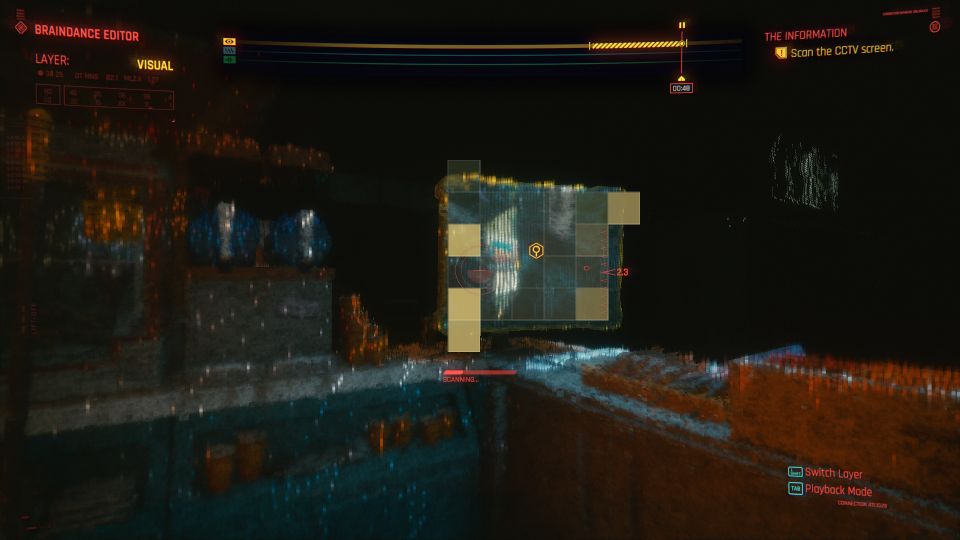
Next, you’ll be taught how to change layers. Change to the audio layer to hear what’s going on in the ‘green’ spots.
She’ll ask you to fast forward the time to when the lady gets pushed aside.
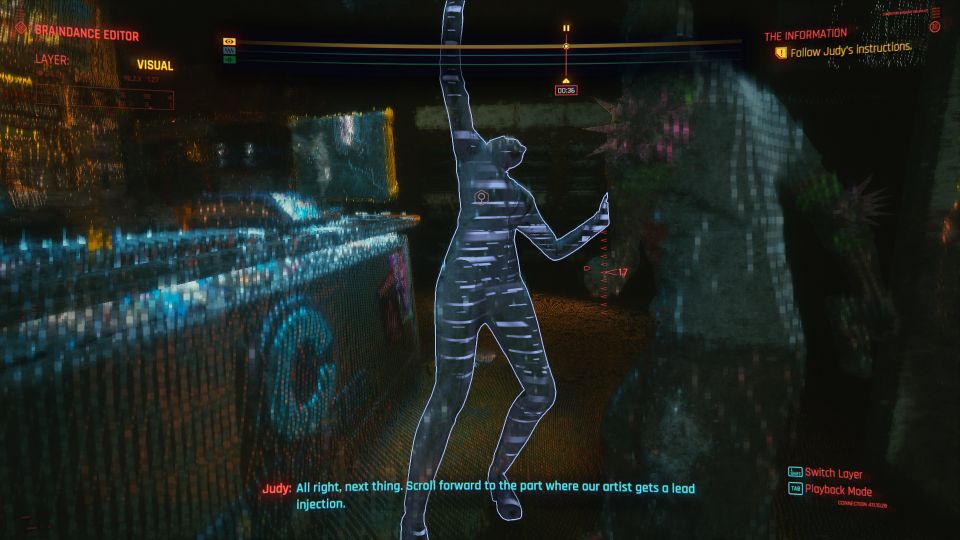
You also need to scan the CCTV screen but it only appears at a certain time, so you have to rewind.
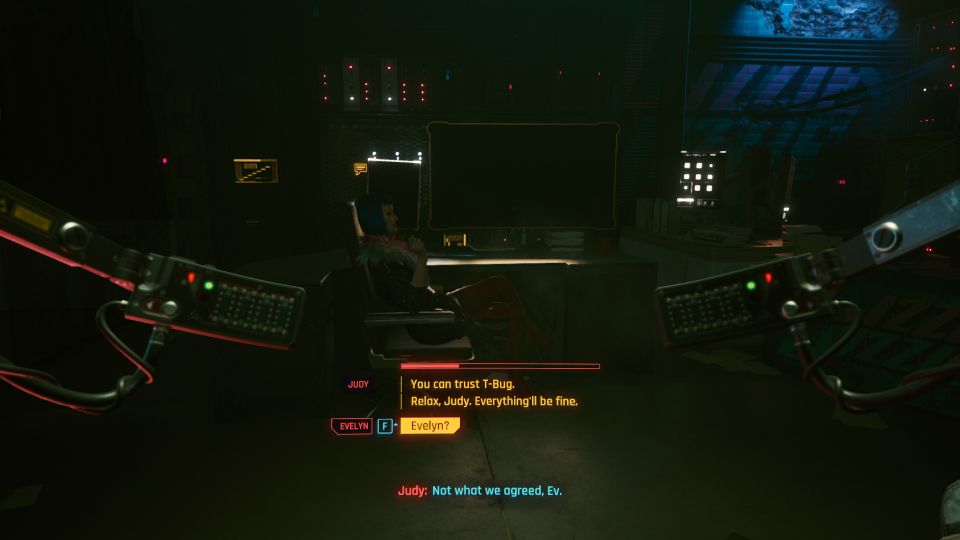
After the first braindance exercise, V will tell Judy that T-Bug needs to see what’s going on to help.
Here, I chose “Evelyn?” and she convinced Judy to let T-Bug intercept.
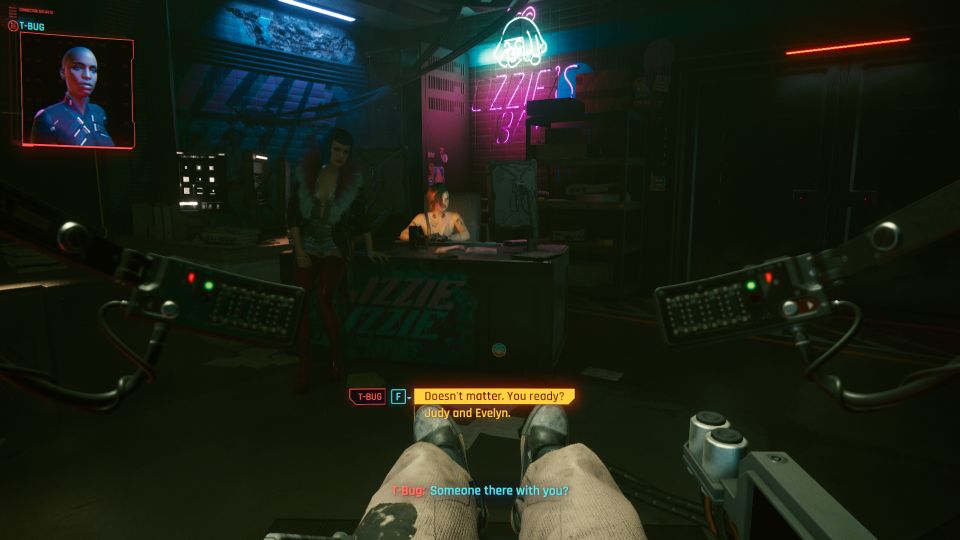
T-Bug will then ask who’s there. I chose the first option instead of saying who.
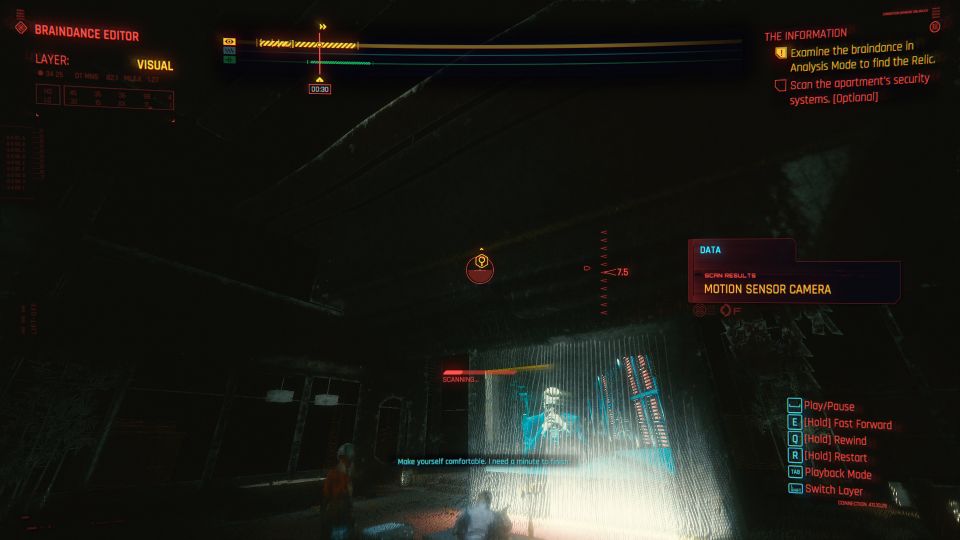
Examine the braindance in Analysis Mode to find the relic
You will then enter the braindance again but this time, it’s a recording by Evelyn when she visited Arasaka.
There are a few objectives here, some optional.
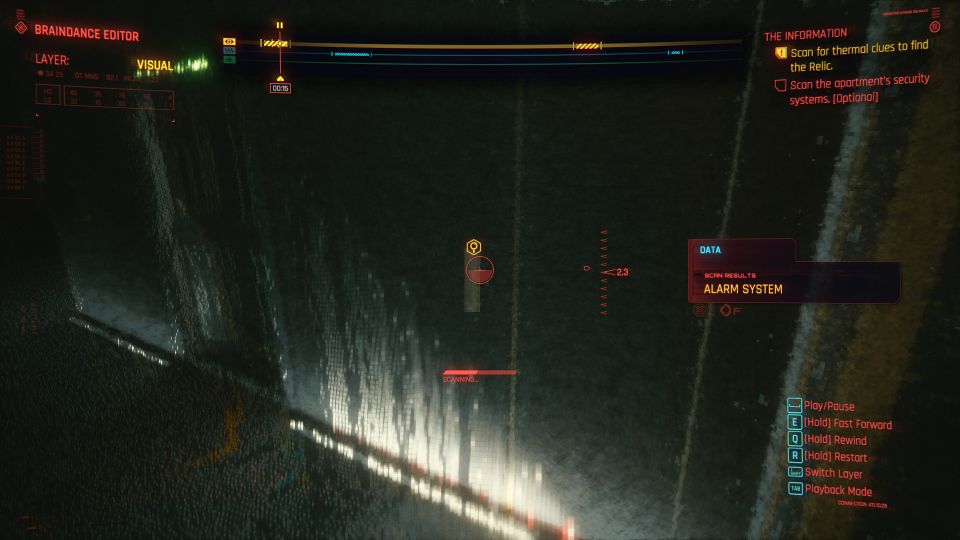
Scan the apartment’s security systems (optional)
One of them is to scan the security systems.
The first one is the huge military grade cyberware. He comes out as Evelyn enters the suite.
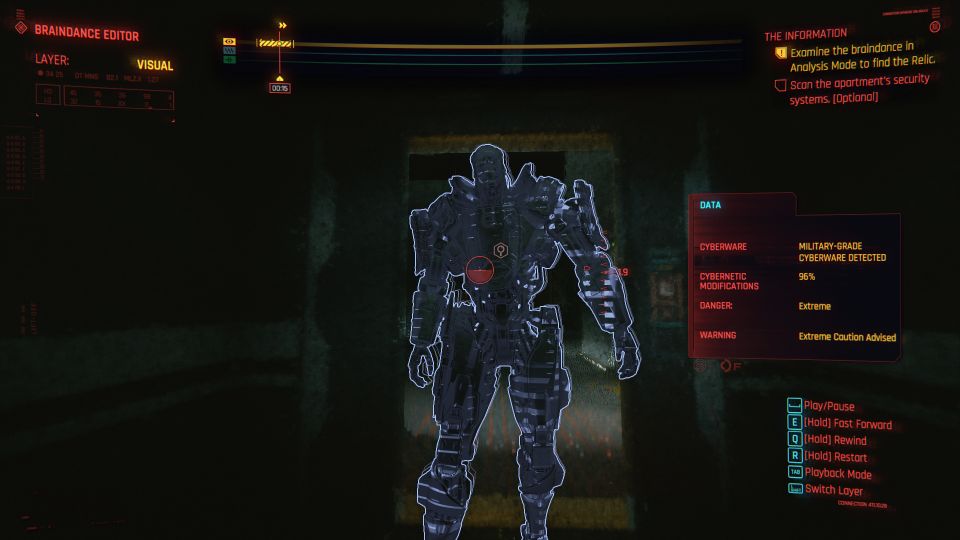
There are also security systems on the right as soon as you enter. You will need to rewind and fast forward time to see all of the security systems you’ve missed.
There are some motion sensor cameras in the suite.
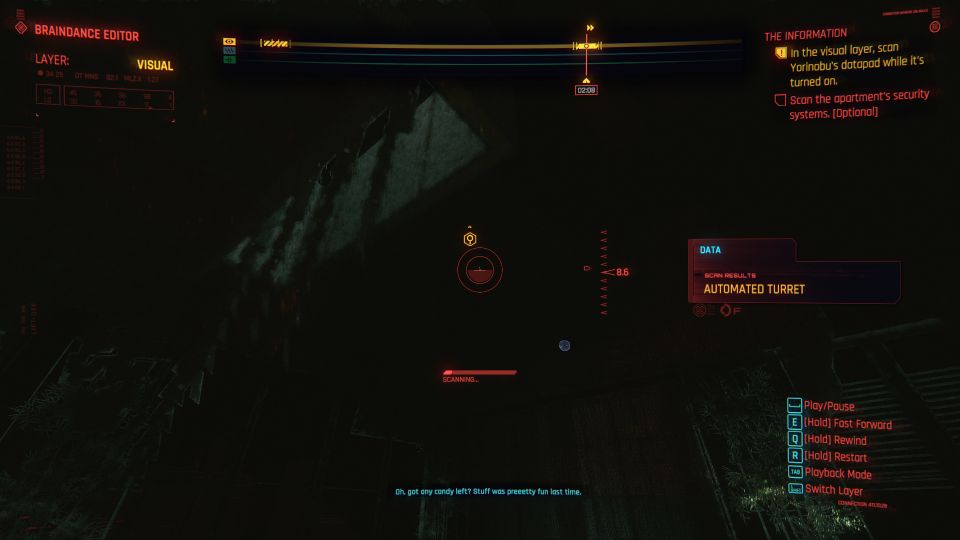
There is also an automated turret and another sensor towards the end of the recording.
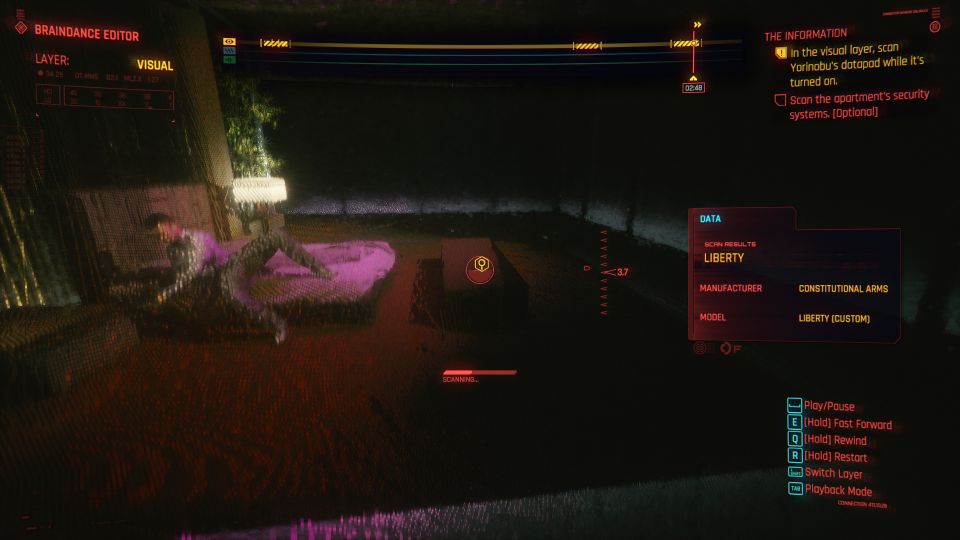
You will also find a loaded gun on the table near the bed.
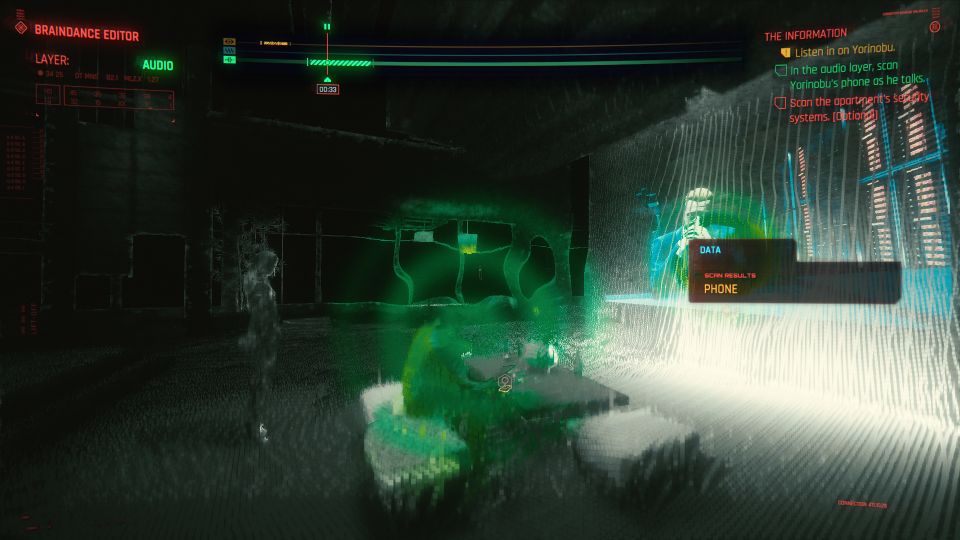
Scan Yorinobu’s phone
When Yorinobu is talking on the phone, switch to audio layer to spy on his call.
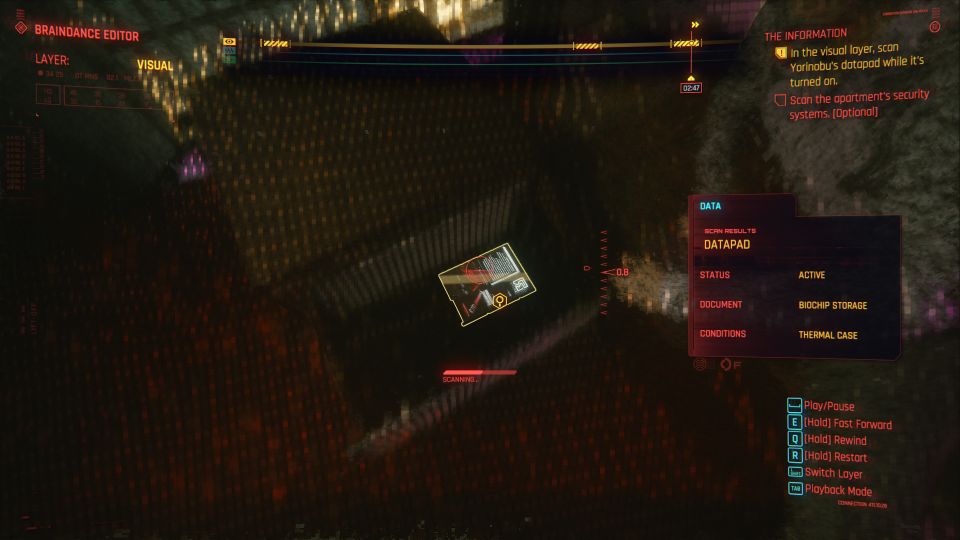
Scan Yorinobu’s datapad
His datapad will be revealed for a short time as he places it in the draw, before going to bed.
Pause there and scan it.
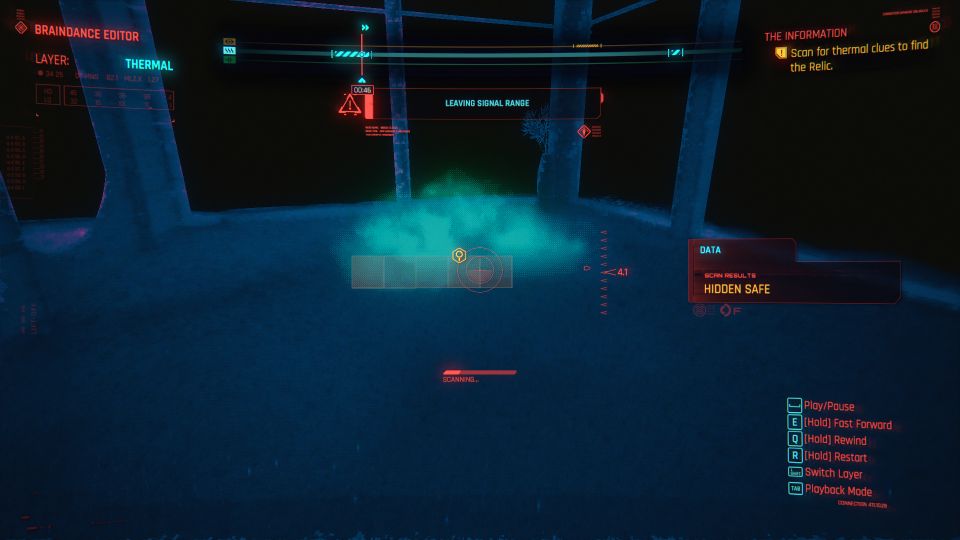
Scan for thermal clues
The last one is the thermal clues. I found it early in the recording.
It’s actually at the corner of the room, at the side of the bed.
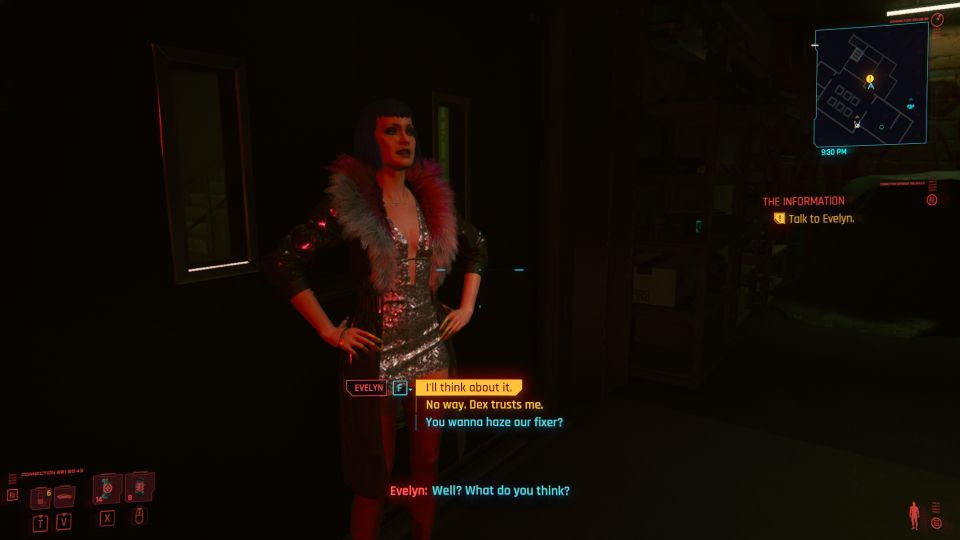
Talk to Evelyn
After the braindance, talk to Evelyn.
She’ll ask you to not tell anyone about the job, even Dexter.
Here, I chose the first option, i.e. to think about it. It seems to give an option to choose later, but perhaps the outcome might be the same regardless.
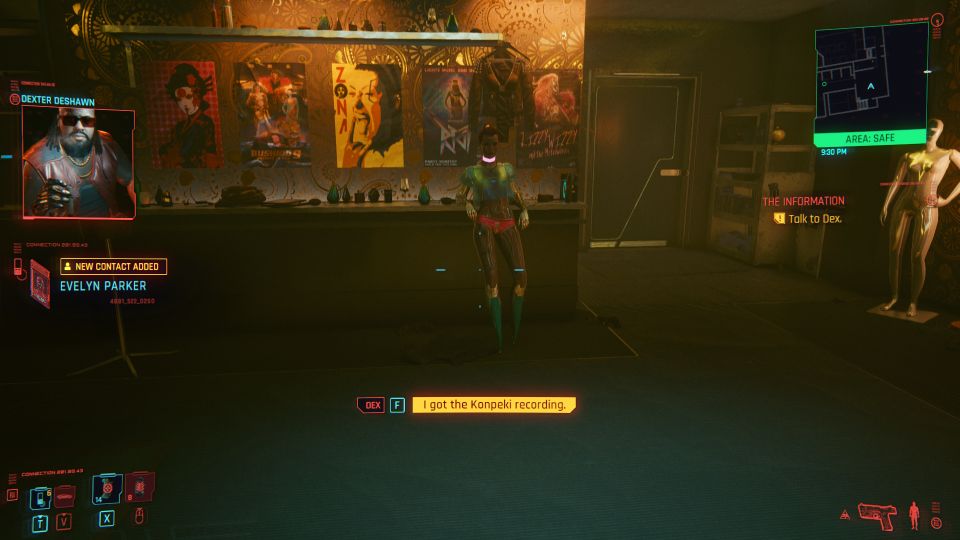
Talk to Dex
After the talk with Evelyn, Dex will call. Just talk to him and the mission ends here.
Related posts:
Cyberpunk 2077: The Gift (Side Job Walkthrough)