The Hunt is a side mission / job by River Ward in Cyberpunk 2077.
Your objective is to help rescue his nephew Randy from Harris’ farm.
Here’s a walkthrough of The Hunt in Cyberpunk 2077.
Danger: Moderate.
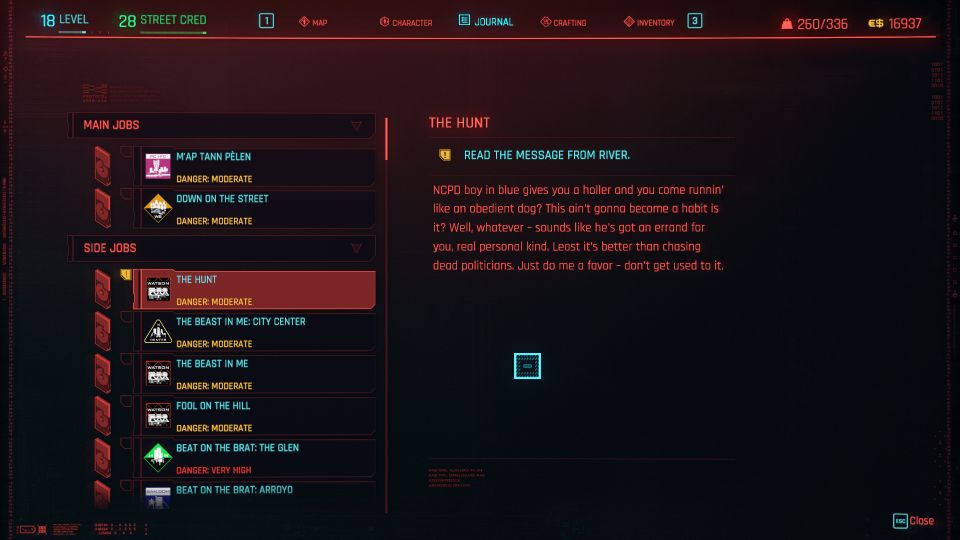
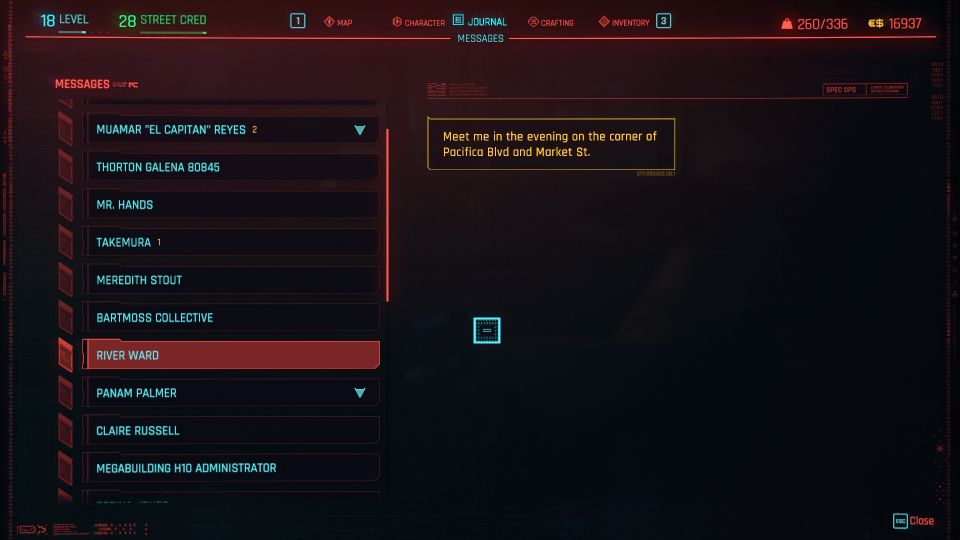
To begin the mission, read River’s message as he sent the location.
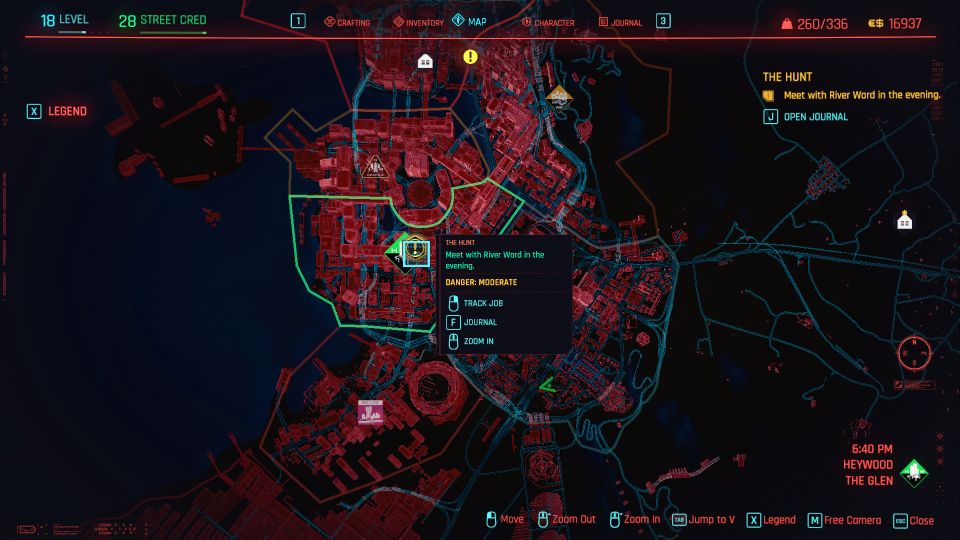
Head to the location marked on the map, which is in The Glen.
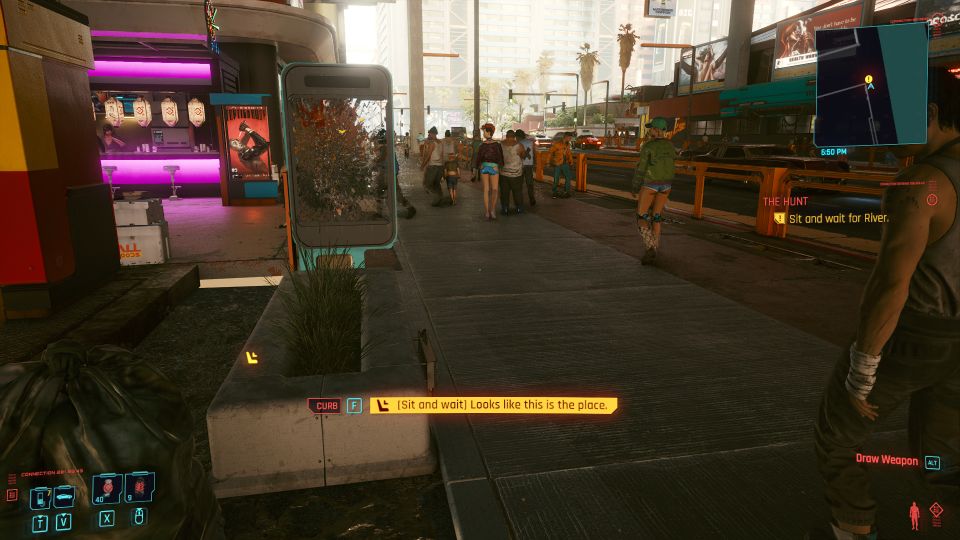
Sit and wait
Sit on the curb first to wait for River to appear.
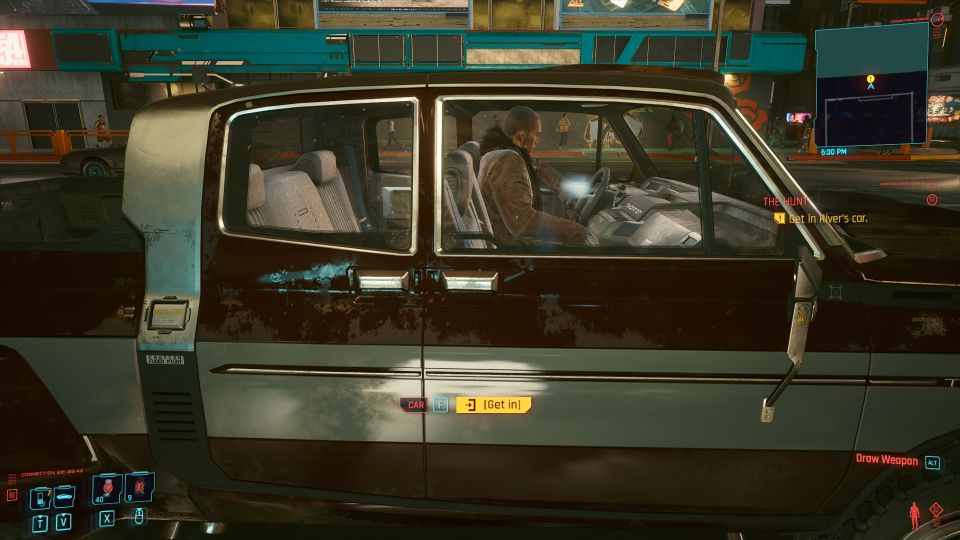
He’ll then come in his car. Enter the car to talk to him.
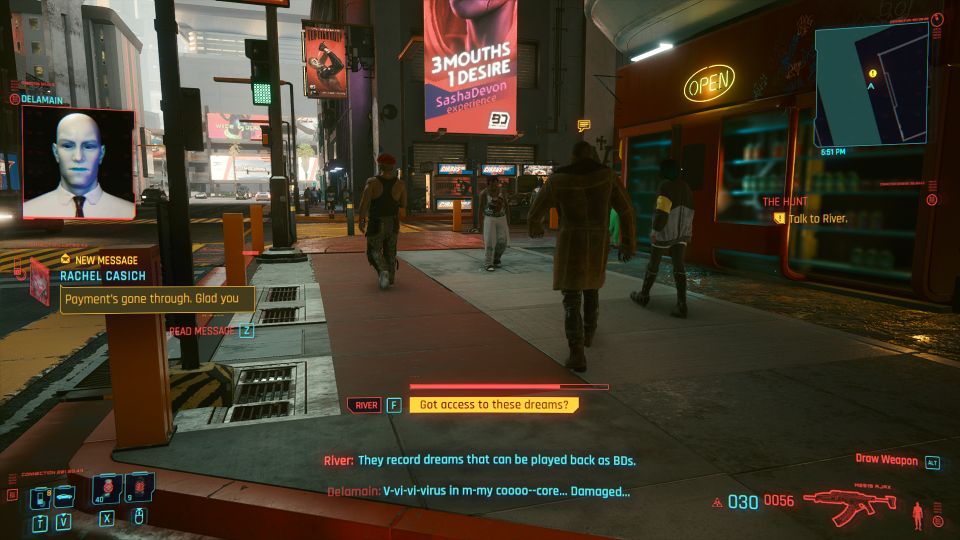
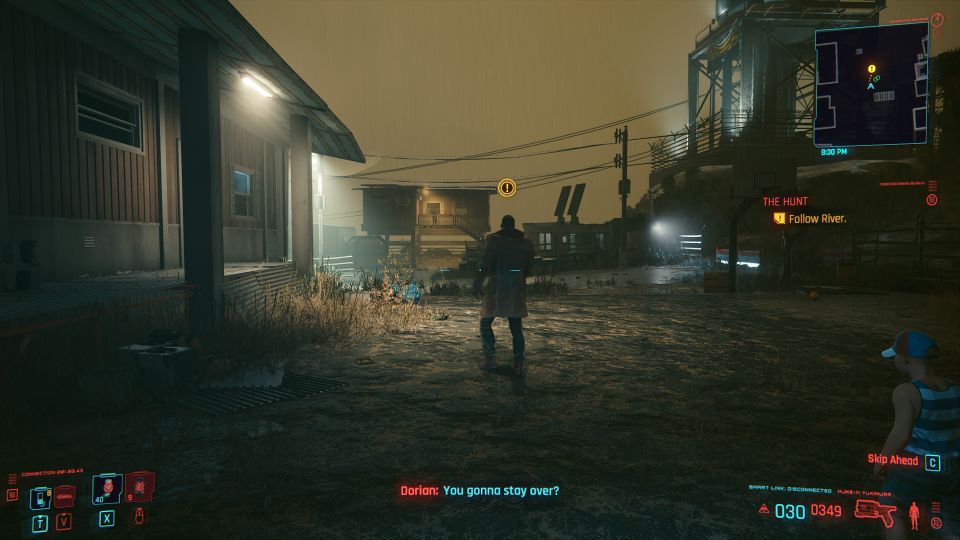
Follow River
Follow River as he leads you to a lab.
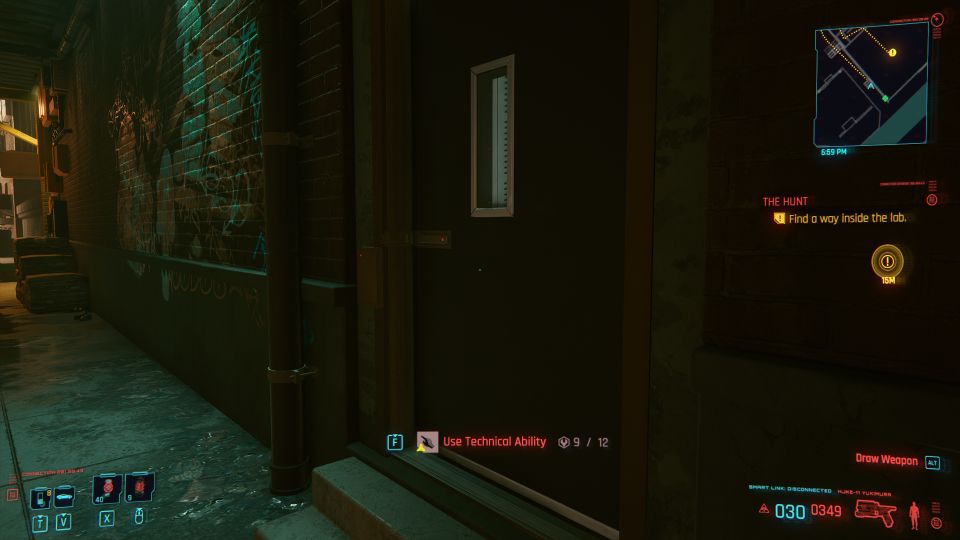
Find a way inside the lab
There are at least two ways to enter the lab. You can enter from the door if you have level 12 technical ability.
Otherwise, you can climb up the roof and enter the back of the lab. I used this route.
Climb up one flight of stairs.
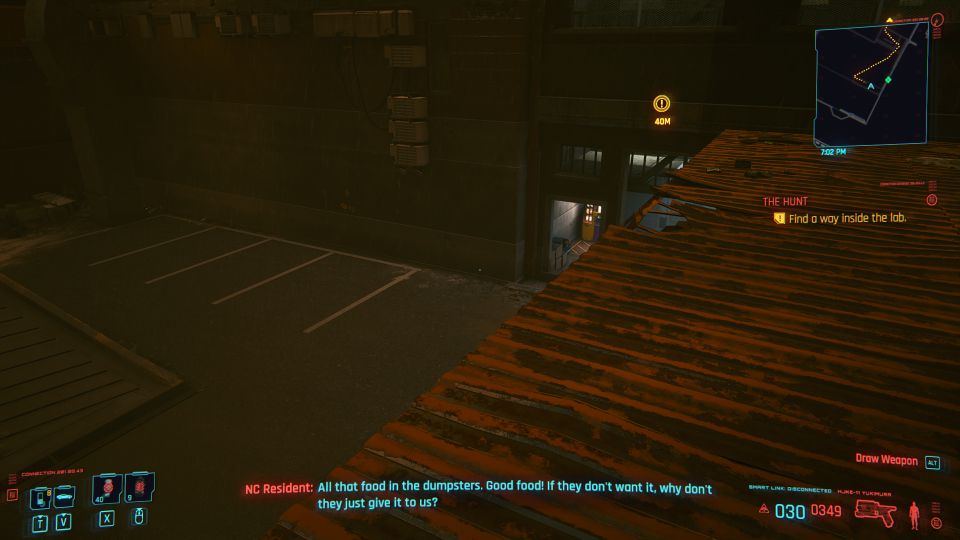
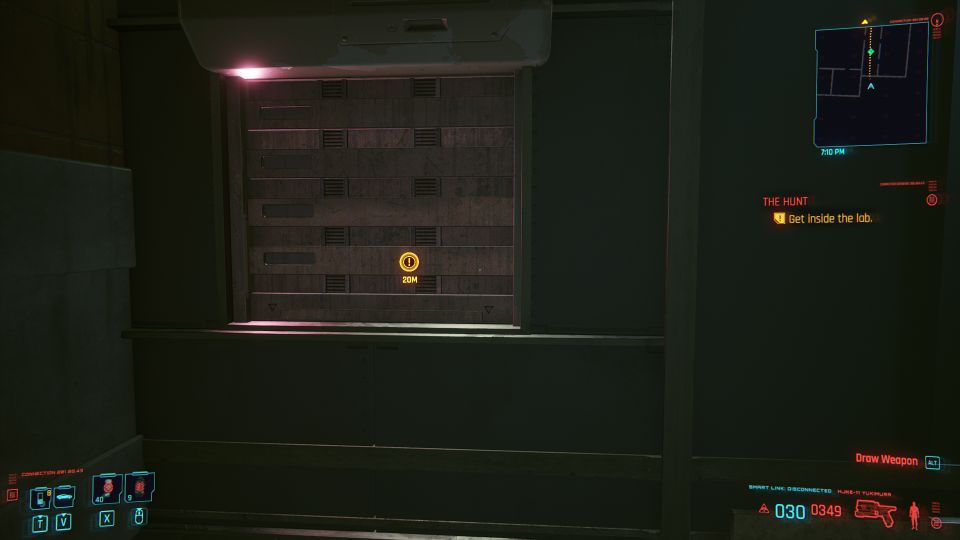
You’ll have to enter the lab through the shutters.
Find the right cabinet
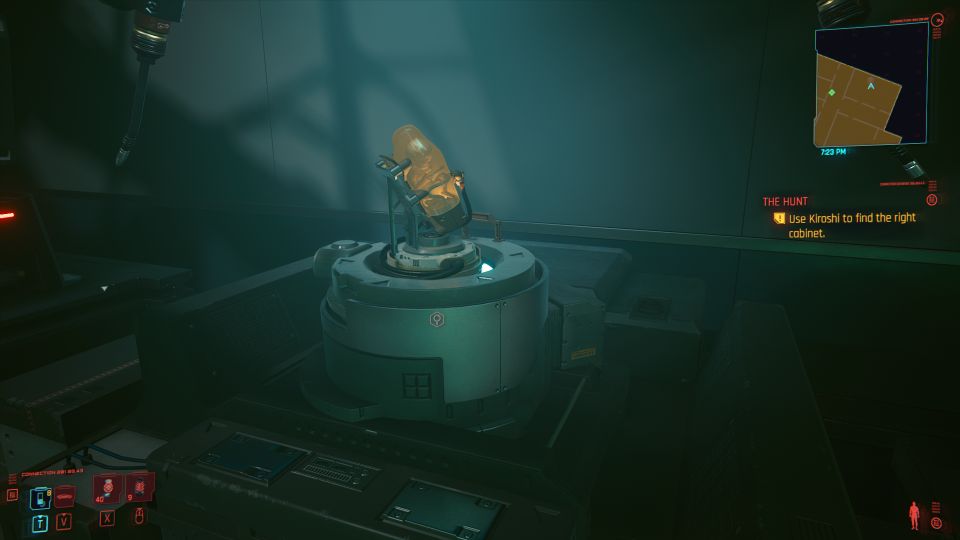
Before looking for the right cabinet, you’ll notice that there’s a BB in the lab.
It’s a reference to Death Stranding.
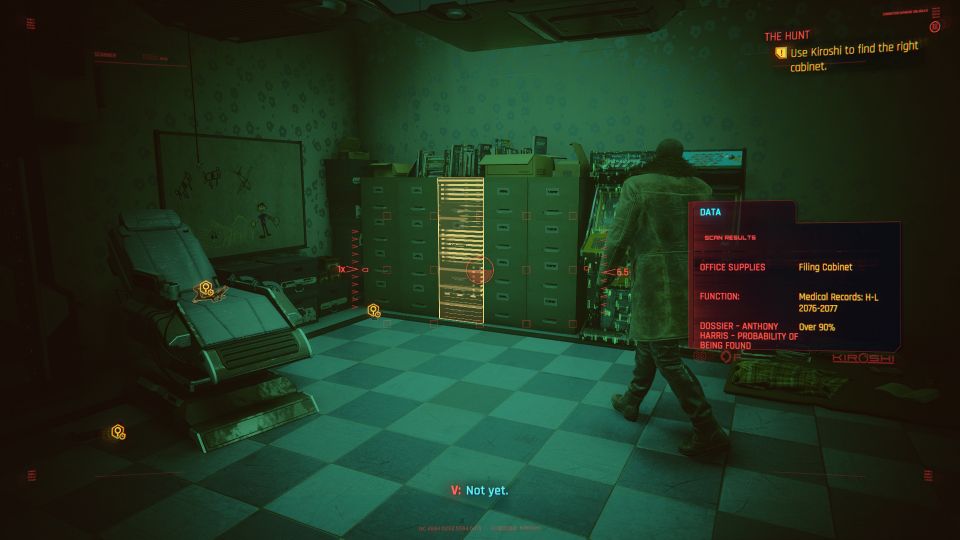
Now, head to the room in the middle of the lab. You can follow River there.
Inside the middle room, you can access another kid’s room.
The cabinet is in the kid’s room.
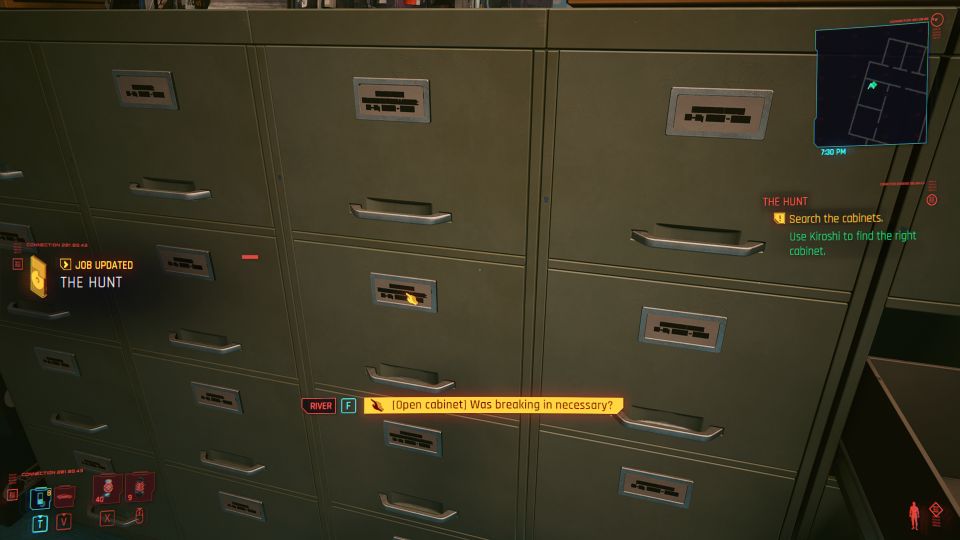
Open the cabinet.
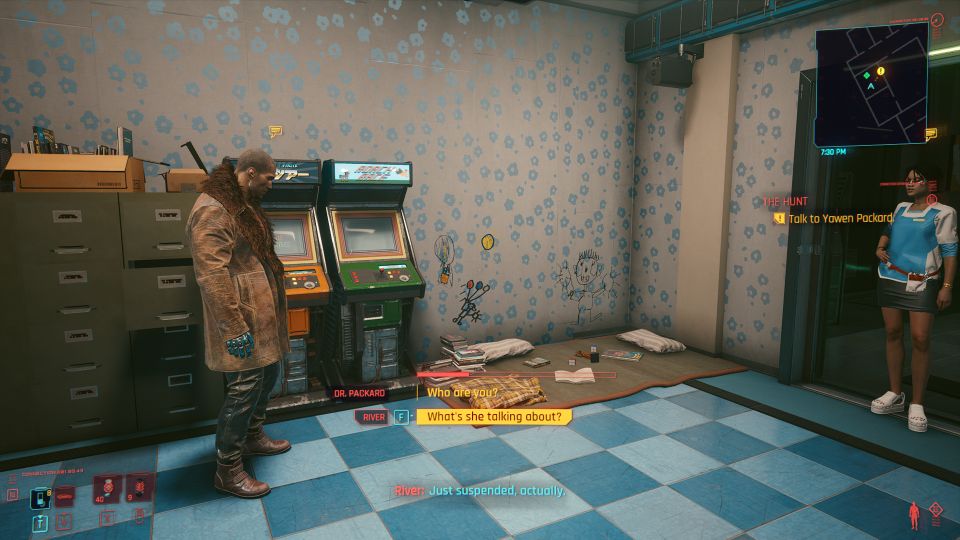
Talk to Yawen
A doctor named Yawen will walk in. She’ll say that River was kicked out the force.
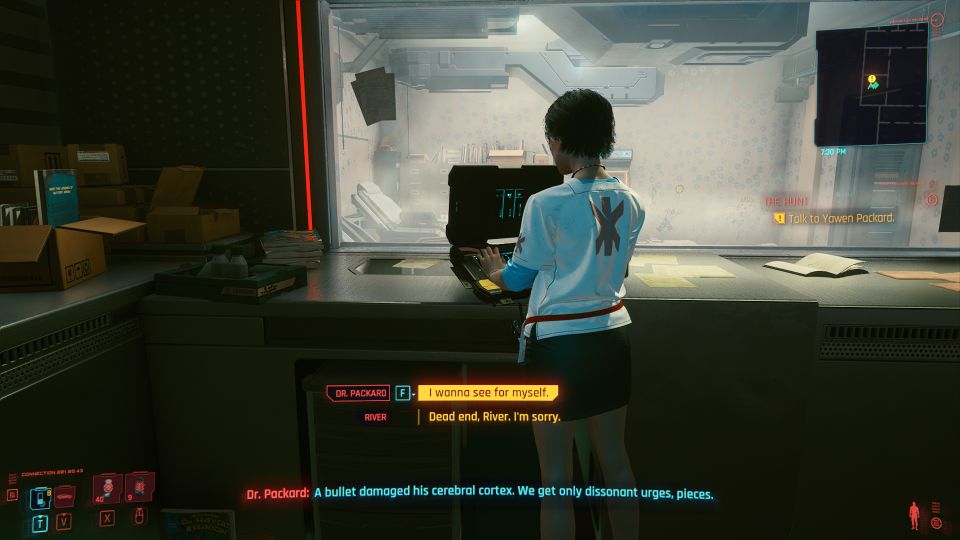
After the conversation, follow her as she tries to use her computer to find a way to get into Harris’ dreams.
It didn’t work, and she’ll kick the two of you out.
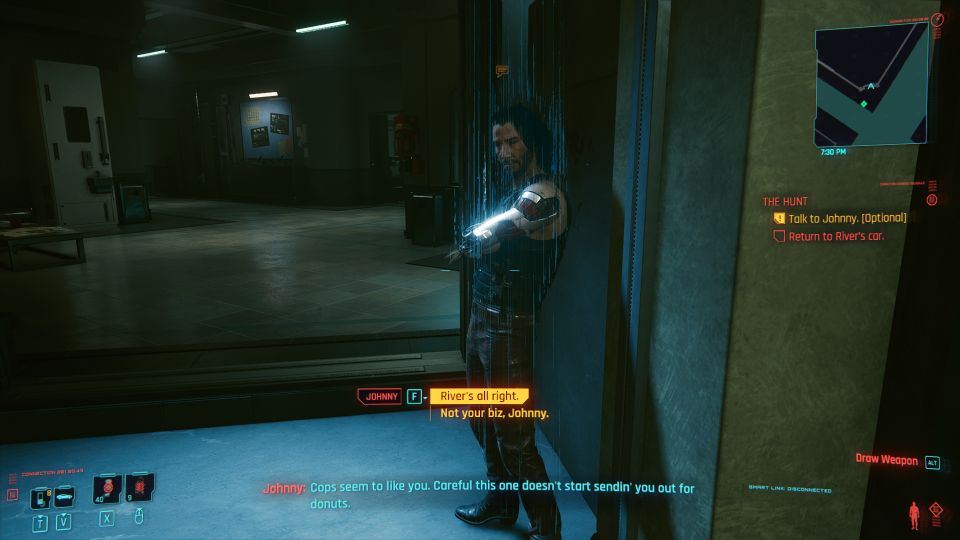
Talk to Johnny (optional)
Johnny will be waiting at the door as you leave. You can talk to him.
Follow River
Head back to River’s car.
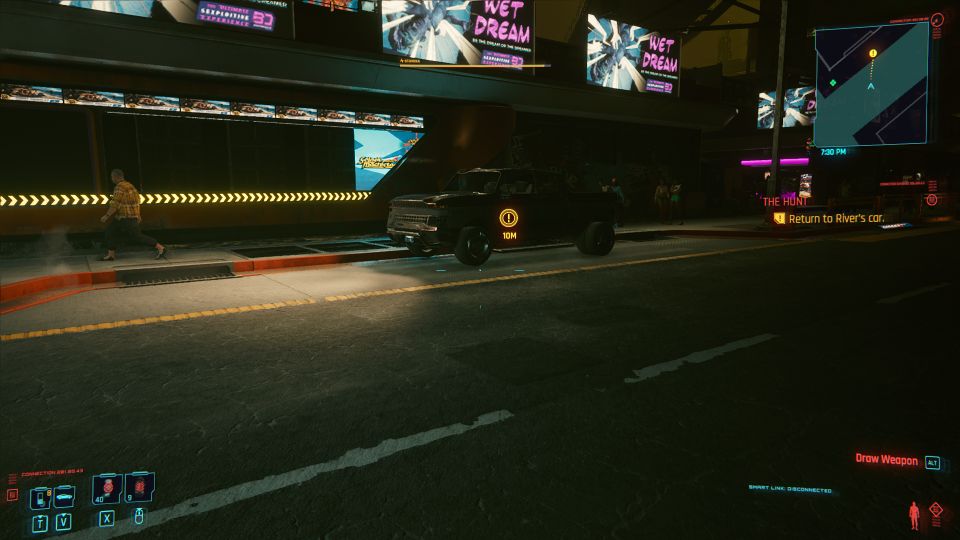
He’ll drive you to his nephew’s mother’s place.
Get out of the car and follow him.

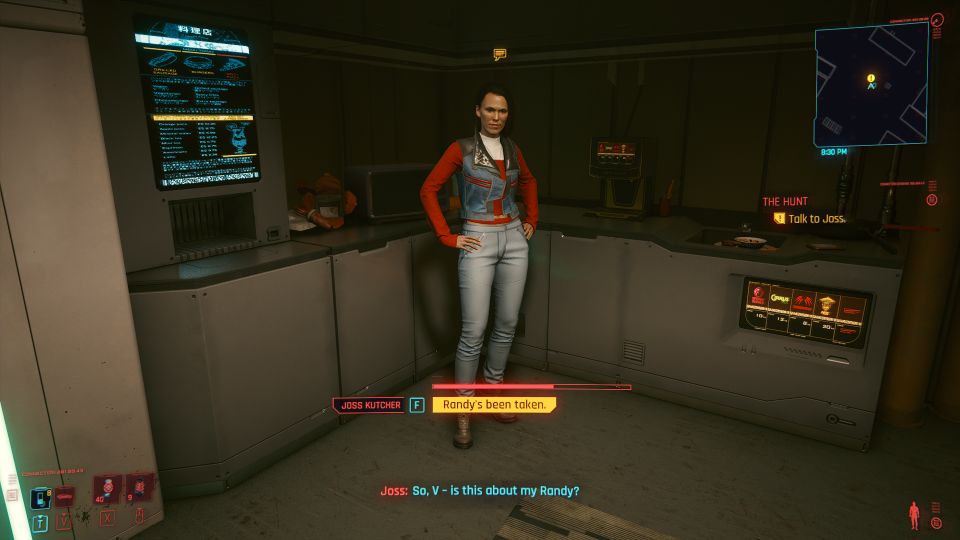
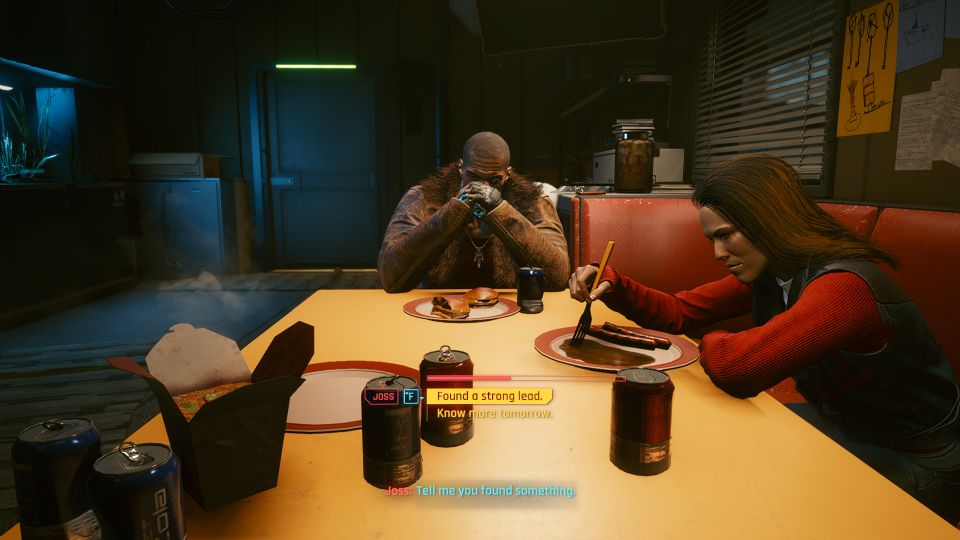
Talk to Joss
You’ll be introduced to Joss. Here, you can choose to tell her that Randy’s been taken.
I didn’t say anything but River himself will spill it out.
Look for clues to help find Randy
Follow River to Randy’s trailer.
Enter the room at the end and you’ll find the clues.
One of the drawers is locked though.
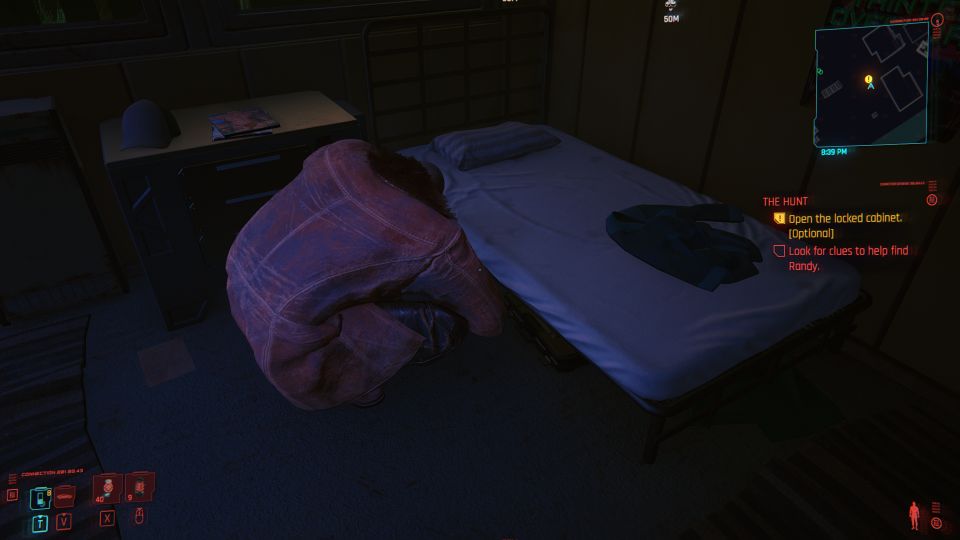
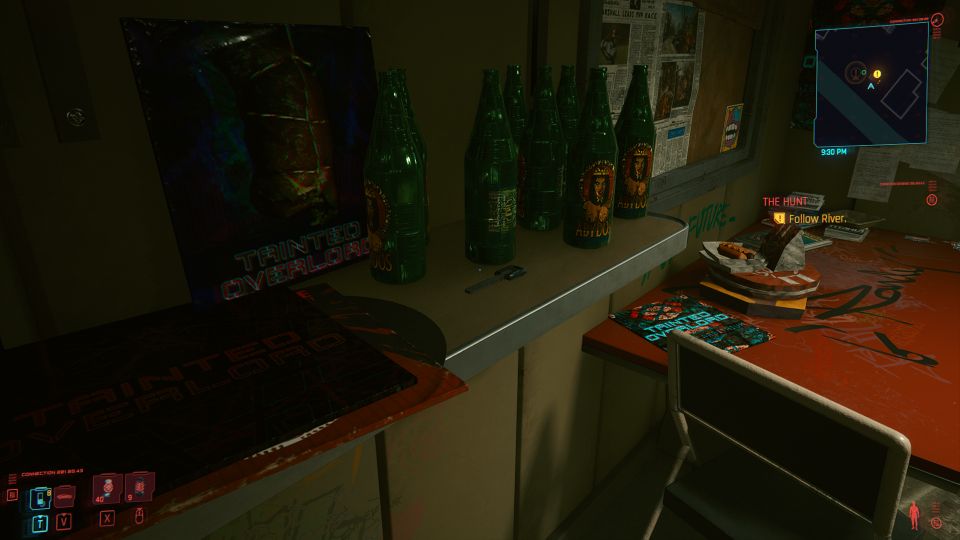
The key for the drawer is closer to the front door, near the beer bottles.
Most importantly, you have to scan the laptop under Randy’s bed.
River will then ask you to hack into the computer.
If you have level 9 intelligence, you can.
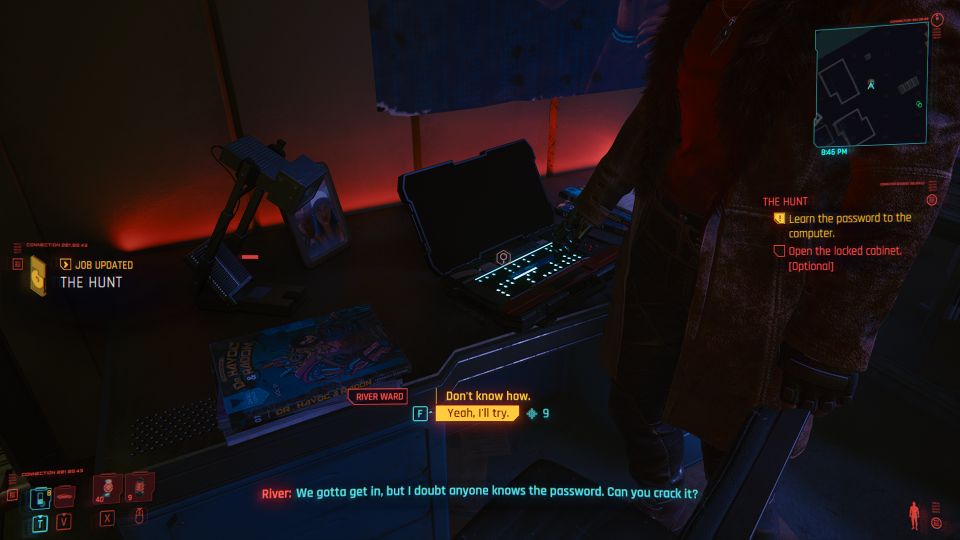
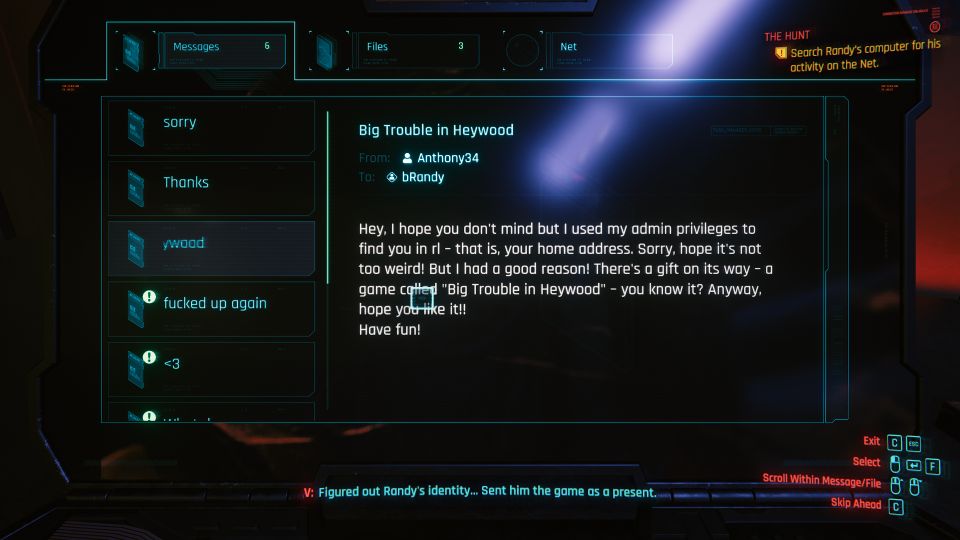
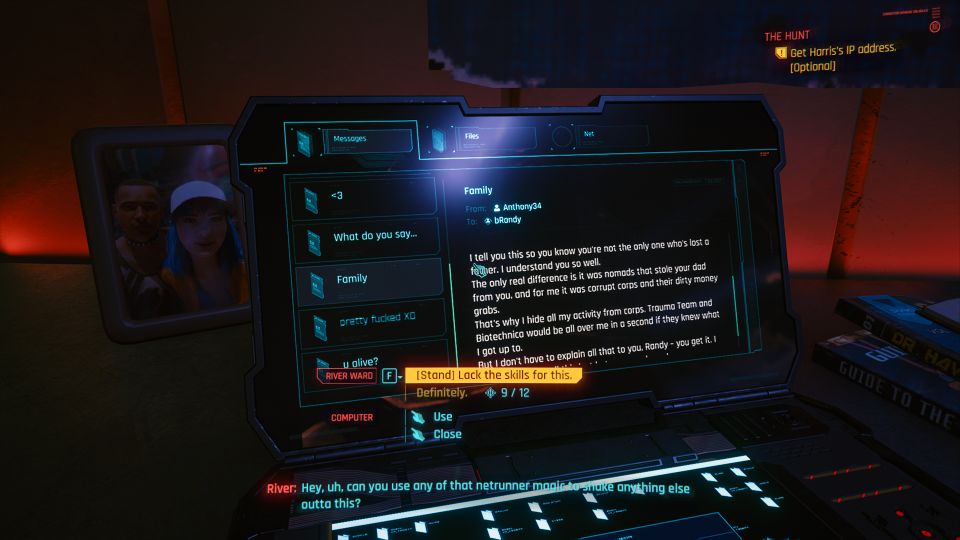
Search Randy’s computer
Here, you need to read every single message together with River.
Next, go to the Net tab. You will see the Drugs Are Bad page.
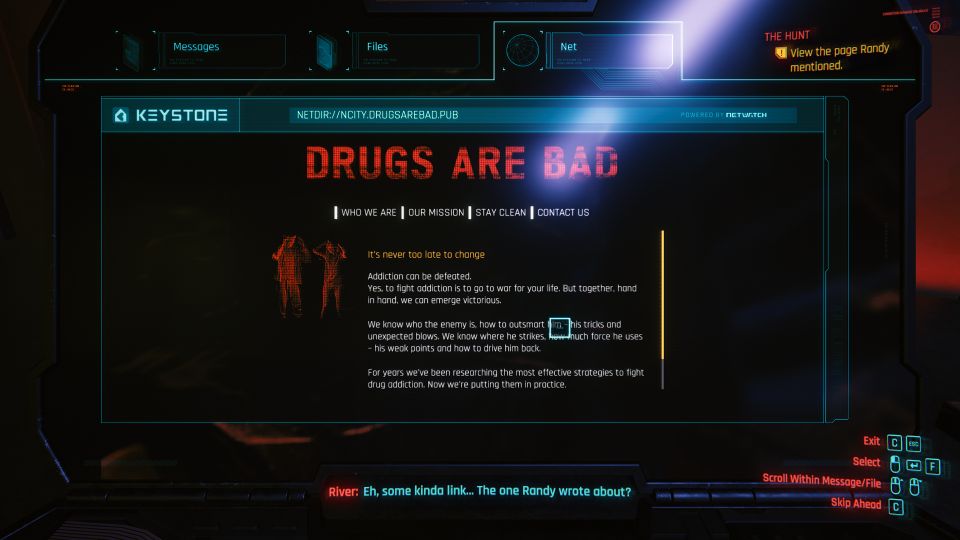
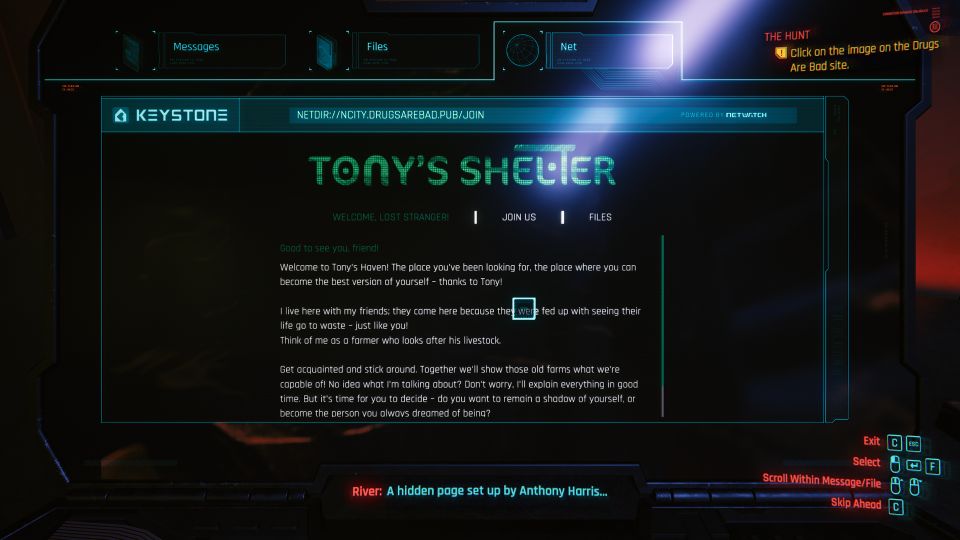
Click on the image and you’ll be led to a hidden page named Tony’s Shelter.
Check the cartoon
Now, go to the Files tab and watch the ATT_CART_VIDEO.

Get Harris’ IP address
If you have level 12 intelligence, you can get the IP address of Harris.
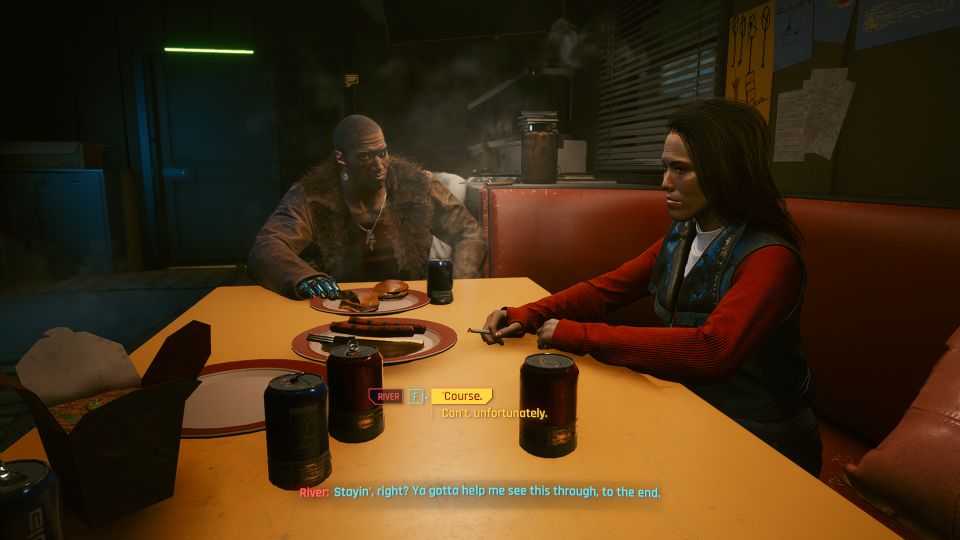
Talk to Joss
After finding the clues, talk to Joss again.
Here, you seem to have an option to continue the case with River or abandon it.
I chose to continue by saying “Course” instead of “Can’t, unfortunately”.
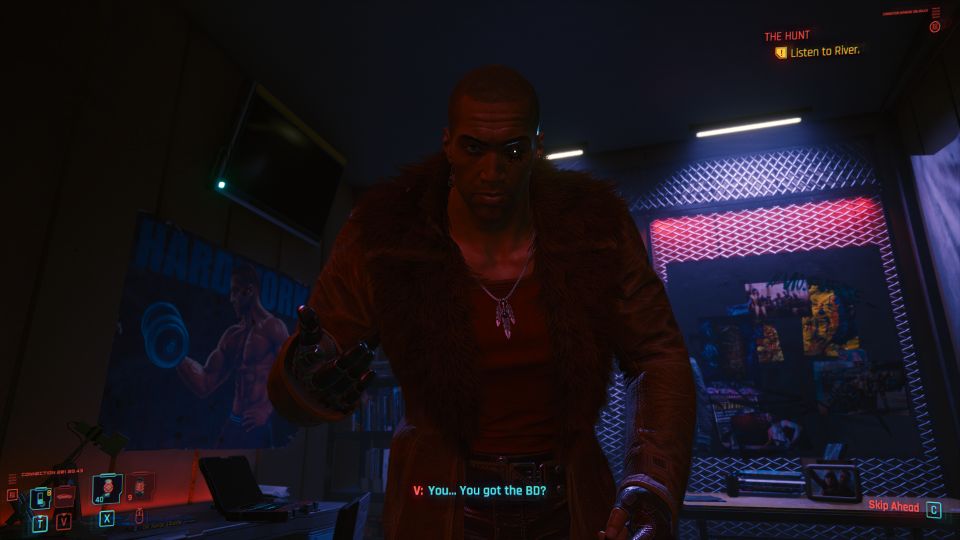
After leaving the dining table, you’ll automatically wake up to River calling you.
Listen to him first.
First braindance
There are three different braindance recordings to watch.
The first one is quite straightforward.
Scan the teacher first.
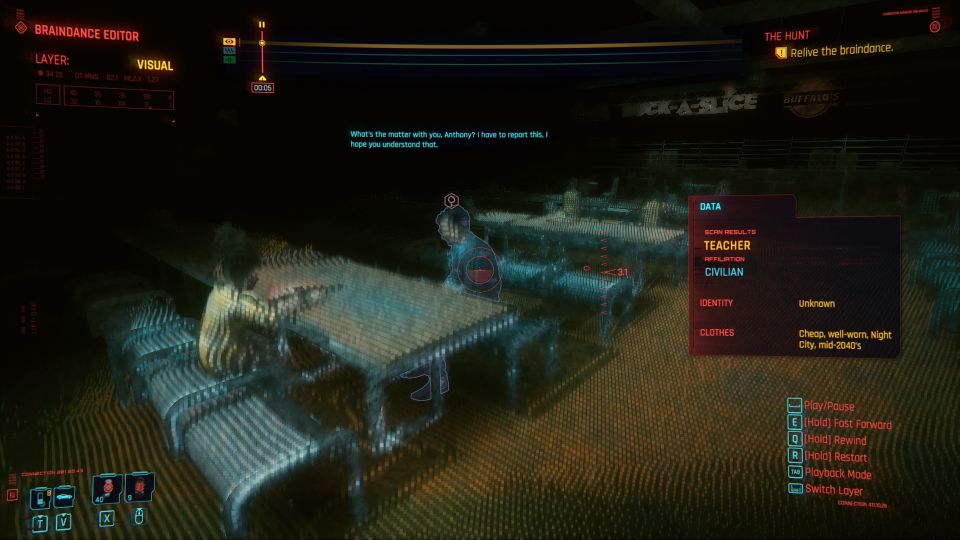
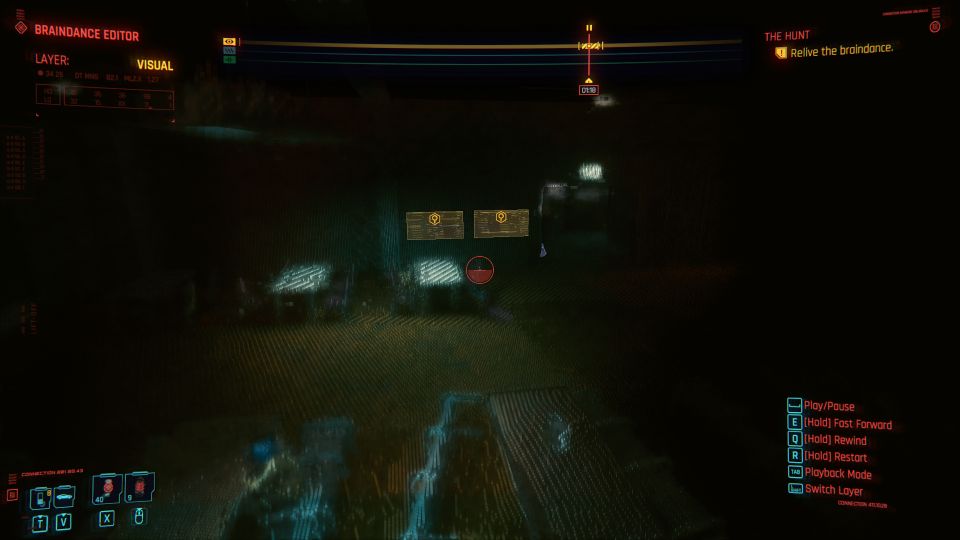
This is followed by the two bulletin boards.
Lastly, scan the trophy cabinet.
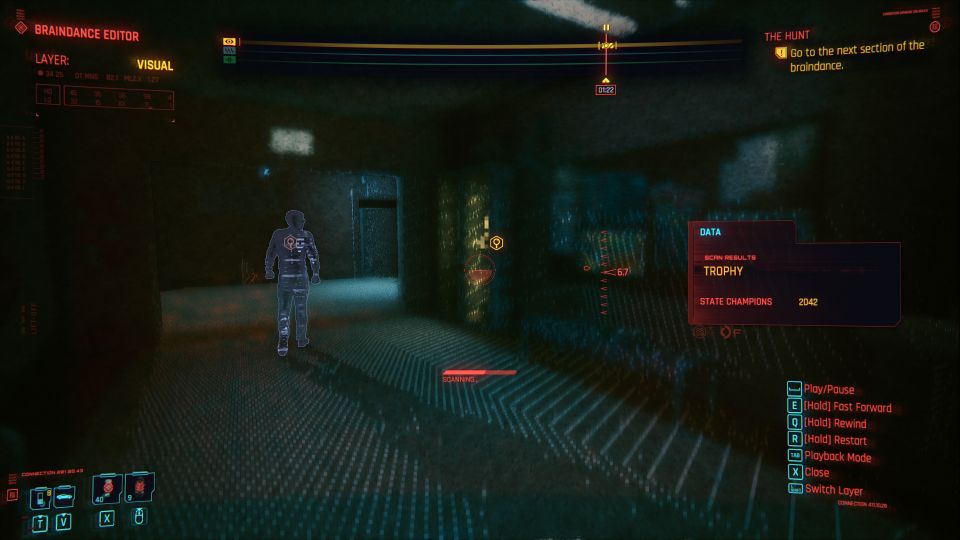
Note: There seems to be a bug here which doesn’t say how you can go to the next section of the braindance. If you’re on PC, just hold “X” and you’ll be brought to the second braindance.
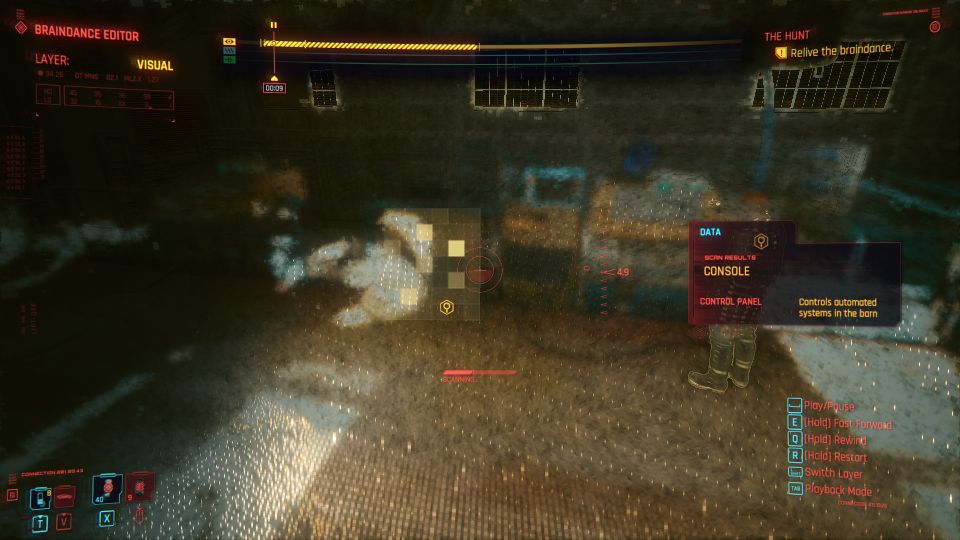
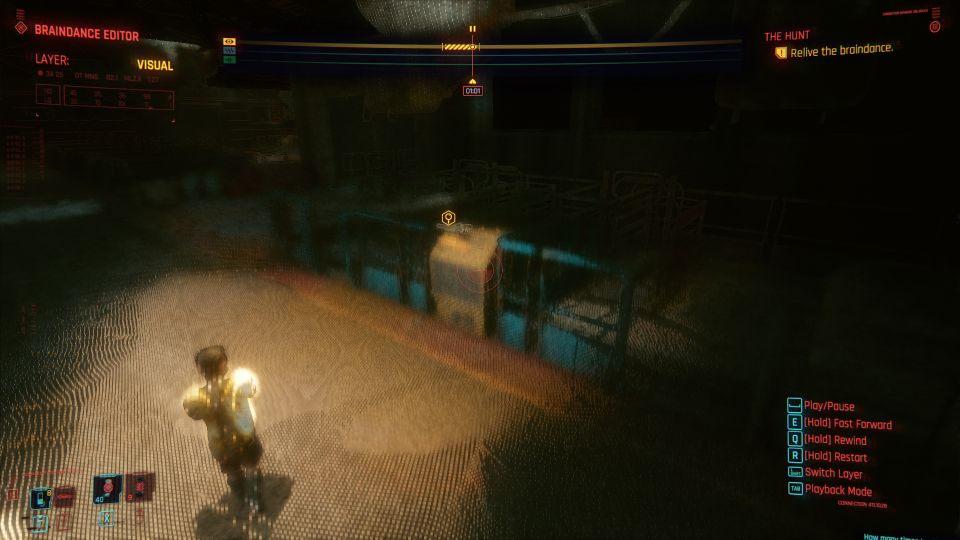
Second braindance
For the second braindance, scan the cow first.
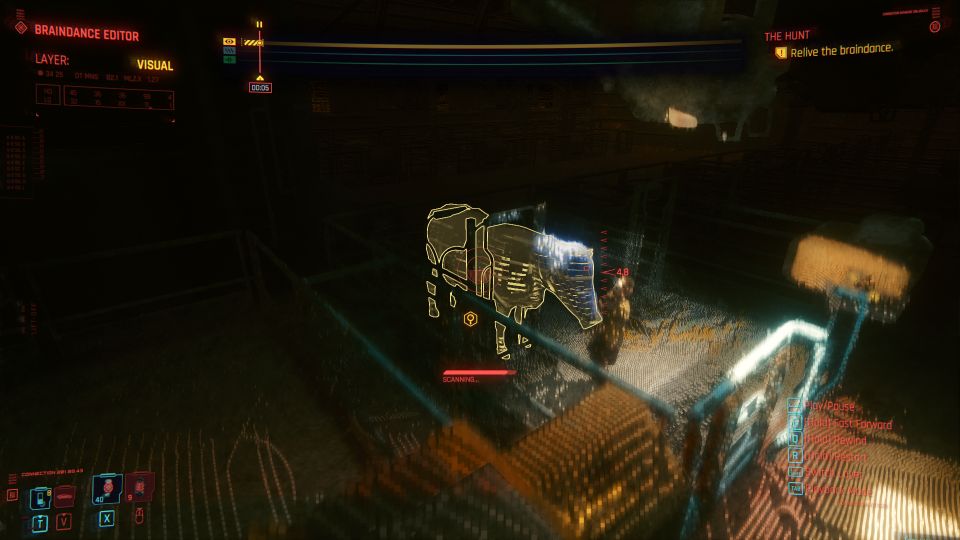
This is followed by the console.
Scan the machinery as well.
Followed by the dietary supplements.

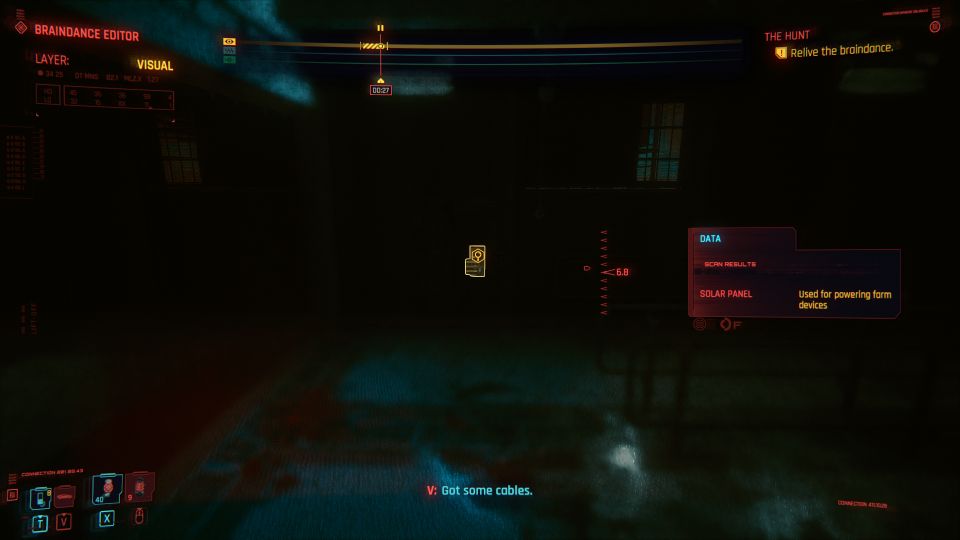
Third braindance
For the last braindance, you will need to scan a solar panel.
Scan the computer at the top as well, and the thing at the end of the room.
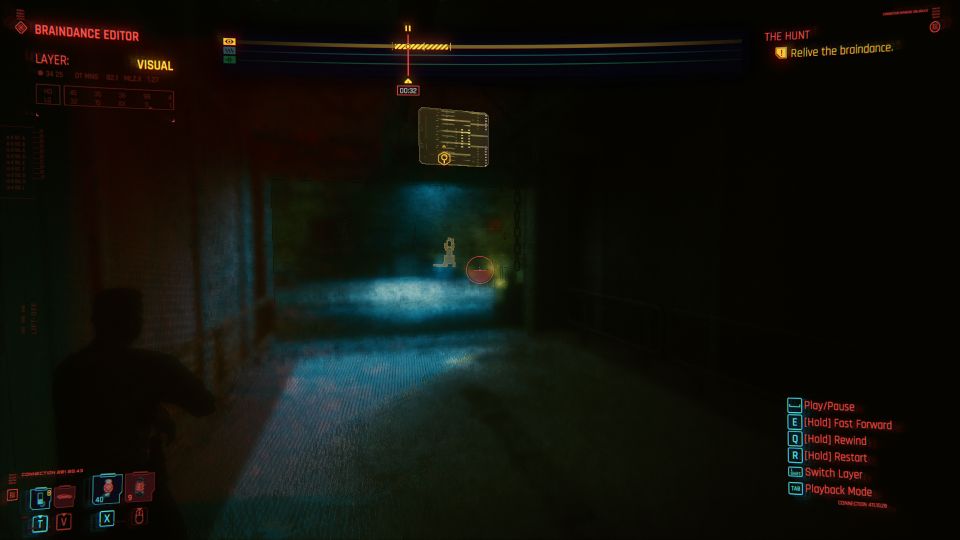
There are too many things to scan for this one, so I’ll just leave them out.
The easiest way is to just look at the bar on the top and you’ll know if something needs to be scanned during the particular length of time.
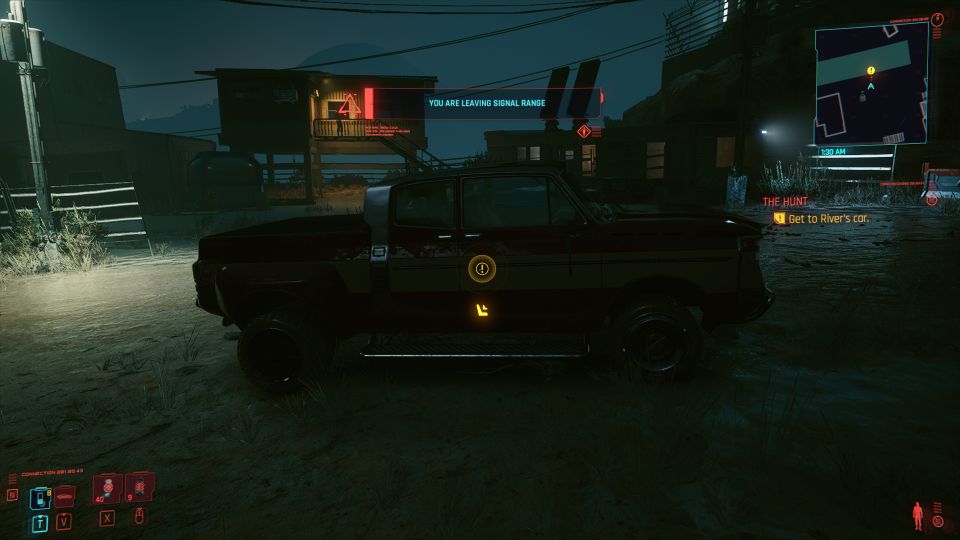
Get to Harris’ barn
After finding out Harris’ location, enter River’s car. He’ll drive you there.
Enter the barn
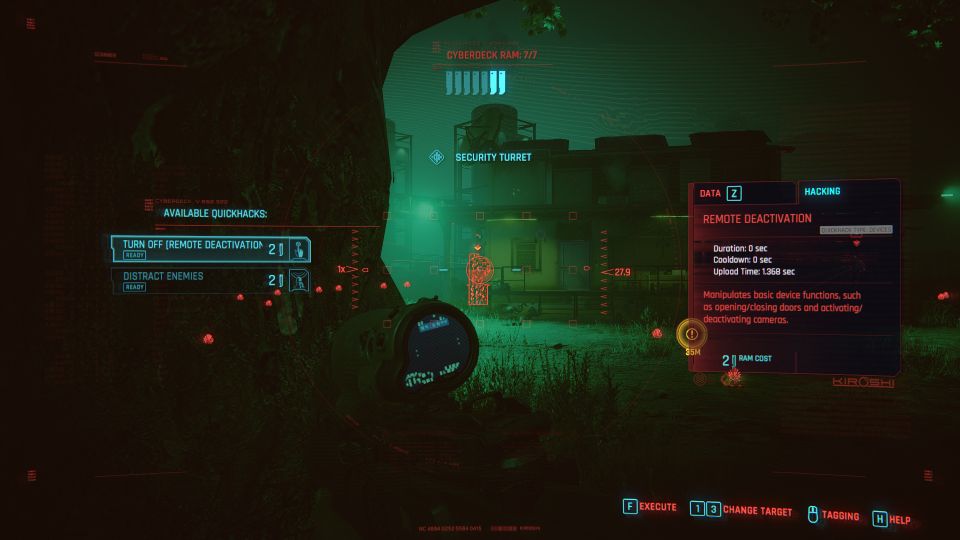
Once you’re in the area, you have to watch out for two things.
The first are the turrets around the area. There are four of them.
You can disable the first two in front of the control room.
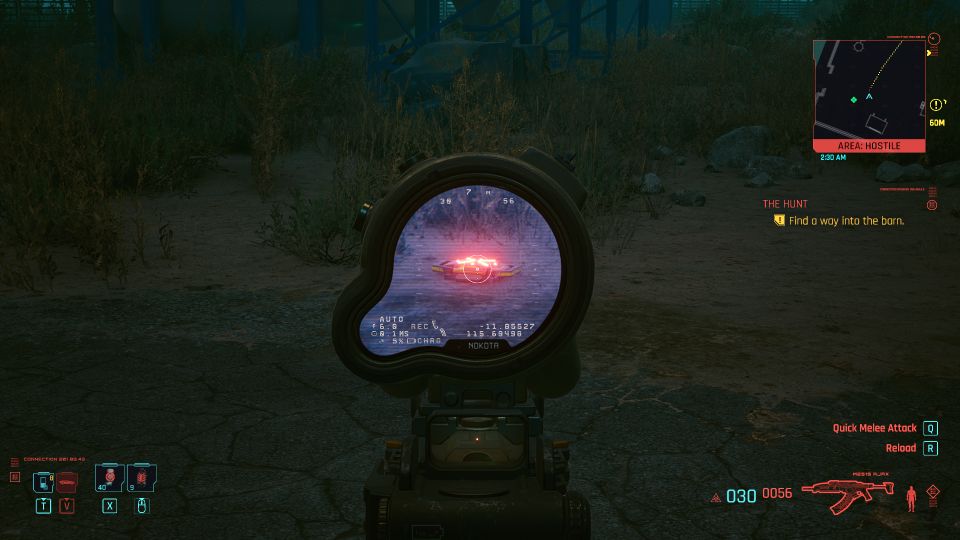
You also have to watch out for the mines that are scattered everywhere.
Go near and you’ll get killed.
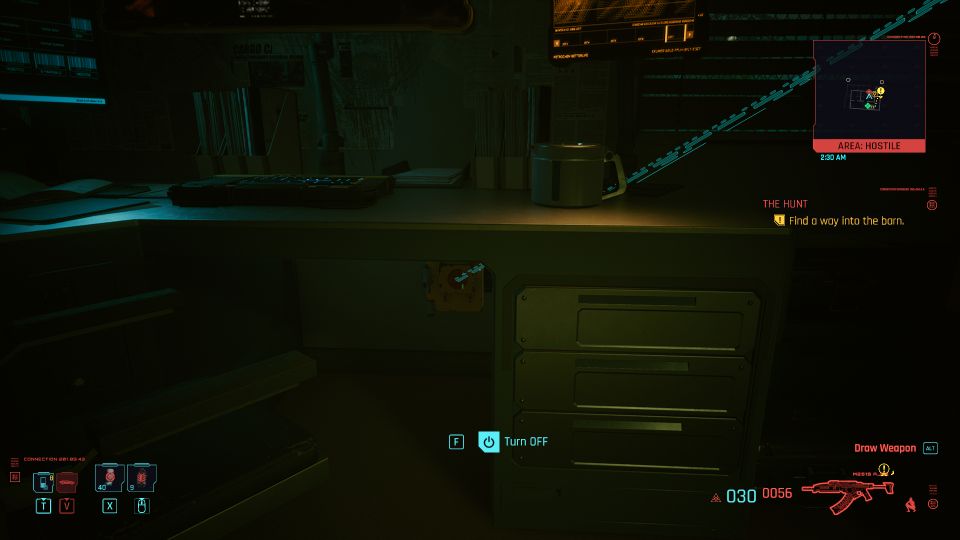
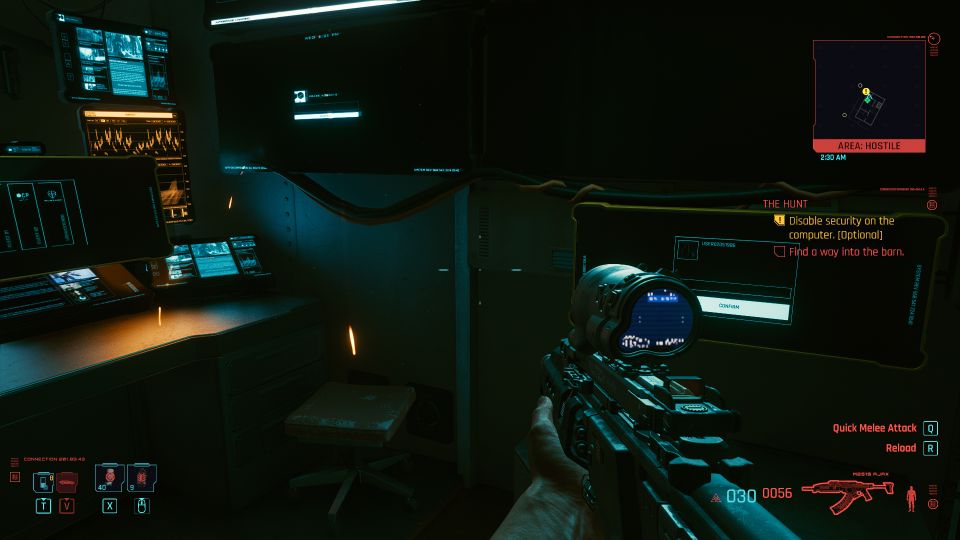
One way to enter the barn is to first go to the control room, which is the building beside the barn, and head upstairs.
The computer is hidden behind a thin wall.
Turn off the switch under the desk to open the hidden room.
Enter the room and use the computer on the left to turn off the surveillance and generator.
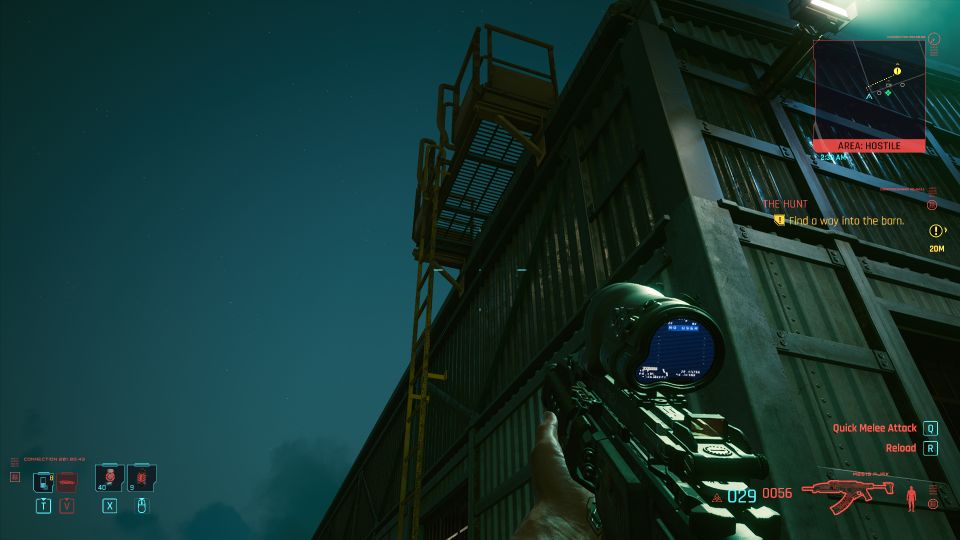
Now, head to the barn. The turrets should be deactivated.
Use the ladder on the left to climb up. You can enter the barn from the roof.
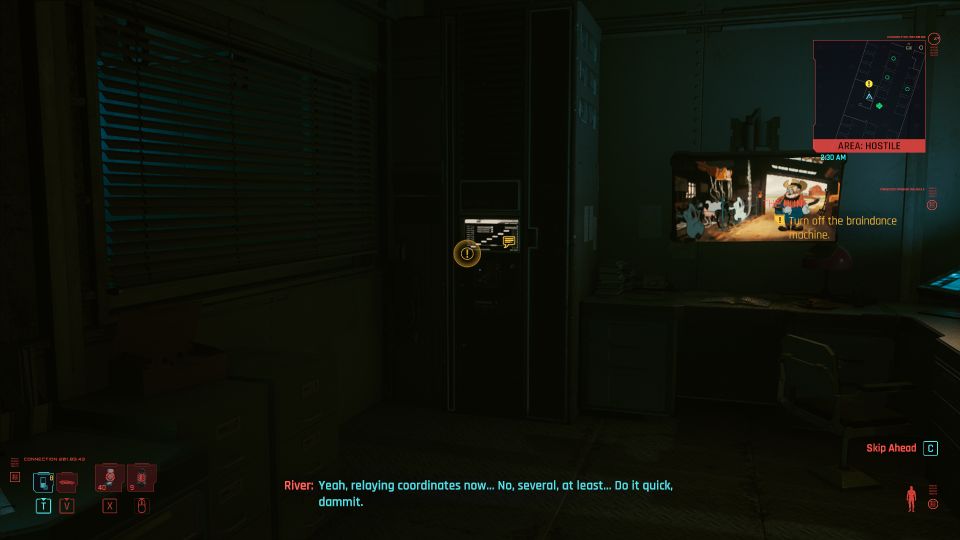
Turn off the braindance machine
There is no one inside the barn. Turn off the braindance machine first.
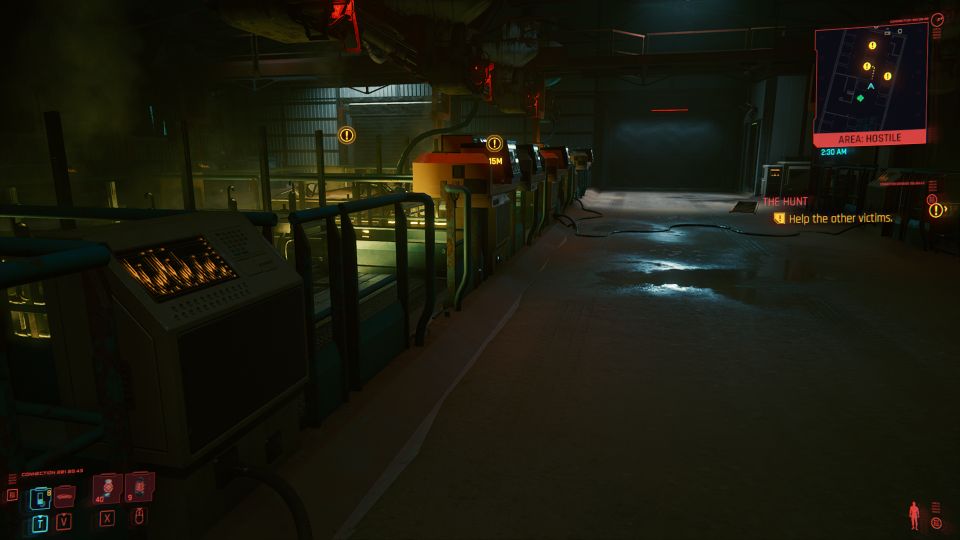
Help the victims
Go to the victims marked on the map and pull off the cable.
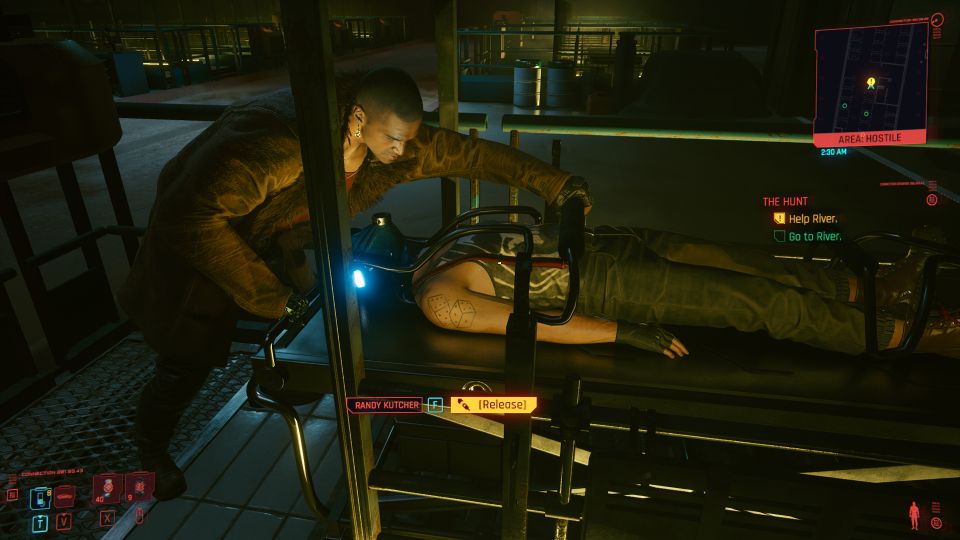
Help River
Go back to River and help him get Randy out.
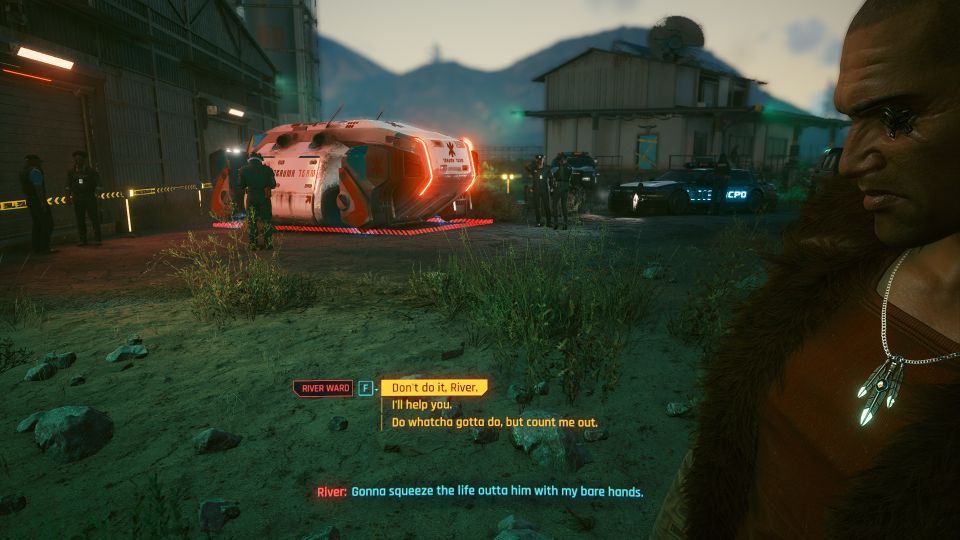
Don’t do it River or I’ll help you
After the Trauma Team has arrived, you seem to have another choice.
I chose “Don’t do it, River” and the mission ends here.
Perhaps you can extend the mission by saying “I’ll help you”.
Related posts:
Cyberpunk 2077: There Is A Light That Never Goes Out Guide
Cyberpunk 2077: Sinnerman (Mission Walkthrough)
Cyberpunk 2077: Riders On The Storm Walkthrough