• Skip to primary navigation
  • Skip to main content
  • Skip to primary sidebar
  • Skip to footer

Ordinary Gaming

Gaming Walkthroughs, Reviews And Guides

  • HOME
  • STARFIELD
  • CYBERPUNK 2077
  • GAME RELEASE DATES
  • GAME GUIDES
  • GAMING

Assassin’s Creed Valhalla: A Hidden Weakness Walkthrough

August 12, 2021 by Ordinary Gaming

A Hidden Weakness is a main quest in the Paris DLC of Assassin’s Creed Valhalla.

The objective is to look for a smuggler who might know Paris’ defenses.

Here’s a walkthrough of A Hidden Weakness in AC Valhalla.

Assassin's Creed Valhalla: A Hidden Weakness Walkthrough

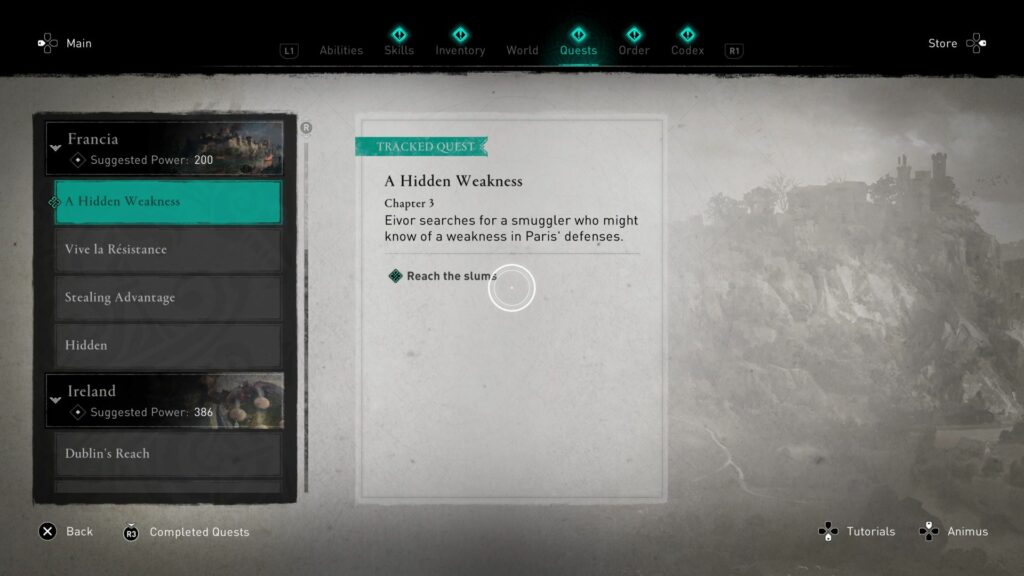
To begin the quest, head to the slums marked on the map.

Assassin's Creed Valhalla: A Hidden Weakness

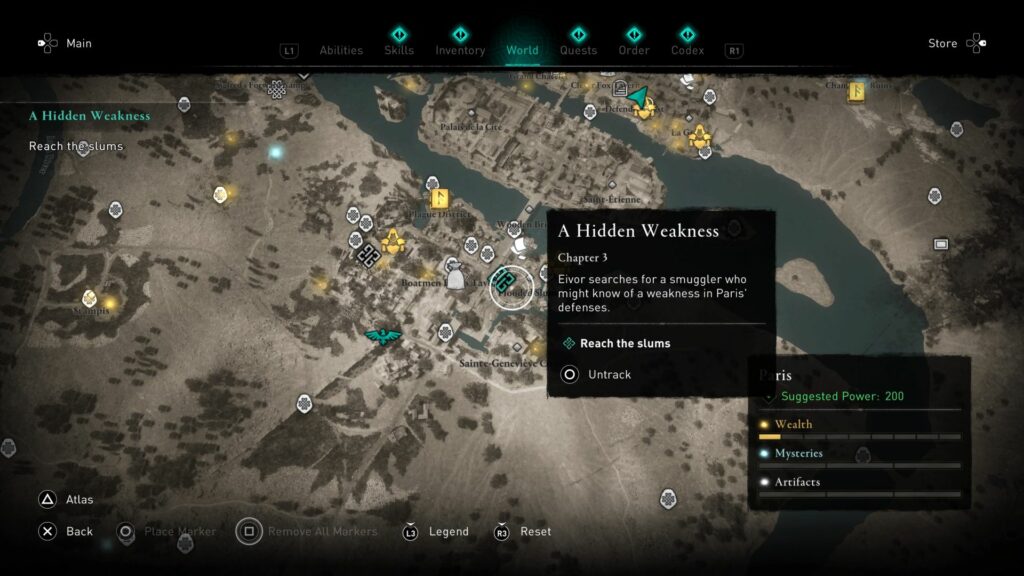
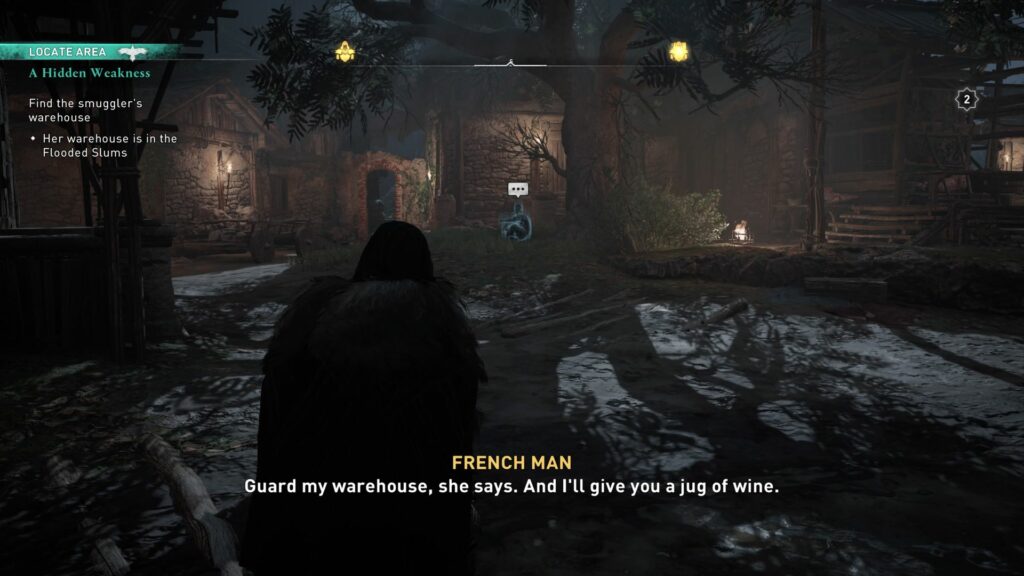
As you reach the area, you’ll see a man under a tree. Talk to him and he’ll give you a clue on the warehouse location.

Assassin's Creed Valhalla: A Hidden Weakness guide


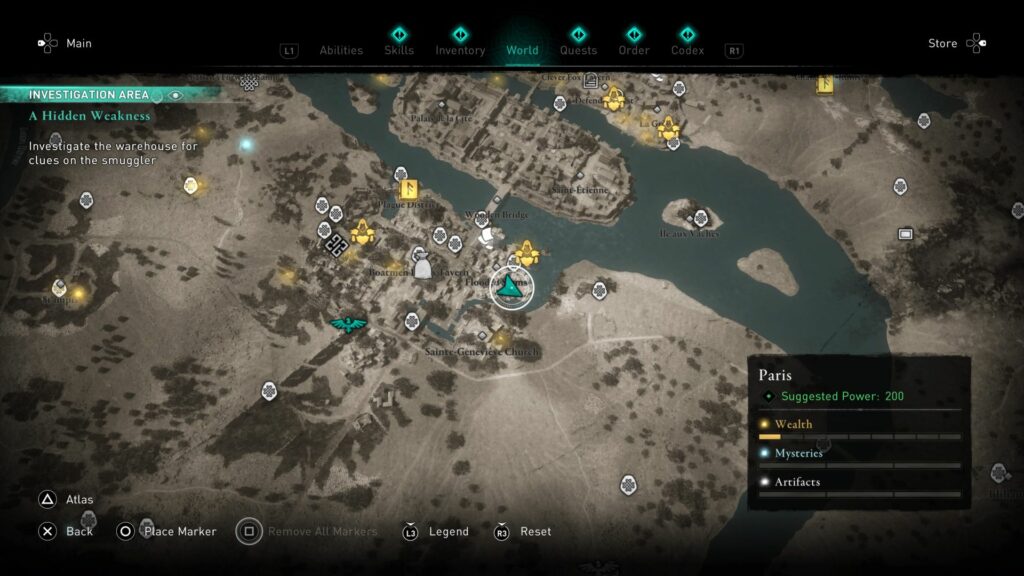
Find the smuggler’s warehouse

The exact location of the warehouse is shown in the map below, marked by the player location.

Assassin's Creed Valhalla: A Hidden Weakness quest wiki tips

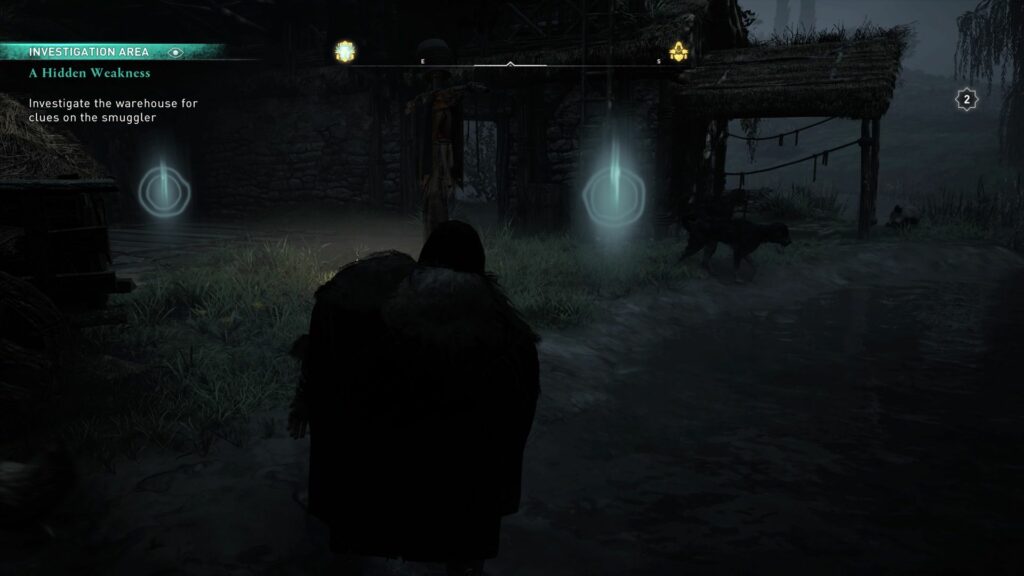
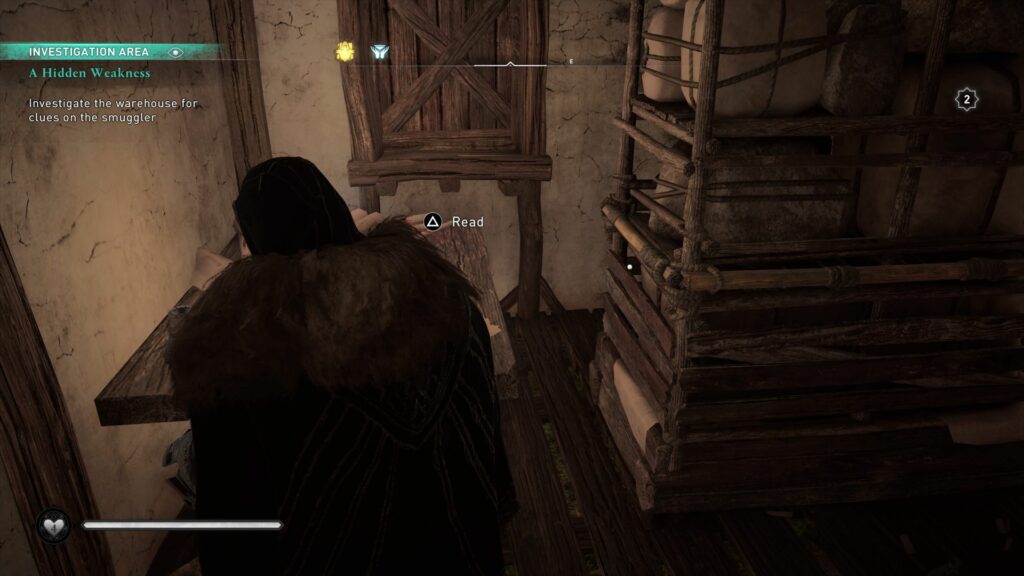
You will see a few clues to investigate if you use Odin’s sight.

The last clue is hidden behind a shelf. Destroy the crate behind the shelf first.

Then, move the shelf and read the note.
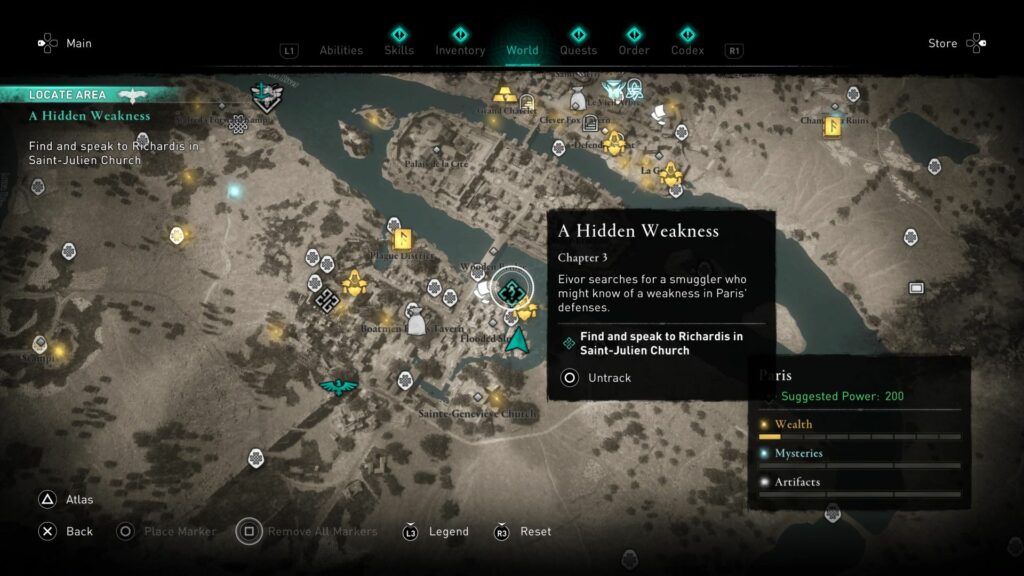
 

Speak to Richardis

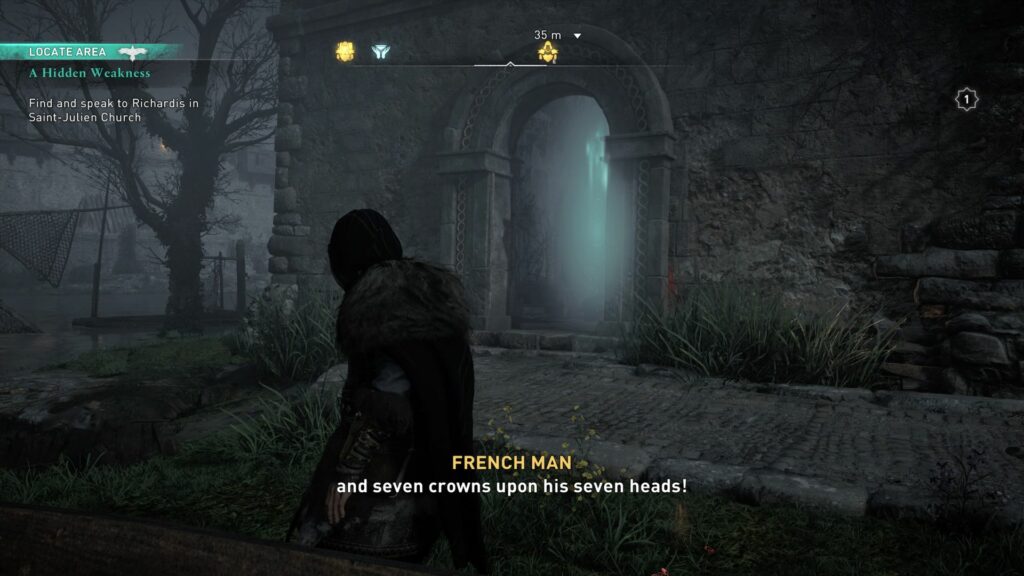
Head to the Saint-Julien church nearby, as marked on the map.

Enter the church to meet up with Richardis. I don’t think the dialogue options matter.
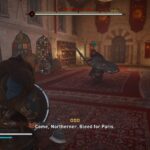
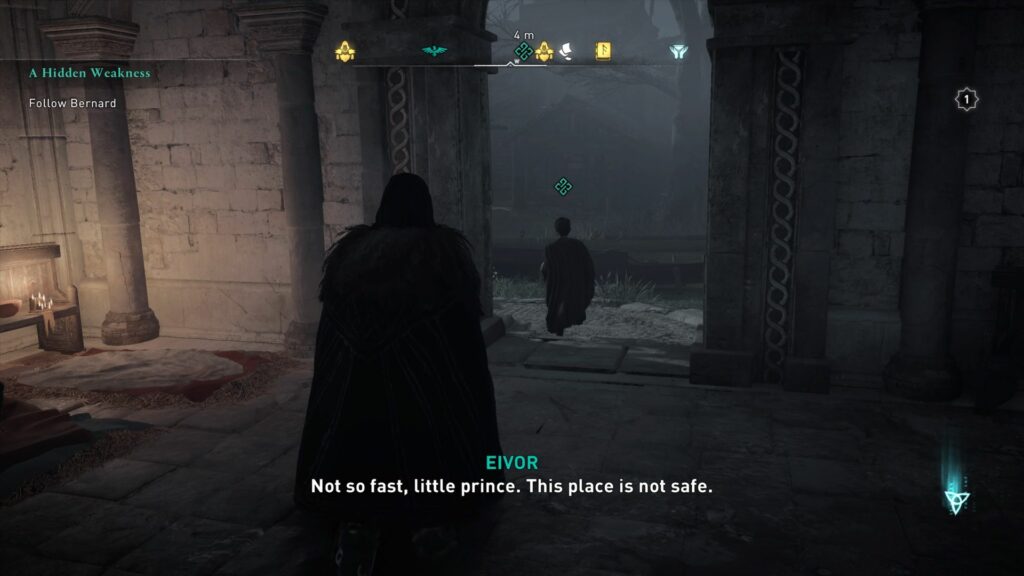
 

Follow Bernard

Then, follow Bernard as he leads you to the smuggler.
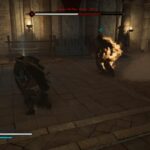
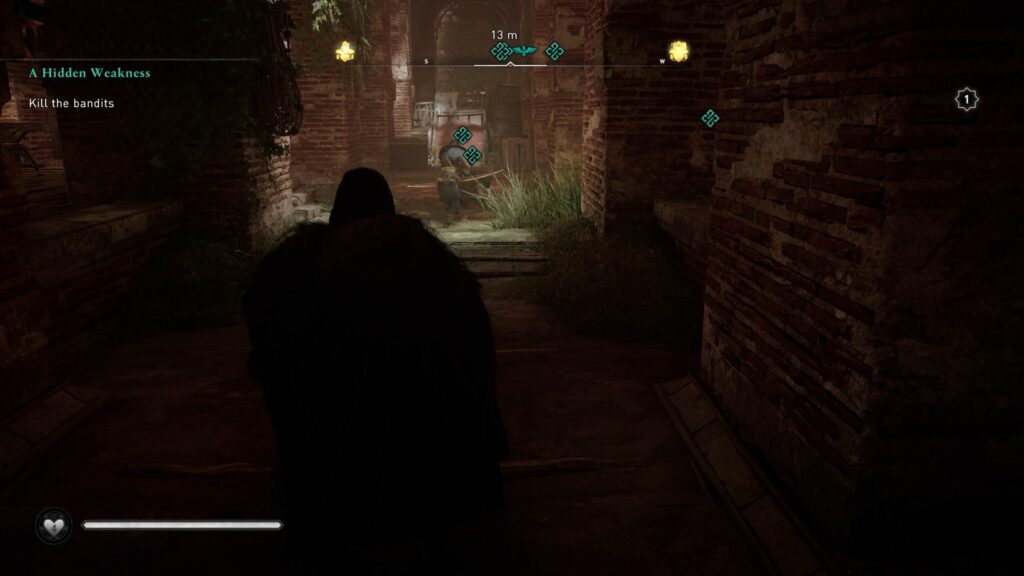
 

Kill the bandits

At the sewers, you’ll see the smuggler surrounded by bandits. Take out all the bandits.

Then, talk to her. You can use charisma to get her to help without paying.


Explore the tunnels

After talking to the smuggler, continue exploring the tunnels.

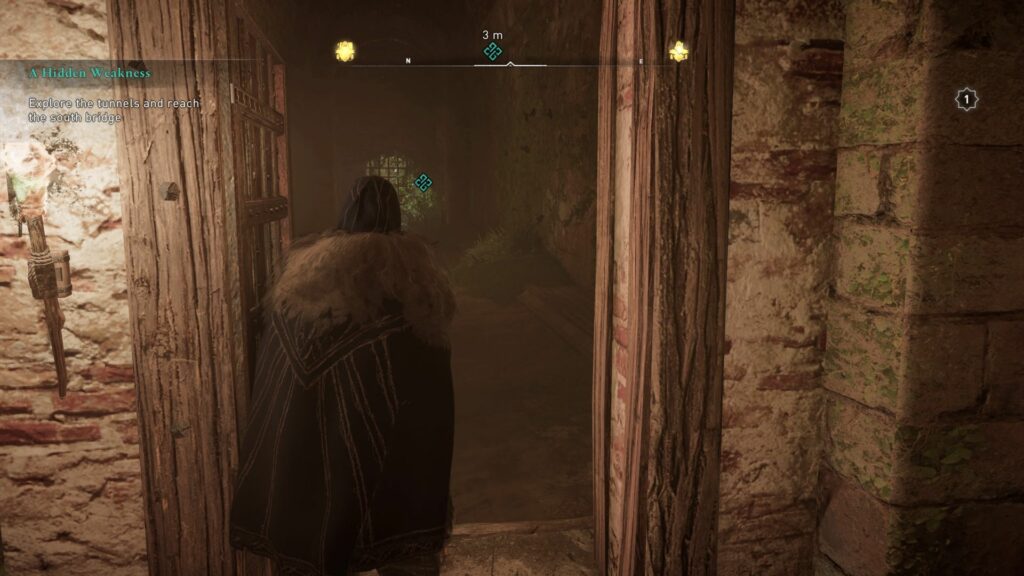
You’ll eventually reach the bottom of the bridge.


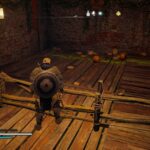
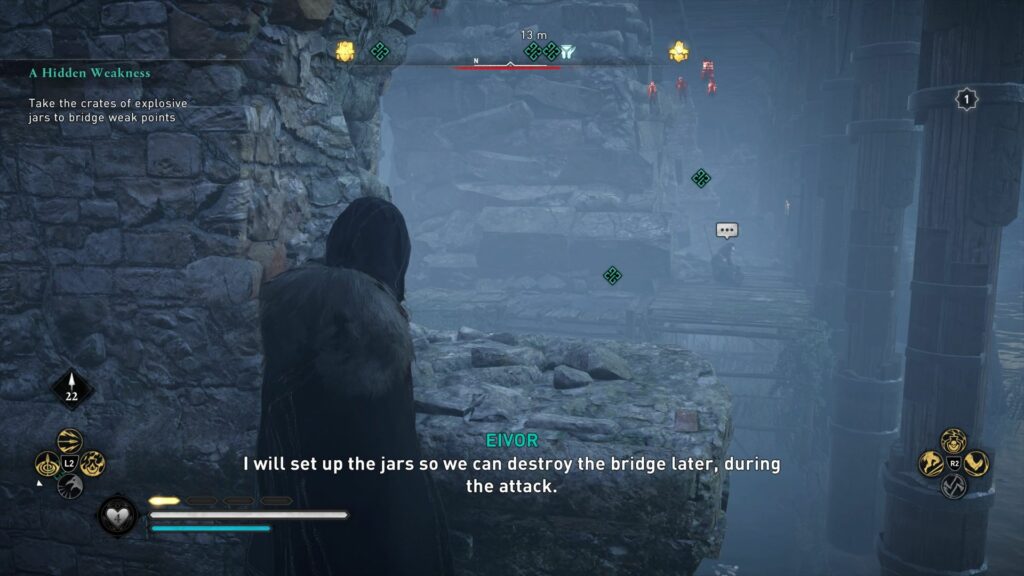
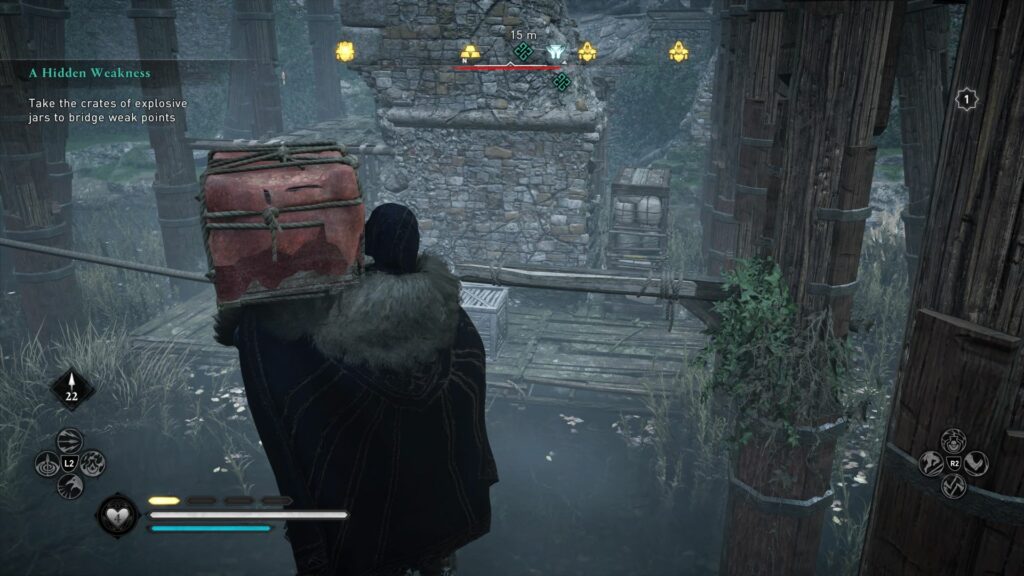
Take the crates of explosive jars to bridge weak points

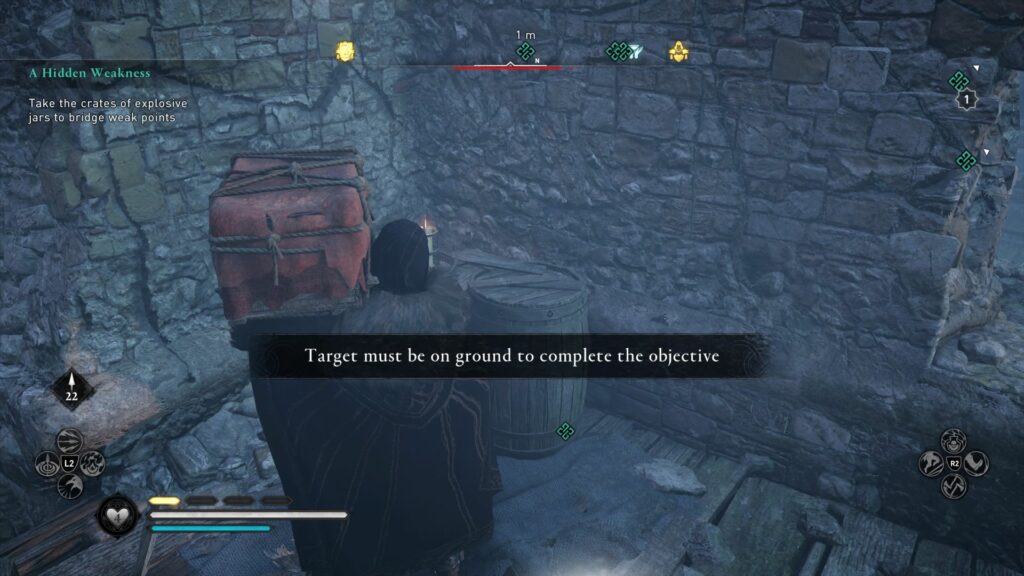
There are a few spots where crates of explosives will spawn. You have to carry them to the designated spots.

Place the crate on the ground to complete the objective.

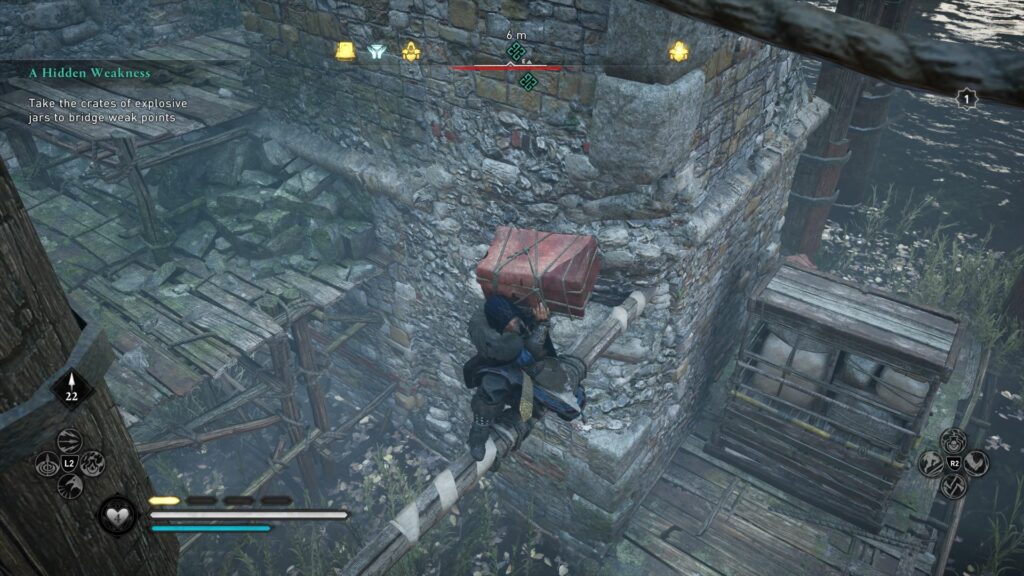
The last spot is slightly harder. You have to push the shelf to allow you to jump over the water.

At the next part, you have to move the shelf as well. Carry the crate to the designated spot and place it.

The quest ends here.


Related posts:

Assassin’s Creed Valhalla: Fire From Heaven Walkthrough

Assassin’s Creed Valhalla: Royal Fox Hunt Walkthrough

Filed Under: Assassin's Creed Valhalla

Related Posts

Assassin’s Creed Valhalla: Madness Of King Charles Walkthrough
Assassin’s Creed Valhalla: Fire And Faith Walkthrough
Assassin’s Creed Valhalla: Skal! (Kill Or Spare Sigfred)
Assassin’s Creed Valhalla: The Count Of Paris Walkthrough
Assassin’s Creed Valhalla: The Siege Of Paris Quest Walkthrough
Assassin’s Creed Valhalla: Dark Before Dawn Walkthrough

Primary Sidebar

Recent Posts

  • Genshin Impact: Lost In Deep Seas Walkthrough & Guide
  • Cyberpunk 2077: Firestarter Walkthrough & Guide
  • Cyberpunk 2077: I’ve Seen That Face Before Walkthrough
  • Cyberpunk 2077: Birds With Broken Wings Walkthrough
  • Cyberpunk 2077: The Man Who Killed Jason Foreman
  • Genshin Impact: The Proscribed, Hidden In Plain Sight Walkthrough
  • Genshin Impact: Fortress Of Meropide Walkthrough

POPULAR CATEGORIES

  • GENSHIN IMPACT
  • STAR WARS JEDI: SURVIVOR
  • SONS OF THE FOREST
  • VALHEIM
  • 7 DAYS TO DIE
  • LABYRINTHINE
  • ASSASSIN’S CREED VALHALLA
  • GOAT SIMULATOR 3

Footer

Links

  • About Us
  • Privacy Policy
  • Contact
  • Disclaimer

Copyright © 2023 · WordPress · Log in