Seeds of the Past is a main quest available in Horizon Forbidden West.
Your objective is to look for DEMETER that is lost in the far western cost.
Here’s a walkthrough of Seeds of the Past in Horizon Forbidden West.
Recommended level is 24 and above.

To begin, head to DEMETER’s location as shown in the map below.

Kill the ambushers
As you reach the area, some ambushers will start attacking you.
Kill them all. You can shoot the barrels beside them to burn them.

Go to DEMETER’s coordinates
After the battle, head to DEMETER’s coordinates just north.

Enter the building and head up the escalator.

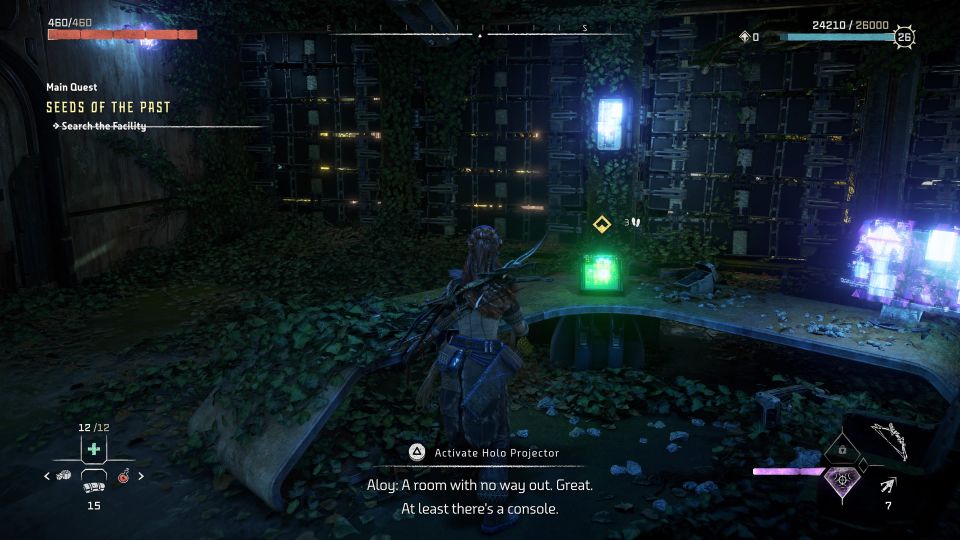
Search the facility
Look for a spot with loose rocks. Use the pullcaster to pull open the wall.

In the next area, you’ll see a vent. Pull it down again.

Go in and search the facility. Activate the holo projector inside.
Find Test Station Ivy
The next goal is to find Test Station Ivy.
As you exit the building, you will see a camp of enemies.
Take them out.

After securing the area, enter the facility via a door.

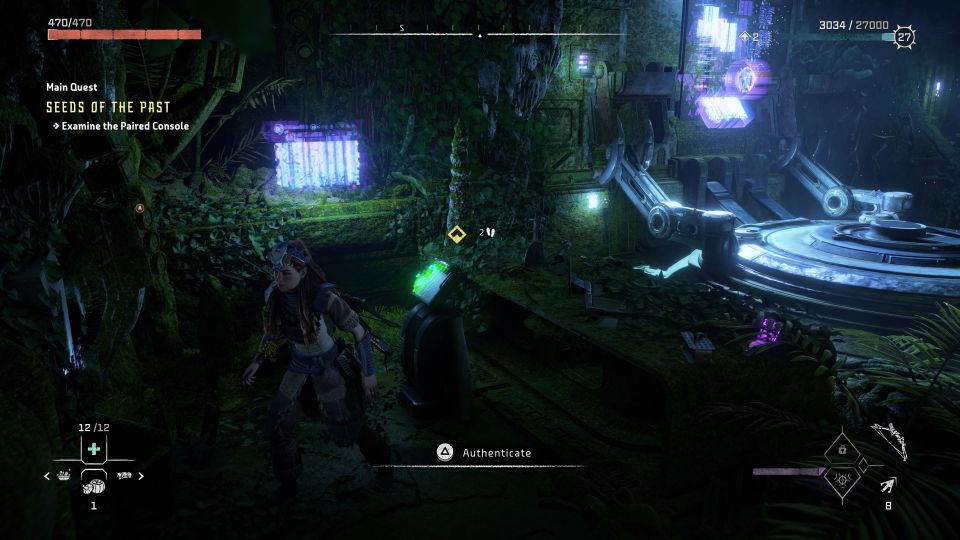
Examine the paired console
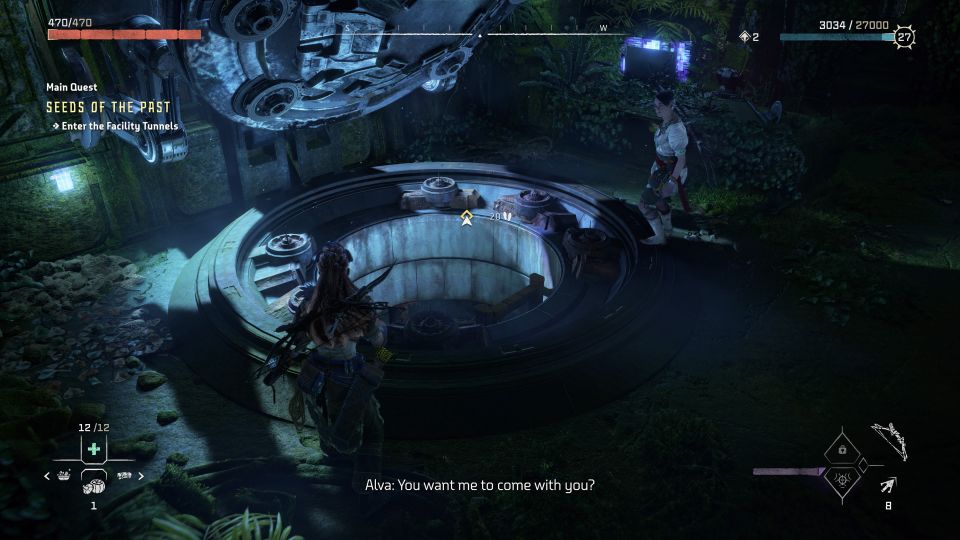
You will meet another person named Alva who also has a focus.
Then, examine the paired console to open the hatch.
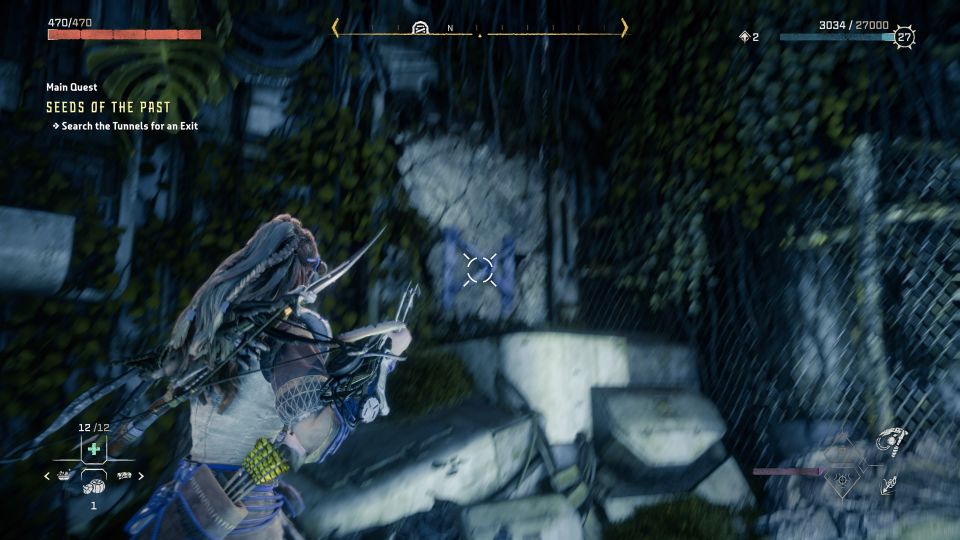
Enter the tunnels
Take the ladder down the tunnels.
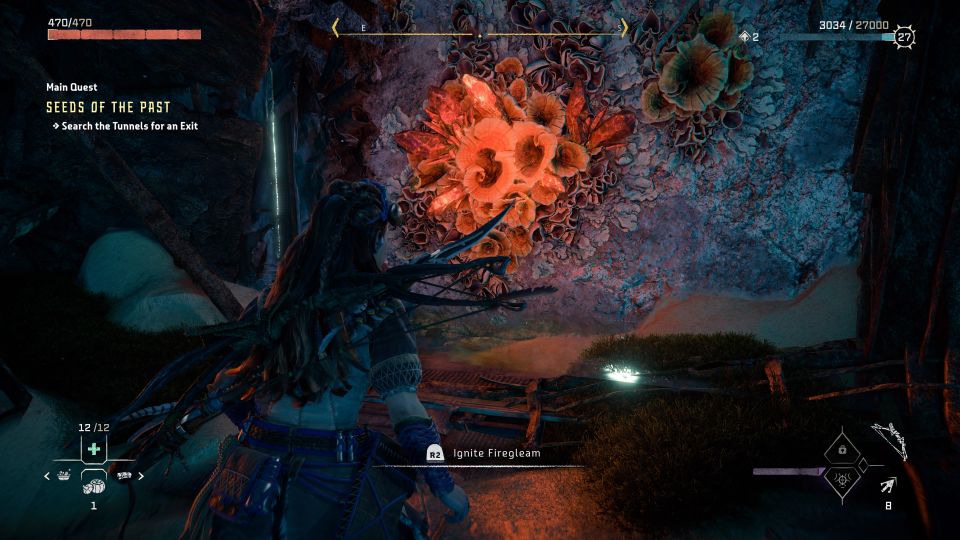
Once you’re down here, look for an exit.

You will then reach a Firegleam. Ignite it.
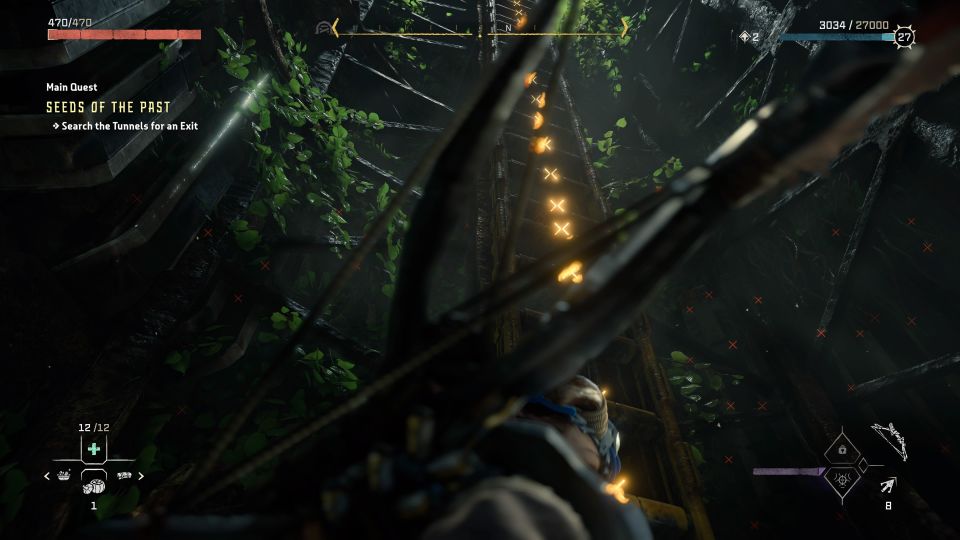
In the next part, you’ll see loose rocks you can pull down with a pullcaster.
Continue to look for an exit.
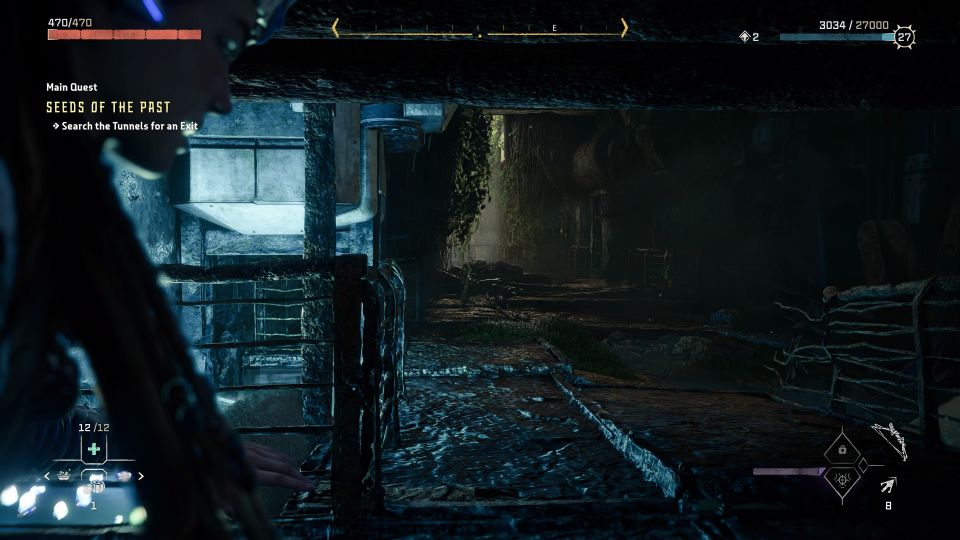
You will then see a ladder going up. Use it to get to the surface again.
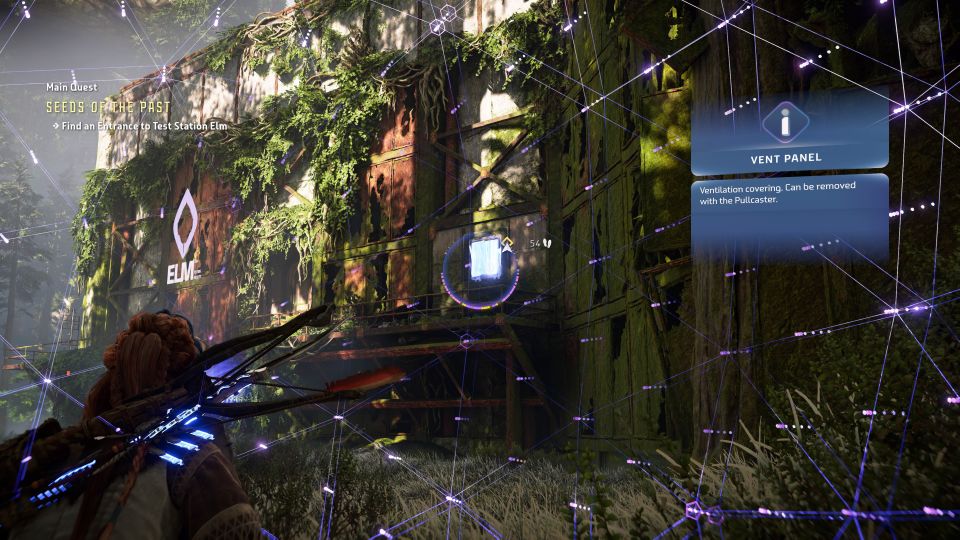
Find an entrance to Test Station Elm
You’ll then need to get to Test Station Elm.
To do so, you have to go through a field with machines.

You can avoid fighting the machines.
Just keep hiding in the bushes and go towards the right-side of the map.
At the front of the building, pull down the vent with a pullcaster.
Then, head to the left side and shoot down the ladder.
Climb up and head to the vent.

Search Test Station Elm
Enter the test station and you’ll realize that battery storage racks can be pulled out.
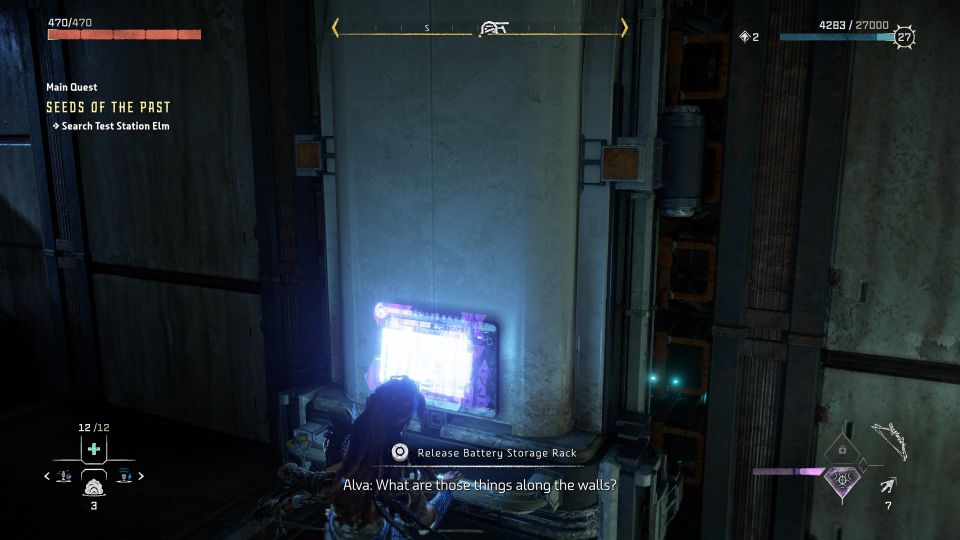
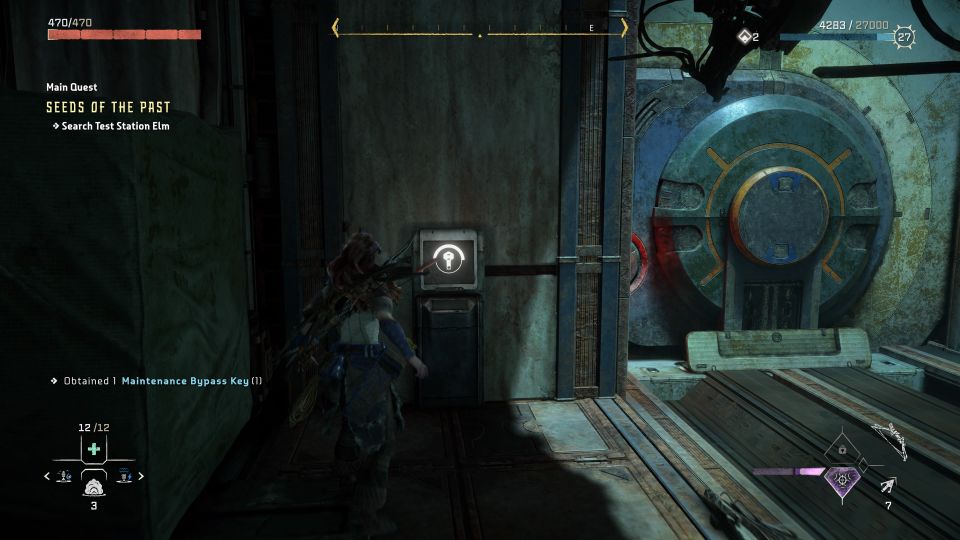
Pull out the racks and you’ll find the maintenance bypass key in one of them.
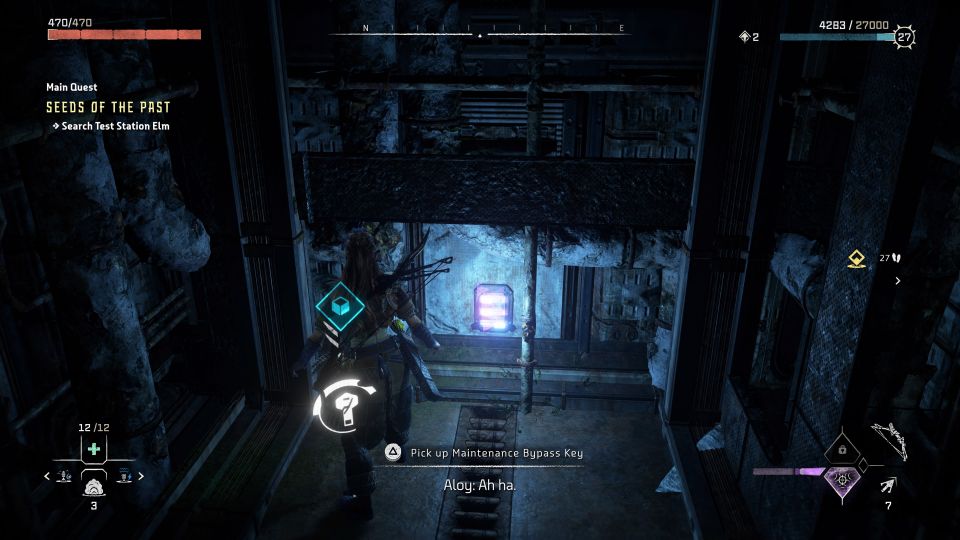
Use it at the console.
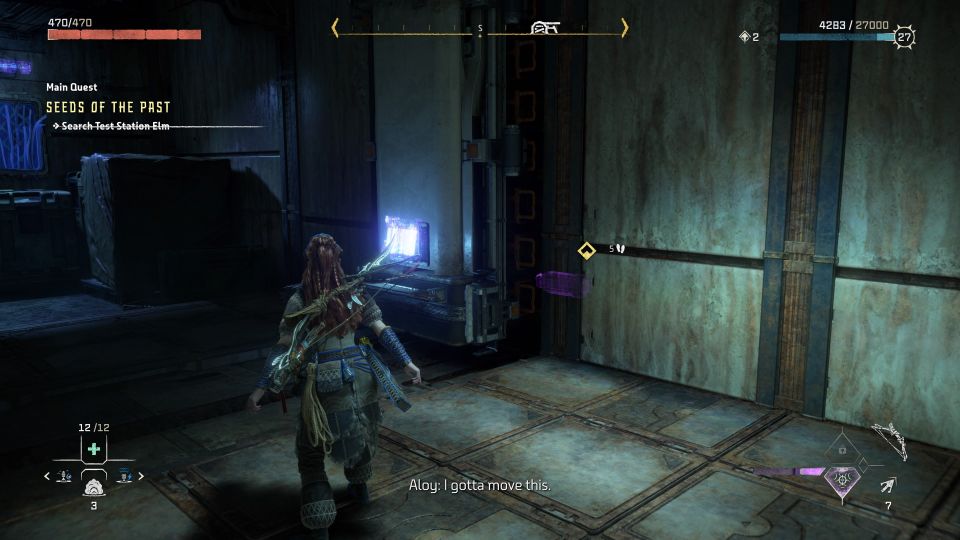
Next, pull the big platform towards Alva and allow her to jump on top.
Then, drag the platform all the way to the end and Alva will be able to jump into the room upstairs.

Restore power to the control room door
Next, you need to restore power.
Pull out the battery storage rack that contains a single battery.
You’ll see it with focus.
Grab the battery and head to the nearby vent.
Use the pullcaster to pull the vent open and enter the room.

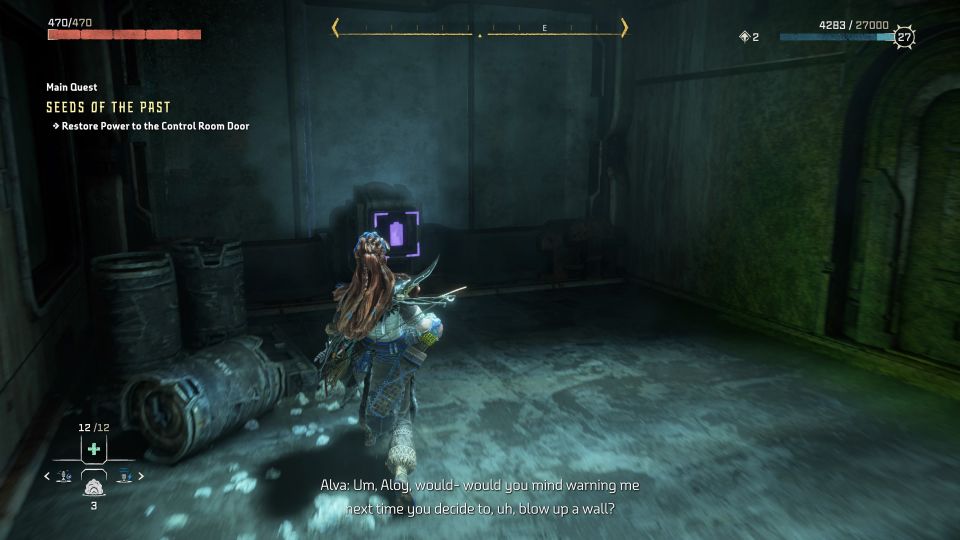
Ignite the Firegleam inside to blow open the wall.

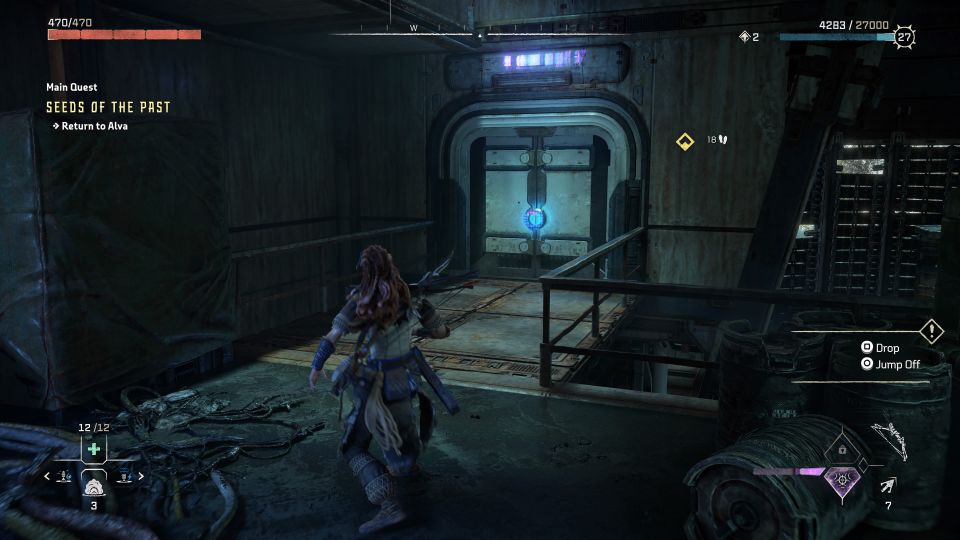
Then, bring the battery to the console inside the room.
Return to Alva upstairs as the door is now open.
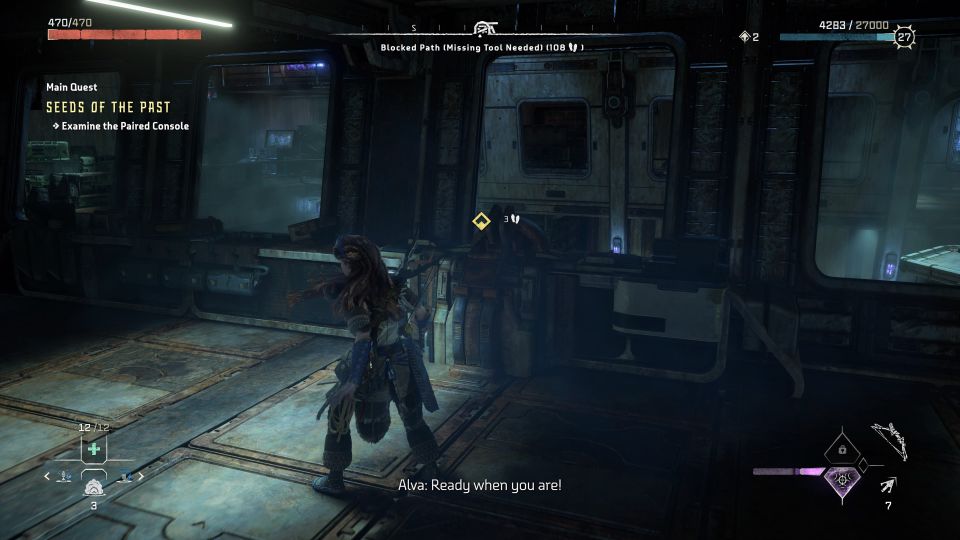
Examine the paired console
Next, examine the paired console to carry out the test.
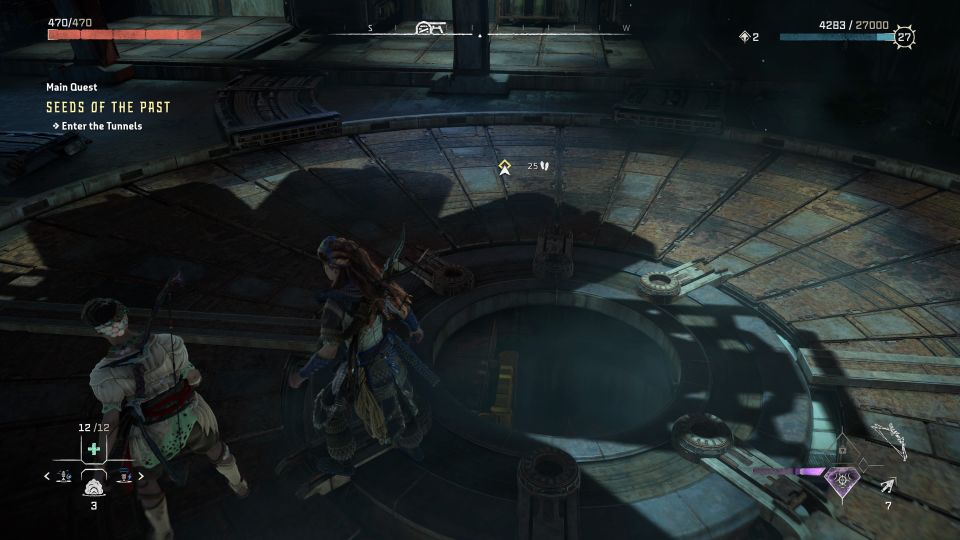
Enter the tunnels
After the cutscene, head down the tunnel.
Look around the tunnels until you find another set of ladder going up.

Then, head outside of the Test Station.

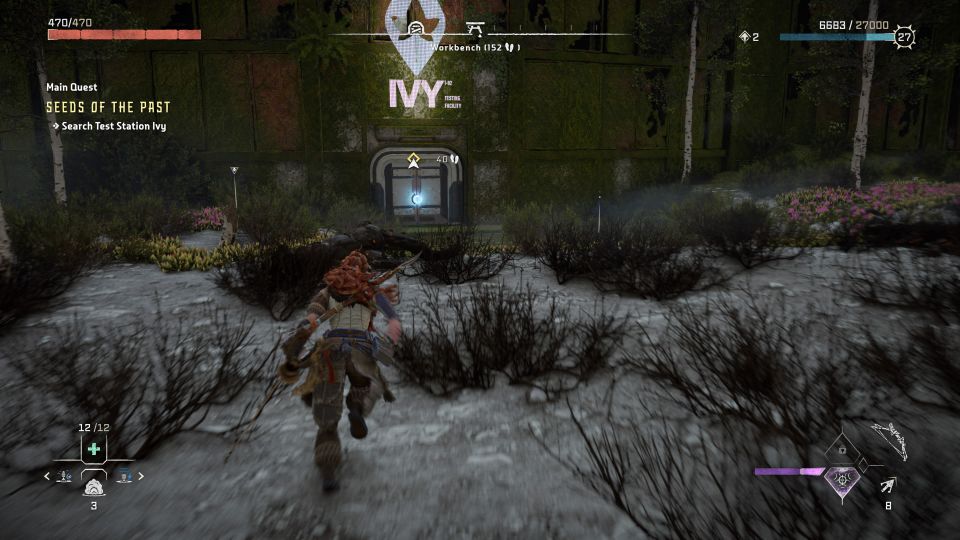
Find an entrance to Test Station Ivy
If you scan the area, you’ll see Fire Bellowbacks lying around. Don’t go near them.

Watch out for the flying machine that can also turn invisible. You’ll have to take this one out.
Use focus to find the weak spots and weak elements.

After the battle, head to the test station.
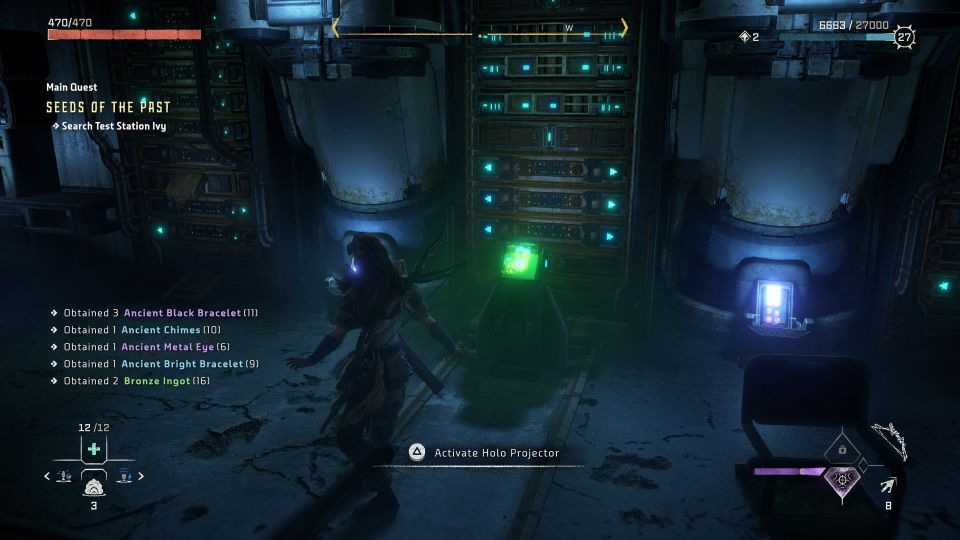
Search the station
Inside Ivy, activate the holo projector.
Craft the vine cutter
Exit the test station and head back to the camp site of the enemies earlier.
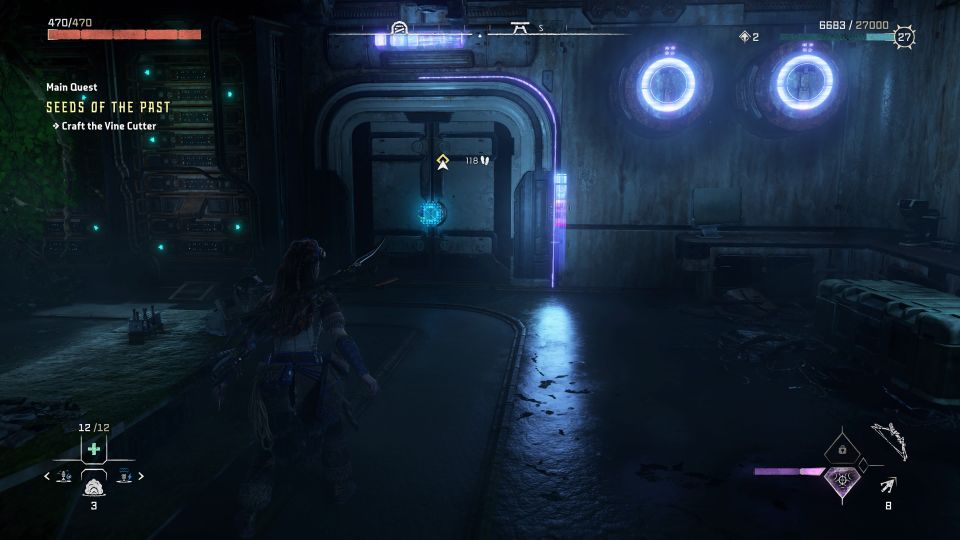
Use the workbench to craft a vine cutter.

Return to the data core at the beginning.

Melee the mechanism that created the vines and insert the module to destroy the vines.

Retrieve DEMETER
Finally, retrieve DEMETER inside the room.

Deliver it back to GAIA at the base and the quest ends here.

Related posts:
Horizon Forbidden West: The Stand Of The Sentinels (Tallneck)