The Temple Where Sand Flows Like Tears is a sub-quest under The Dirge of Bilqis world quest in Genshin Impact.
Your objective is to look for a Jinni inside a ruins who can help to find the Eternal Oasis.
Here’s a walkthrough and guide of The Temple Where Sand Flows Like Tears in Genshin Impact.
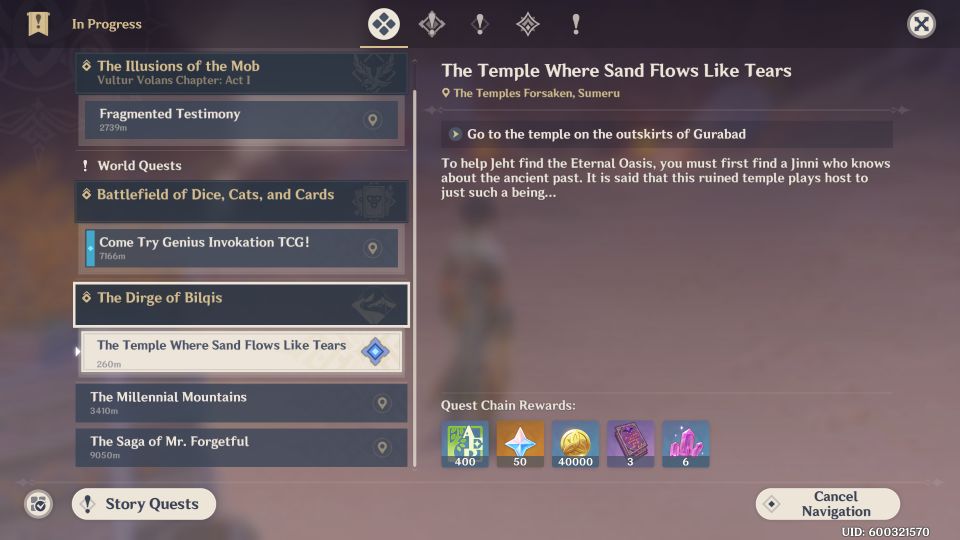
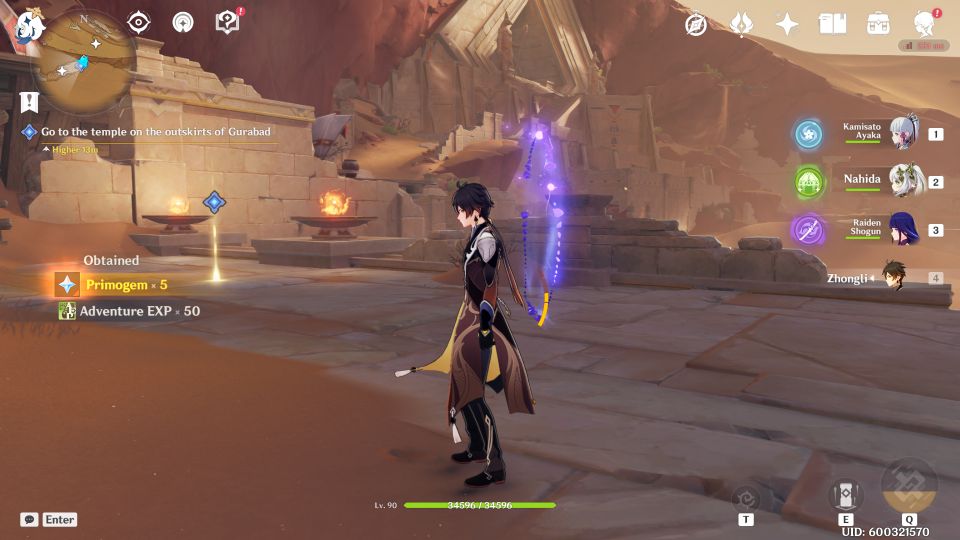
To begin the quest, head to the quest marker shown in the map below.
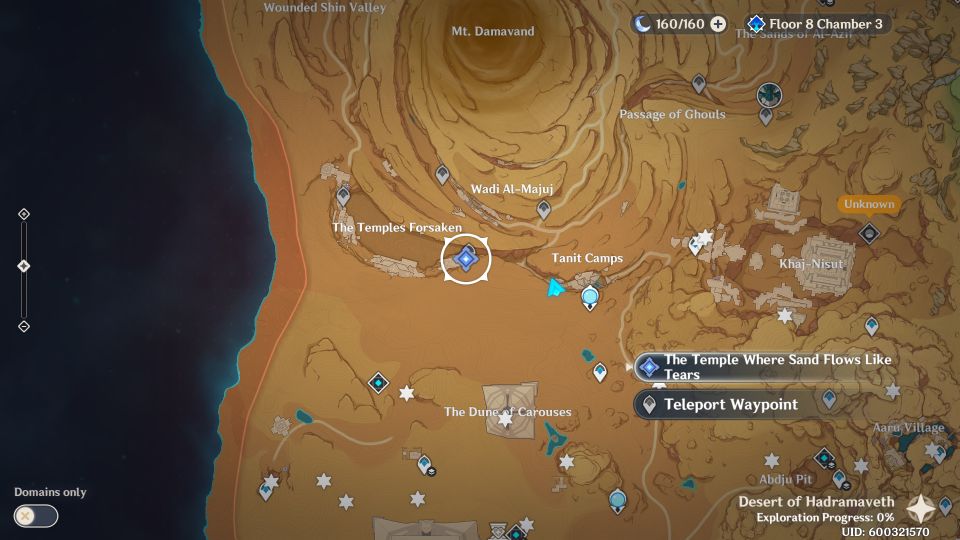
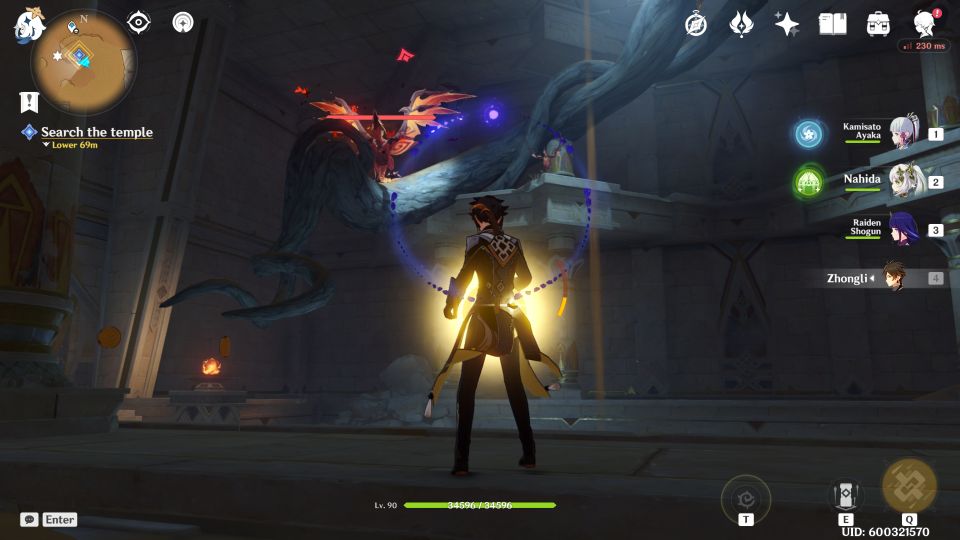
Go to the temple on the outskirts of Gurabad
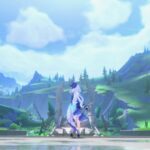
Head to the marked area to trigger the cutscene.
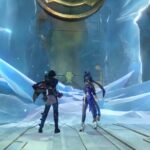
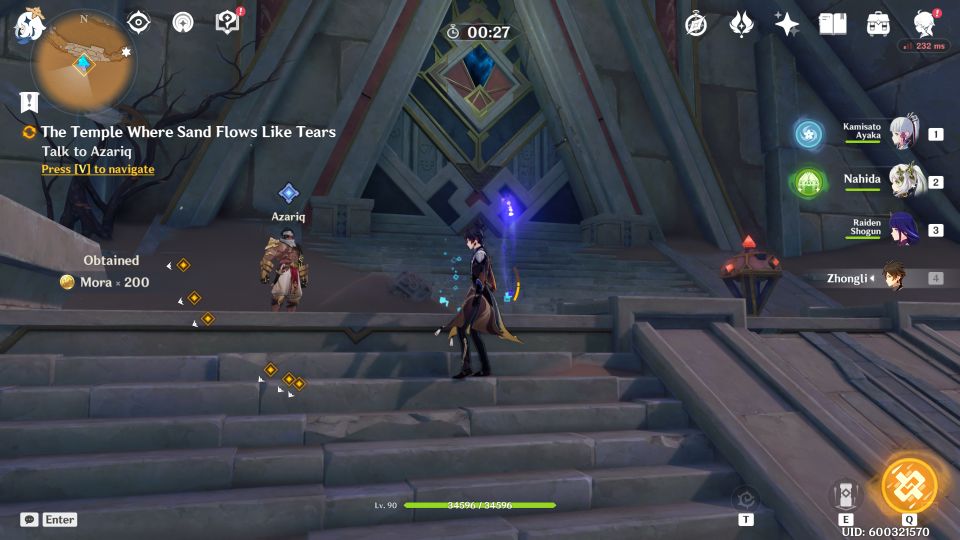
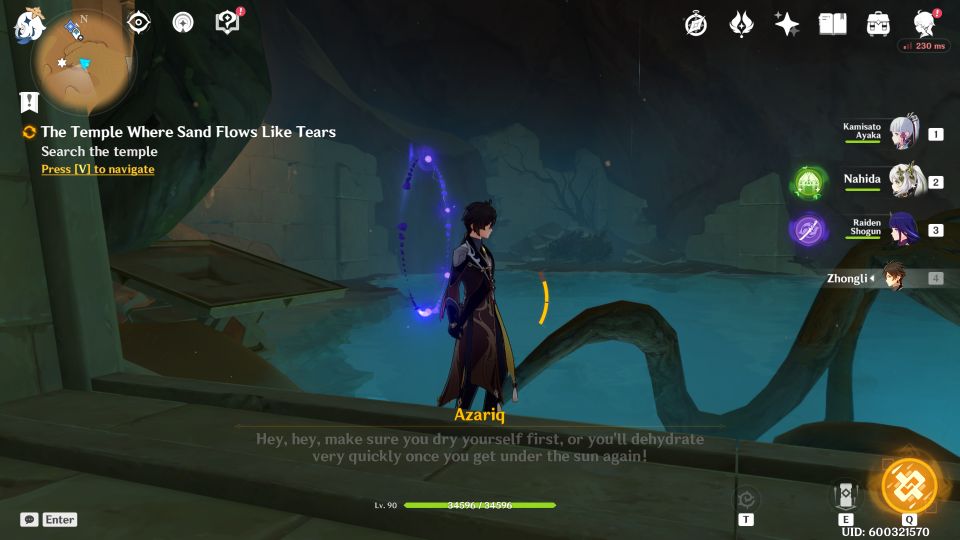
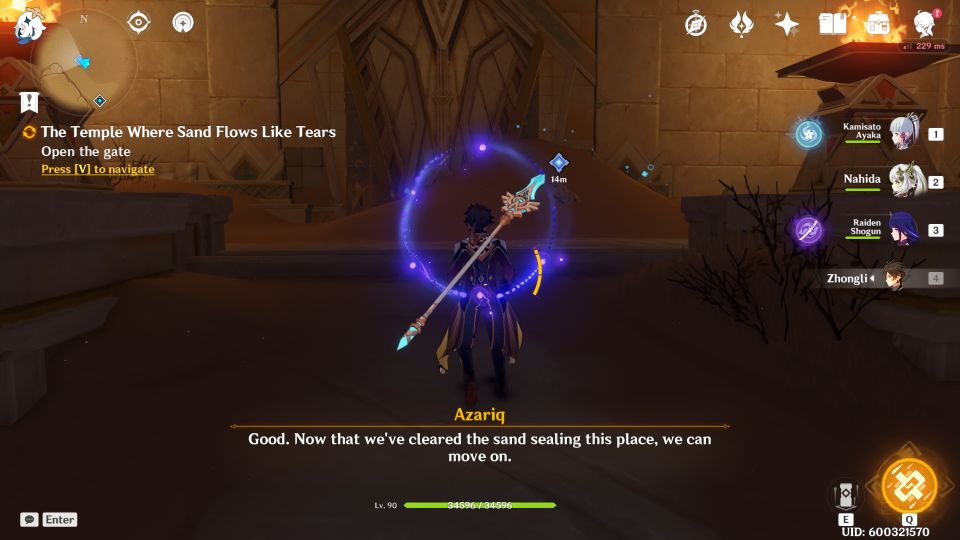
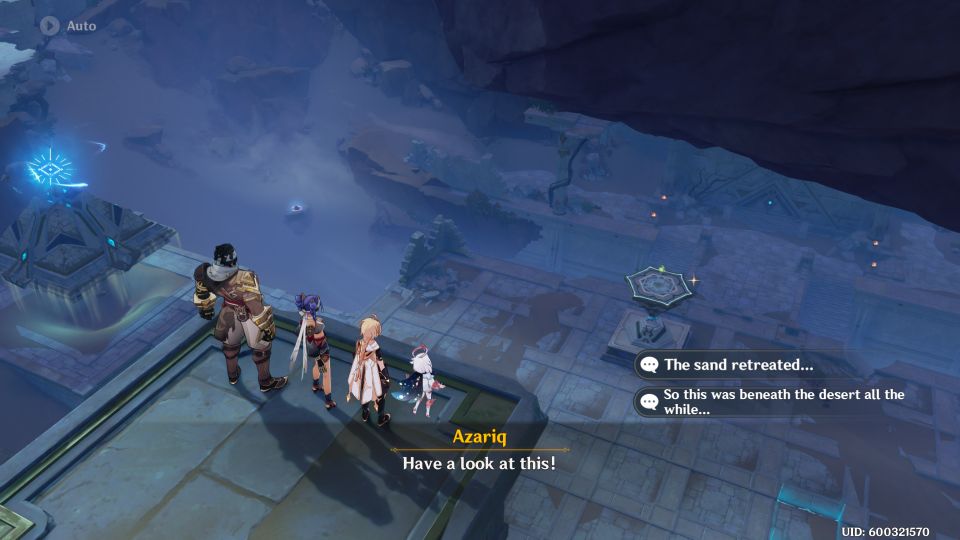
Talk to Azariq
Go to Azariq who is standing at the gate of the temple.
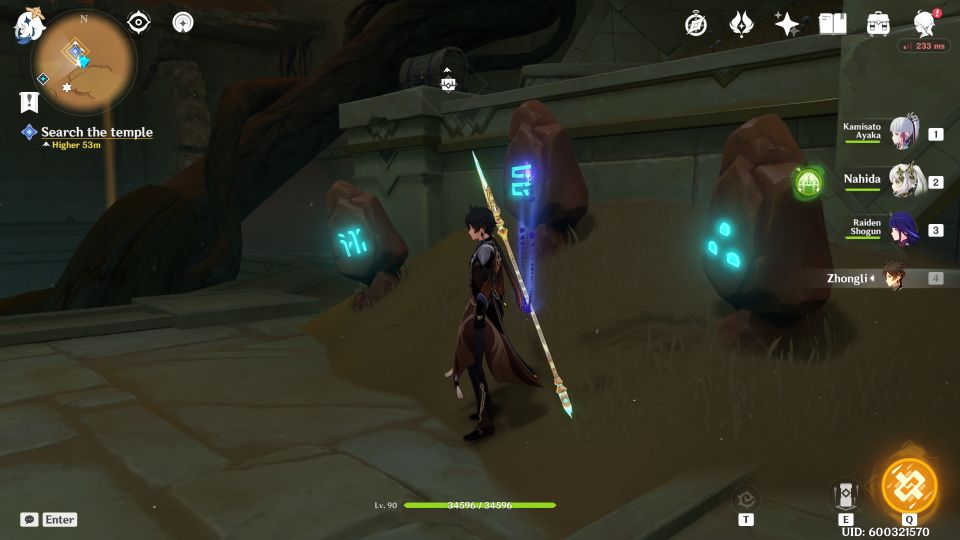
Activate the device and open the gate
Hit the device so that the energy flows to the sand and gets rid of the sand. Use the console to open the gate.

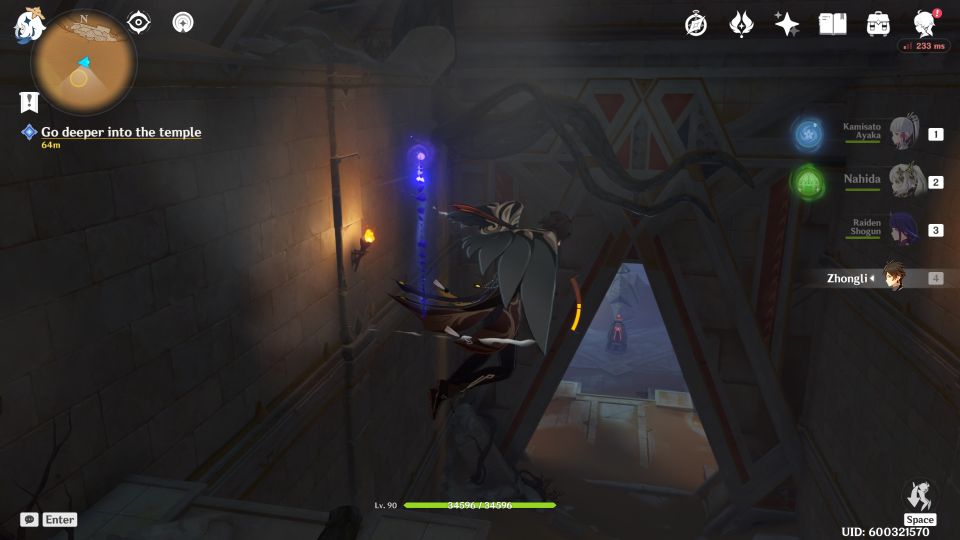
Go deeper into the temple
Continue to descend into the temple.
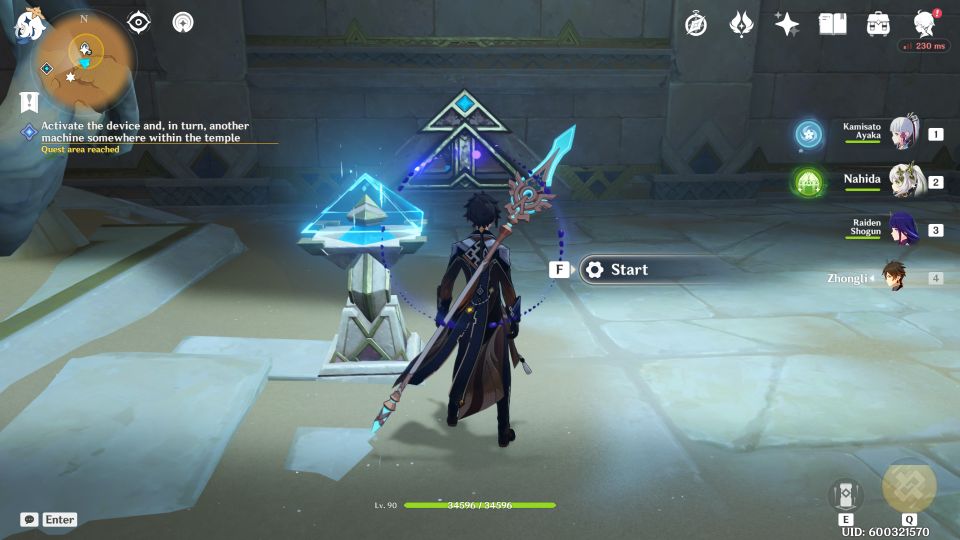
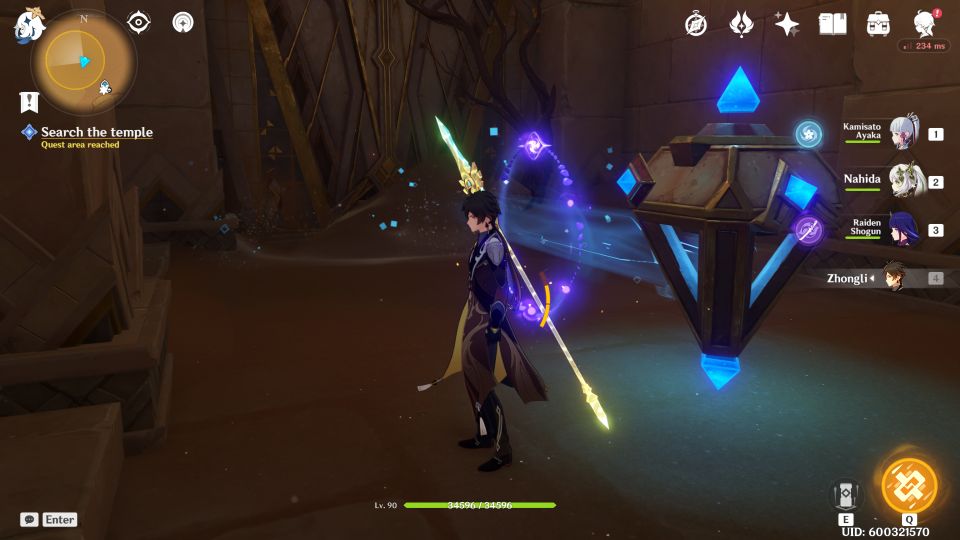
Activate the device
Inside the temple, you’ll see a new device. Start it.

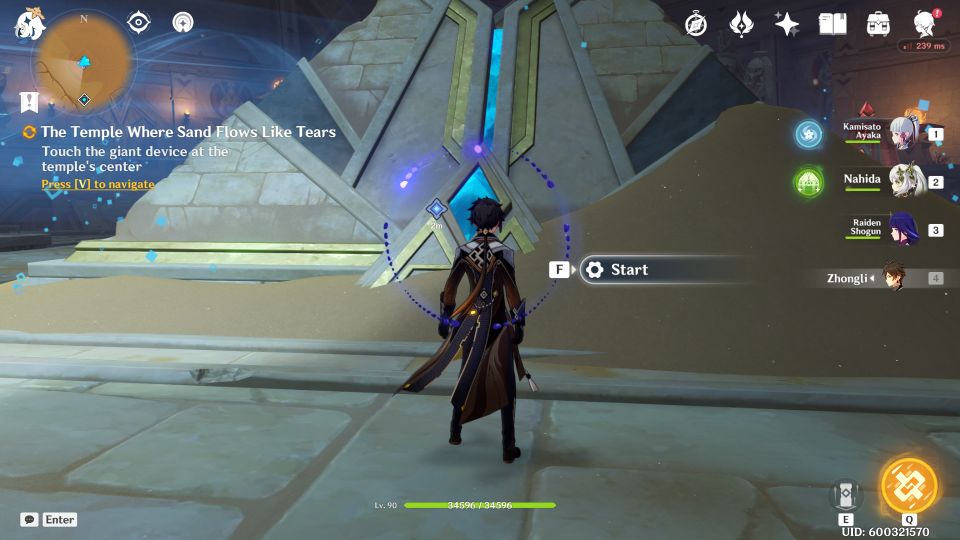
Touch the giant device
Then, touch the giant device at the center. Start it but nothing works.
Open the gate
You will now need to unlock the other three devices so that the main center device can be unlocked.
This part requires some time to complete. Open the first gate by hitting the device so it rotates and gets rid of the sand in front.

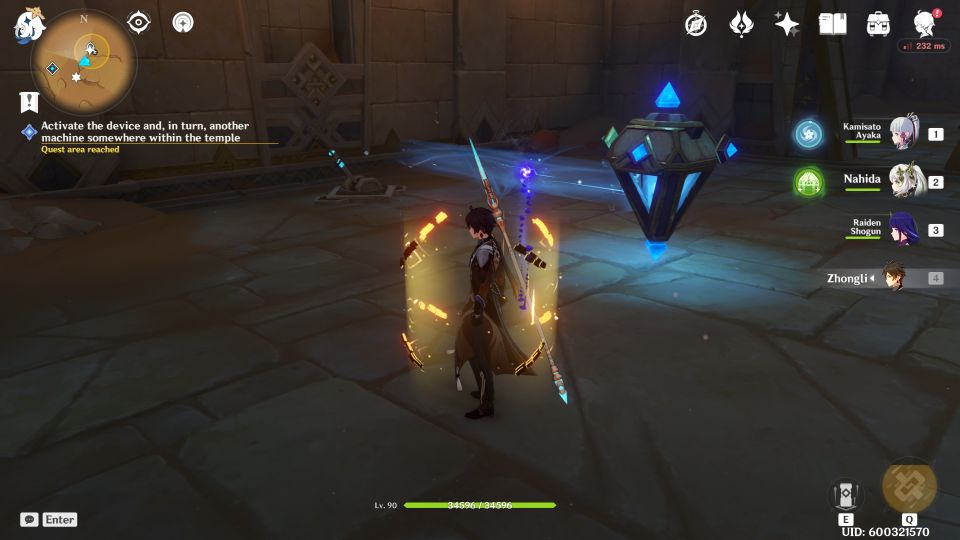
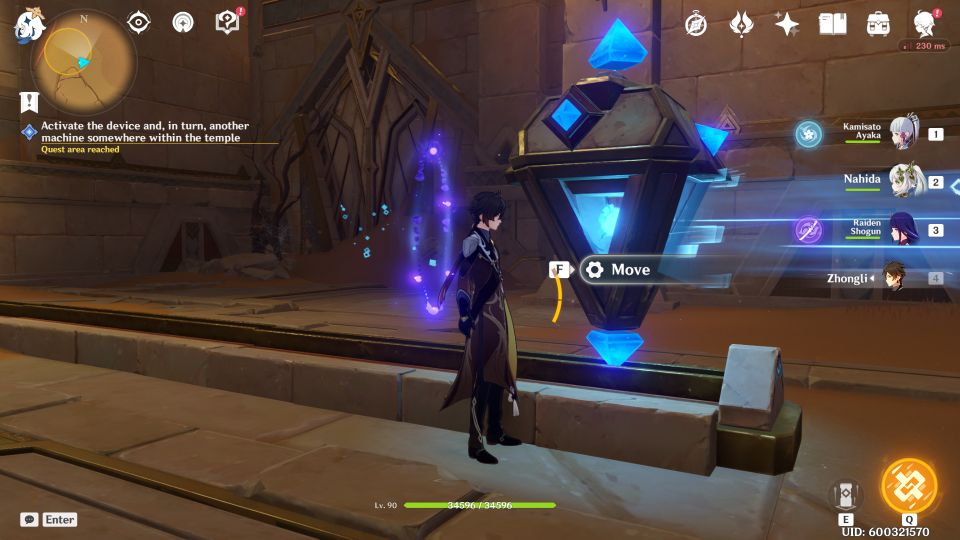
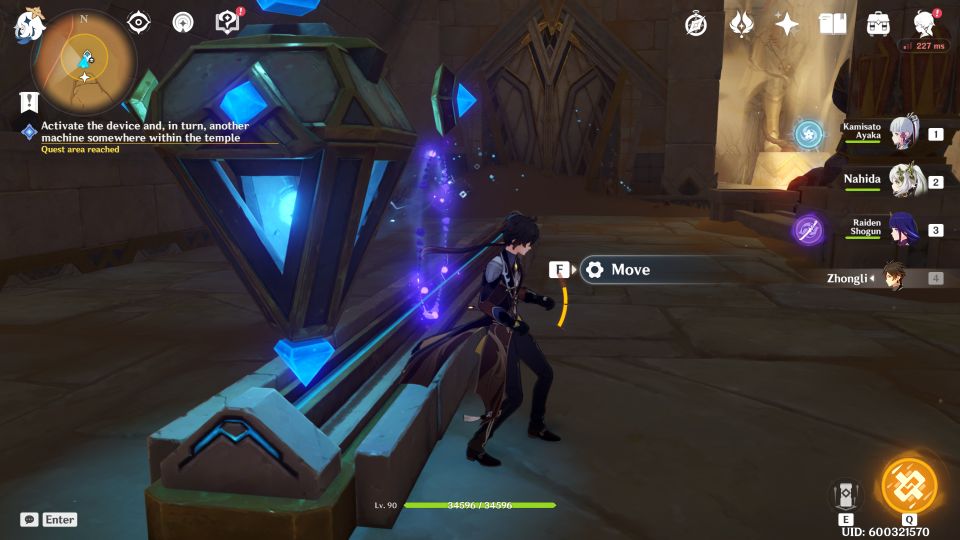
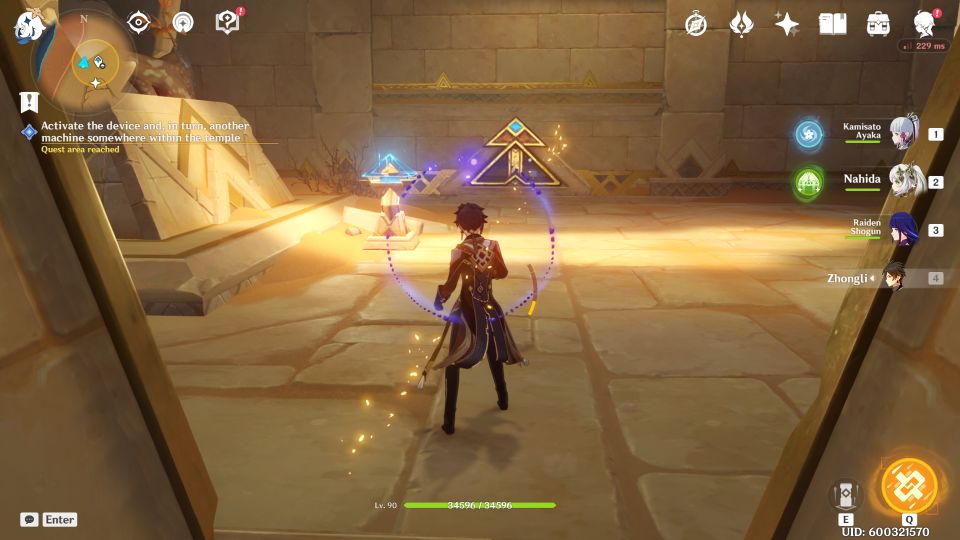
Activate the device and, in turn, another machine somewhere within the temple
After entering the first gate, pull the lever and let the energy flow through the gap.
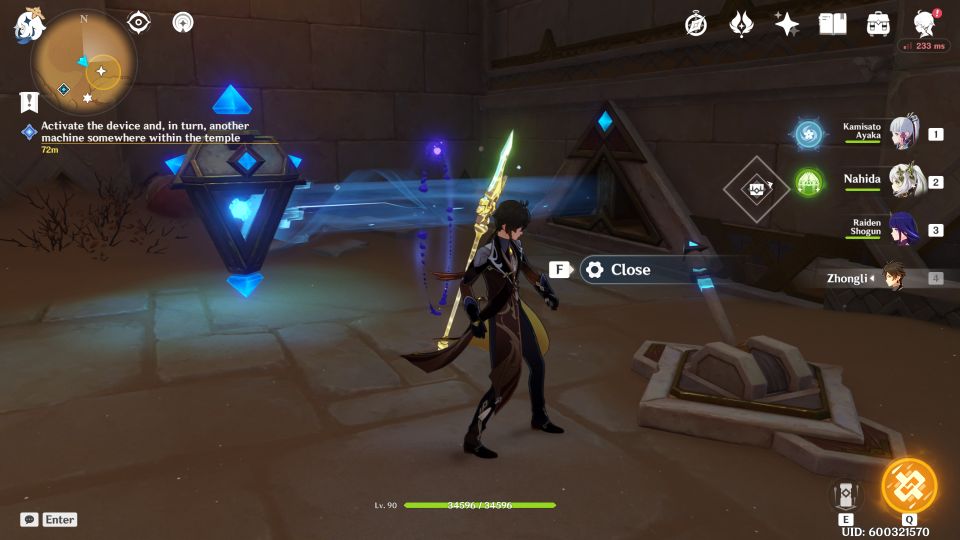
This will allow you to unlock the console and open another gate.
In the next area, unlock the teleport waypoint.

Use the device to unlock the lever, and then pull the lever.
After pulling the lever, rotate the device so that the energy goes through the gap.
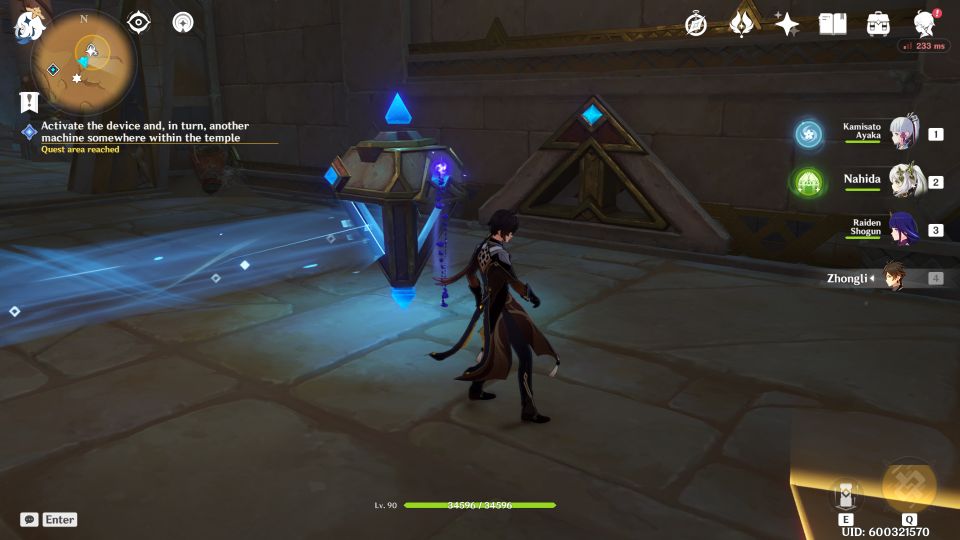
You will now be able to enter the middle part which is blocked by the barrier. Start the machine.
Look for another exit
Go to the console and open the gate to exit the area.

Use the device to get rid of the sand and open the next gate.

Search the temple
In the next area, you’ll encounter new enemies which are huge flying birds.
To get to the next destination, you have to descend to the water below.
You will reach a wide open space underneath the temple.
There’s a new puzzle here where you need to hit the stones so that the symbols match with another set of stones elsewhere.

Just follow the same symbols and you’ll get a chest.
Now, proceed to the gate and defeat the Primal Constructs.

In the next area, use the device to open the gate.
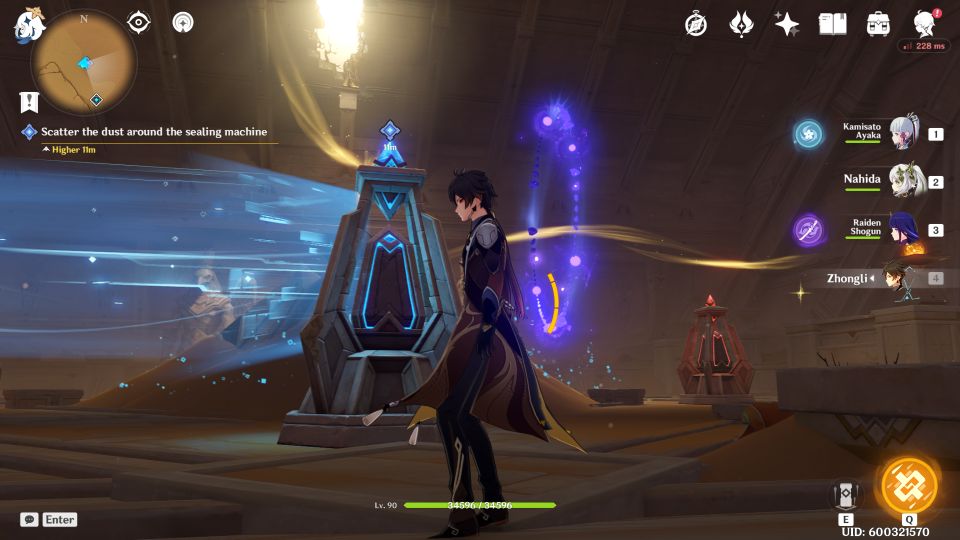
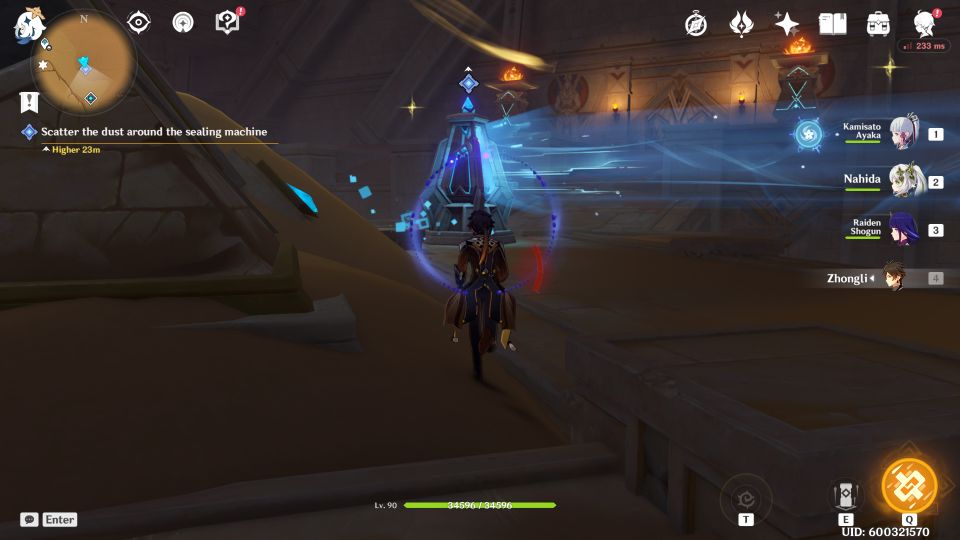
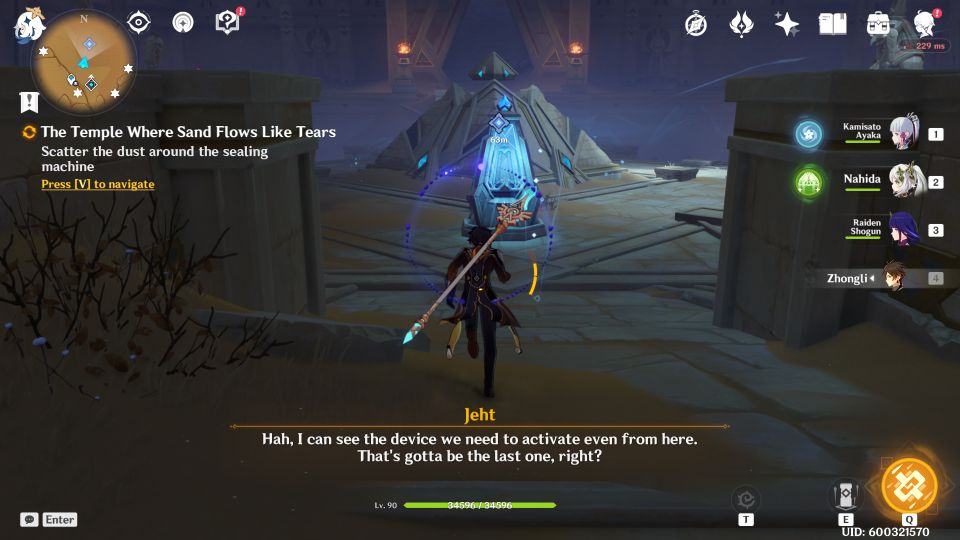
Scatter the dust around the sealing machine
You will find yourself back in the temple. Go to the marked sealing machine and hit it to scatter the dust.
Point the machine towards the gate to release the console.
Activate the next machine
Like before, you have to find and activate the next machine.
After entering the room, move the device and rotate it to open the gate.
You will reach another room with a teleport waypoint.
Use the device to unlock the lever. Pull the lever and move the device so that the energy flows through the gap.

For the next part, move the device on the left side towards the gate and unlock the gate.
Enter the room and use the device to unlock the lever, and also allow the energy to go through the gap.

Now, enter the room blocked by the barrier via the right side. Activate the machine.
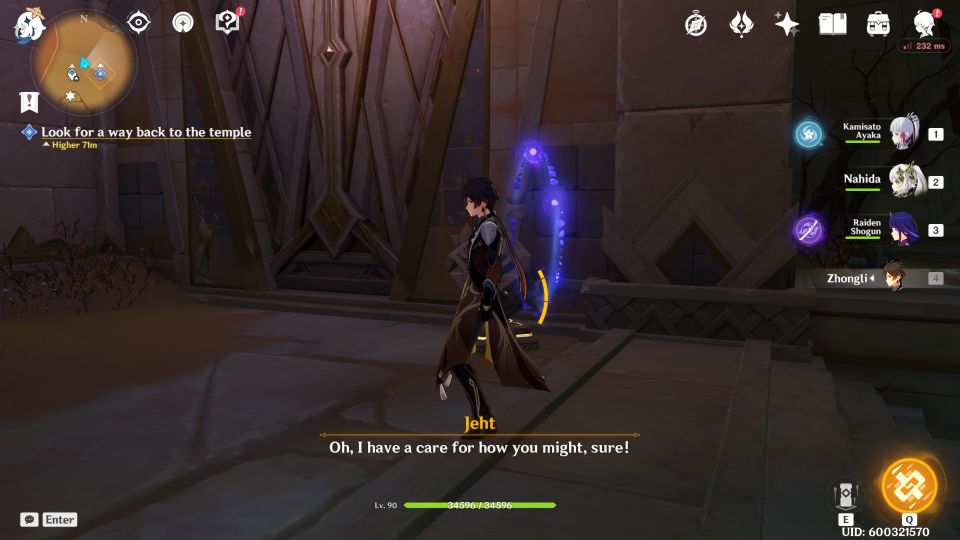
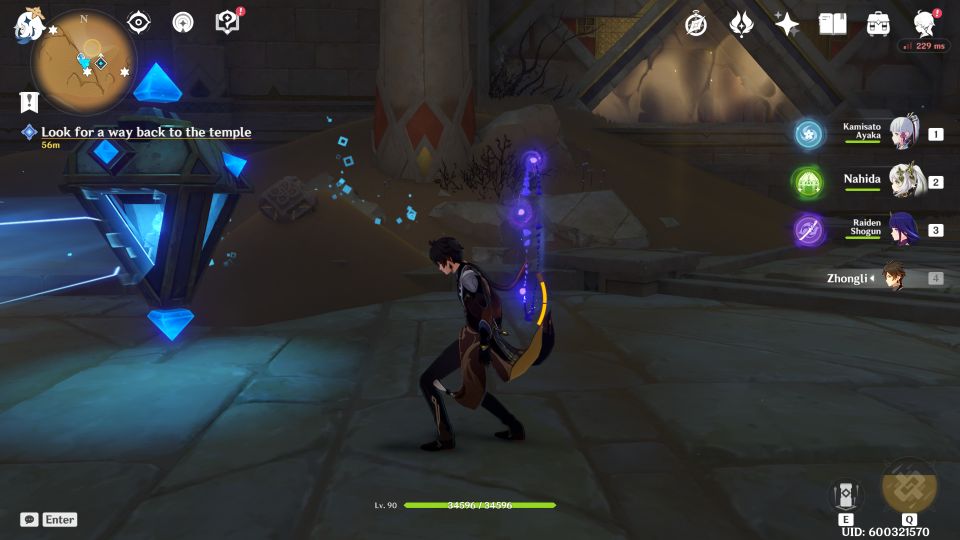
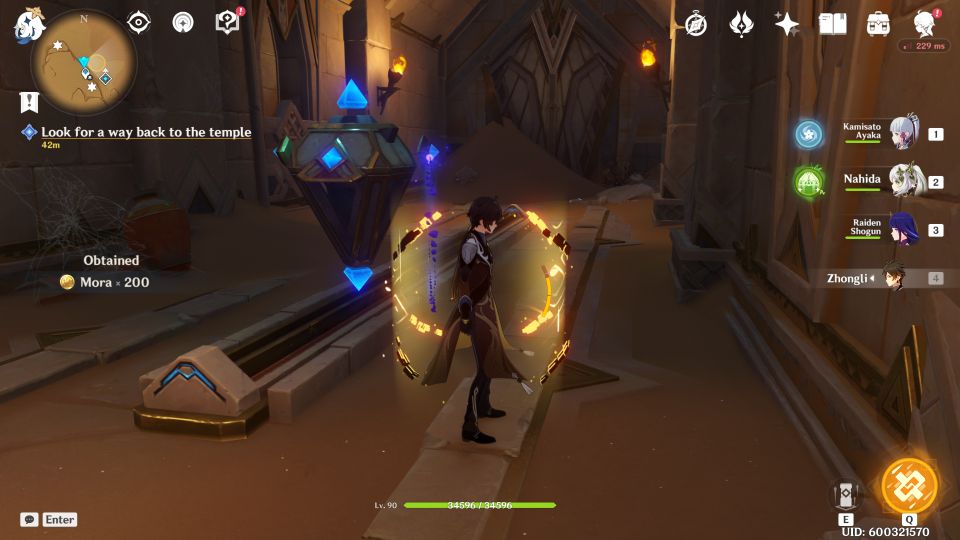
Look for a way back to the temple
To go back to the temple, use the other gate by unlocking it.

You will reach another underground area. Get the Dendroculus.

Proceed to the end of the area and you’ll see another gate.
Scatter the dust around the sealing machine
Like before, hit the machine.
Point it towards the gate and open it with the console.

Activate the last machine
You will now need to activate the last machine.
After going through the gate, move the device and unlock the door.

In the next room, unlock the lever and use it.
Move the device and rotate it so that the energy goes through the gap.

This will then unlock the next device. Move the device and unlock the subsequent one.

For the next device, move it and remove the sand in front.

Go through the door and you’ll find some Primal Constructs to defeat.

After beating them, go to the device at the top. Use it to unlock the console.
Start the console and you’ll find that the floor below opens.
Get the Dendroculus.

Start the machine and the barrier will be removed.

Look for a way back
To leave the area, rotate the device to unlock the gate.
Move the device and unlock the gate.
Scatter the dust
Go to the final sealing machine and hit it.
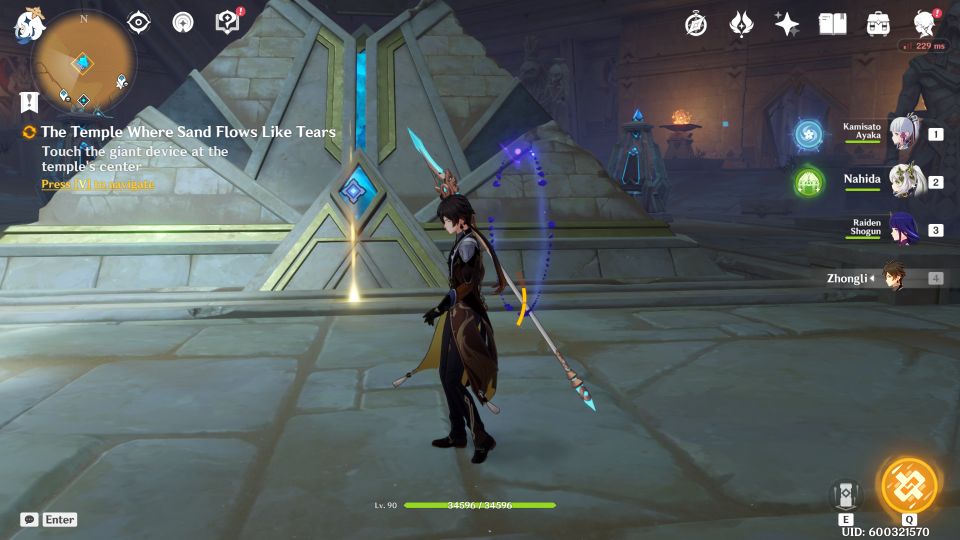
Touch the giant device
Finally, you can touch the giant device at the temple’s center.
Before leaving the temple, go below the giant device and you’ll find a chest.
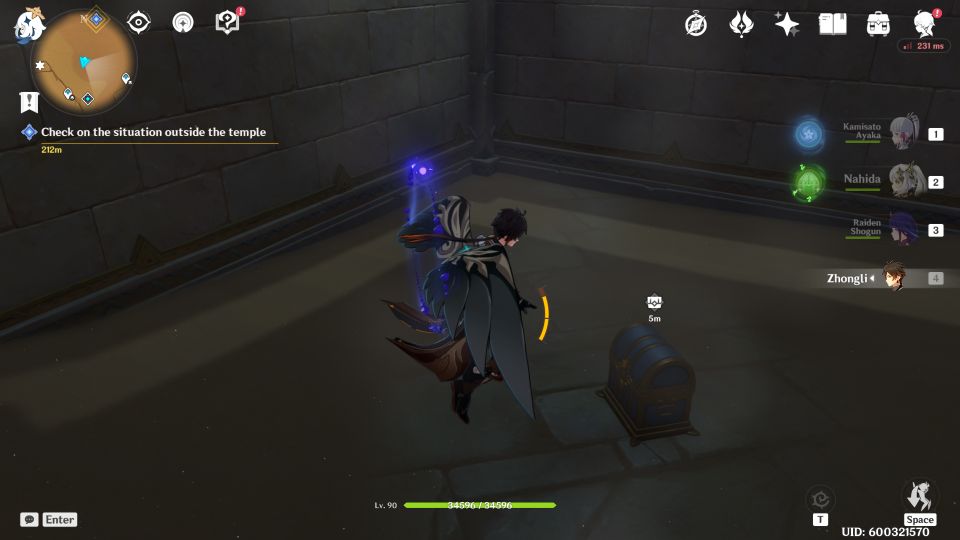
Investigate outside
Leave the temple through the main entrance and see what has changed below.
Go to the ruins opposite the square
Now, head to the ruins opposite the square and get rid of the Primal Constructs.

Enter the ruins.
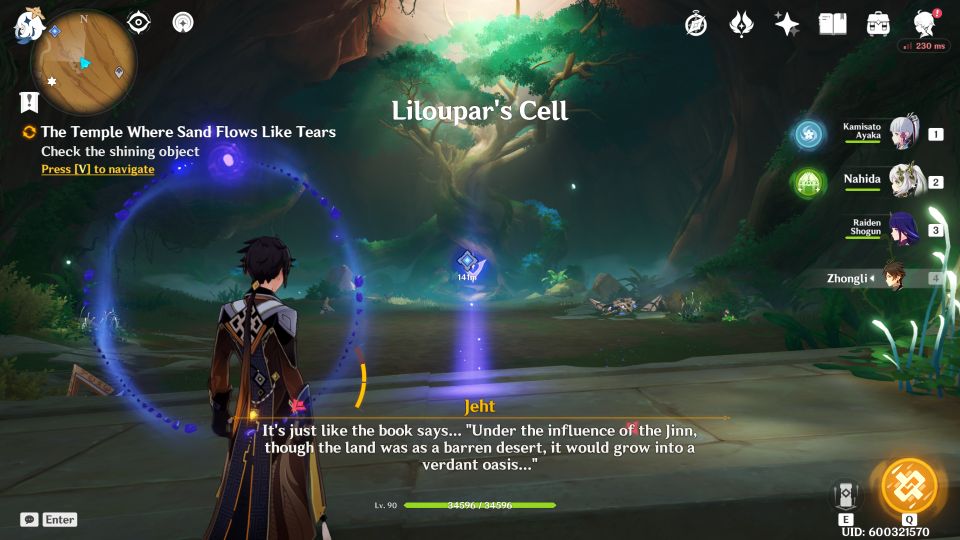
Check the shining object
You will now reach Liloupar’s Cell.
Head towards the big tree.
Defeat the Primal Construct
Before you can get there, you have to defeat a small boss called Anoushbord which is a Forgotten Mechanical Guardian.

After you’re done, head to the tree and touch the shining object.

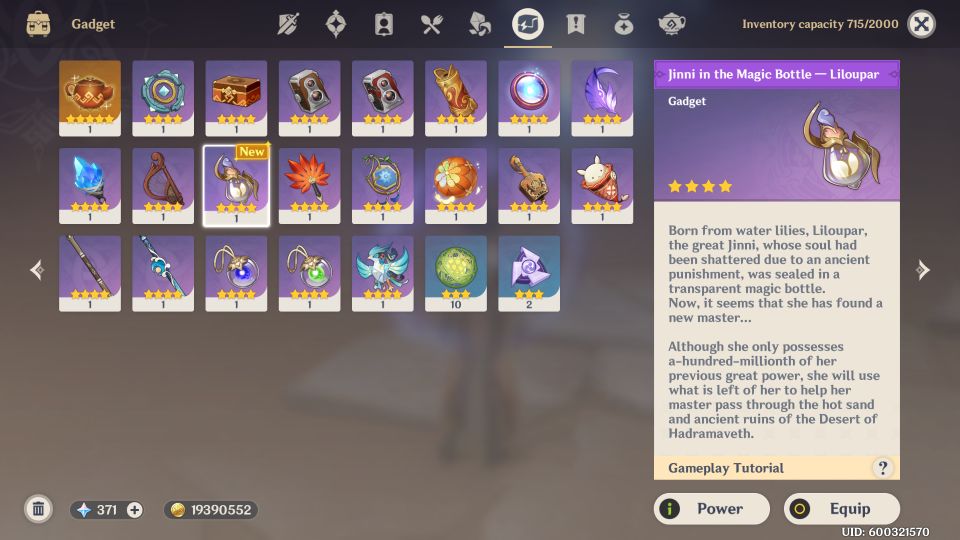
You will now get a new gadget Jinni in the Magic Bottle – Liloupar.
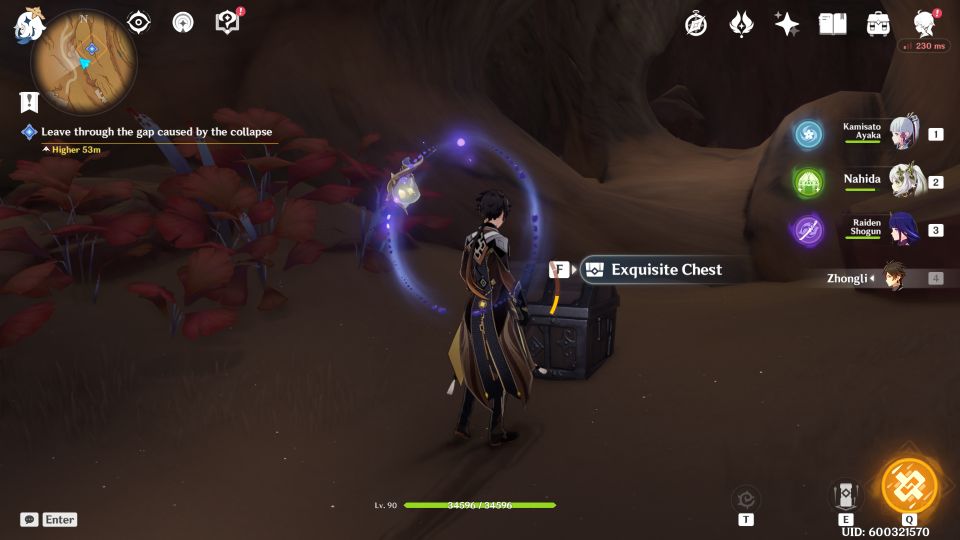
Before leaving, take the Exquisite Chest in the tree.
Also, you can solve the Dendro monument puzzle in Liloupar’s Cell for a chest reward.
Leave through the gap
When you’re ready to go, leave through the newly formed gap.

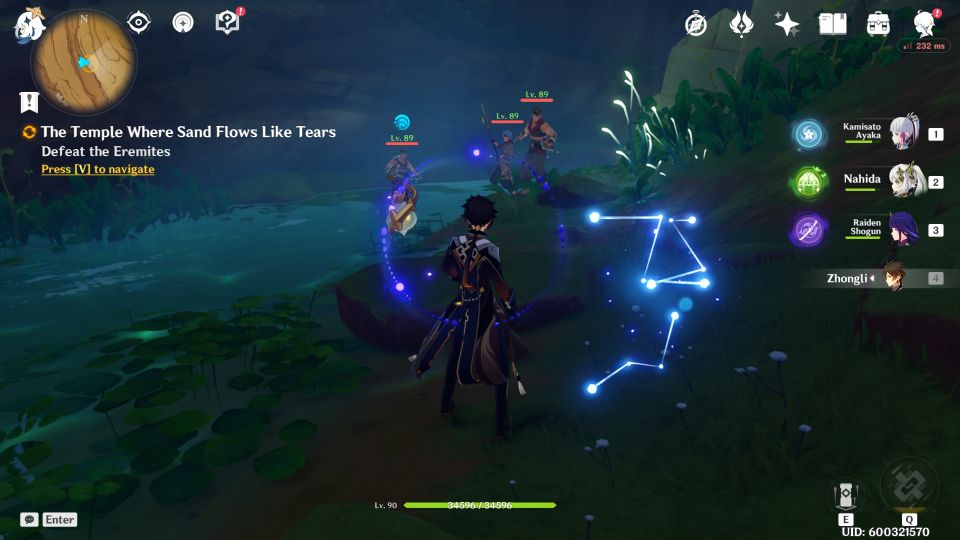
Defeat the Eremites
Take out the Eremites you see.
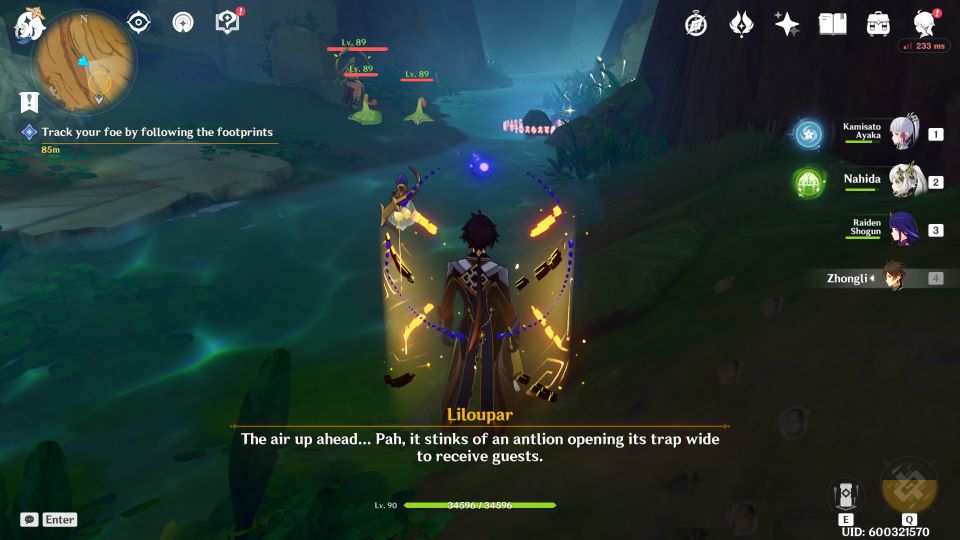
Track your foe
Continue to follow the path and defeat the enemies along the way.
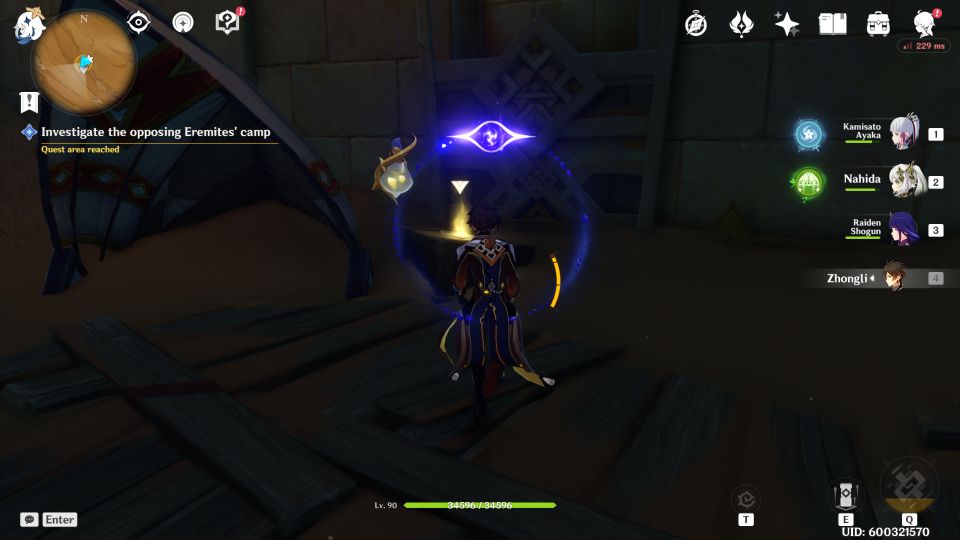
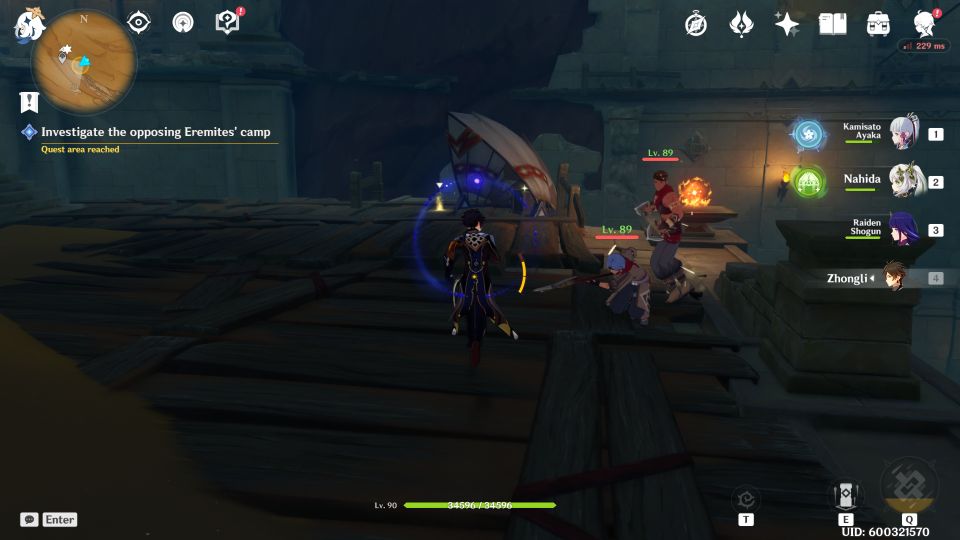
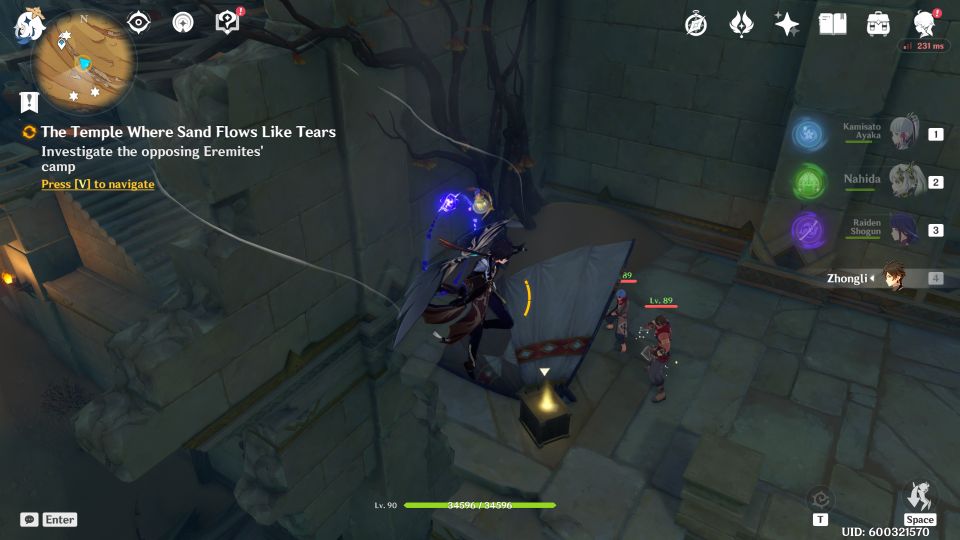
Investigate the opposing Eremites’ camp
You will reach a canyon where Eremites will attack you. There are 3 spots where you have to investigate the Eremites’ camp.
You’ll find notes at all three locations marked on the map.
Leave the canyon
Leave the canyon when you’re done.

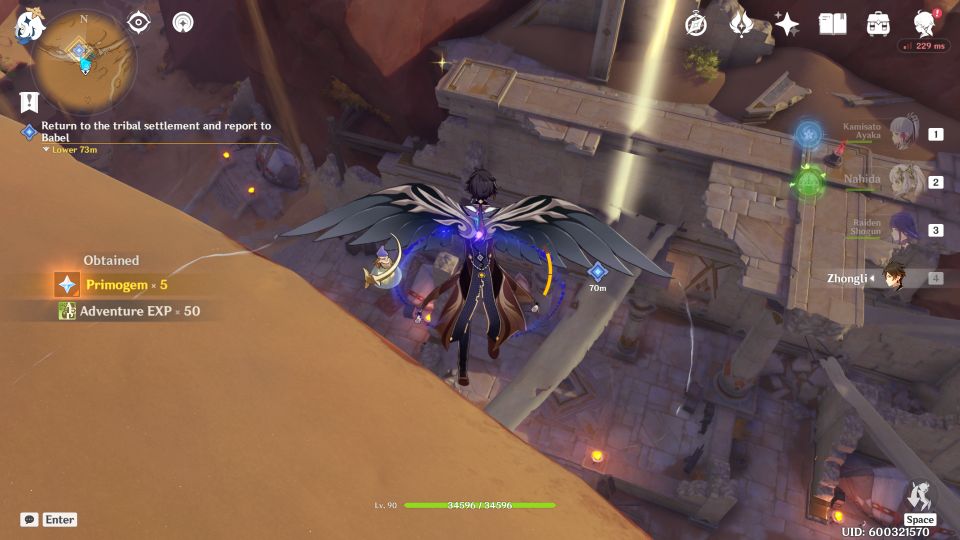
Return to the tribal settlement
Head back to the tribal settlement and talk to Babel.
Talk with Azariq and Jeht
Finally, speak with Azariq and Jeht. The quest ends here.

Related posts:
Genshin Impact: Wisdom Has Built Her House, She Has Hewn Out Her Seven Pillars