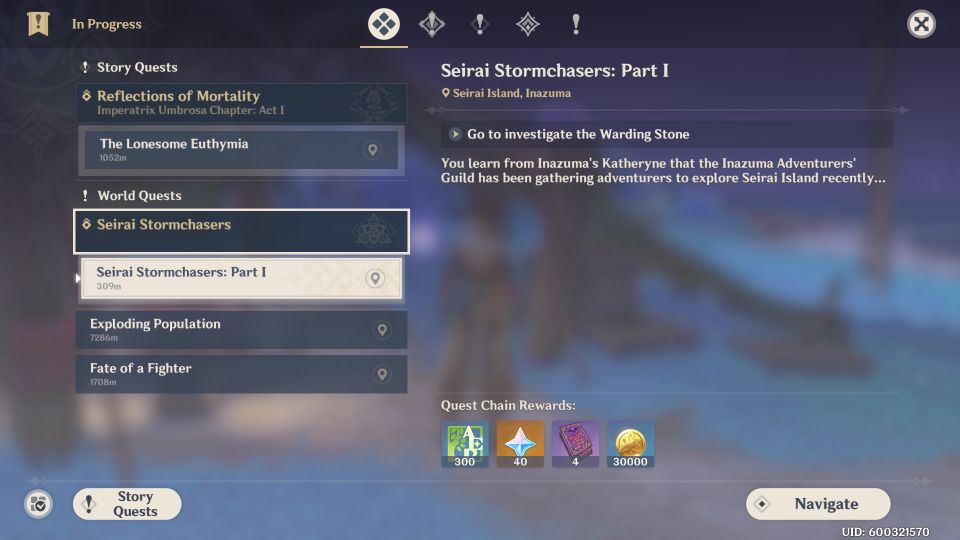
Seirai Stormchasers is a story quest available in Genshin Impact 2.1.
Your task is to investigate the warding stone and find a way to seal it.
Here’s a walkthrough of Seirai Stormchasers in Genshin Impact.
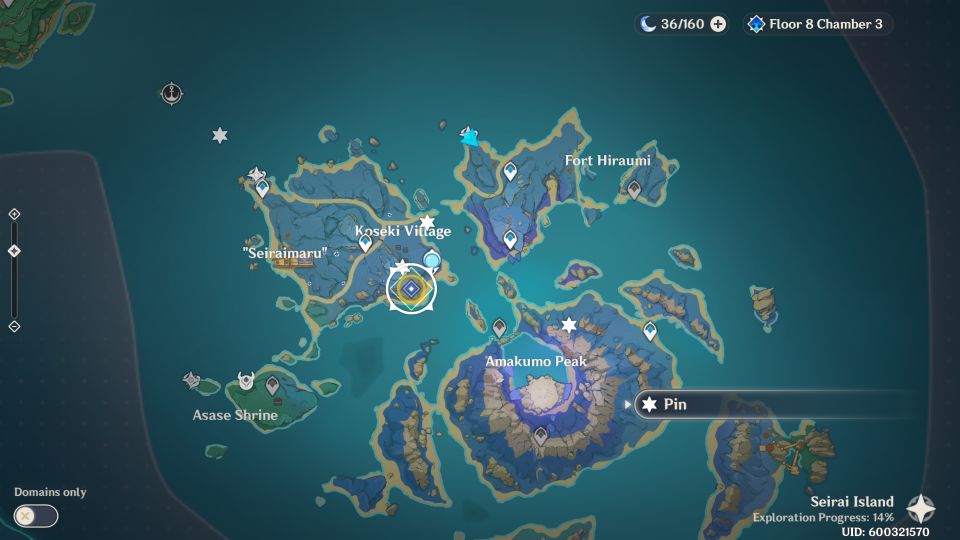
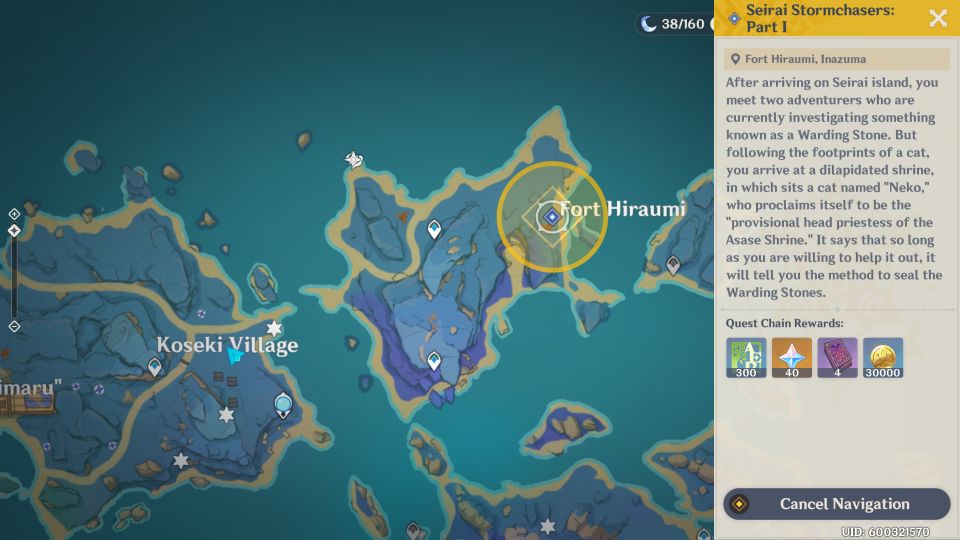
To begin the quest, head to the location marked on the map below. It’s left of Fort Hiraumi.

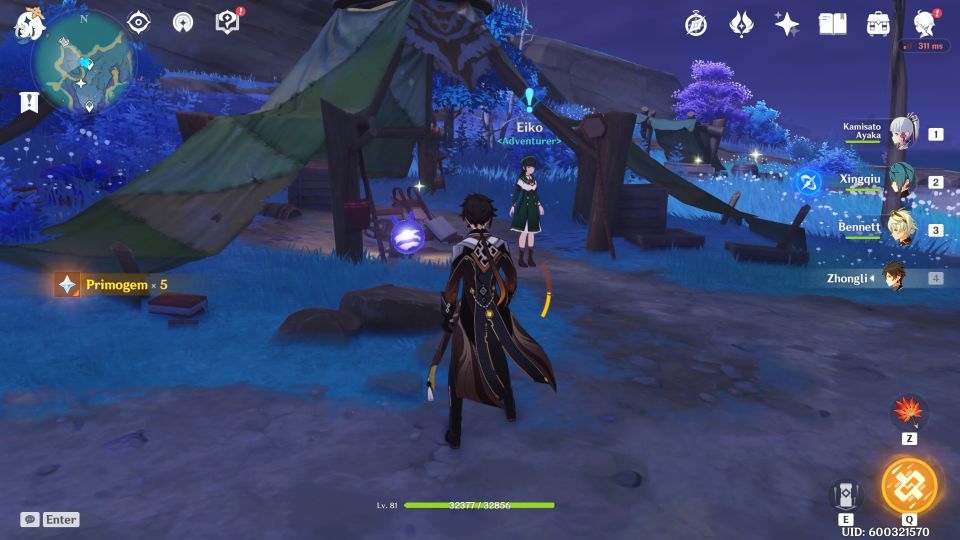
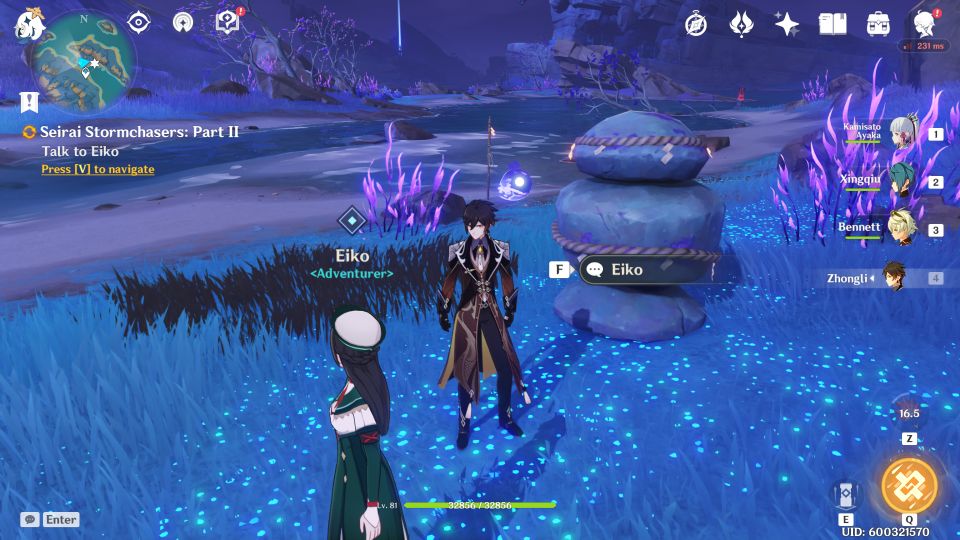
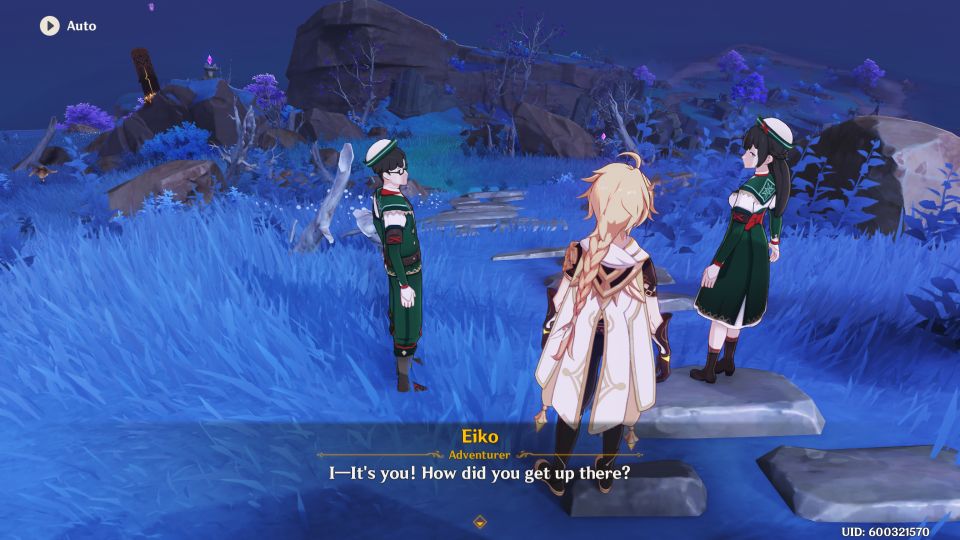
You will see Eiko here. Talk to her to begin.
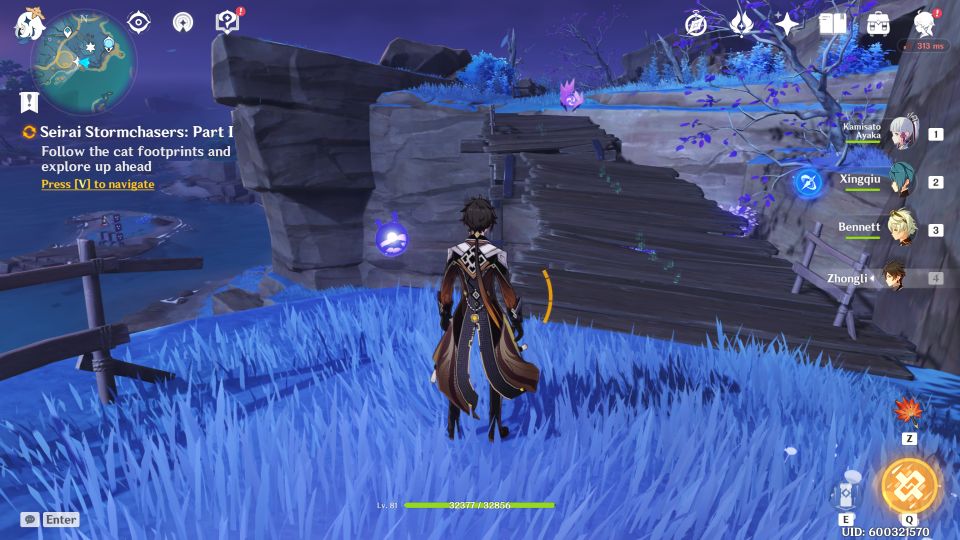
Seirai Stormchasers: Part 1
This walkthrough will be divided into several parts.
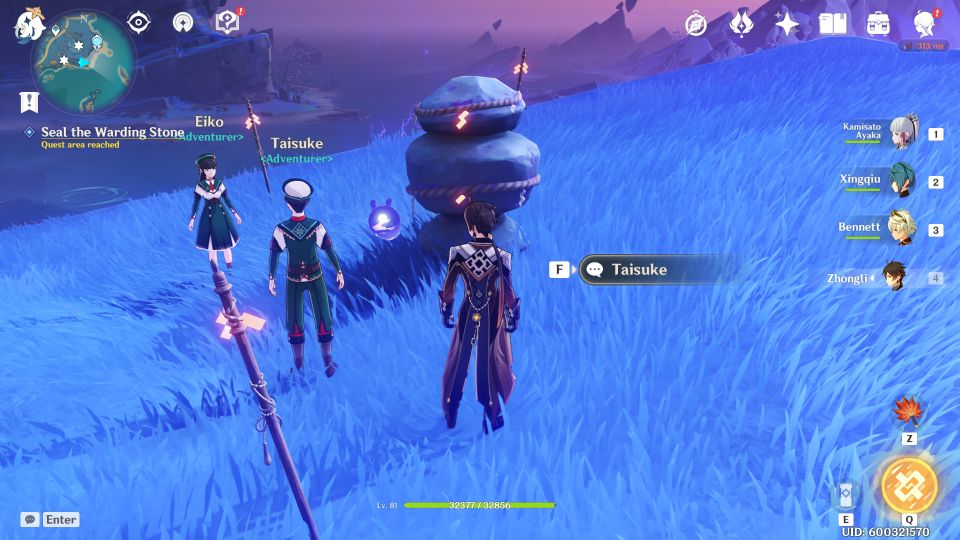
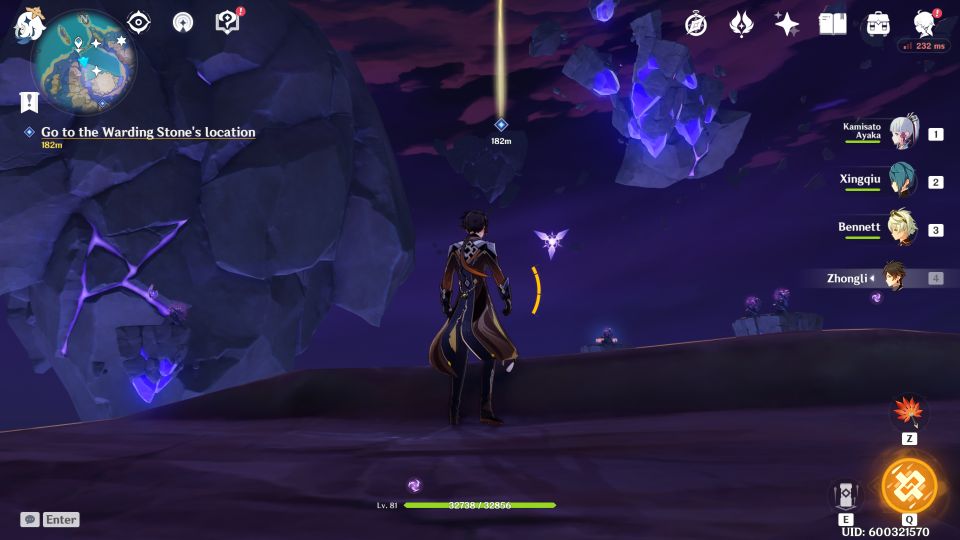
First of all, head to the warding stone location marked on the map, near Koseki Village.
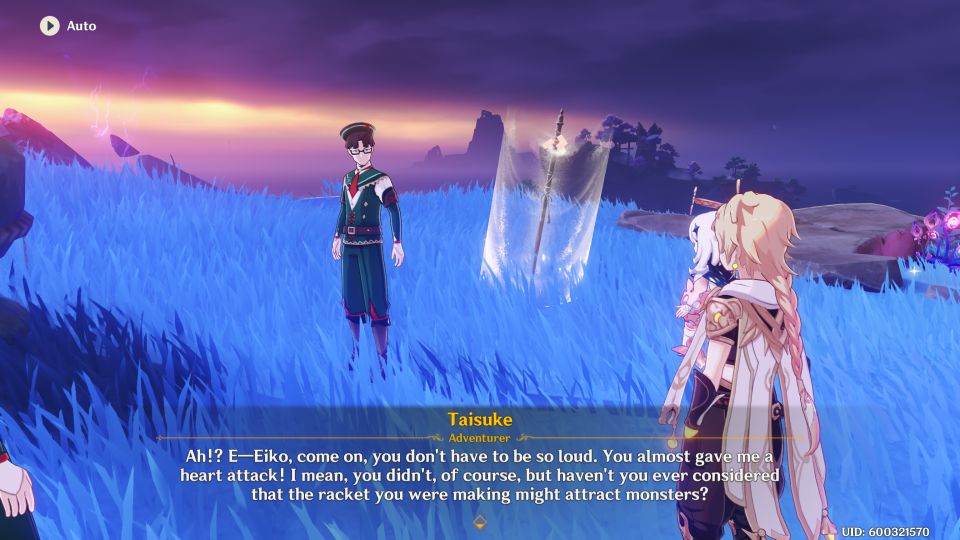
You will meet Taisuke, another Adventurer.
Here, follow the cat footprints. The footprints start from the bridge as marked on the map. There’s also an electroculus here.
You just have to follow the footprints and you’ll see several cats along the way.
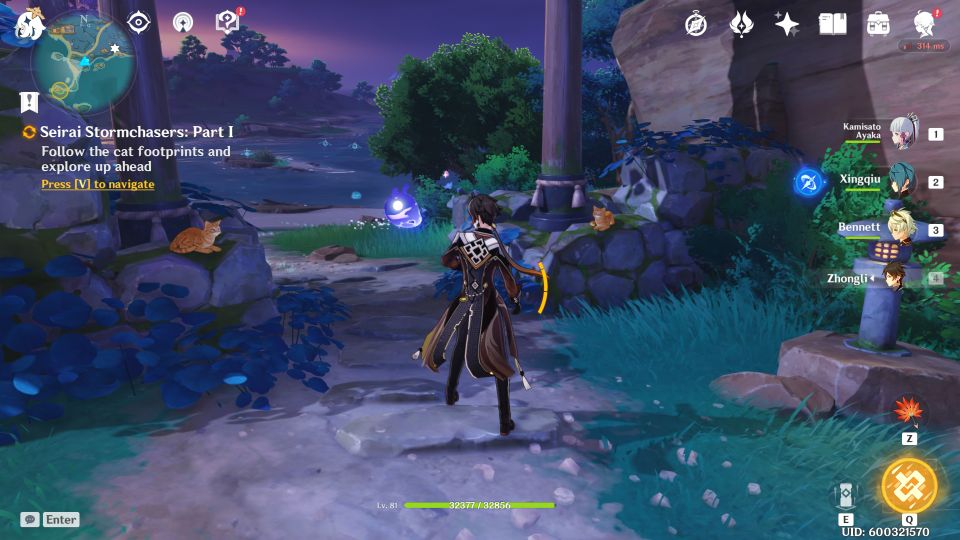
Finally, you’ll reach a shrine. Talk to the shrine priestess who is a cat.

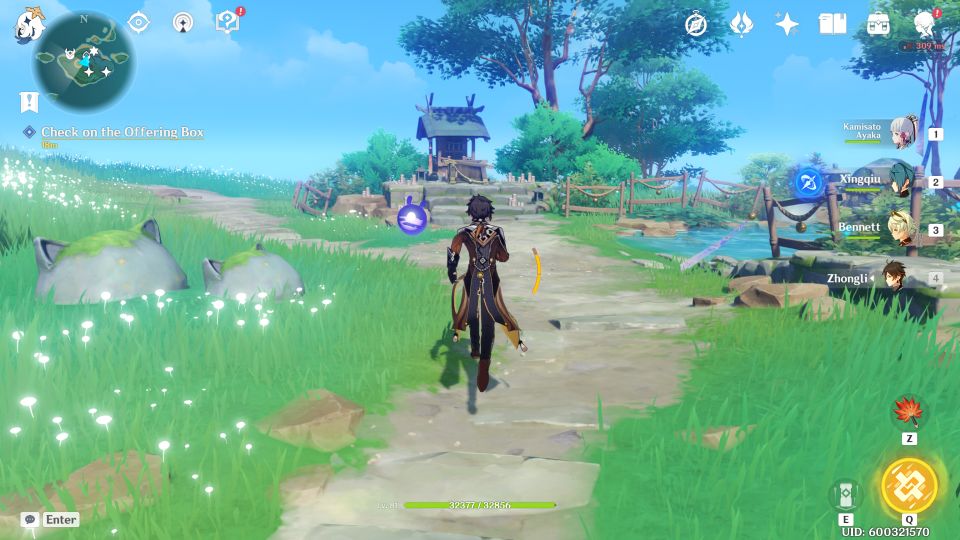
Then, check on the Offering Box that is damaged.
Go to Koseki Village to find materials to repair the box.

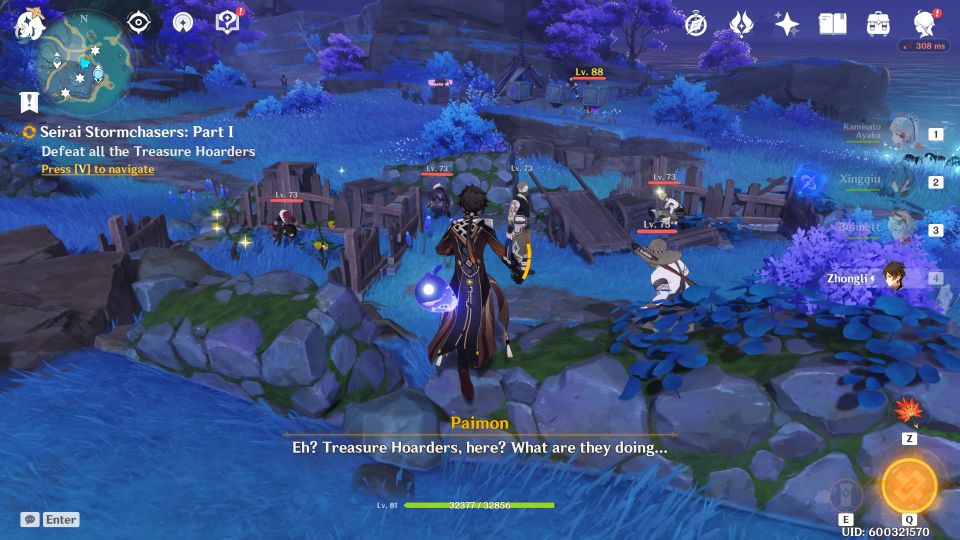
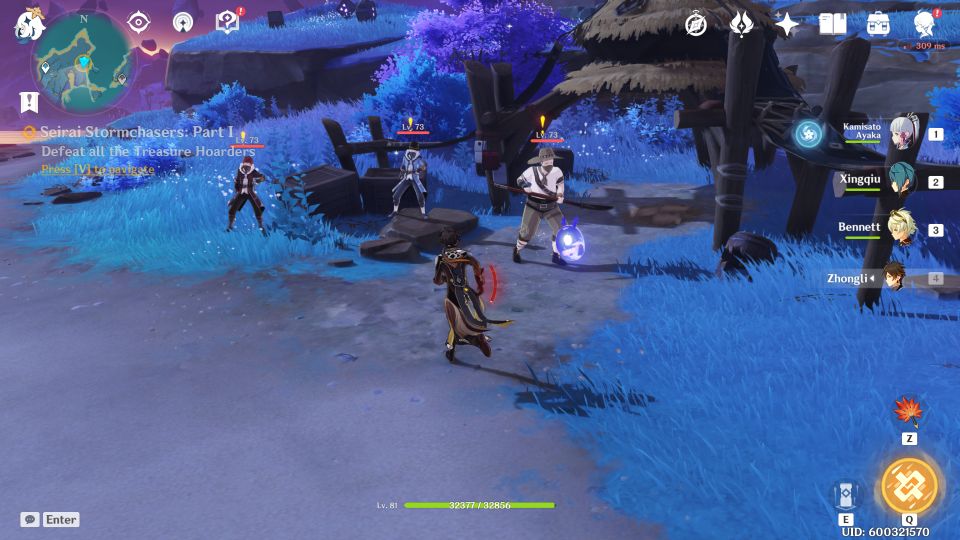
As you arrive, you will see treasure hoarders. Take them all out.
After beating them, you’ll be told that materials can be found at Fort Hiraumi.
Head there and defeat the treasure hoarders first.
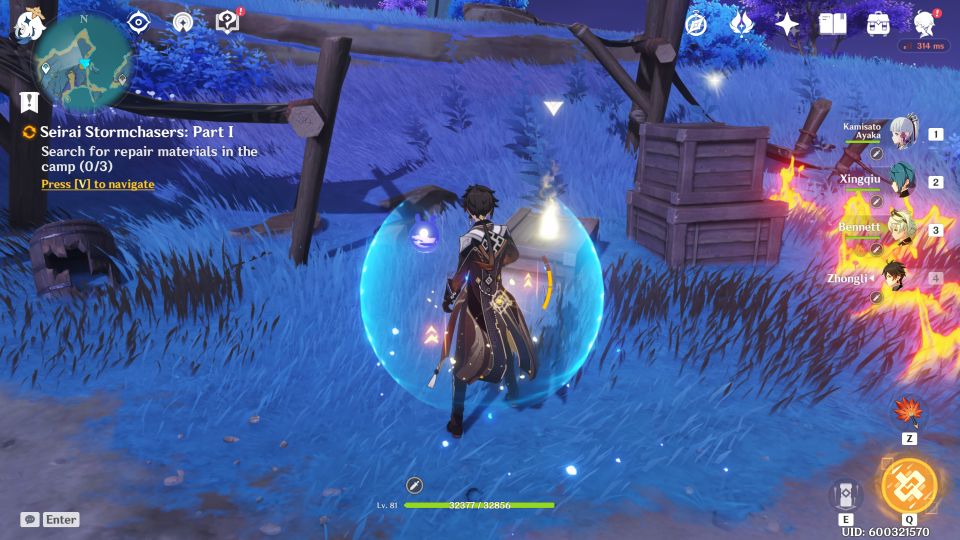
Search for repair materials once the area is safe. There are 3 spots in the area.
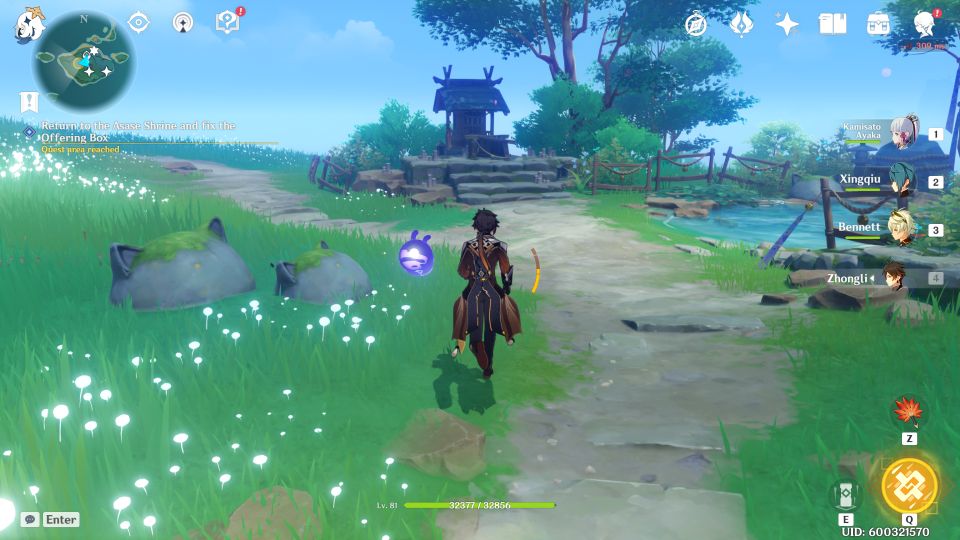
Return to the shrine and fix the Offering Box.
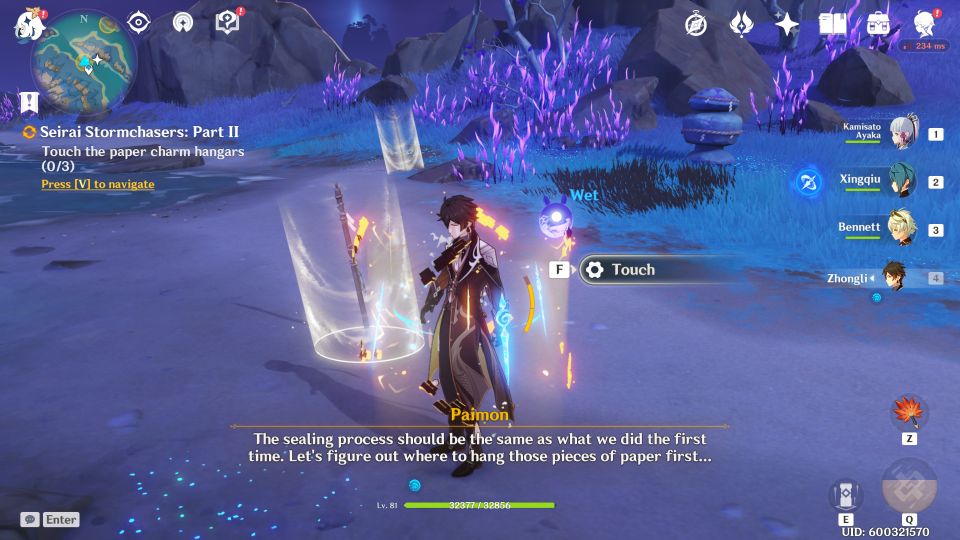
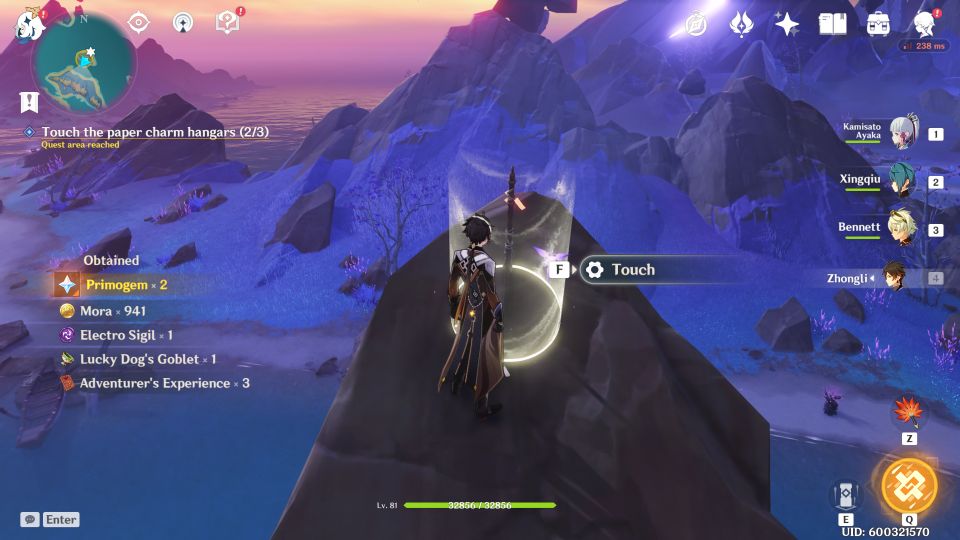
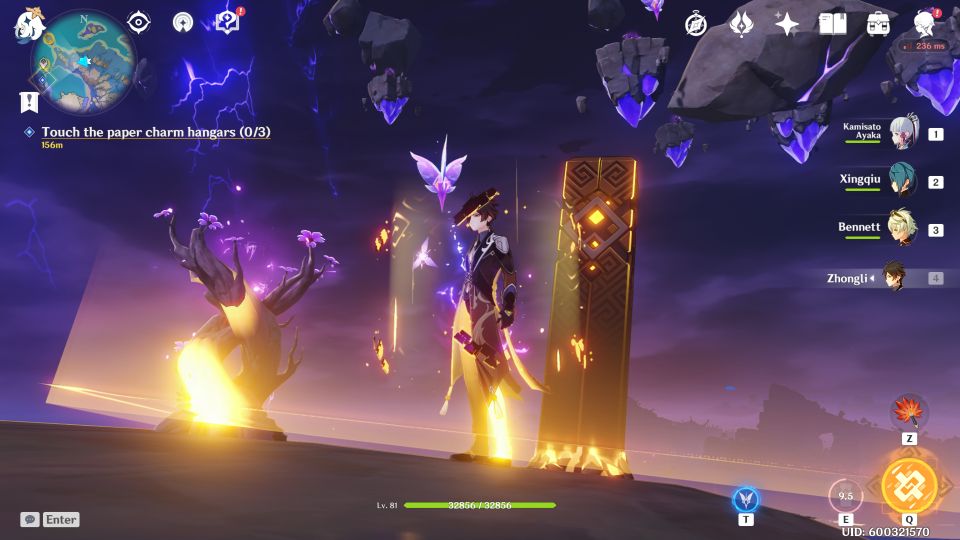
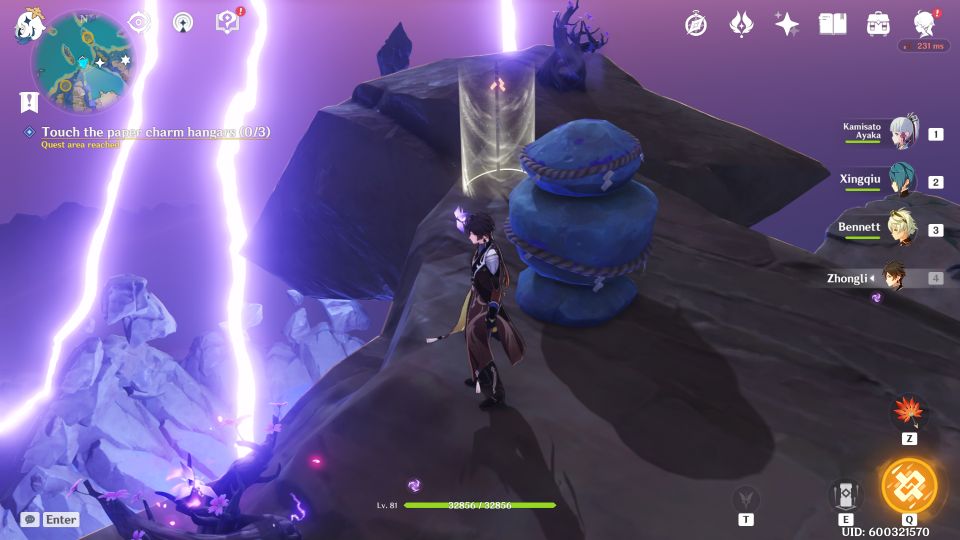
Then, head back to the warding stones. First of all, touch the three paper charm hangars.

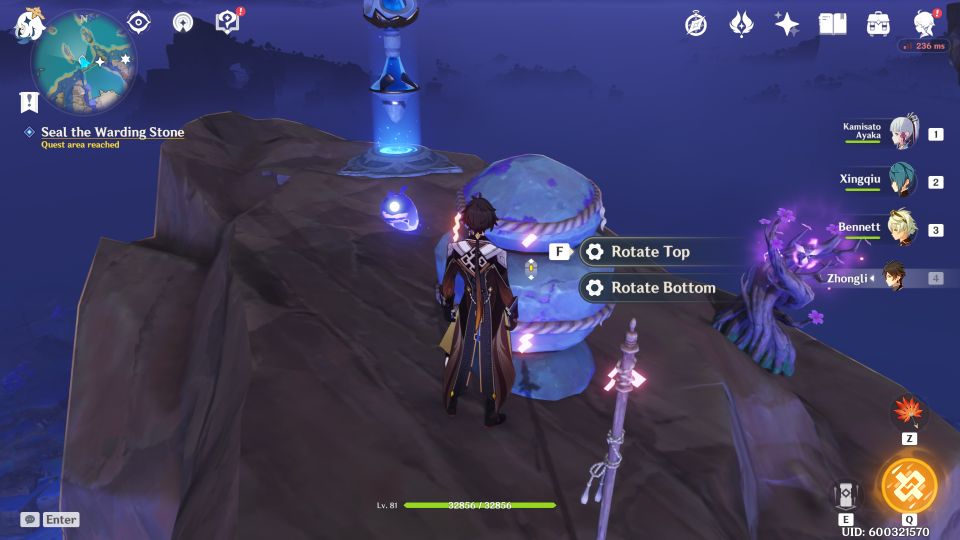
You will then need to seal the warding stone. To do so, the paper on the stone has to match the hangar directly opposite it.
This means the paper on the stone has to match the three hangars exactly. If the hangar has 3 paper, the paper on the stone directly opposite needs the same number.
Keep rotating until you get it right.
Part 1 of the quest ends here.
More will be added later.
Seirai Stormchasers: Part 2
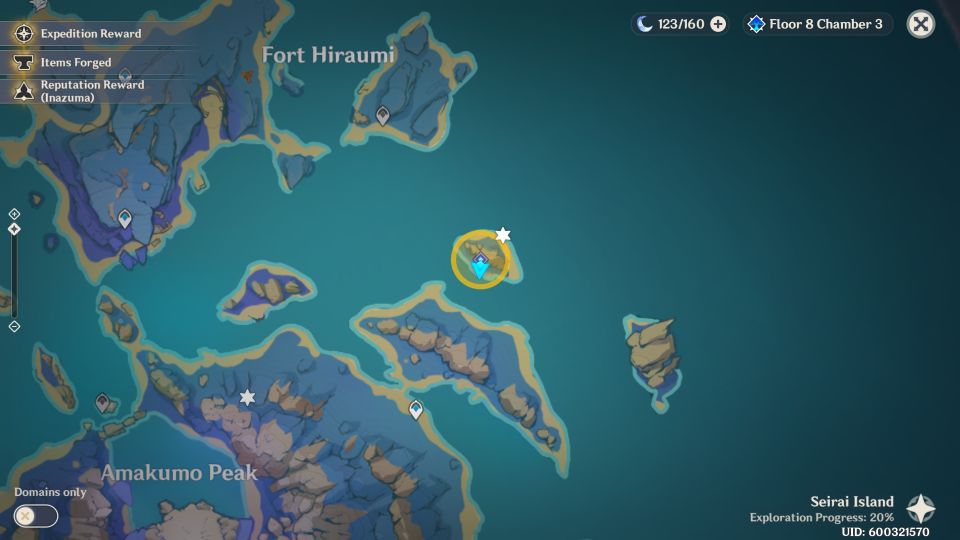
For the second part, head to the location marked on the map.
Defeat the Kairagi first.

Then, touch the two paper charm hangars in the same area.
The third one is towards the north as shown in the map below.
It’s actually quite high up. You can summon an electrogranum and use the thunder sphere to get up here.
Get back to the warding stone and rotate it until it matches all three paper charm hangars.
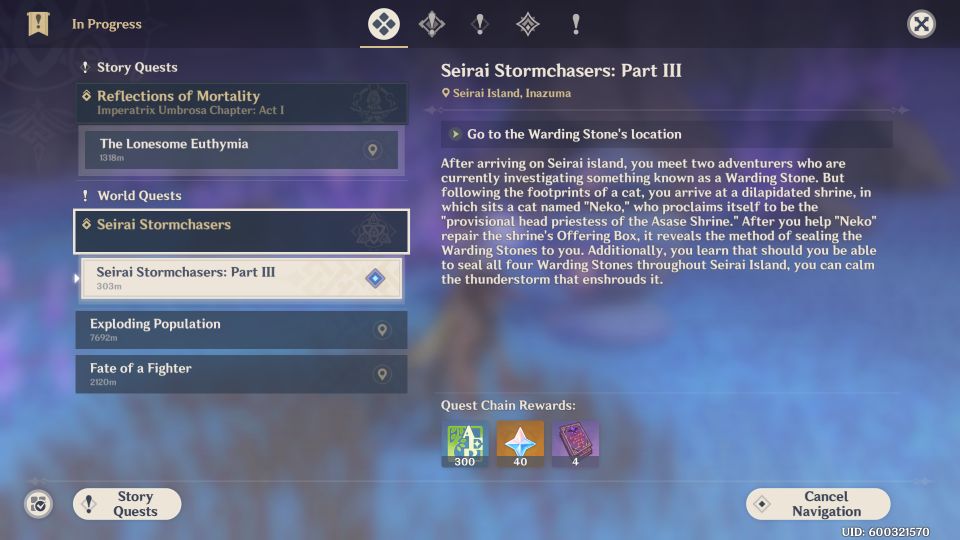
Seirai Stormchasers: Part 3
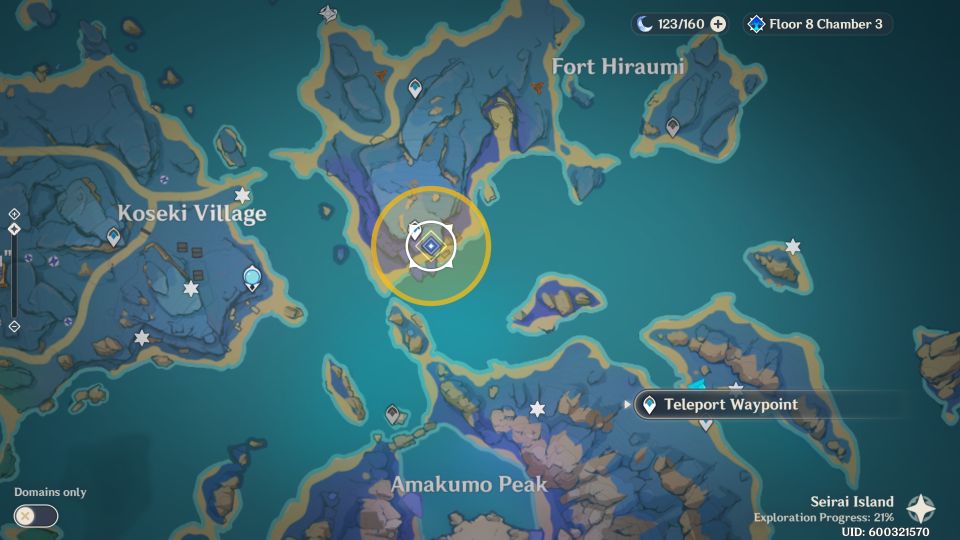
The next part requires you to go to the cliff east of Koseki Village.
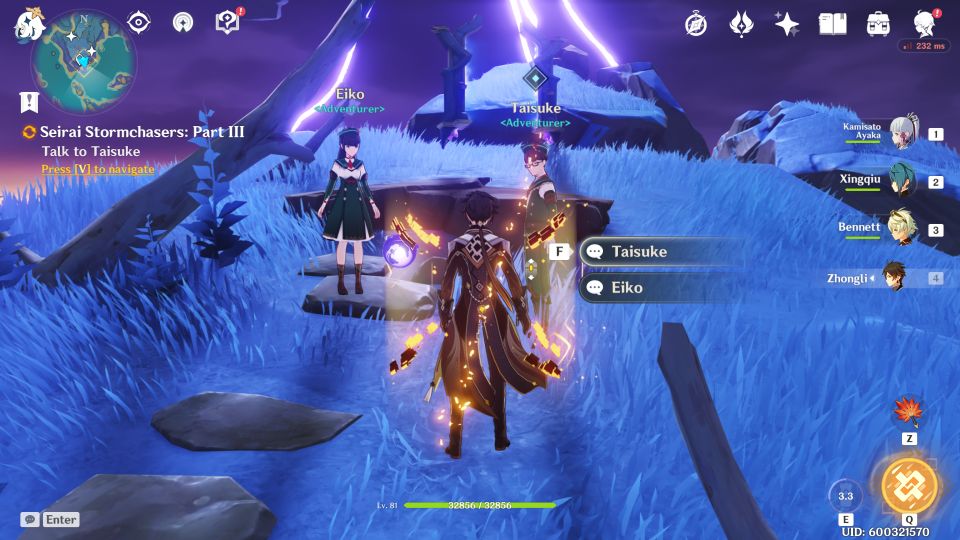
When you reach you will see Taisuke and Eiko again.
This time, use the electro portal / door thingy. You will be transported up higher.

You will then see the location of three paper charm hangars as shown in the map below.

To get up there, you basically need to summon electrograna constantly and use the thunder spheres up. You will find electrogranum summons all around the area.
Touch the paper charm hangars on all three locations and remember how many paper charms they have.
Then, head back to the warding stone in the middle and rotate them until you match all three hangars.
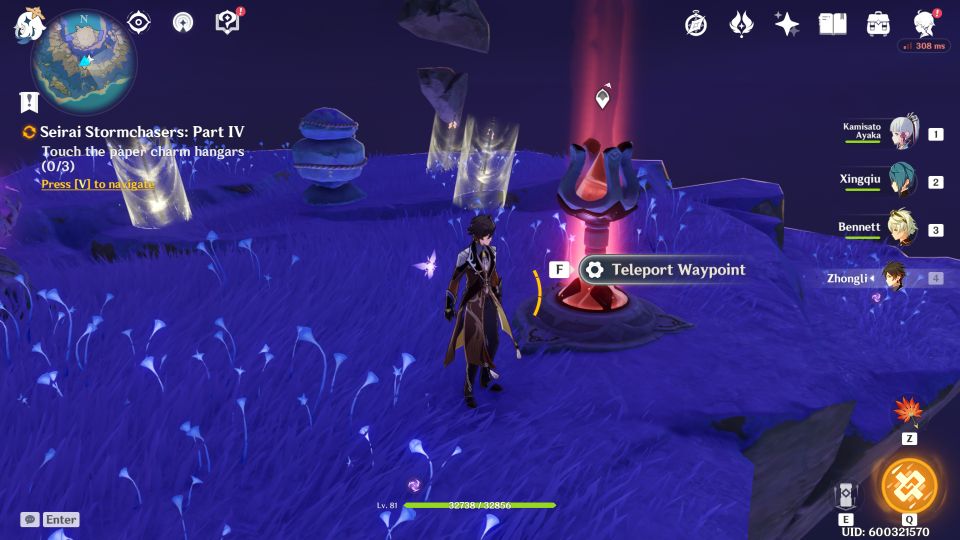
Seirai Stormchasers: Part 4

For the fourth one, you will see that the location is above you. Use the relevant thunder spheres to go up.
You will eventually reach a waypoint. Unlock it.
Then, touch the 3 paper charm hangars and unseal the warding stones like usual.
Once you’re done, you have to continue exploring. Go to the arena in the middle. Be prepared because it’s a boss fight.
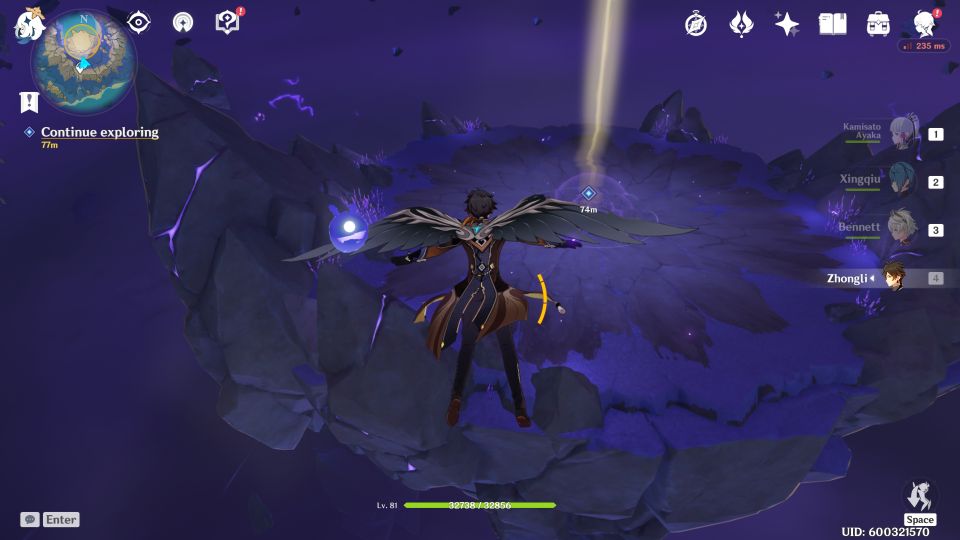
You will come across the Thunder Manifestation boss which drops the material needed to ascend Raiden Shogun.

After you’re done with the fight, head to the location marked on the map.
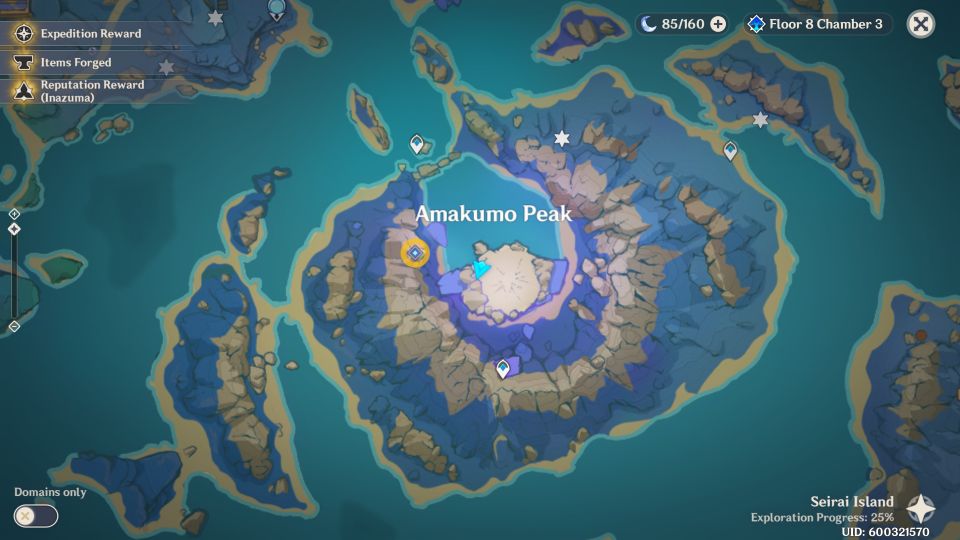
The location is actually even higher from the arena.
If you look up you’ll see the marker. To get up there, use thunder spheres again.
You should see an electrograna summoning bough at the arena where you fought the boss. Use that electrograna and you’ll get the correct thunder spheres.
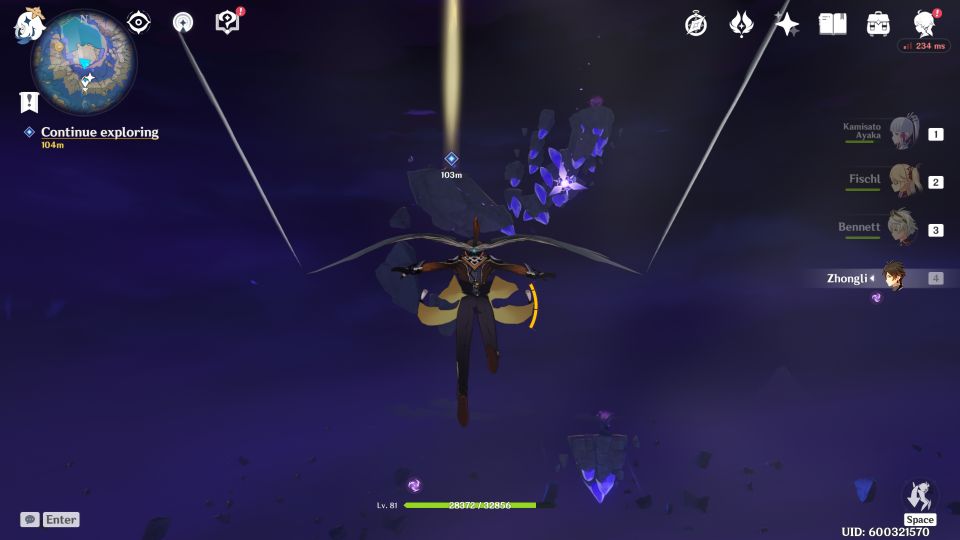
You will then see a few chests, an electroculus and a Peculiar Pinion. Pick them all up.
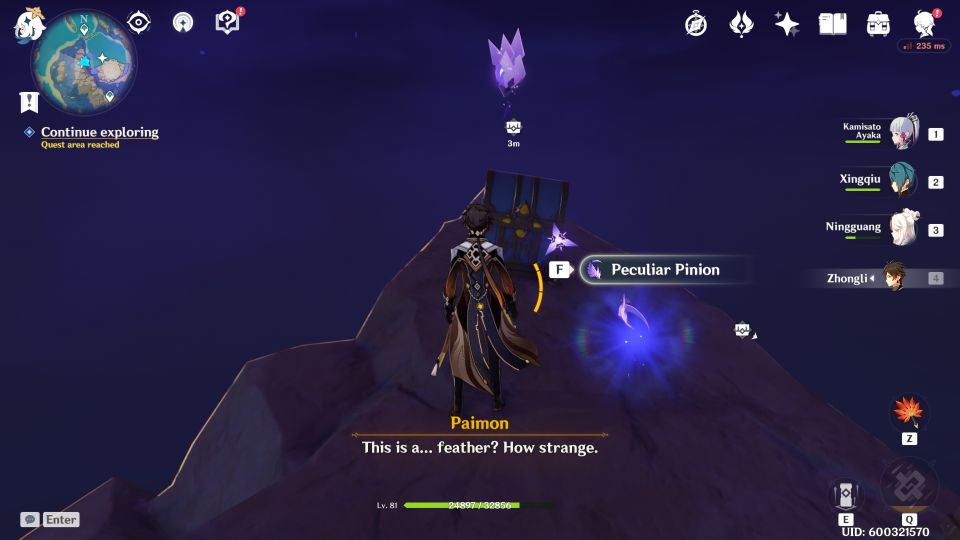
Return to Eiko at the cliff earlier to complete the quest.
Related posts:
Genshin Impact: Relics Of Seirai Walkthrough And Guide
How To Solve Suigetsu Pool’s Relay Statue Puzzle: Genshin Impact