Dune-Entombed Fecundity: Part 2 is a quest under The Dirge of Bilqis in Genshin Impact 3.4.
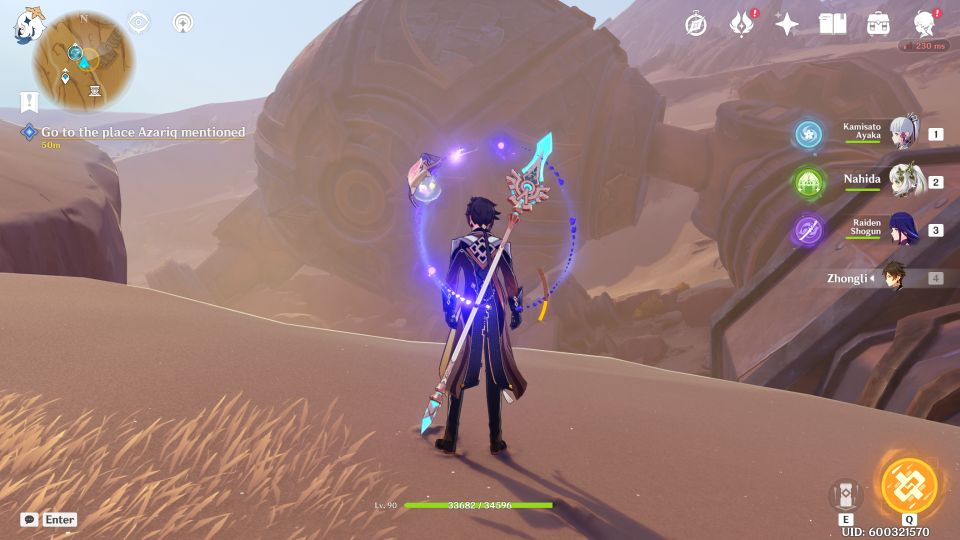
Your objective is to head to the place Azariq mentioned and descend further into the ruins.
Here’s a walkthrough and guide of Dune-Entombed Fecundity Part 2 in Genshin Impact.

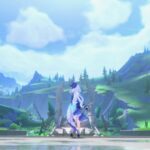
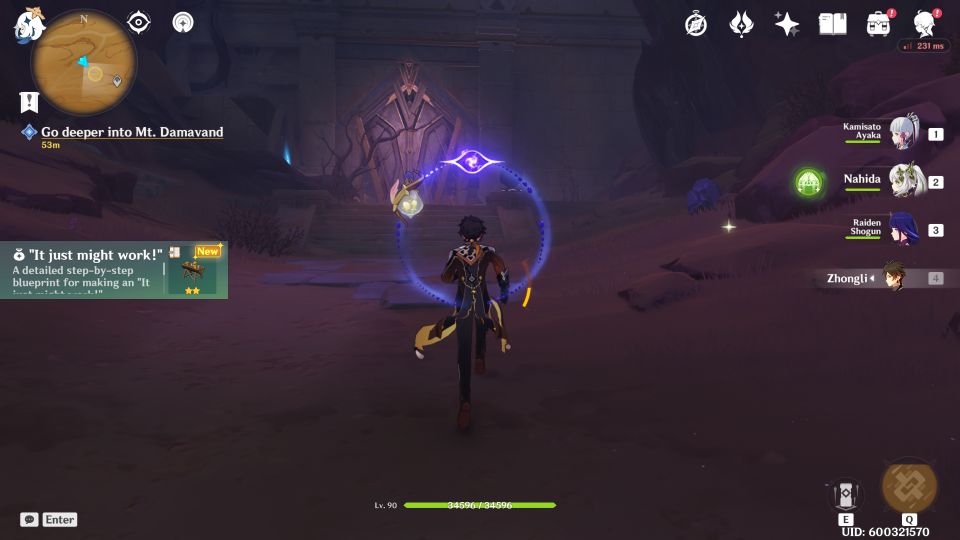
To begin the quest, head to the marked area on the map. It will lead you to a giant golem.
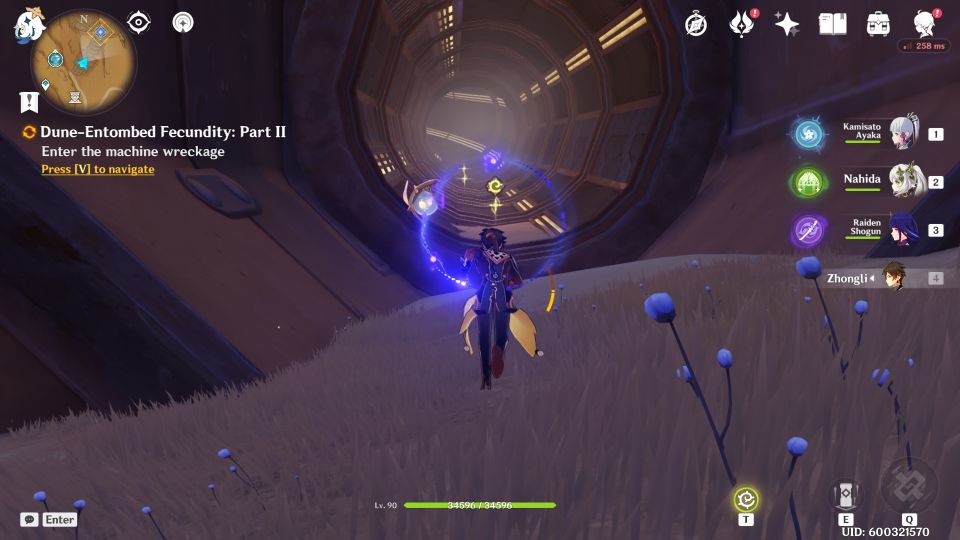
Enter the machine wreckage
First of all, enter the machine via the arm.
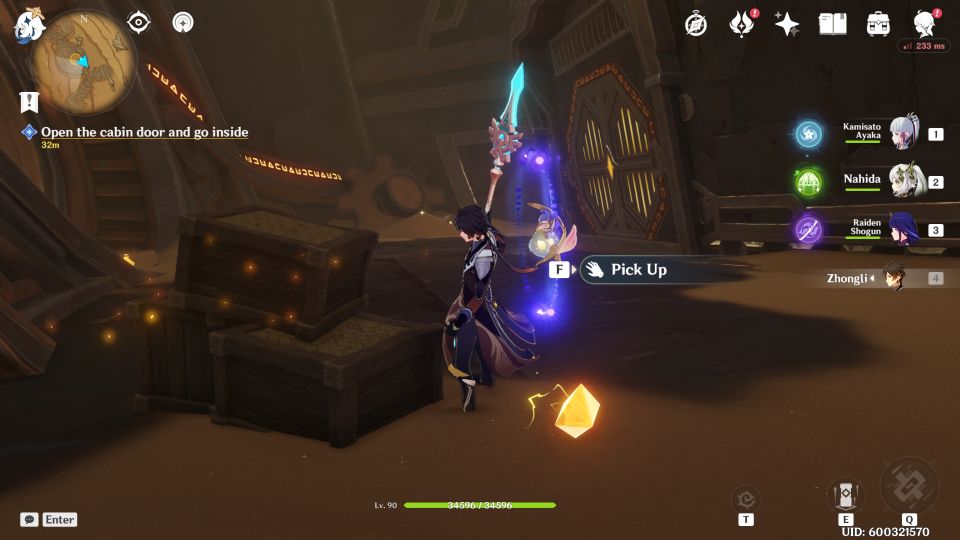
Open the cabin door and go inside
To open the cabin door, pick up three crystals in the area. One is at the middle and the other two are on the left and right sides. Destroy the boxes to find them.
Place the crystals on the door to open it.
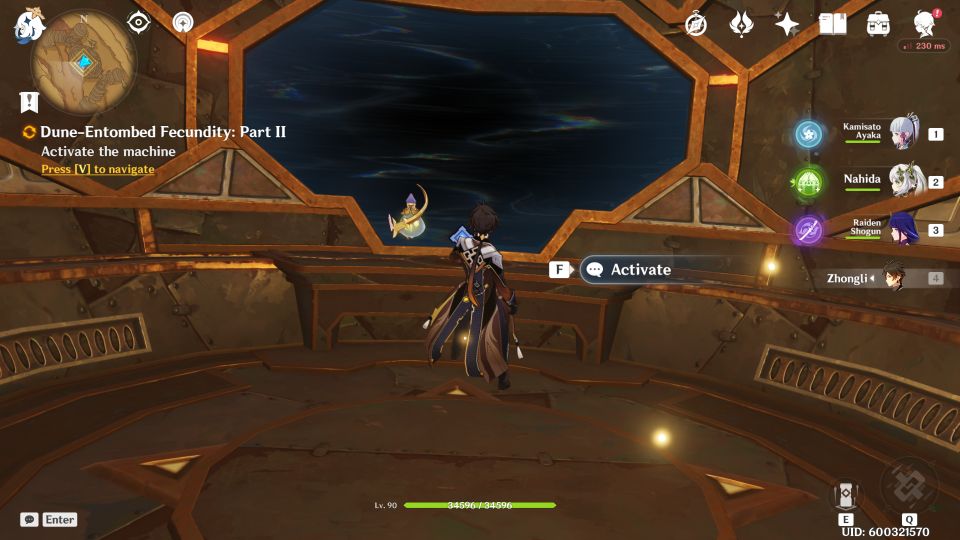
Activate the giant machine’s energy system
Before you head down, look for a crystal near the elevator.
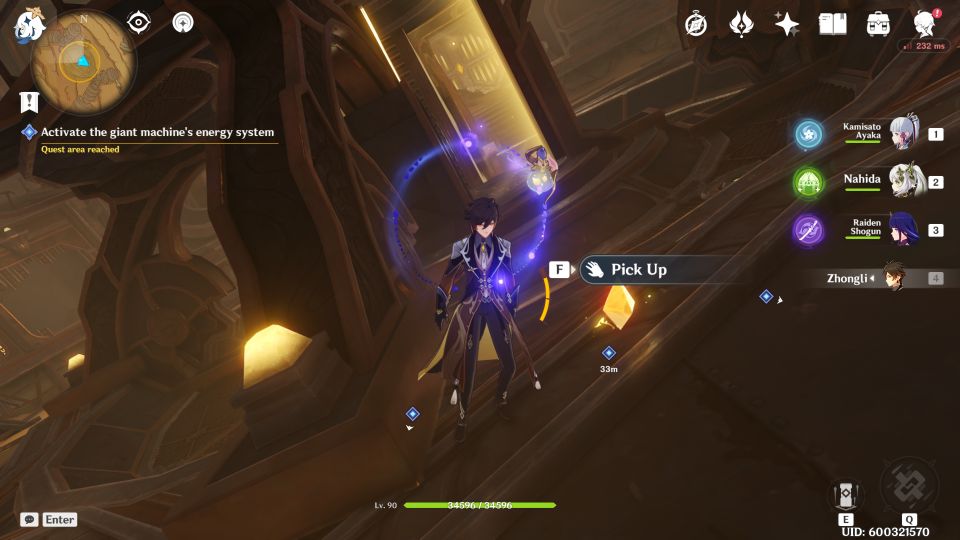
Bring the crystal to the door which only requires one crystal to open. Pick up the crystal from inside and draw the crystal you placed.
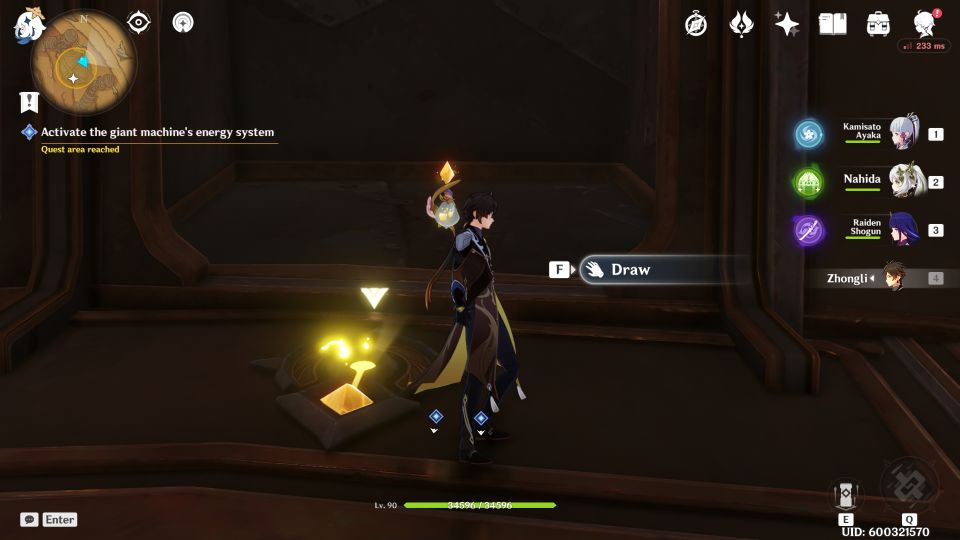
Go to the opposite side and place two crystals. Pick up the one inside and draw two of them.
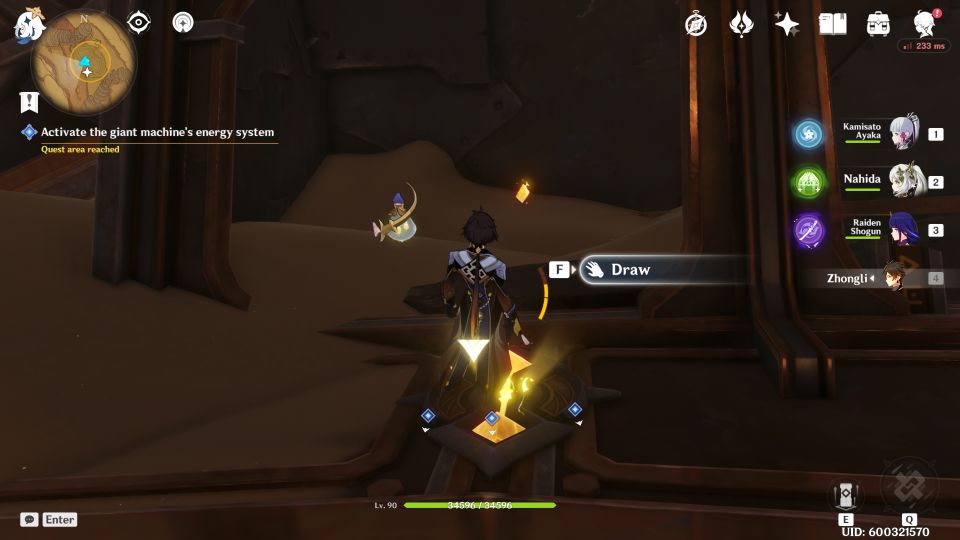
Now, use the elevator to go to the bottom level. Place the crystals on all the three unlit power sources.
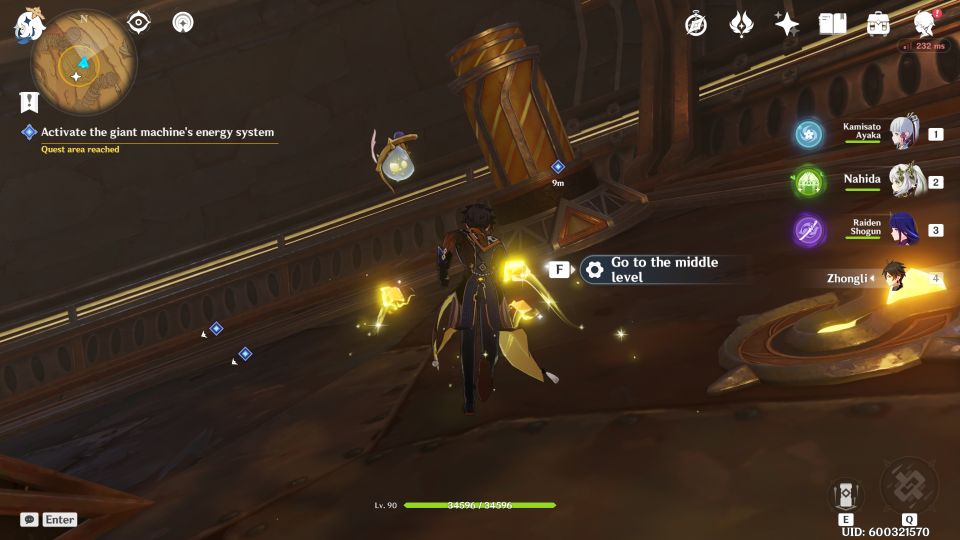
Enter the control cabin
Use the elevator to the top level and enter the control cabin.
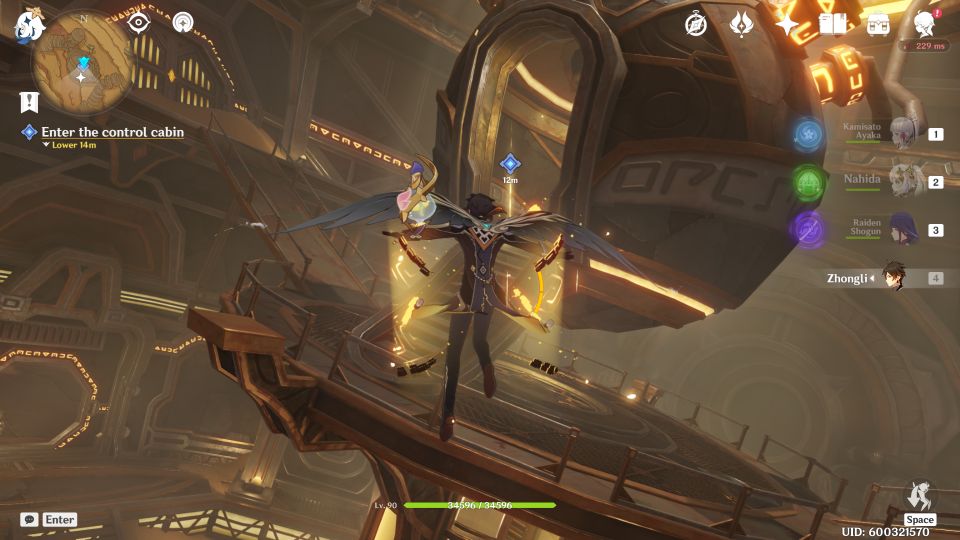
Activate the machine and click on the place you need to go (left side).
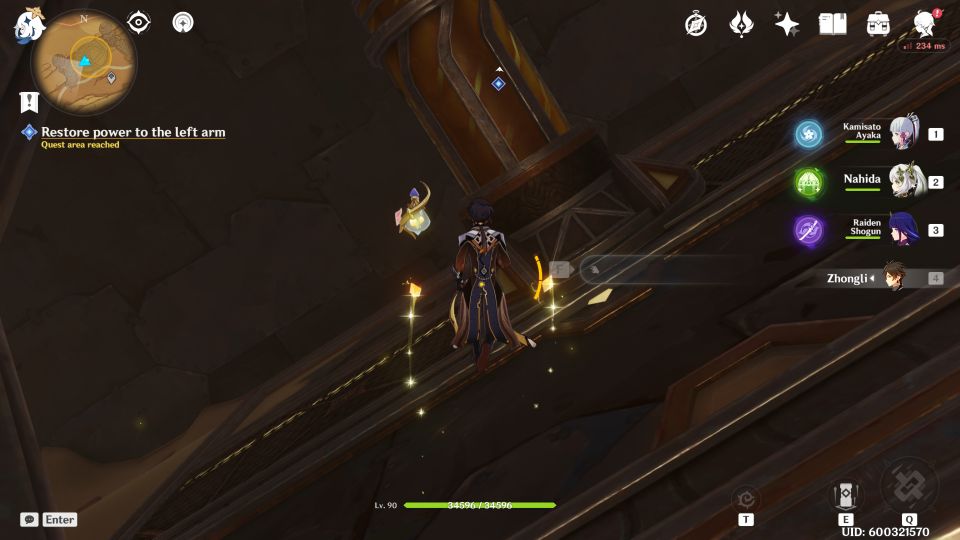
Restore power to the left arm
The arm will stop. You then have to restore power to it.
Pick up the crystal outside the cabin.
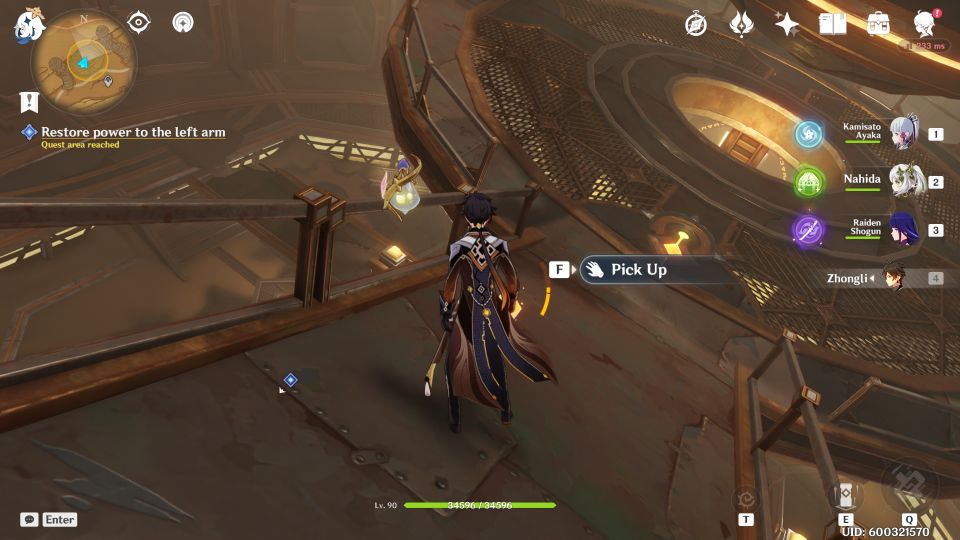
Then, pick up another crystal near the wall (also on the top level).
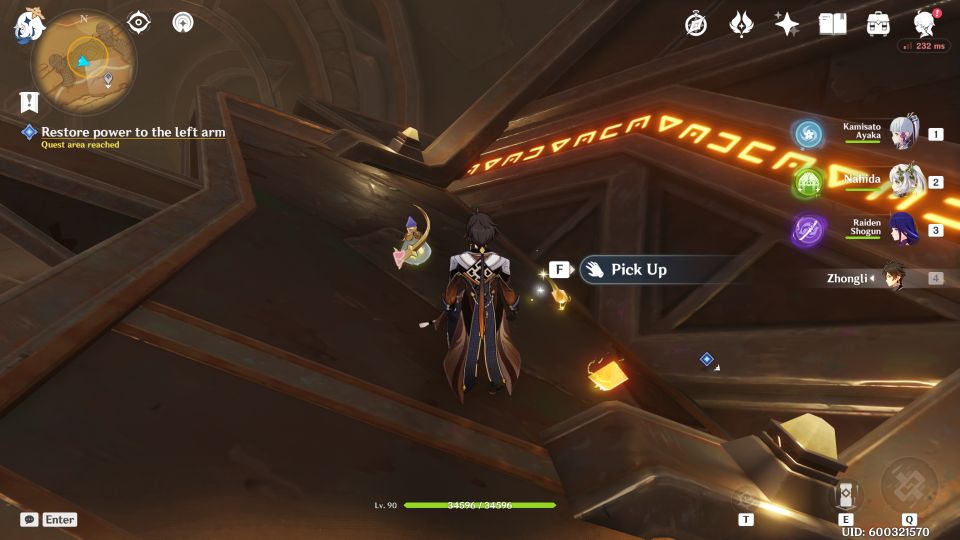
There are two power sources on opposite sides of the top level for you to place a crystal each.
Go back to the control room
Enter the control cabin and activate it again.
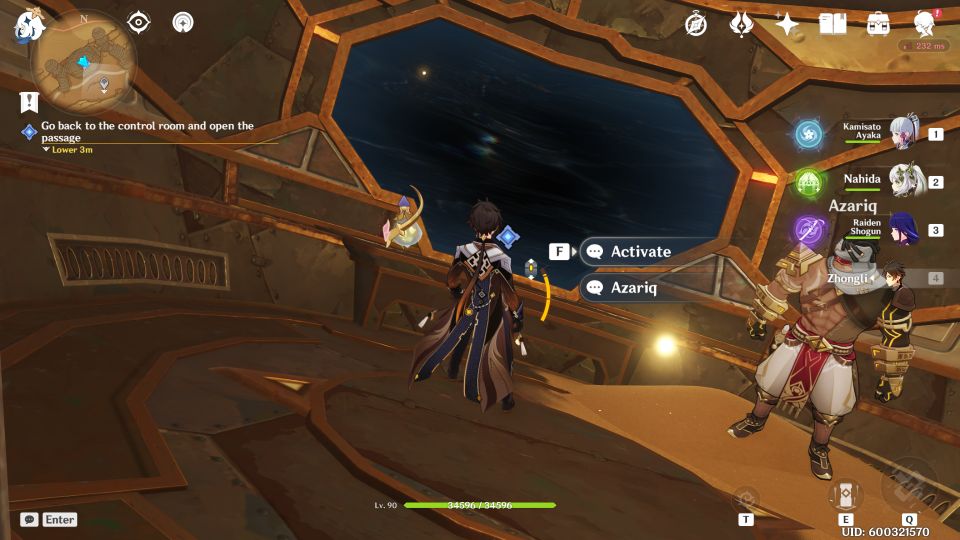
This time, click on the marked area to use the arm.
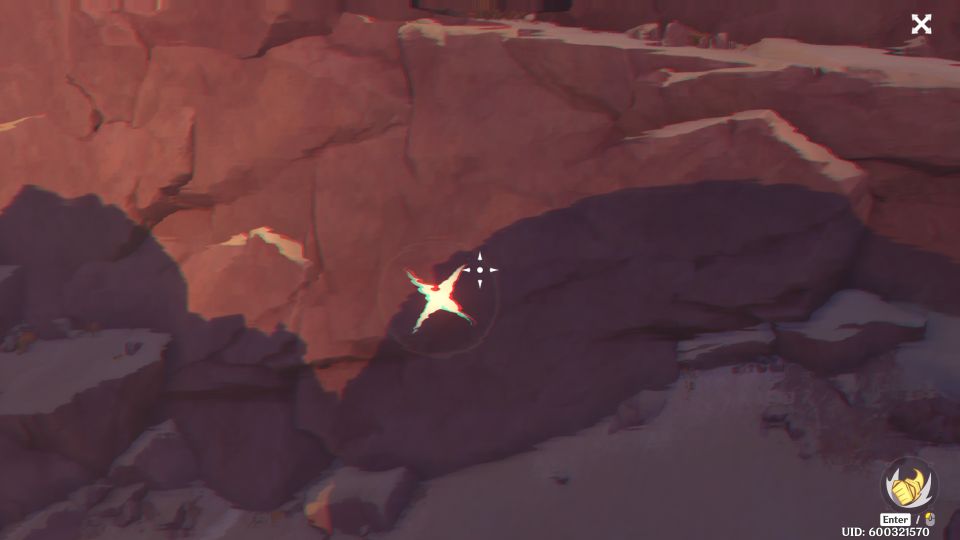
Enter the cave through the ancient machine’s arm
Head back out of the machine via the mid-level entrance.

After going outside, you’ll see a cavern you can enter.
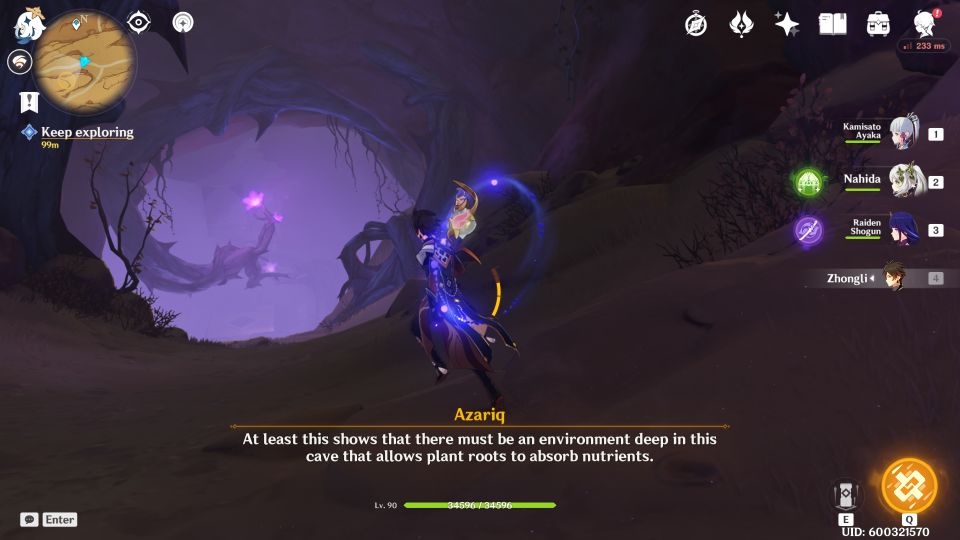
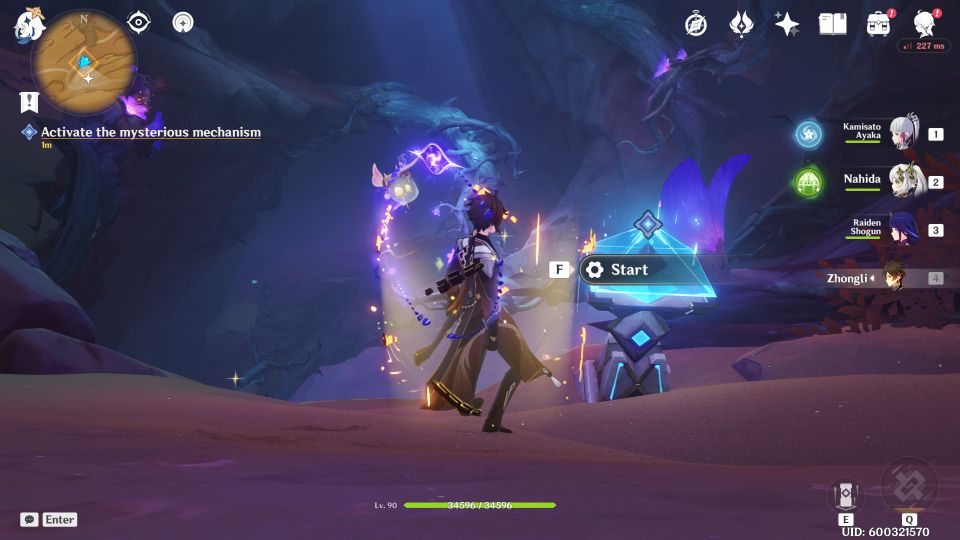
Activate the ancient mechanism
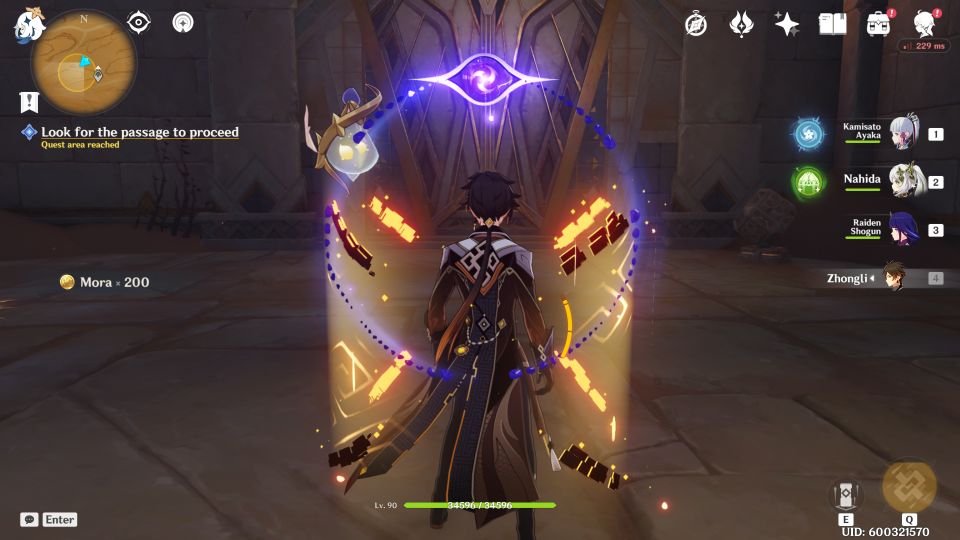
Activate the mechanism. It will unlock the console at the end of the area.
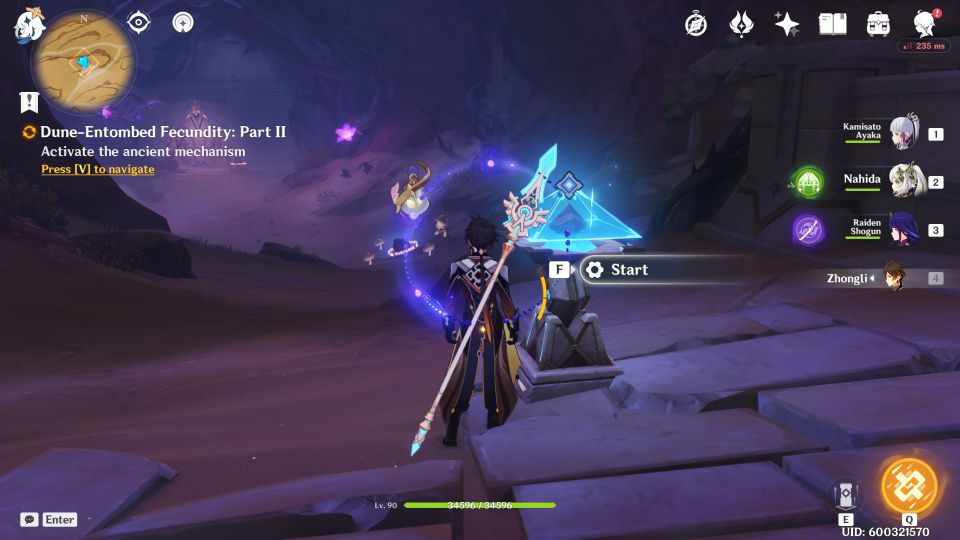
Use the console to open the gate.
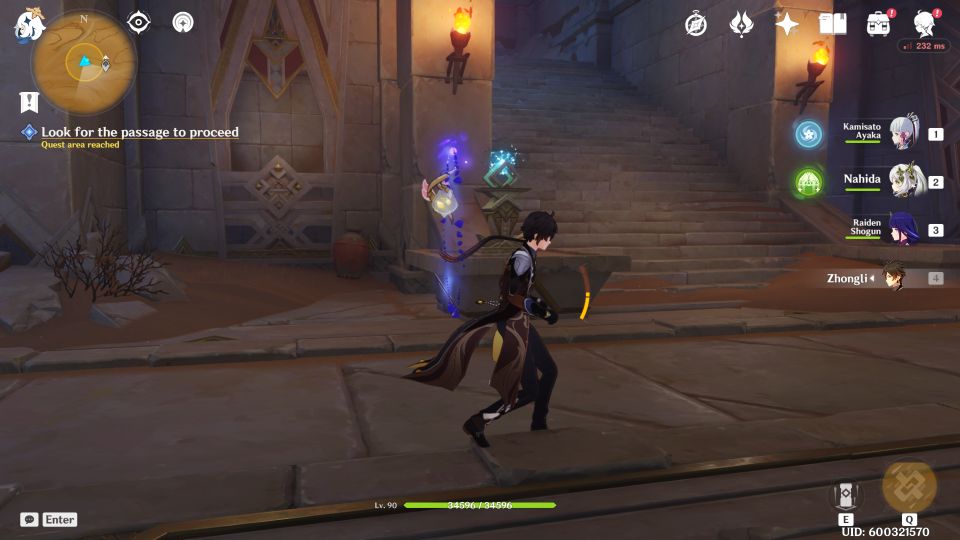
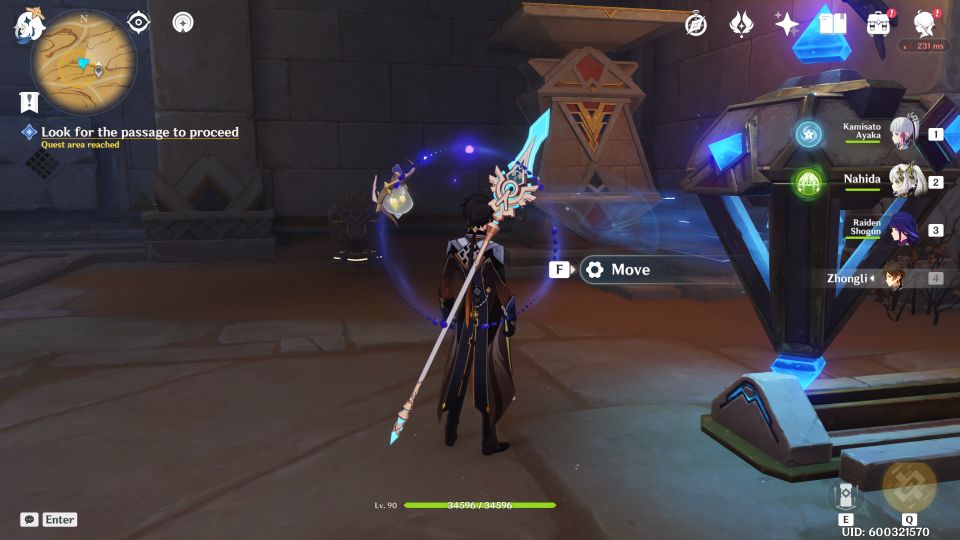
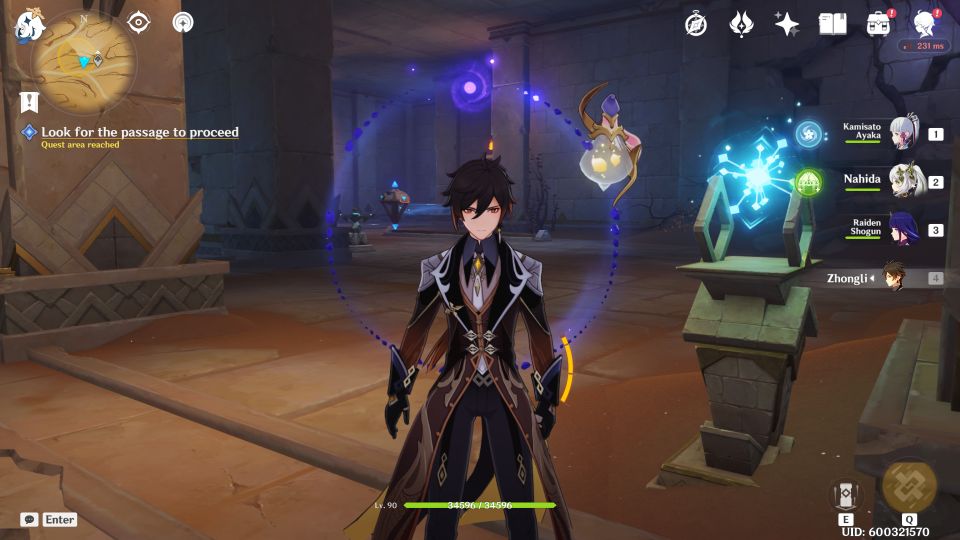
Look for the passage to proceed
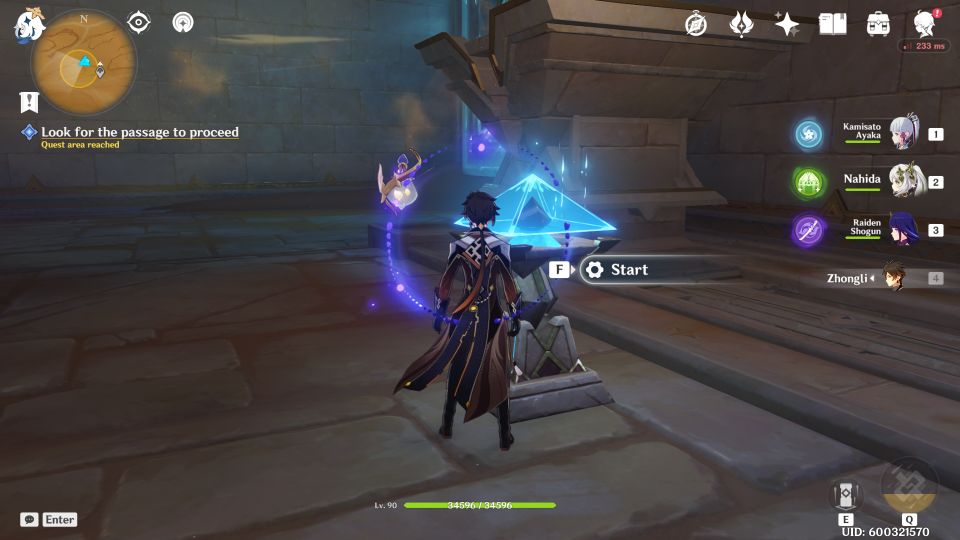
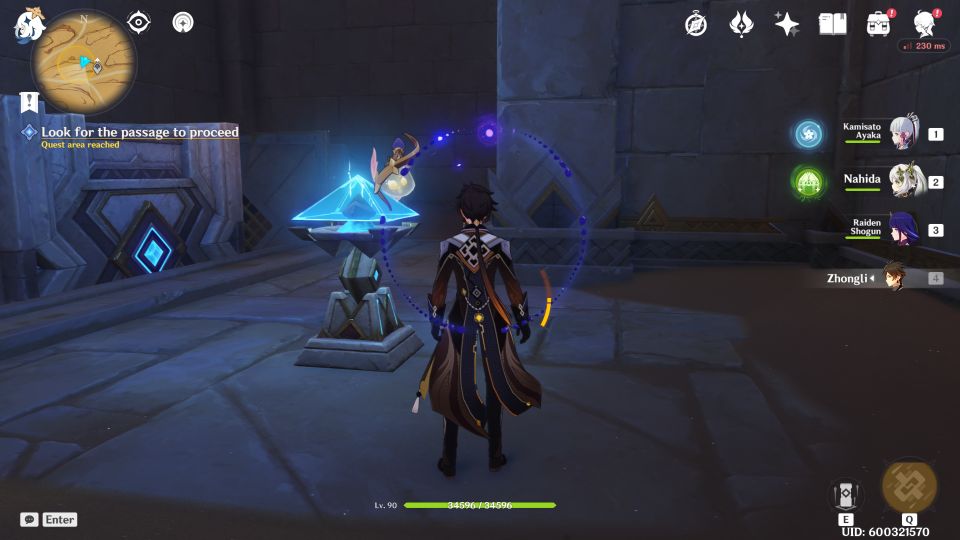
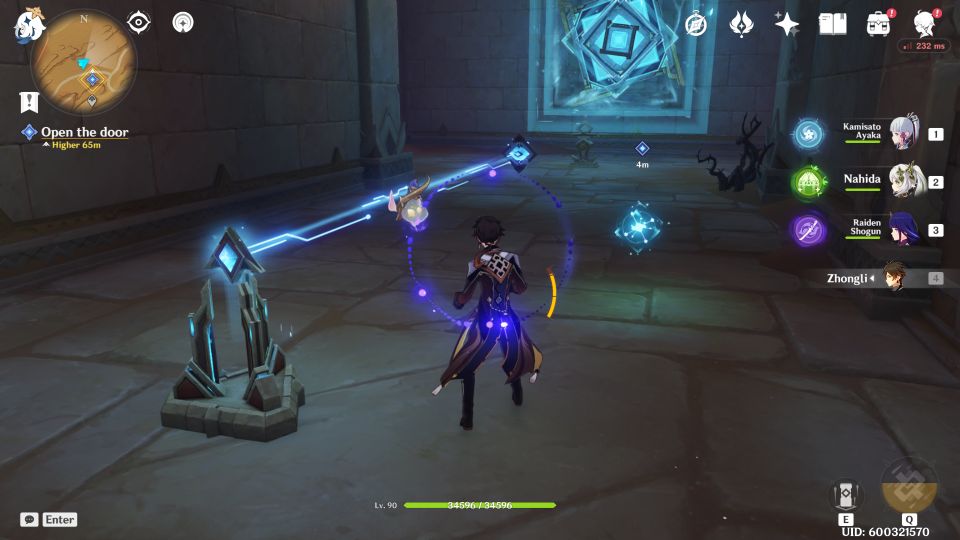
You will see one of those blue orbs. Release it to go upstairs. Let it settle in the next device upstairs first.
After going upstairs, rotate the device to clear the sand. Then, use the mechanism that is revealed.

Continue to use the next mechanism.
This will unlock the console and you can open the gate.
Before you leave, you can solve the blue orb puzzle first.
You will need to switch off the fan. Use the device to reveal the console.
Then, use the console to stop the fan.
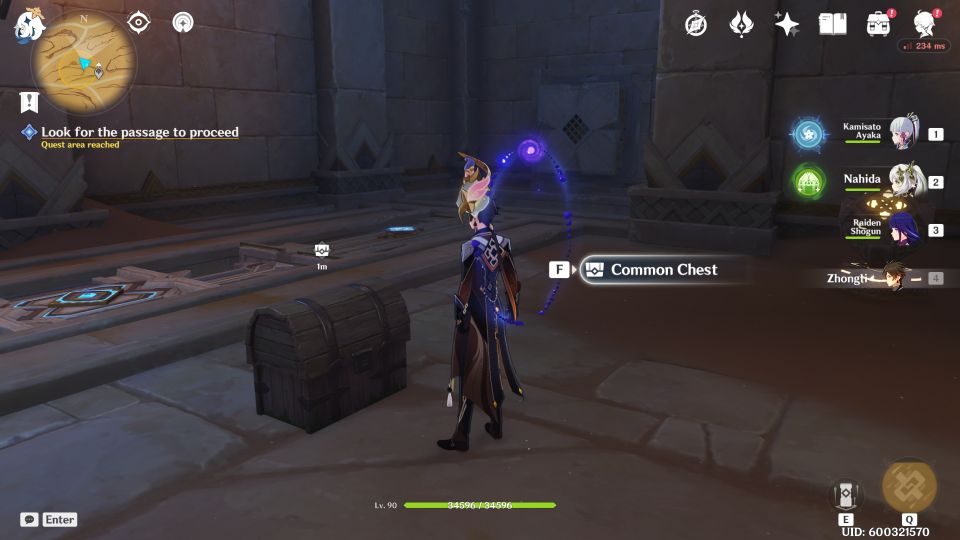
Release the blue orb.
A common chest will unlock.
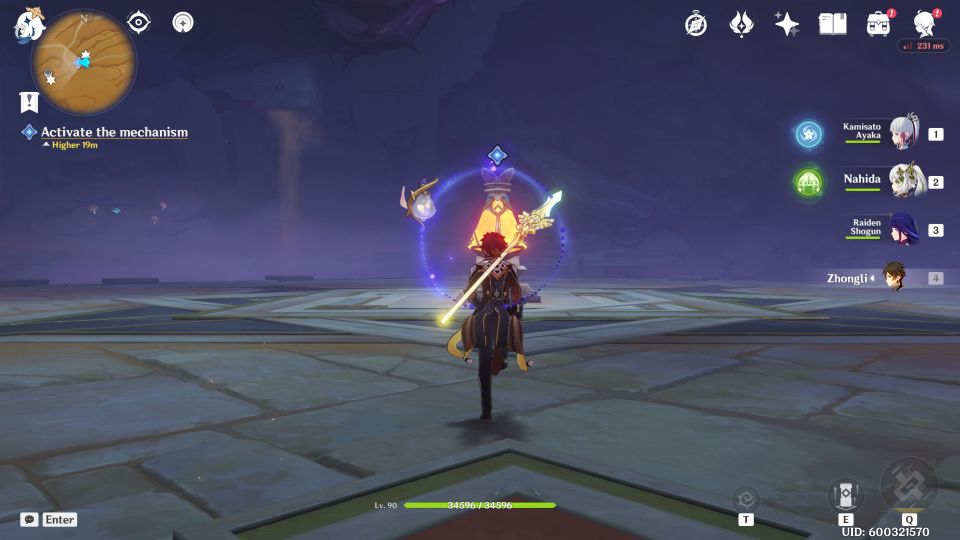
You can now leave the area. Activate the mechanism.
In the next area, use the console to open the gate.

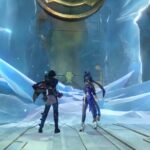
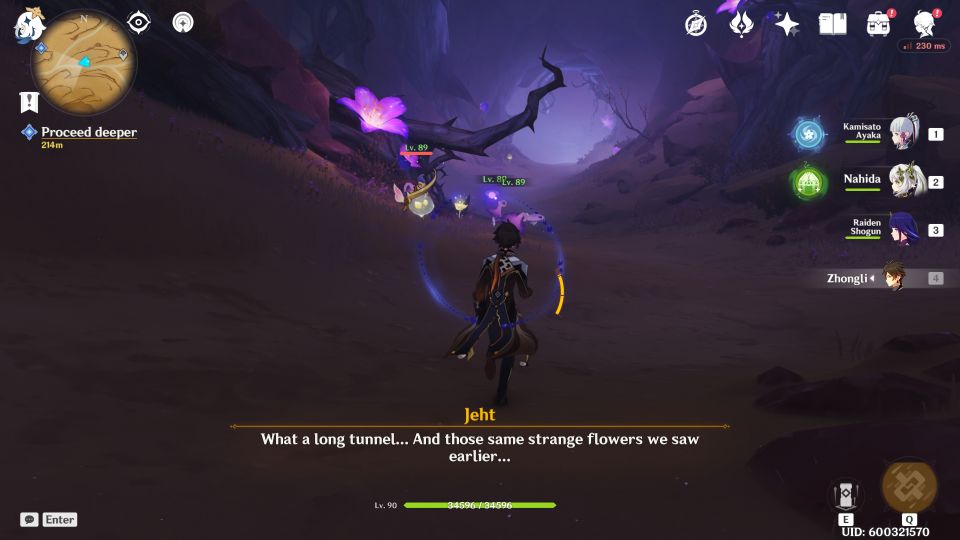
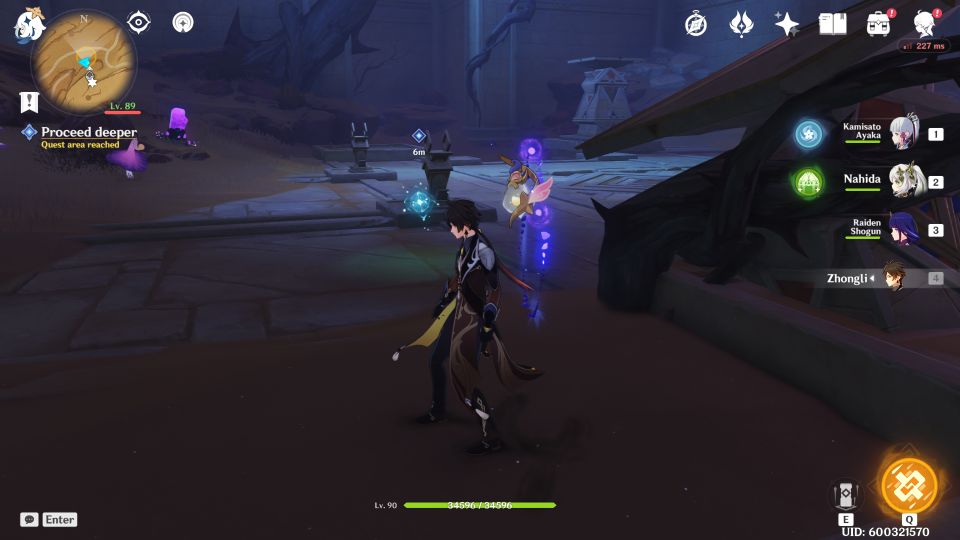
Proceed deeper into the cavern.
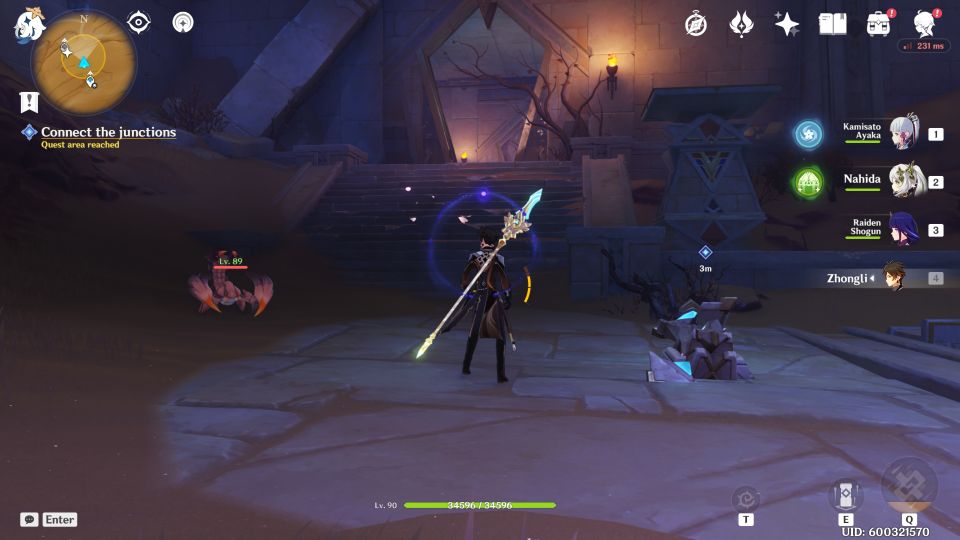
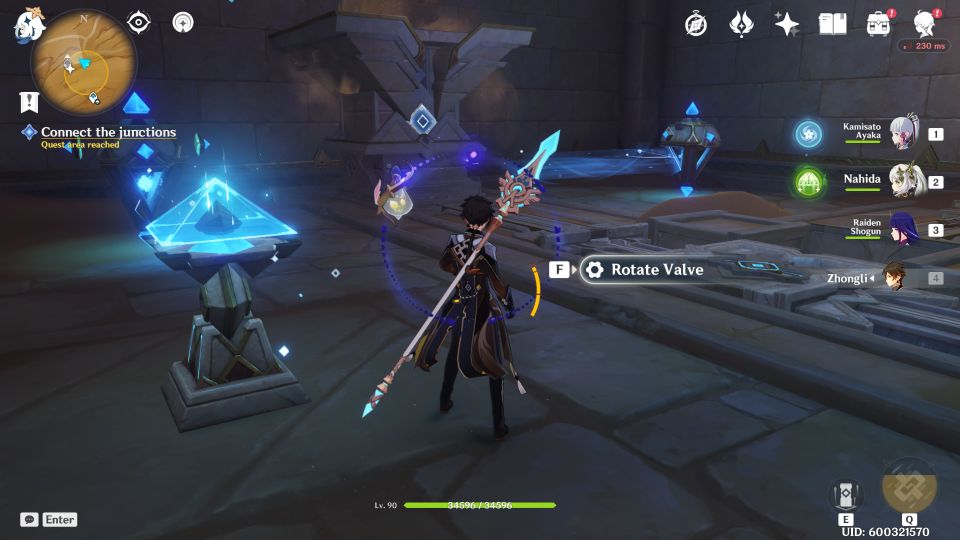
Connect the junctions
You will reach another part where you have to connect the junctions but the device is broken.
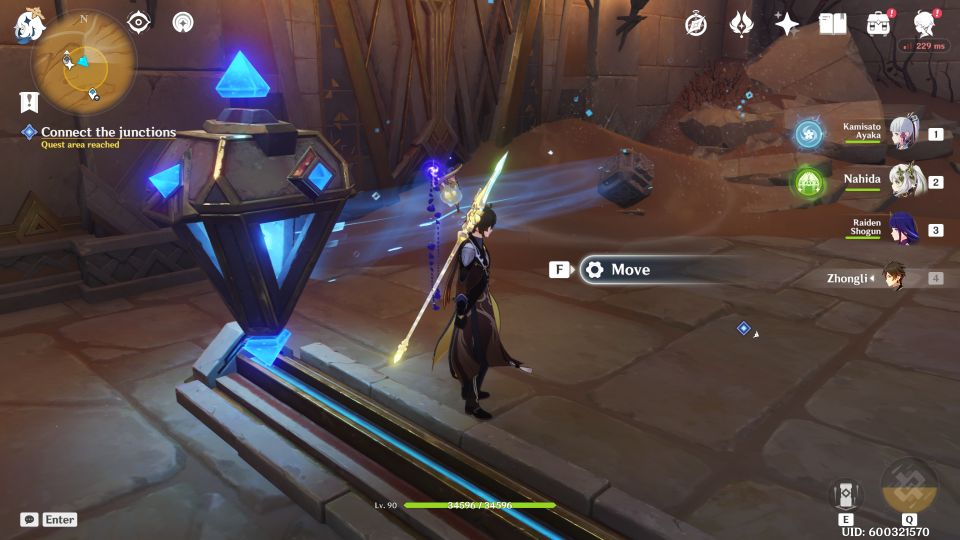
Head inside the room in front of it.
Use the device to reveal the console and open the gate.
In the next room, use the device to unlock the device at the other side which is red in color.
It will be blue when it’s unlocked.
Like before, use the next device to remove the sand and reveal the mechanism.
Use the mechanism to rotate the valve.
Go down and you’ll see a blue orb. Release it so it goes out of the room.
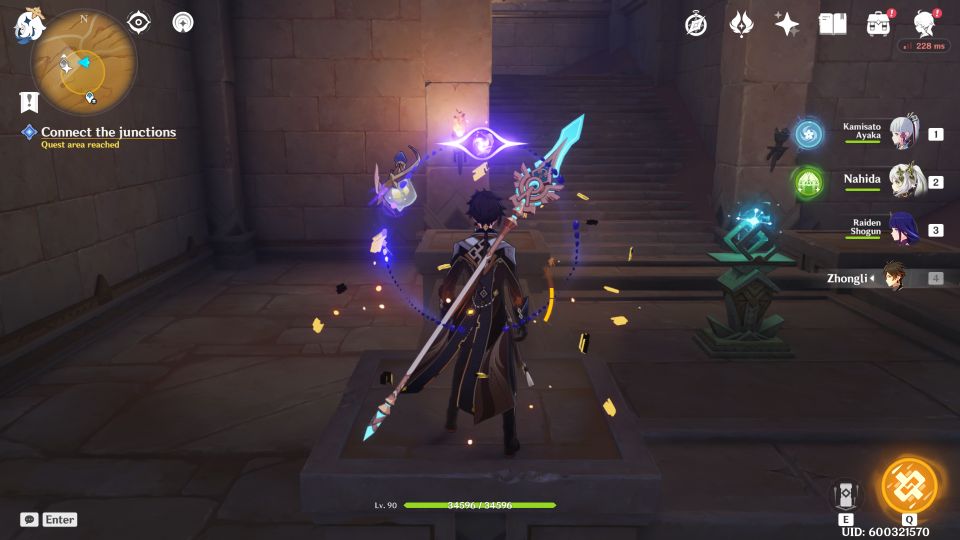
Go back out of the room and bring the orb to the pillar. The mechanism will be fixed and you can start it.
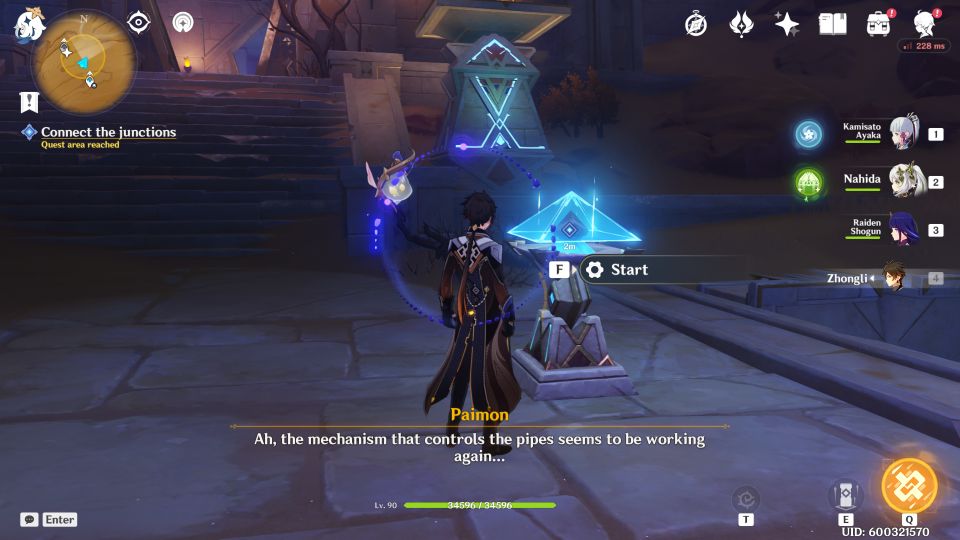
Continue ahead to the next gate.
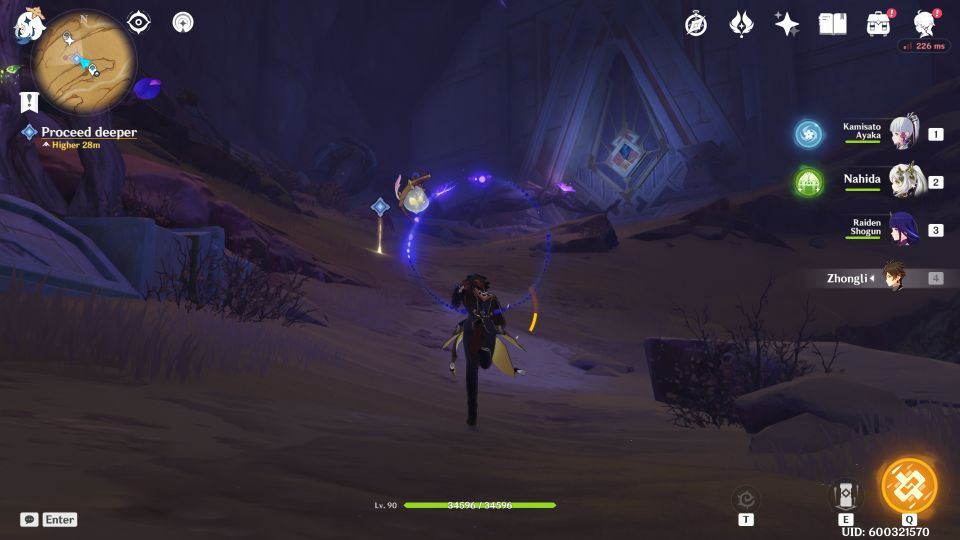
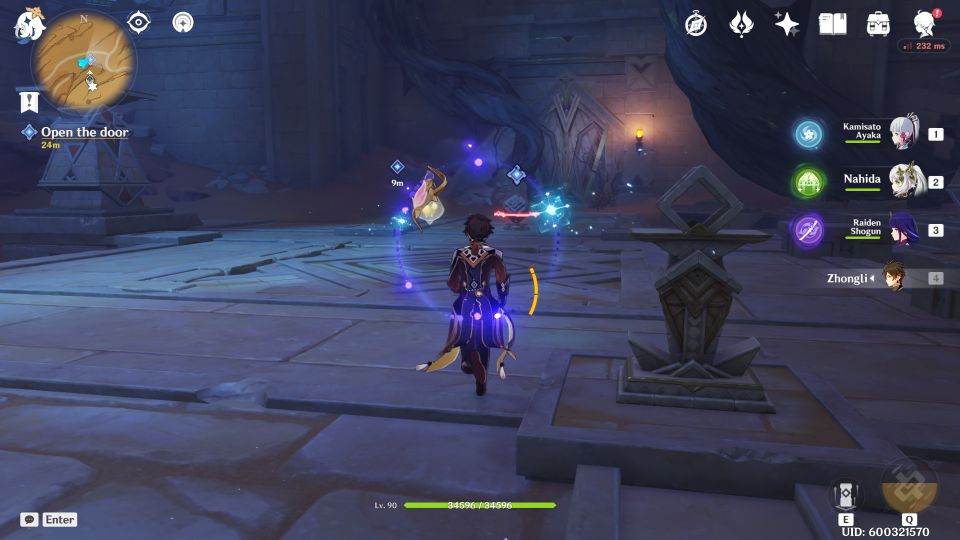
Proceed deeper and you’ll see two devices which can hold two blue orbs. Release one blue orb so it goes to the middle.
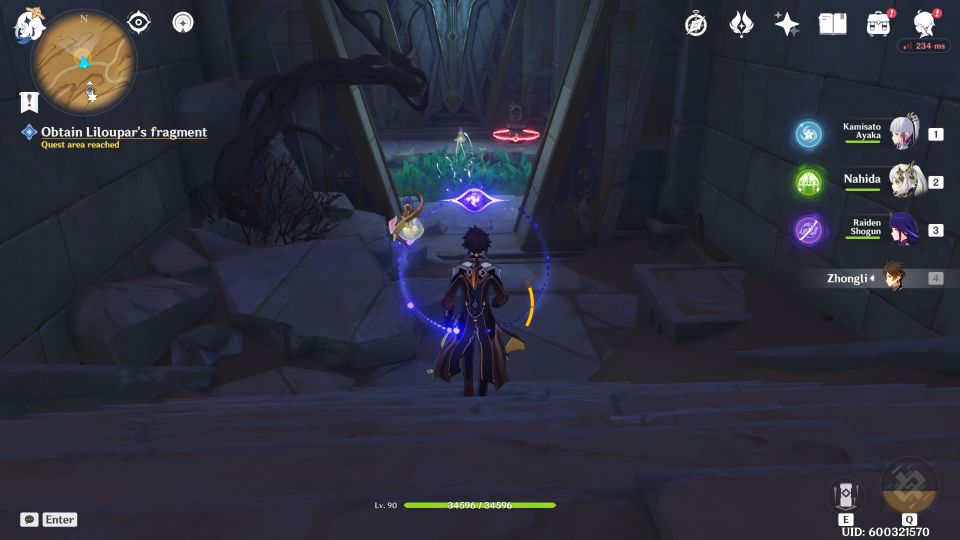
Obtain Liloupar’s fragment
Then, head down to obtain Liloupar’s fragment.
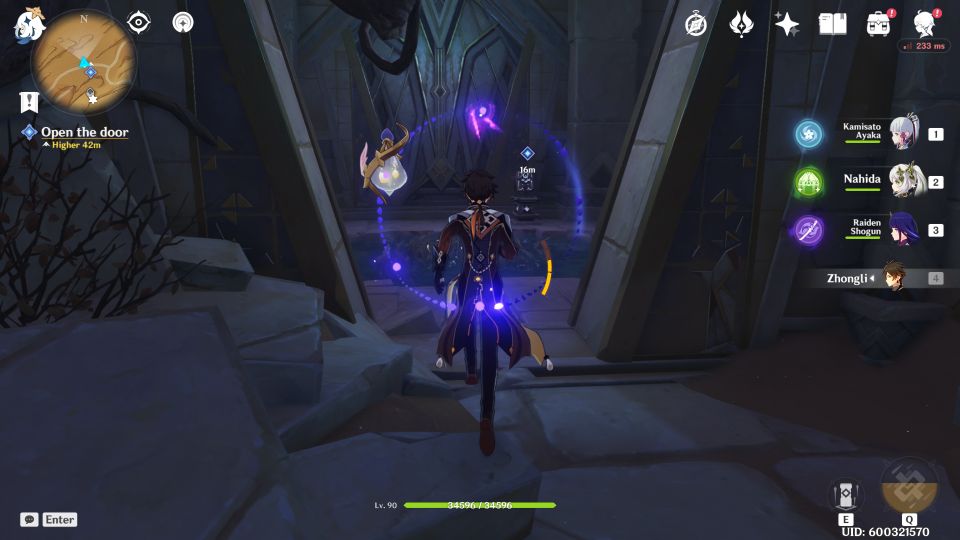
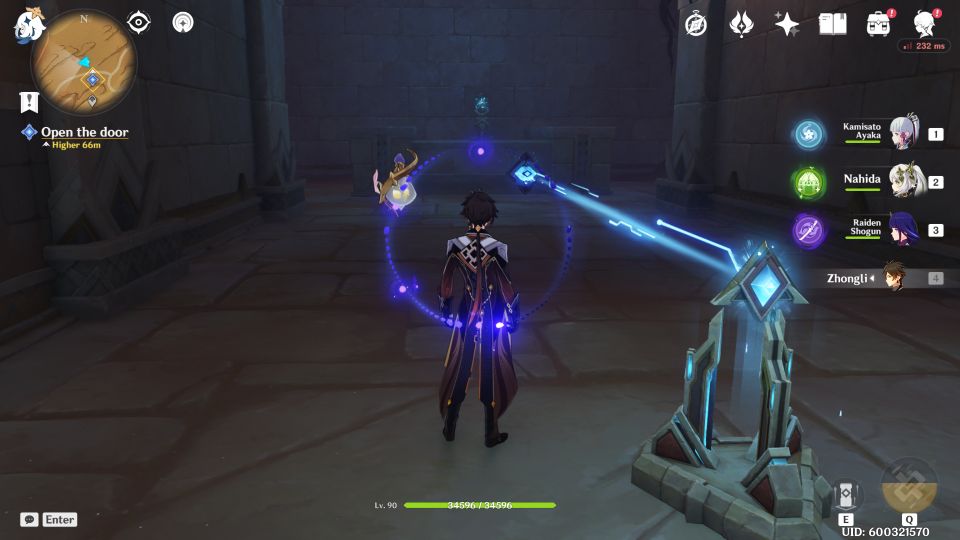
Open the door
In the same room, you can open the door in front of the fragment location.
In the next area, rotate the cell so that it unlocks the blue orb inside.
Release the blue orb.
Once the blue orb pauses in the middle, rotate the cell again so that the fan is stopped.
Then, lead the blue orb there.
You should now have two blue orbs in the middle. Release them both so that they enter the pillars.
You can then use the console to open the door.
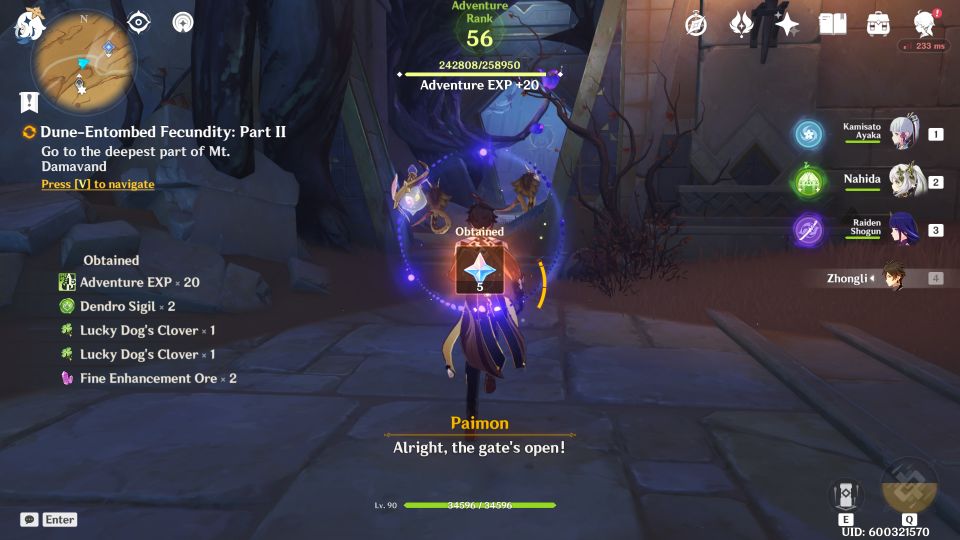
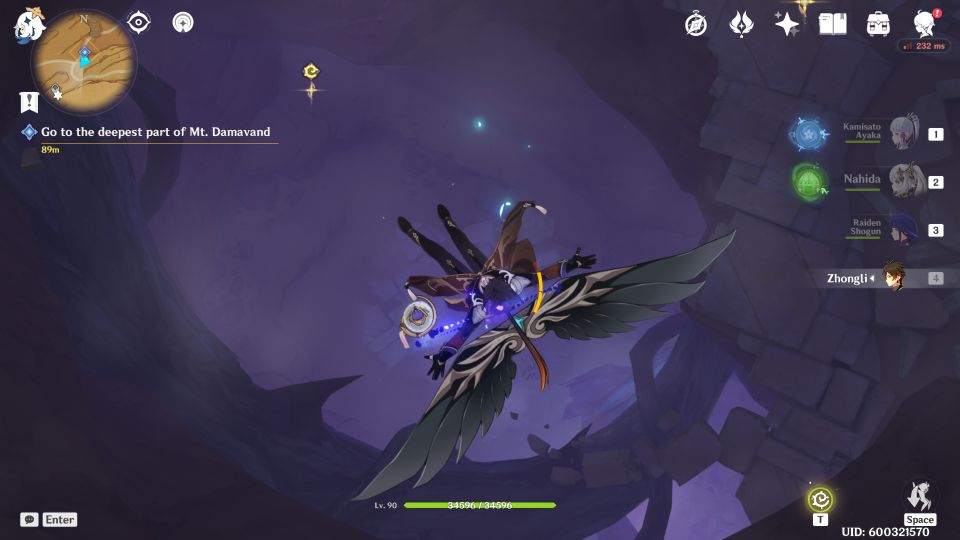
Go to the deepest part of Mt. Damavand
Continue ahead to the deepest part of Mt. Damavand.
You can jump all the way down.
Activate the mechanism
You’ll see another mechanism down below. Use it.
Now, go to the central area below and start the mechanism.
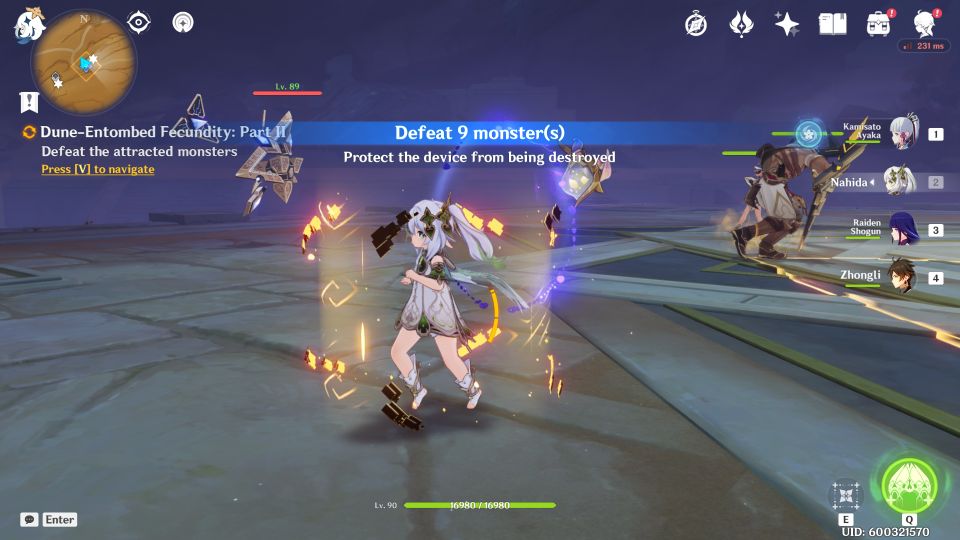
Defeat the attracted monsters
There will be 9 monsters to defeat. You have to beat all of them before they destroy the device in the middle.
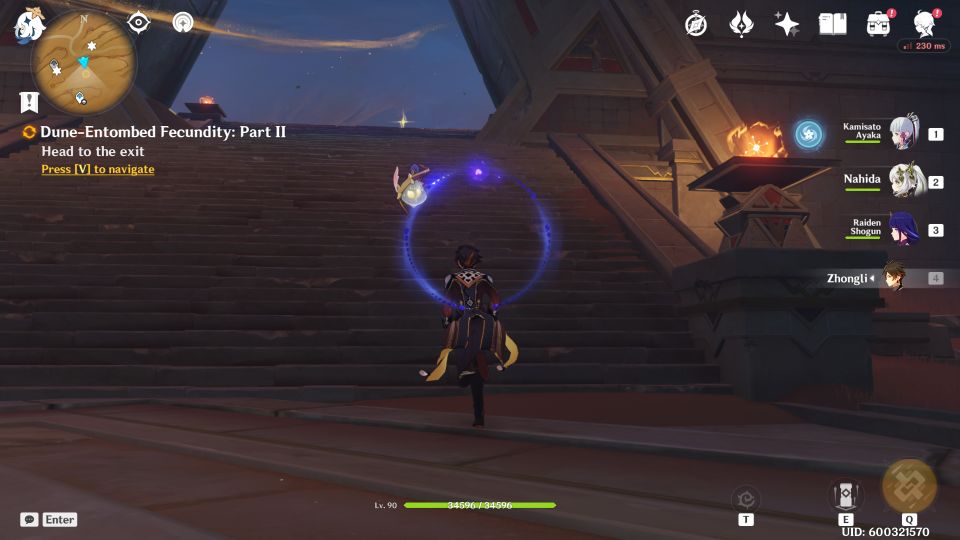
Exit the area when you’re done.
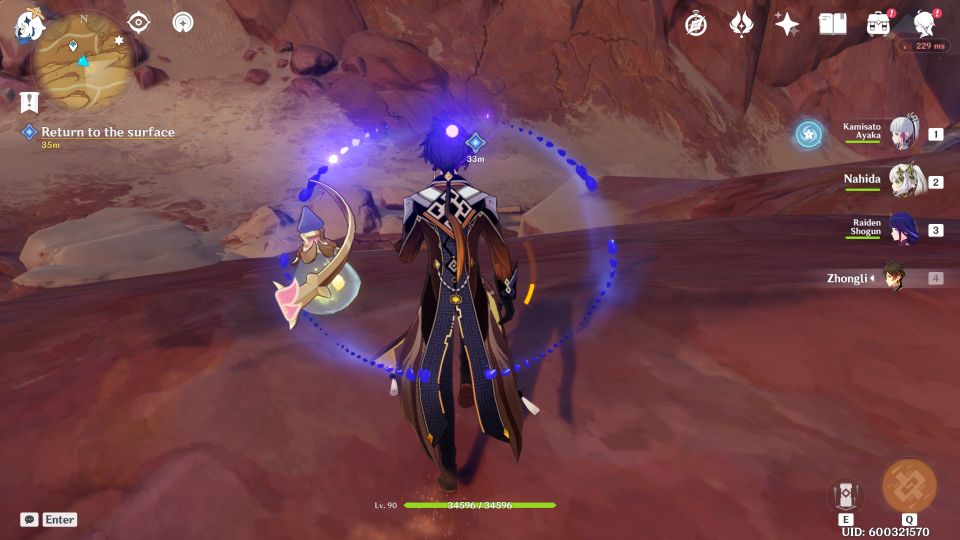
Return to the surface
To go back to the surface, you can use a nearby teleport waypoint and head to the marked area.
Part 2 of the quest ends here.
Related posts:
Genshin Impact: Dune-Entombed Fecundity Part 1 Guide
Genshin Impact: The Temple Where Sand Flows Like Tears Guide