Dune-Entombed Fecundity Part 1 is a quest under The Dirge of Bilqis line in Genshin Impact.
Your objective is to prepare to enter Mt. Damavand to uncover the secrets buried in the Eternal Oasis.
Here’s a walkthrough and guide of Dune-Entombed Fecundity Part 1 in Genshin Impact.
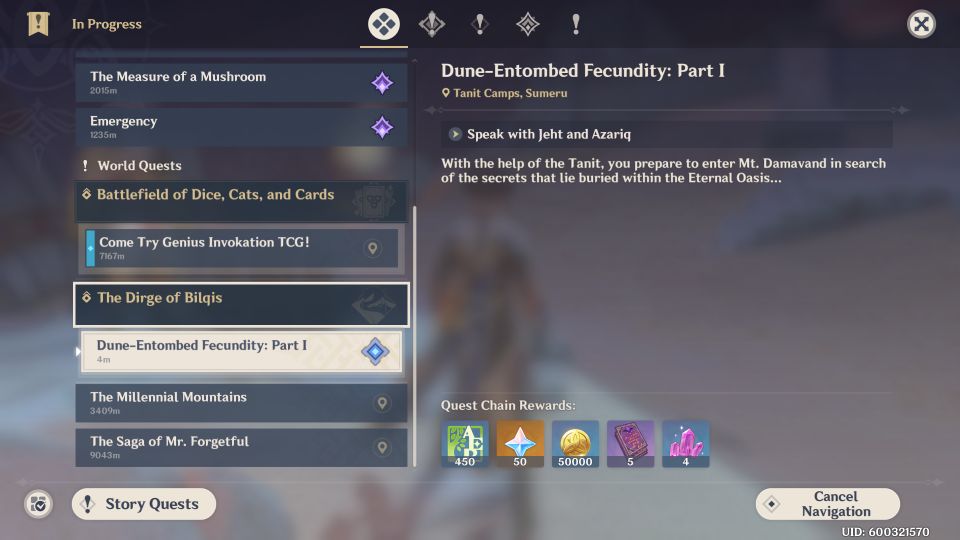
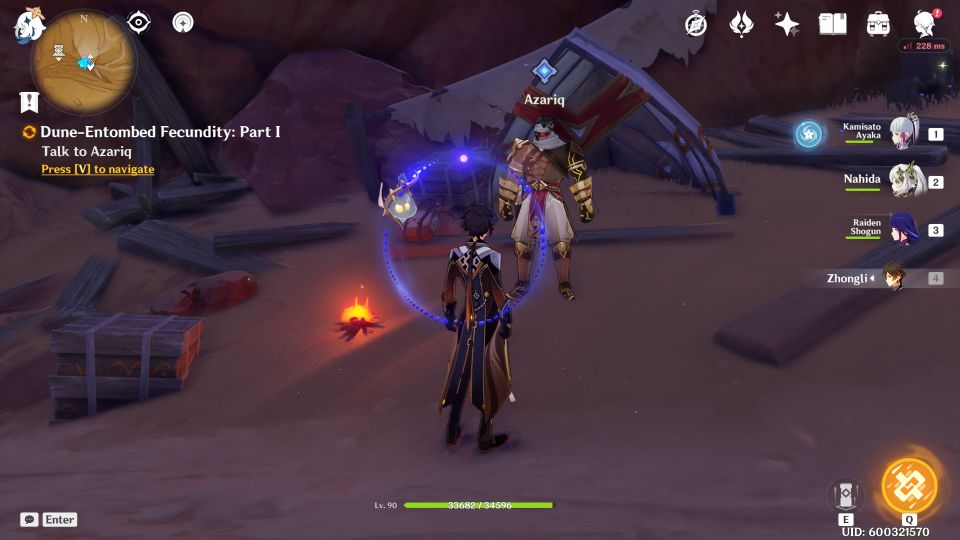
To begin the quest, talk to Jeht and Azariq.
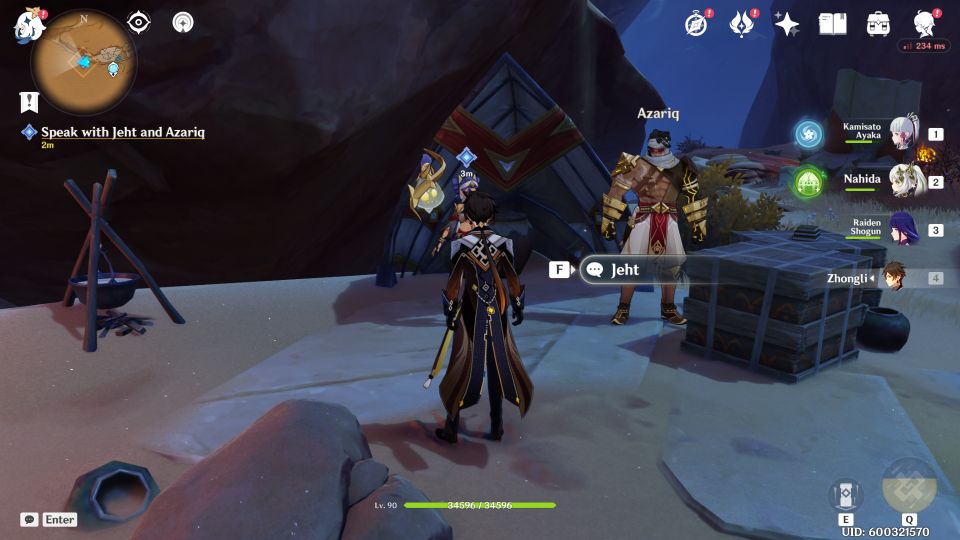
Talk to Babel
Then, look for Babel at her usual place in the settlement.
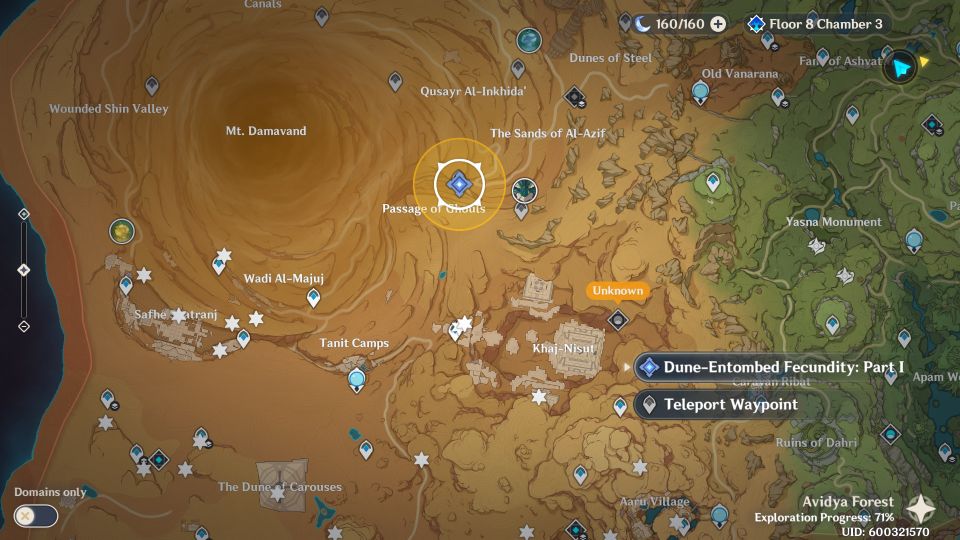
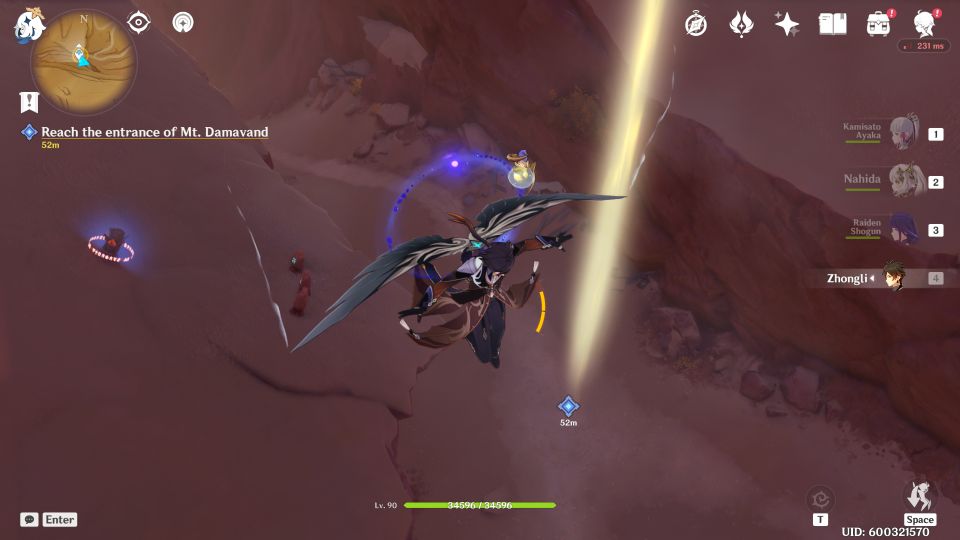
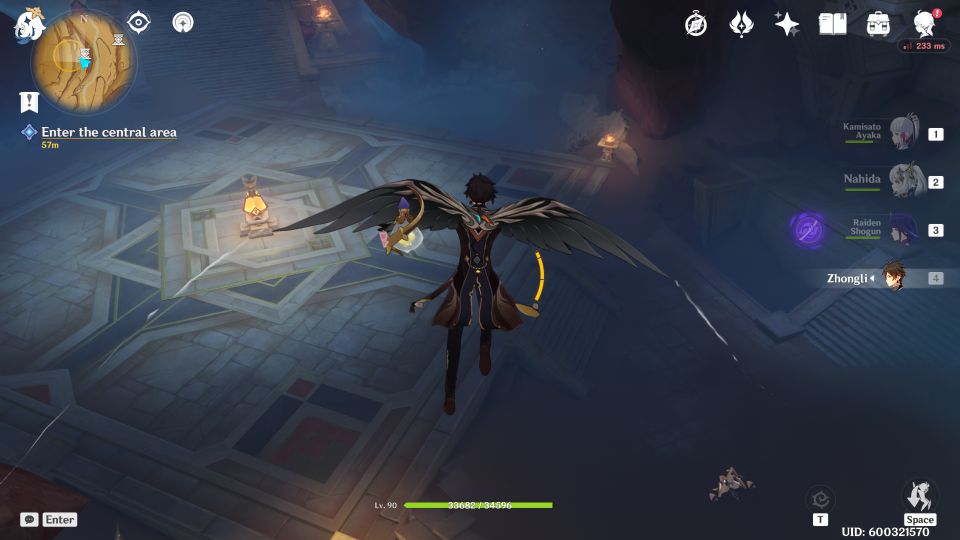
Reach the entrance of Mt. Damavand
Head to the entrance of Mt. Damavand as shown in the map below. It’s at the Passage of Ghouls.
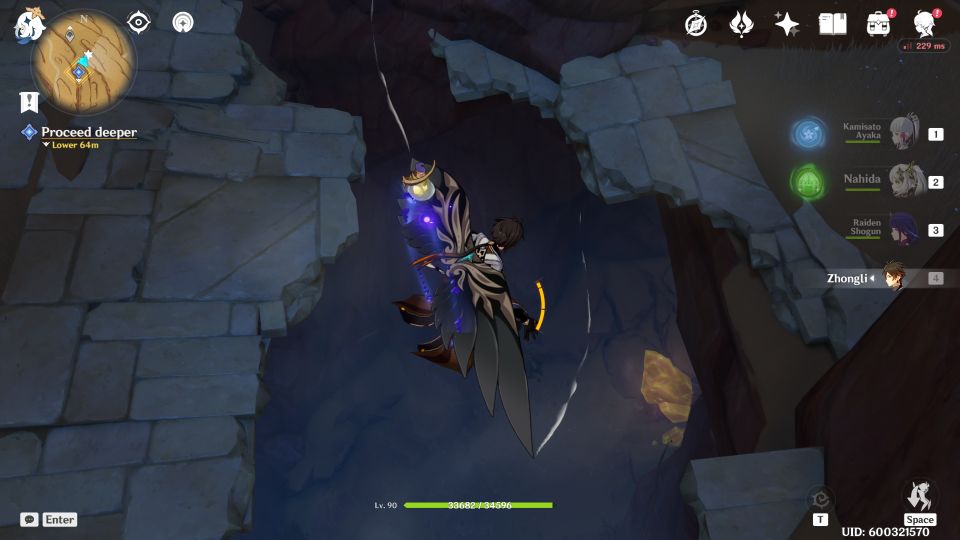
After unlocking the waypoint, descend to the bottom.
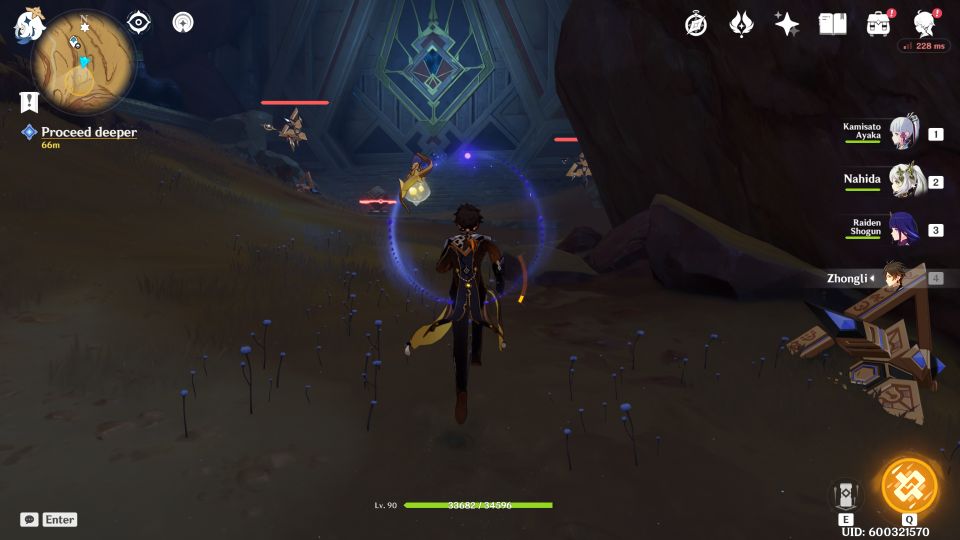
Defeat all opponents
Some enemies will spawn. Take them out.

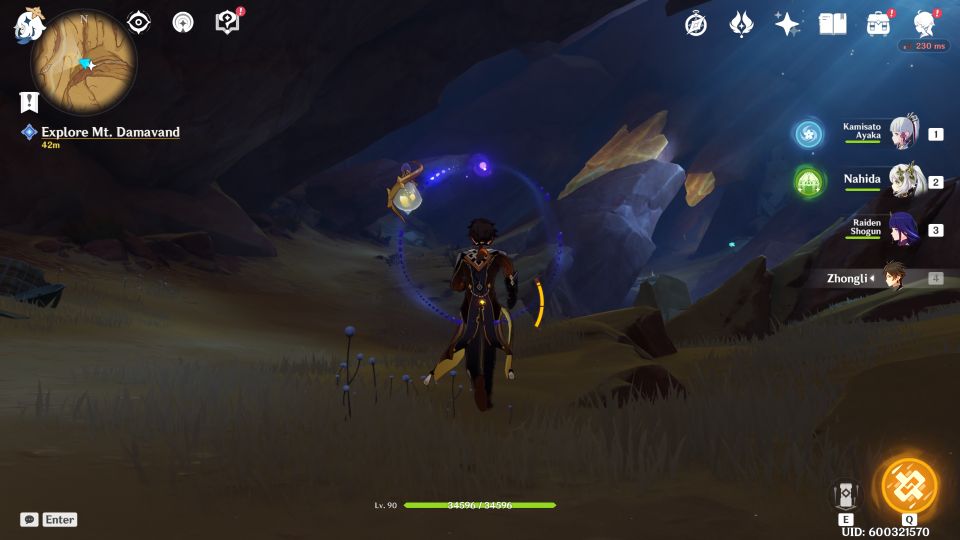
Enter Mt. Damavand
Now, head inside Mt. Damavand.

Continue to explore the area.
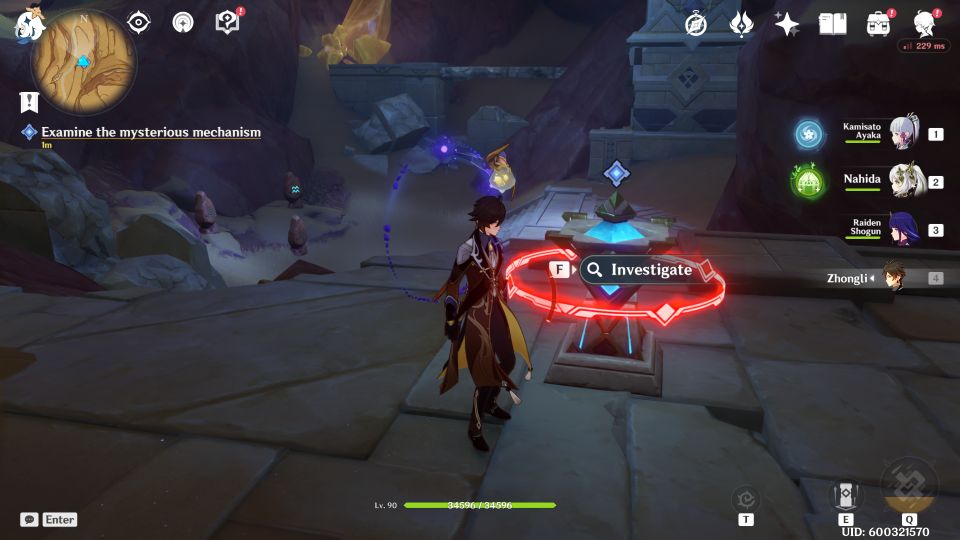
Examine the mysterious mechanism
You’ll then see a mechanism that is locked. Investigate it. The Jinni should be able to fix it.
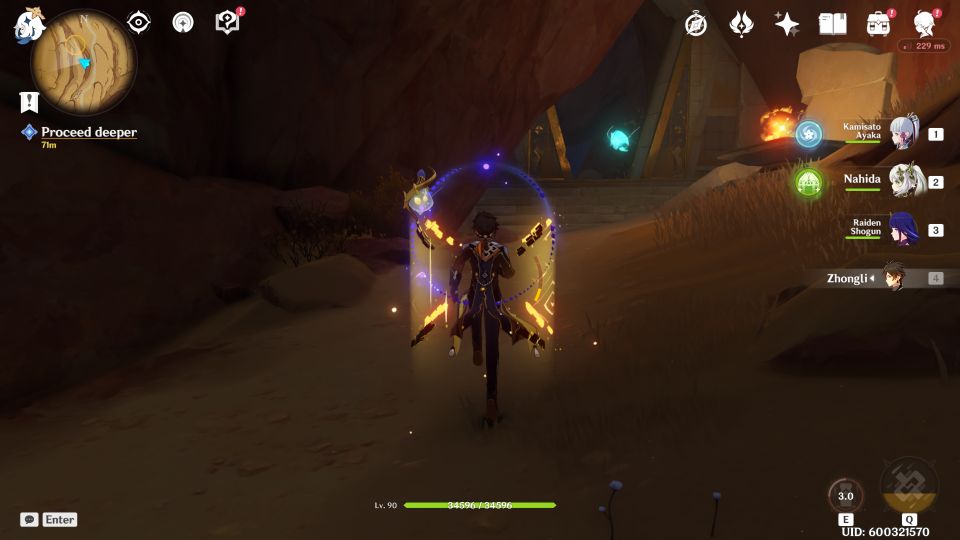
Proceed deeper after unlocking the gate.
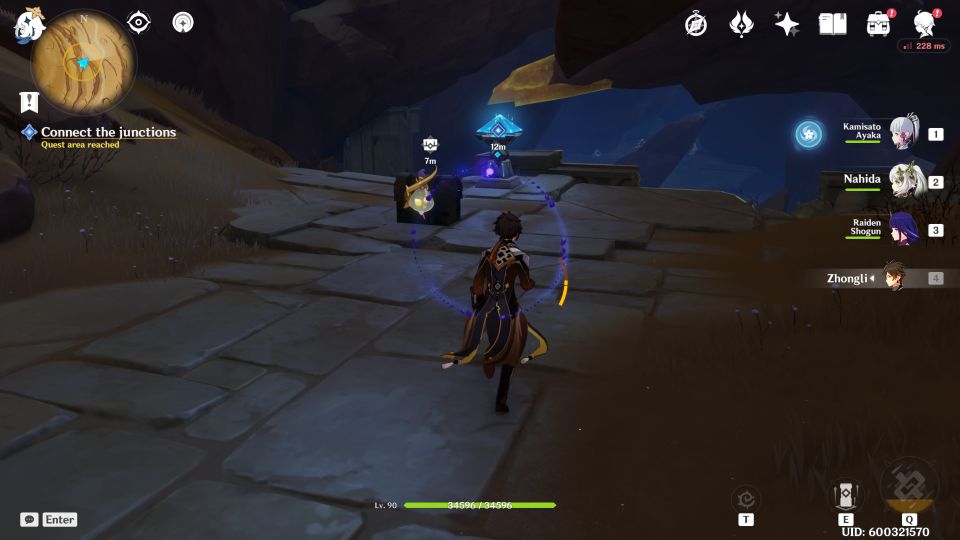
Connect the junctions
At the next area, you have to connect the junctions.
You’ll see one mechanism that is unlocked. Start it.
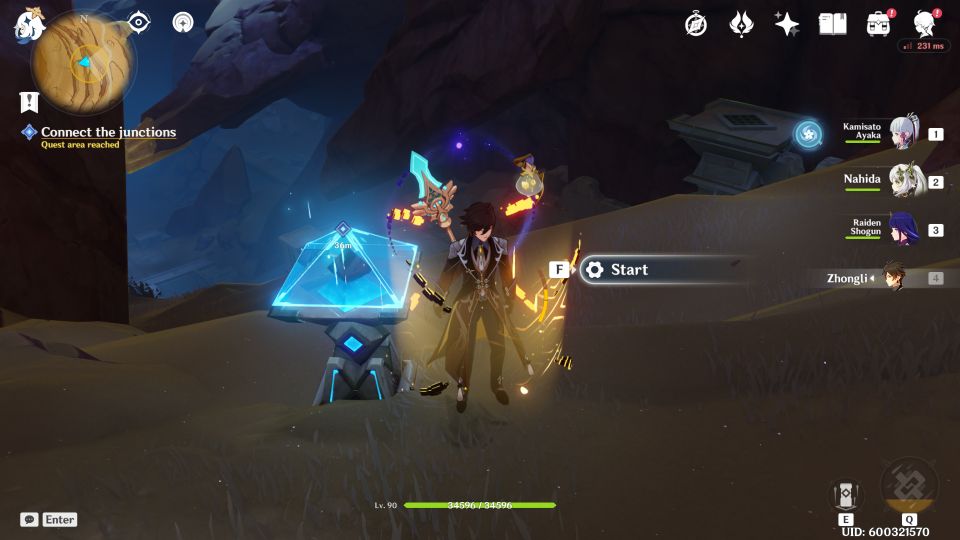
Head to the one just unlocked and start the mechanism.
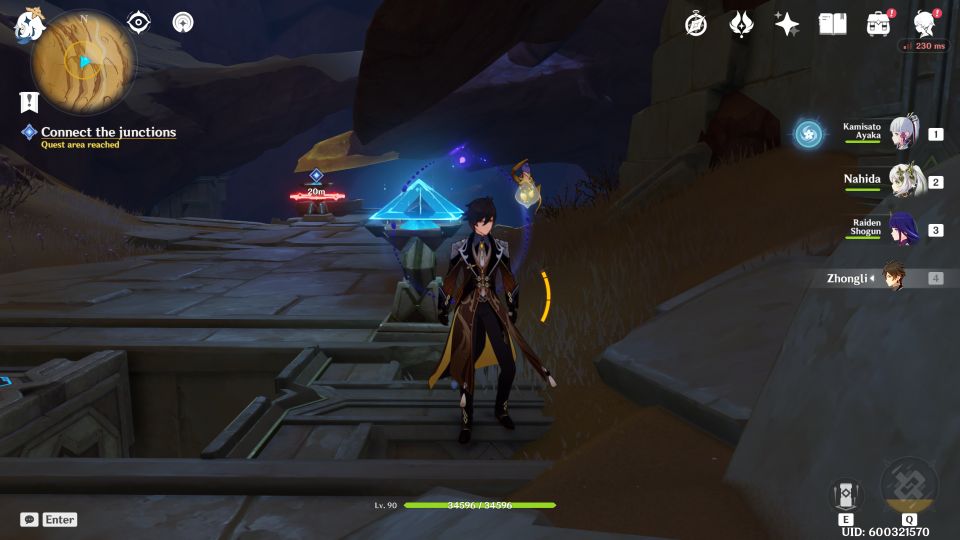
Now, go to the other device which can be rotated. Rotate it to face the other device at the opposite side and a laser will form.
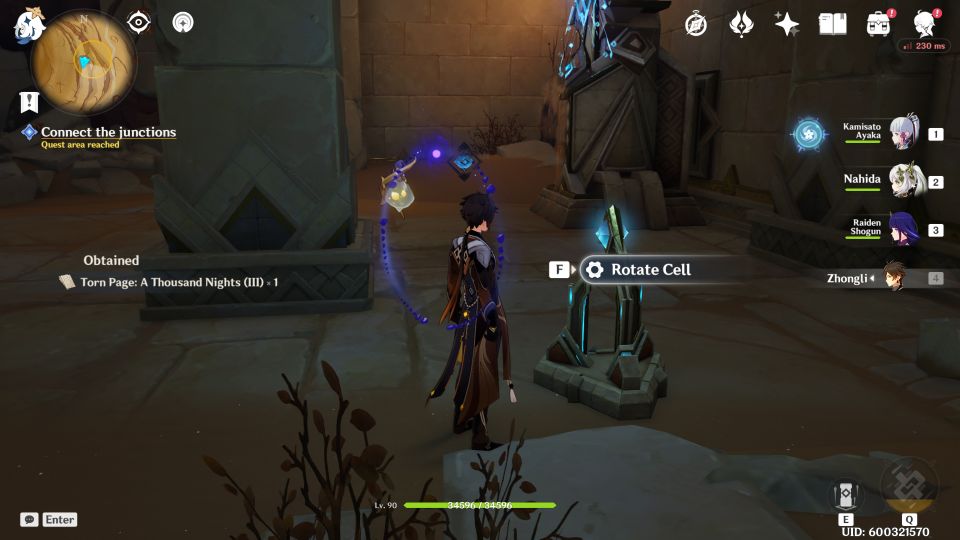
The last mechanism is unlocked and a chest spawns.
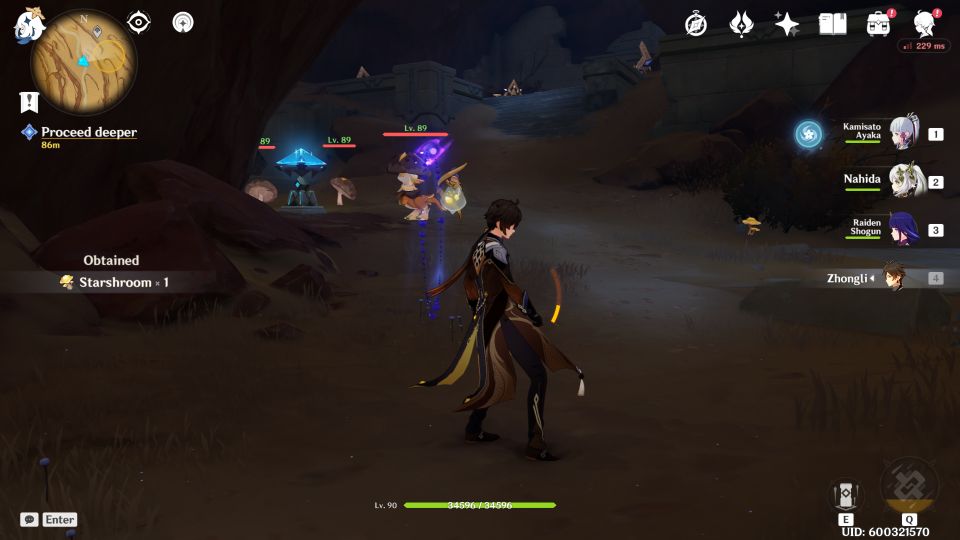
Proceed deeper
After you’re done, continue deeper. You’ll see another mechanism surrounded by fungi. Use it.
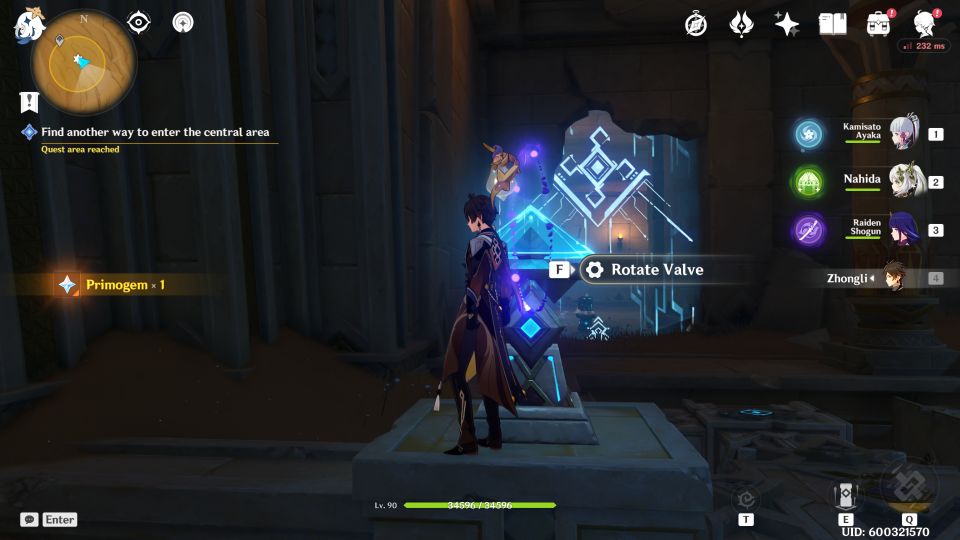
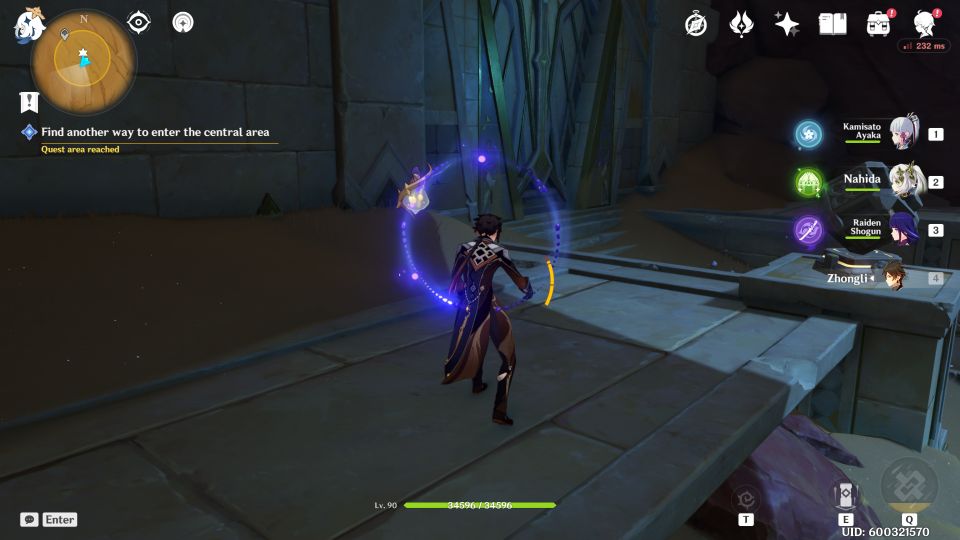
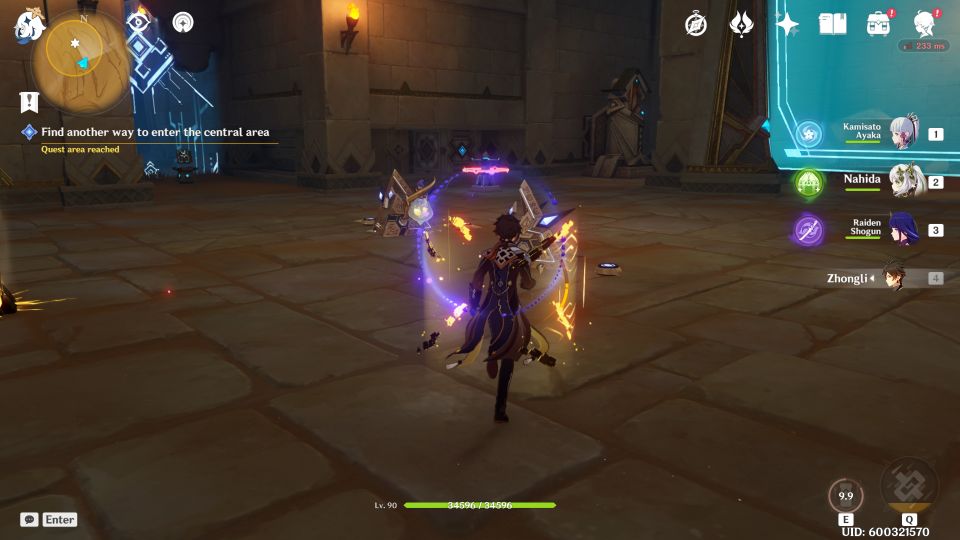
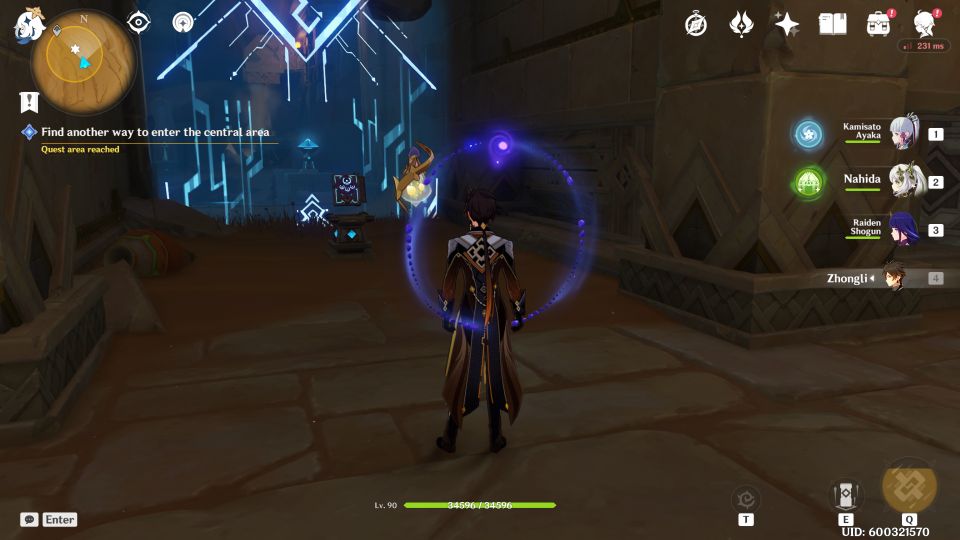
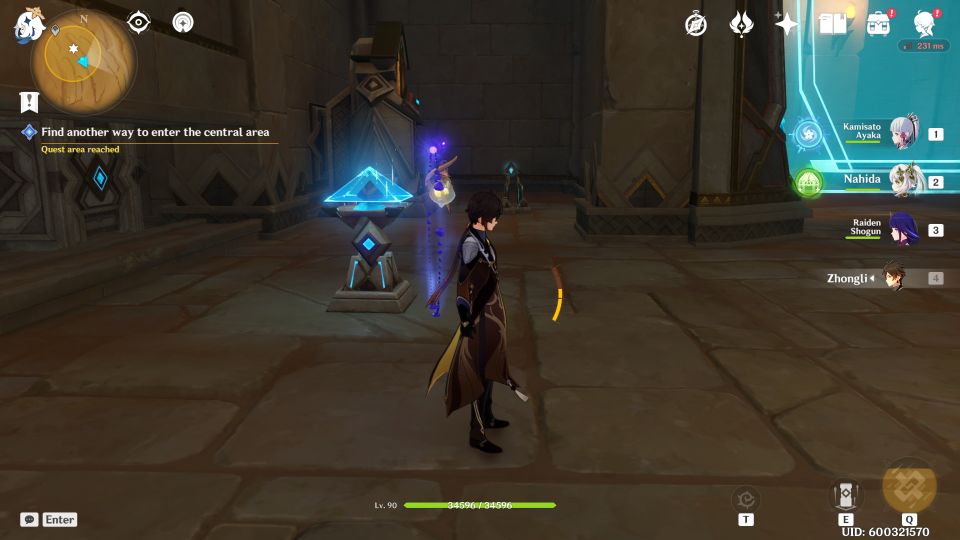
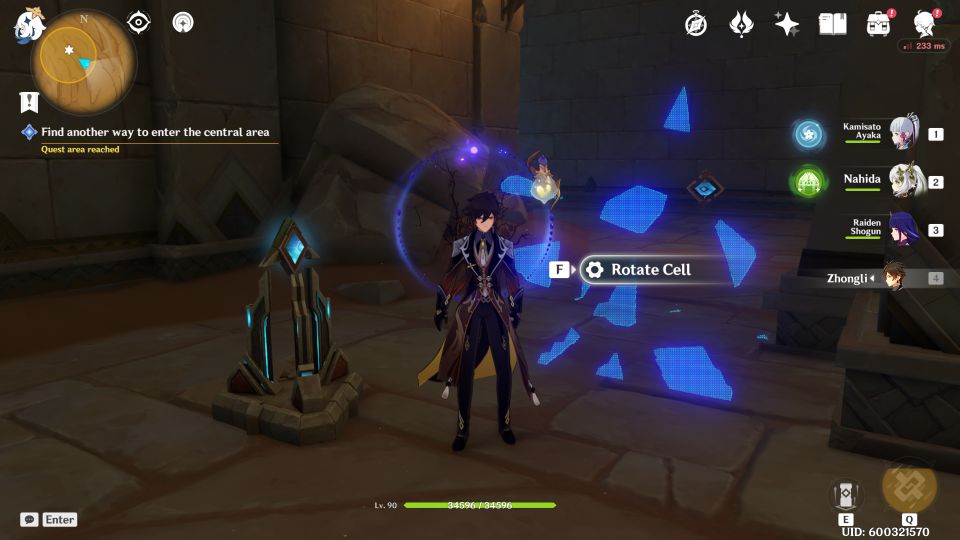
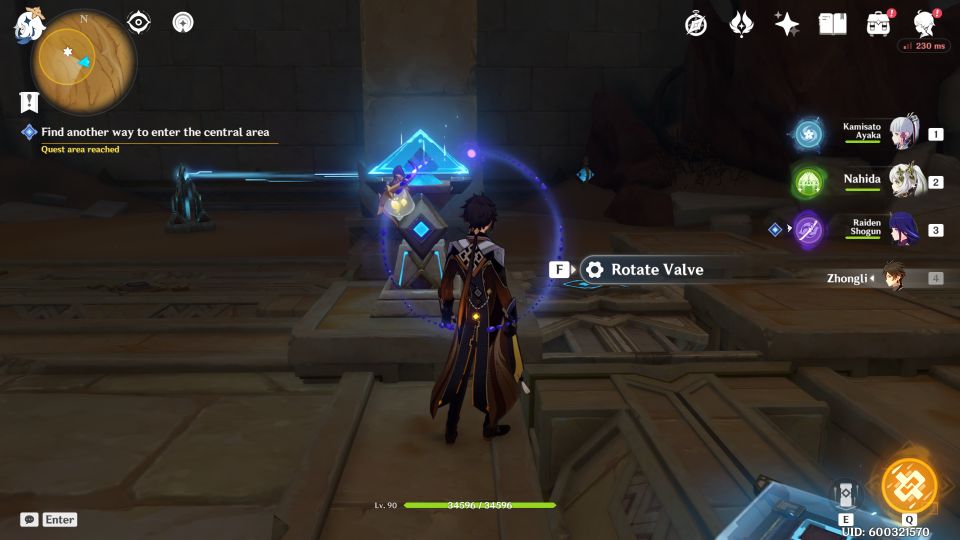
Find another way to enter the central area
Keep going until you see a barrier. Rotate the valve mechanism.
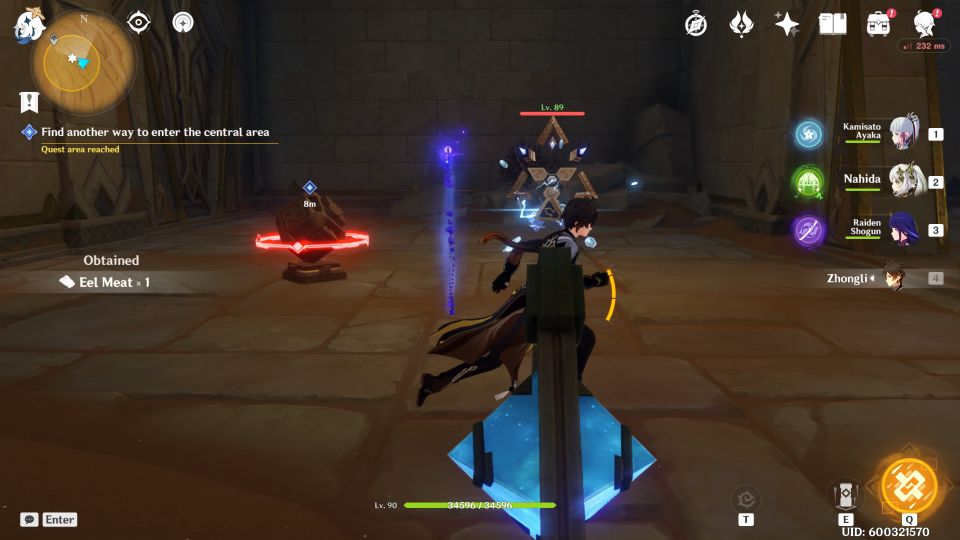
It will unlock a console. Start the console to open the gate.
Defeat the Primal Constructs inside.
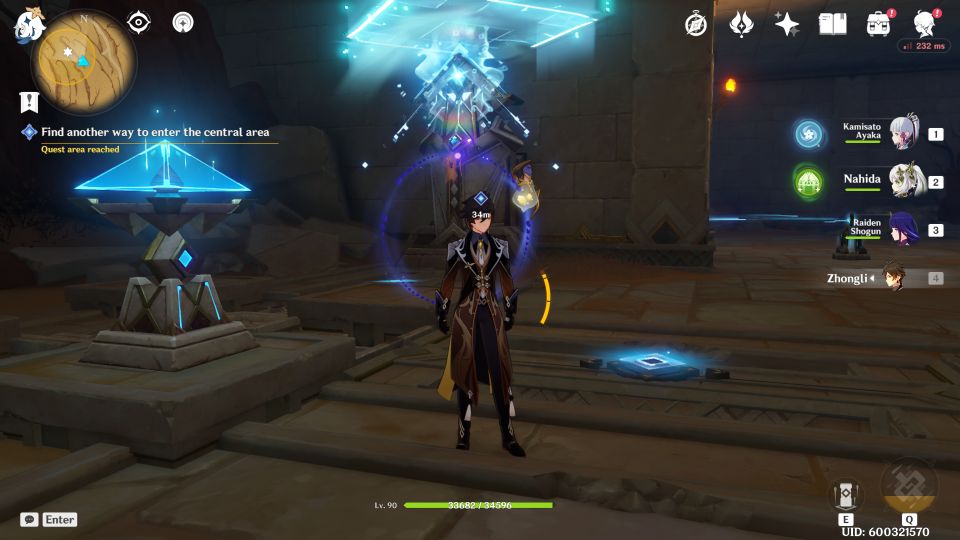
Then, interact with the device to unlock the barrier.
Start the mechanism inside.
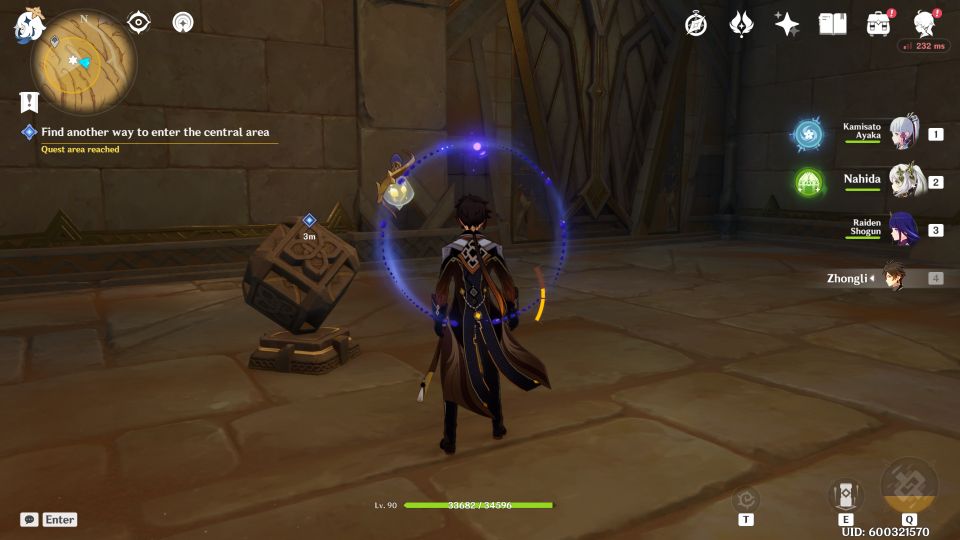
Then, rotate the cell so the laser joins with the device separated by the barrier.
Use the elevator to proceed downwards.

At the bottom, rotate the valve.
Then, defeat the Primal Construct inside. This will unlock a gap on the wall.
Go back and rotate the valve again. This will unlock the console in the room.
You can now enter the small gap on the wall and use the console to open the gate.
Proceed deeper
Continue to head downwards.
Take out the Primal Constructs at the gate and use the console to open the gate.
You will then see a seal fragment monument.
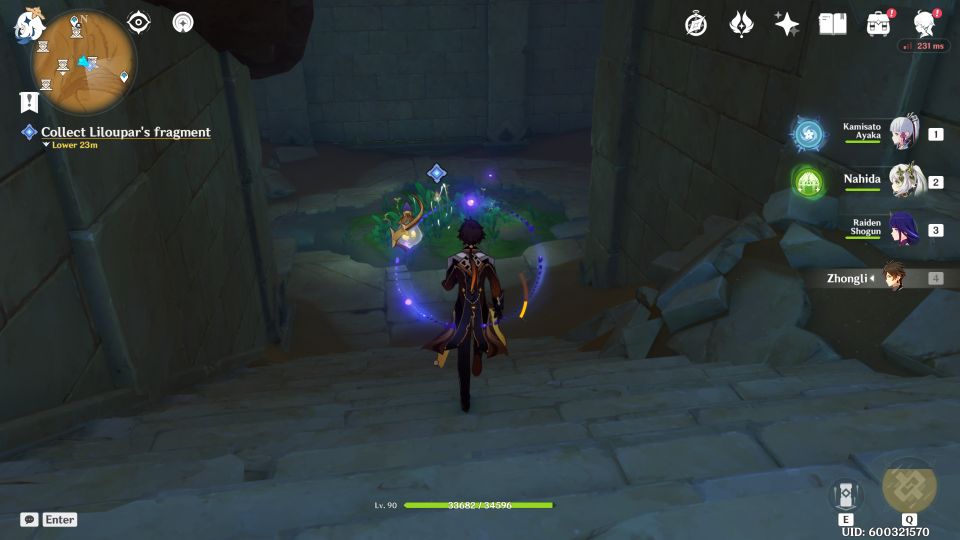
Collect Liloupar’s fragment
Head down the stairs to collect Liloupar’s fragment. You’ll see the fragment surrounded by greenery.
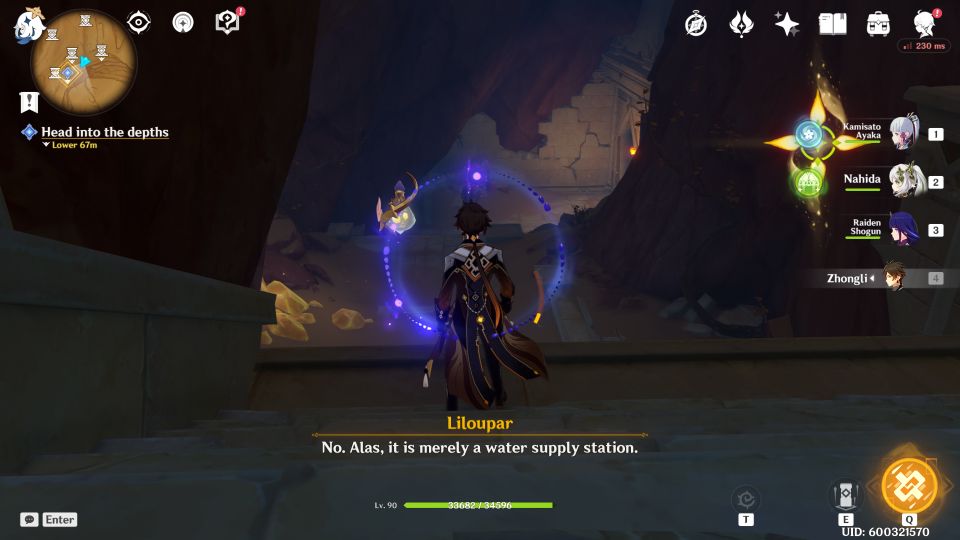
Head into the depths
Proceed ahead and go into the depths.
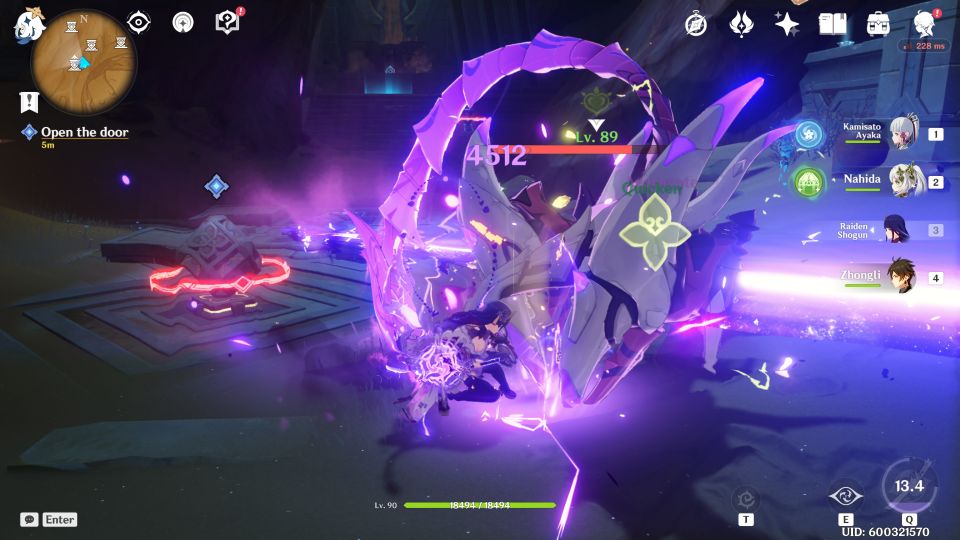
Open the door
Defeat the new enemy and open the door with the console.
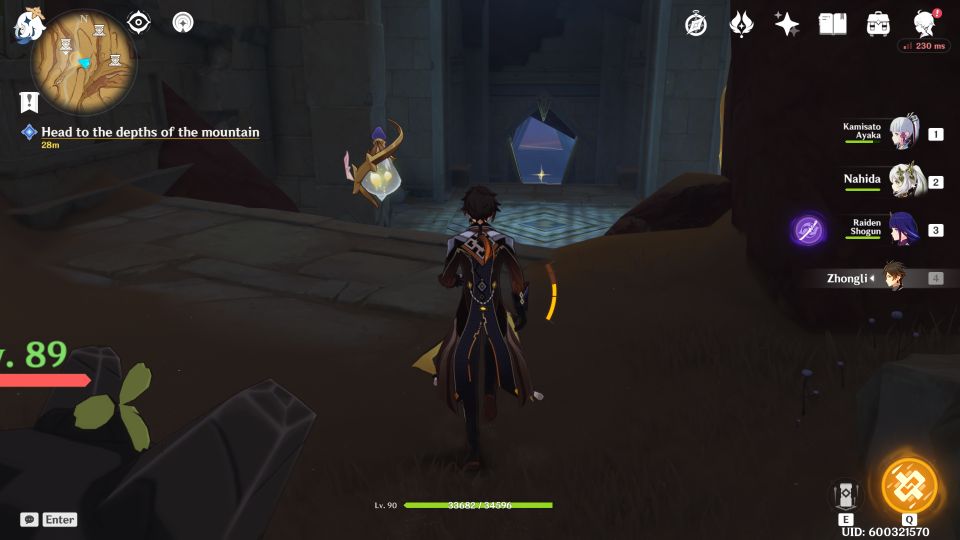
Head to the depths of the mountain
Continue to follow the path to the depths of the mountain.
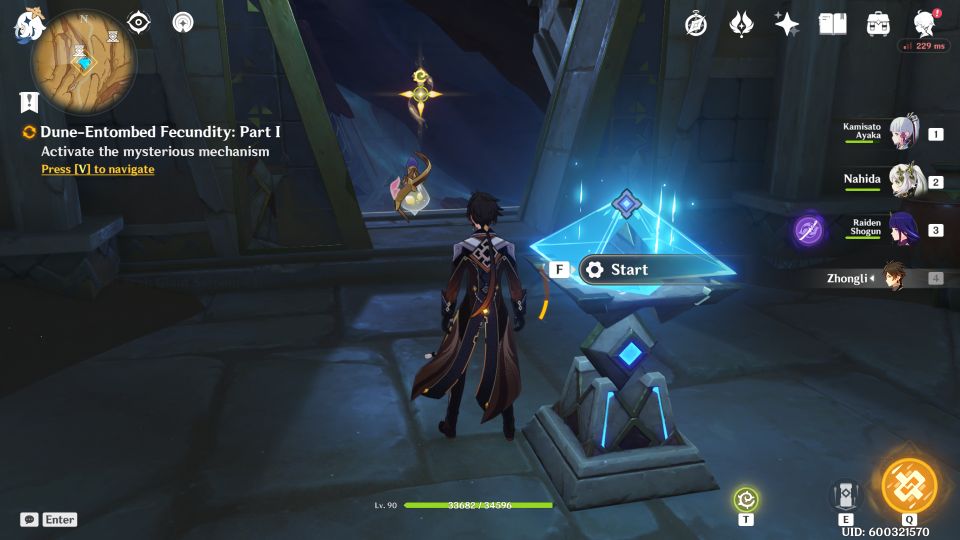
Activate the mysterious mechanism
Start the mechanism.
Go to the central area.
Hold back the attracted monsters
After starting the device, you will have to face Primal Constructs. Defeat them before they destroy the device.

When you’re done, exit the central area.

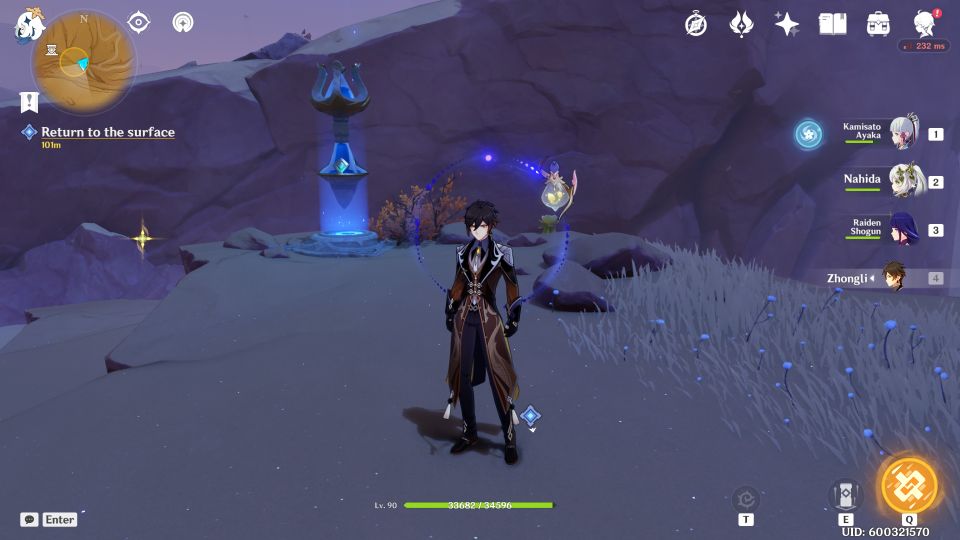
Return to the surface
You can use a teleport waypoint to return to the surface.
Talk to Azariq to complete this part 1 of the quest.
Related posts:
Genshin Impact: The Temple Where Sand Flows Like Tears Guide
Genshin Impact: Wisdom Has Built Her House, She Has Hewn Out Her Seven Pillars