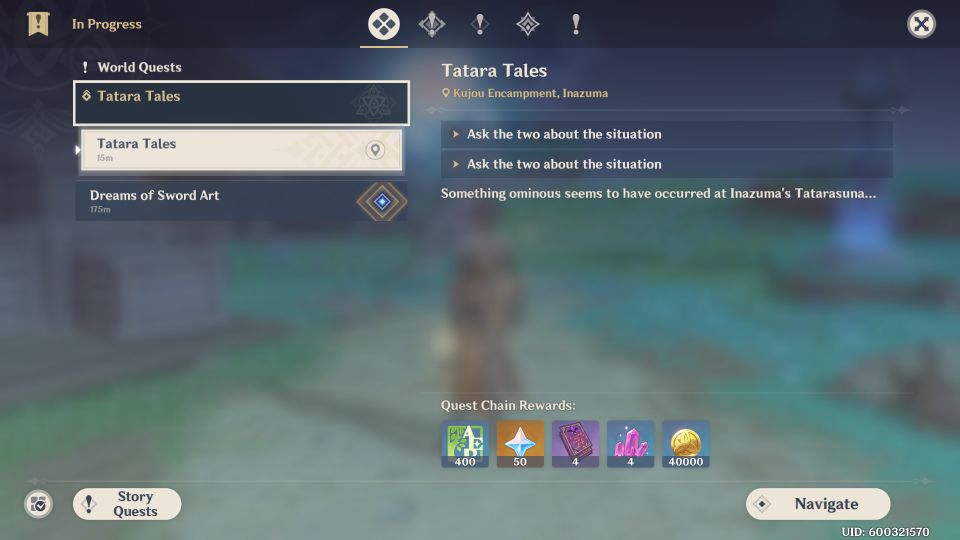
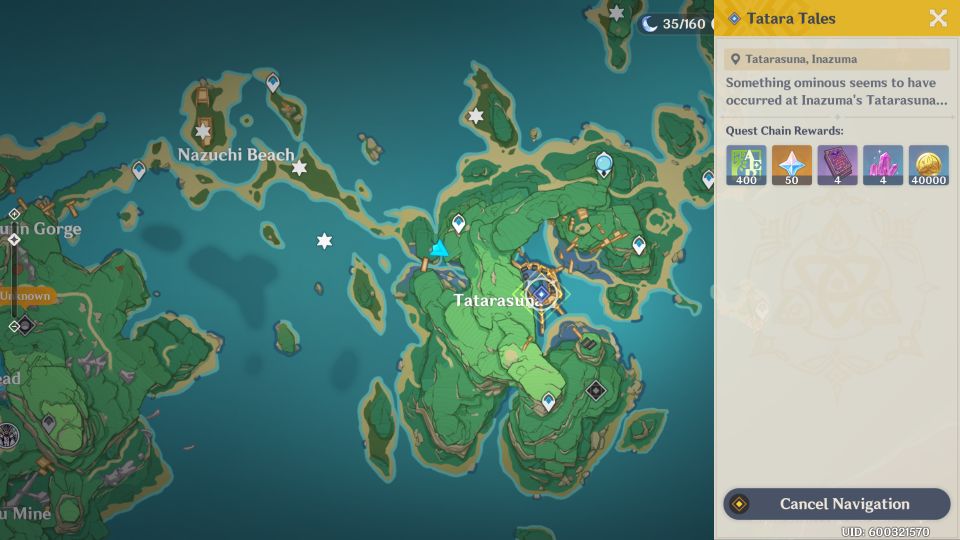
Tatara Tales is a world quest in Inazuma in Genshin Impact 2.0.
The objective is to find out what’s going on at Inazuma’s Tatarasuna.
Here’s a walkthrough and guide of Tatara Tales in Genshin Impact. Each subsequent seems to unlock after a certain number of real hours.
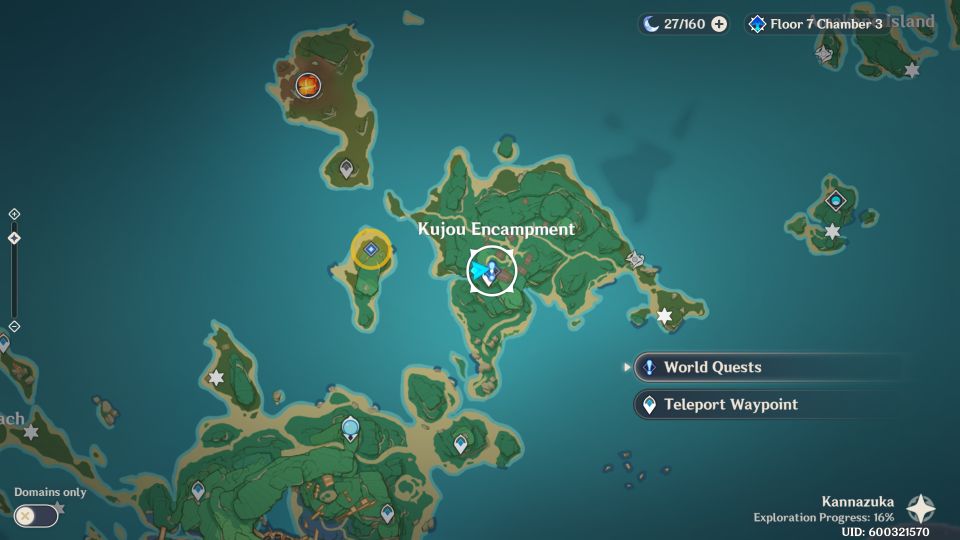
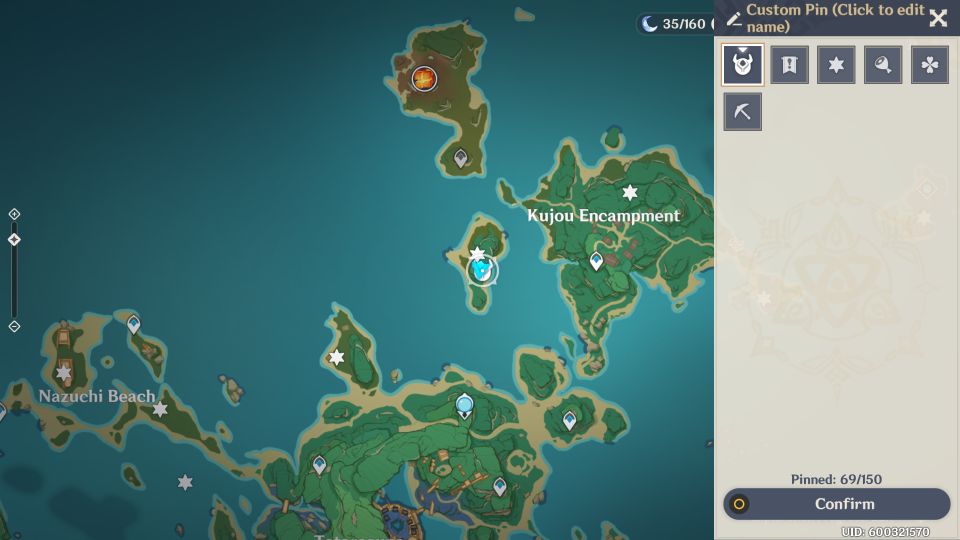
To begin the quest, go to Kujou Encampment as marked in the map below.
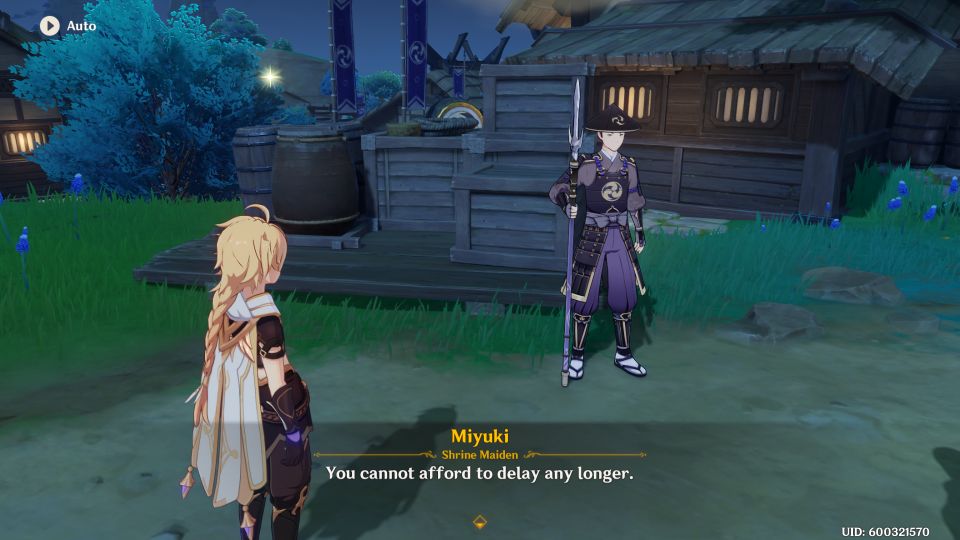
You’ll see Miyuki and Toranosuke talking.
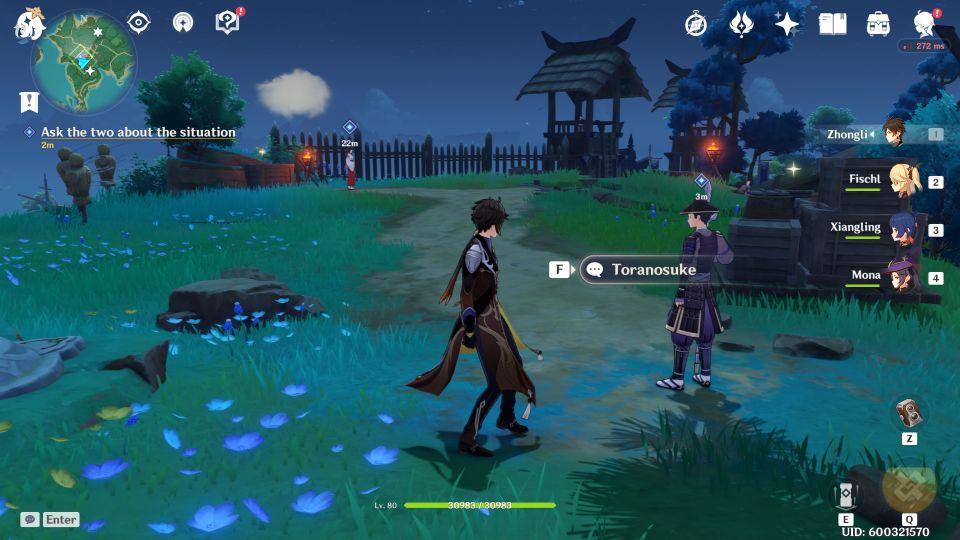
Ask the two
After their conversation, talk to Toranosuke and Miyuki to find out the situation.
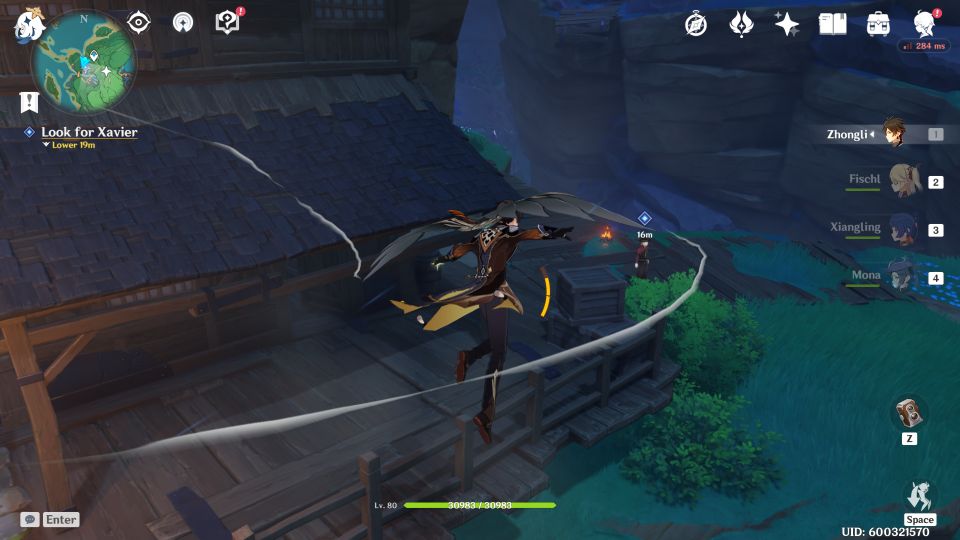
Look for Xavier
First of all, look for Xavier. His location will be marked on the map.
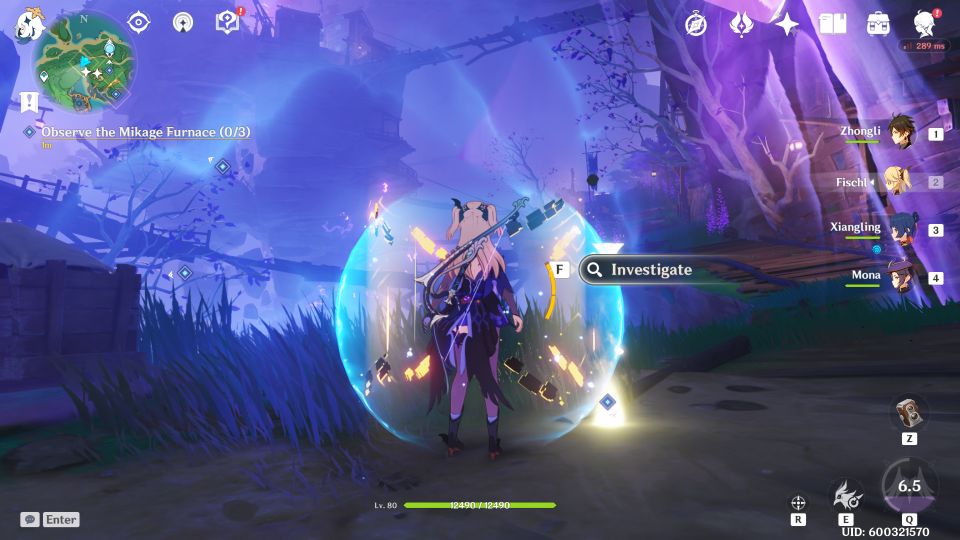
Observe the Mikage Furnace
You have to observe the Mikage Furnace from three areas, all of which are marked on the map.
One of the observation areas is surrounded by Fatui. You have to defeat the Fatui members first and then go to the marked spot to investigate.
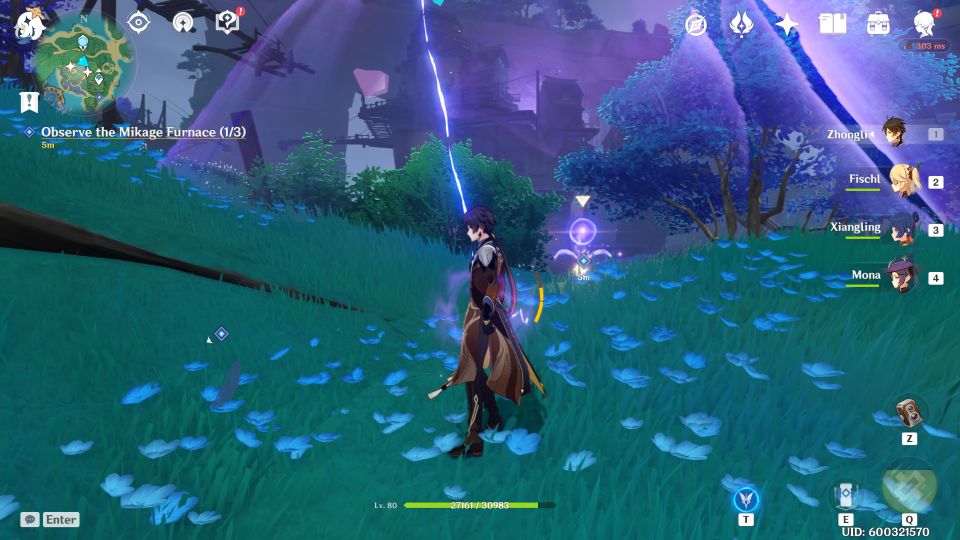
The second observation spot is more tricky. You need to get the electrogranum first and then use the thunder sphere directly above you.
Glide towards the electro-seelie on the rift in front of you to reveal the observation marker. You can then investigate the matter.
Lastly, you will find yourself at the beach area. Use an electrogranum to go through the thunder barrier and observe the furnace.
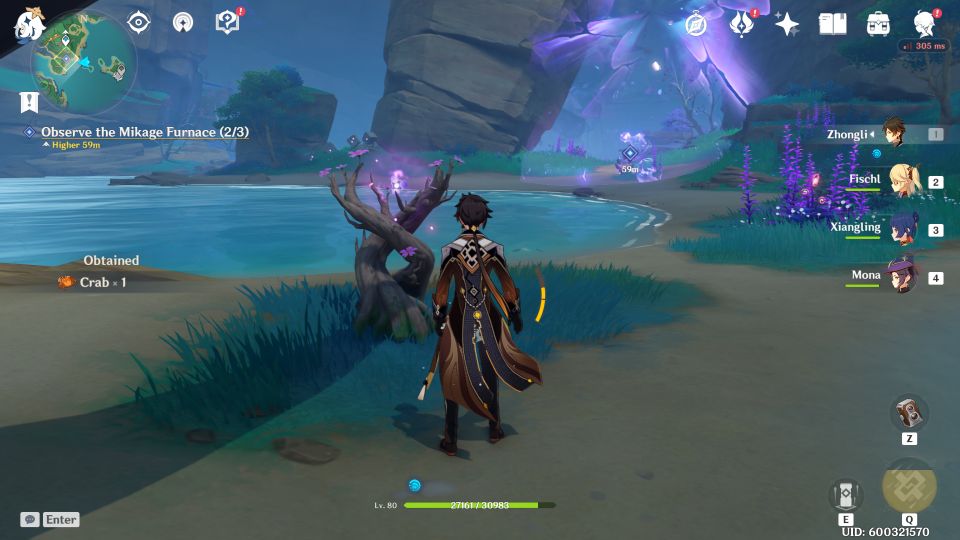
When you’re done, report back to Xavier.
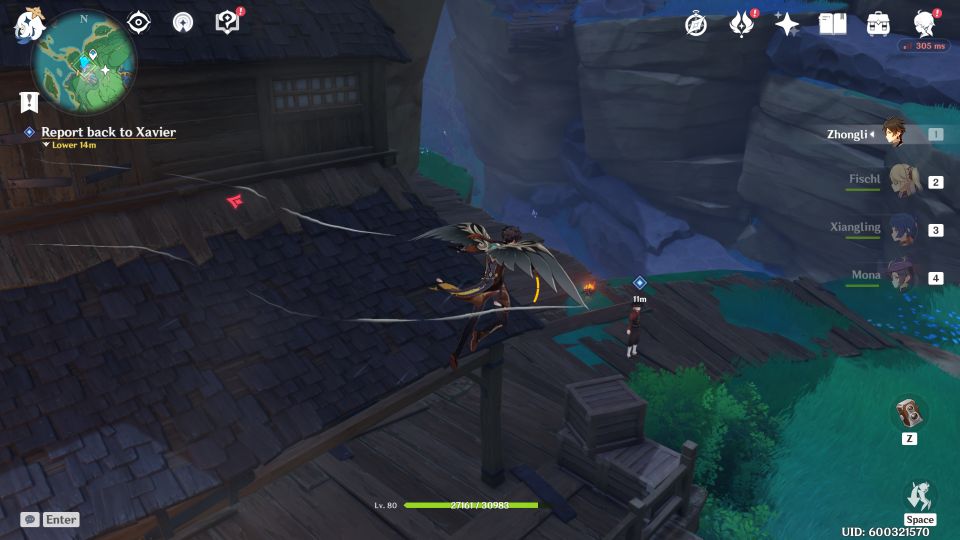
You will then be given a Kamuijima Cannon Map.
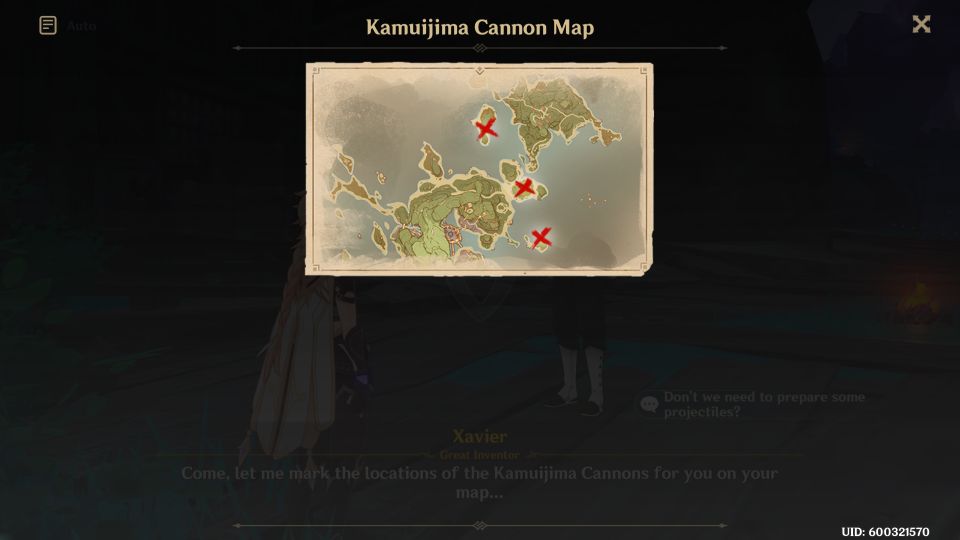
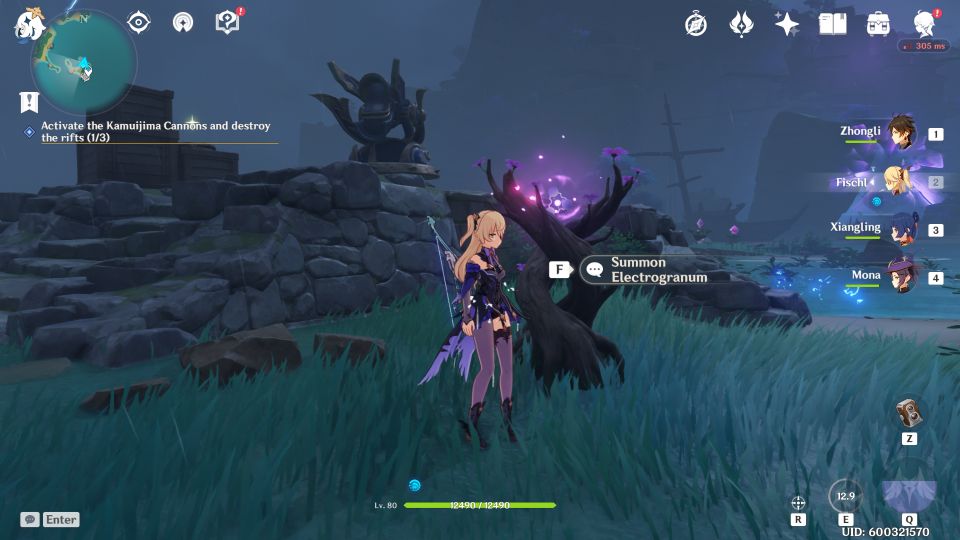
Activate the cannons and destroy the rifts
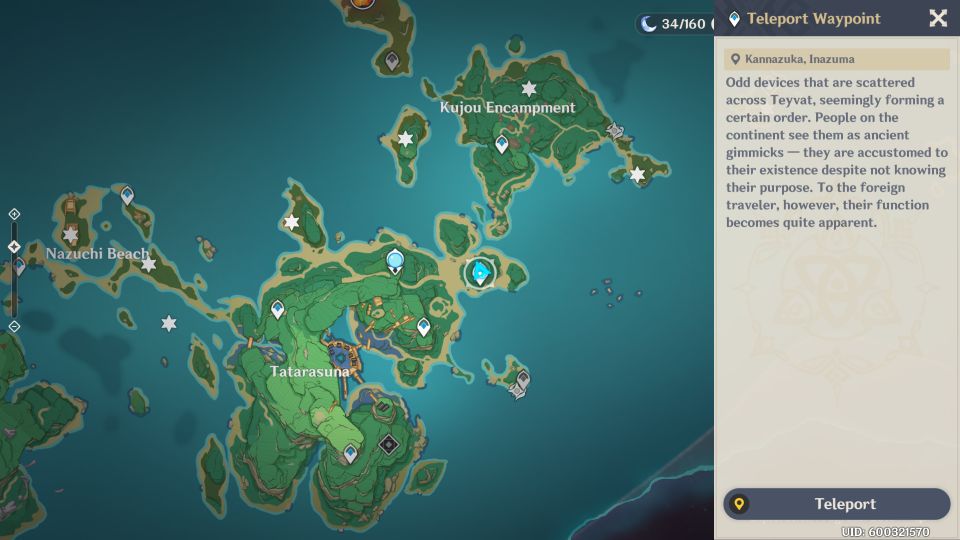
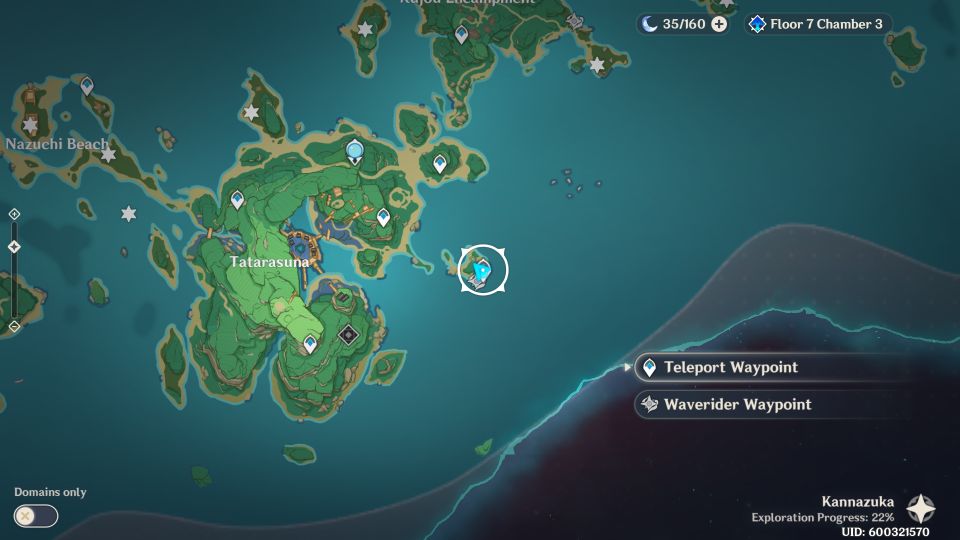
There are three cannons in total to destroy the rift. The first one is marked on the map below (player location). It’s south of Kujou Encampment.
The cannon is actually at the waypoint.
To activate the cannon, you need to either have applied electro status or use the electrogranum. It’s easier to summon the nearby electrogranum before operating it.
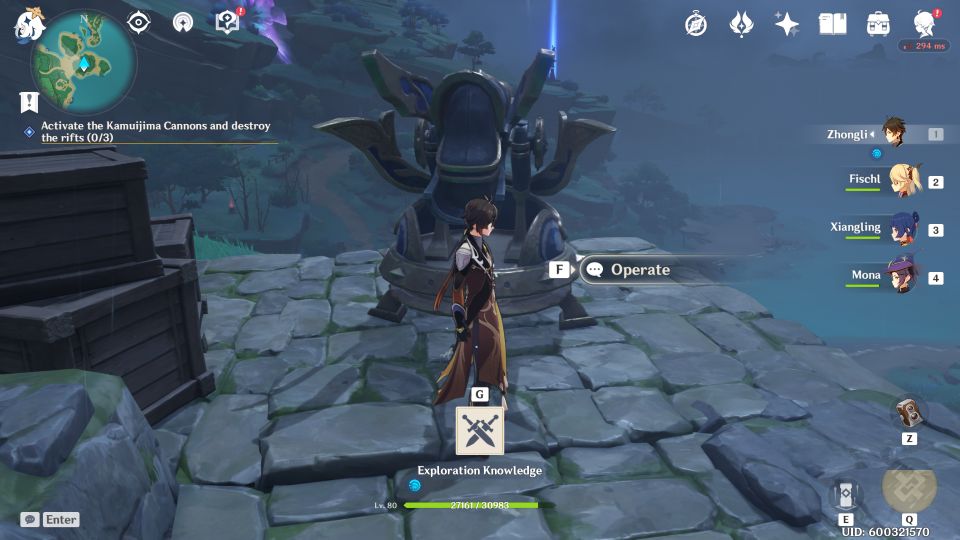
Now, aim the cannon to destroy the rift. You can adjust the height and direction. Basically, the higher you aim, the further it goes.

For the second cannon, go to the waypoint south of the previous cannon. The location is marked on the map below.
Like before, use electrogranum to operate the cannon.
The third one is just west of Kujou Encampment / north of the first cannon.
The cannon is on the cliff. Use it to destroy the final rift.

Report back to Xavier when you’re done.

Defeat the Fatui
The Fatui will then appear after your conversation.
Take them all out.

Take a photo of the Mikage Furnace
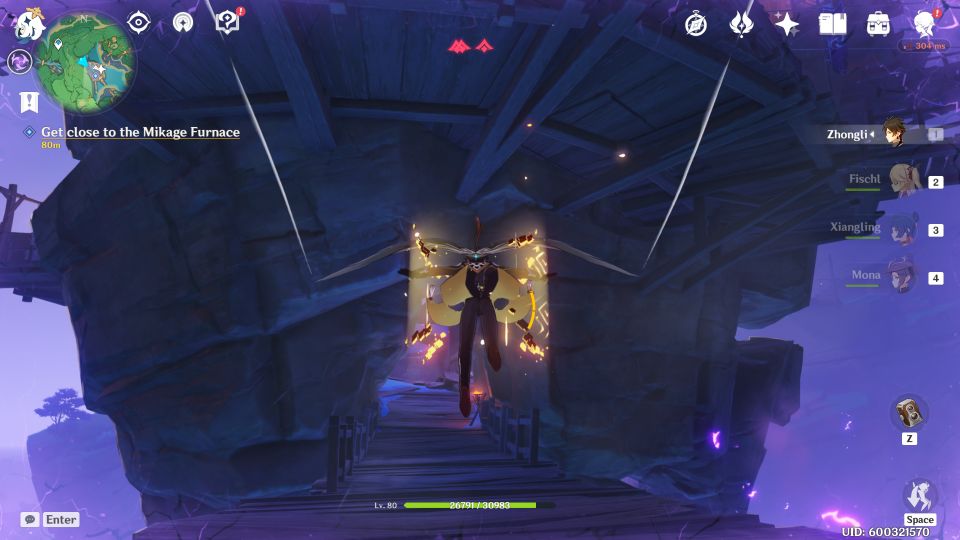
The next objective is to get close to the Mikage Furnace. You’ll see the location on the map.
From Xavier’s location, you can go all the way in as the barrier is gone. Cross the bridge to the tower.
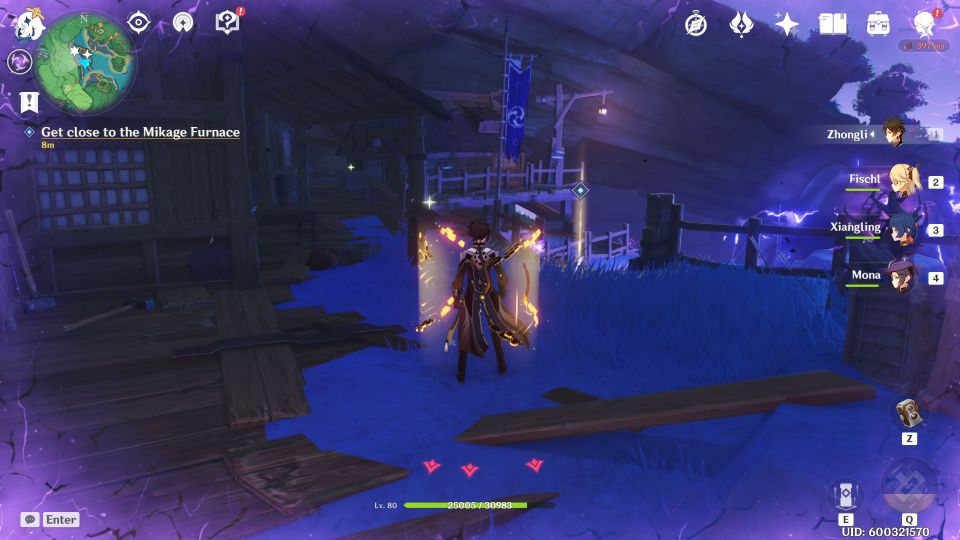
Inside the tower, keep making your way up. At the top, you’ll find a spot close to the Mikage Furnace.
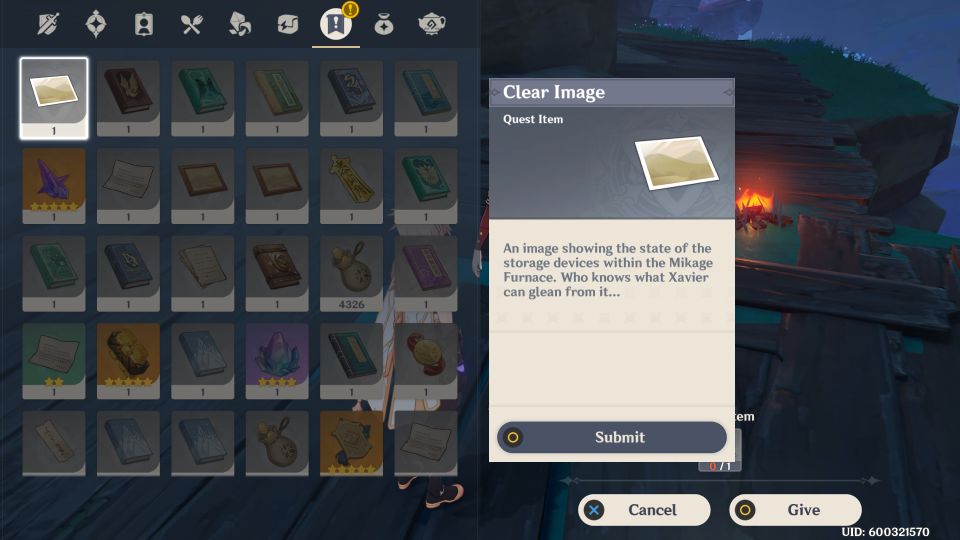
Use the Kamera to take a photo.
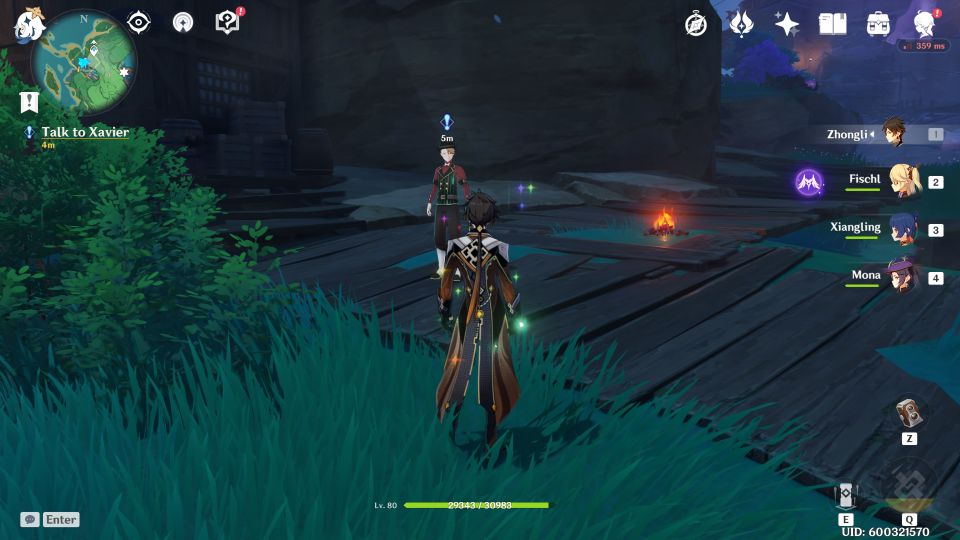
Return to Xavier and submit the photo to him. The quest ends here.
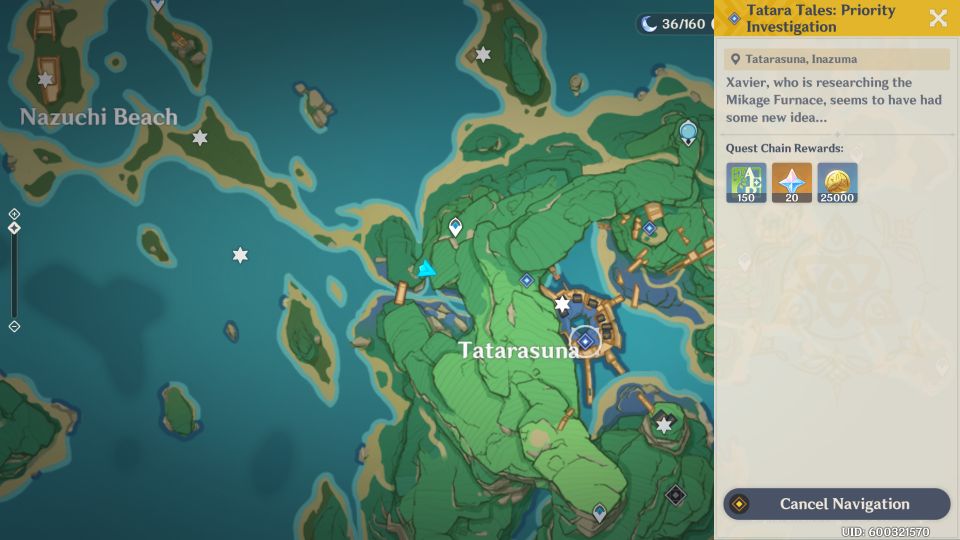
Tatara Tales: Priority Investigation
Priority Investigation is the second quest of this series. You can start this quest immediately after the previous quest.

Once again, talk to Xavier to begin.
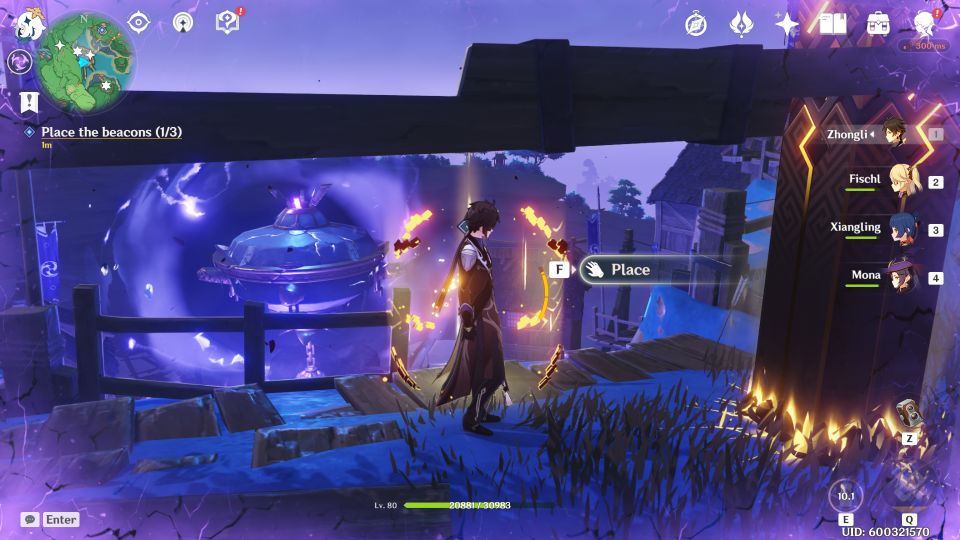
This time, he’ll ask you to place three beacons, all in the same area.
The locations are all marked on the map.
Just like before, you can go straight from Xavier’s location. You’ll find the first beacon area pretty soon.
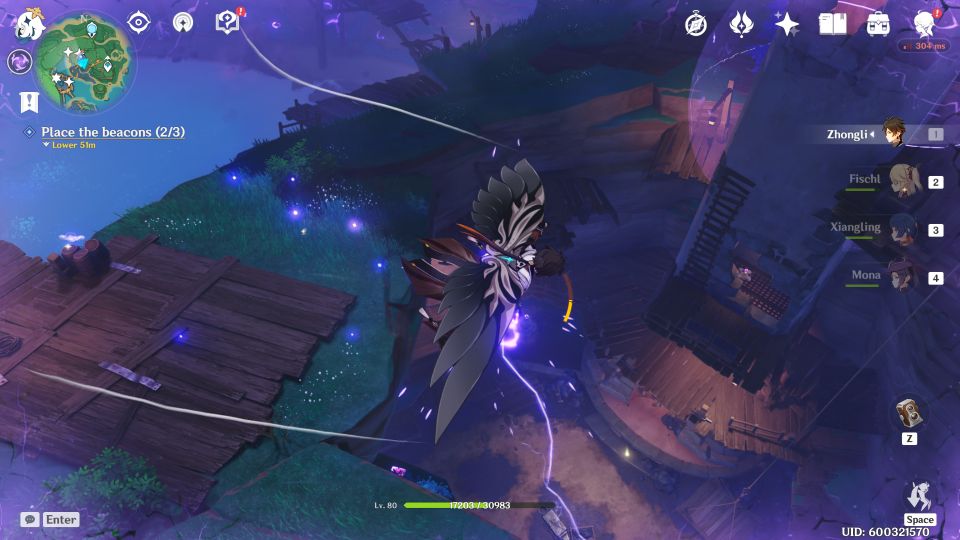
Then, head to the tower by crossing the bridge.

Climb up to the top and place the second beacon. It’s the same spot as the photo you took in the previous quest.
The last beacon simply requires you to glide down from the top. It’s somewhere at the bottom.
Report back to Xavier when you’re done. The quest ends here.
Tatara Tales: Purification Device
You will get the third quest sometime the next day.
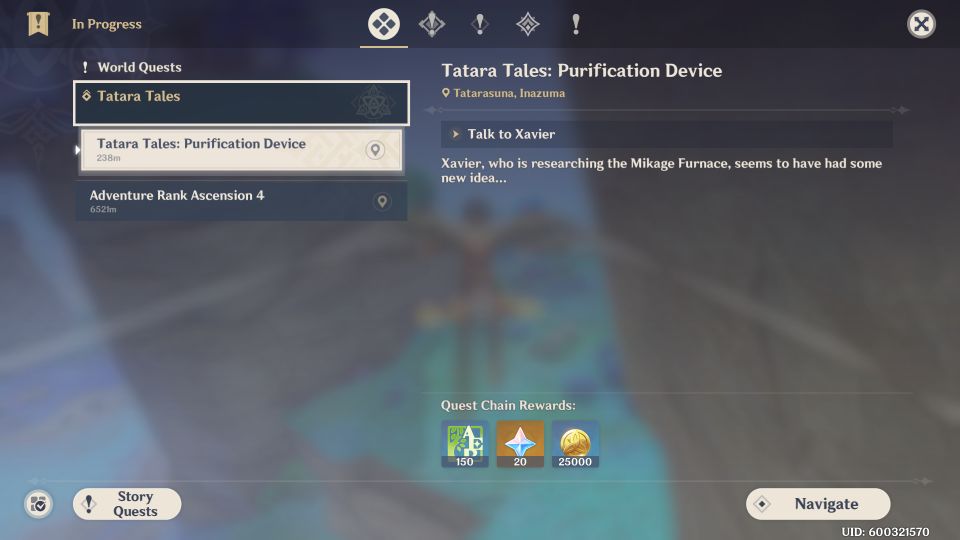
Talk to Xavier again to begin the quest.

You only need to give him three chunks of Crystal Marrow and the quest ends here.
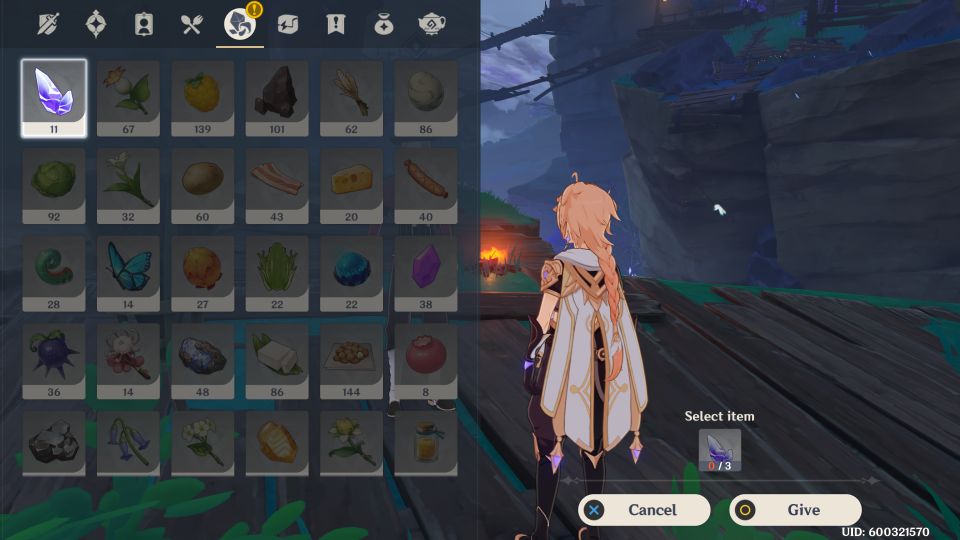
Tatara Tales: Data Collection
The next sub-quest is Data Collection.
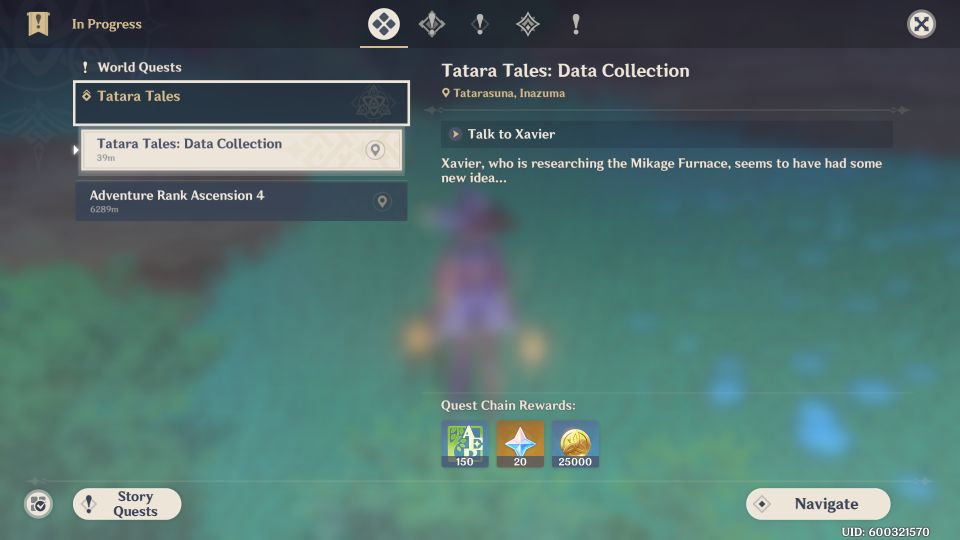
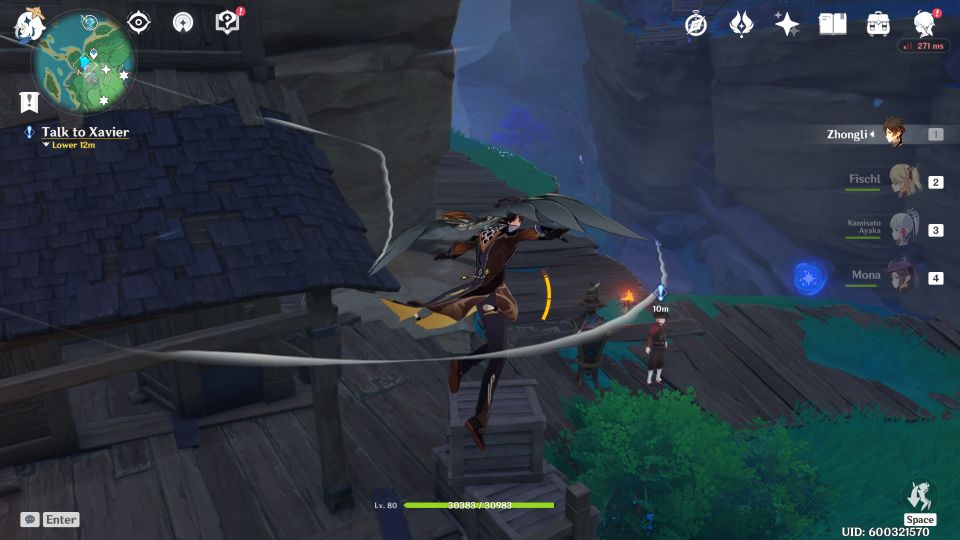
Once again, talk to Xavier to begin the quest.
Previously, you had to place all the beacons. This time, you just have to collect them from the same spots you placed them.

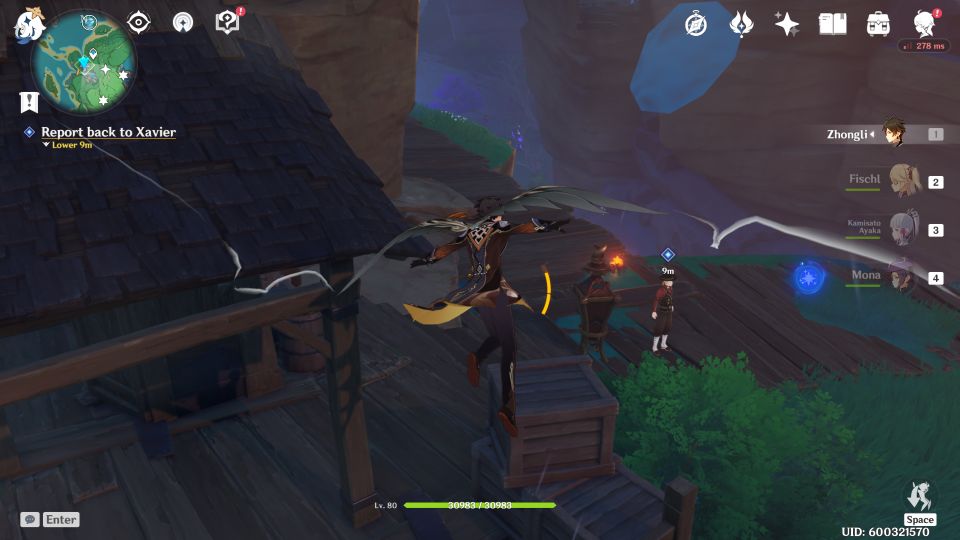
After collecting all three beacons, report back to Xavier to end the quest.
Tatara Tales: Process Is Everything
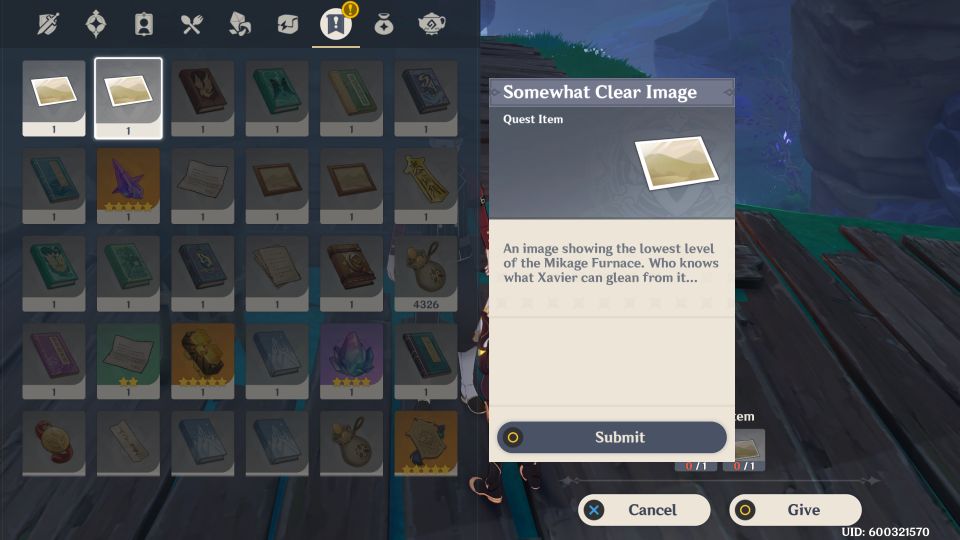
The next one requires you to take photos of the Mikage Furnace.
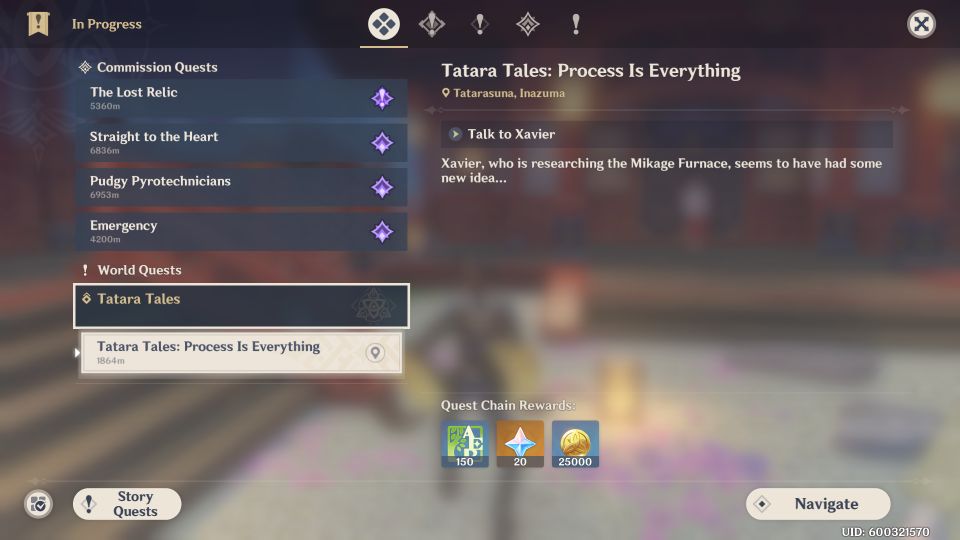
The location of two photo spots are both shown on the map.

From Xavier’s location, just head straight all the way and go to the bottom of the area. You will see the marked spot there.
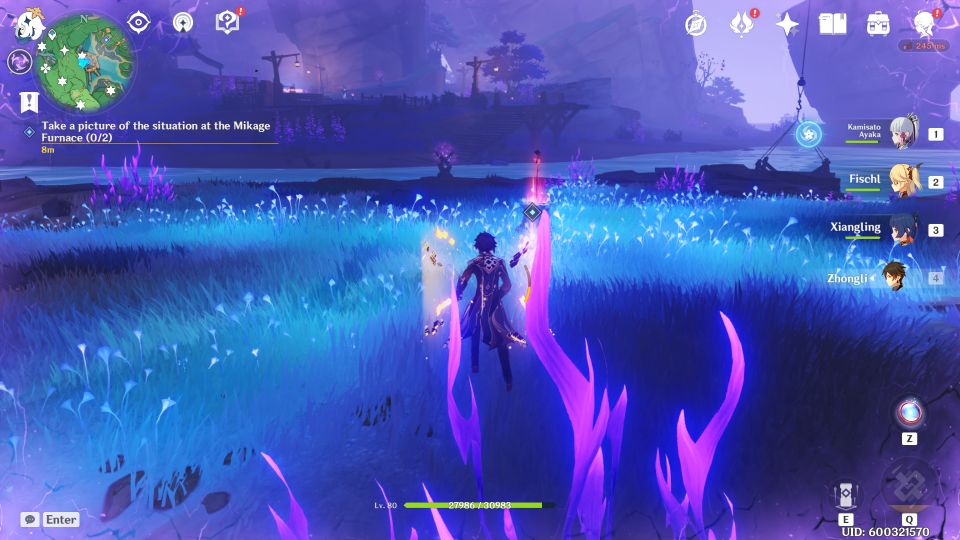
You need to look up and take a photo of the top.
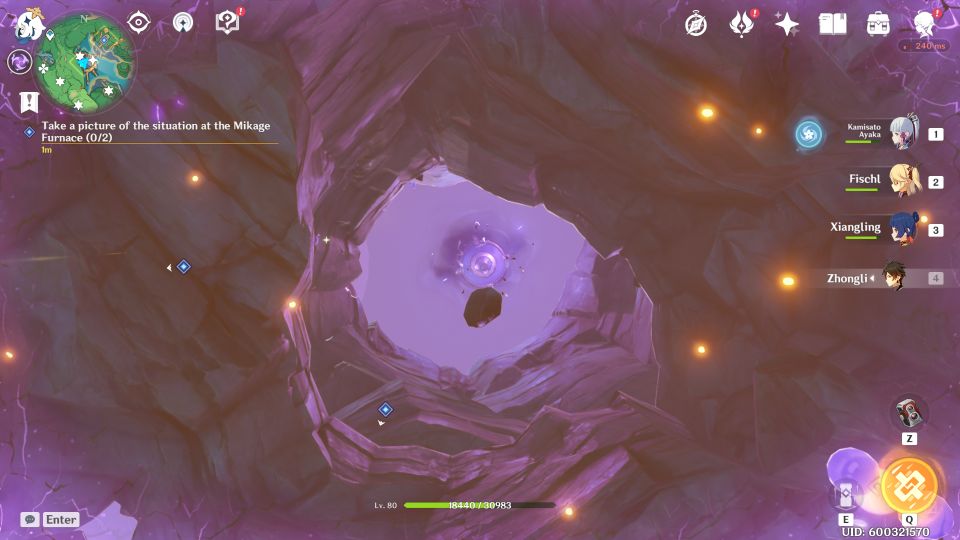
The second one is quite straightforward. Just take a photo of the furnace.
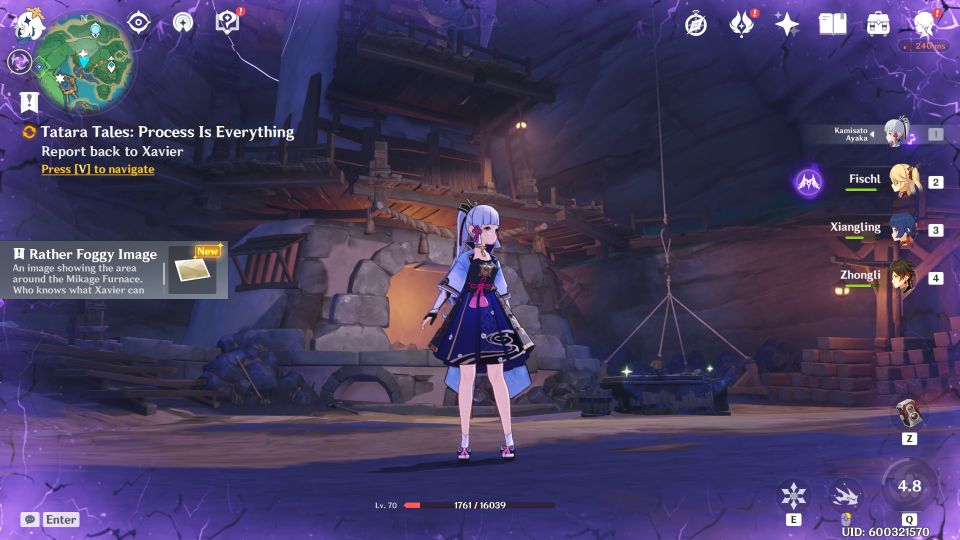
Return to Xavier and submit the two photos to complete the quest. More quests will be coming but it’s time-gated.
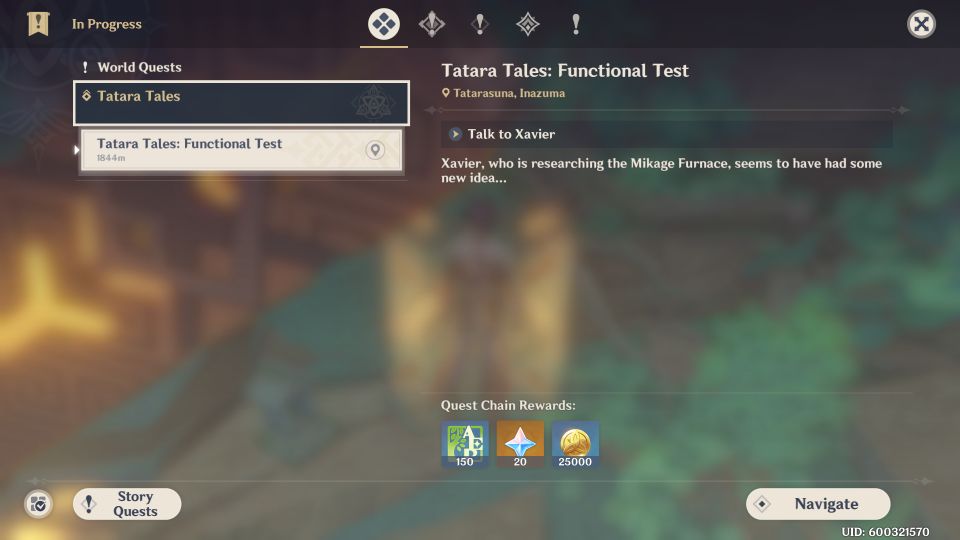
Tatara Tales: Functional Test
This next sub-quest is a really easy one.
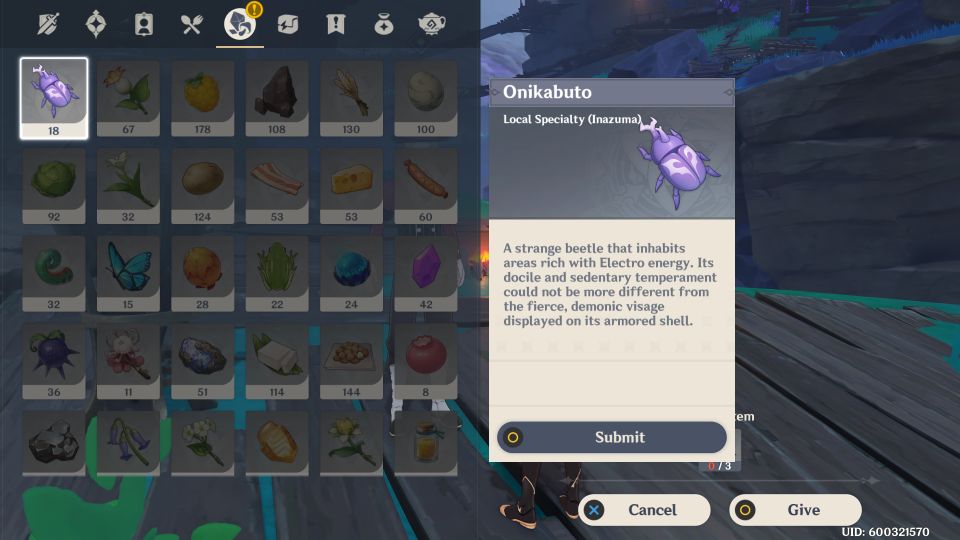
You only need to provide Xavier with 3 Onikabuto. These bugs can be found on trees, especially in electro-saturated areas. The quest ends here for now.
Tatara Tales: Final Preparations
You will then get the quest Final Preparations.
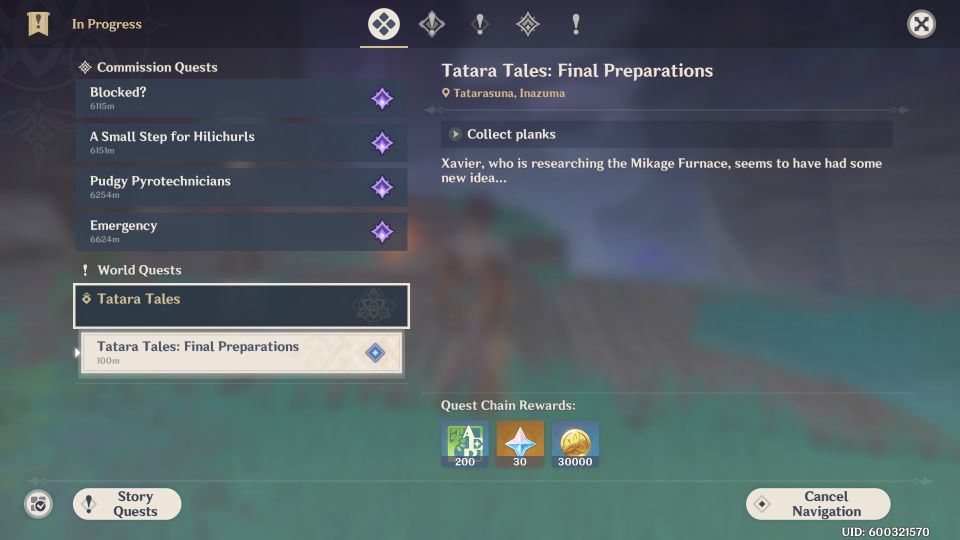
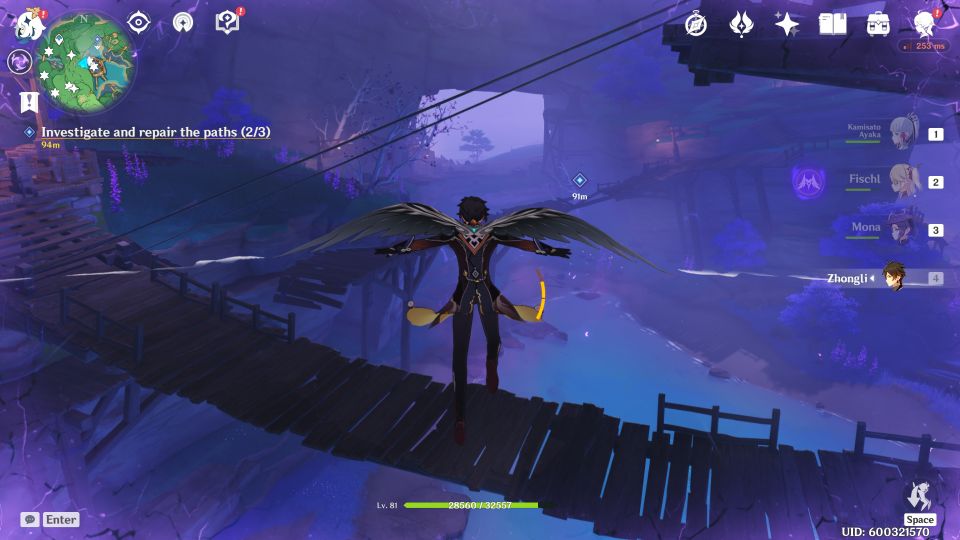
First of all, you need to collect planks. From Xavier’s location, just go straight until you reach the planks. There is a Mirror Maiden in the area.

After picking up the planks, you have to repair the paths / bridges. The locations are all marked on the map.
The first two parts are actually at the bridge closest to Xavier.

You will find the last one at a further bridge. Just glide all the way there.
Tatara Tales: The Last Act
The Last Act is the final quest in this series.
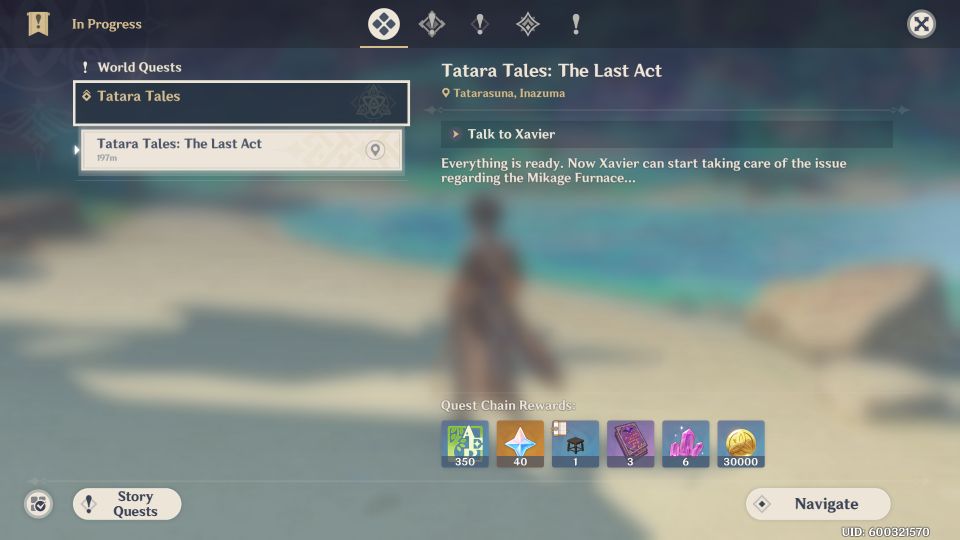
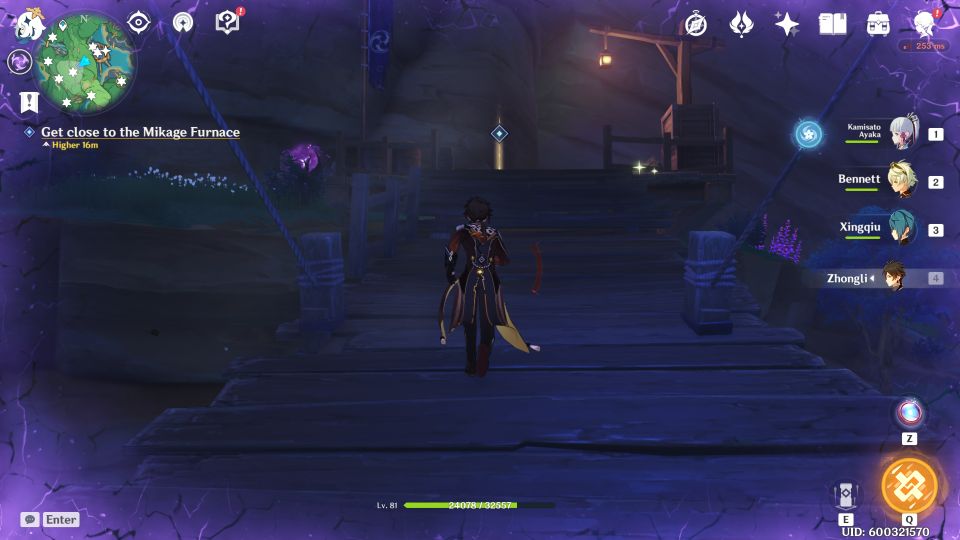
Go back to Xavier to begin the quest. This time, get close to the Mikage Furnace. The location is marked on the map.
It’s basically at the side of one of the bridges.
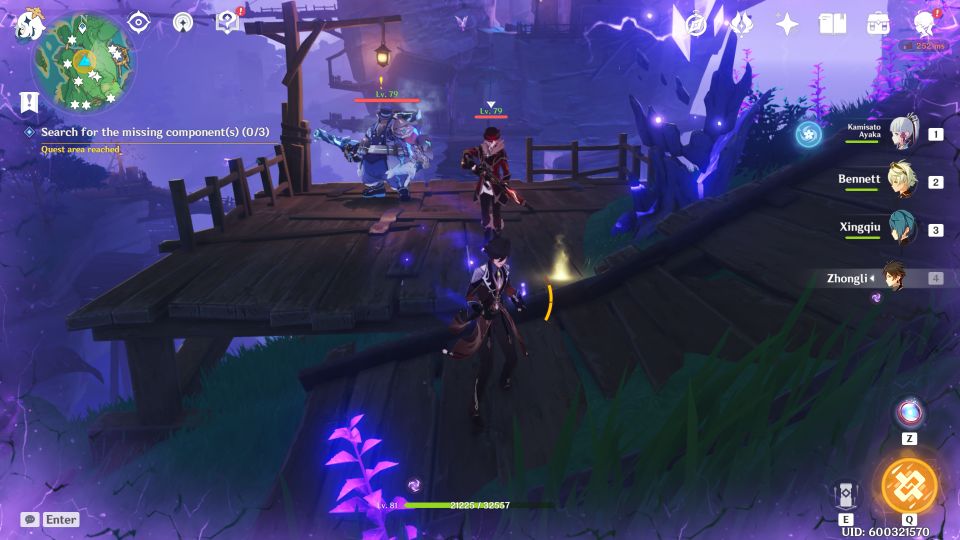
After talking to him, you need to find missing components. They’re all near where Xavier is standing, towards the back.
Some Fatui members may spawn there.
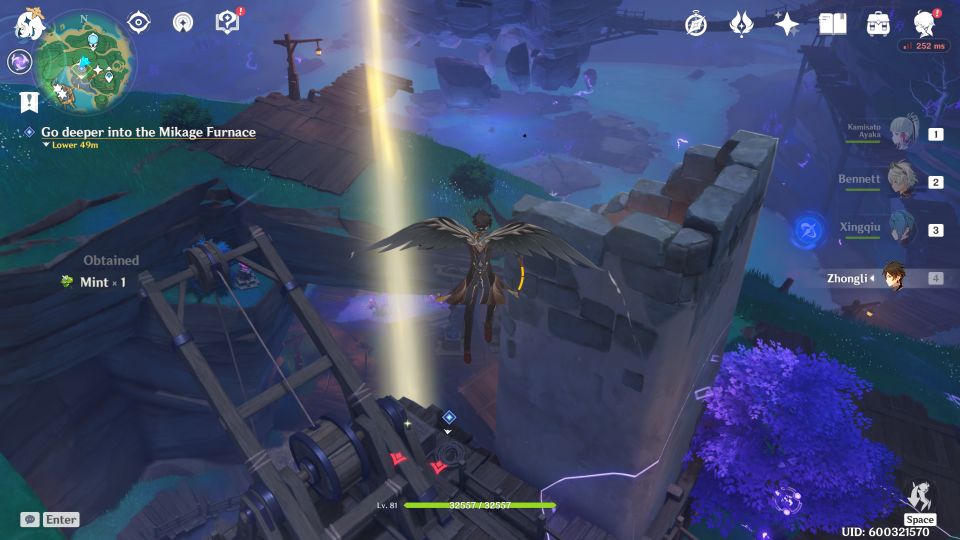
After getting all the parts, go deeper into the furnace. The location is marked on the map as well.
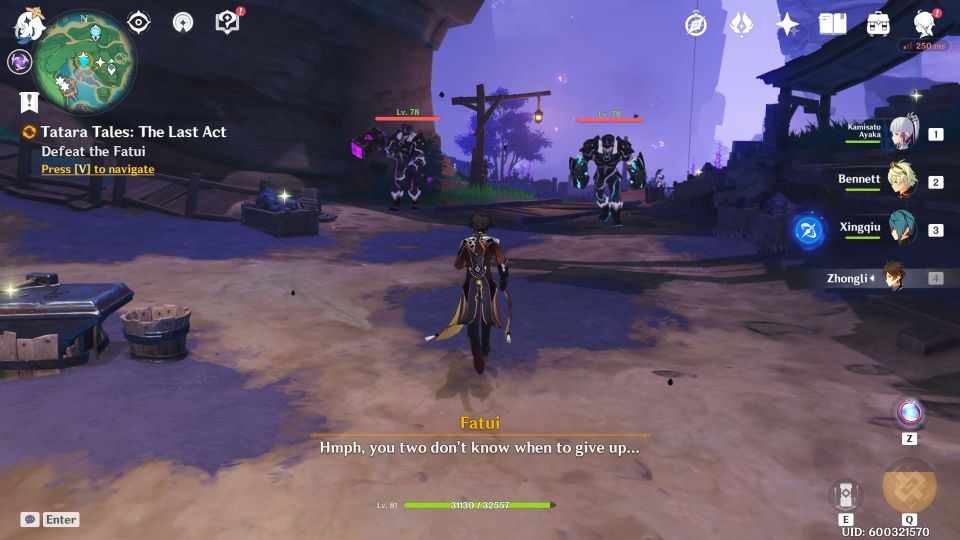
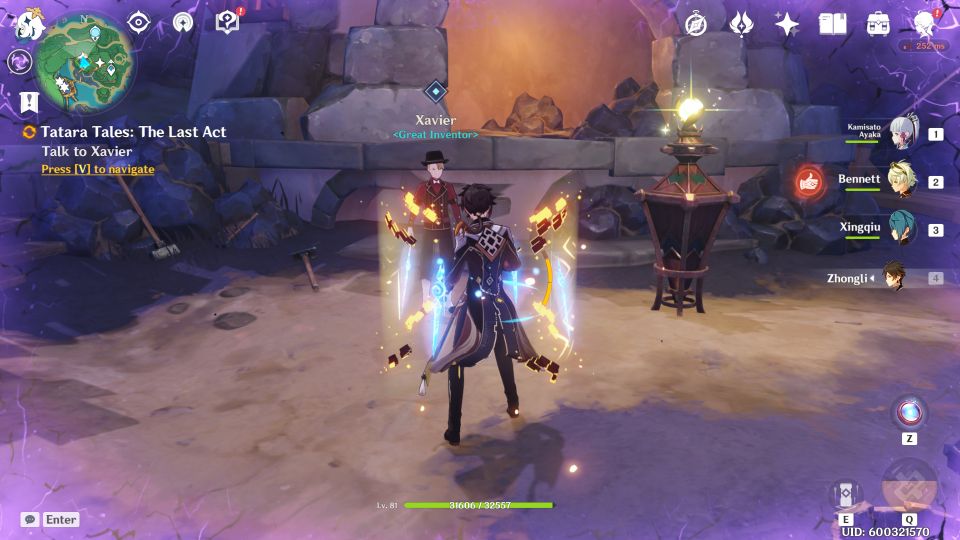
As you reach the area, talk to Xavier and you’ll then need to defeat the Fatui members.
After beating them, speak with Xavier again.
Next, head to the bottom of the furnace.

When you are ready to fight the Fatui, activate the Purification Device.

There will be six opponents in total, including the usual Fatui members, the Fatui pyro agent and Mirror Maiden.
As the area has balethunder, watch out for your health. Get the electrogranum to prevent the effect for a short time.

After beating them, go to the top of the furnace to observe the situation.
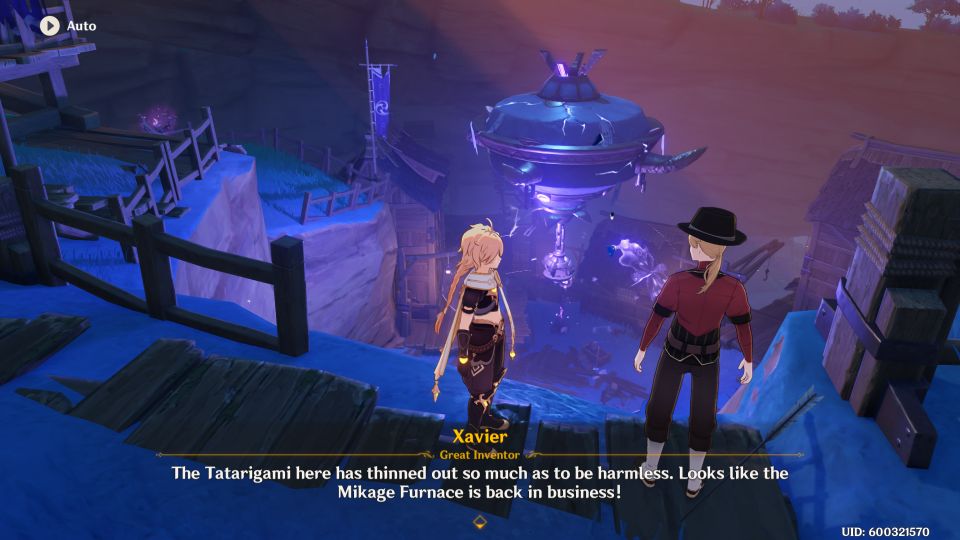
The quest finally ends.
Related posts: