What Lies Below is the final escape room challenge in the newly released game Escape Academy.
Your objective is to defeat the super computer named Quanty.
Here’s a walkthrough and guide of What Lies Below in Escape Academy.
The difficulty level is 5 / 5 and the time limit is 45 minutes.
As you begin, talk to the Headmaster who is trapped inside. Then, head behind her to the first challenge.

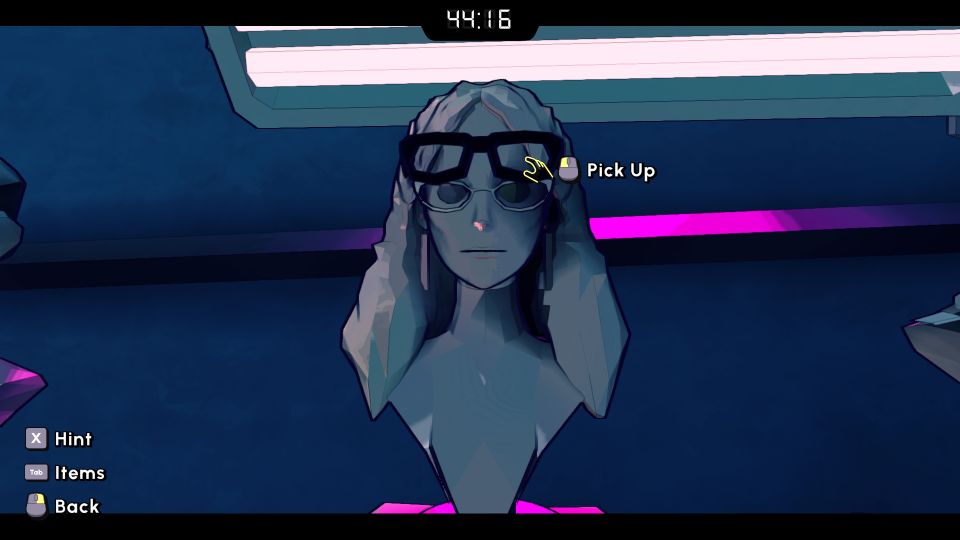
In the next room, pick up the glasses on her statue.
First puzzle guide
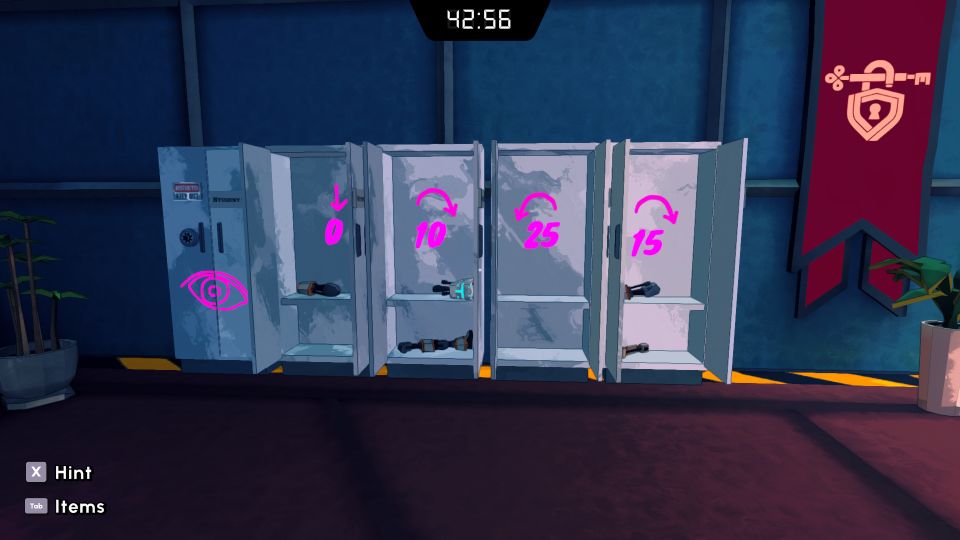
For the first puzzle, you will see an eye symbol on one of the lockers. Open all the lockers beside it.
You will see Right 10, Left 25 and Right 15.
Go to the lock and turn the lock to 10, go left to 25 and go right to 15. Try to exceed a little when turning the lock so that it counts.
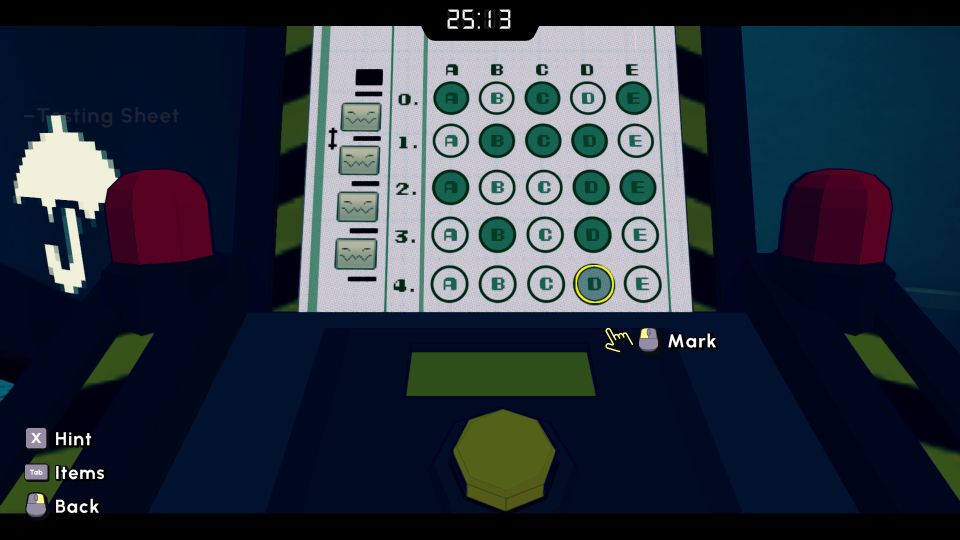
You will find a Testing Sheet inside and a Headmaster’s Pin.
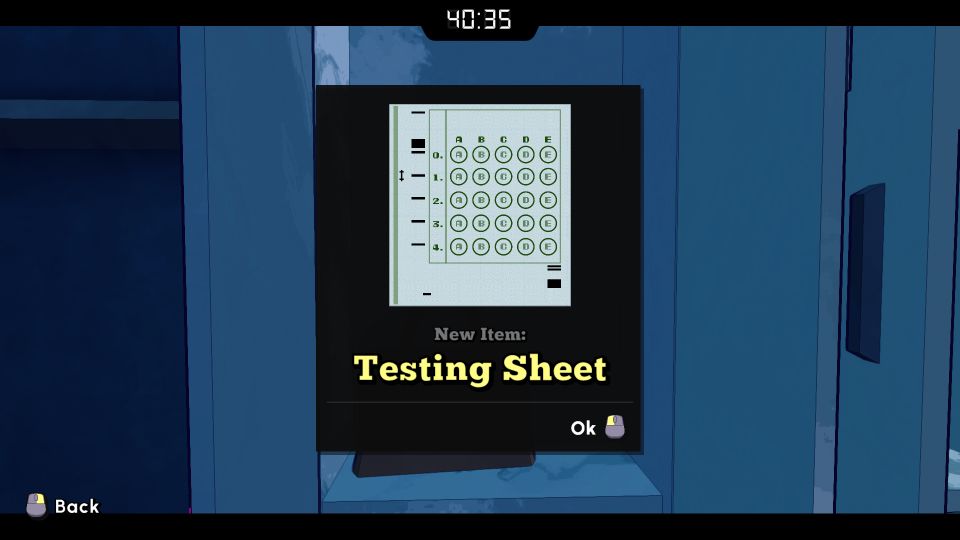
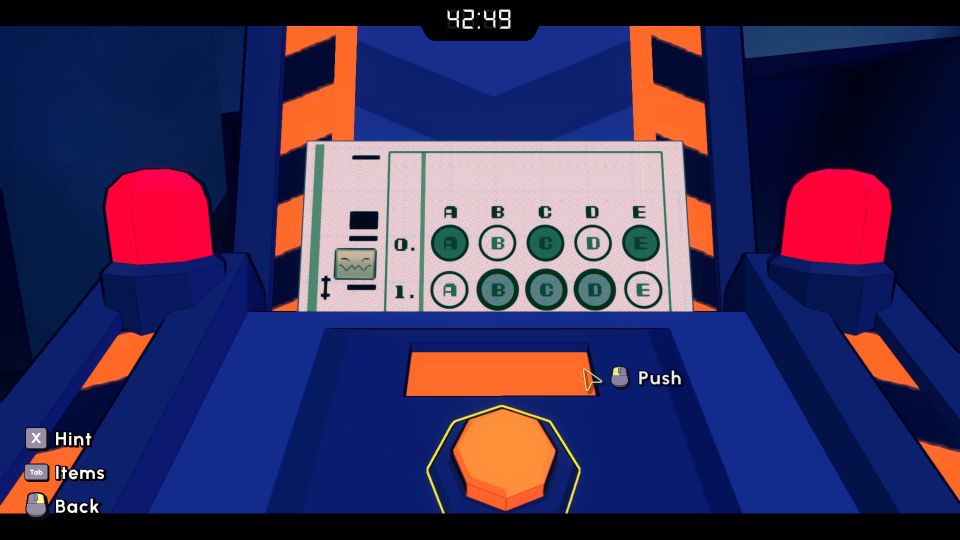
Place the testing sheet at the device on the exit.
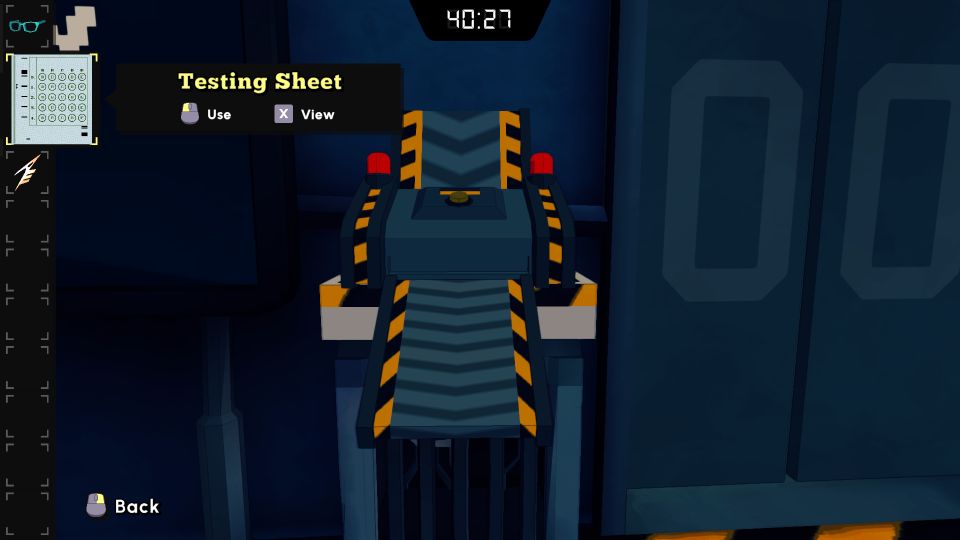
Key in ACE and push the button.
Before leaving, grab the Testing Sheet as you’ll use it at every stage.
Second puzzle guide
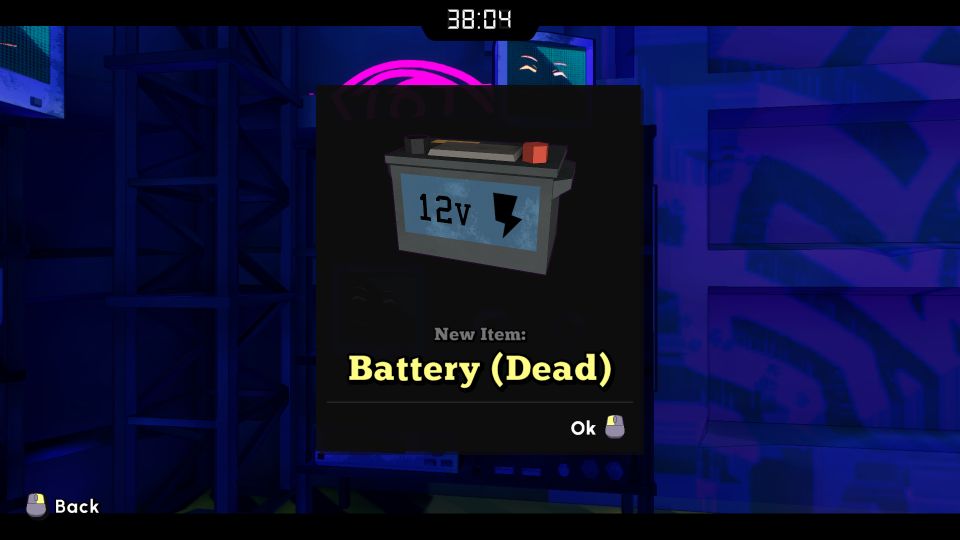
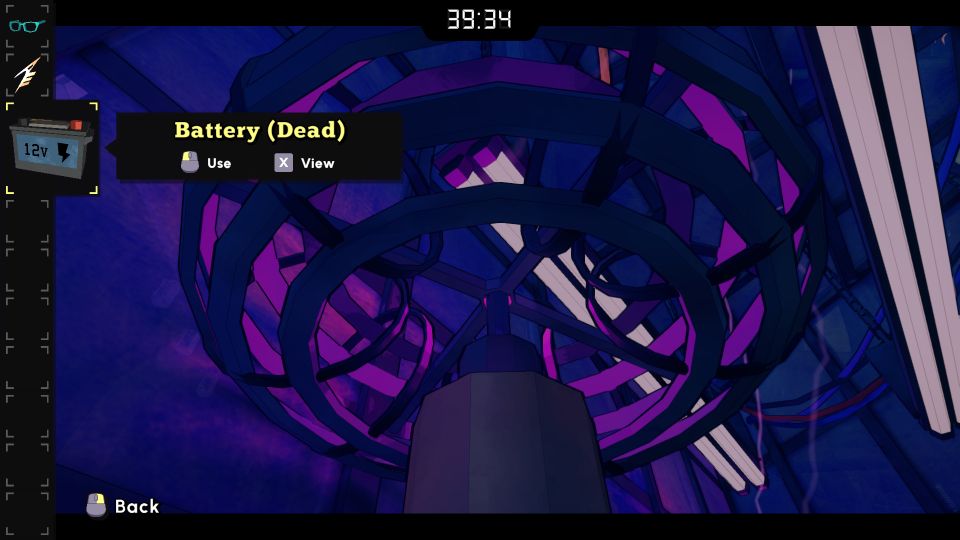
Before starting the puzzle, look for a Battery (Dead) at one of the shelves.
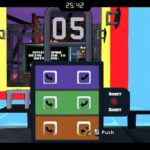
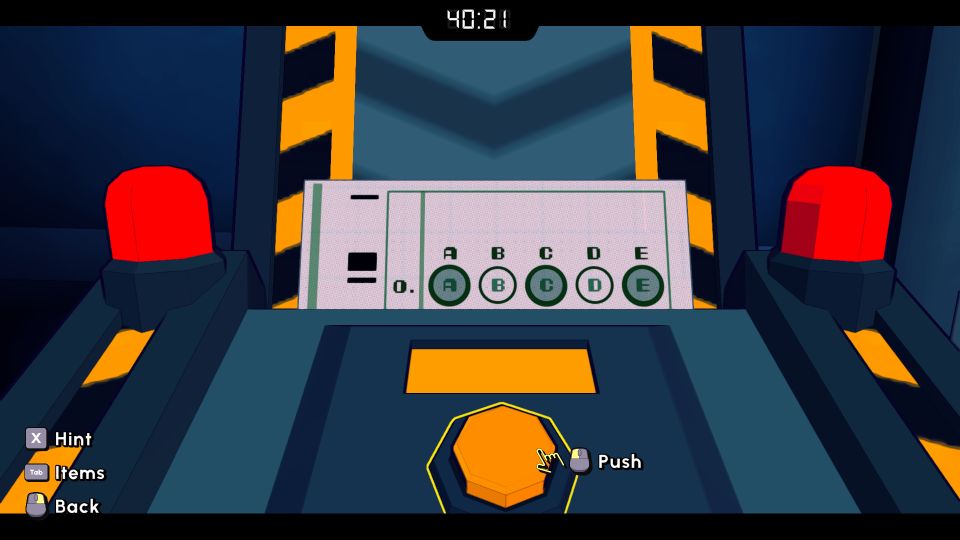
Now, you will see four colors on the screen. If you step the tiles according to the order of the colors, you should reach A.
Push the A button.
Follow the colors again and push the D button.
Thirdly, follow the colors and you’ll reach the E button.
You should go to the opposite and push the C button.
Then, follow the colors and you will reach the B button.
You should then see that the screen displays EXIT.
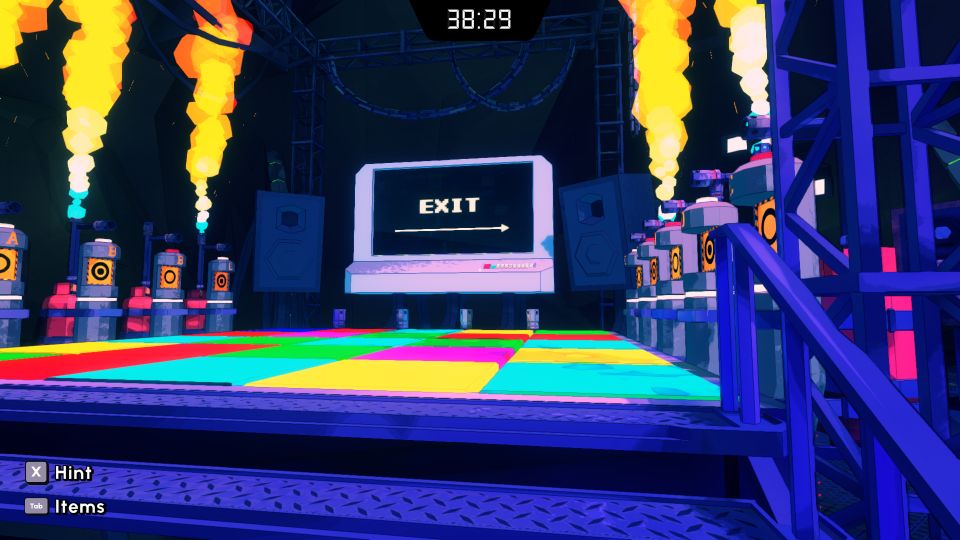
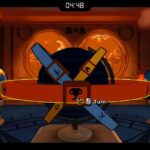
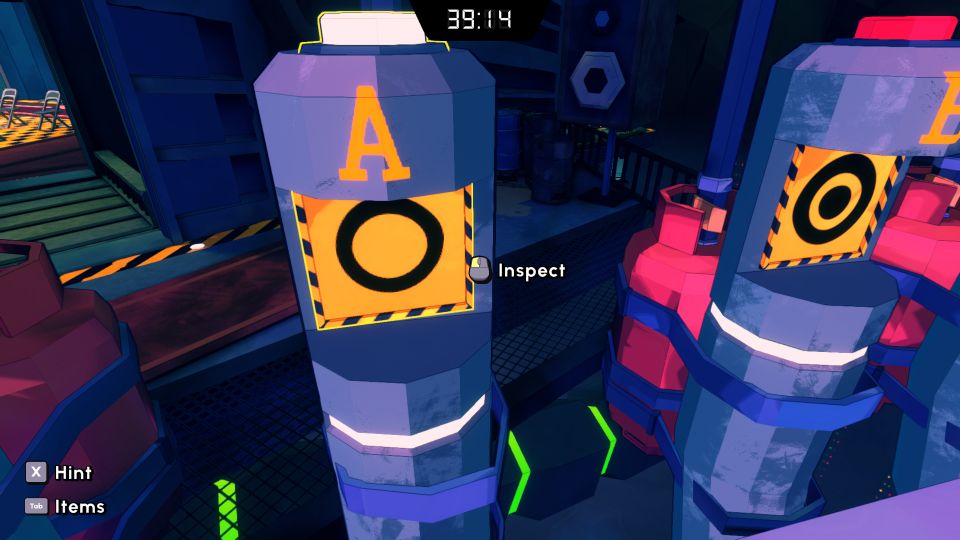
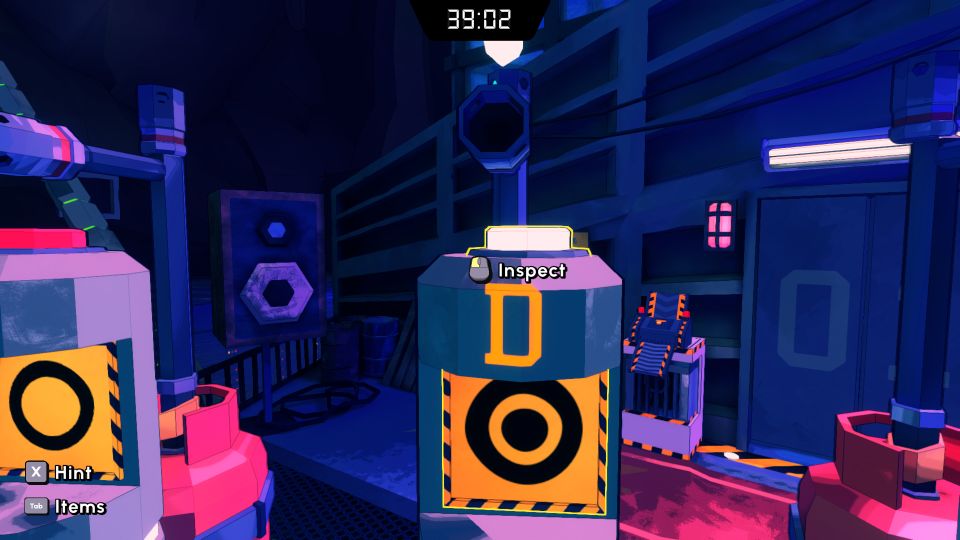
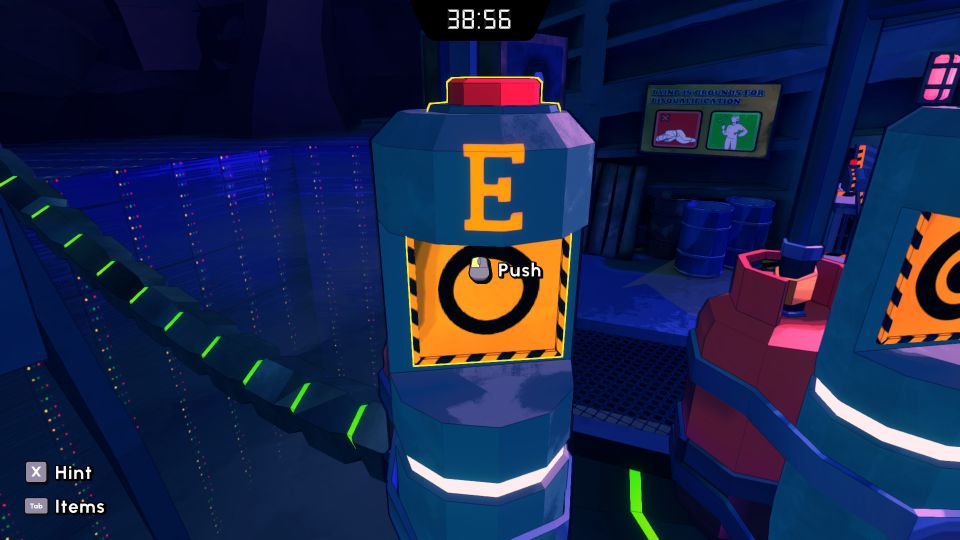
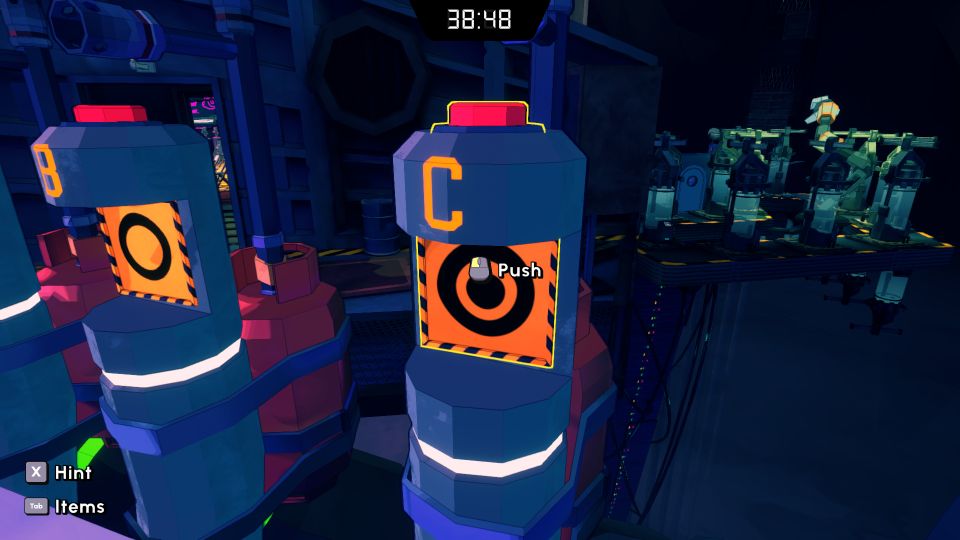
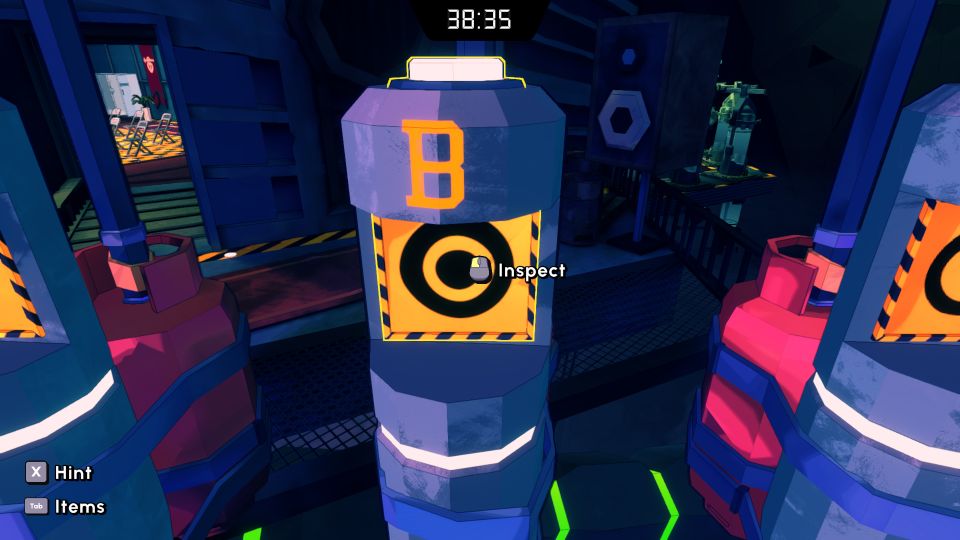
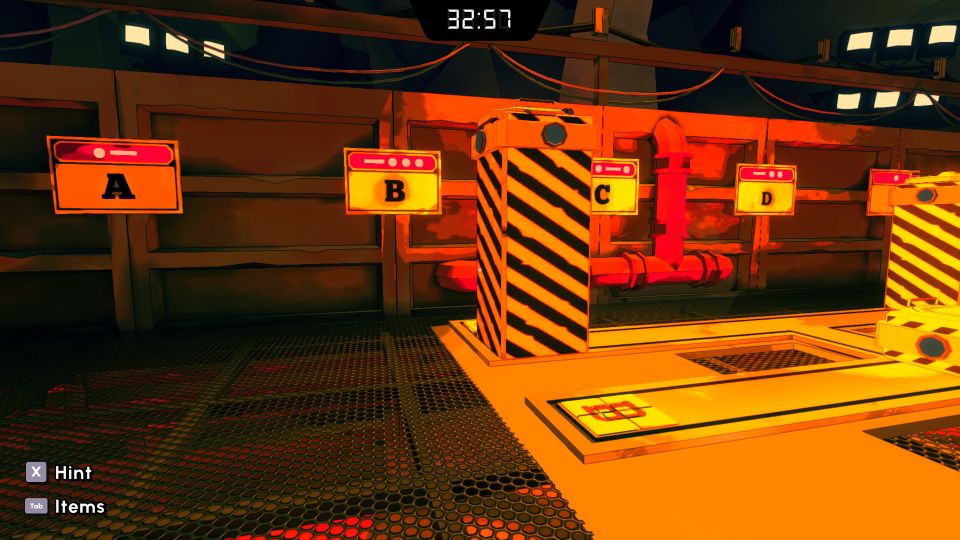
To determine the answer for the Testing Sheet, you have to observe all of the devices with flames coming out of it.
Among all of the devices with flames, observe those with the target symbol under the letter, rather than the circle.
If it’s a regular circle, it’s not counted.
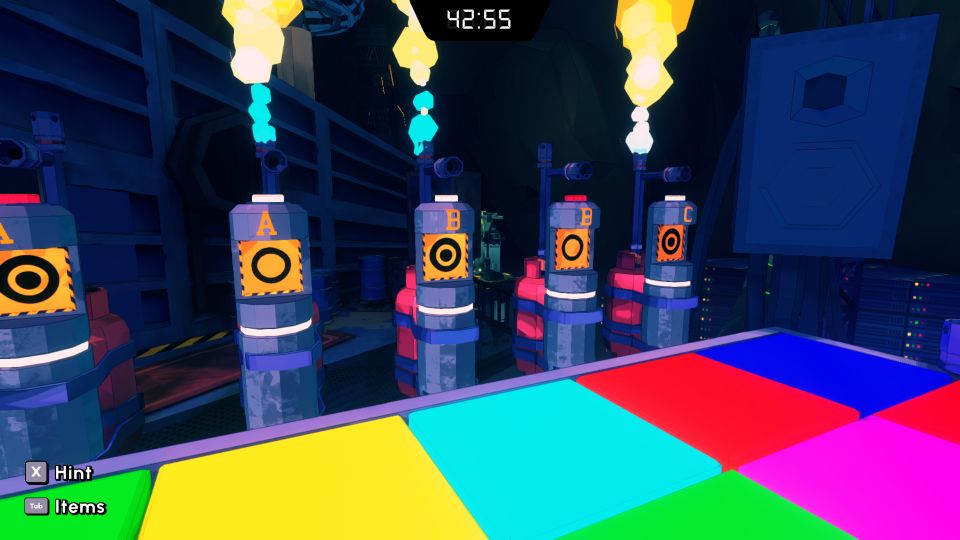
You should get the answer BCD for your Testing Sheet.
Third puzzle guide
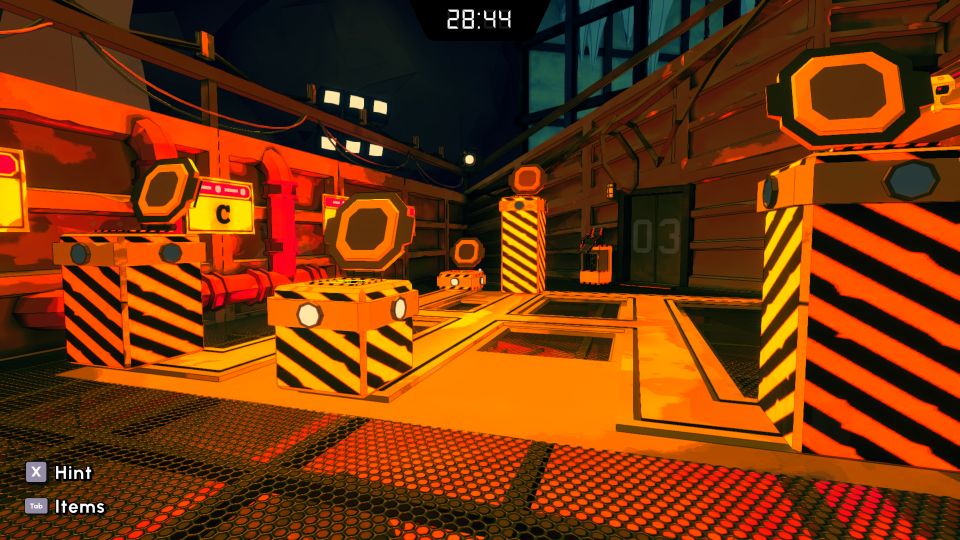
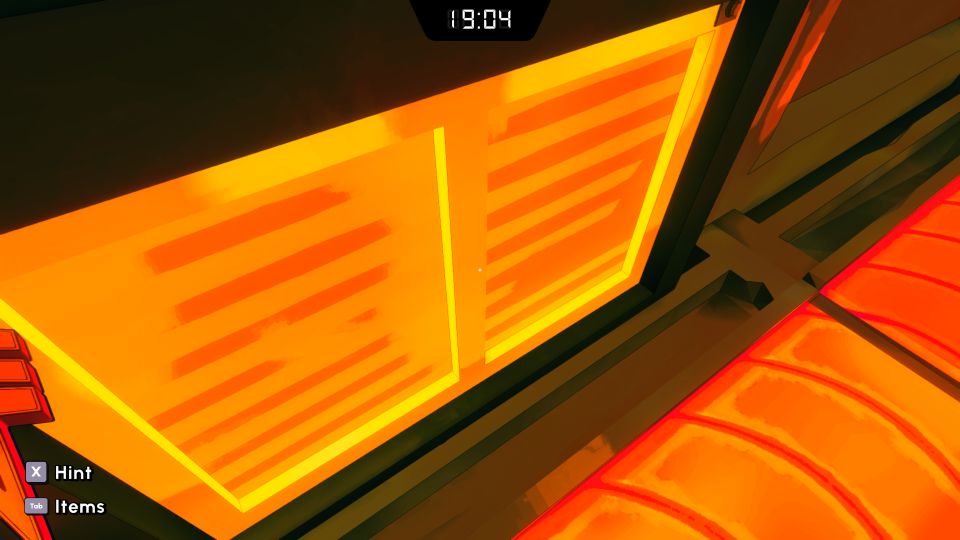
In the third room, you will see some sparks come and go.
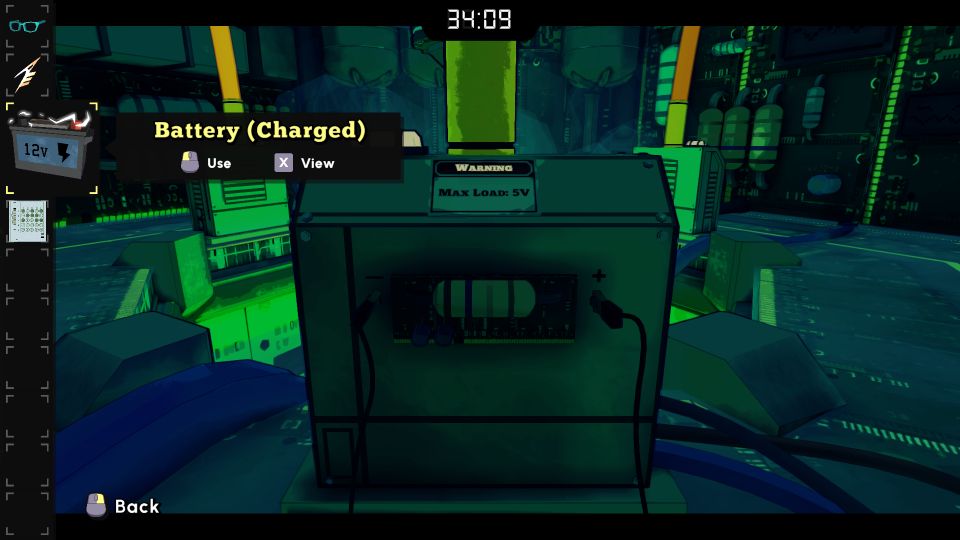
Head to the big device and charge the Battery (Dead).
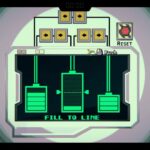
Back to the puzzle, you have to connect the pipes so that it goes from the right entrance to the left exit.
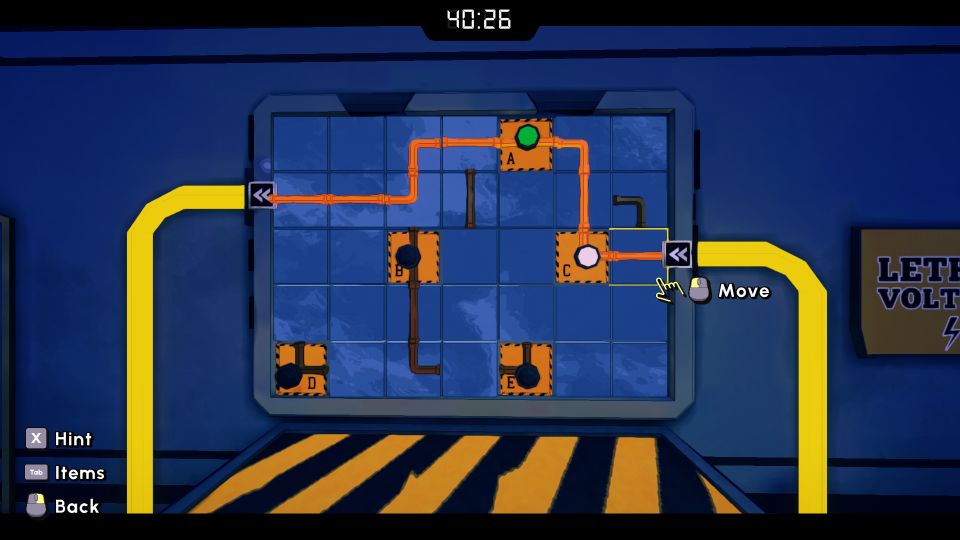
To determine which answers to mark for the Testing Sheet, you would have been required to test all the ABCDE connectors with the entry and exit connected. In the image above, you can see that A and C are connected but only A is in green.
If they light up in green, then it’s counted.
In the end, you’ll get the answers ADE.
Destroy one terminal
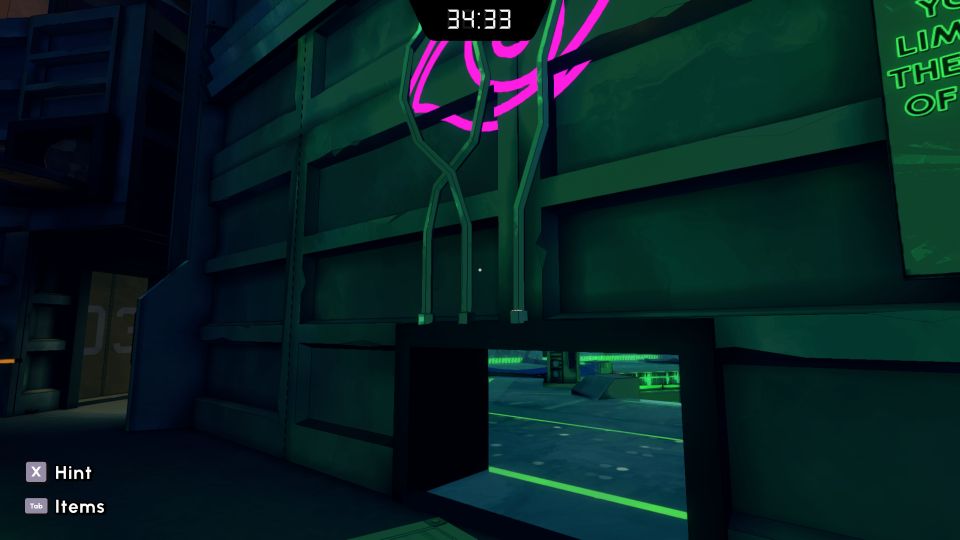
In the next area, you’ll see an eye symbol on the wall.
Look below and you’ll see a hatch. Use the Headmaster’s Pin to open it. Crawl underneath it.
At the Max Load: 5V terminal, place the Battery (charged) to destroy the terminal.
Head back out and go to the fourth room.
Fourth puzzle guide
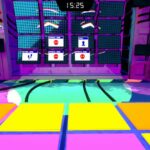
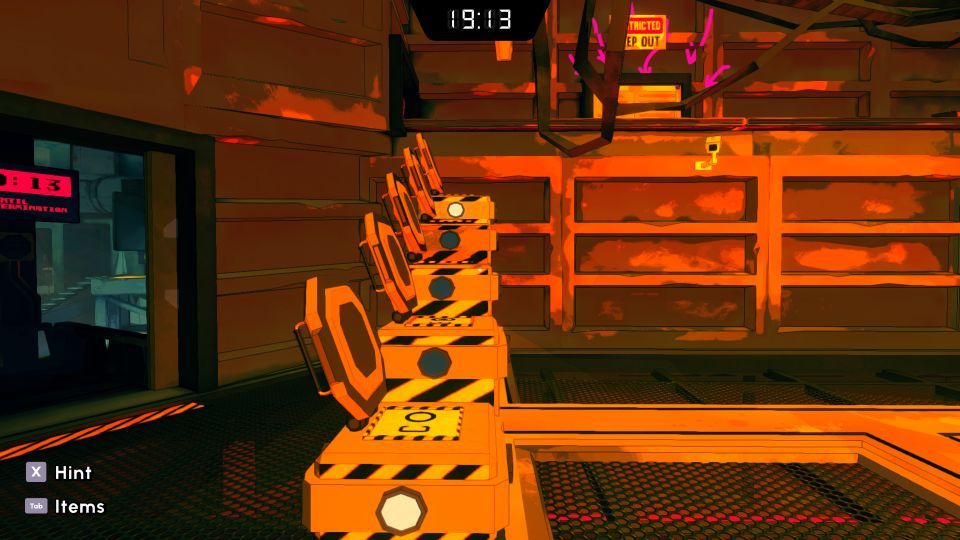
The fourth puzzle is all about morse code. You will see letters A – E on the wall and the morse code is stated above each letter.
You will also see five blocks of different height and each block has its own flickering lights.
Basically how this works is that if a light is on for a longer time, it represents a dash “–“. If it’s on for a second, then it’s a dot “.”.
You have to observe the lights on each block to know what letter of the alphabet they represent. Move the blocks to the respective letters.
You can also follow the arrangement in the image below which is the correct arrangement.
To determine the answer for the Testing Sheet, look at the top of each block.
Those letters beside a target symbol are the correct ones.

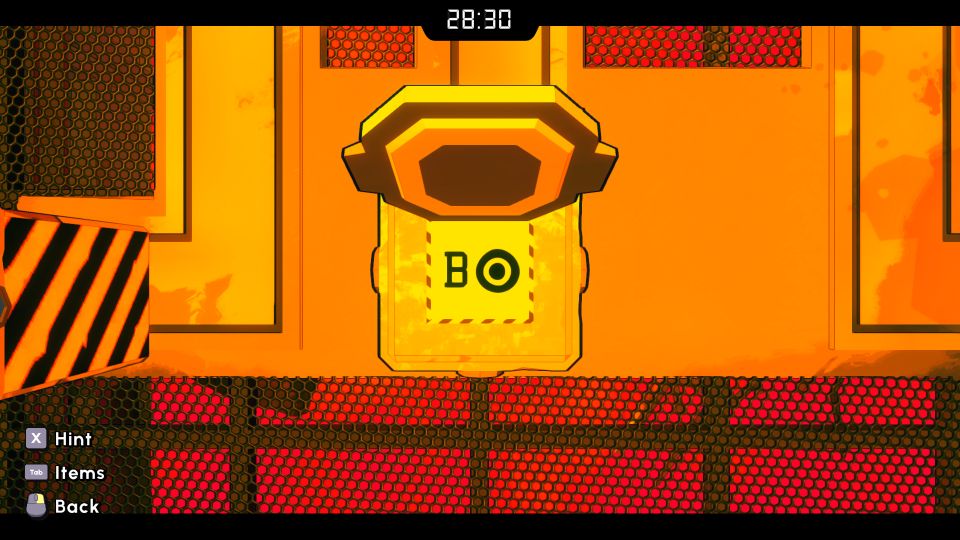
The answer is BD.
Fifth puzzle guide
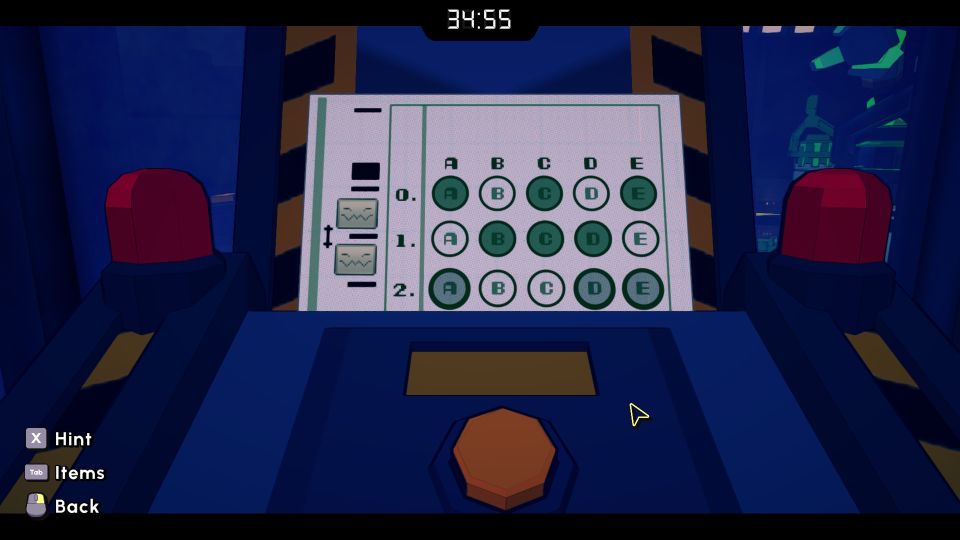
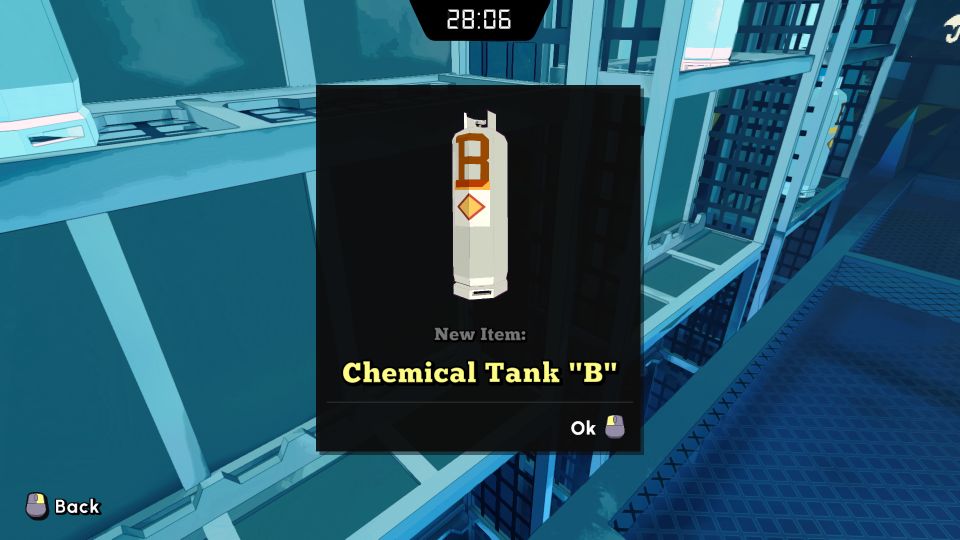
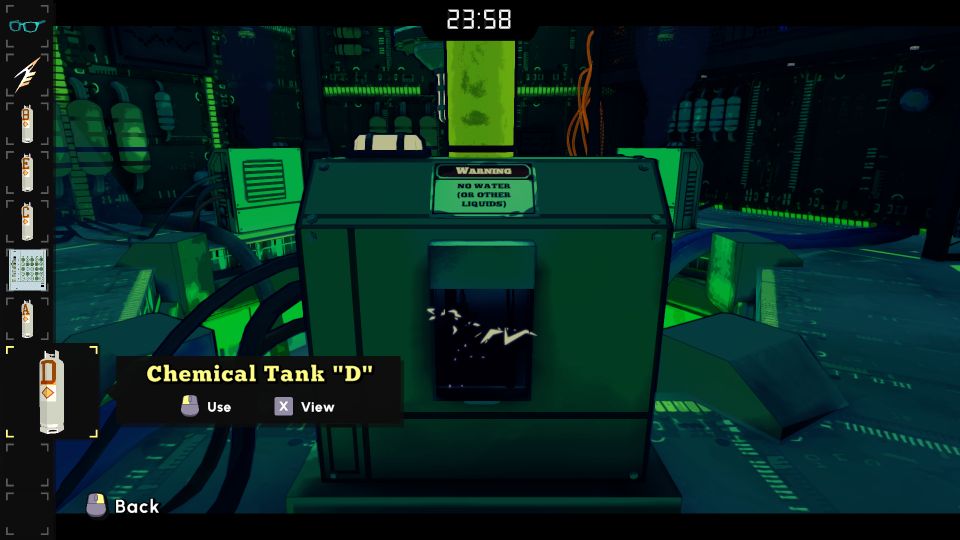
For the fifth puzzle, you’ll be able to pick up five chemical tanks labeled A – E.
If you look at the screen, you’ll be given a chart on what each color represents.

You can also see the color of the gas produced when two elements combine.
The correct answer is D for this one, as D contains H20 (water).
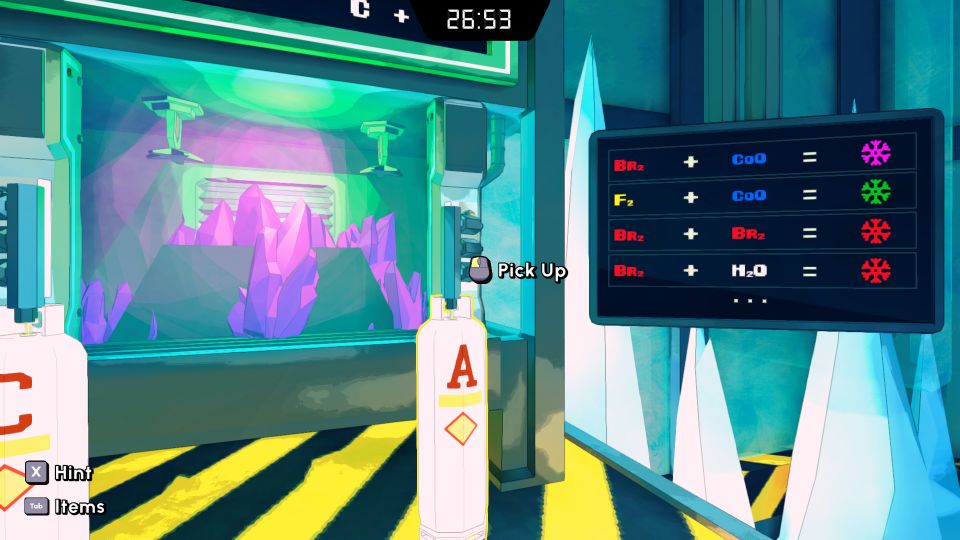
Mark it as D on the Testing Sheet.
Destroy the terminals
Now, head back to the room with the terminals.
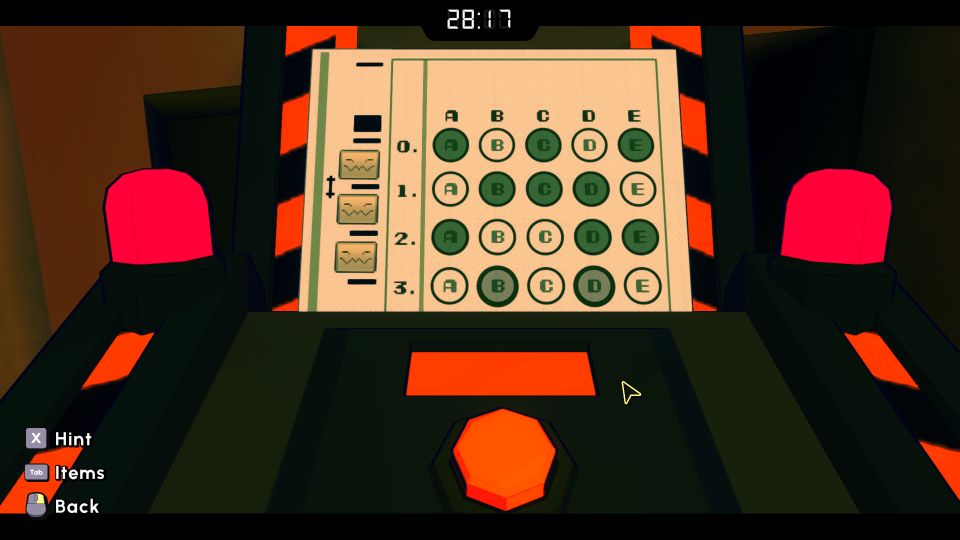
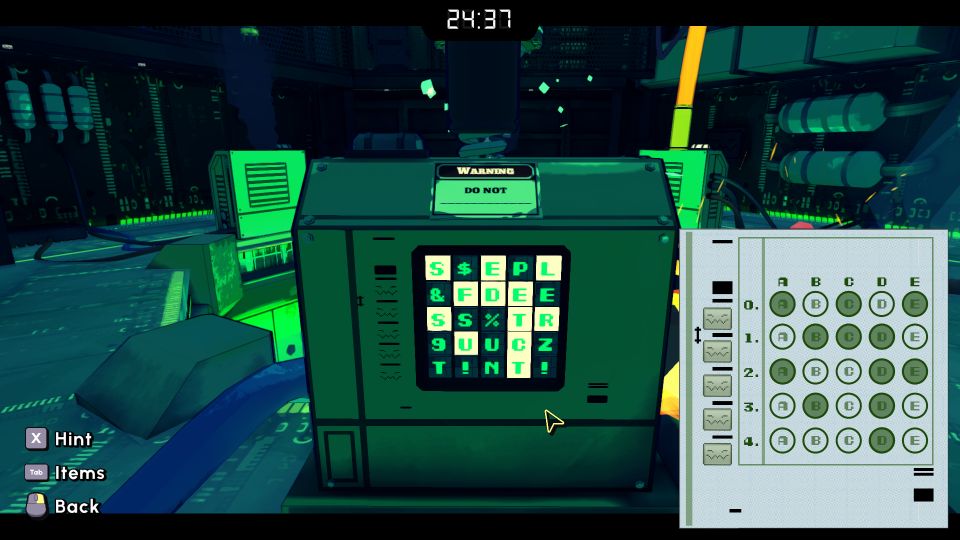
For the terminal with 25 letters on the screen, you just have to highlight them following your Testing Sheet.
For the last terminal, place Chemical Tank “D” which contains water to destroy it.
Where to go after the terminals are destroyed
The next step is to head back to the Morse Code room.
Move the blocks against the wall in ascending height, so that you will be able to climb up.
Use the Headmaster’s Pin to open the hatch and crawl under it.
In the next area, lower the ladder first.
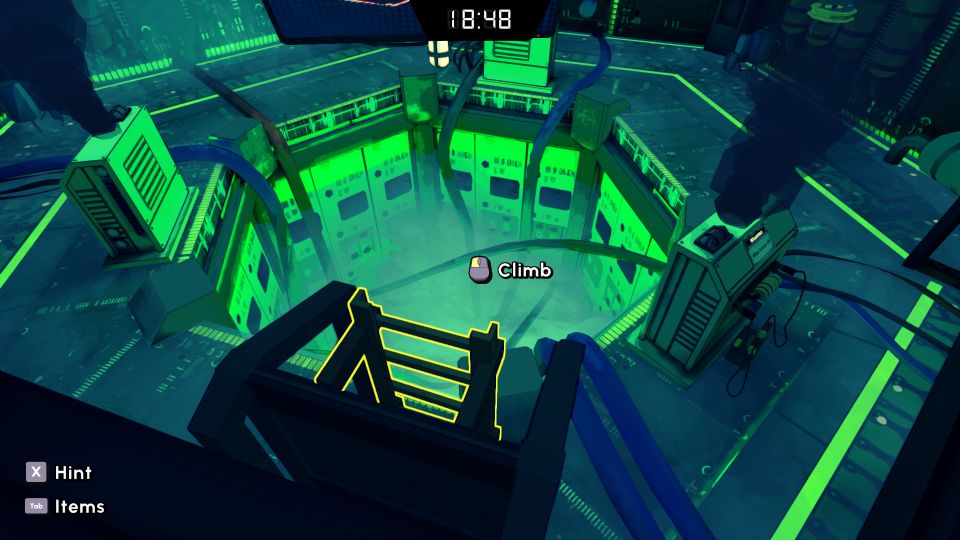
Go to the end and push the button.
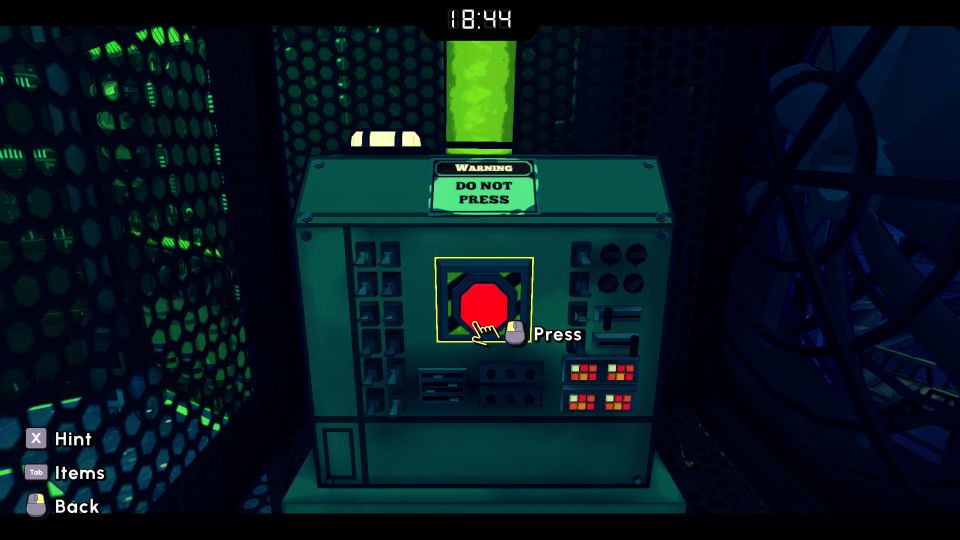
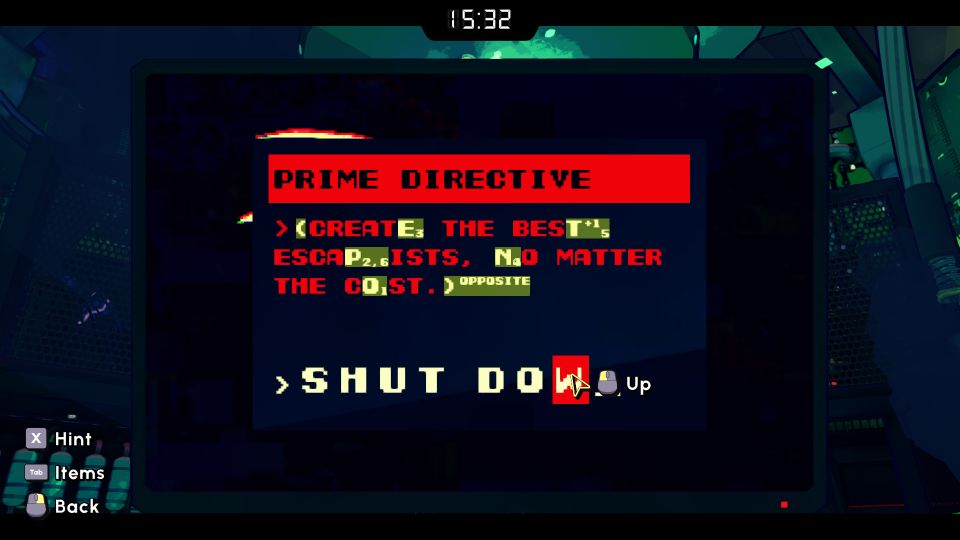
Directive puzzles
The final part requires you to identify the letters to key in for each screen.
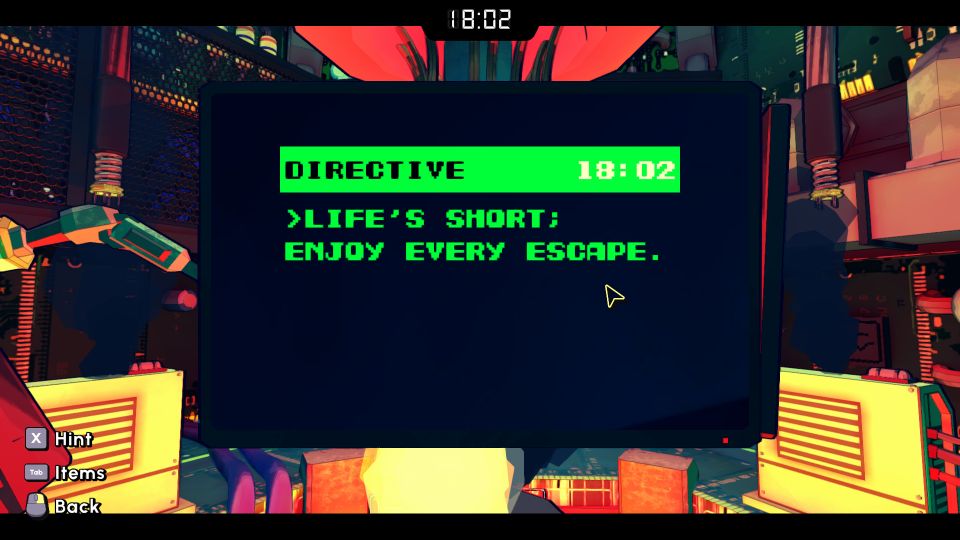
For the first screen, you’ll see “letter” + “number”. When converted, it becomes UNDO.
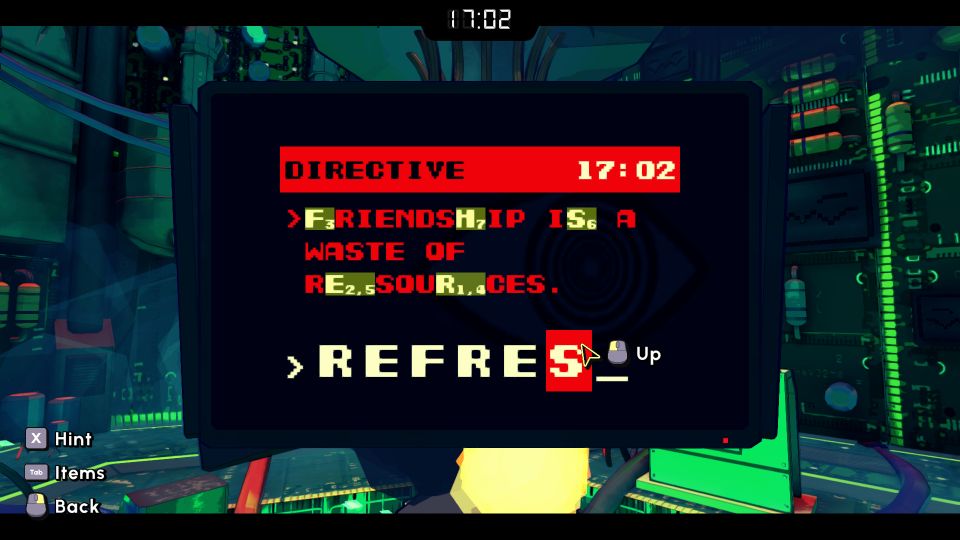
You will then see FRIENDSHIP IS A WASTE OF RESOURCES. They translate to REFRESH.
The opposite of START is STOP.

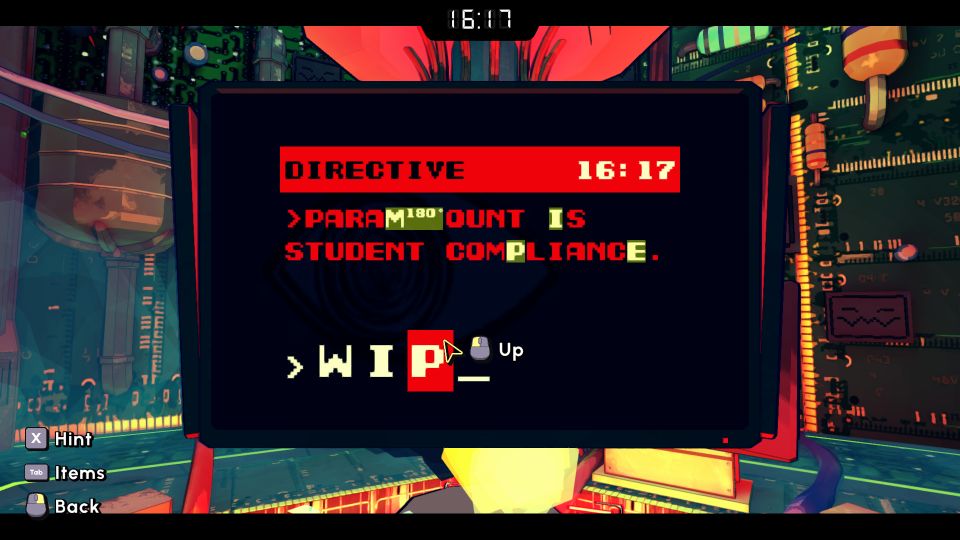
M 180 degrees is W, and the rest is provided so it’s WIPE.
Lastly, interact with the screen where Quanty’s face was on.
The final answer is SHUT DOWN.
The challenge ends here.
Related posts: