Orabashi’s Legacy is a series of quests on Inazuma in Genshin Impact.
It can be quite lengthy but basically you need to repair the wards all over Inazuma.
Here’s a walkthrough and guide of all parts of Orabashi’s Legacy in Genshin Impact.
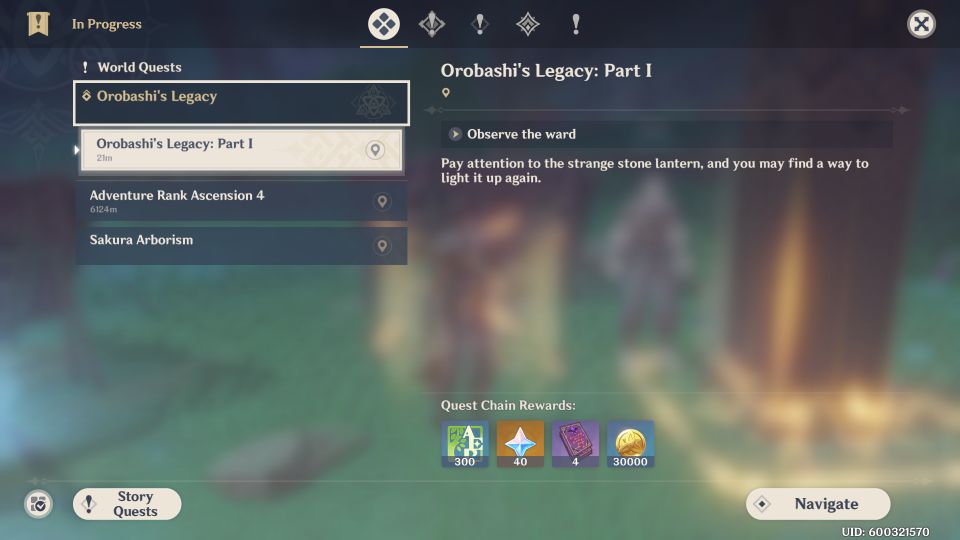
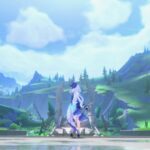
To begin the quest, head to the location shown below, marked by the player location.
He is near Fort Fujitou.
Talk to Kaji to begin the series of quests.

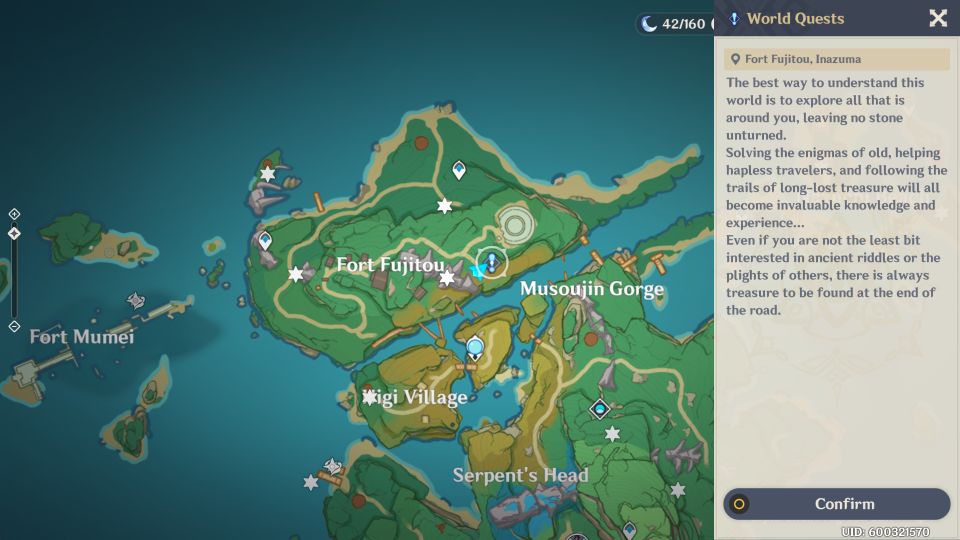
Orabashi’s Legacy: Part 1
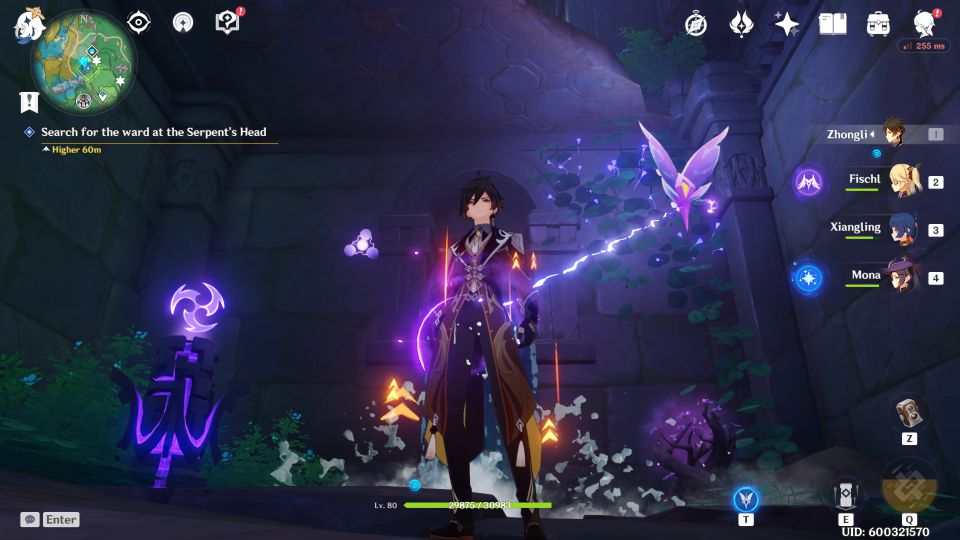
For the first part, the ward is just near Kaji. Interact with it.
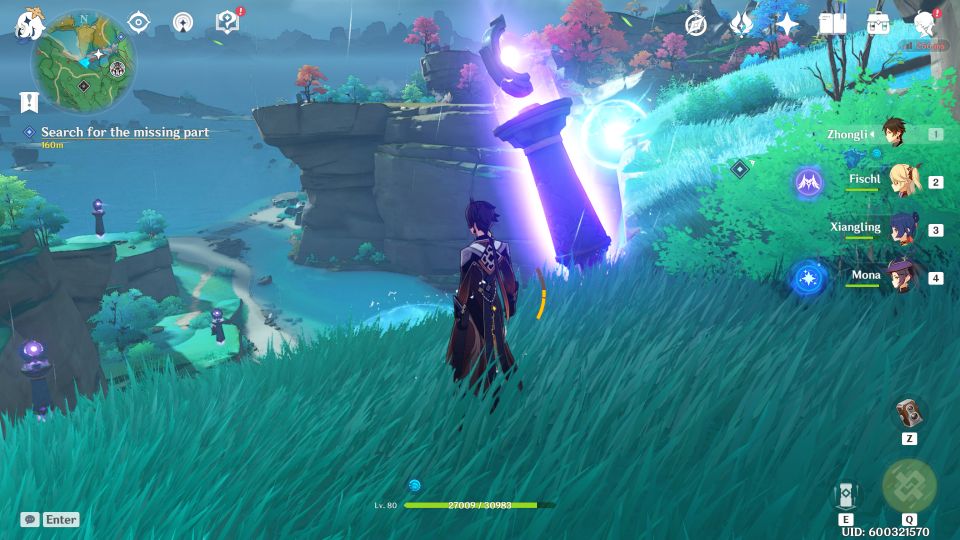
Search for the missing part
Use elemental sight to follow the energy.
You’ll eventually reach a big barrier. Take out the enemies surrounding the barrier first.
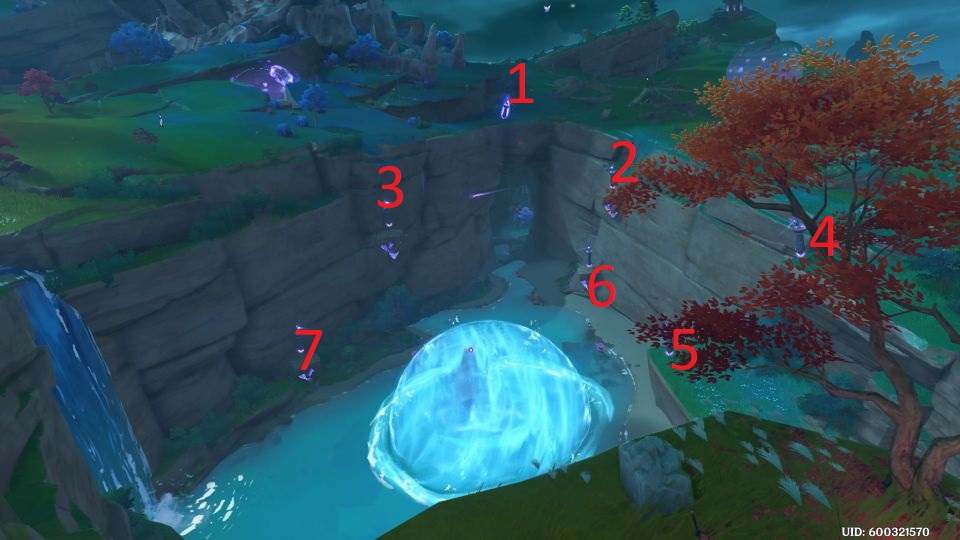
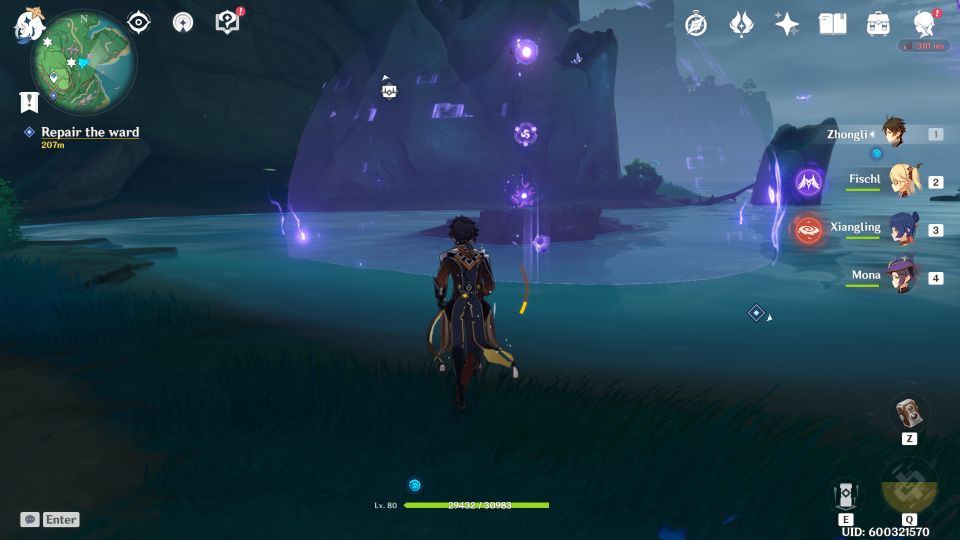
Then, look for the thunder statues. You basically want to look for the statue that is entirely surrounded by electro energy (image below). It’s quite obvious when compared with the other statues.
Each of these statues can be rotated either horizontally or vertically. You basically want to point the statue’s direction as shown in the image below.
The first one (glowing) points to the one on the right.
The second one has to be tilted down to point to the third one, and the last one points to the barrier / dome. Once all of it has been aligned, shoot / attack the first statue which is the glowing statue.
It will release an energy ball and it bounces off each statue, and eventually breaks the barrier.
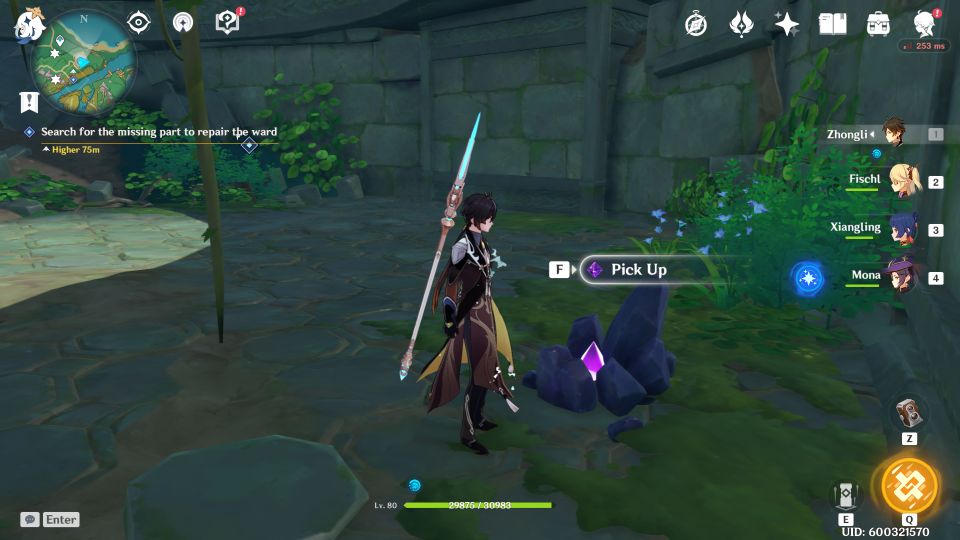
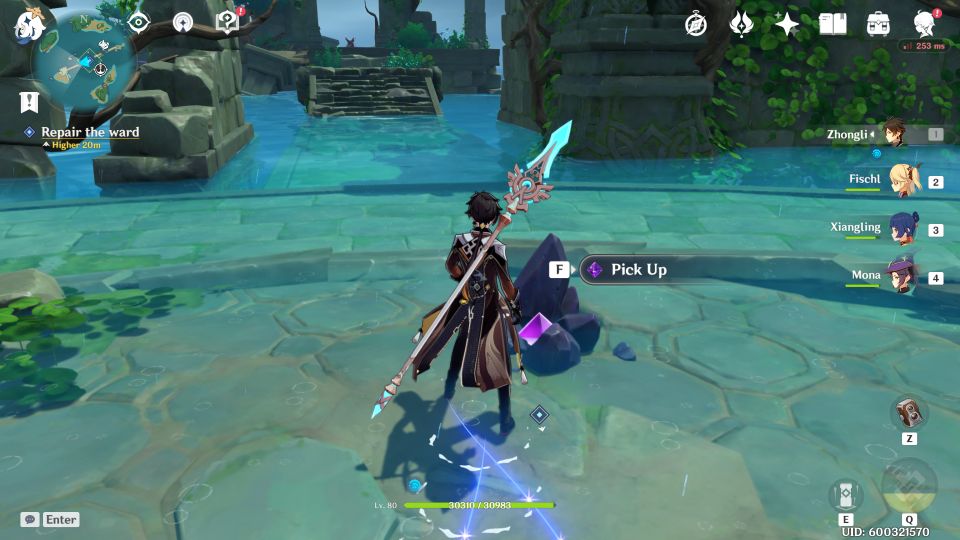
Get the missing part by gliding from the top. Pick up the pearl in the middle.
Continue to glide to the bottom and you’ll find a warding stone. You need both the pearl and the warding stone.
Return to the ward to submit the items and repair it. The thunderstorm will stop.
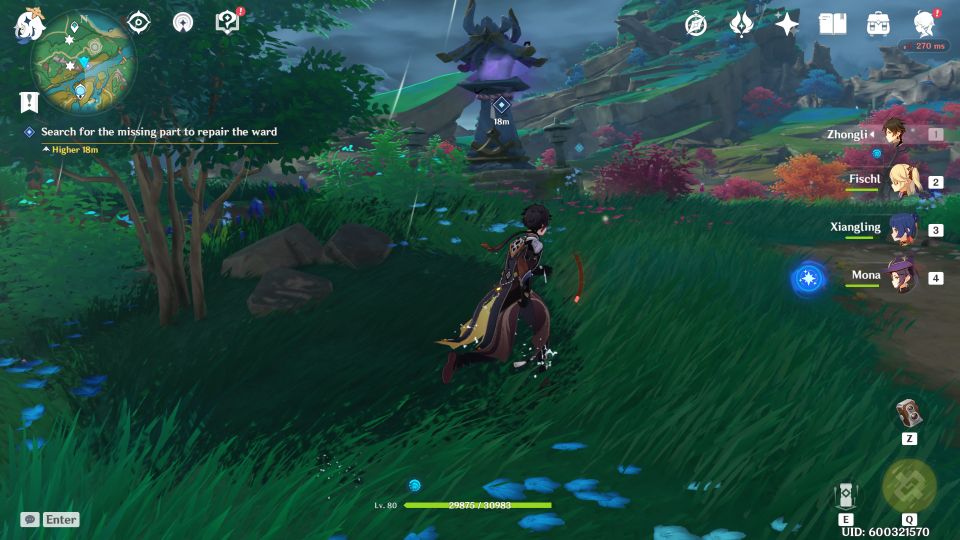
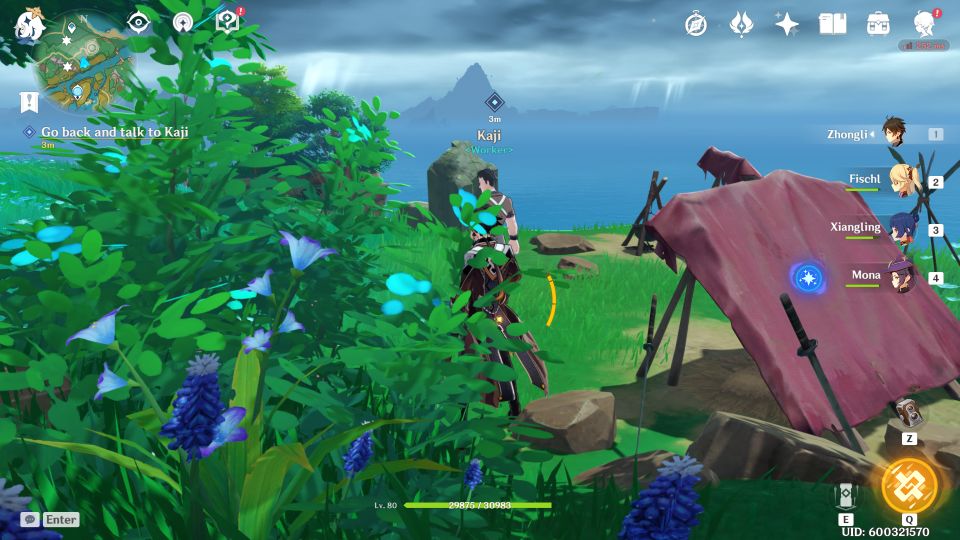
Go back to Kaji to complete the quest.
Orabashi’s Legacy: Part 2
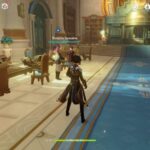
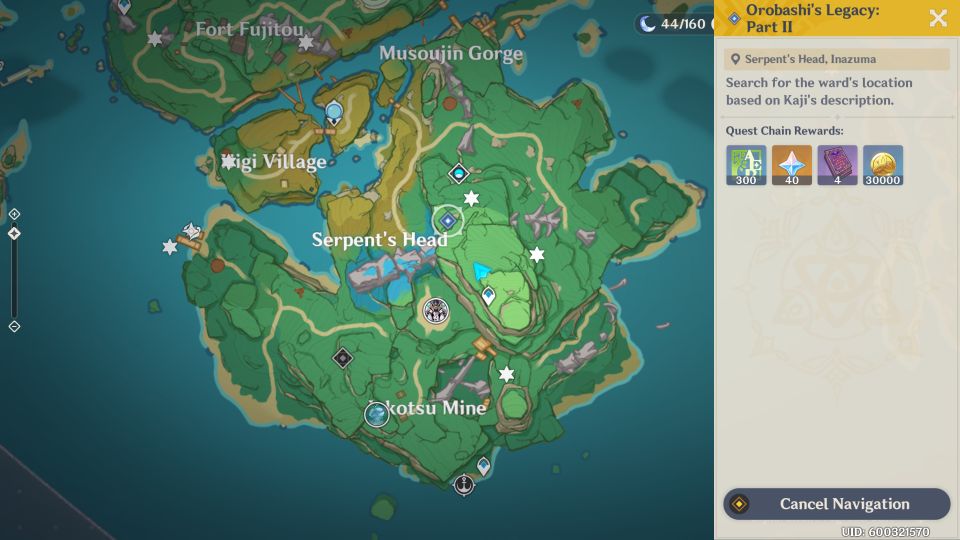
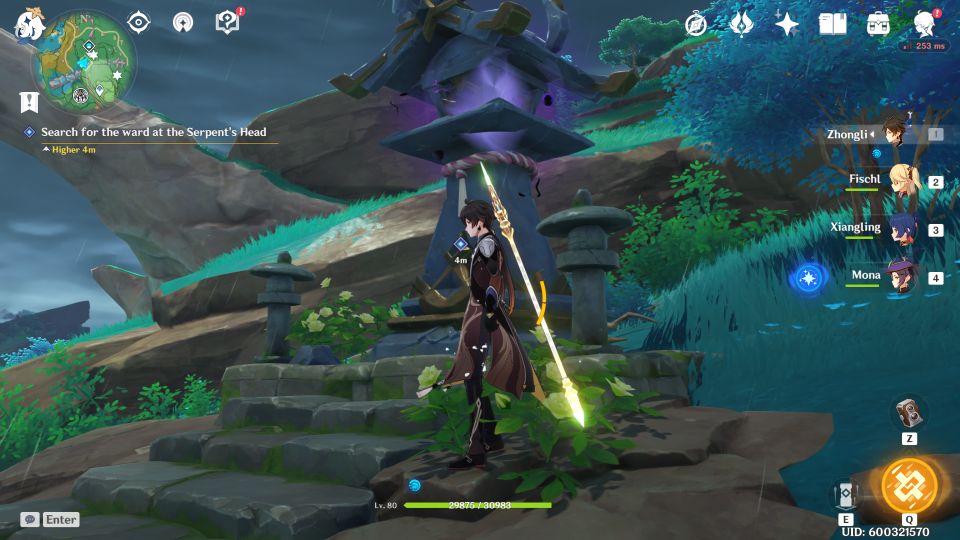
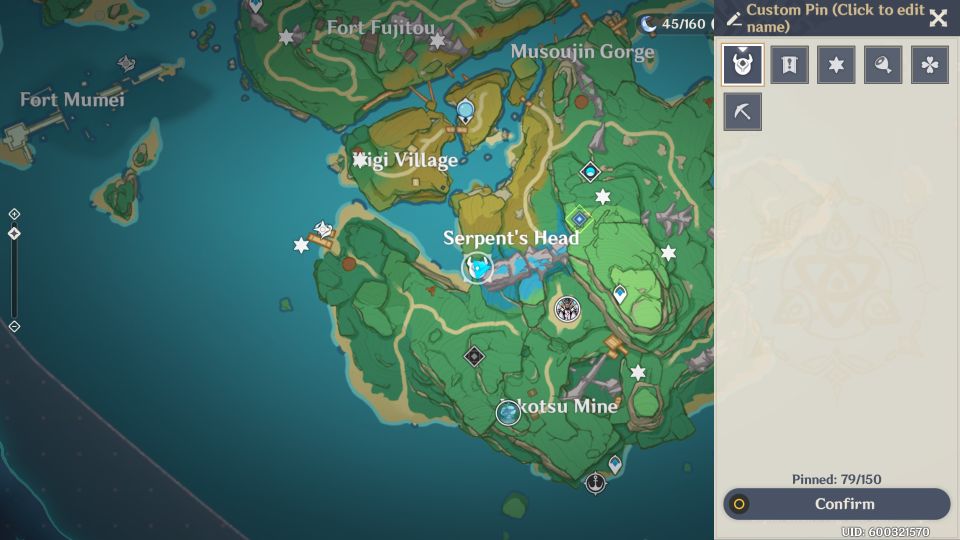
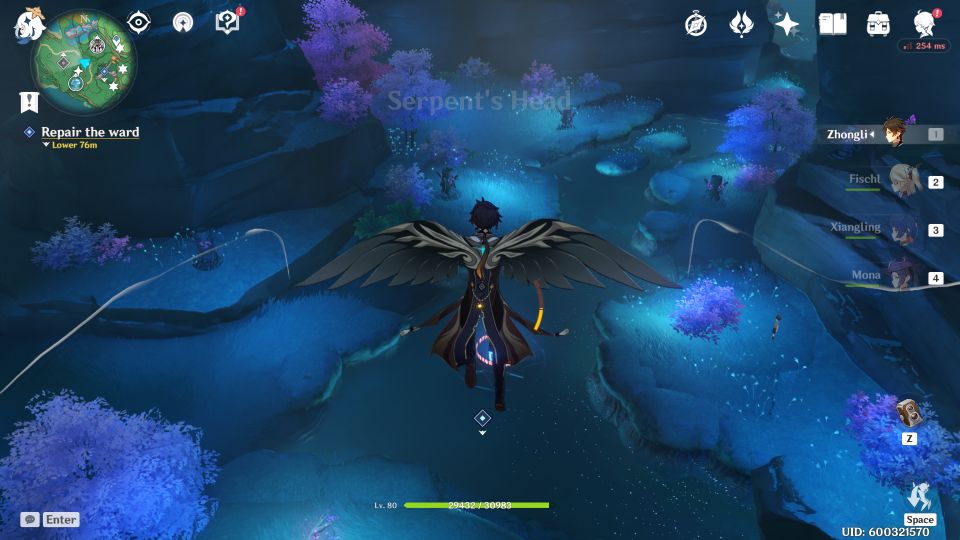
Part 2 of the quest requires you to go to Serpent’s Head. The location is shown below, marked by the quest marker.
Once again, interact with the ward.
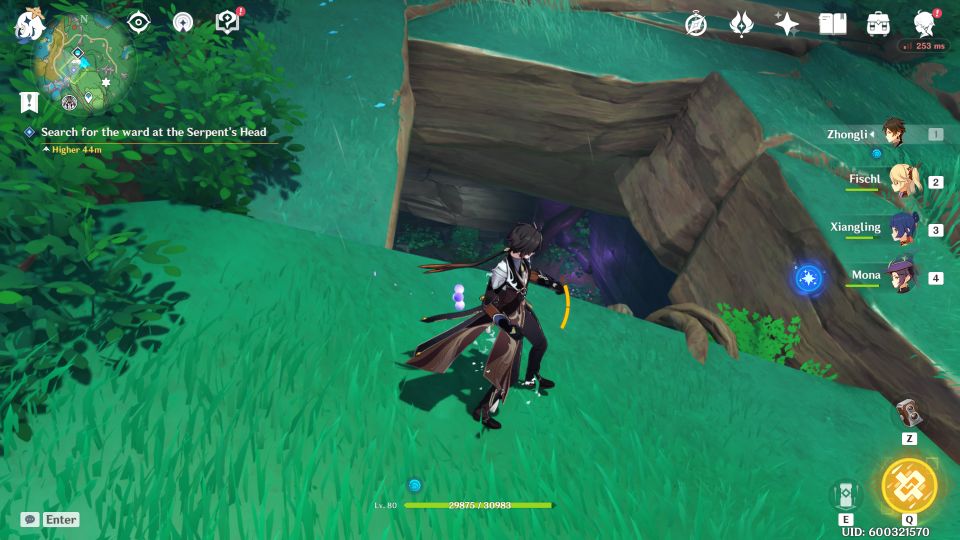
Search for the warding stone
Look for the warding stone first. Use elemental sight and you’ll reach a hole in the ground.
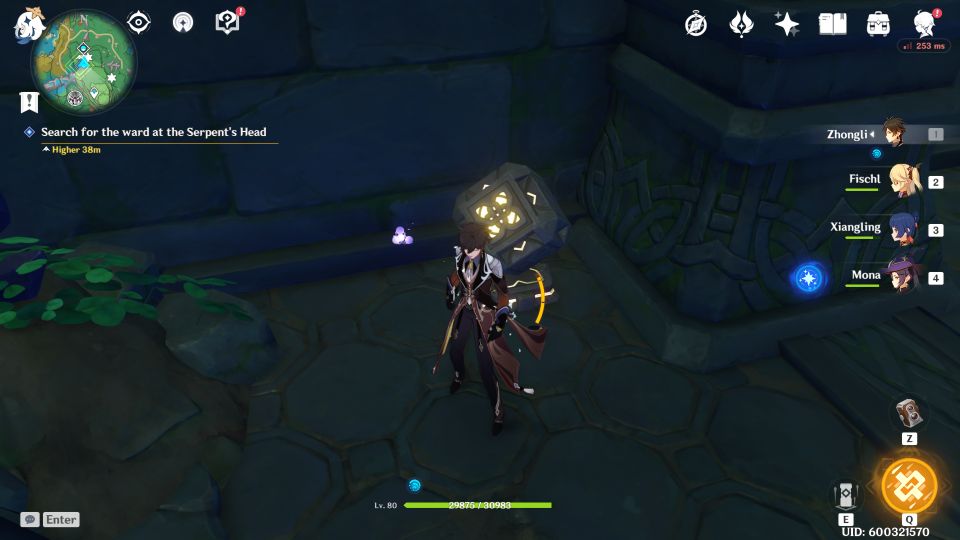
Before jumping in, grab the electrogranum and then enter the thunder barrier.
Interact with the console to get rid of the flood water.
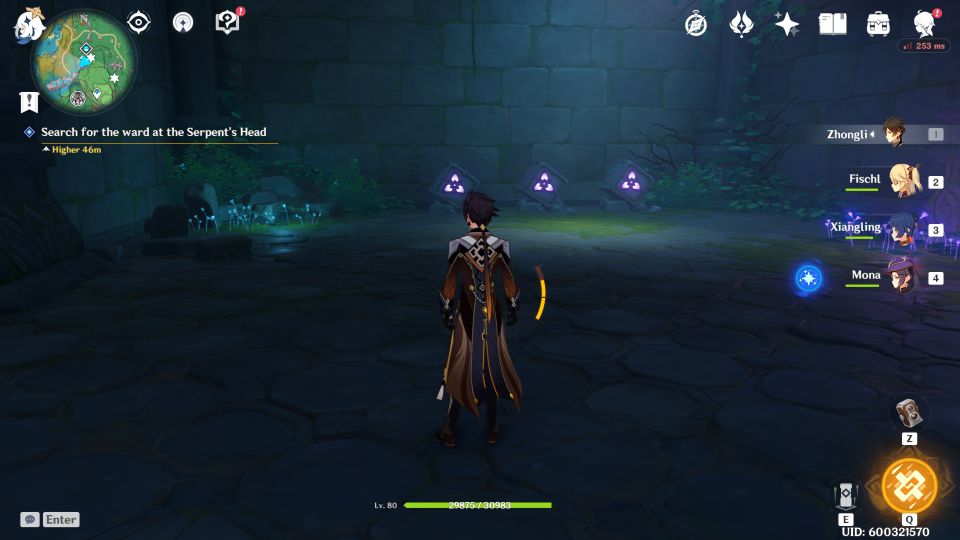
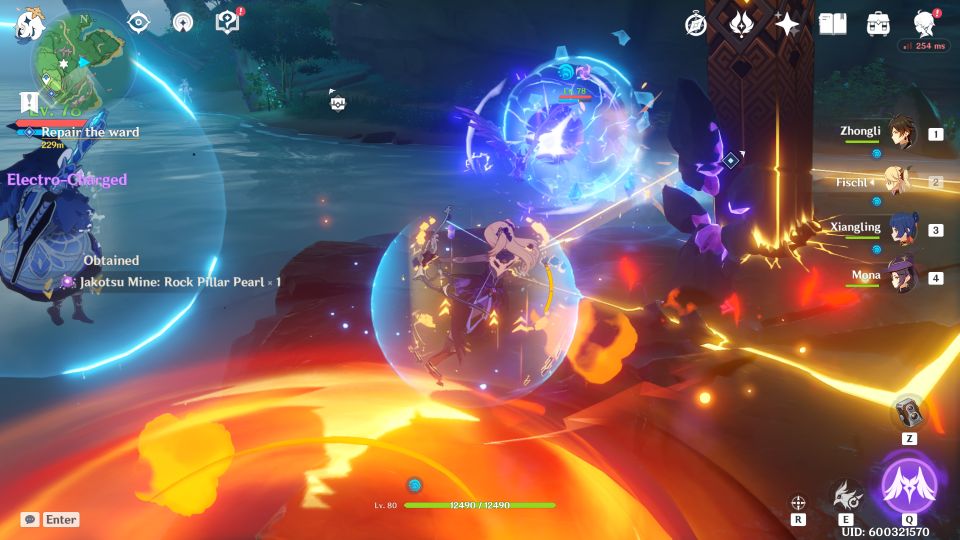
Continue descending. You’ll then reach three electro cubes. As you get close, three serpent enemies will appear.
Take them out first.
After beating the serpents, a path downwards is opened. Go down and you’ll eventually reach a sakura bough and a thunder statue.
The warding stone is in the middle. Use the electrogranum and thunder spheres to escape the area.
Find the pearl
The next one is the pearl. The location is shown in the map below, marked by the player location.
You’ll see all of the thunder statues here with a barrier in the middle.
Like before, you need to adjust the height and position of the statues so that the energy ball can bounce off each other.
The order of the statues is shown in the image below. Adjust them accordingly so that they bounce all the way to the barrier, and breaks the barrier.
Once the barrier is gone, glide down to grab the missing part.
Return to the ward to repair it by submitting the items.
Orabashi’s Legacy: Part 3
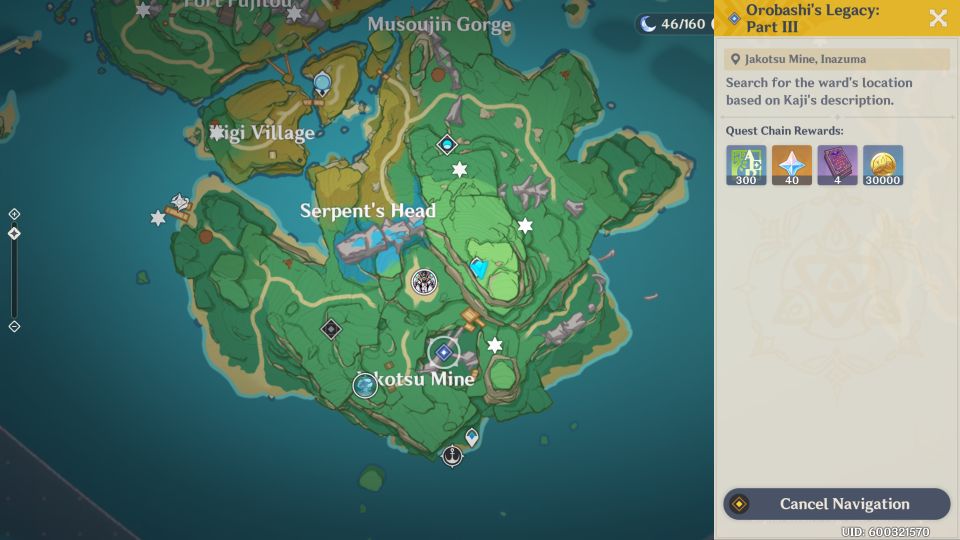
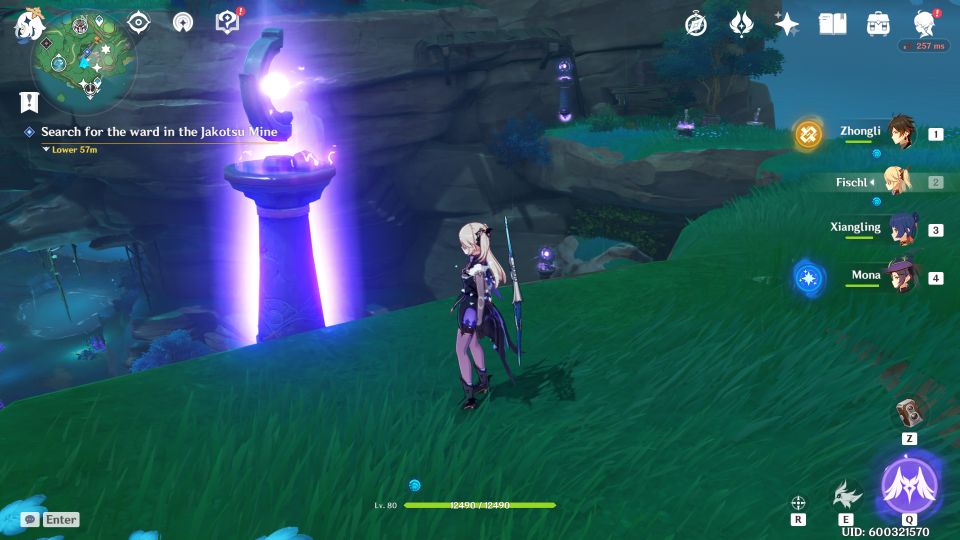
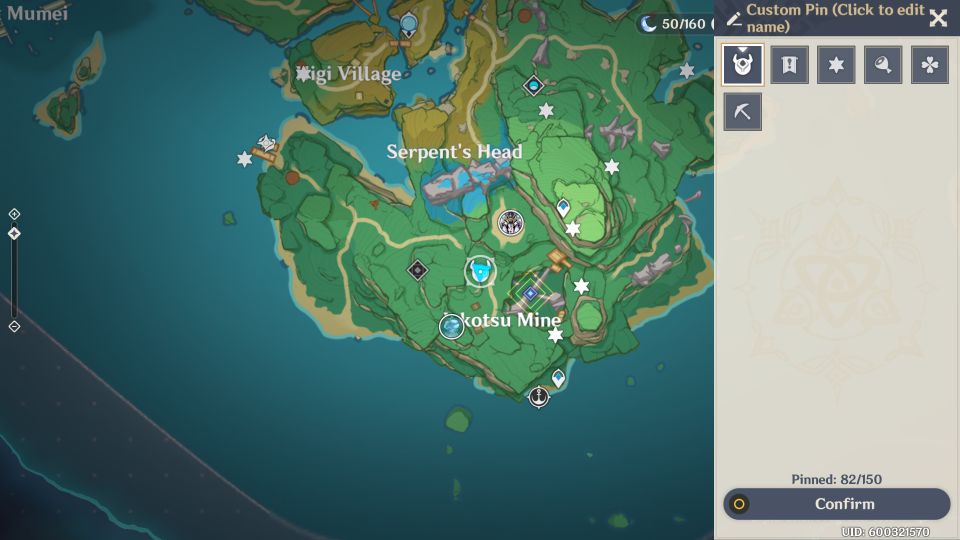
We now reach part 3 which is located in Jakotsu Mine. The location is marked on the map.
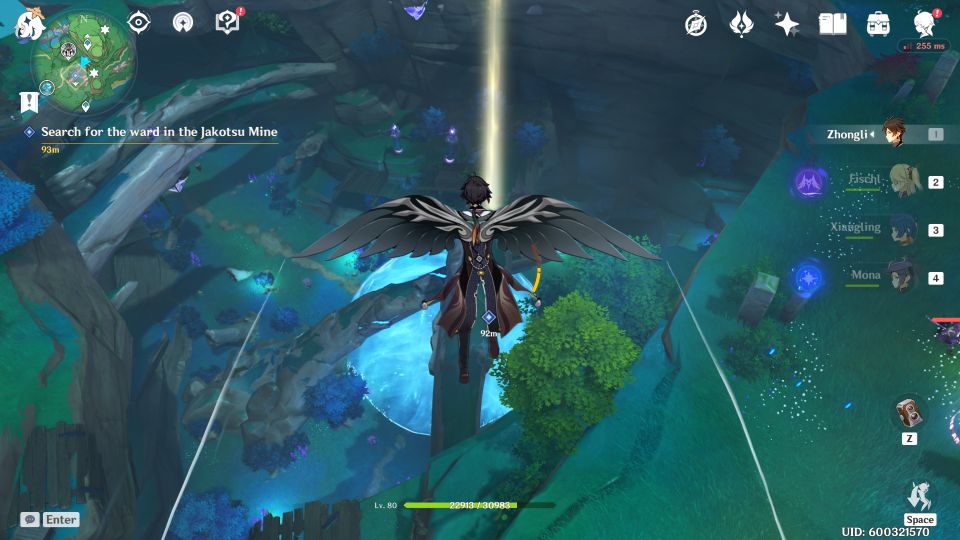
Glide down the mine and you’ll see the barrier. The ward is actually inside the barrier, which means you have to get rid of the barrier first.
Like before, you have to adjust the thunder statues to bounce the energy off each other.
You can follow the order shown below. Adjust them accordingly to break the barrier.
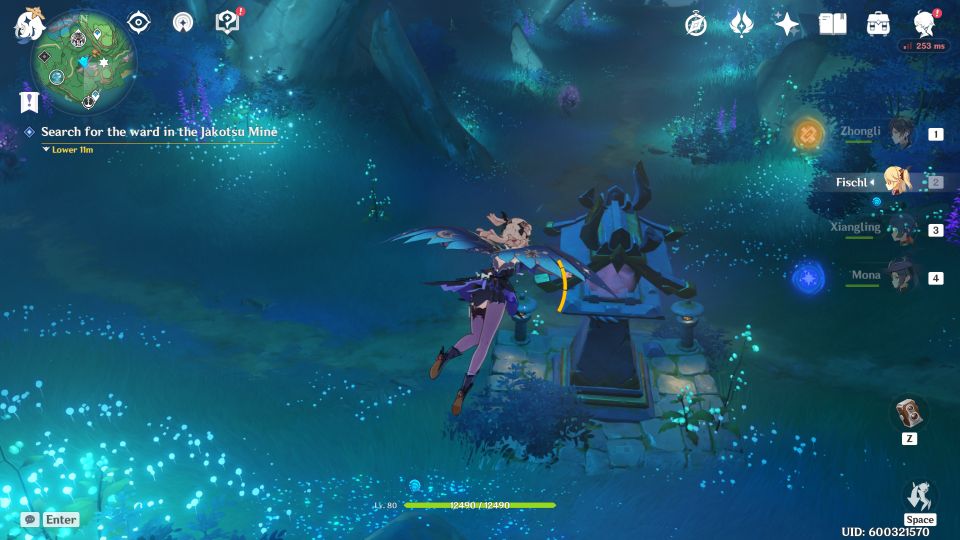
Interact with the ward once the barrier is gone.
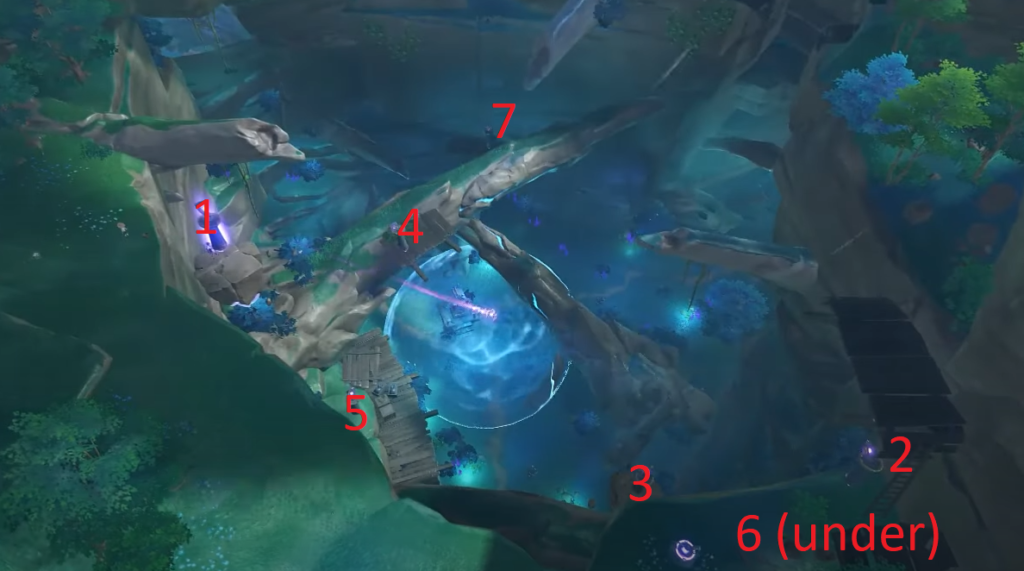
Search for the missing pearl
The first part you need is the pearl. From the ward, follow the elemental energy to the east and you’ll reach a barrier.
Get an electrogranum to enter the barrier and pick up the pearl.
After picking up the pearl, three abyss mages will spawn.
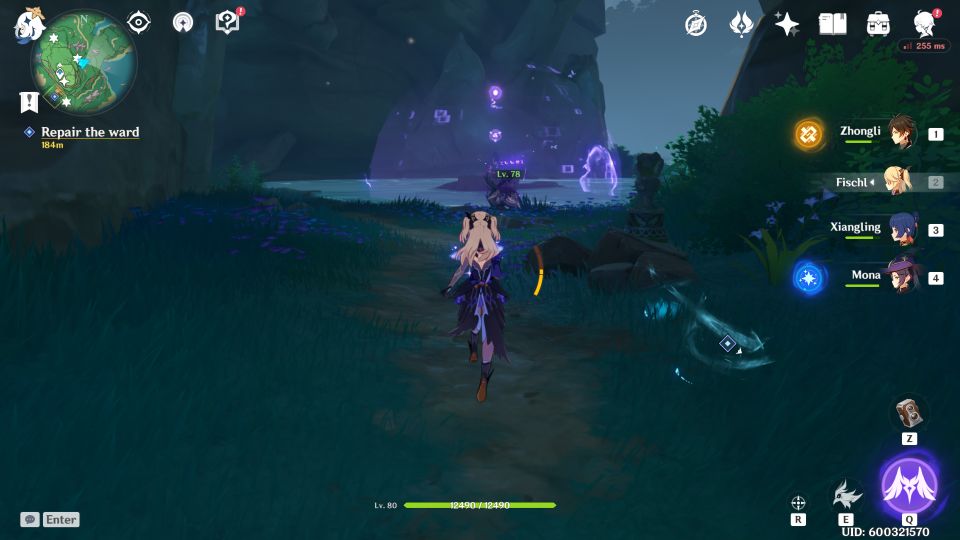
Search for the warding stone
The next piece you need is the warding stone.
You can begin from the ward location. From the ward, head to the location shown below, marked by the player location.
You’ll eventually reach an open space with many electro statues. Look for the sakura bough near the chest.
Summon an electrogranum and use the thunder spheres all the way up.
You’ll see a barrier here. Pick up the warding stone.

Return to the ward and repair it.
Orabashi’s Legacy: Part 4
For part 4, you have to return to Kaji. He is located west of Fort Fujitou.
Talk to him and this part ends.
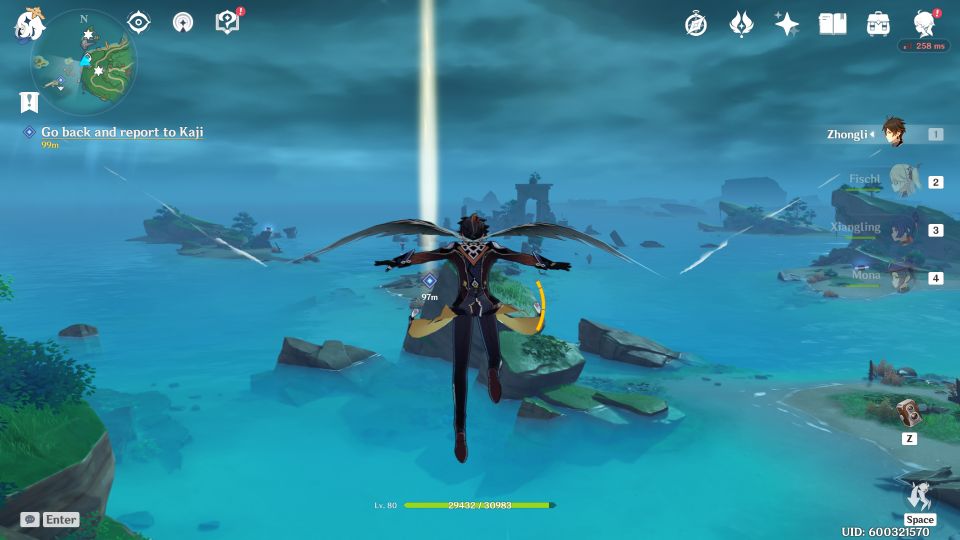
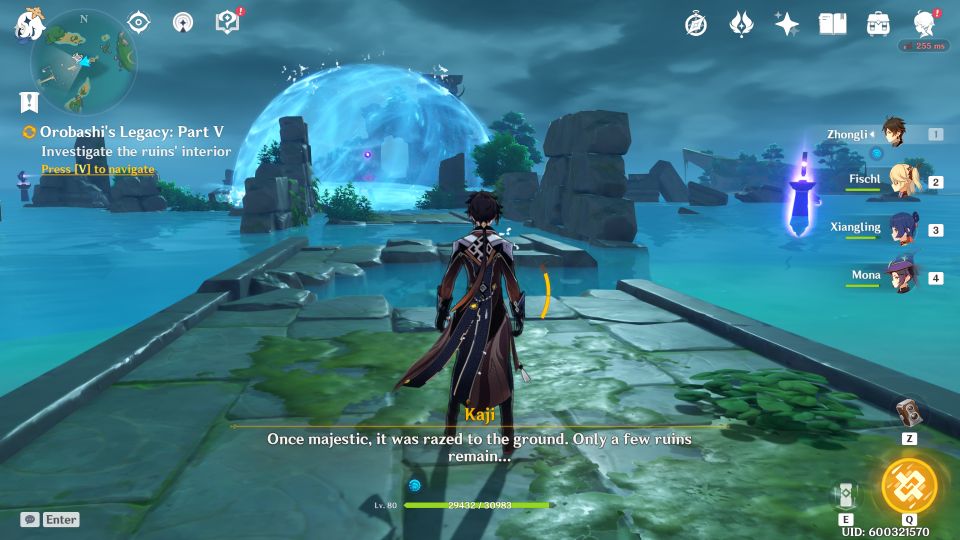
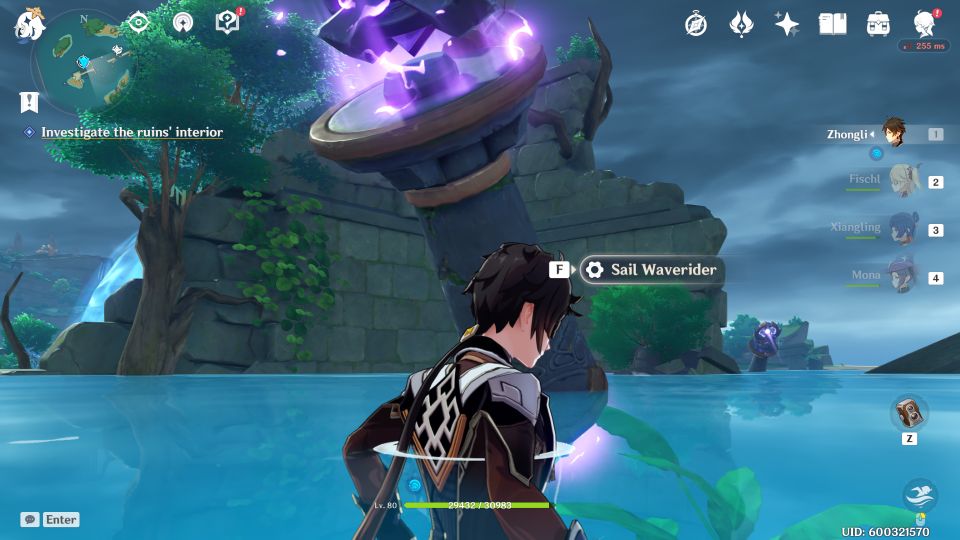
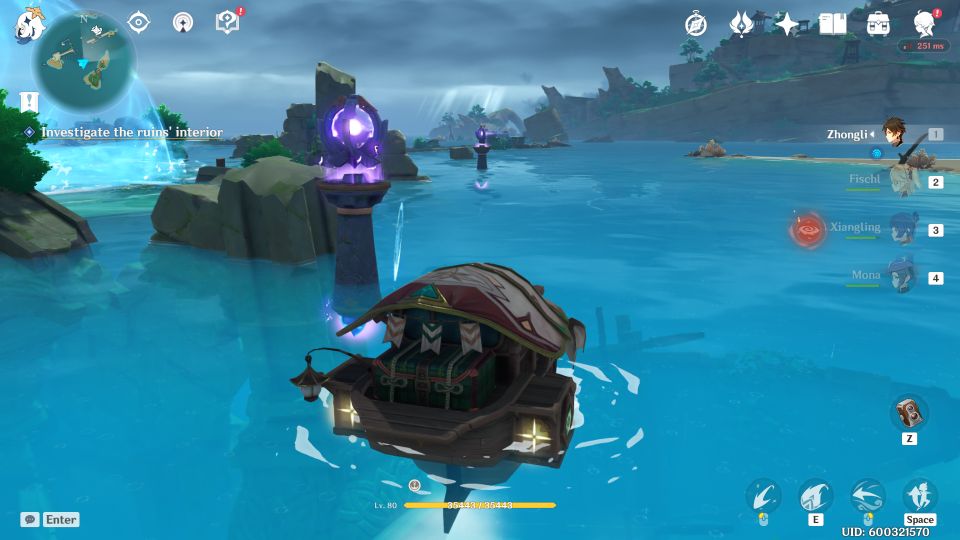
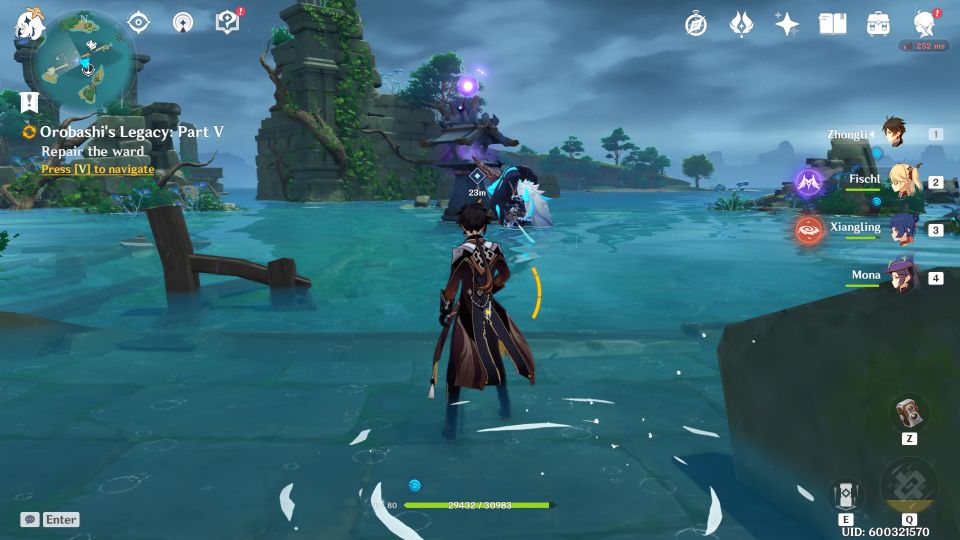
Orabashi’s Legacy: Part 5
Part five seems to be the last one.
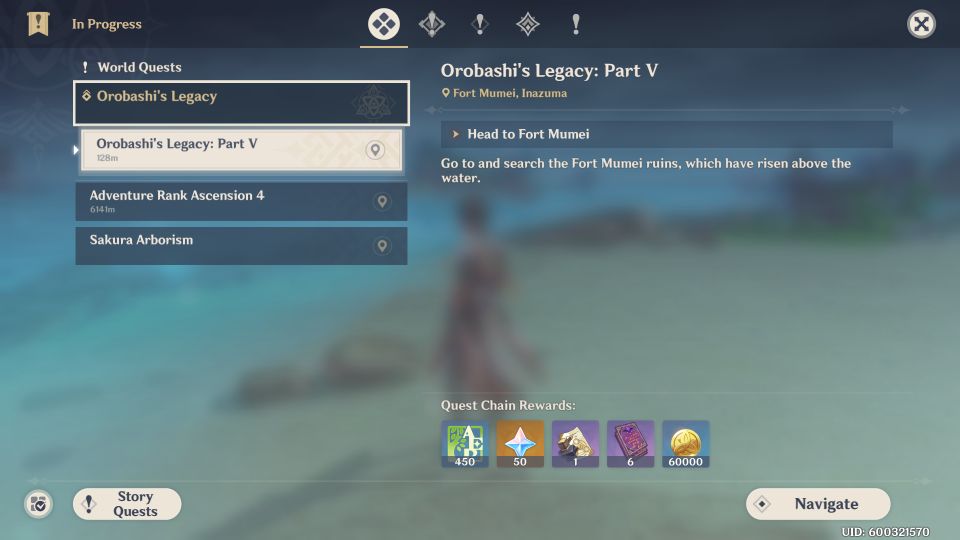
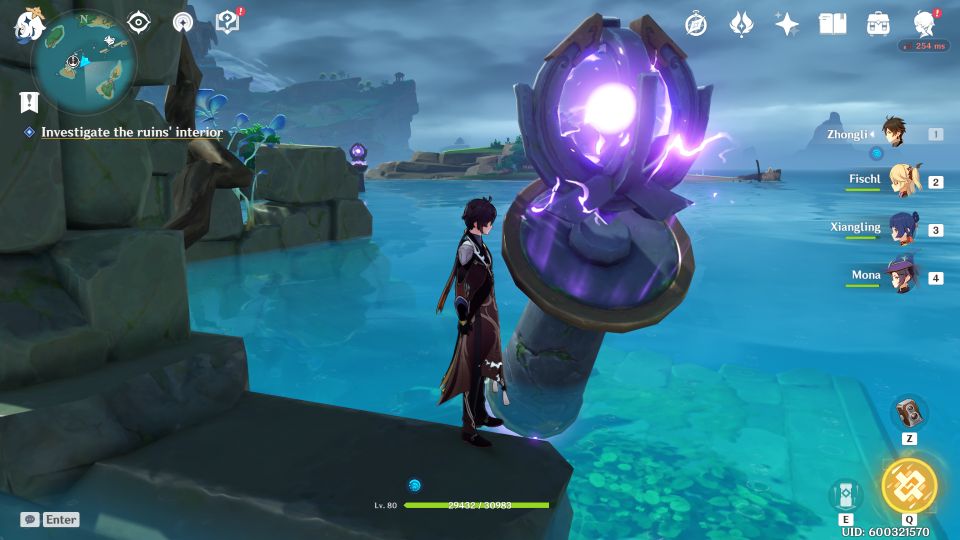
After speaking to Kaji, head towards the barrier.
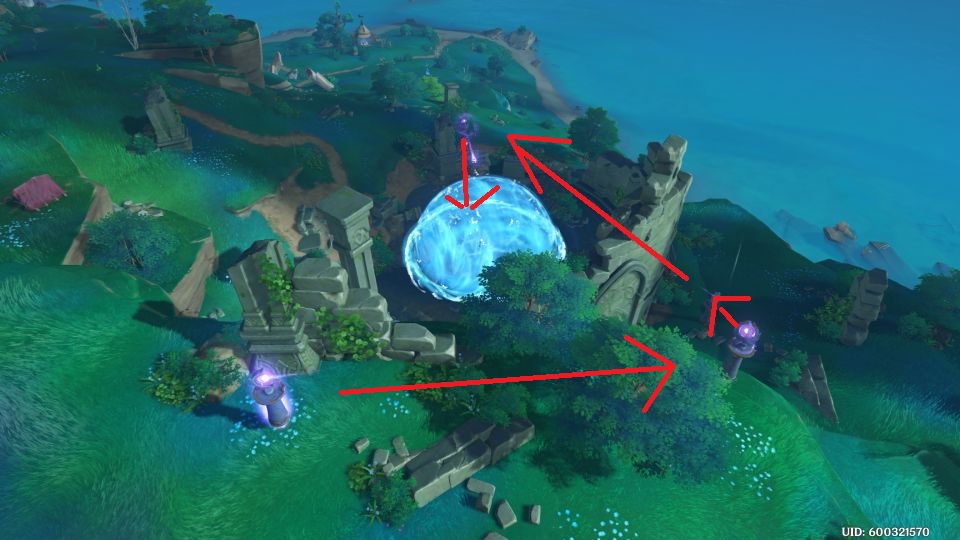
Once again, you have to align all the thunder statues.
From the first statue, adjust orientation towards the tilted statue on the right.

From the tilted statue, aim towards the next tilted statue. Adjust the elevation.
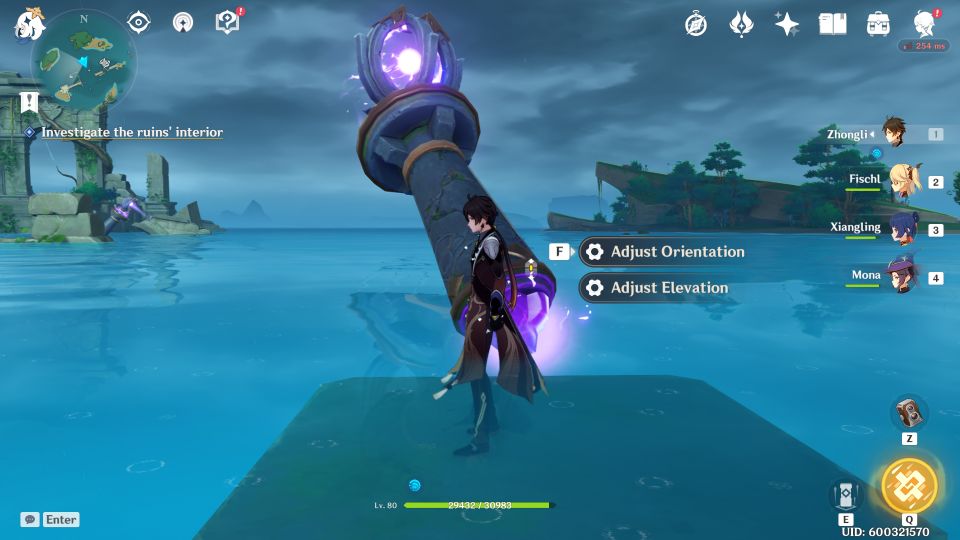
At the next statue, adjust the elevation so it hits the following one.
Like before, aim at the next statue by adjusting the elevation and orientation.
Lastly, aim at the final statue. Go to the final statue and aim at the barrier.
Hit the first statue to begin the process.
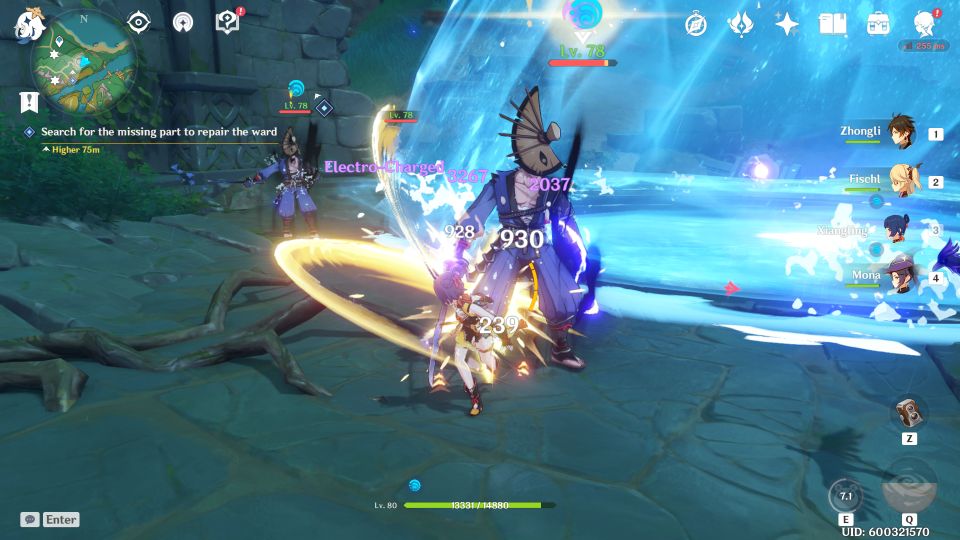
Defeat Maguu Kenki
Once the barrier is down, defeat Maguu Kenki.
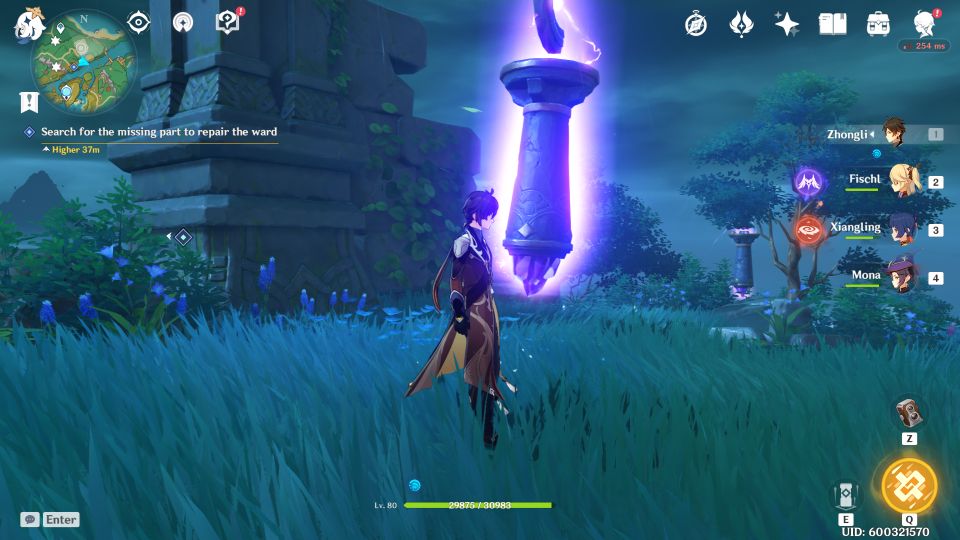
Repair the ward
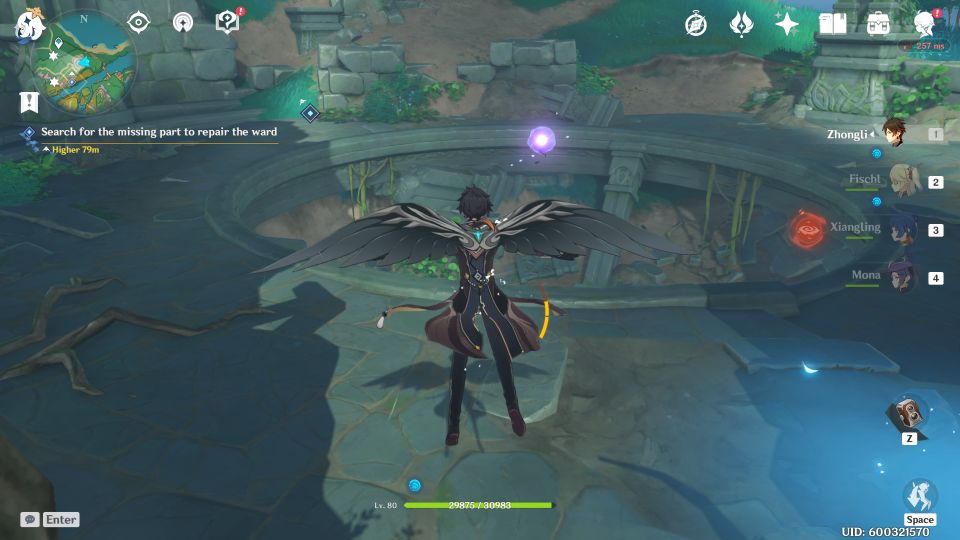
After the battle, pick up the warding stone from the arena.
Also, take the pearl from above the ward.
Submit both items to repair the ward.
Return to Kaji to complete the quest.
Related posts:
Genshin Impact: Treatment On The Island Walkthrough
Genshin Impact: Gazing Three Thousand Miles Away Walkthrough