Research Tanalorr On The Shattered Moon is one of the main objectives in Star Wars Jedi: Survivor.
Your objective is to investigate the laboratory on the moon about Tanalorr and the Bedlam Raiders.
Here’s a walkthrough and guide of Research Tanalorr On The Shattered Moon in Star Wars Jedi: Survivor.
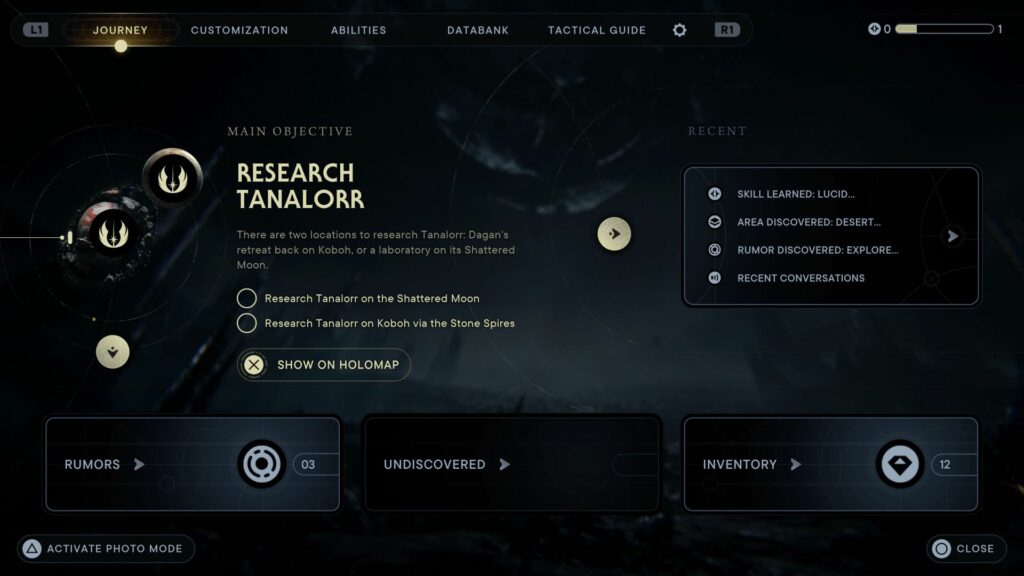
To begin, go to the Mantis in The Archives.
Enter the ship and use the holotable. Navigate to the Shattered Moon to begin the objective.

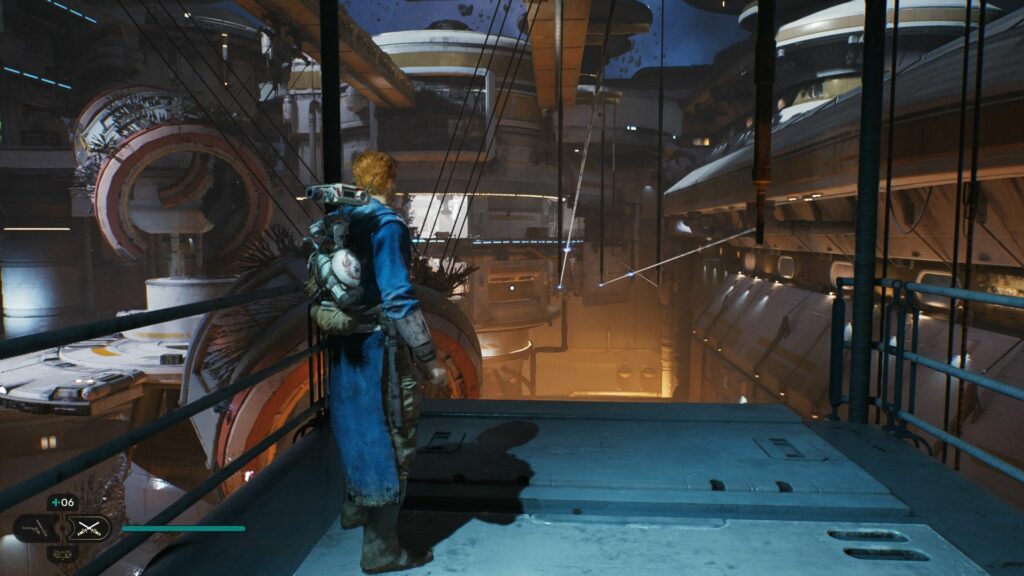
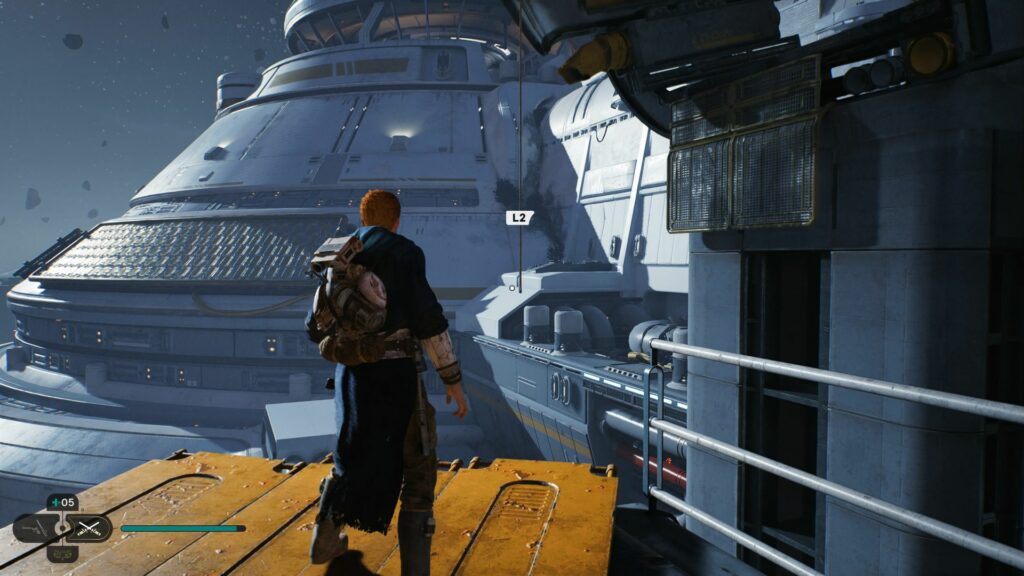
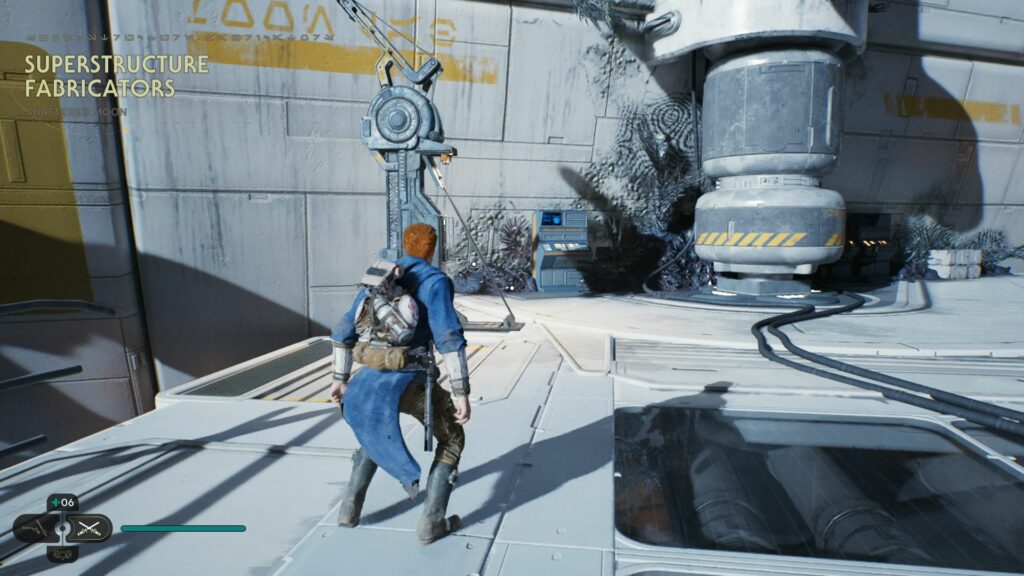
When you arrive, head to the elevator to go down.
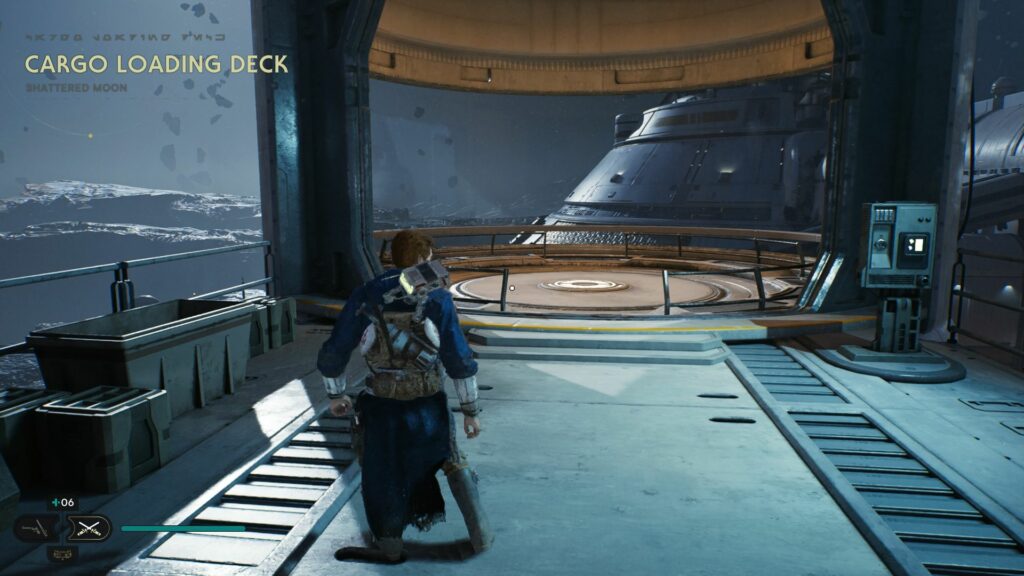
Head to the lab
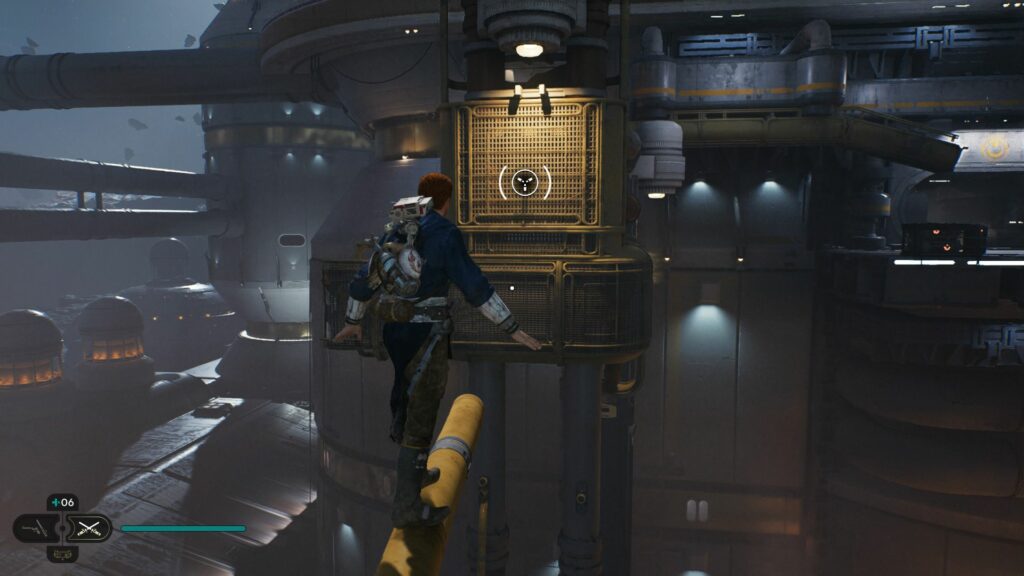
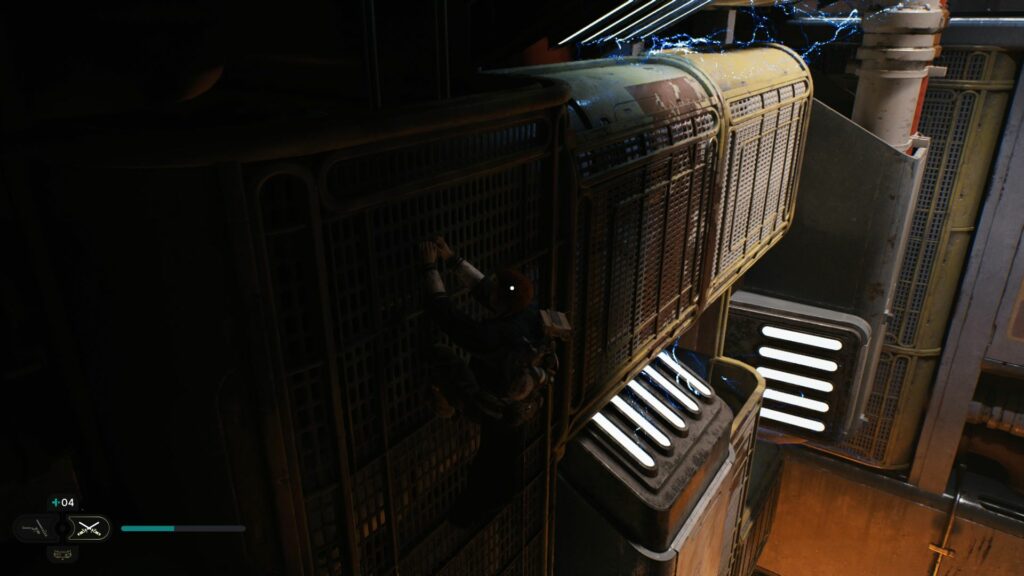
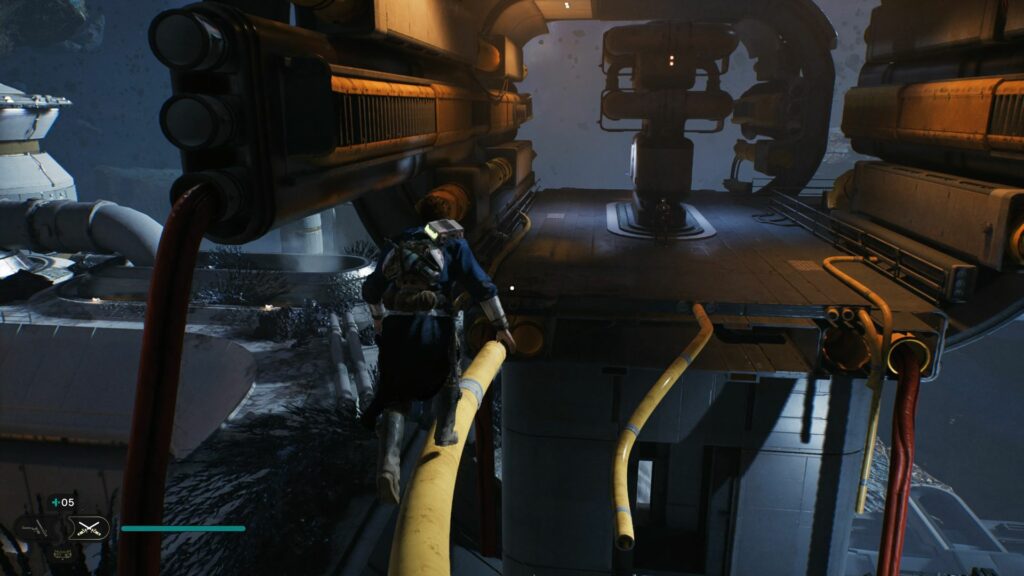
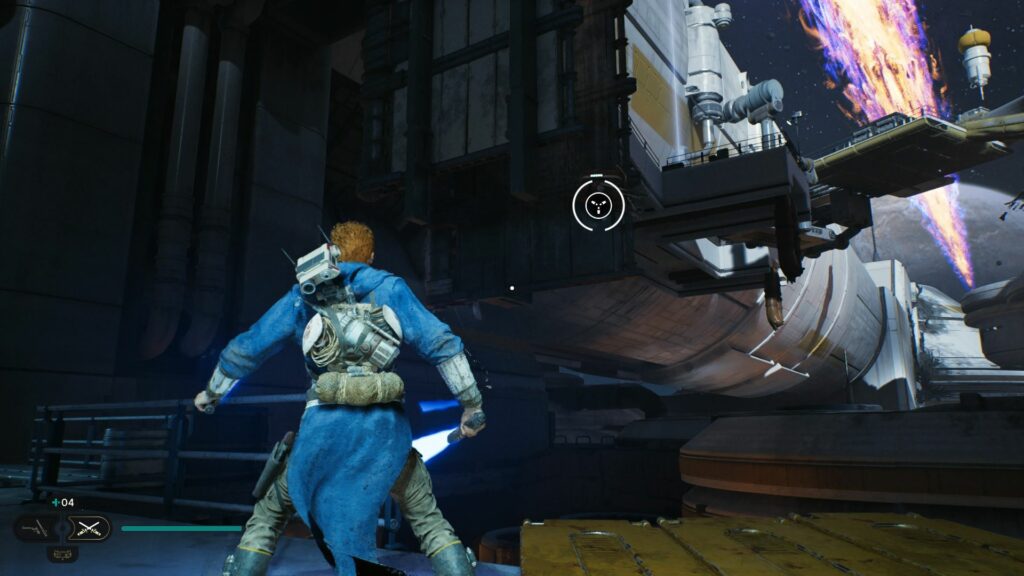
To proceed, look for the metal bars where you can use your ascension cable.
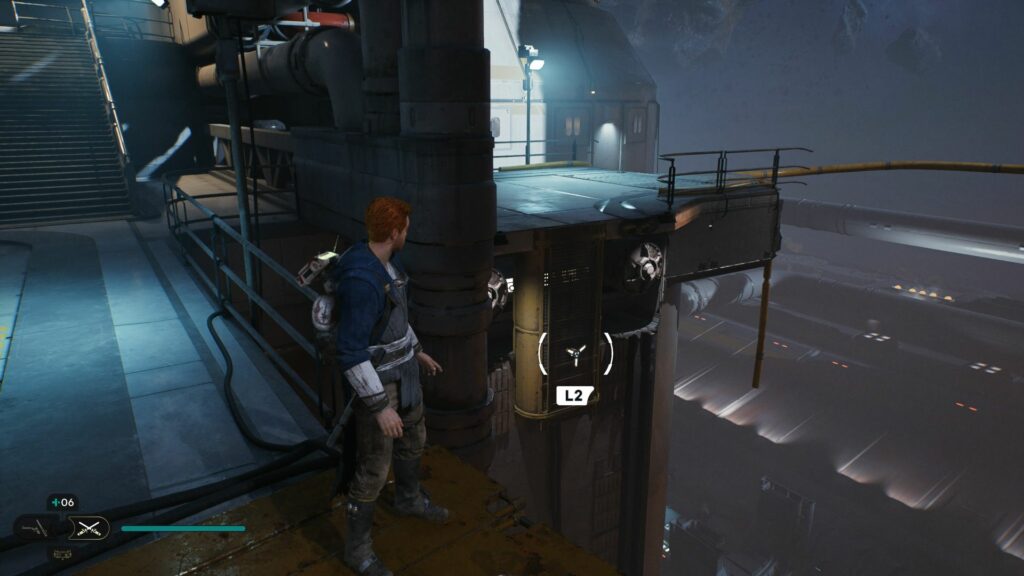
Continue to do some platforming here.
You will then see some flames coming out. Wait for them to subside before crossing over.

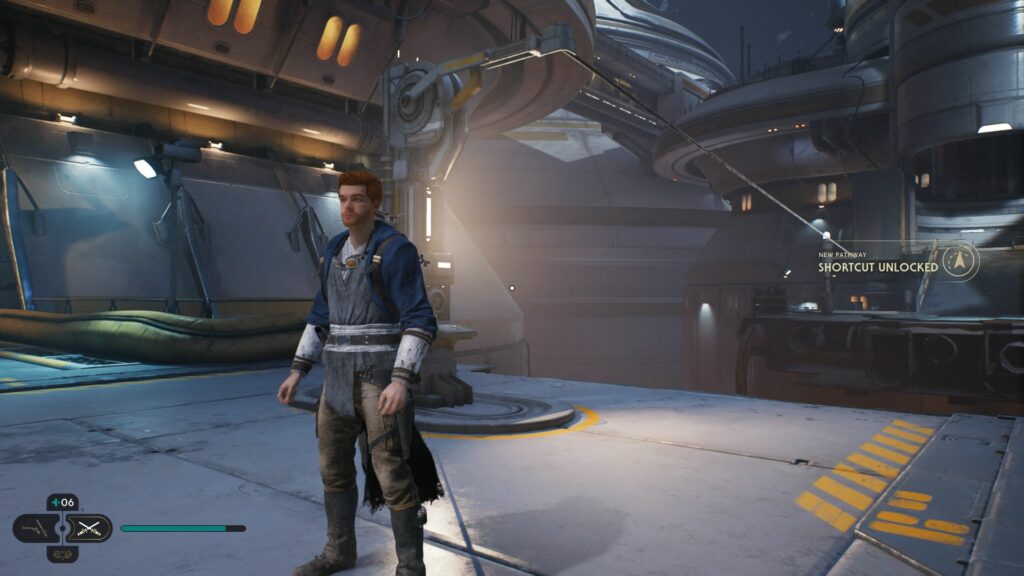
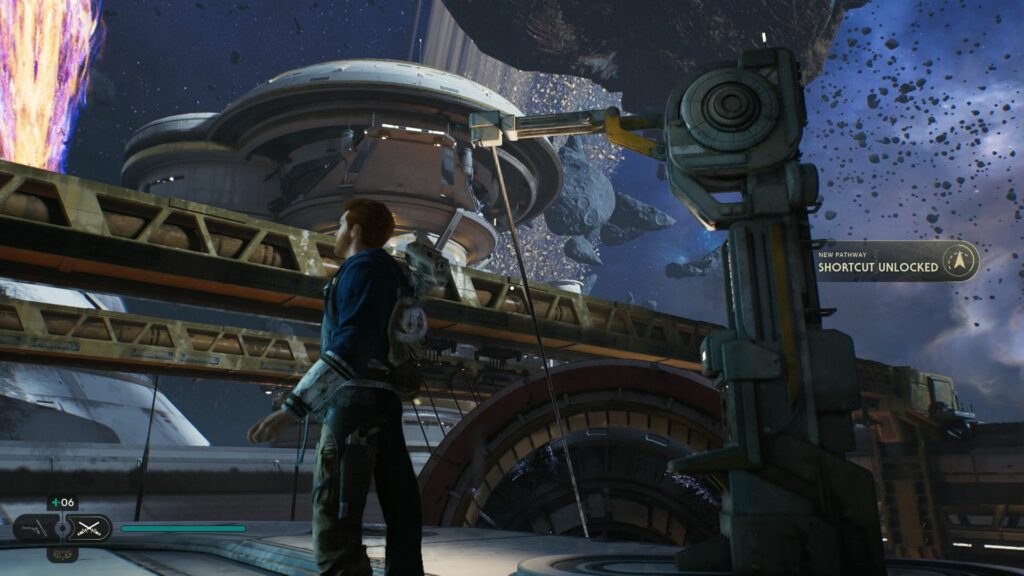
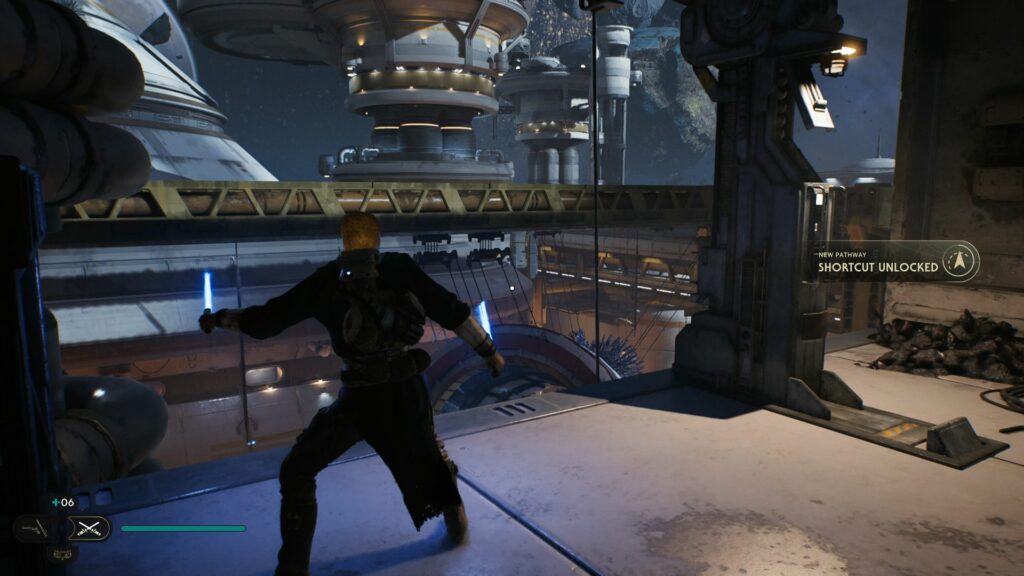
When you reach the other side, activate the device to make a zipline shortcut.
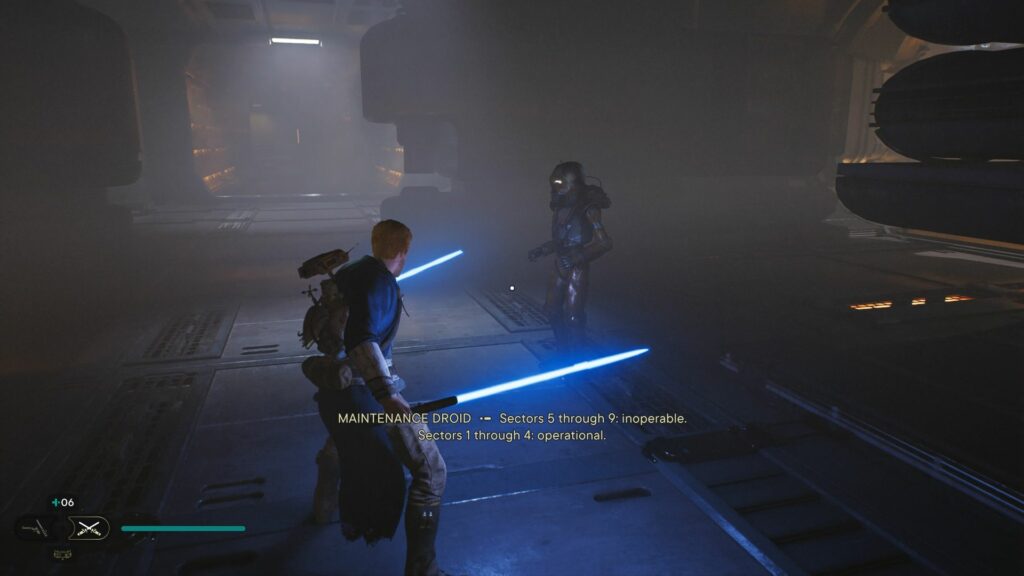
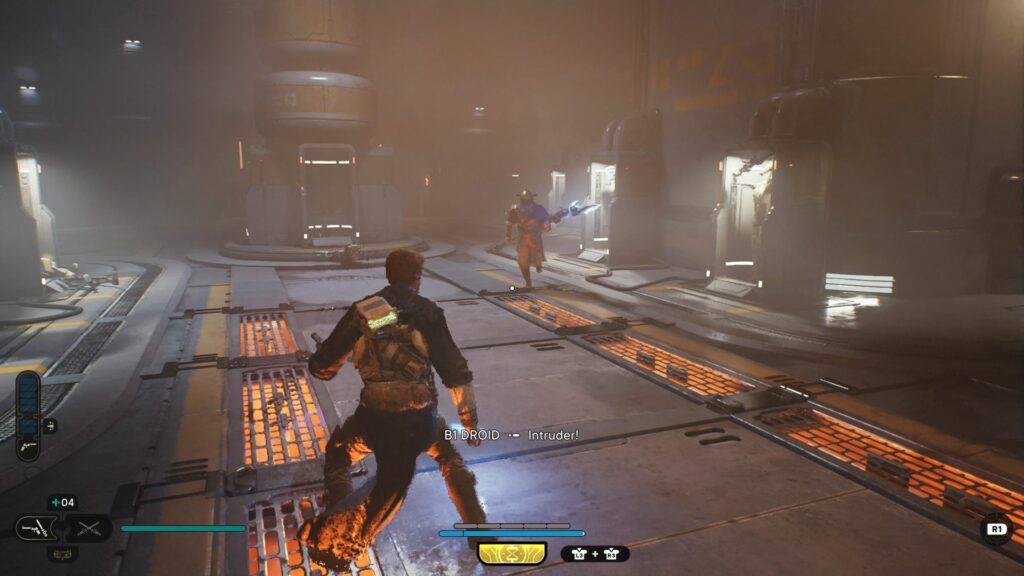
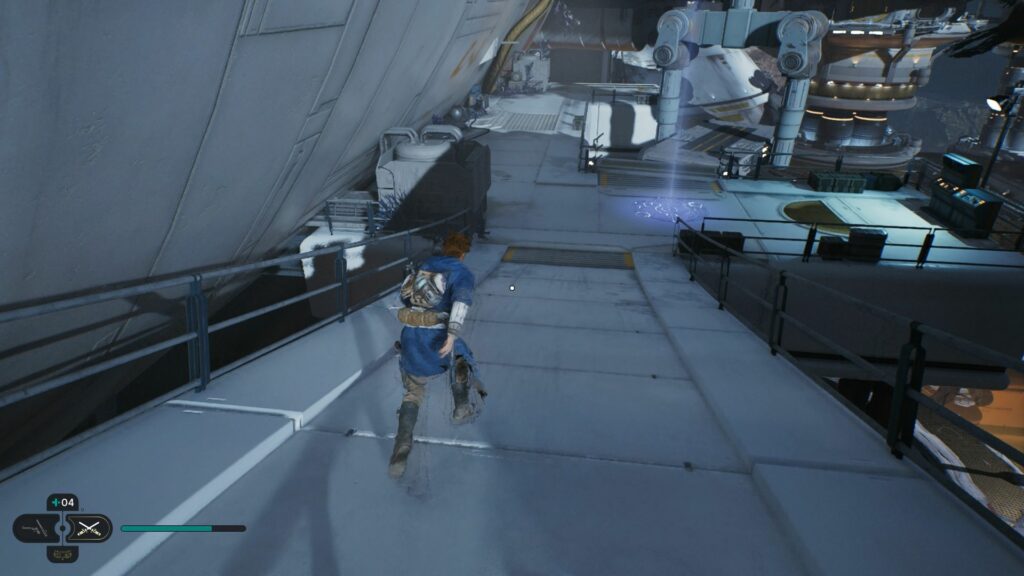
Proceed ahead and you’ll meet a maintenance droid. This one does nothing.
Continue exploring the area.
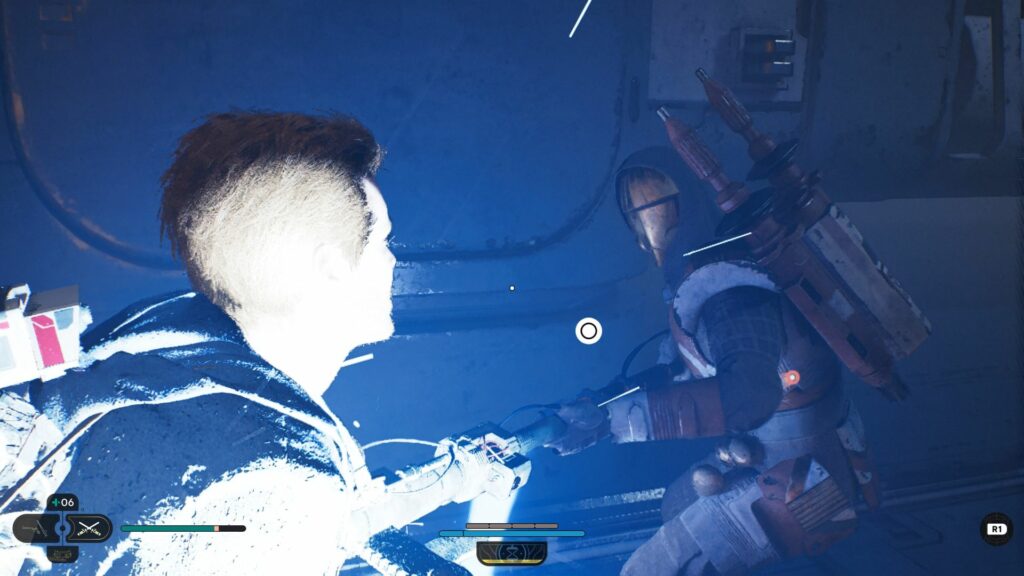
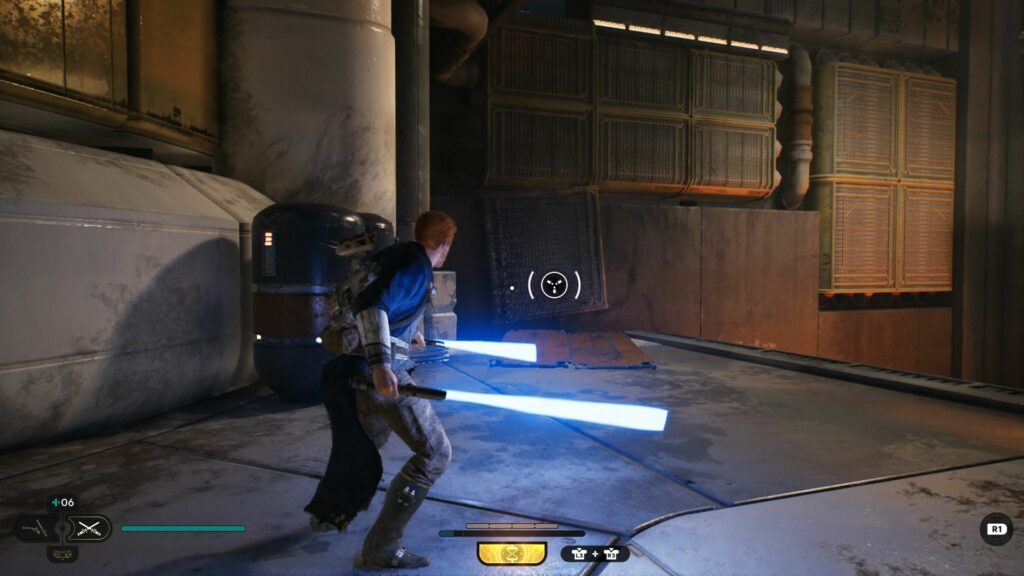
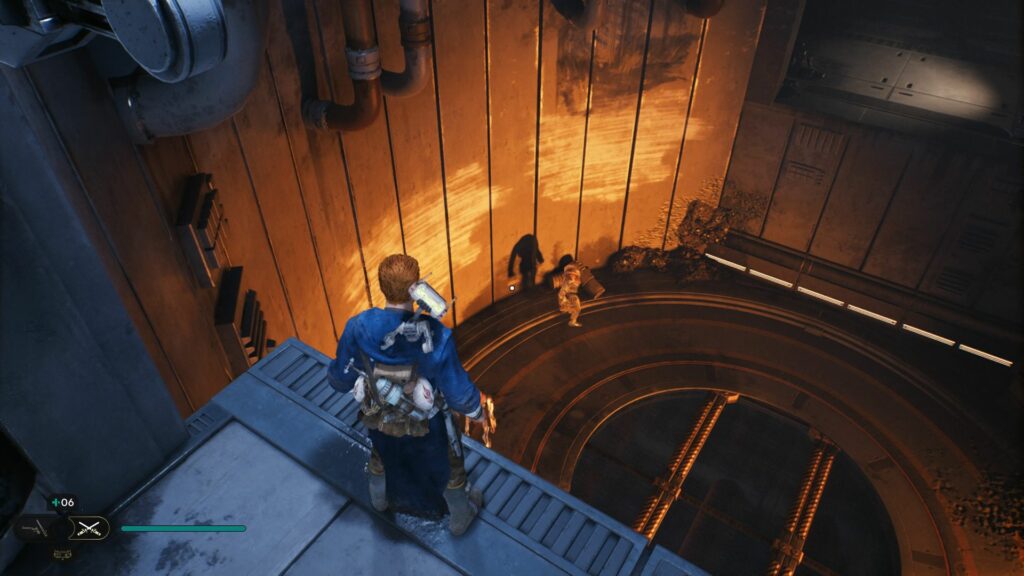
You will be ambushed by one of the Bedlam Raiders. Defeat him and the rest.
There’s a way to bypass the raiders from the side. You see a breakable door. Use force to pull it out and walk on the metal beams.
Take out the raiders above.
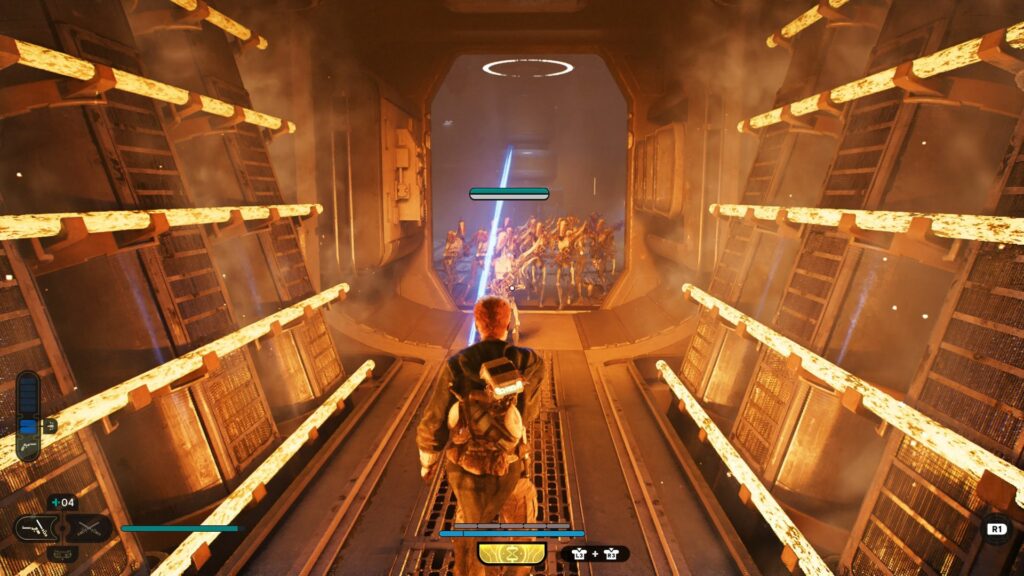
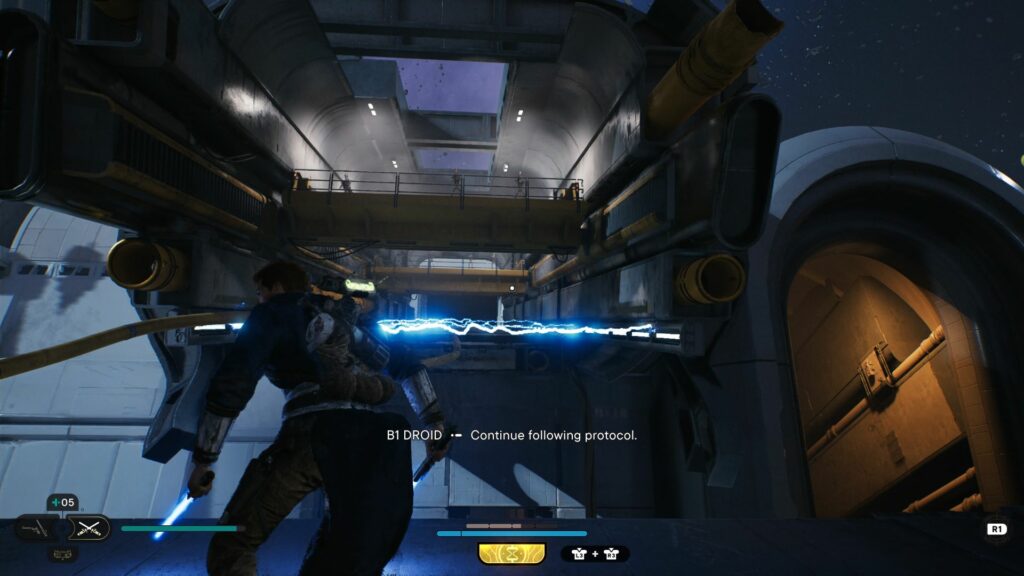
You’ll then find yourself in a repair room. Defeat the raiders here.
A lot of the droids will wake up. Defeat them all.
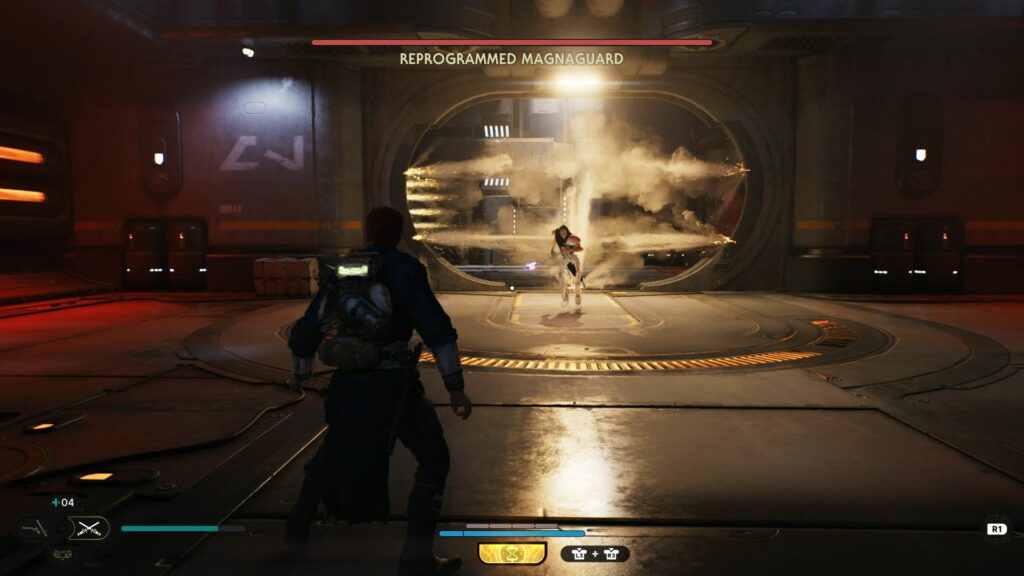
Defeat Reprogrammed Magnaguard
In the next room, you have a mini boss fight with a Reprogrammed Magnaguard which is quite easy.
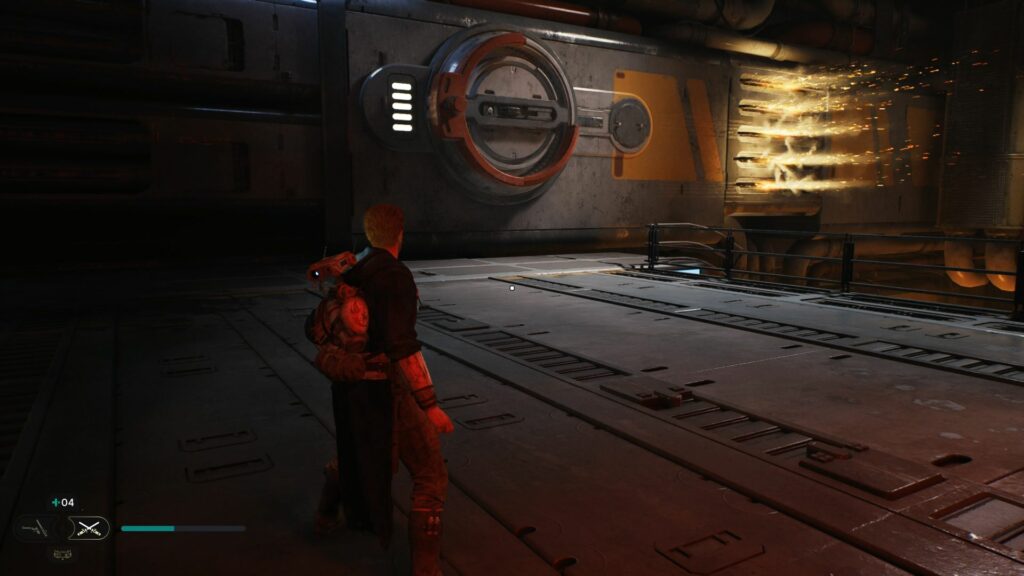
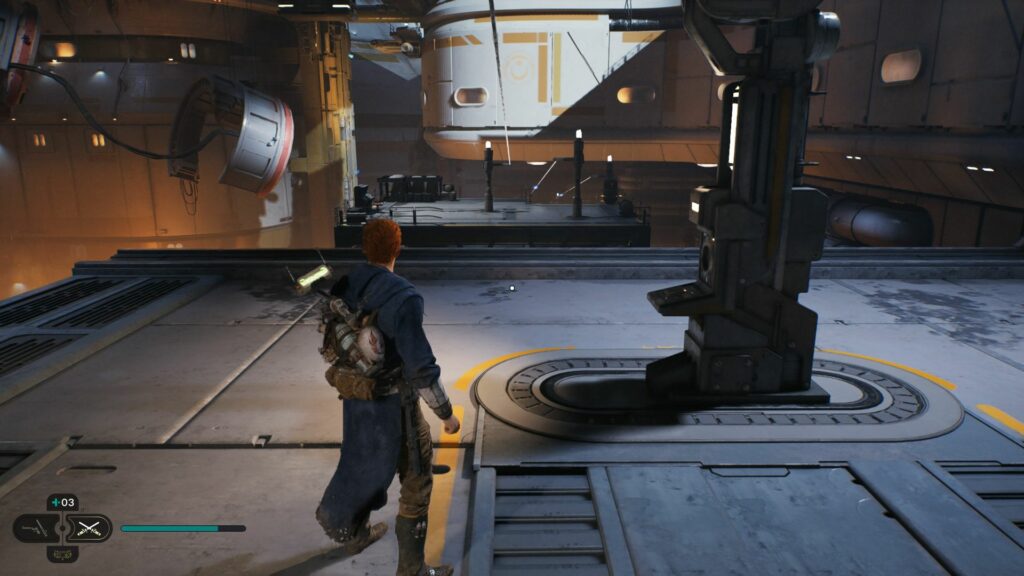
Proceed ahead
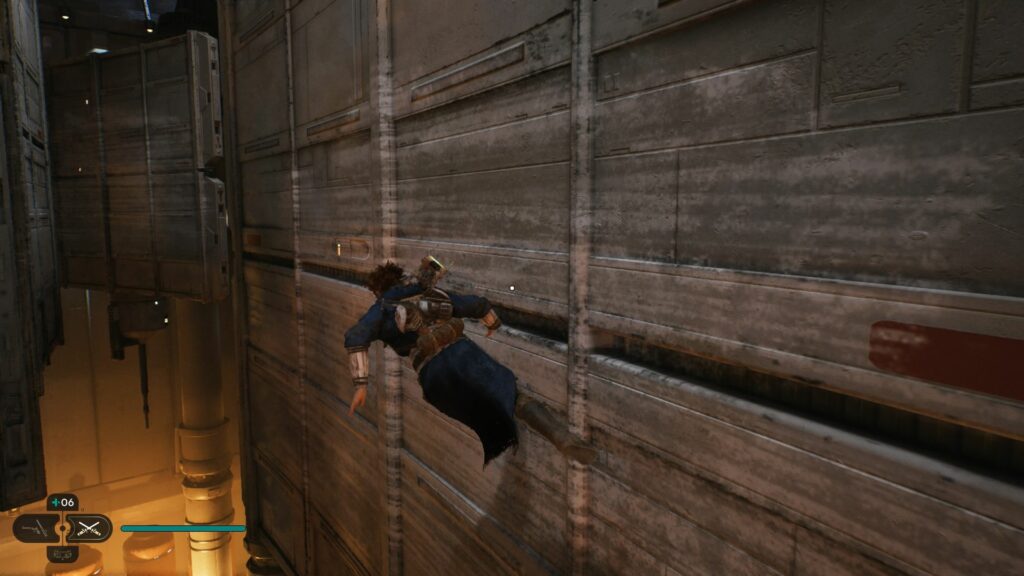
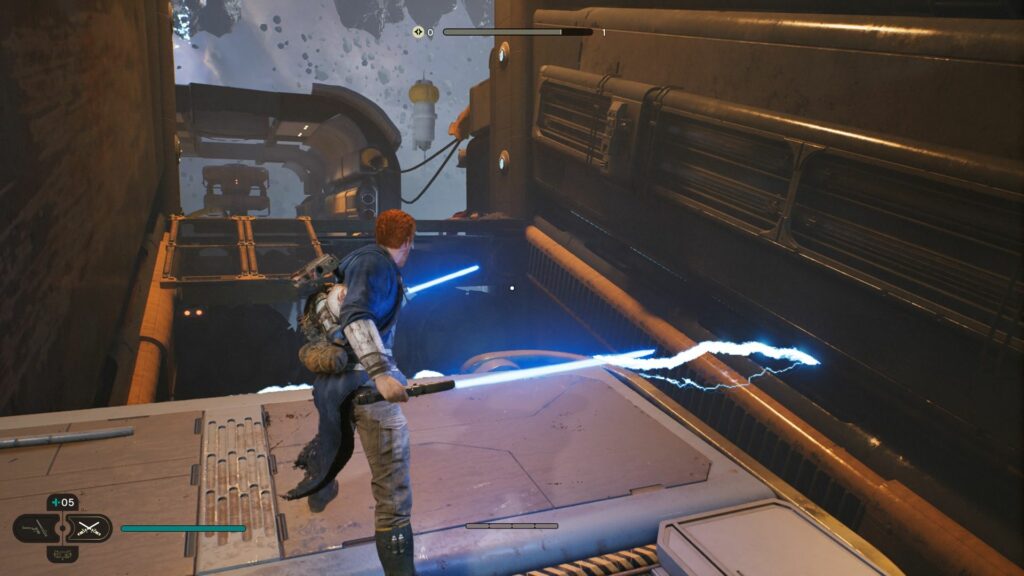
After the battle, proceed ahead. Use the force to shut down the flames coming out. Use the wall to wall run.
You’ll now need to climb onto the metal surfaces and avoid the electricity.
Continue to wall run here.
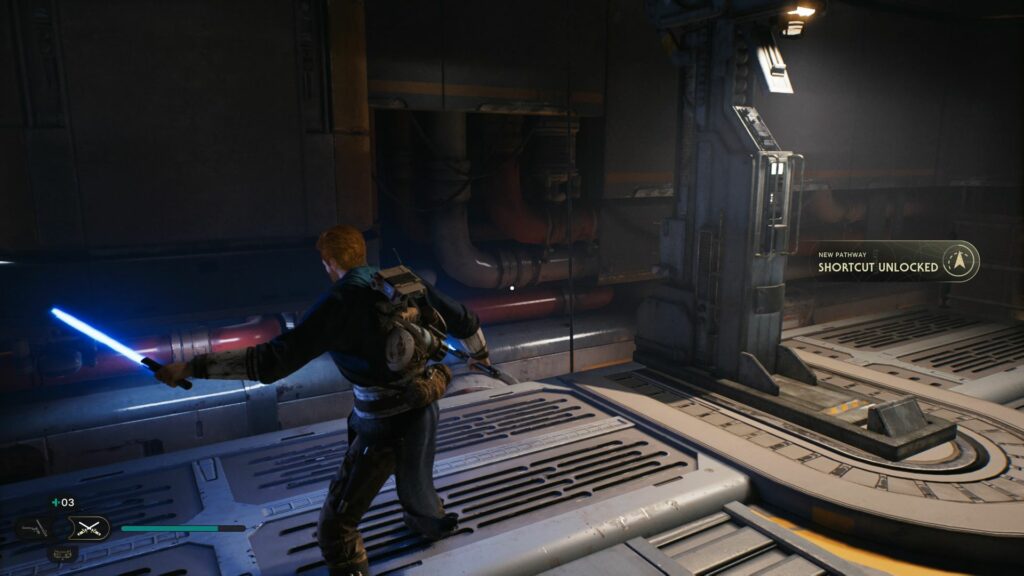
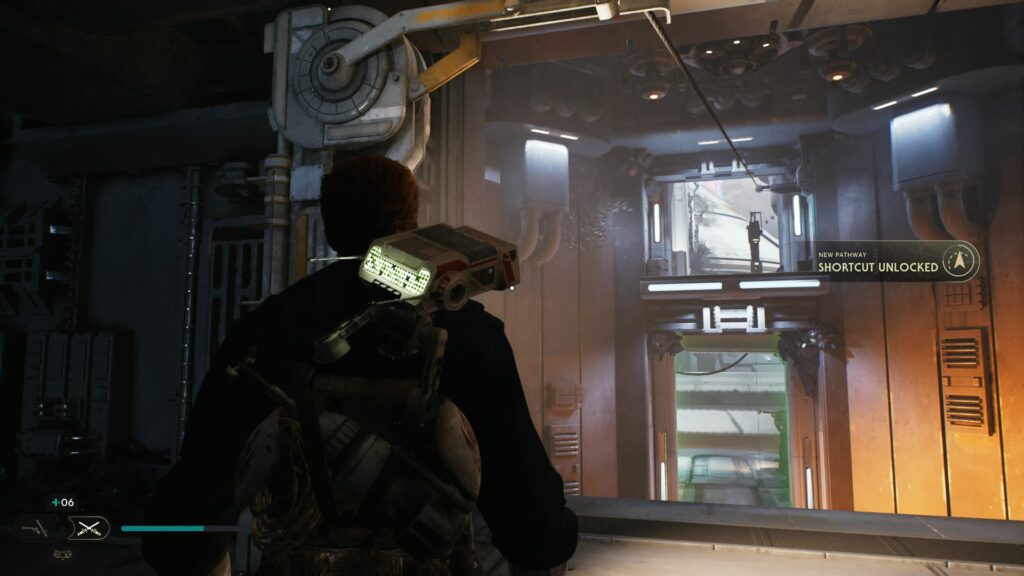
Activate the device to create a shortcut.
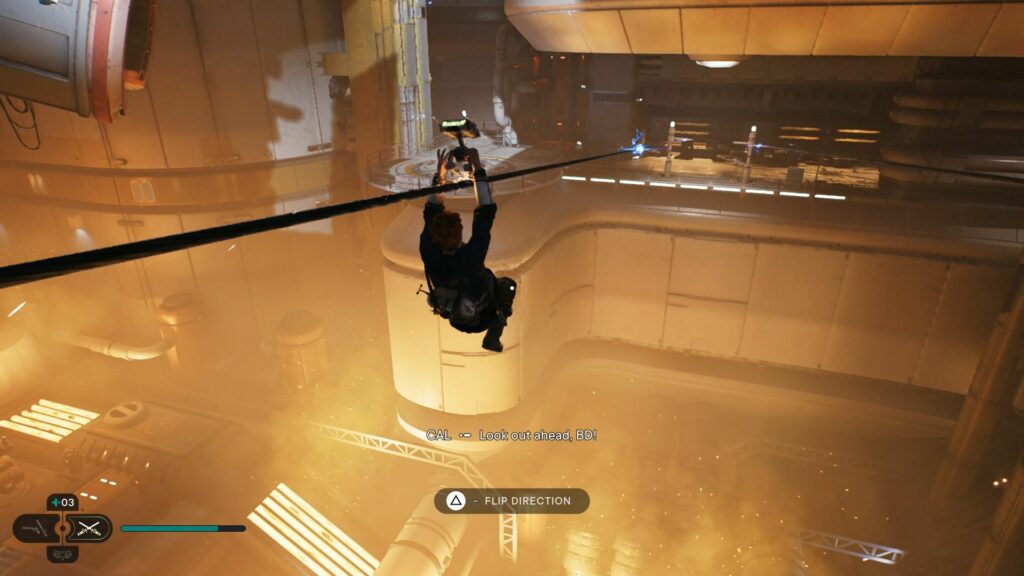
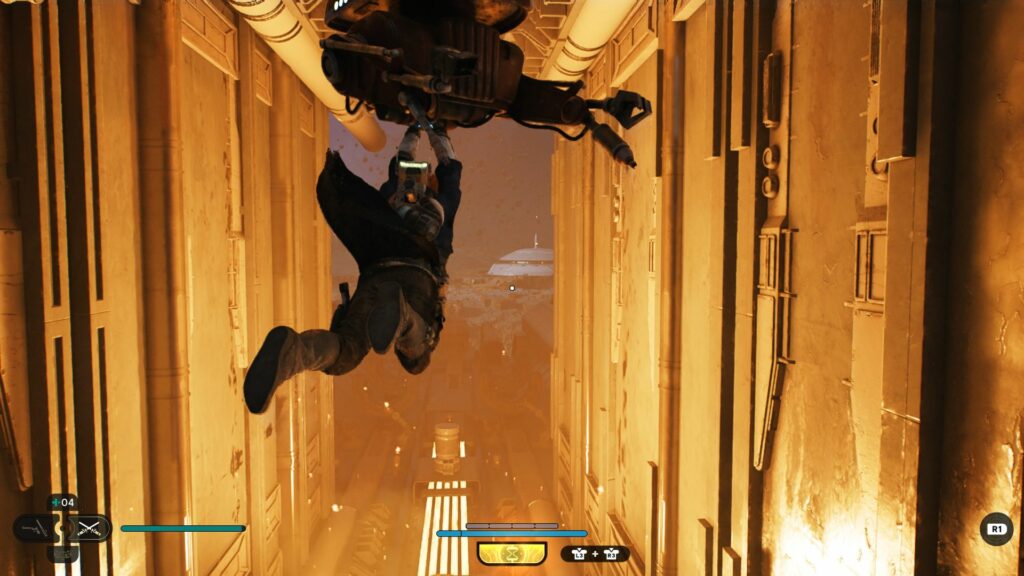
Continue forward and use the zipline device. You’ll then need to zipline all the way.
You have to jump between different ziplines to avoid the electricity.
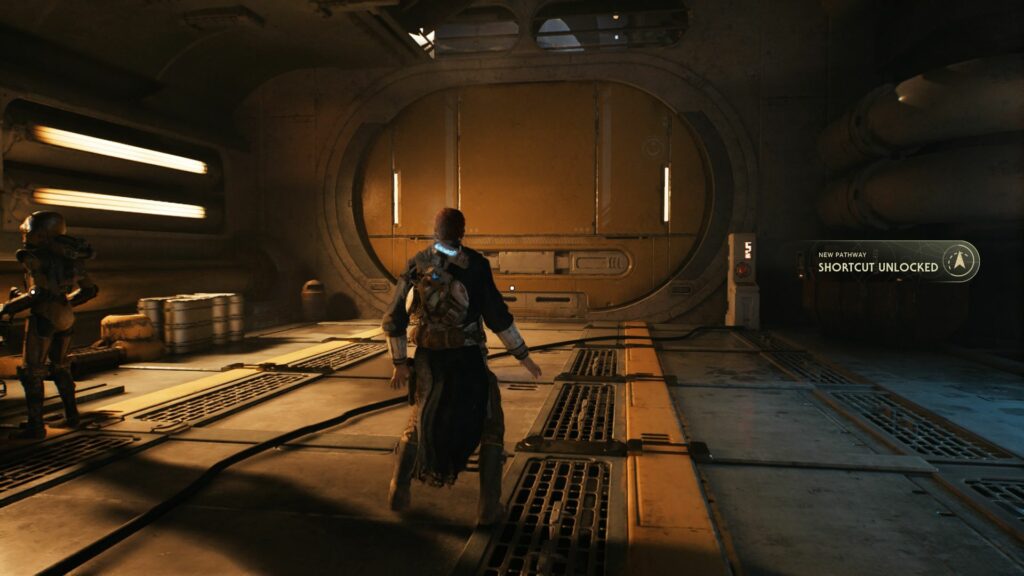
When you reach the other side, ask BD-1 to open the door as it creates a shortcut back. You can save the game using the meditation point behind the door.
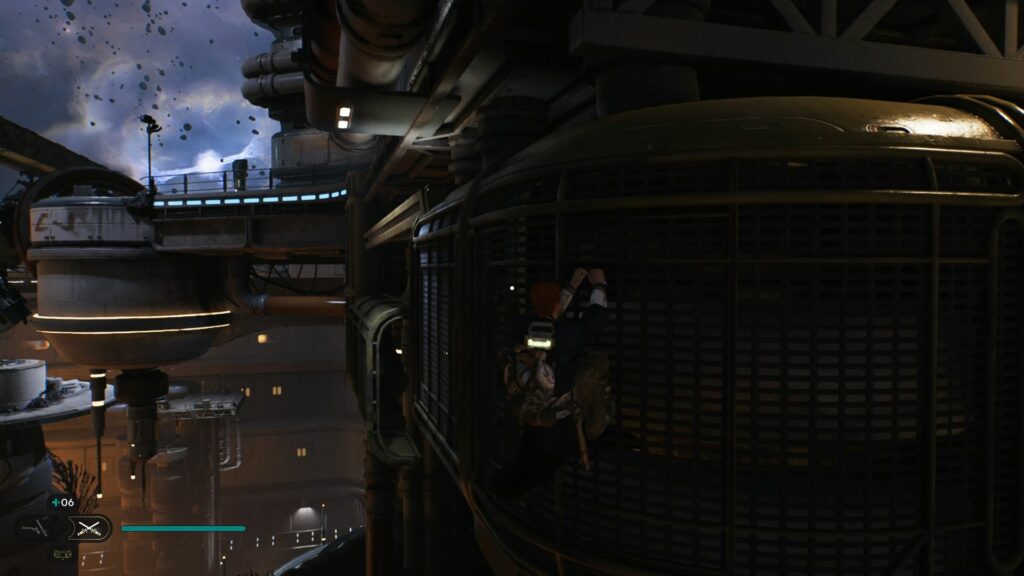
Now, head back to the main path. You’ll see a lot of metal surfaces all the way up with electricity coming down. You’ll basically need to jump between metal surfaces to avoid the electricity while climbing.
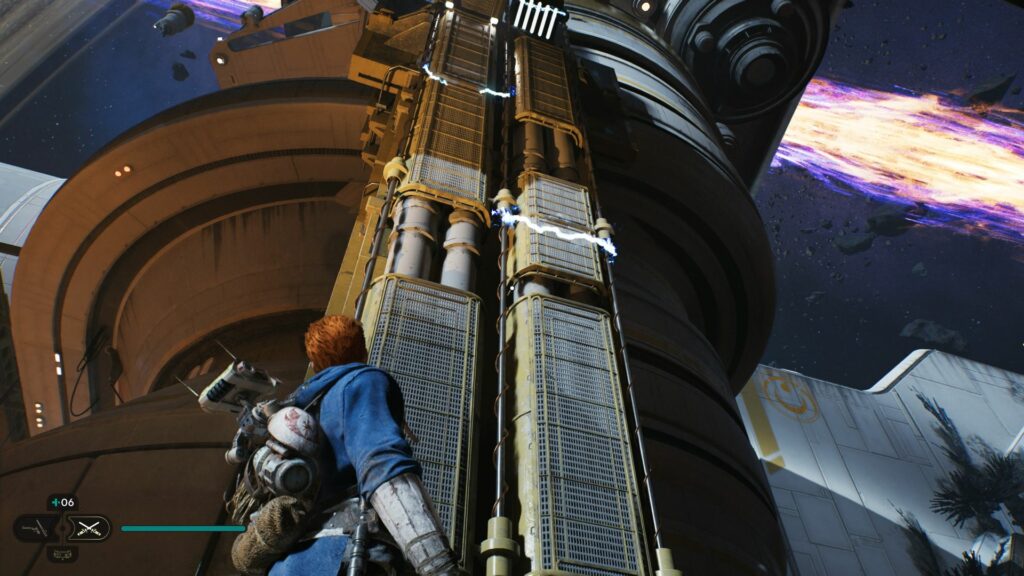
At the top, you’ll need to do the same with the metal surfaces above. You can turn to the right or left when available to avoid the electricity.
For the next part, use the ziplines and alternate between them to avoid the electricity.
Immediately after the zipline, you have to wall run a few times and use the ascension cable to the other side.
Continue climbing onto the metal surfaces to the left.
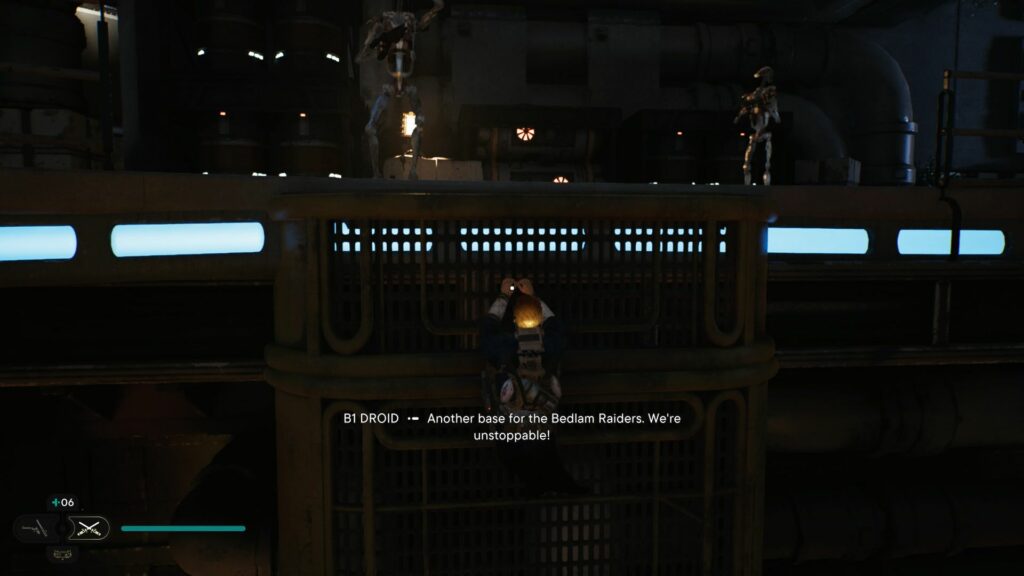
When surfacing, you’ll see some droids. Take them down.
After the area is secure, unlock the zipline device to create a shortcut back.
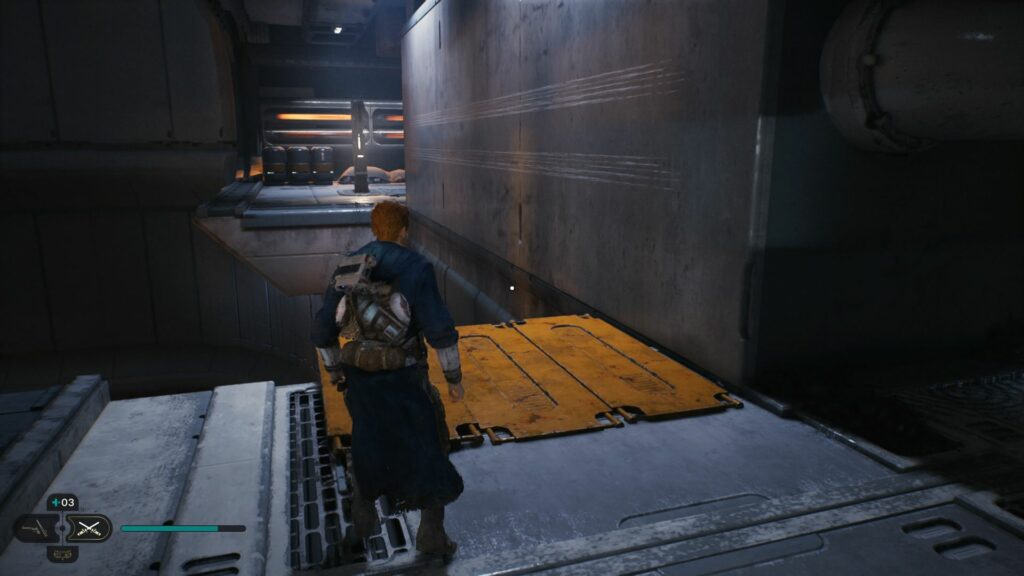
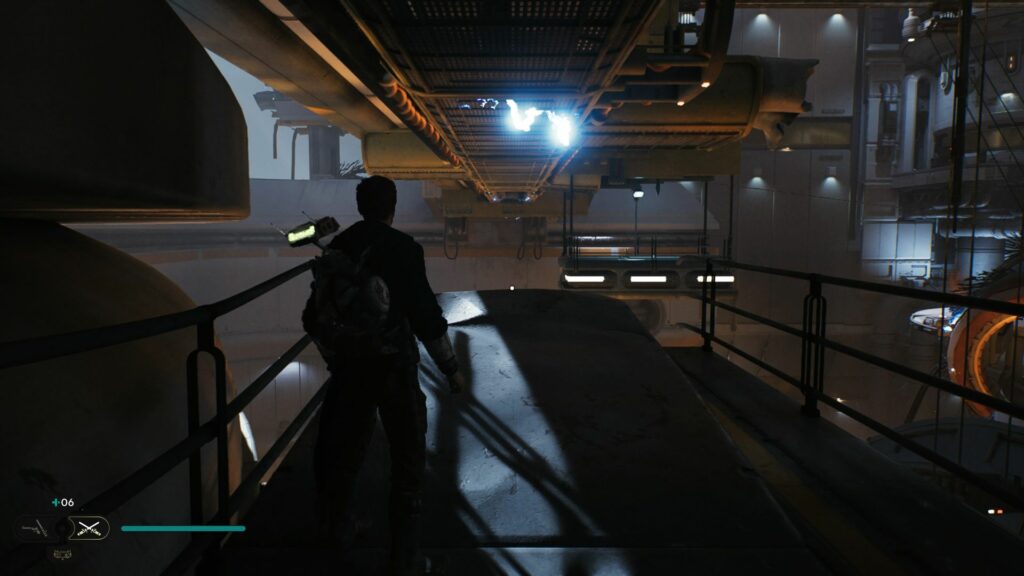
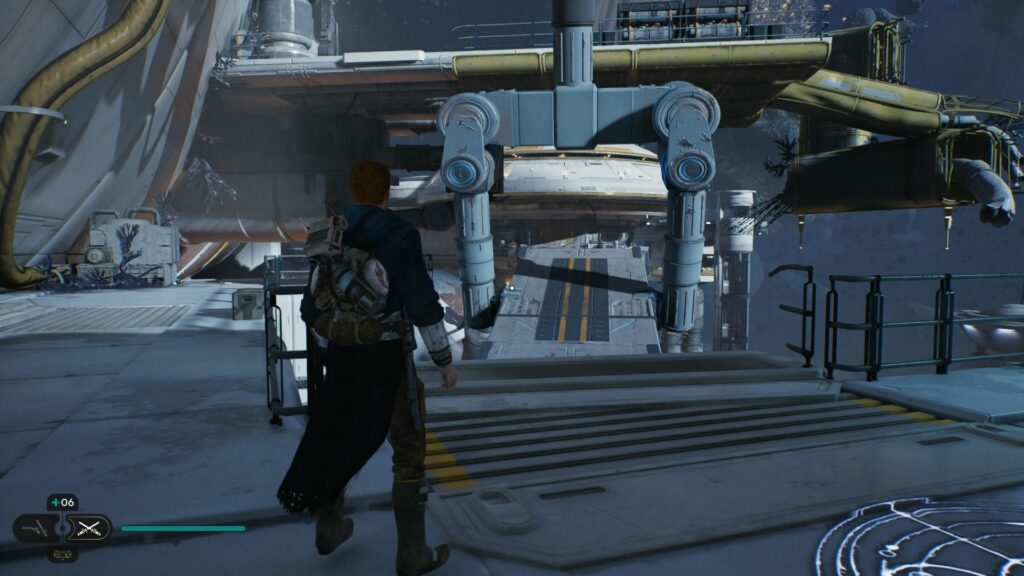
Continue going to the lab
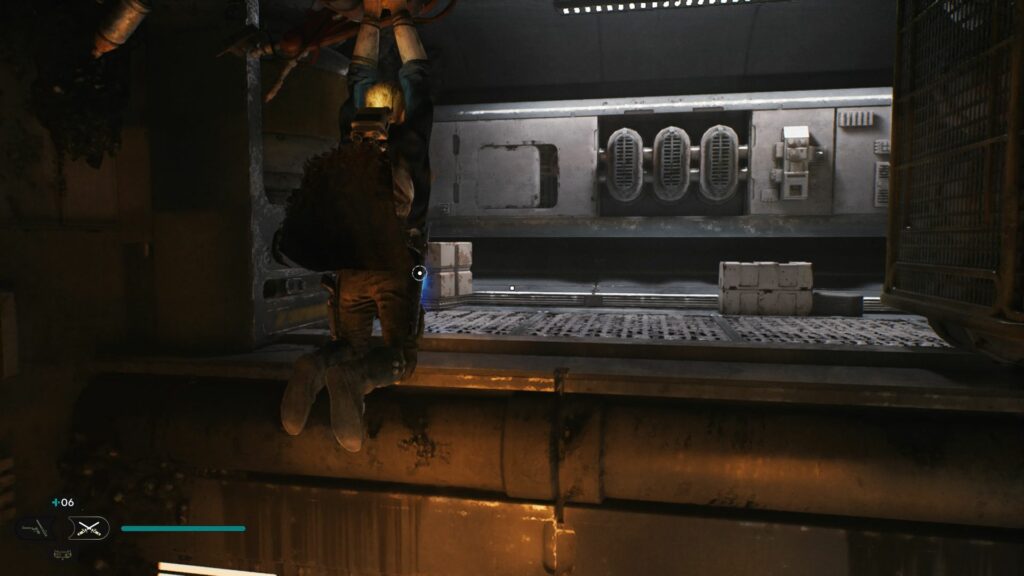
You will then see some enemies behind a green barrier but you can’t go through it yet. Go to the right side and use the metal surfaces. You’ll immediately fall after you hook onto it.
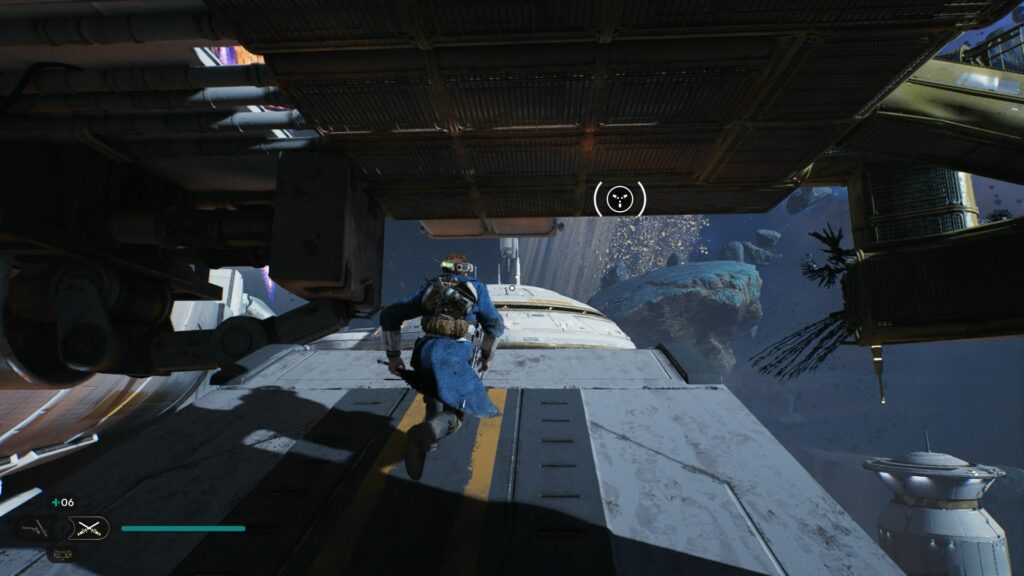
There are creatures at the bottom. Use your cable and hook onto the flying drone above to escape.
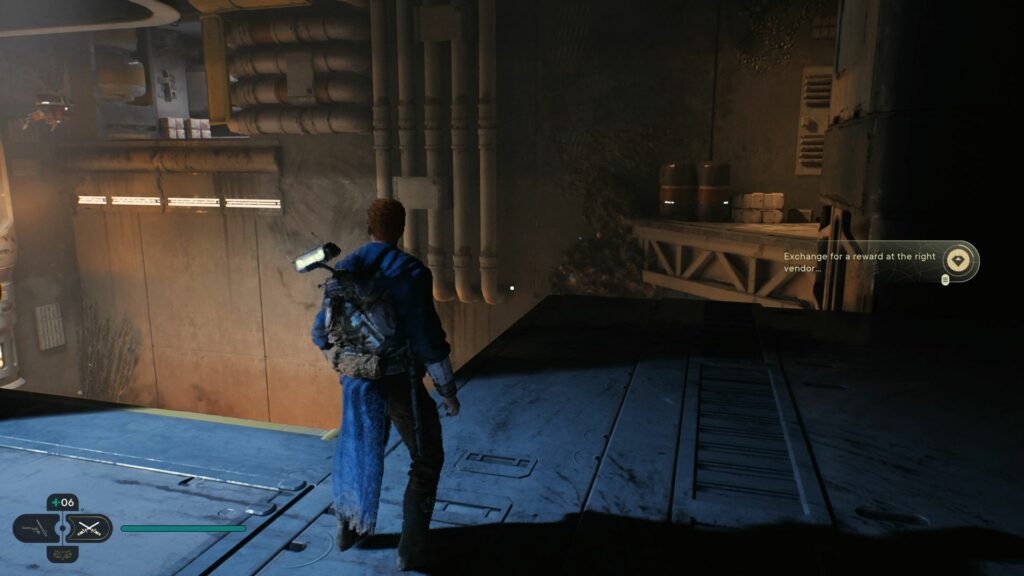
There are two flying drones, hook to the next one and you’ll be able to get an upgrade.
When you’re done, go back to the metal surfaces and climb to the platform. Jump over the gap and continue with the path.
You’ll see another device. Cut the rope to unlock a shortcut.
You will then see the enemies behind the green barrier earlier. This time, you can go down and defeat them.
After taking them out, climb up using wall run. Then, activate the zipline to make a shortcut.
You should then see a sloping path with electricity coming down in intervals.
There are droids shooting at you as well. Make your way up avoiding the electricity.

Continue to walk on the pipes and head on to the next side.
Look for the dangling rope. Use the force to pull it to you and jump to the other side.
You will meet more enemies shooting at you. Use the pipes to get to the other side.
The platform will eventually collapse and you have to hook to the flying drone to escape.
For the next part, use the hook to go to the other side.
You will then reach another meditation point to rest and save the game.
To proceed ahead, you’ll see a structure that can be pulled or pushed with the force.
You have to pull and push to gain momentum. One way that works is to stand at the side of the structure and not in front of it.
Push and pull using the force and when it’s near the other side, jump onto the platform and immediately use the hook cable to reach the metal surface.
Make your way up and activate the device for a shortcut back.
For the next part, use the force to pull the rope to you and jump to the other rope.
While jumping, pull the next rope to you and jump to the other side.

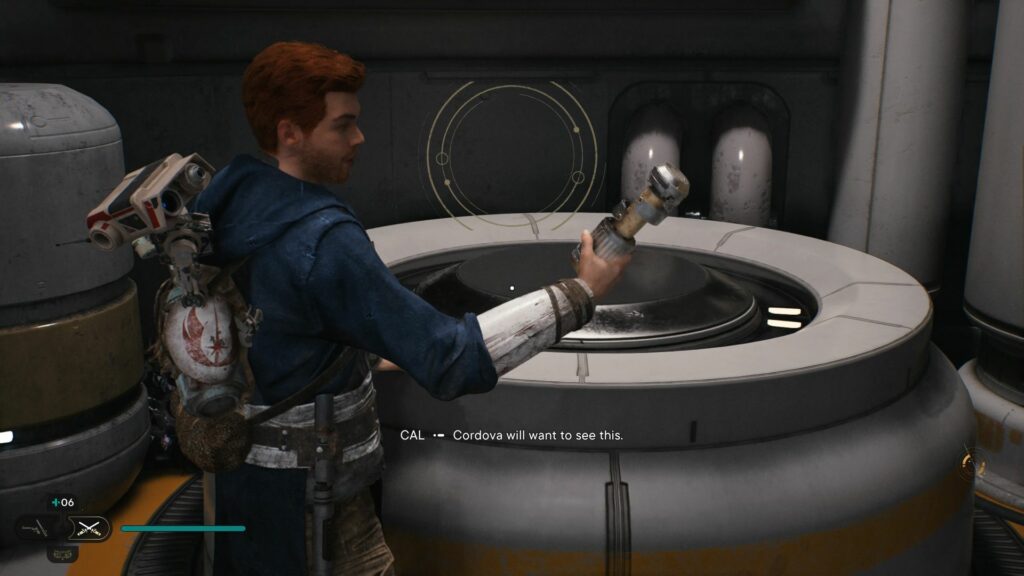
Enter the building and you’ll reach a round room. Interact with the High Republic device on the table.
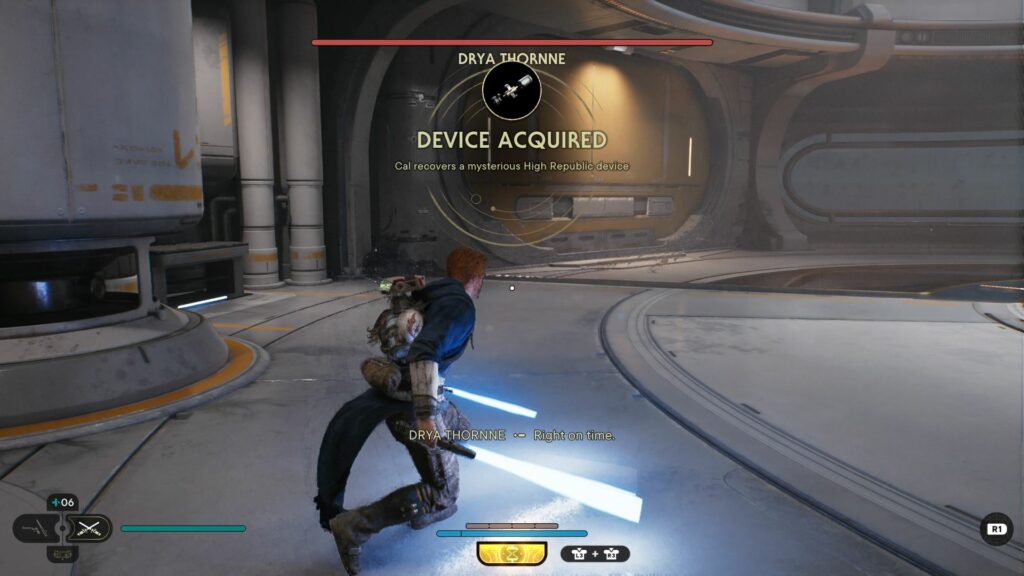
Defeat Drya Thorne
You will then need to defeat Drya Thorne who also uses a lightsaber.
After the fight, you will unlock your fifth stance which is cross stance. It’s slower but hits harder.
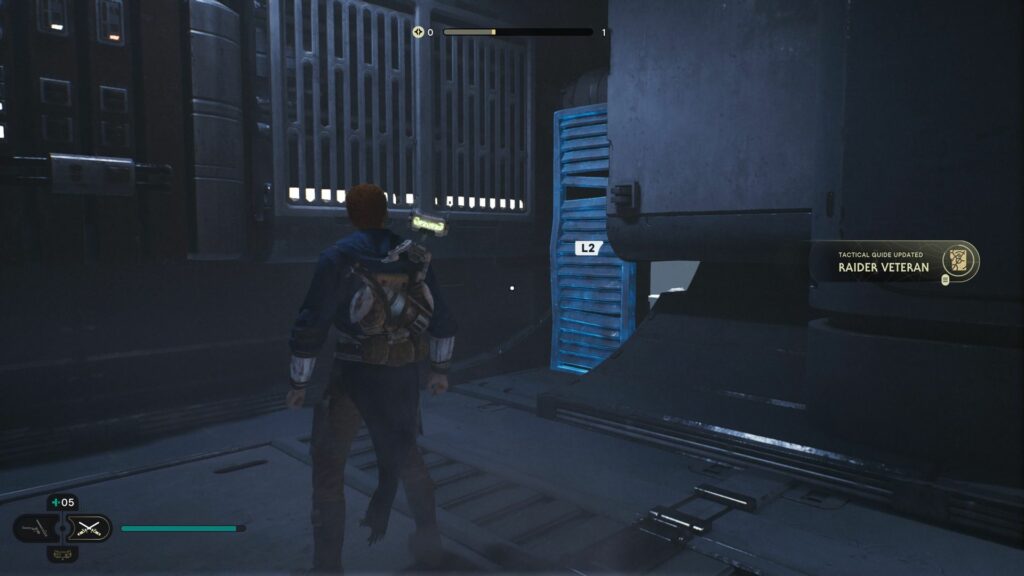
To exit the area, use the zipline device back.

Related posts: