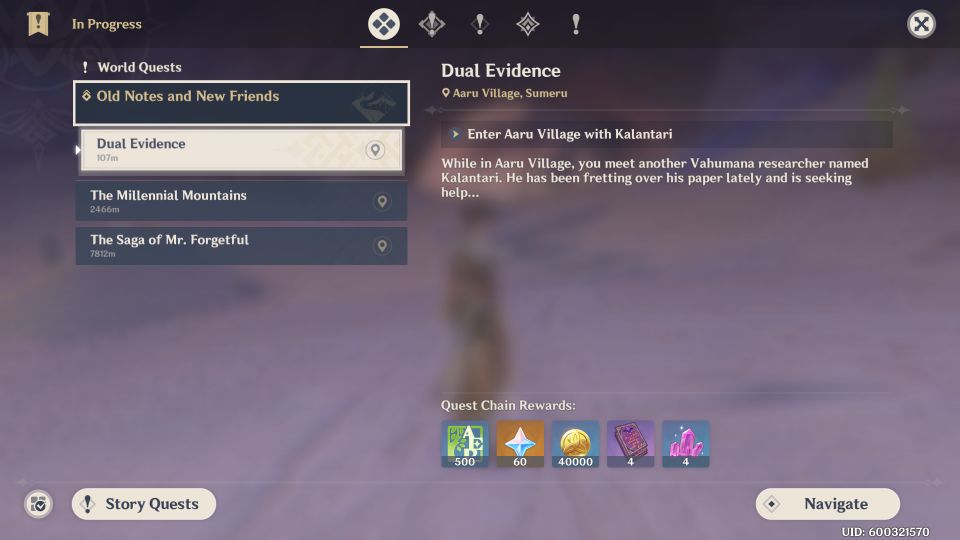
Dual Evidence is a new world quest (Old Notes and New Friends questline) in the desert region of Sumeru.
Your objective is to get full clearance for the stone slate device. To do so, you have to go through many puzzles in different areas.
Here’s a walkthrough and guide of Dual Evidence in Genshin Impact.
To begin the quest, you have to wait one day after you complete the Golden Slumber quest line with Tirzad.
Enter Aaru Village
You will meet a student named Kalantari. Enter the Aaru Village with him.

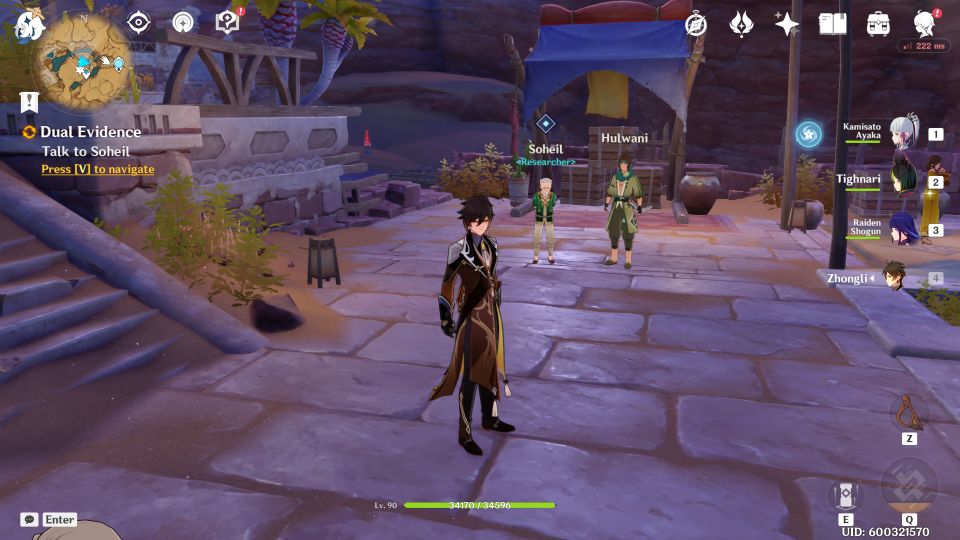
A cutscene will trigger and Kalantari will be asked to leave by Soheil who is a senior researcher.
Talk to Soheil
Then, talk to Soheil to understand what is going on.
Paimon and the Traveler will then attempt to prove Soheil wrong by finding more evidence to back up Tirzad’s work. You will then need to get full clearance.
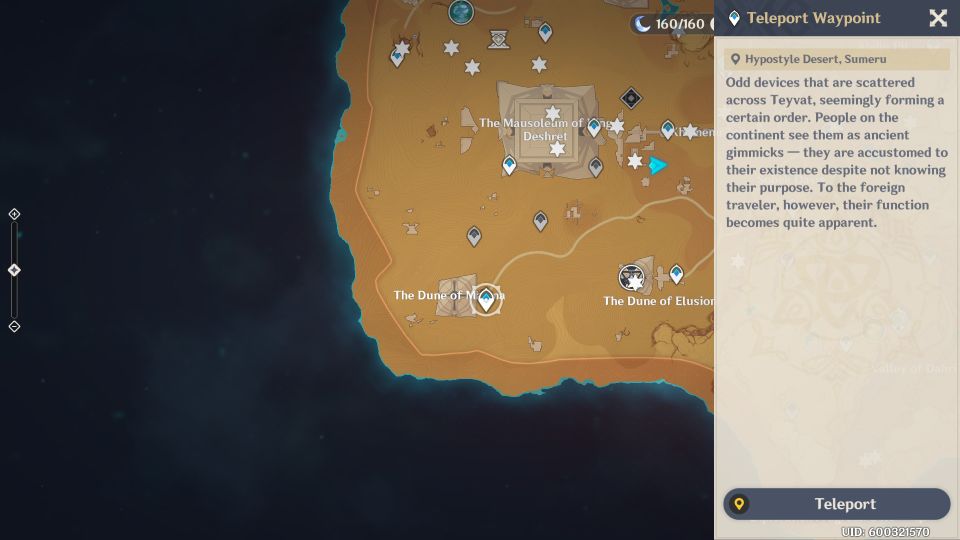
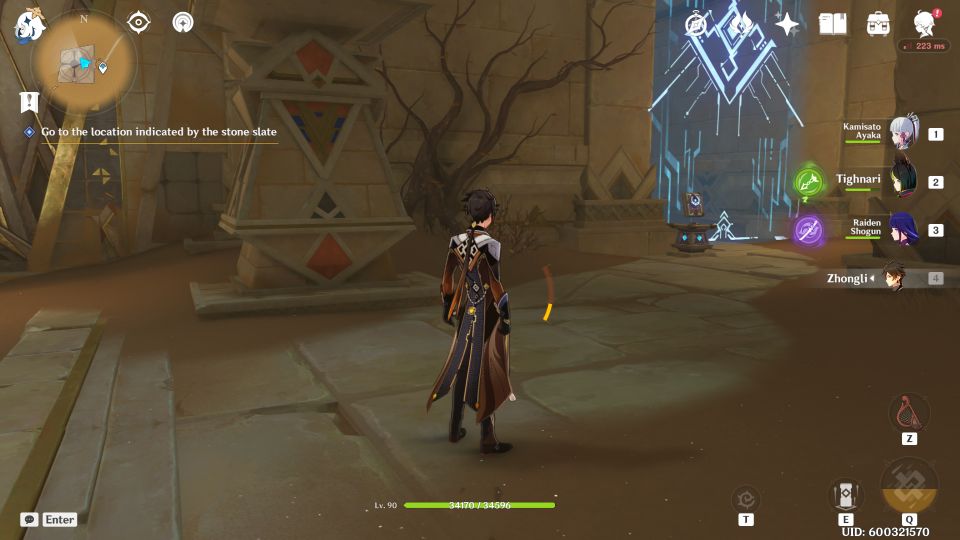
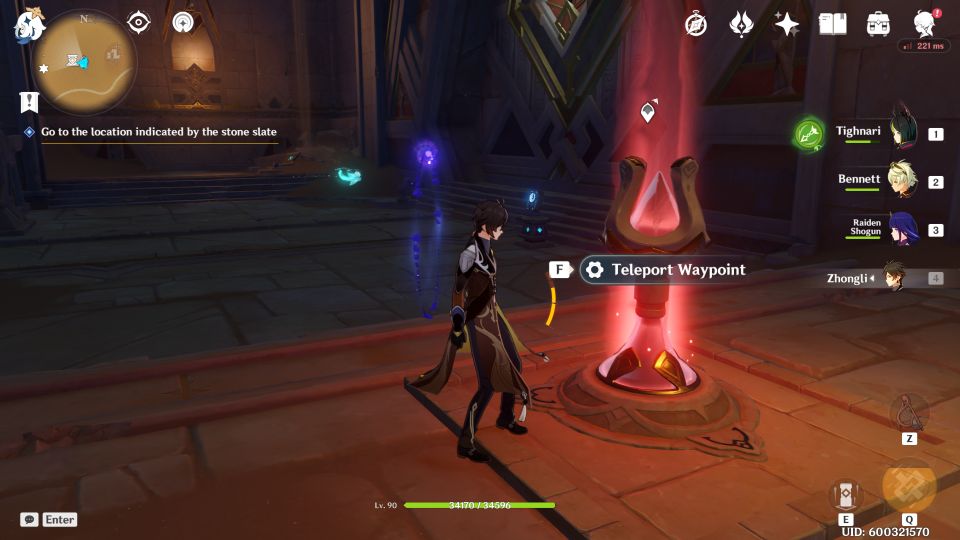
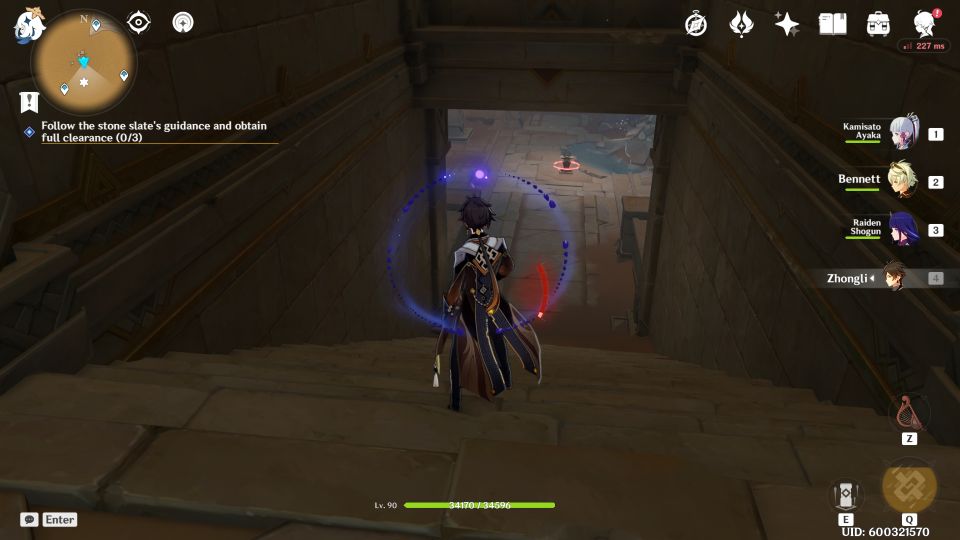
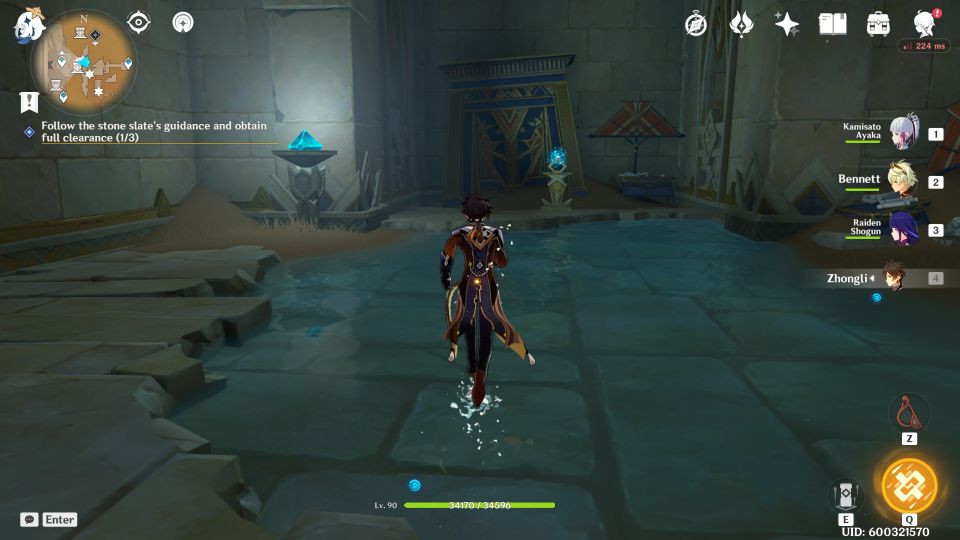
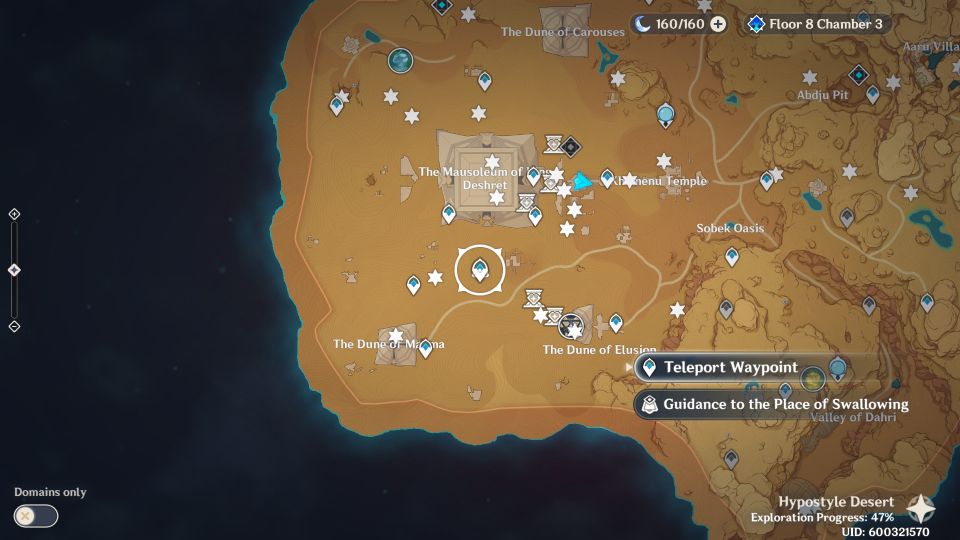
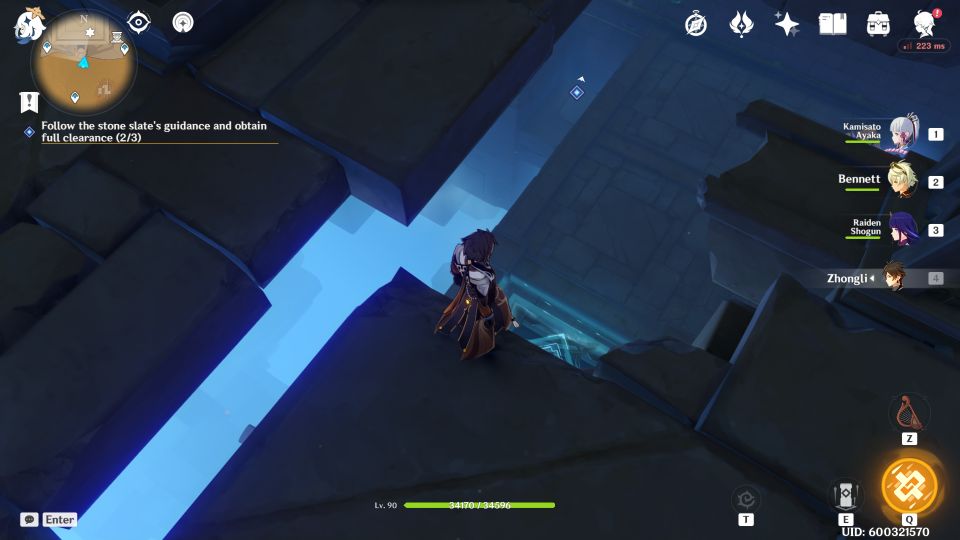
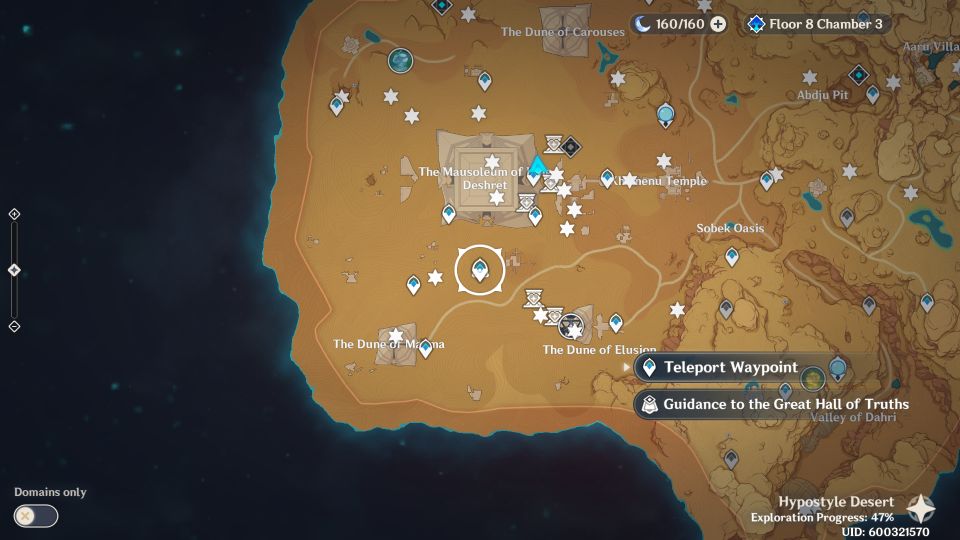
Go to the location indicated by the stone slate
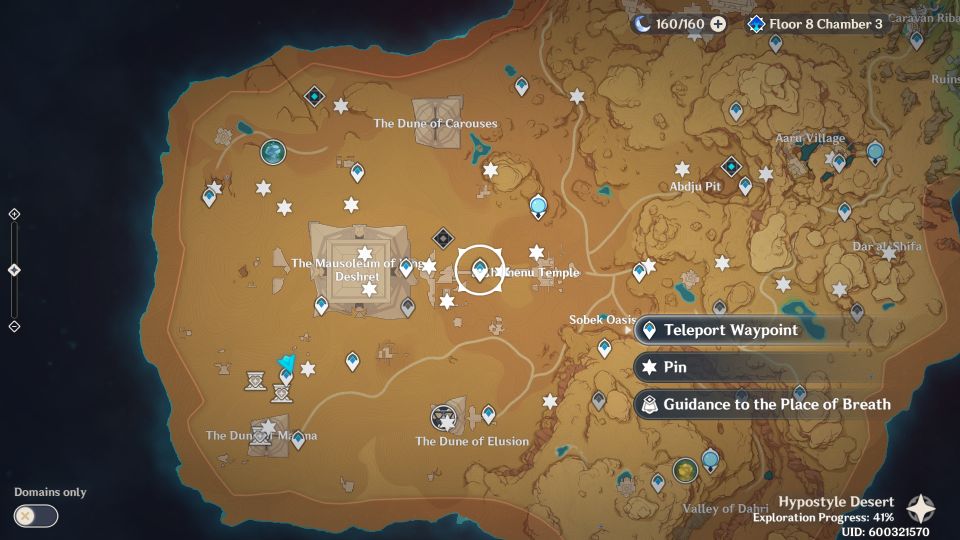
The first objective is to find the location indicated by the stone slate. What you’re looking for is the Mausoleum’s Depths.
One way to go there is to teleport to The Dune of Magma as shown in the map below. It’s in the southwest corner of the desert.
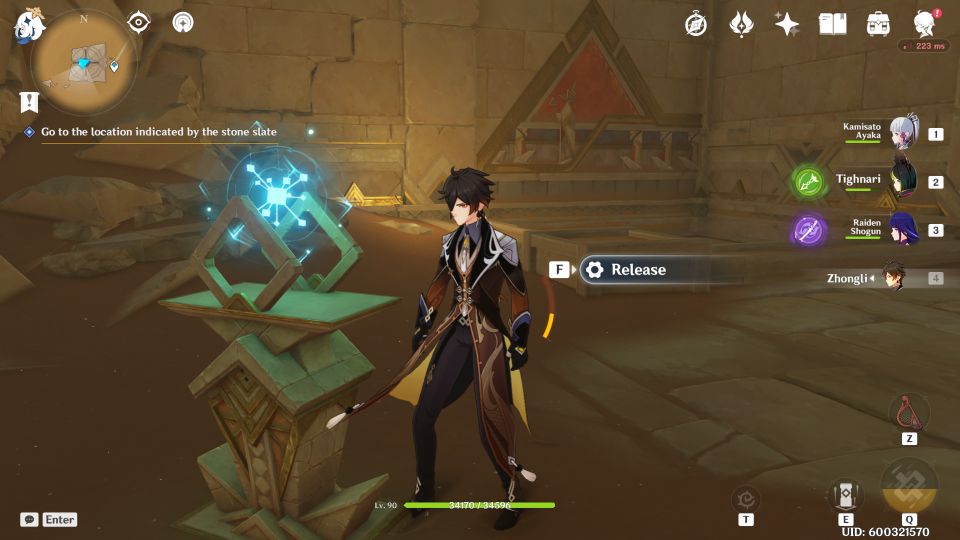
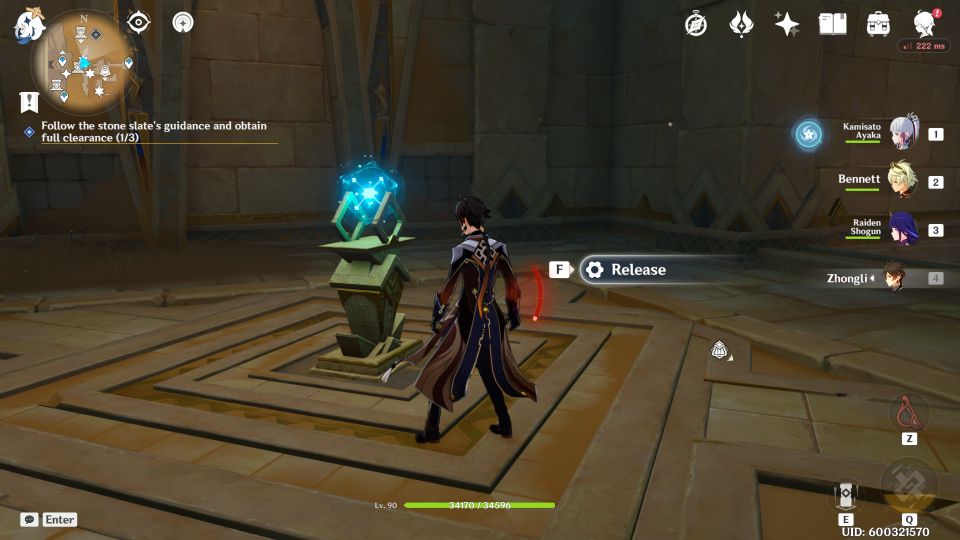
Enter the Dune of Magma. Interact with the Plinth to remove the blue barrier.
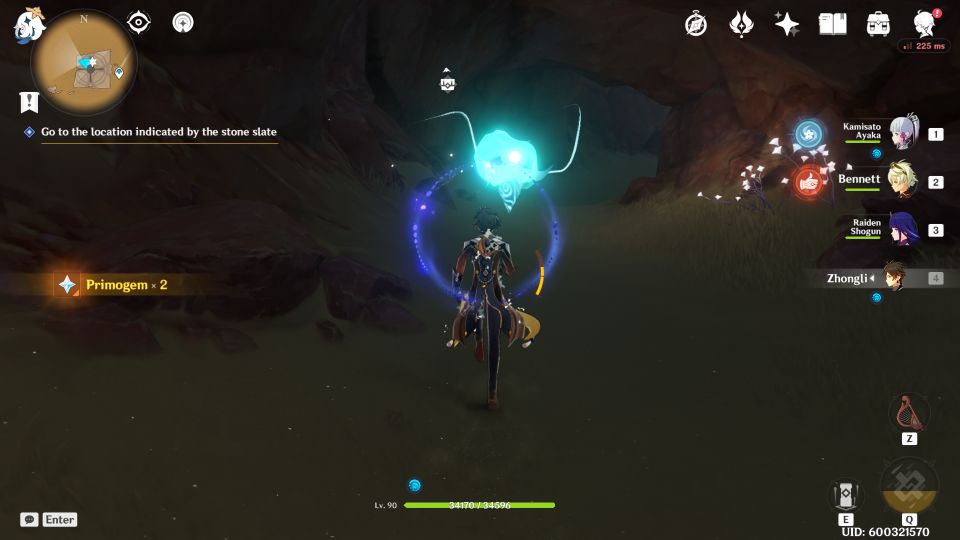
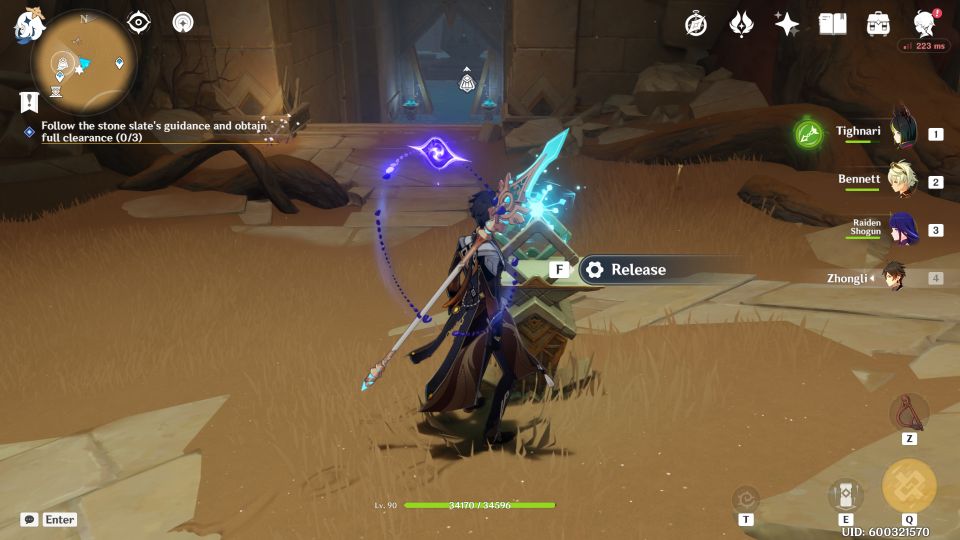
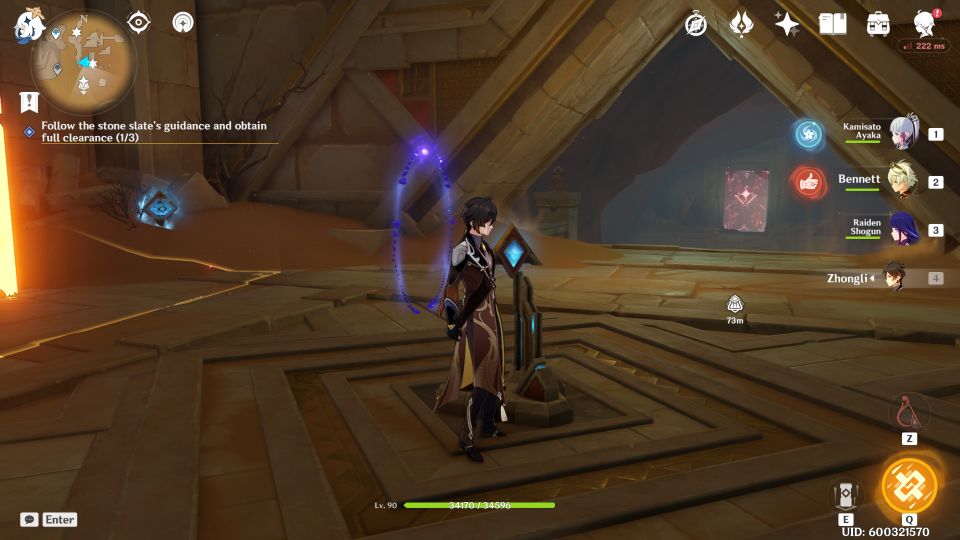
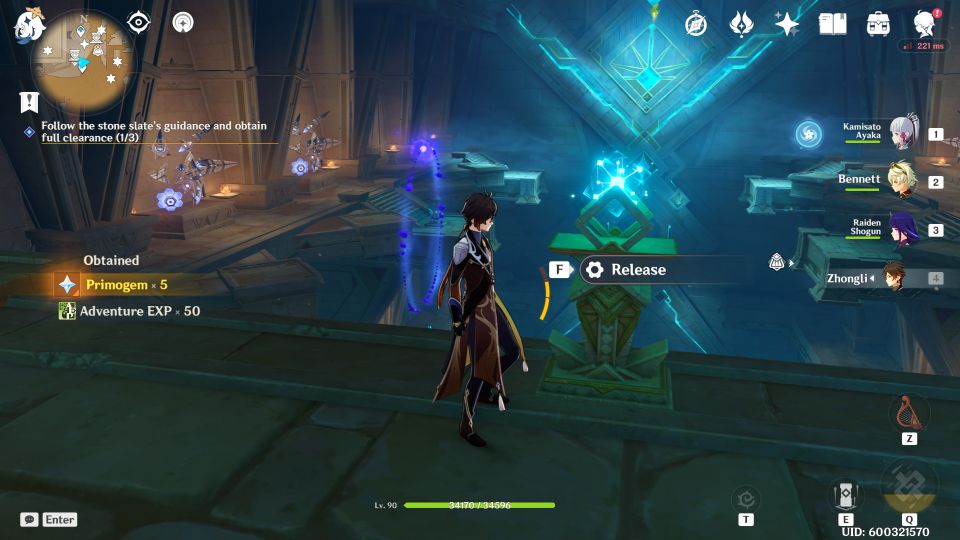
Inside, you’ll see a blue orb. Release it.
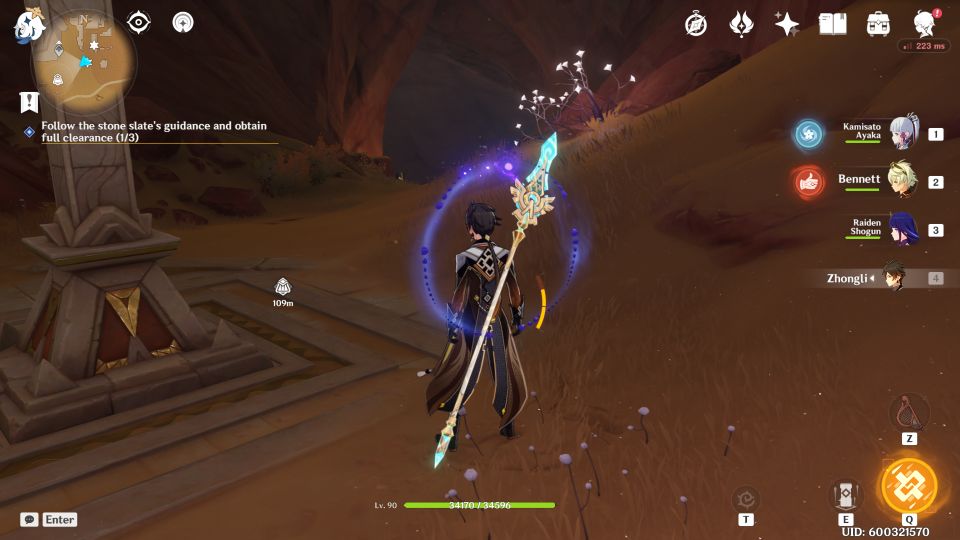
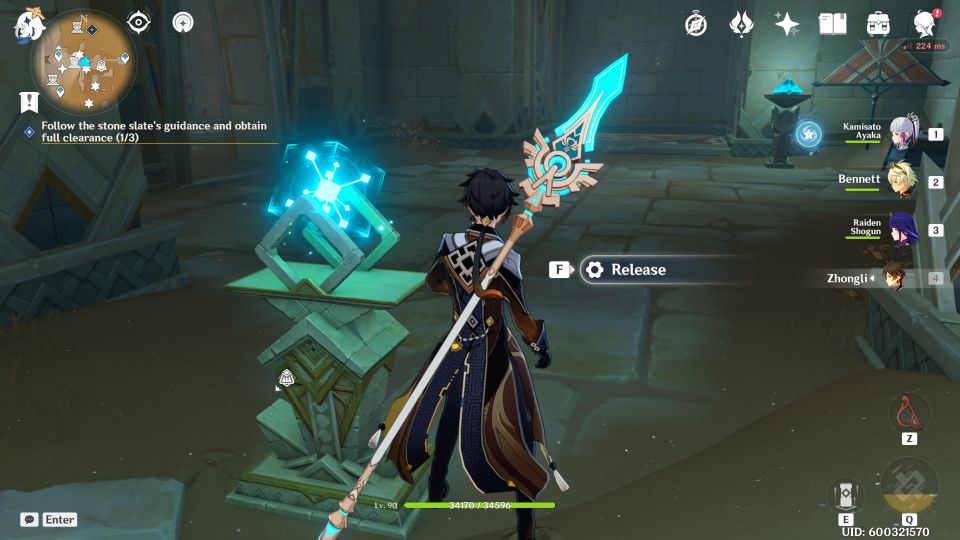
Proceed ahead. Get the crystal on the way.
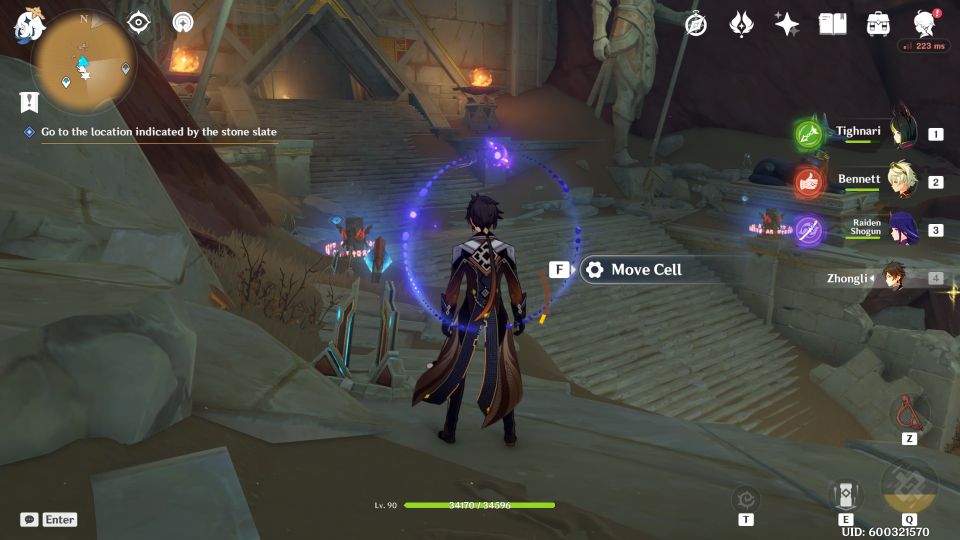
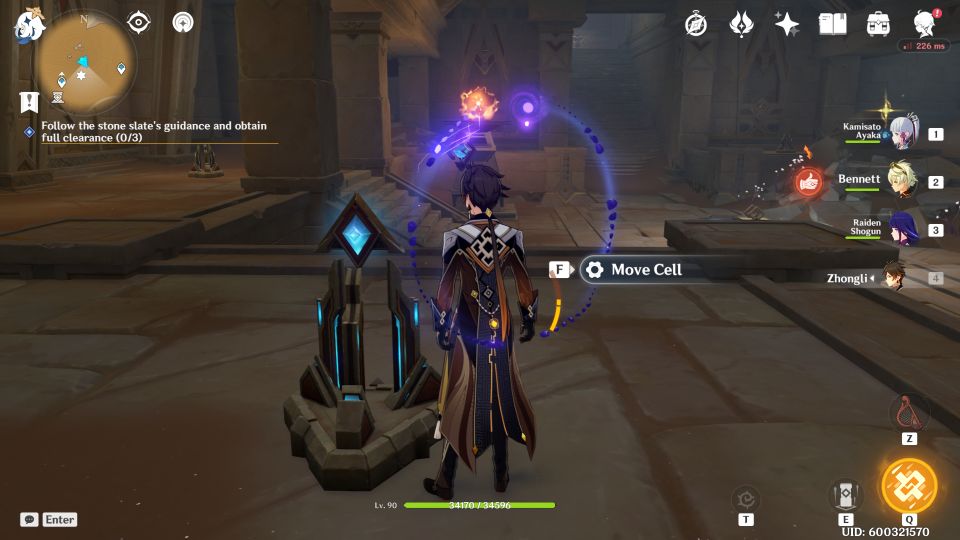
Use the crystal on the platform to create a cell device.
Use the cell device to fix the broken pyro statues. Light them all up.
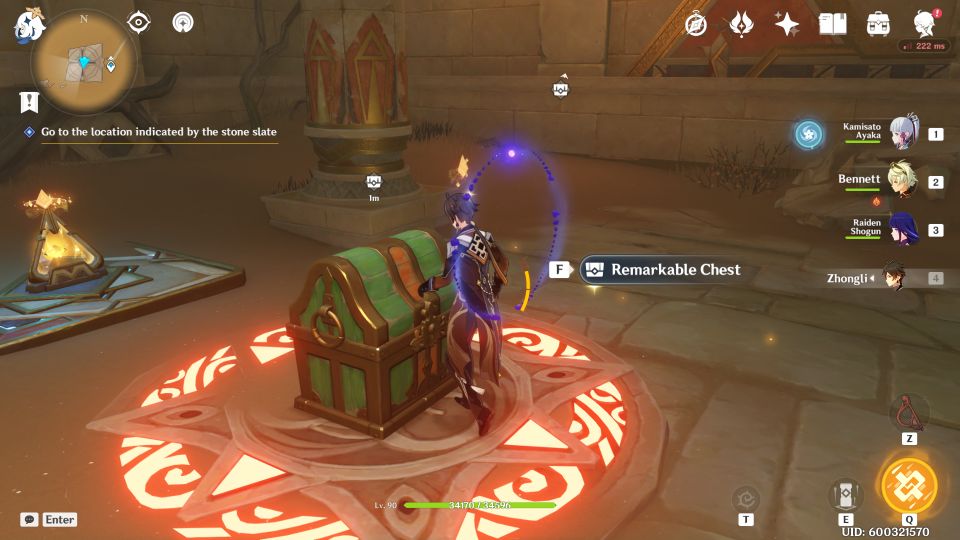
You’ll get a remarkable chest but this one is optional.
Continue to jump down into the big pit. You’ll see a Dendroculus at the bottom.
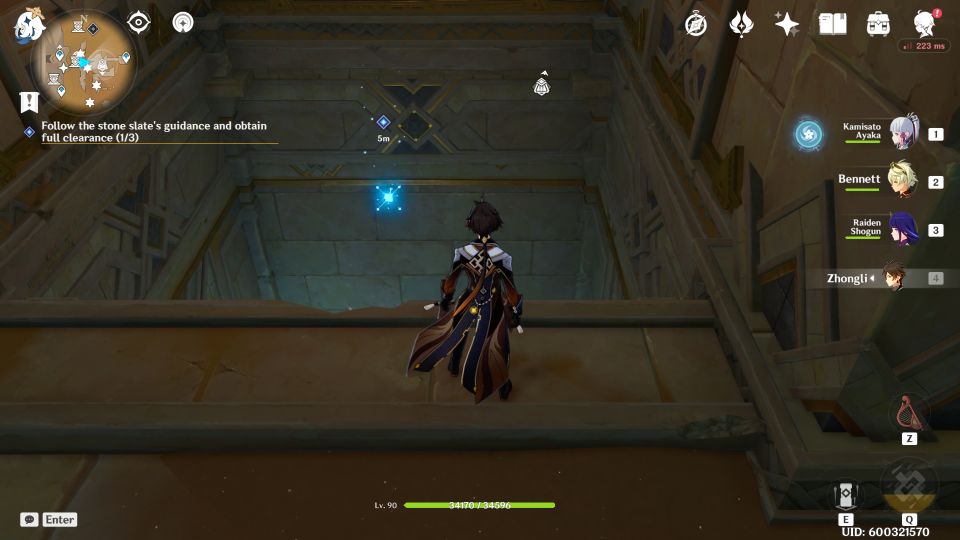
Continue to follow the path.
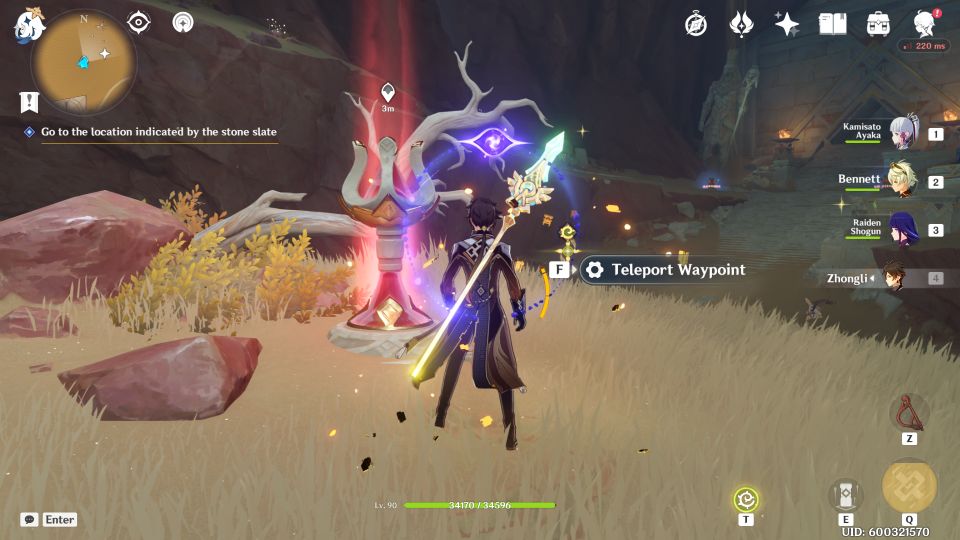
You’ll eventually reach a teleport waypoint. Continue ahead.
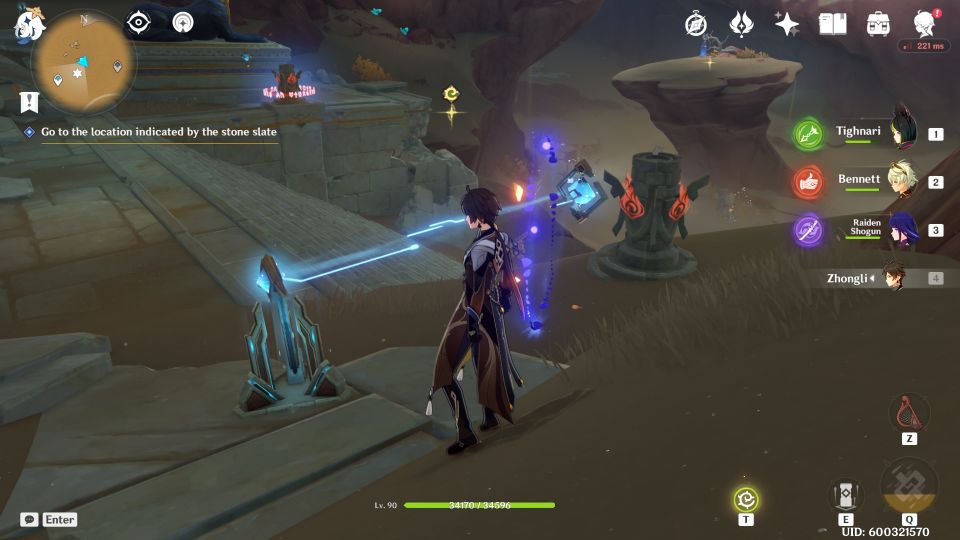
This one’s optional but if you light the pyro statues you’ll get a chest. You can see two devices on each side which allows you to move cell.
You need to do both of them together as quick as possible.
When the cell unlocks the pyro statue, you need to light both of them up as fast as possible before the cell moves away and locks the pyro statue again.
Once they’re both lit up, an exquisite chest will spawn.
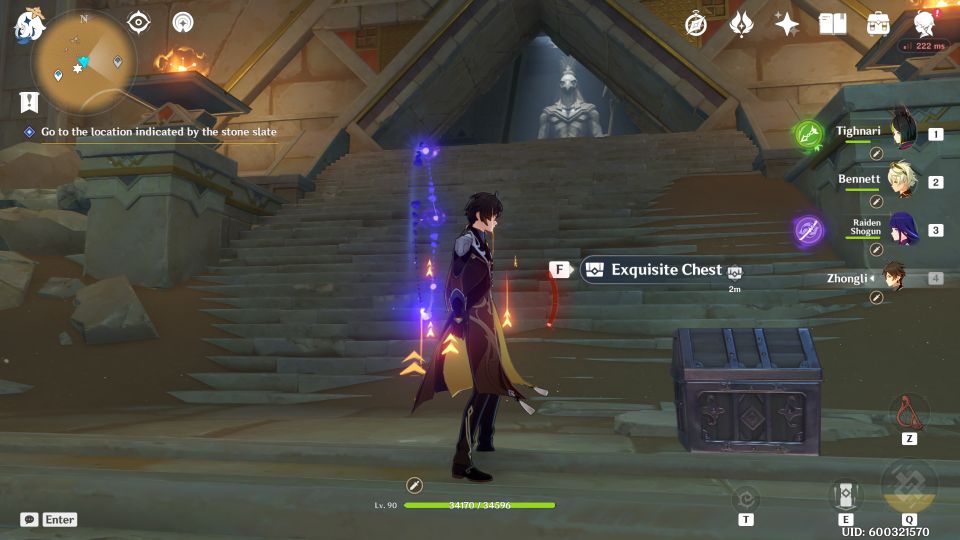
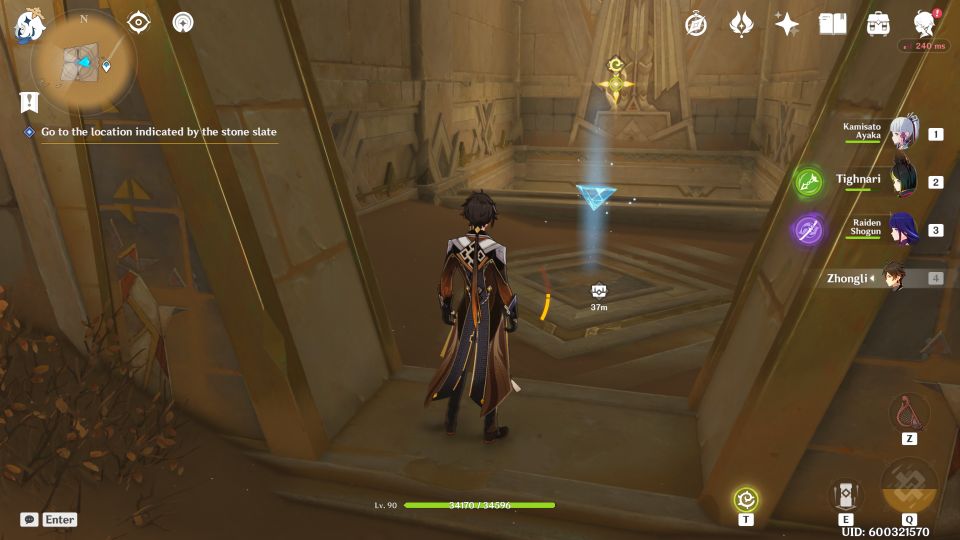
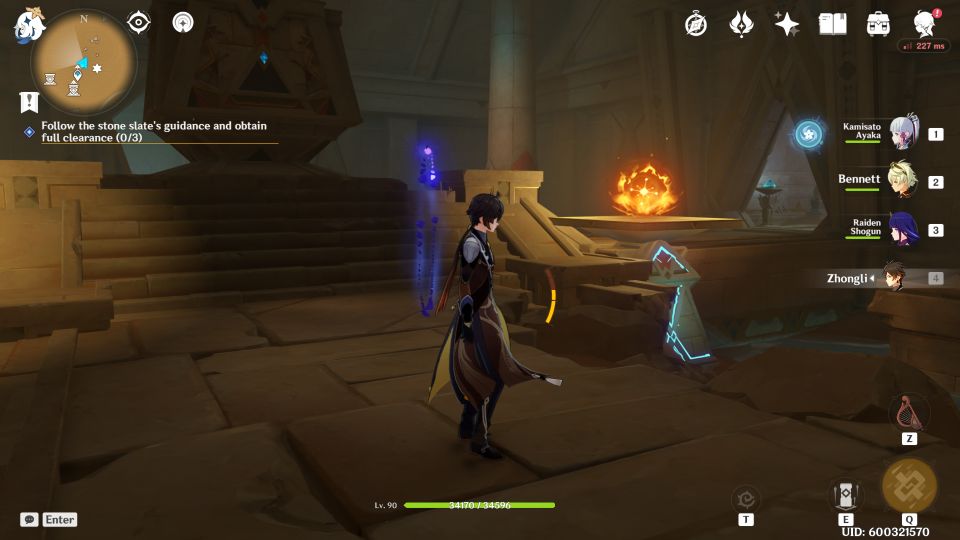
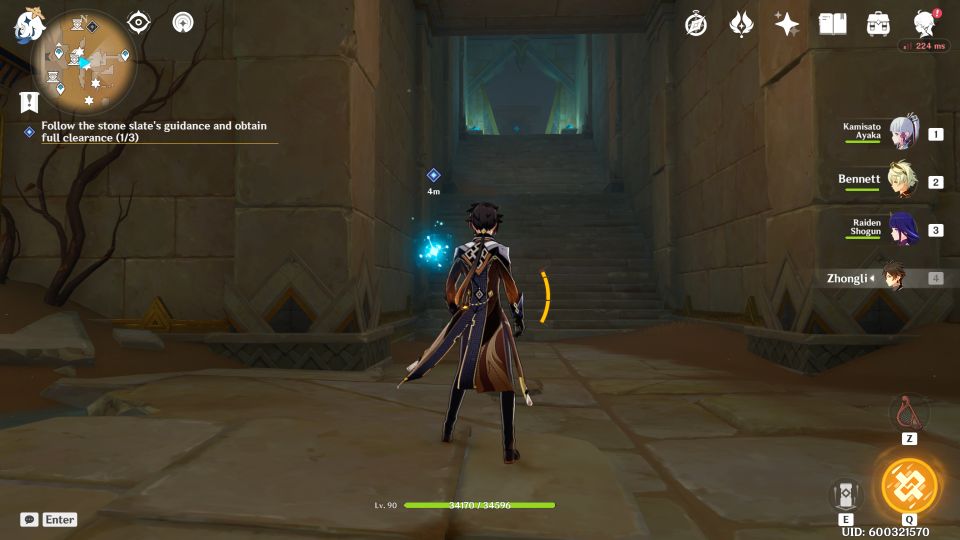
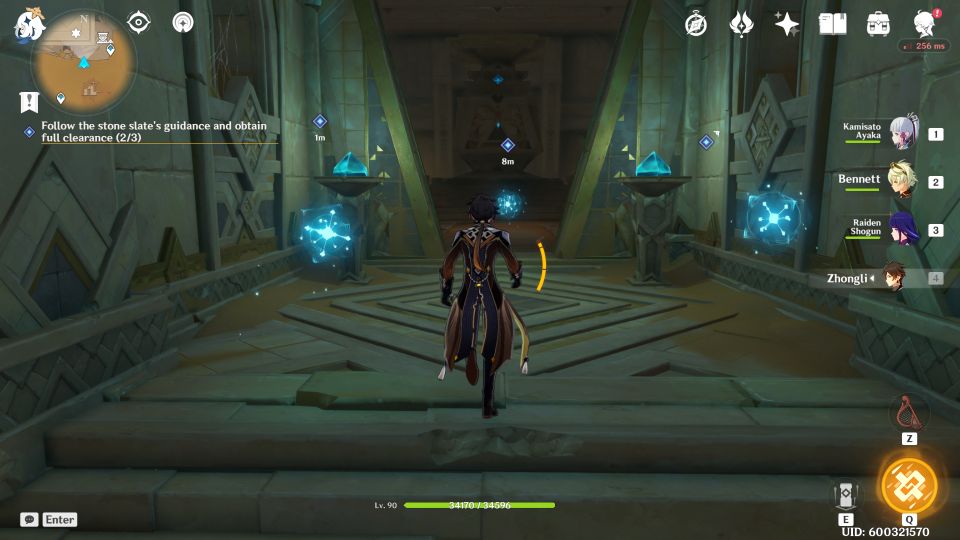
Continue inside the building and you’ll see one of those slate monuments. Continue up the stairs.
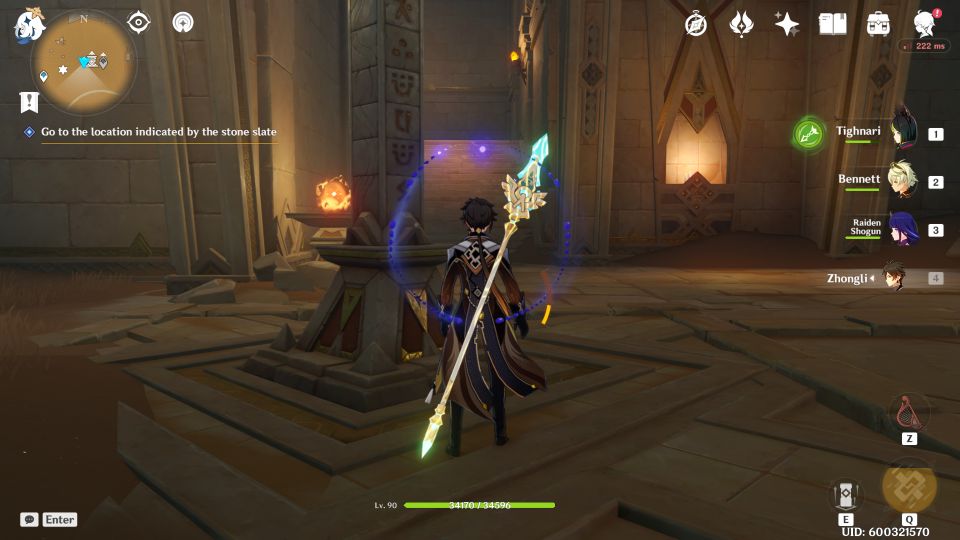
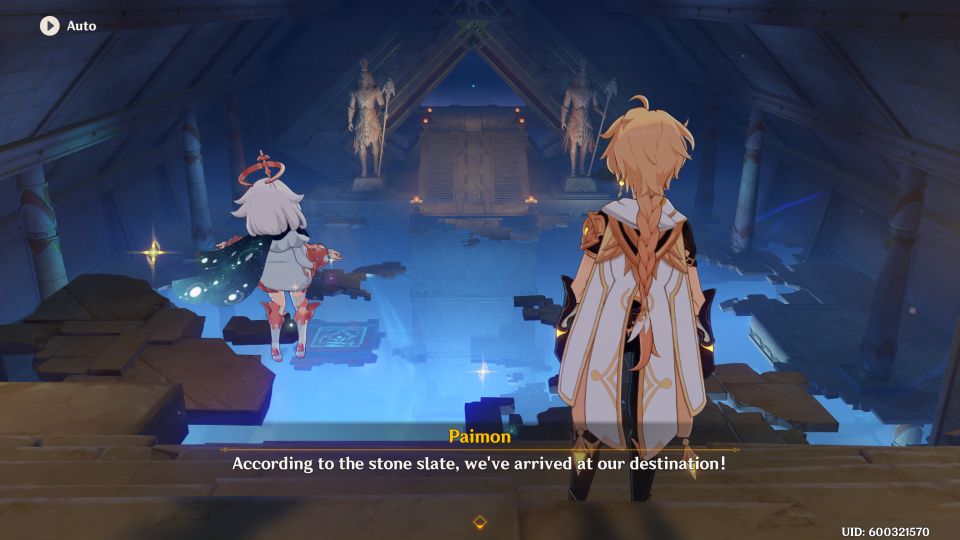
You’ll then reach a teleport waypoint.
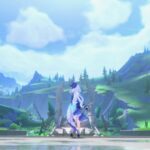
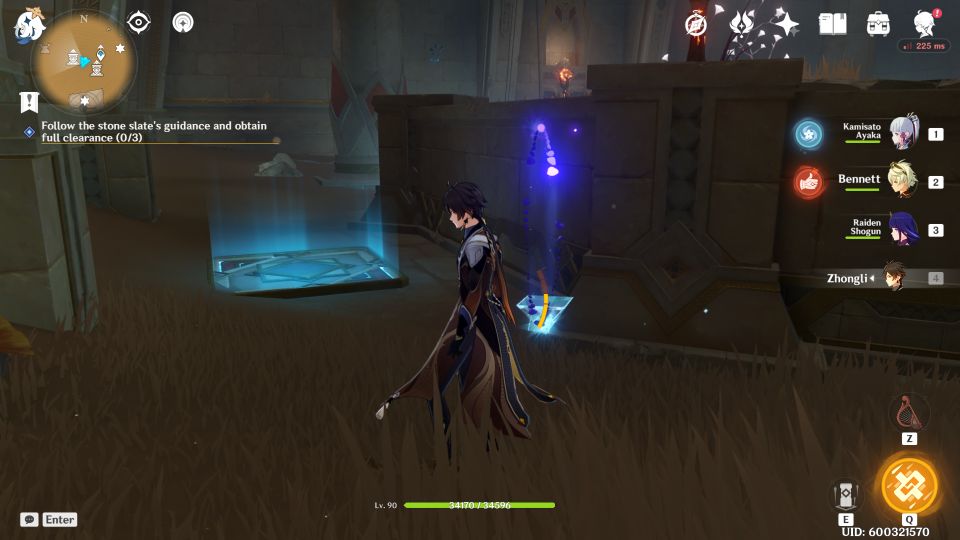
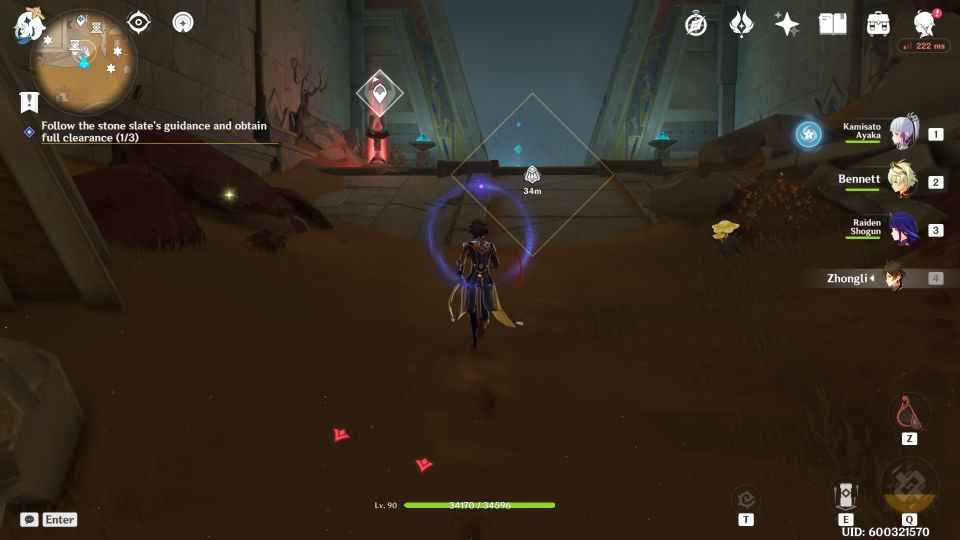
In the next area, you’ll reach the Mausoleum Depths. This is where the stone slate indicated.
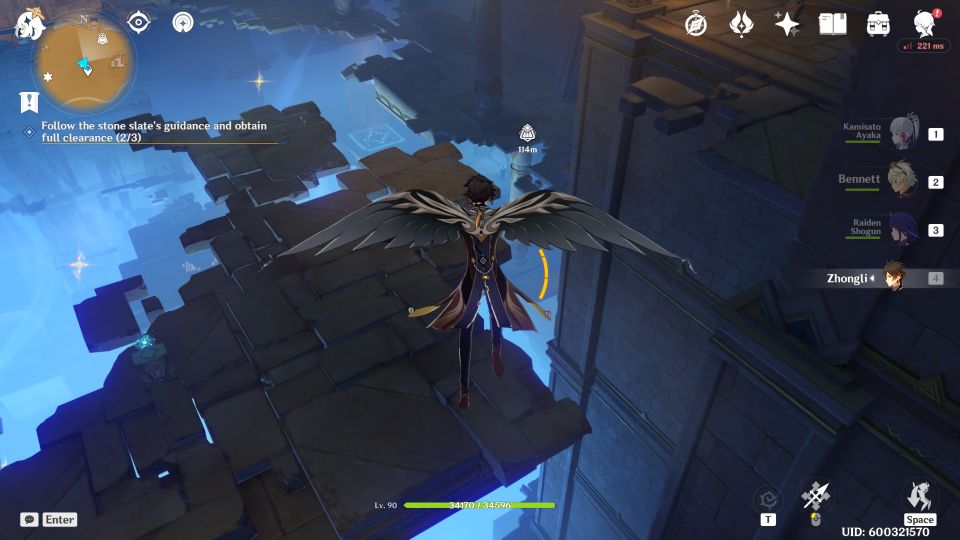
Now you will need to solve puzzles in three separate areas: Place of Rebirth, Place of Breath and Place of Swallowing.
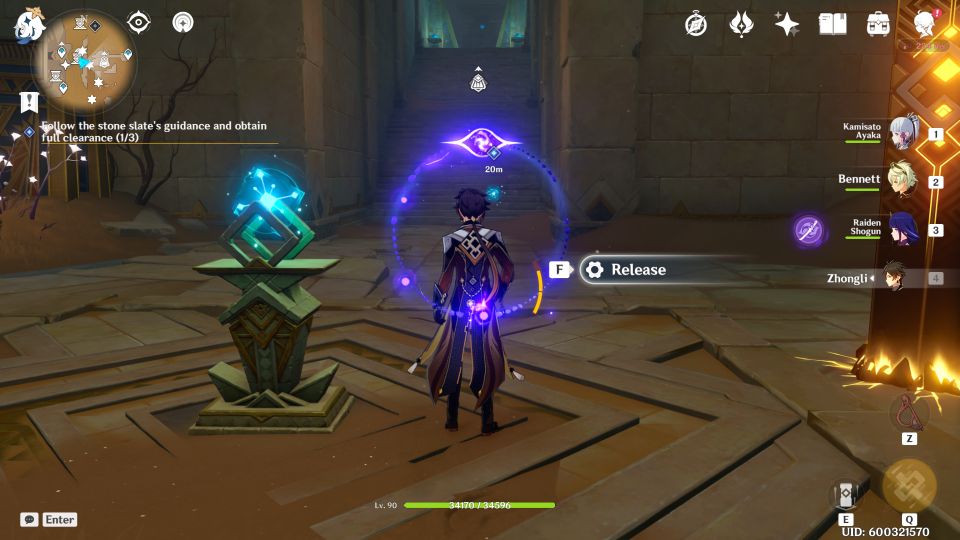
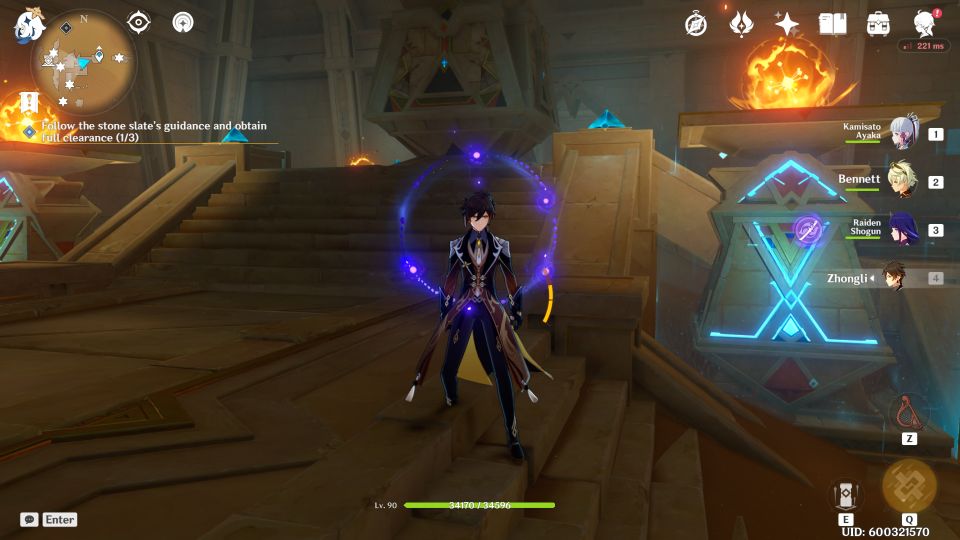
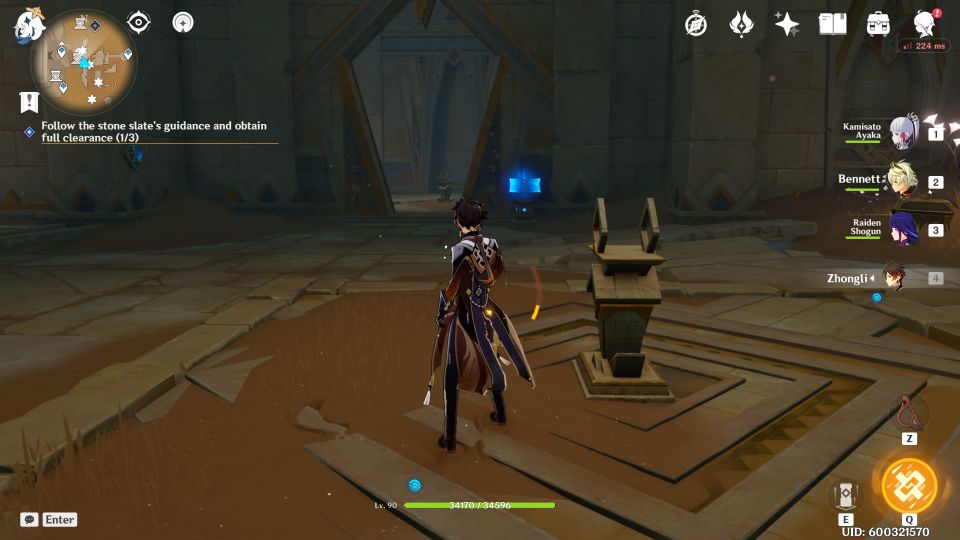
Follow the stone slate’s guidance and obtain full clearance (0/3)
Open your Stone Slate in the inventory and you’ll see them.
Click on Place of Rebirth and press Go. The teleport waypoint will be marked for you. Use it.
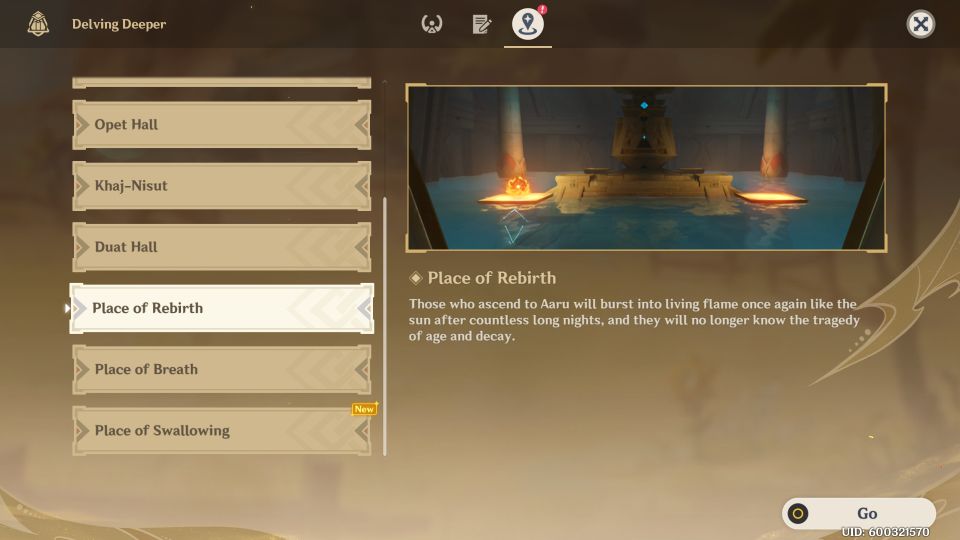
Place of Rebirth puzzle walkthrough and guide
We’ll start with the Place of Rebirth. Go to the teleport waypoint.
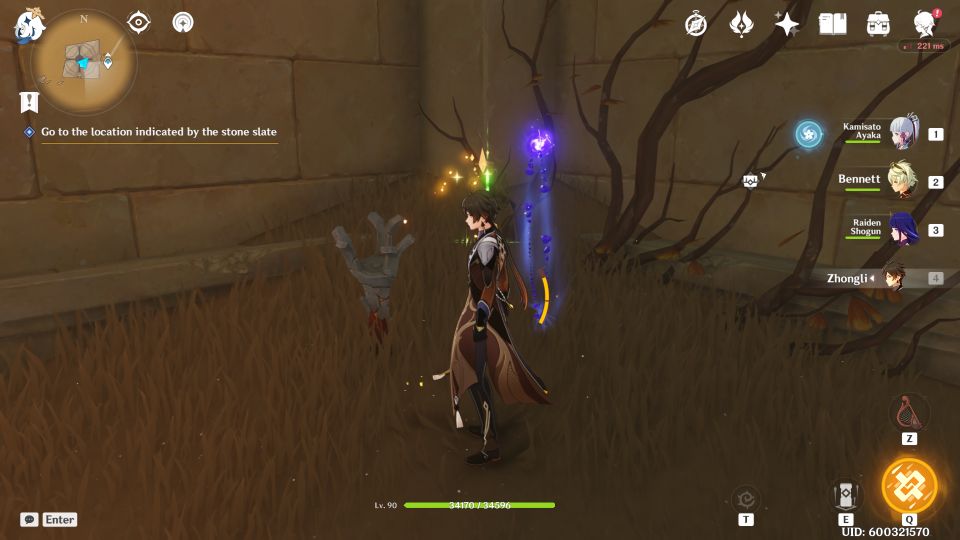
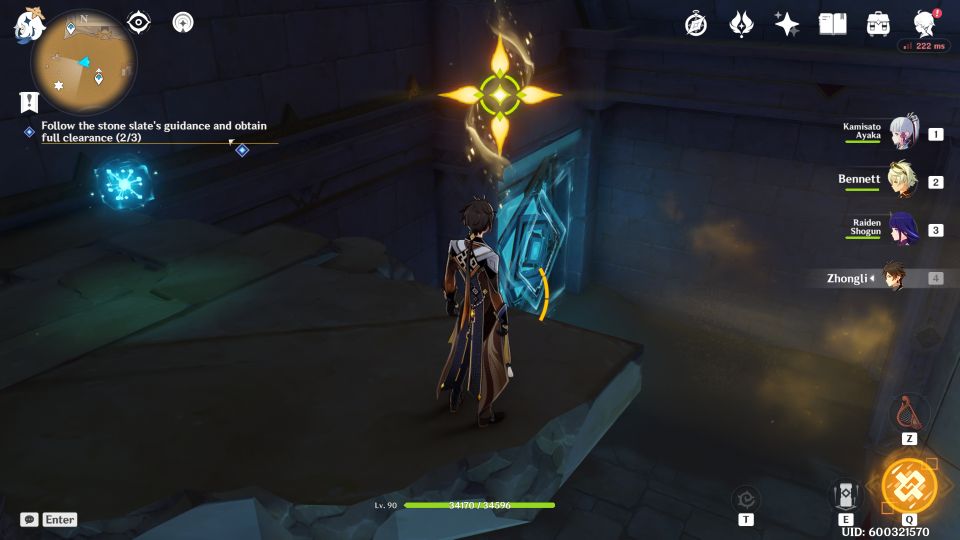
Then, you’ll see the slate marker on your screen. Just follow it and you’ll see a hole at the side with a hilichurl inside. There’s also a Dendroculus nearby.
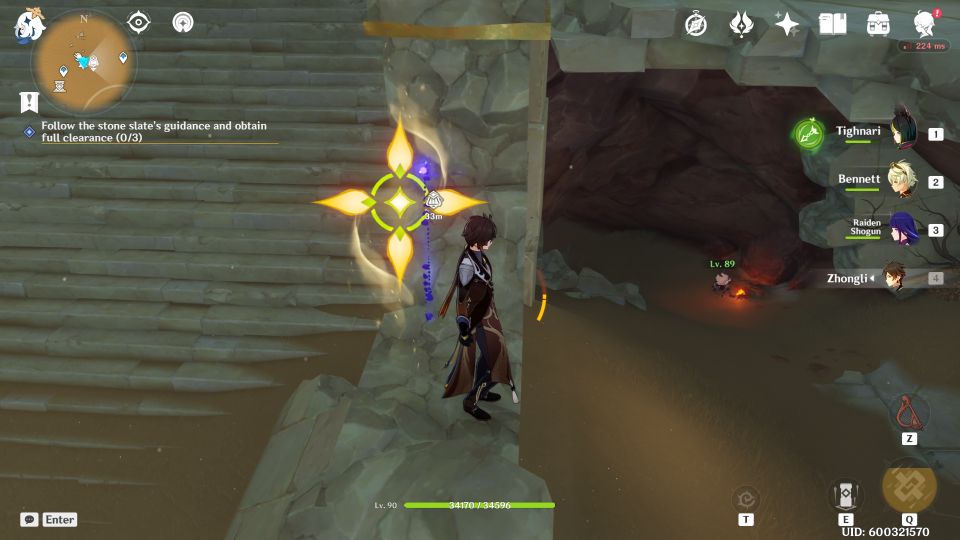
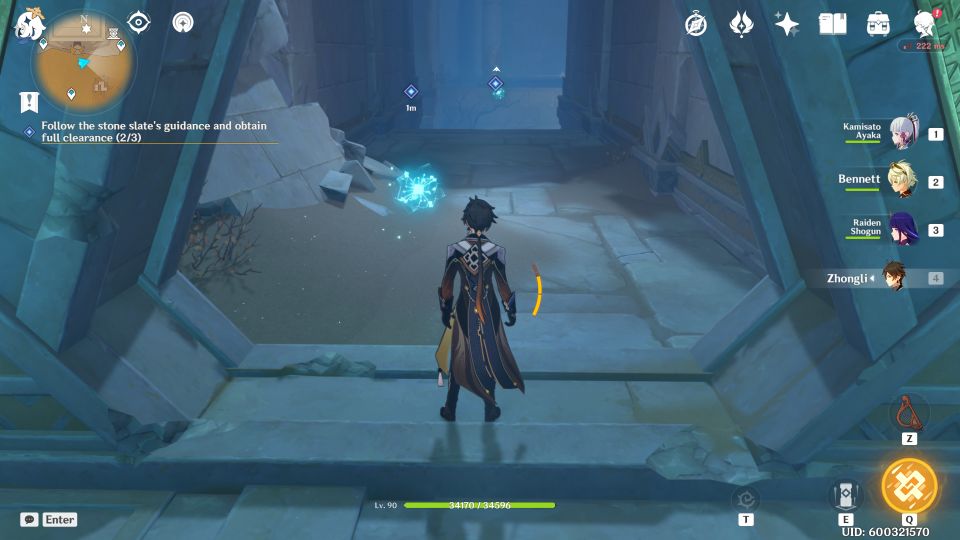
Go down the hole where the hilichurl is and you’ll find another path that leads you even deeper down.
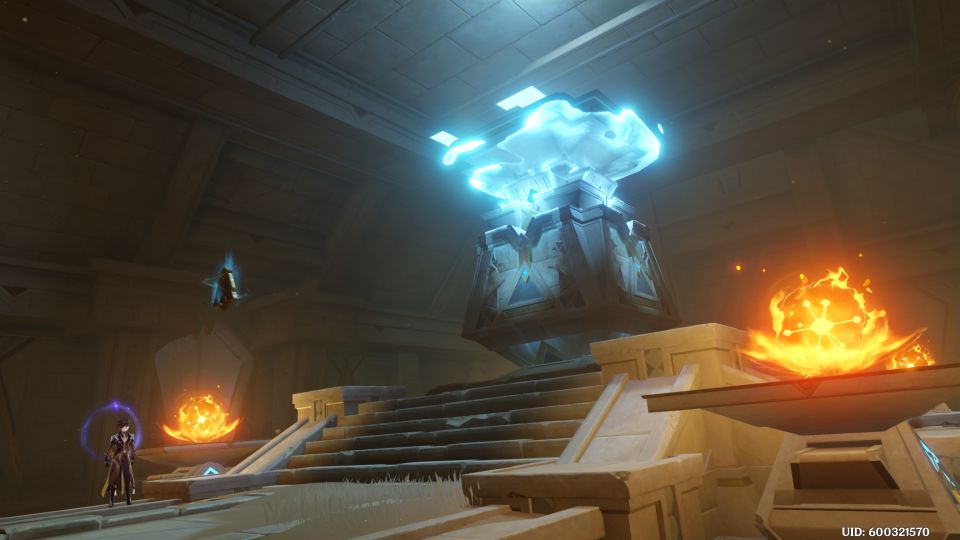
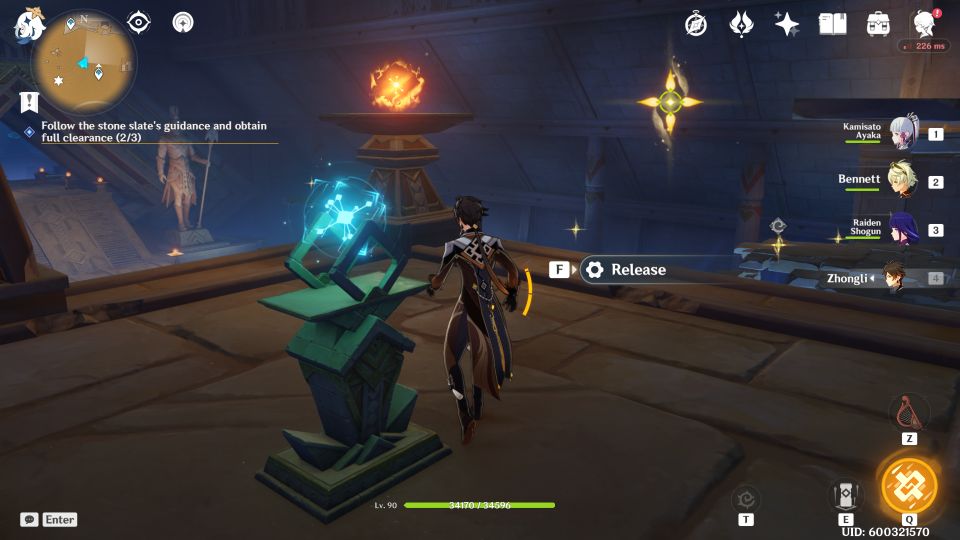
At the bottom, release the blue orb.
The blue orb will then enter one of the pillars where the Place of Rebirth is.
You will notice two pillars are not lit, meaning you need to find two blue orbs.
Go to the path in front of both the unlit pillars. You’ll reach a blue orb device which is locked.
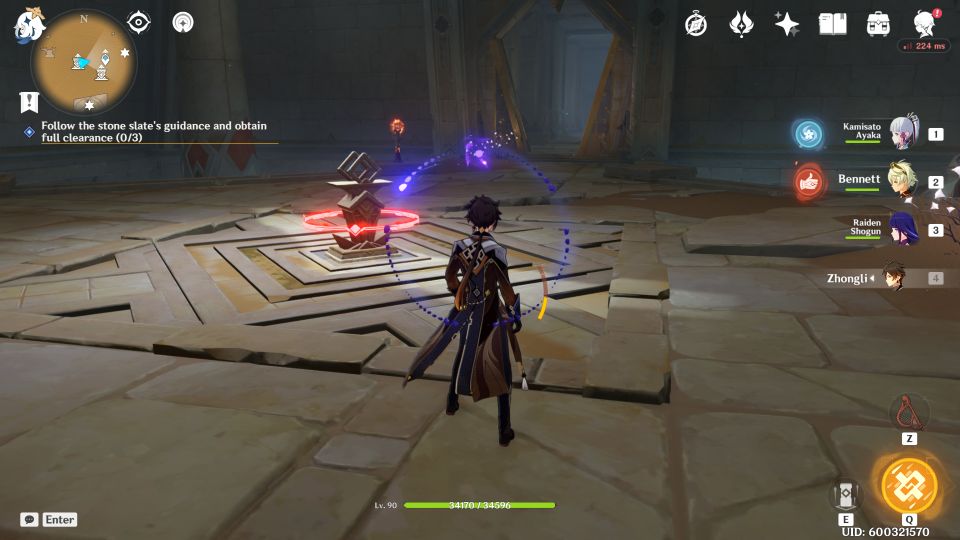
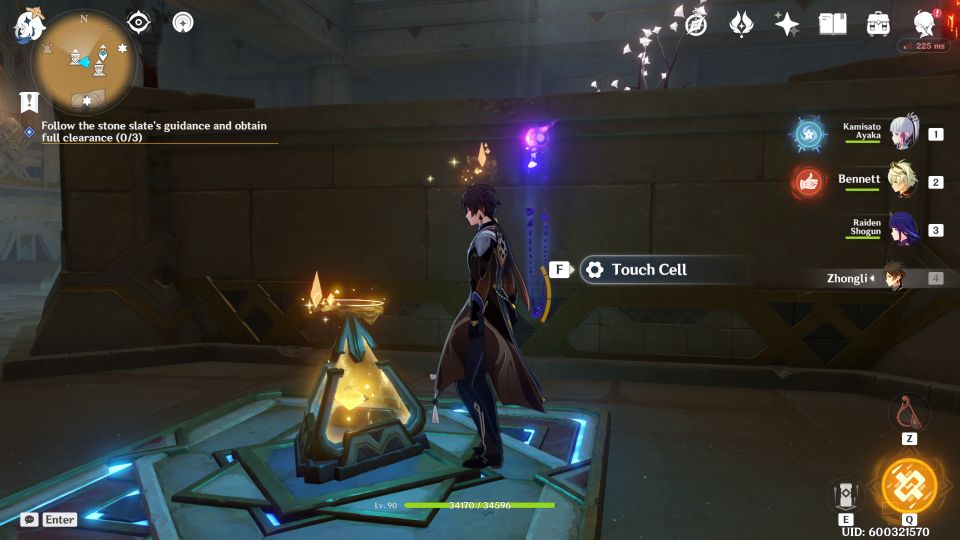
In the same area, you’ll find a crystal and a platform hidden. Use the crystal on it and you’ll get a cell device.
Touch the cell.
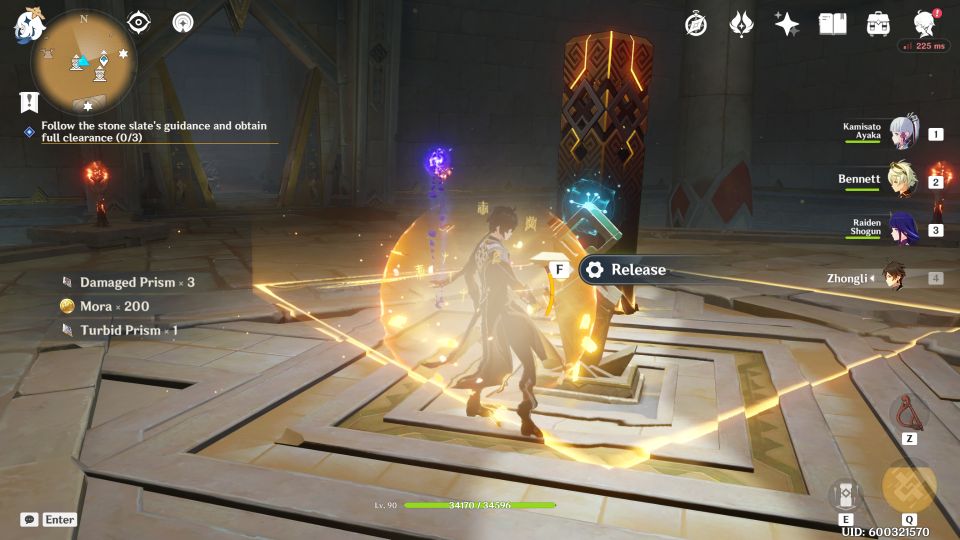
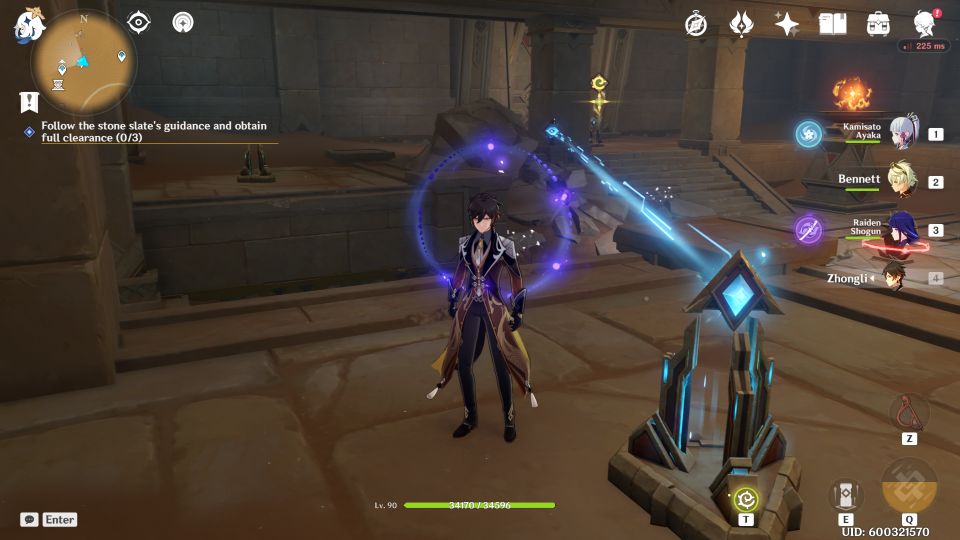
Use the cell on the broken pyro statues. Each corner of the area has a pyro statue. You can keep touching the cell when it runs out.
Make sure you light all the pyro statues.
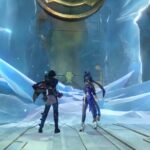
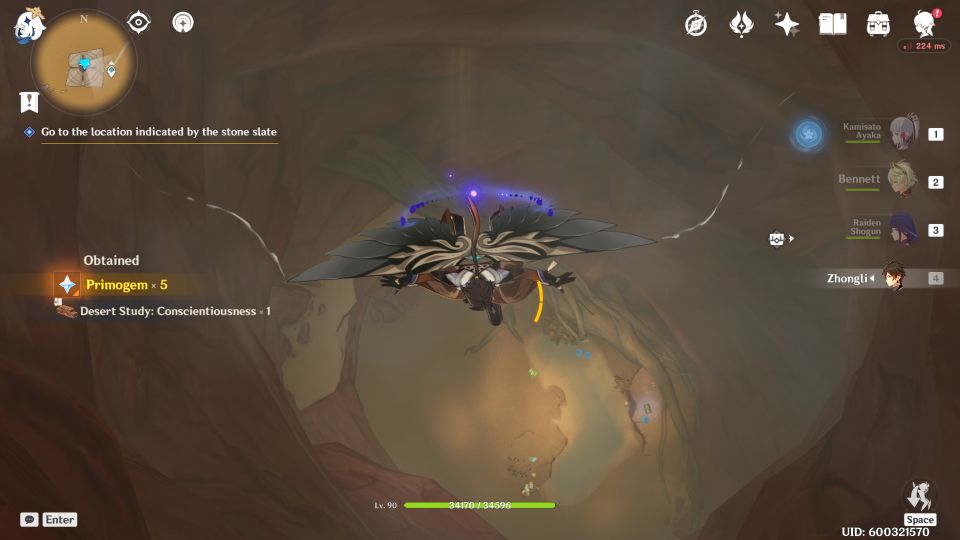
Then, two Primal Constructs will spawn if done correctly. Defeat them both.

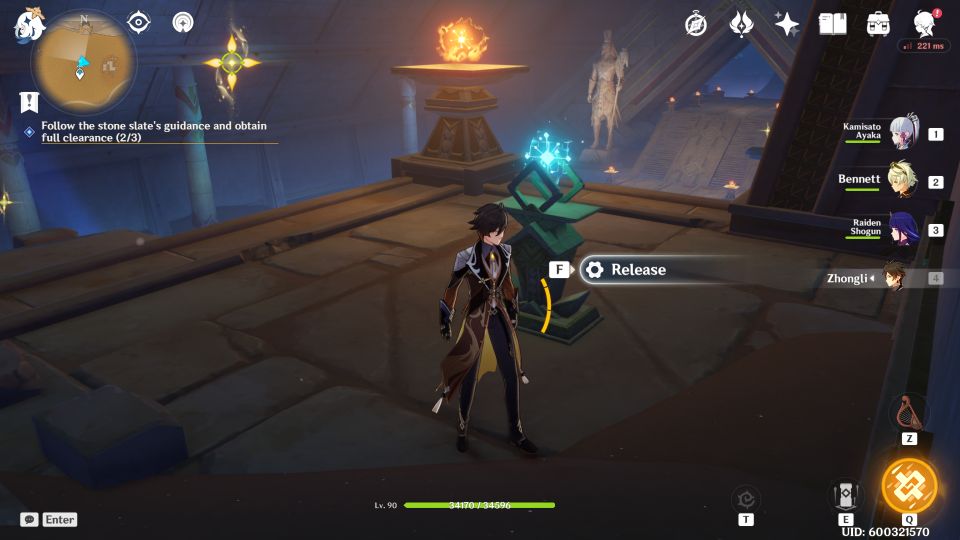
The blue orb device is unlocked. Release it.
Bring the orb back to the pillar.
You’ll notice that the water level is now down.
Now, go to the other path that you haven’t explored yet. You should find the other locked blue orb device where it used to be submerged.
In the area, you’ll see a laser blocked by a rock. There are two of these devices in the room.
To solve this puzzle, you need to move the cells almost simultaneously.

Move the cells on both sides and time them so that they move around the same time.
Move them until they reach the end and the laser hits the other device. Both sides should do the same thing.
The blue orb device will be unlocked once both lasers hit the devices. Release the blue orb.

Go back to the final pillar and your job is done here. You will get the first clearance.
Place of Breath puzzle walkthrough and guide
Go back to your stone slate in the inventory. Choose Place of Breath and press Go.
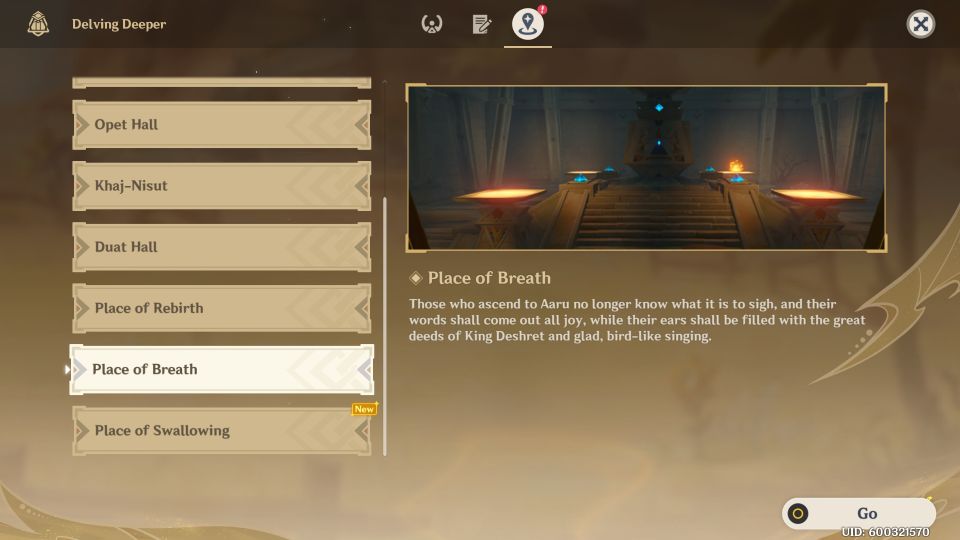
You should be at the teleport waypoint at Khemenu Temple.
From there, follow the stone slate marker on the screen.
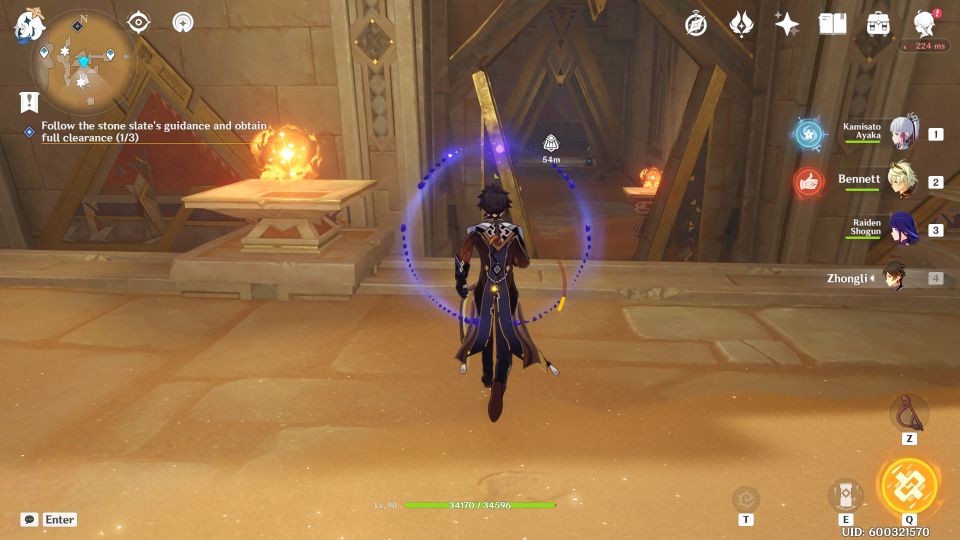
Open the door using the Plinth.
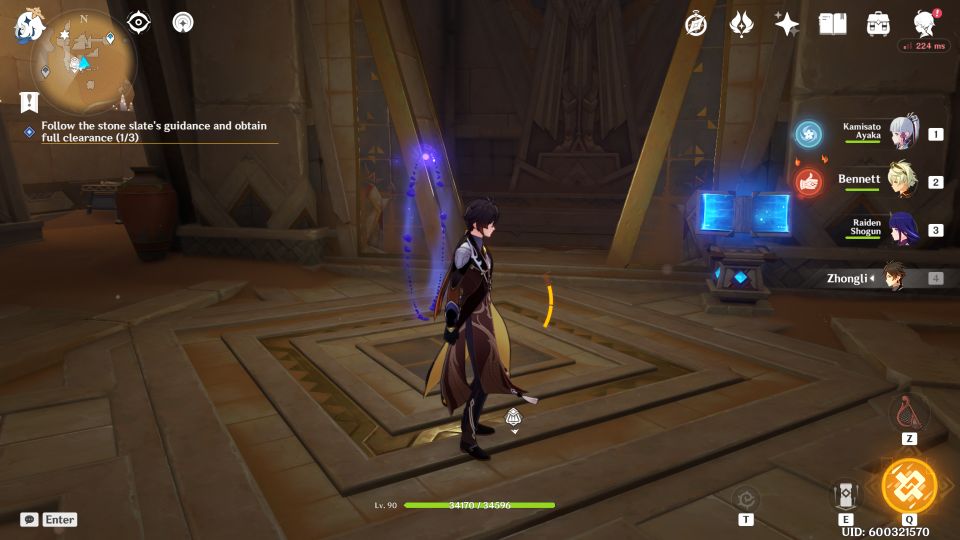
In the next room, move the device so that the laser points to the one near the door. The door will be unlocked. The blue orb device is unrelated for this puzzle.
Go out and follow the stone slate marker.
You’ll eventually reach another teleport waypoint.
Go on ahead and you’ll enter a huge room with many deactivated Primal Constructs. The blue orb in front is not related to this current puzzle.
Follow the stone slate marker and you’ll be led to a room. You’ll now be asked to go down.
Look left and you’ll see a blue orb device at the end of the place. Release the blue orb.
Follow the orb down.
At one part, you need to turn off the large fan first. Then, release the blue orb.
Continue to make your way down.
Defeat the Primal Constructs here.
You’ll now see another blue orb device. Release it.
Bring two blue orbs to the Place of Breath. You now need one more blue orb.
Go back down to the room where you fought Primal Constructs. You’ll see another door that can be opened with the Plinth.
Enter inside and you’ll see an elevator beside an empty device. Activate it to go up.

Jump off the elevator after going up one floor and you’ll see the last blue orb. Release it.
Go back to the pillar room.
You’ll now get the second clearance.
Place of Swallowing walkthrough and guide
The third one is Place of Swallowing.
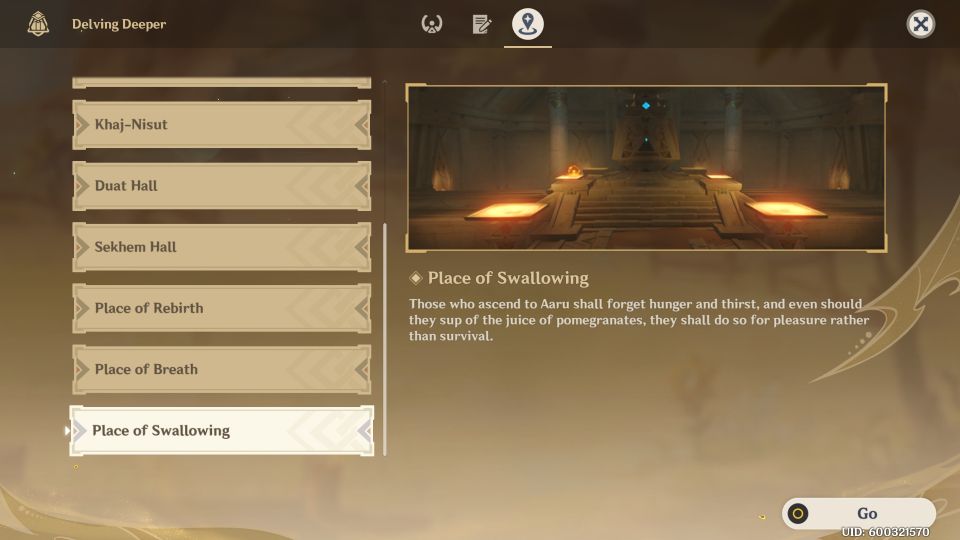
Press Go and you’ll get to a teleport waypoint south of The Mausoleum of King Deshret.
You will reach the Duat again. This time, follow the stone slate marker and glide down.
You’ll reach the Place of Swallowing.
Go back to the main area. At the top, you will see three orb devices which are in the middle, left-side and right-side. Use the middle first.

Follow the orb. Be careful of the large fan. When the fan stops temporarily, move the orb past it.
Now, go to the left-side device and release the orb.
Be careful of the large fan and bring the orb past it.
You should have two orbs now gathered.
Go to the right-side device and release the final orb.
Watch out for the large fan from below.
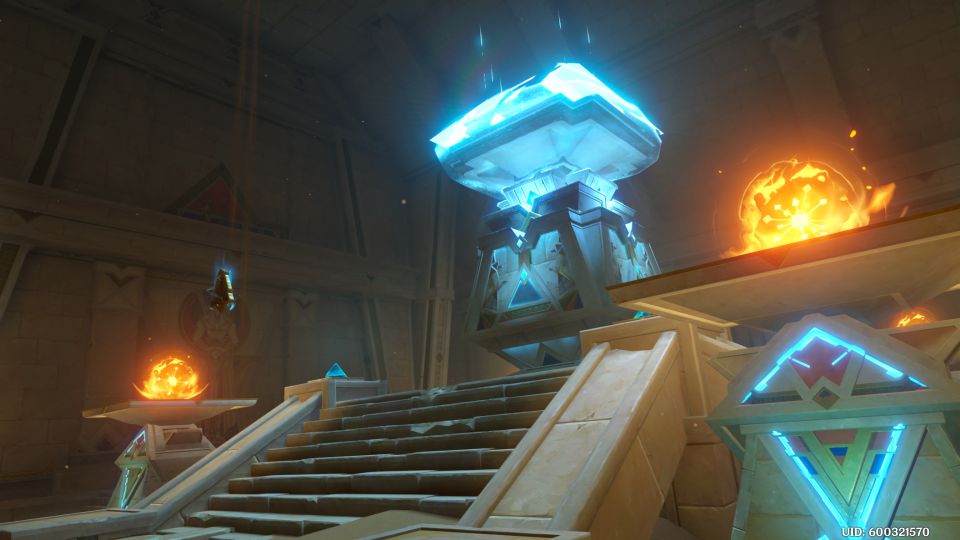
Now that you have all three blue orbs, follow them to the pillars / Primal Torches.
The last stone slate clearance is attained.
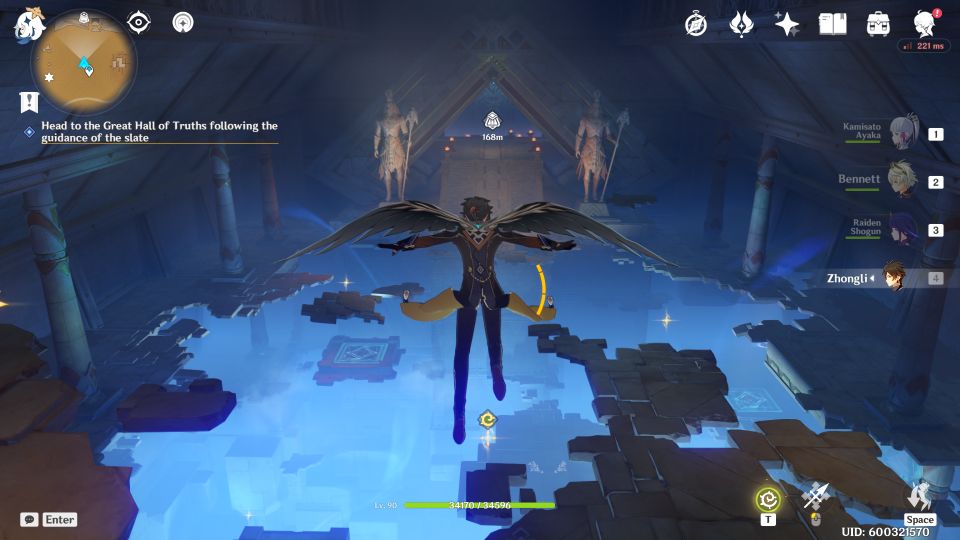
Go to the Great Hall of Truths
You’ll then need to visit the Great Hall of Truths. Open the stone slate in the inventory and press Go.
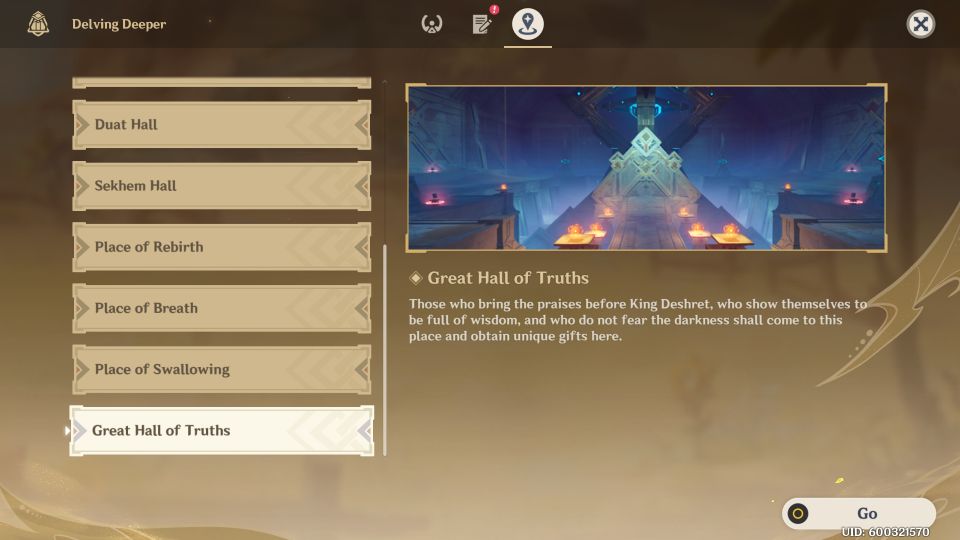
The teleport waypoint will be shown to you. Use it.
It’s basically the same areas as the Duat just now. From the waypoint, glide all the way to the opposite end.
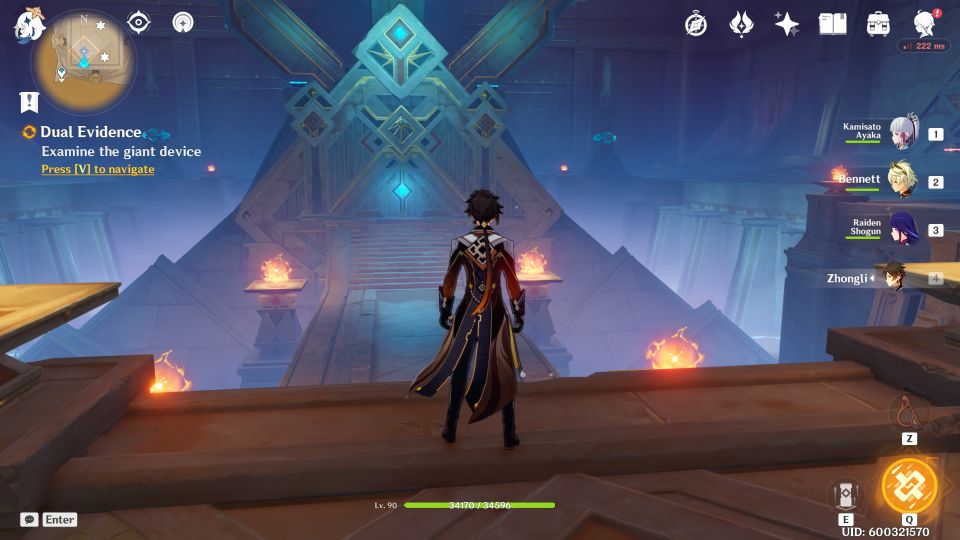
Examine the giant device
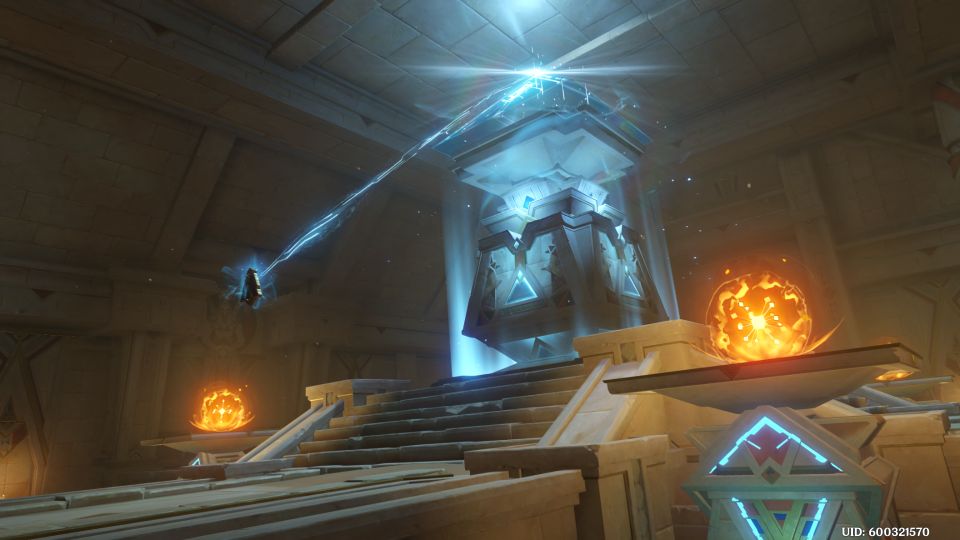
Now that you’re in the Hall, examine the giant device in the middle.
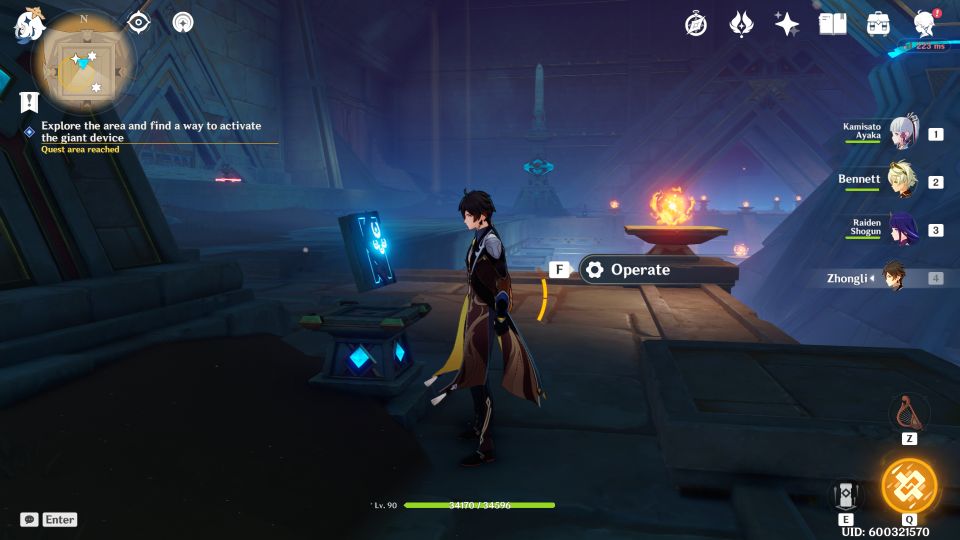
Activate the giant device
You’ll then need to activate it. You should see four Plinths at all four corners of the room. Operate on all of them to turn them on.
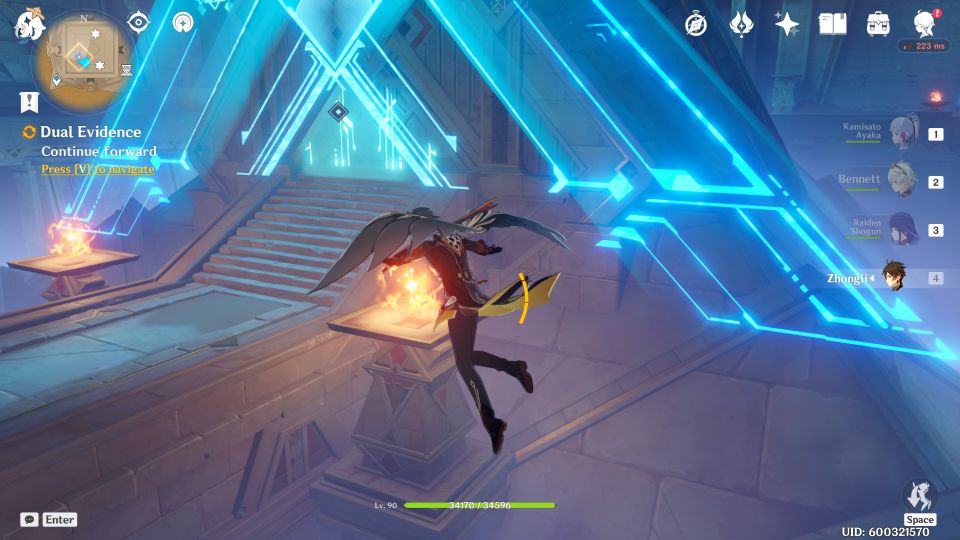
Continue forward
Now, go to the giant device and enter it.
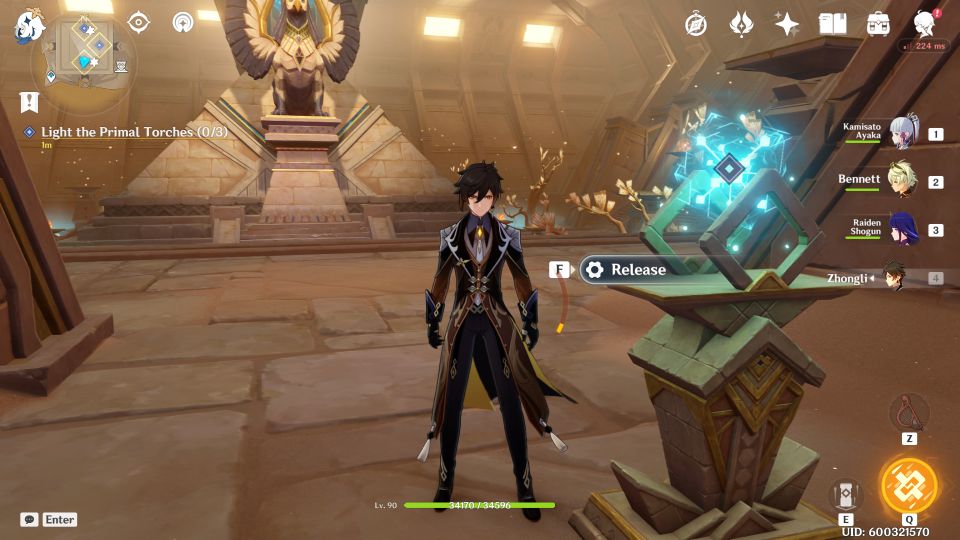
Light the Primal Torches
The Primal Torches are basically the pillars here.
You will see three devices with blue orbs. Release them.
For each of the orb, you will encounter two Primal Constructs on the way to the pillar.
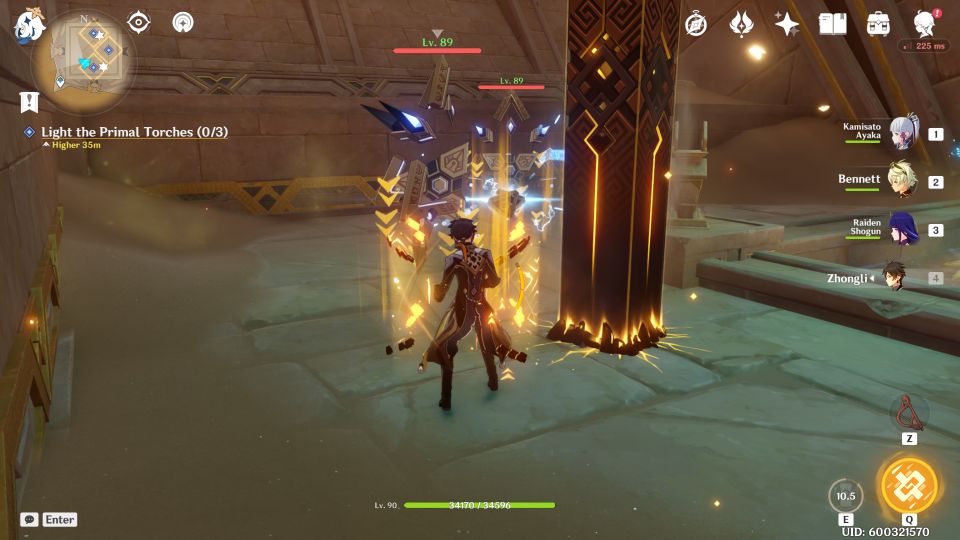
Repeat the process for the remaining two orbs.

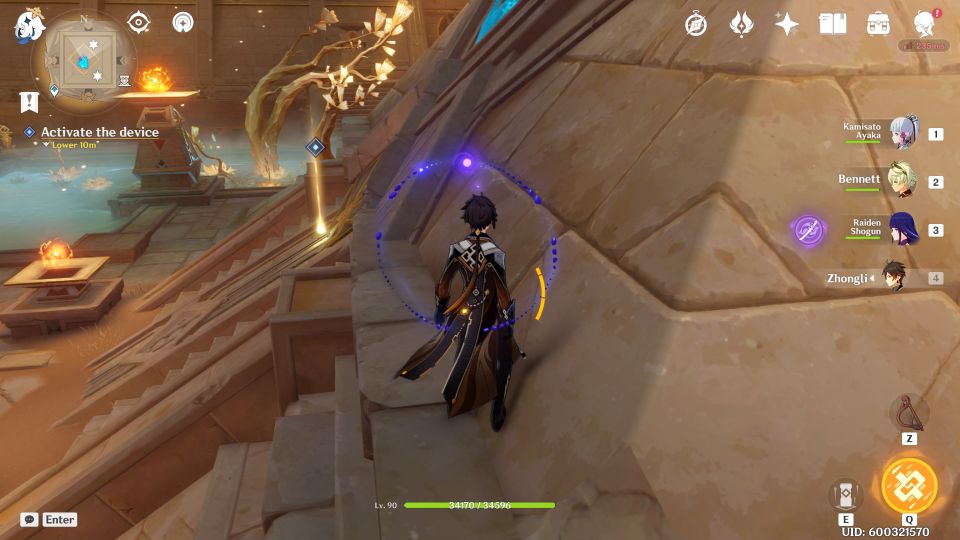
Activate the device
Now, go to the center and activate the device.
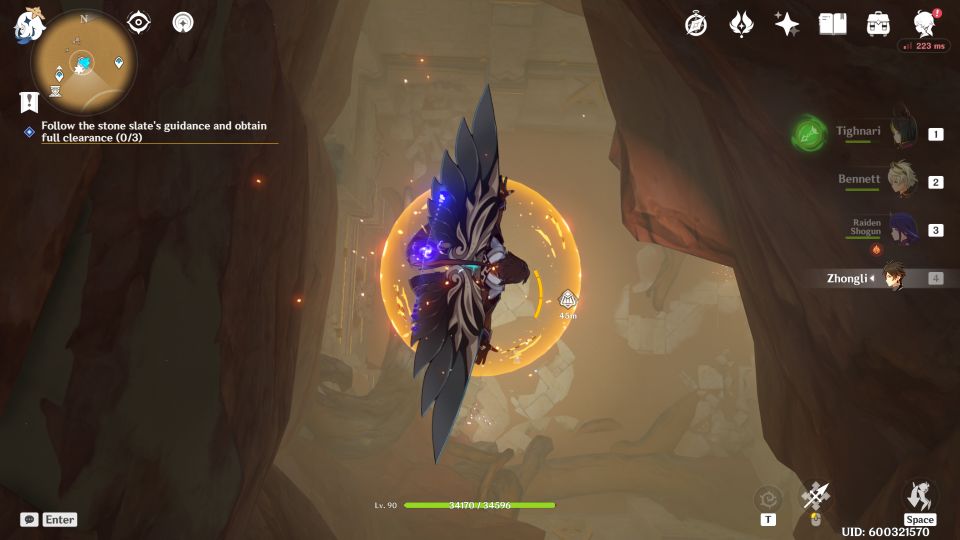
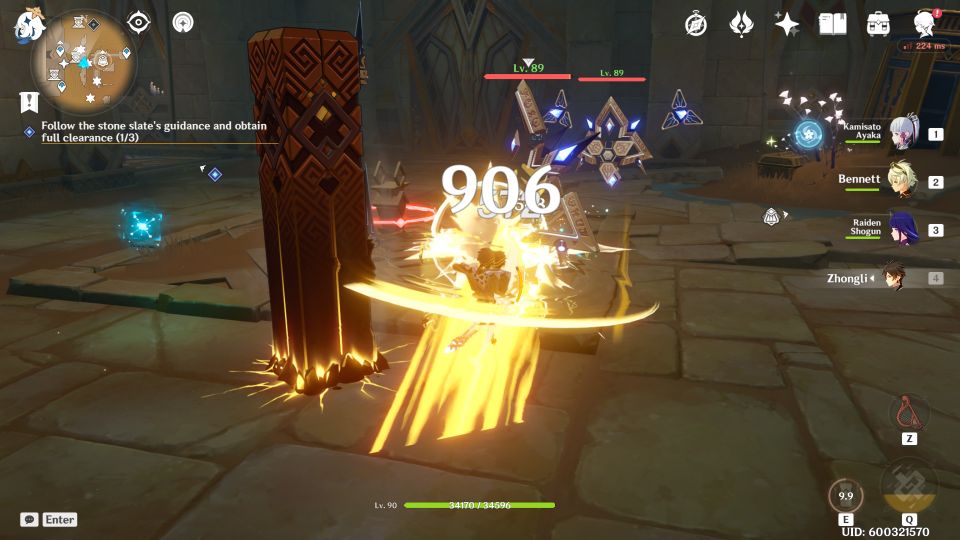
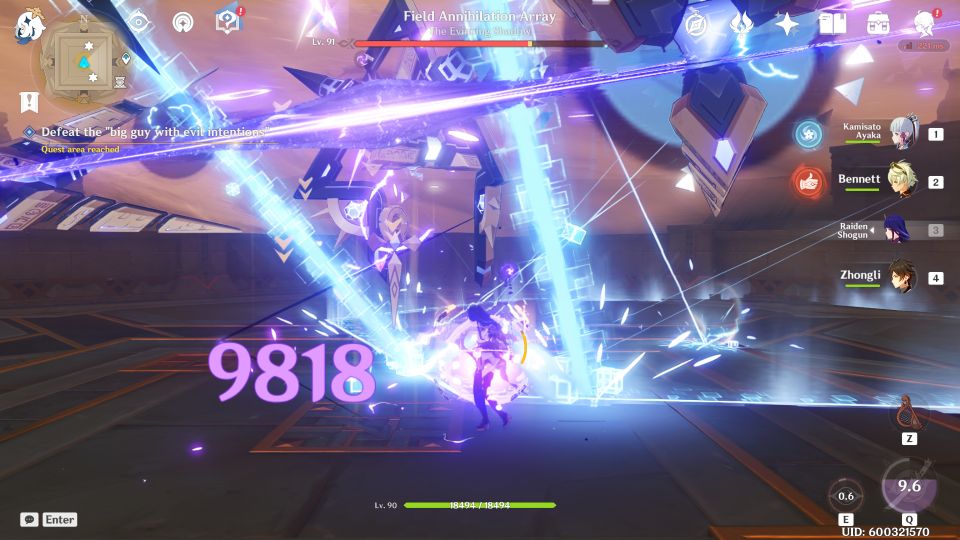
Defeat the “big guy with evil intentions”
You will then face a boss fight. You’ll have to defeat the enemy. It’s a Field Annihilation Array.

The fight should be easy enough if you deal good damage.
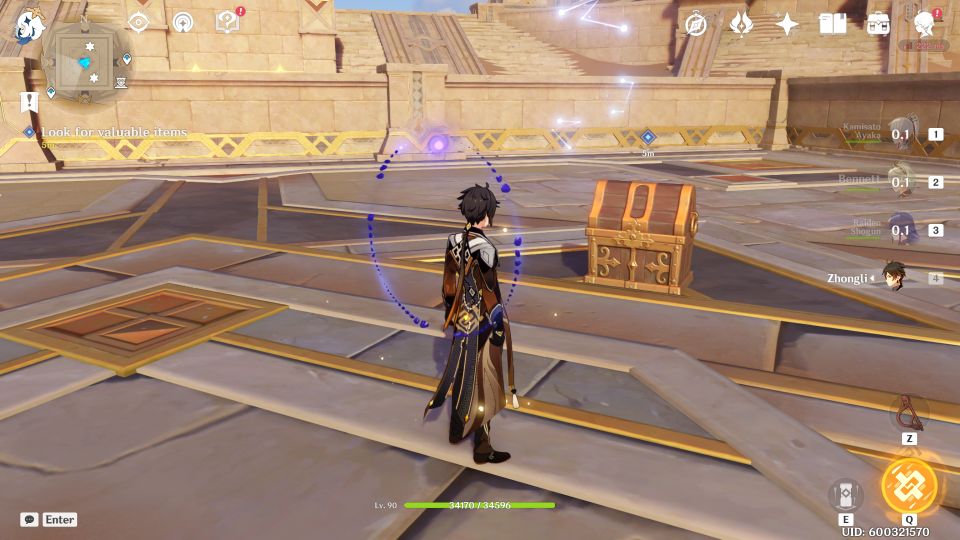
After the battle, get the quest item in the chest.
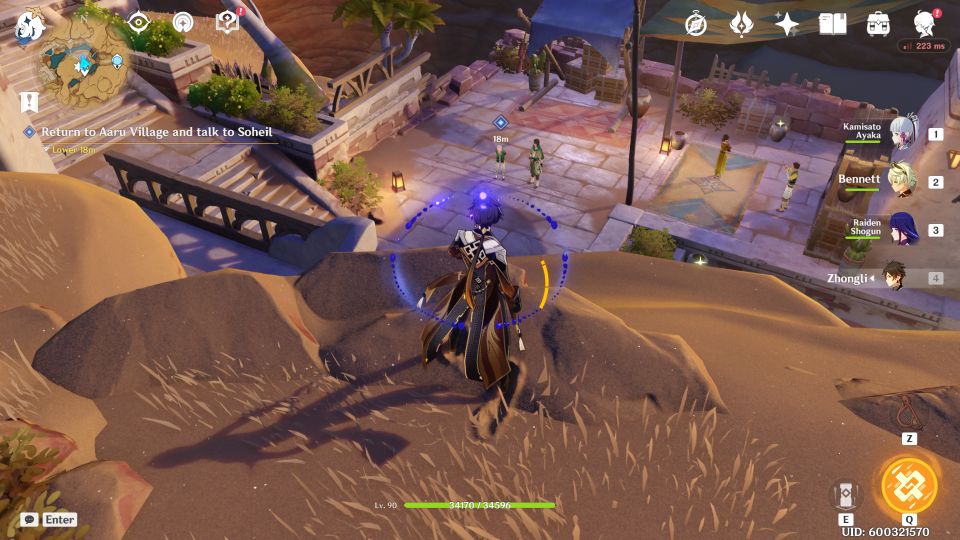
Return to Soheil
Head back to Soheil to show him the item. The quest ends here.
Related posts:
Genshin Impact: Front Of The Mausoleum Of King Deshret Puzzle Guide