Chapter 4 of Labyrinthine puts you into yet another maze but this time, it’s underground.
Your objective would be to find five keys and pull three levers to finally exit the area.
Here’s a walkthrough and guide on the puzzles in Chapter 4 of Labyrinthine.
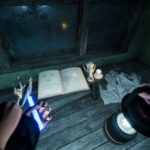
When you begin, pick up the stone with the rune engraving. Also, read the paper to understand what you need to do.
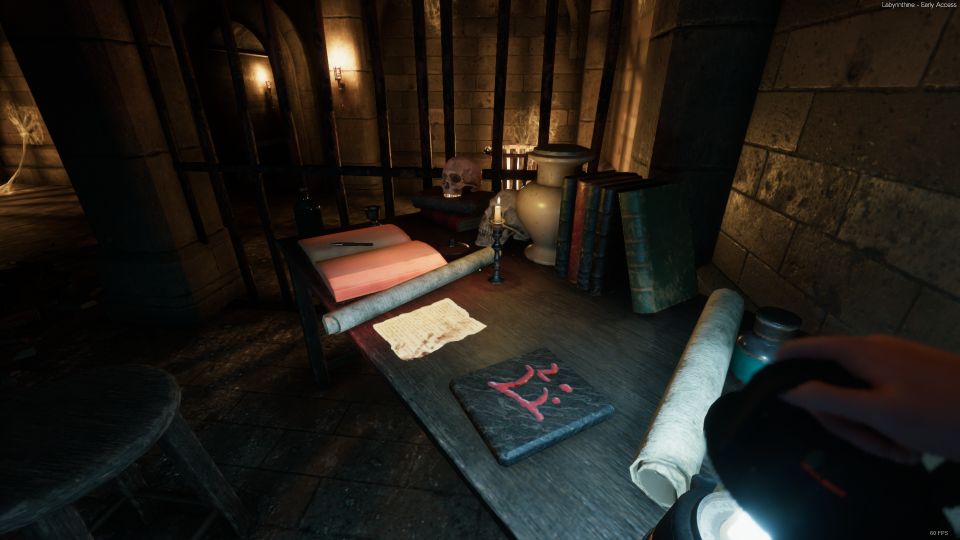
Unlock the doors
You’ll notice that the doors are all closed. Walk all the way to the end.
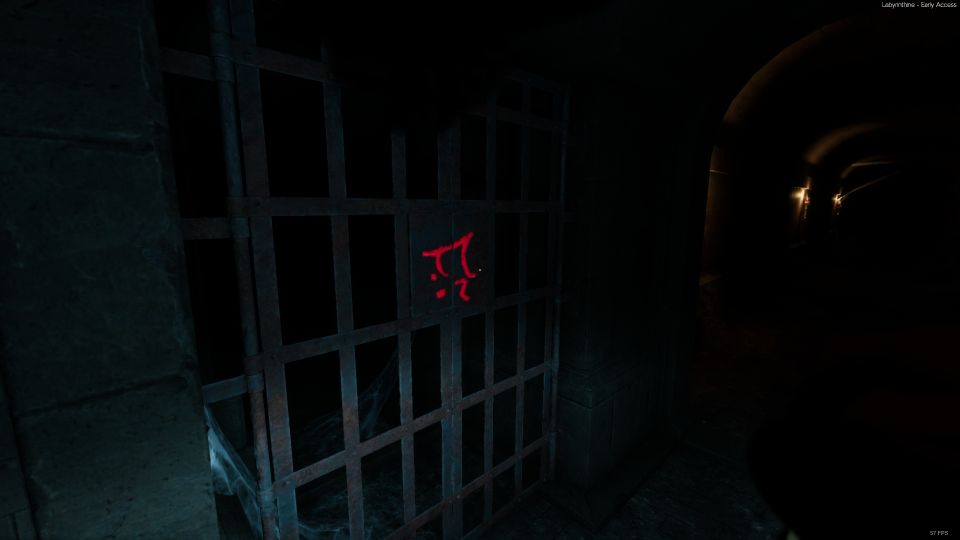
You’ll see two buttons which are missing runes. Place the rune you took from the table at the beginning.
Press the rune again to open the doors with the same rune symbol.
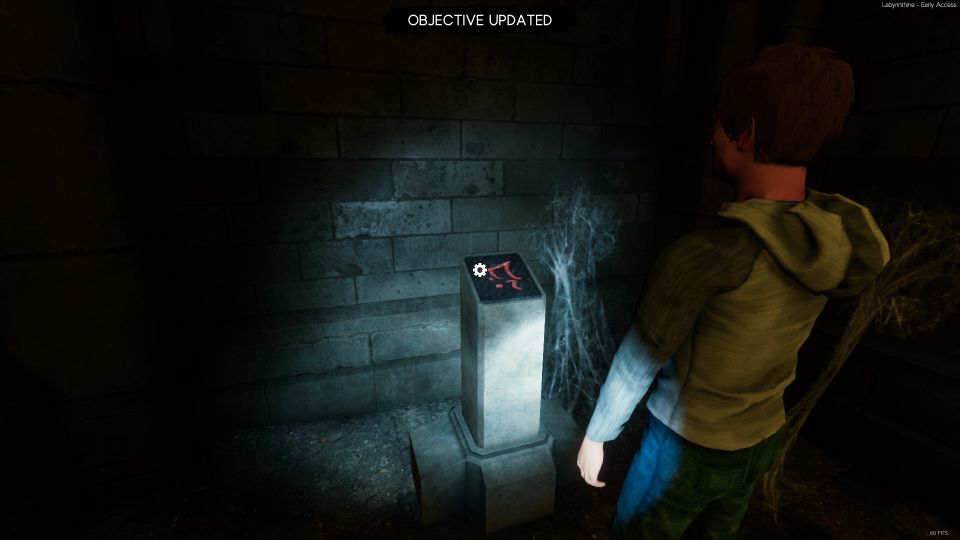
Look for the first key and another rune
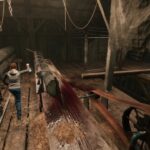
The doors to one side are all open now. Enter the maze and be careful of the skeleton-like monster.
You can probably outrun him though.
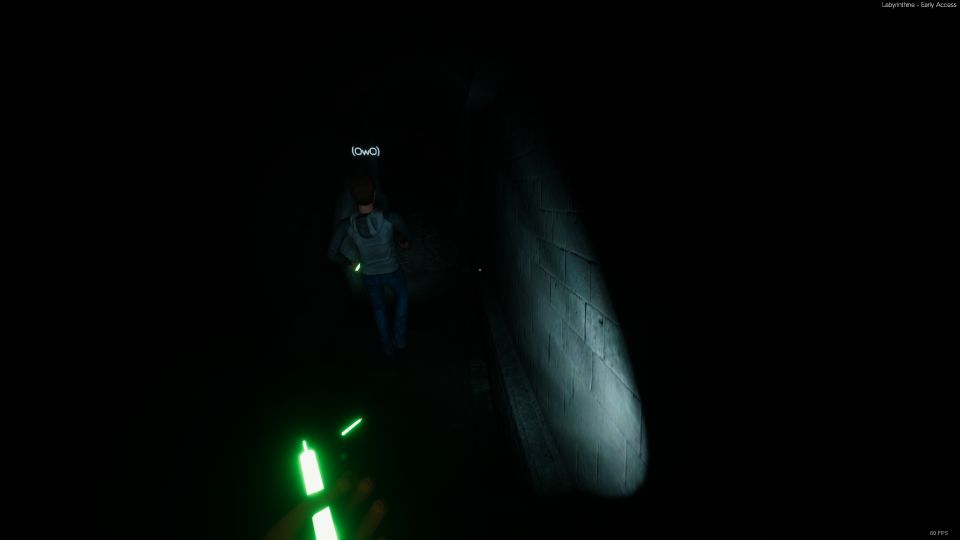
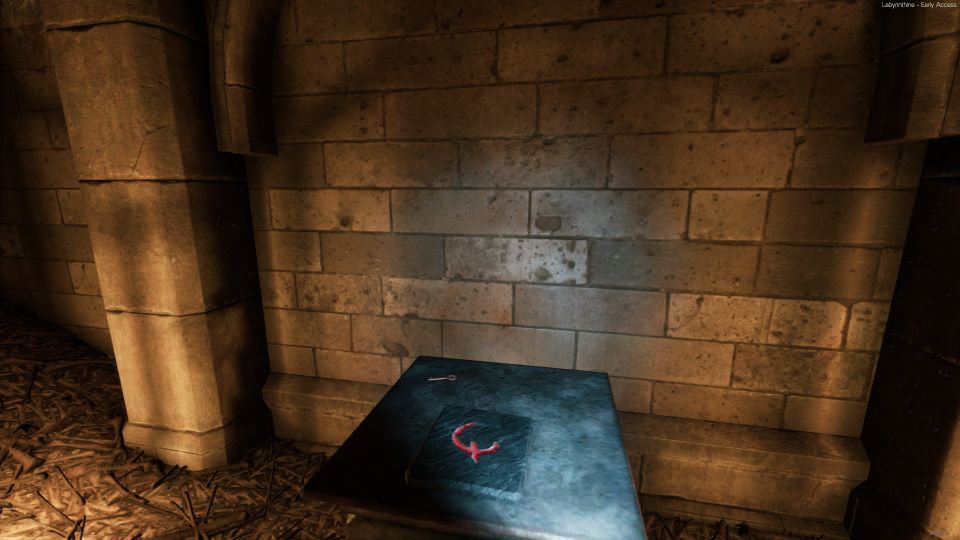
What you need to look for is a special room where the rune and the key is located. It’s at the lowest part of the maze, meaning the area where you’ll step on bones.
One indicator you may get before finding that special room is a torch. In the middle of the pitch black maze, you might find a wall with a lit torch.
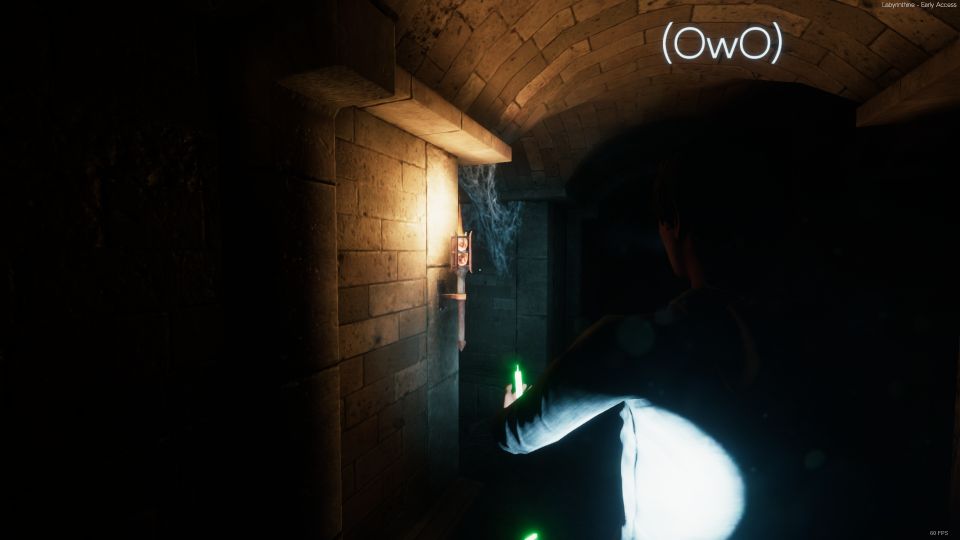
Nearby, you should find the room. Pick up the key and the rune.
Unlock the other doors
Head back to the area where you first unlocked one side of the doors.
Place the rune on the other button and press it.
Solve the memory-game puzzle
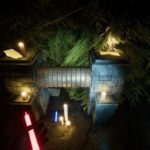
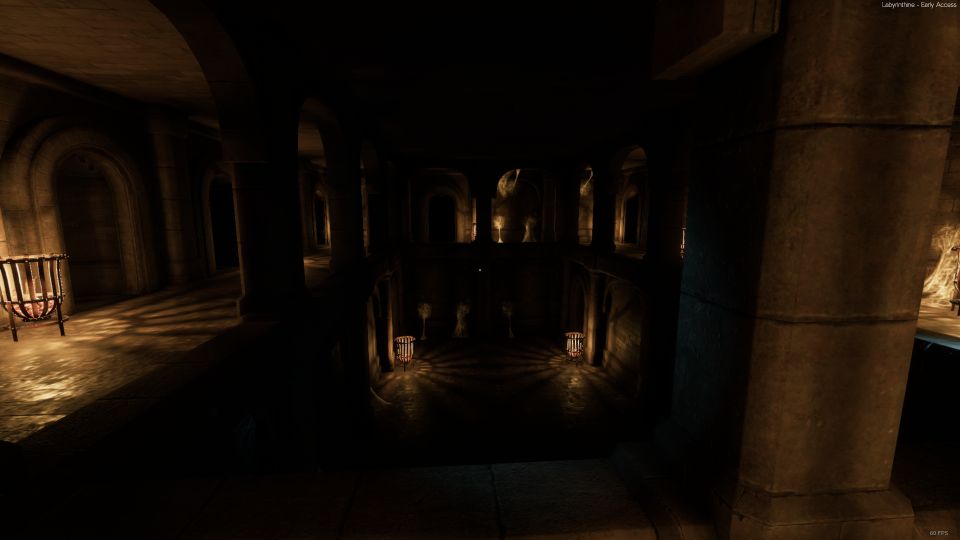
Now, look for this area in the image below. It’s like a two-storey quadrangle.
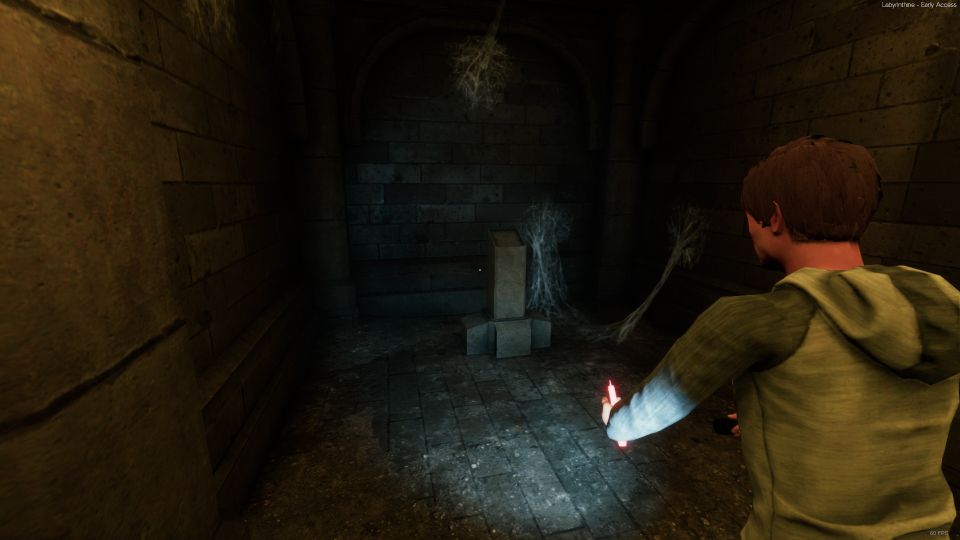
The paths should lead you to an area where you have to solve a memory-game puzzle.
You will see a button on the ground near the wall. Step on it to begin.
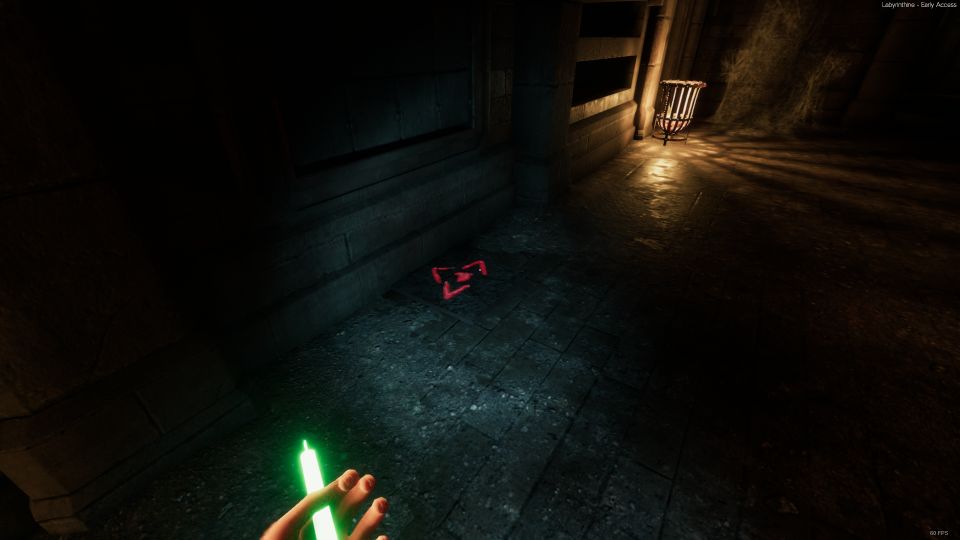
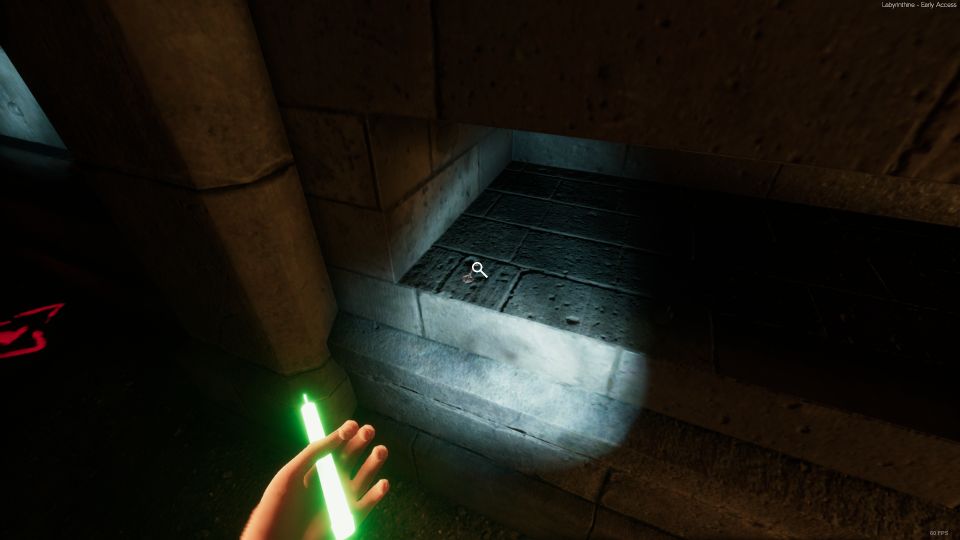
Before that, don’t forget to pick up the key which is located beside the puzzle.
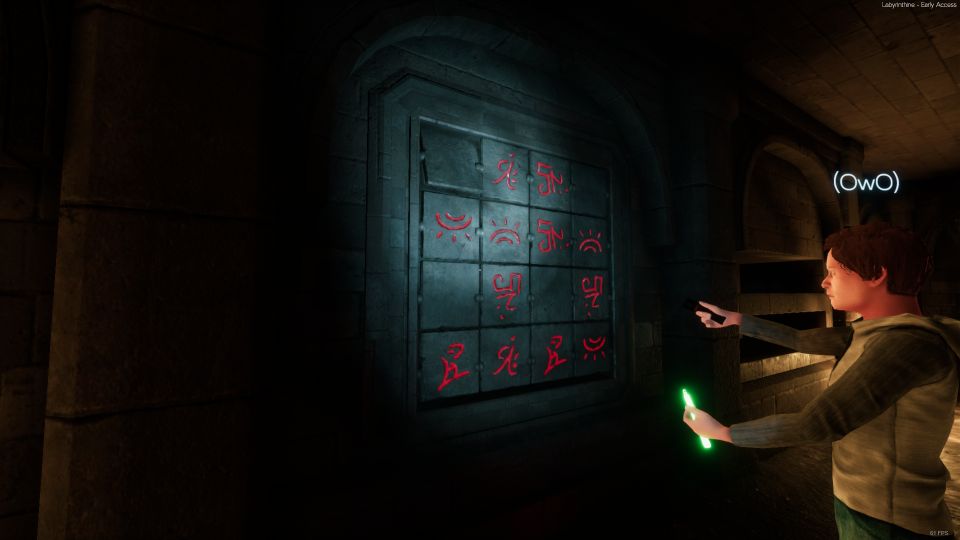
To solve the puzzle, you just need to match the two identical runes.
If you fail, it will reset. Match all of them to unlock the lever. Also, be careful of the monster pig that will hunt you.
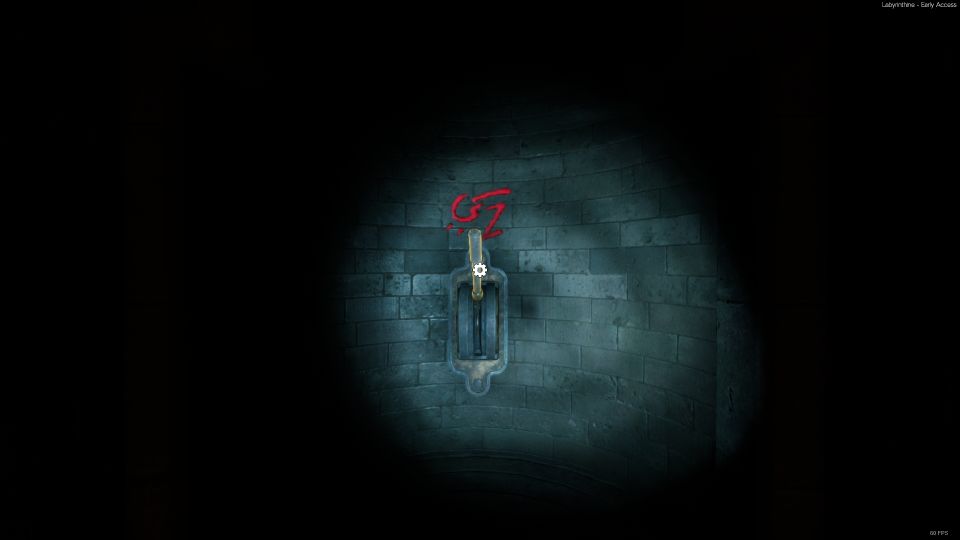
Once the lever is unlocked, pull the lever.
Get the third key
Once you’re done, look for the next puzzle.
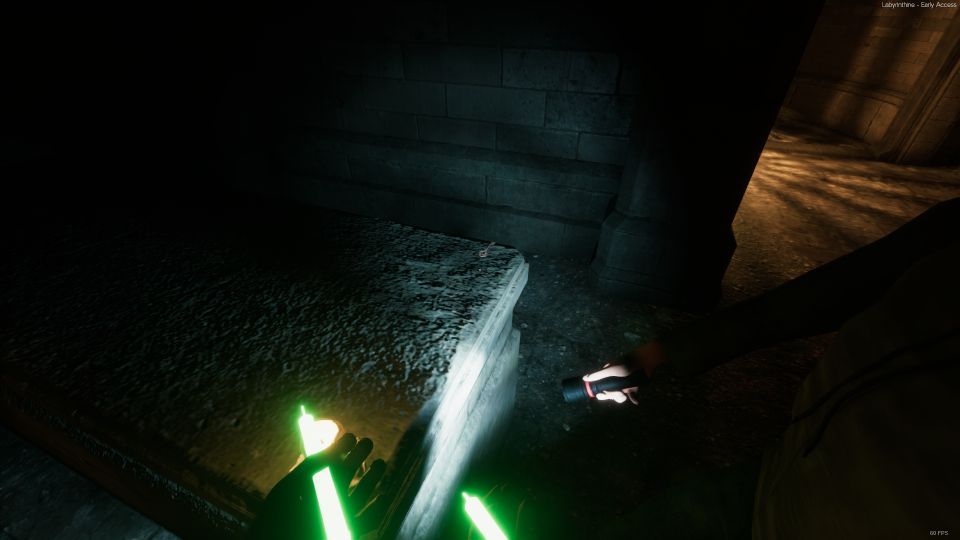
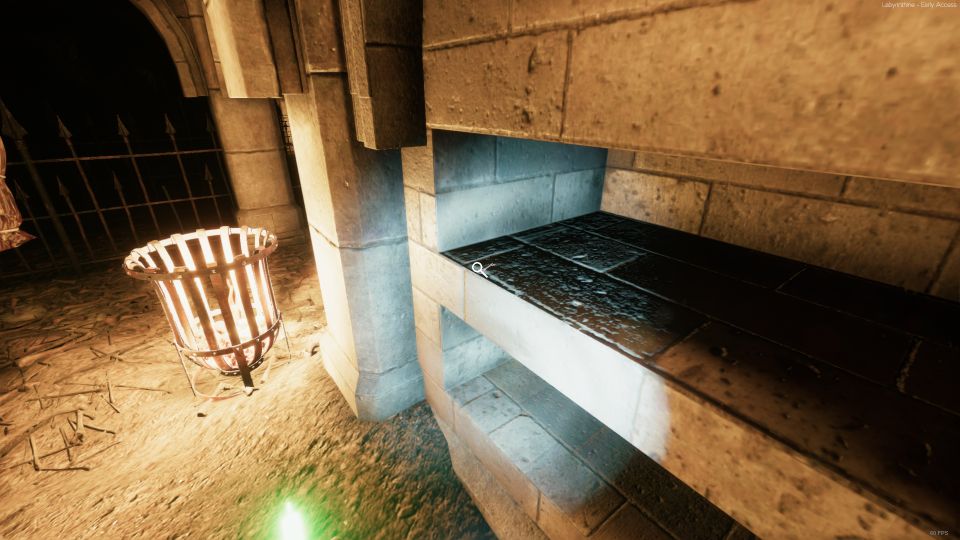
On the way to the next puzzle, you may come across an area with some stones that resemble coffins.
There’s actually a key above one of them.
How to solve the three-stone puzzle
You will then come across a well-lit room with three stone puzzles. You have to turn the stones around until you unlock the lever.
If you look behind the puzzle towards the right, you will see a set of three stones behind some bars.
Follow the rune symbols exactly. It should match the stone pillar on the left.
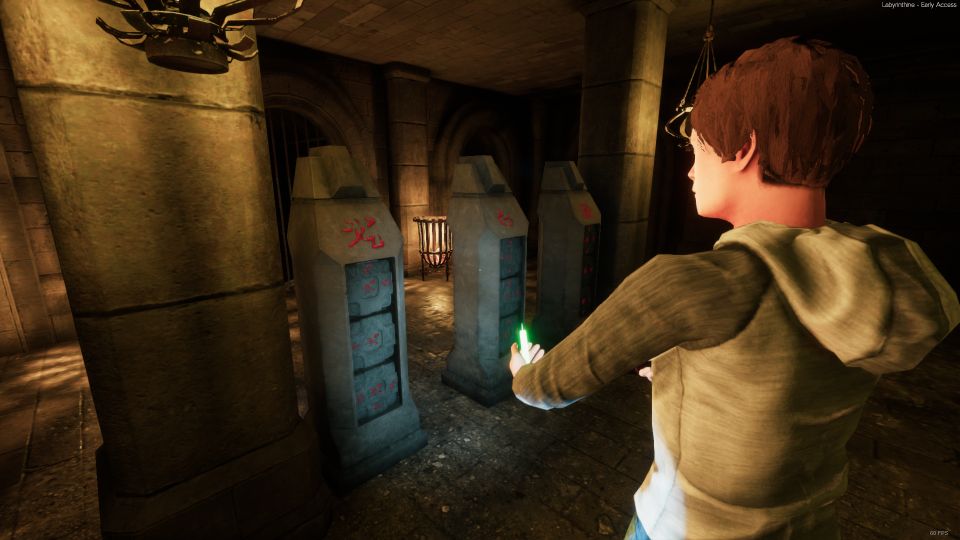
Ensure that you get the one on the left correct first. The order of the symbols might be different for every game.
I’m not sure about the other two stone pillars though. You can try to randomly move the symbols until you unlock the bars that block the lever.
The below combination worked for me.
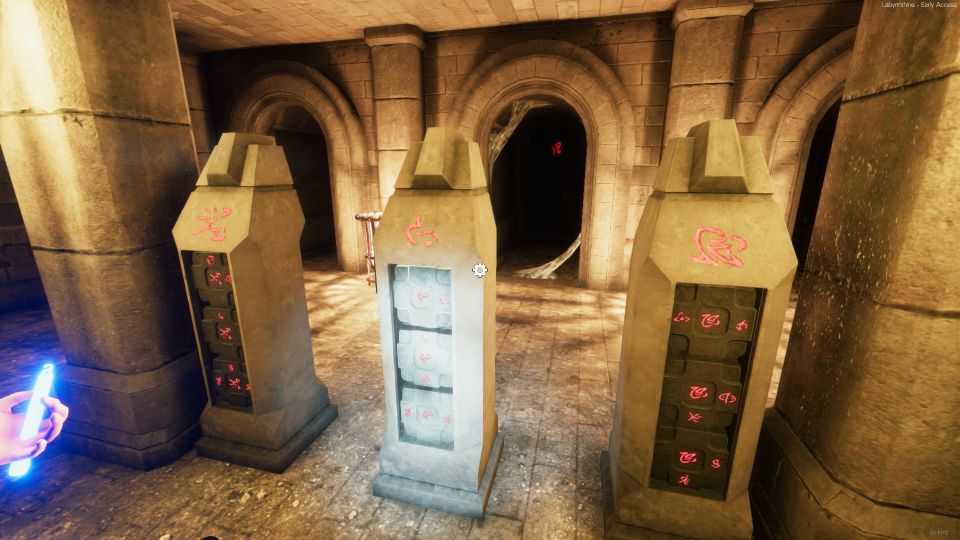
Pull the lever and remember to pick up the key. It’s located in the same puzzle room.
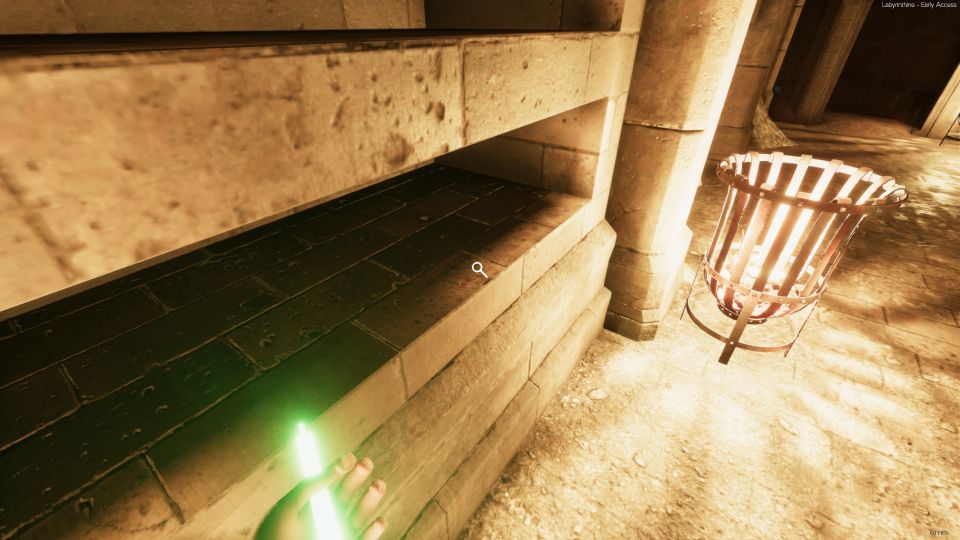
Get the last key
After getting 4 keys and solving the puzzles, look for the maze-like area near the previous puzzle.
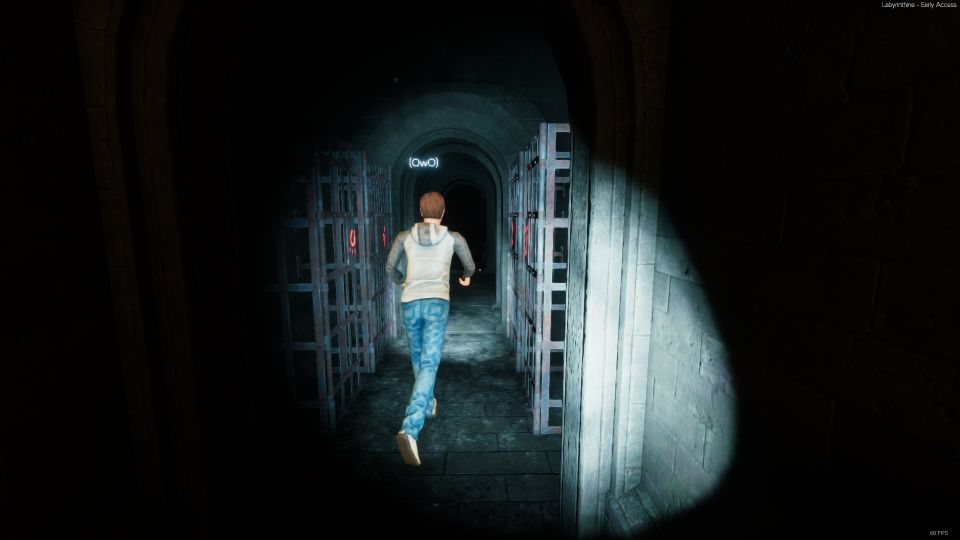
It’s like a maze made of fences.
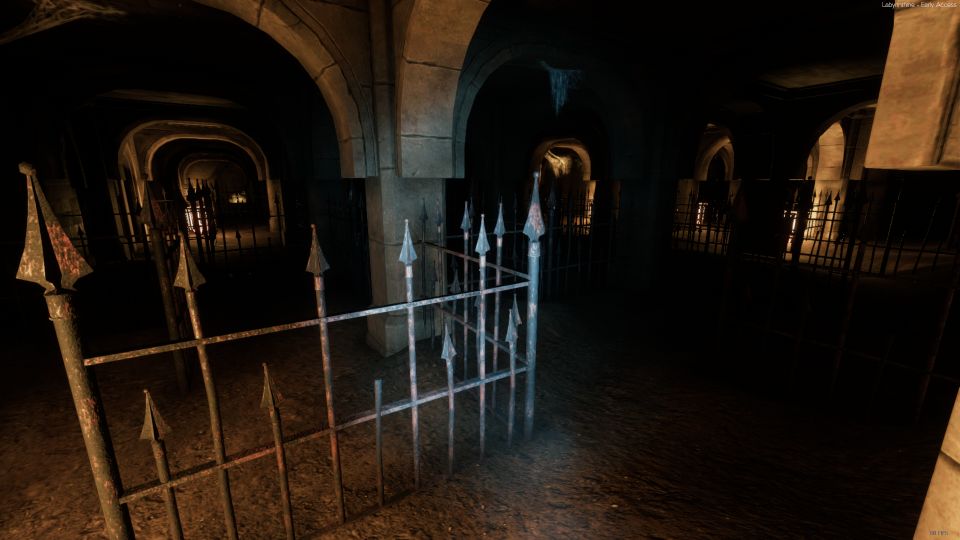
In the maze, you’ll see some dead bodies hanging. Nearby, you’ll find the last key.
Insert the keys
Follow the maze and make it through to the key chamber.
Insert all five keys and the bars will be removed.
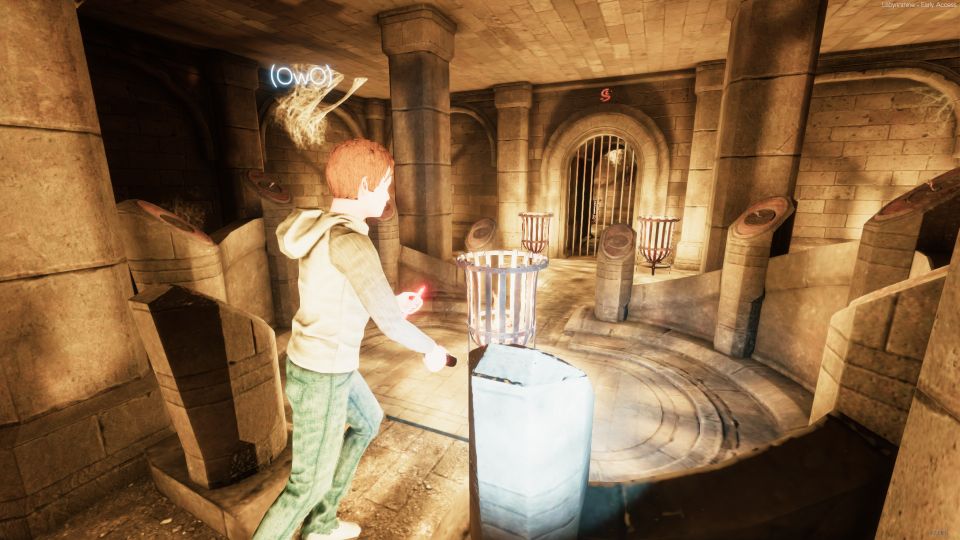
Pull the lever and go back to where you inserted the two rune stones in the beginning.
Escape the area
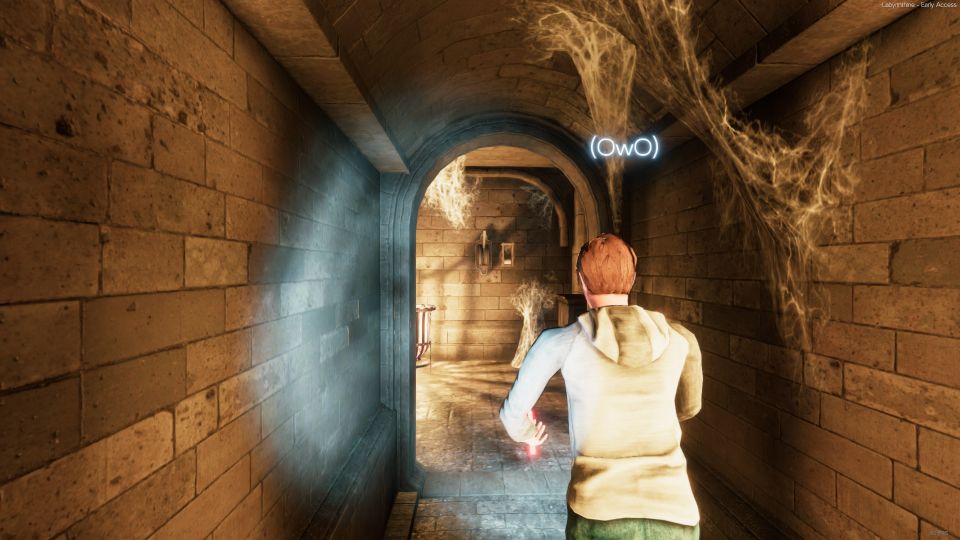
The exit area is literally all the way straight from your spawn point.
Just go all the way and you’ll see that all three gates have been opened (after all three levers have been pulled).
Exit the area and you’re done.
Related posts:
Chapter 5 Puzzle Walkthrough And Guide – Labyrinthine
