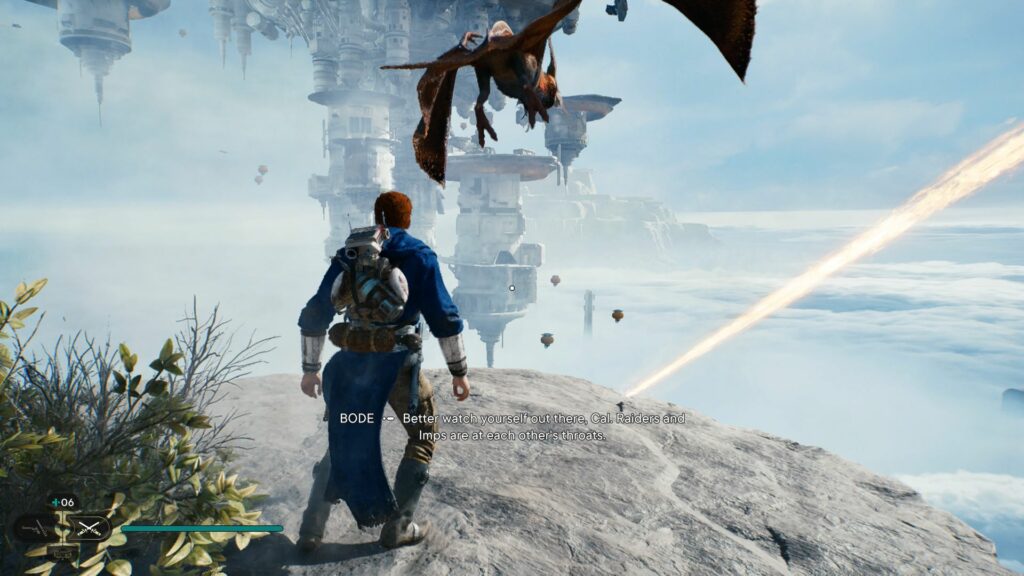
Confront Dagan At Koboh Observatory is a main objective in Star Wars Jedi: Survivor.
Your objective is to find Dagan Gera at the Koboh Observatory and defeat him.
Here’s a walkthrough and guide of Confront Dagan At Koboh Observatory in Star Wars Jedi: Survivor.
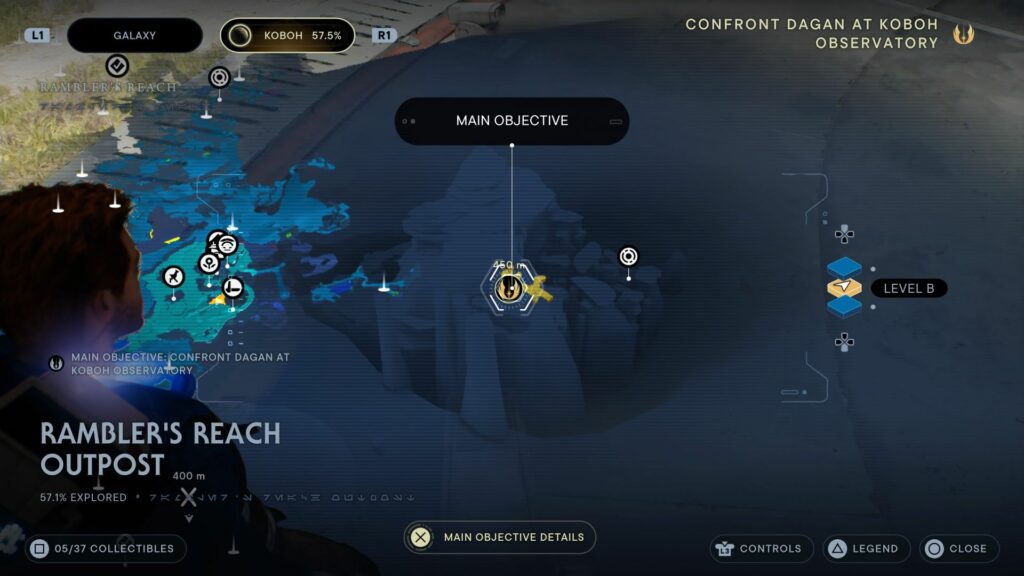
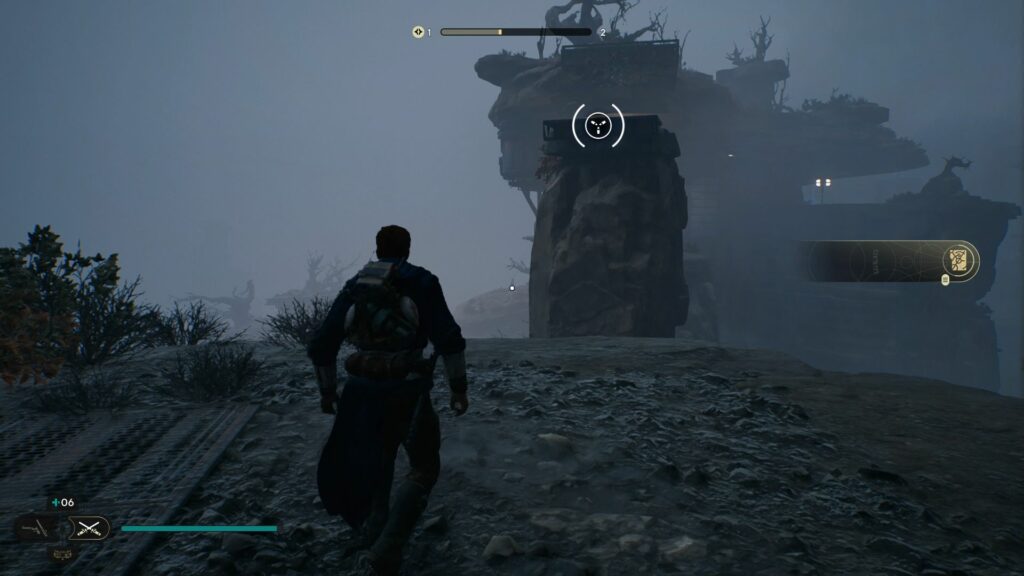
The location of the objective is shown in the map below, marked by the symbol.
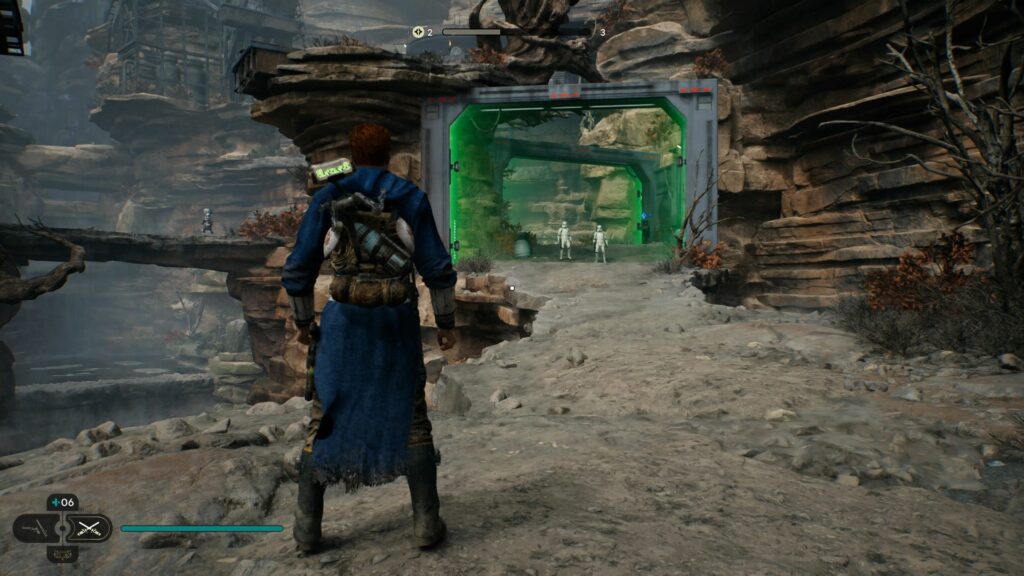
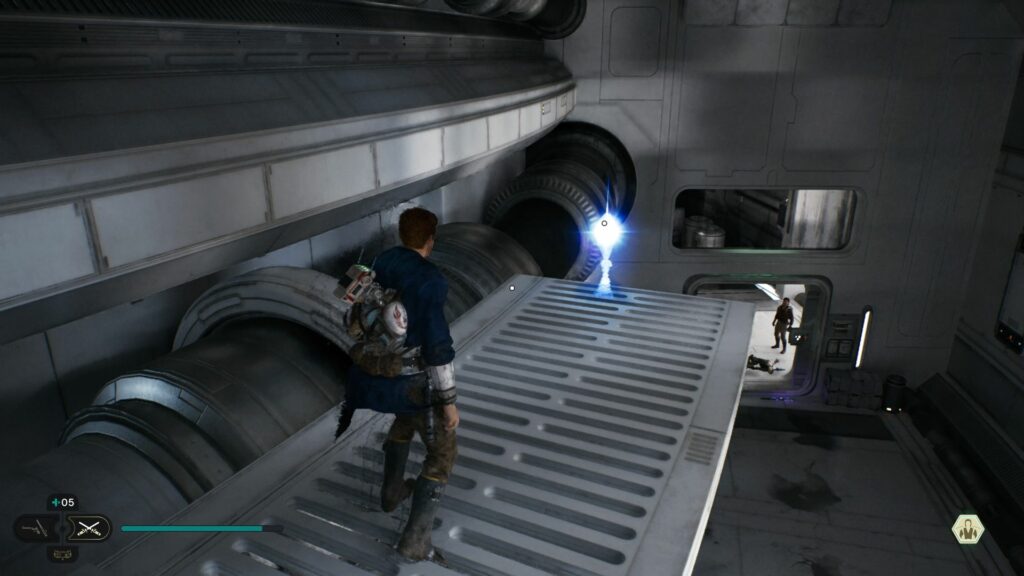
When you reach the area, you’ll see a green barrier with Imperial troops behind.
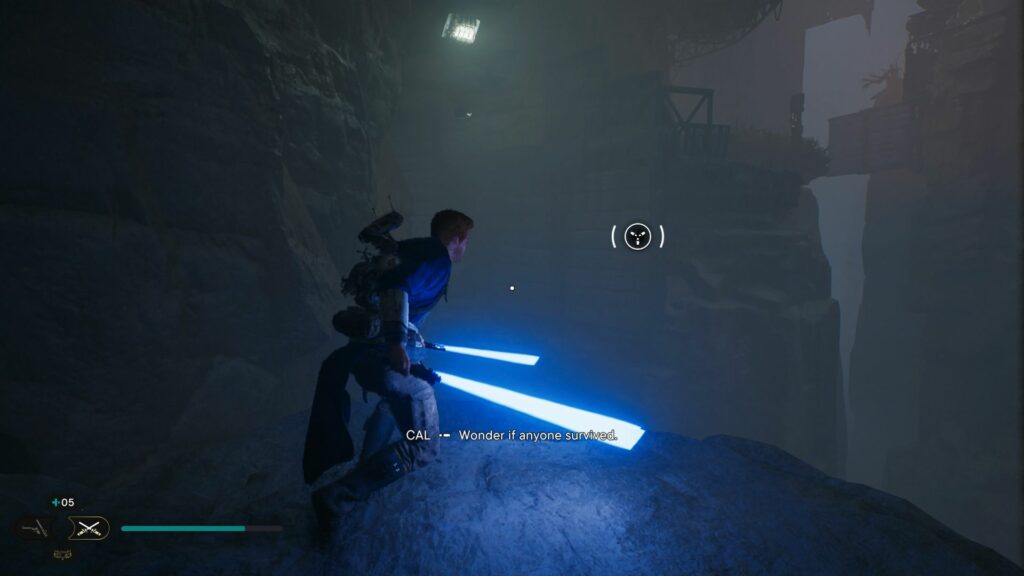
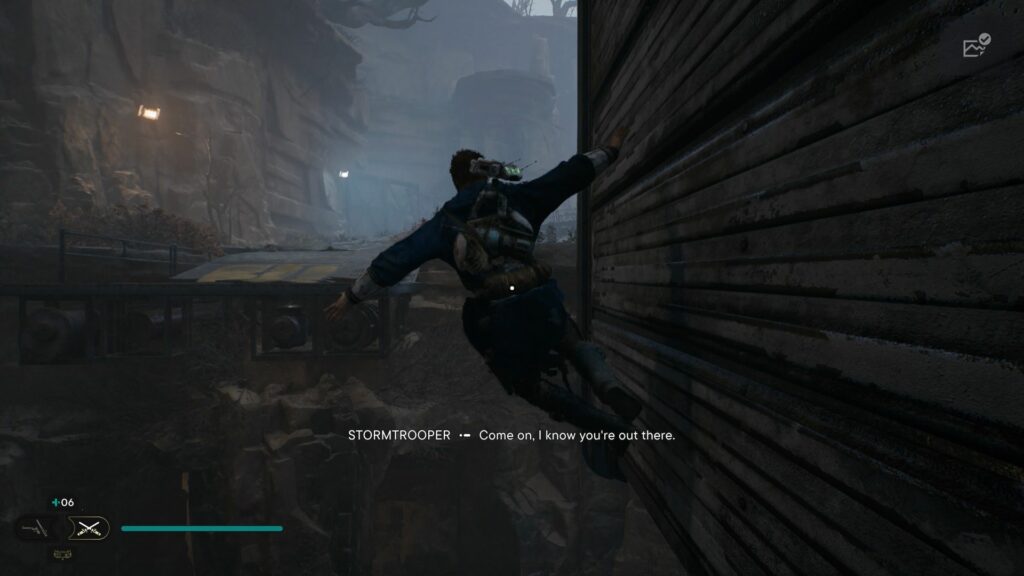
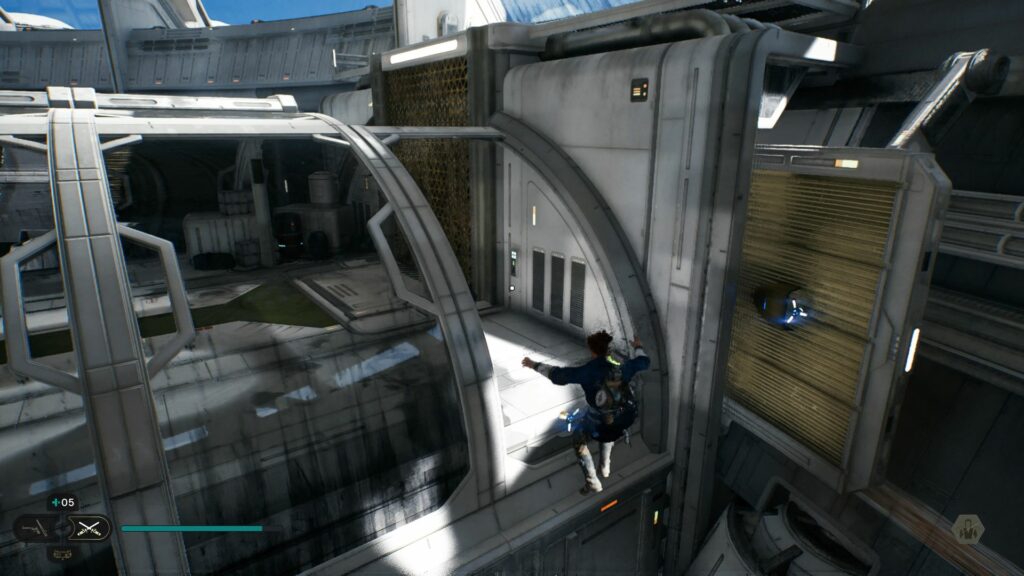
In the next area, wall run.
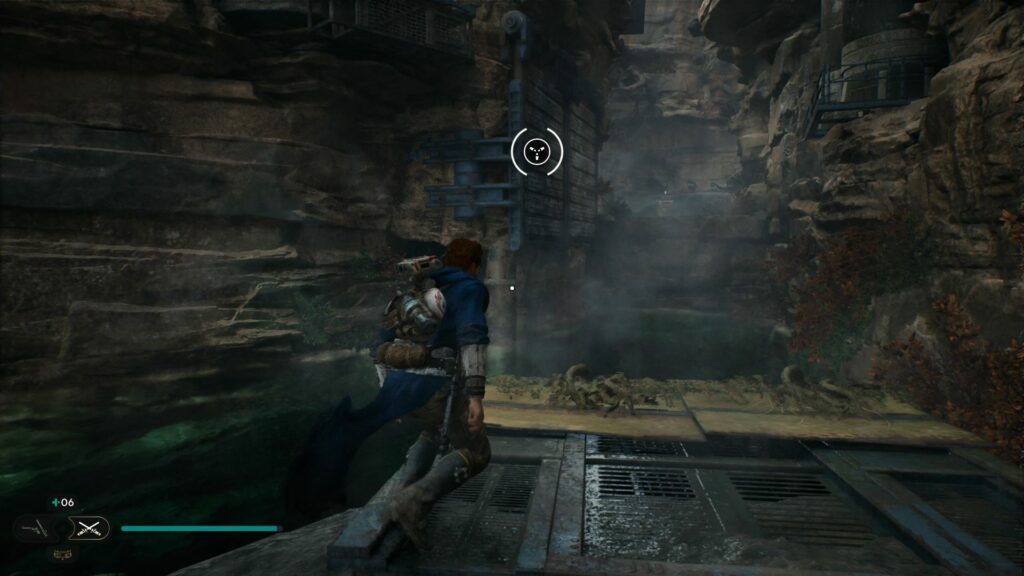
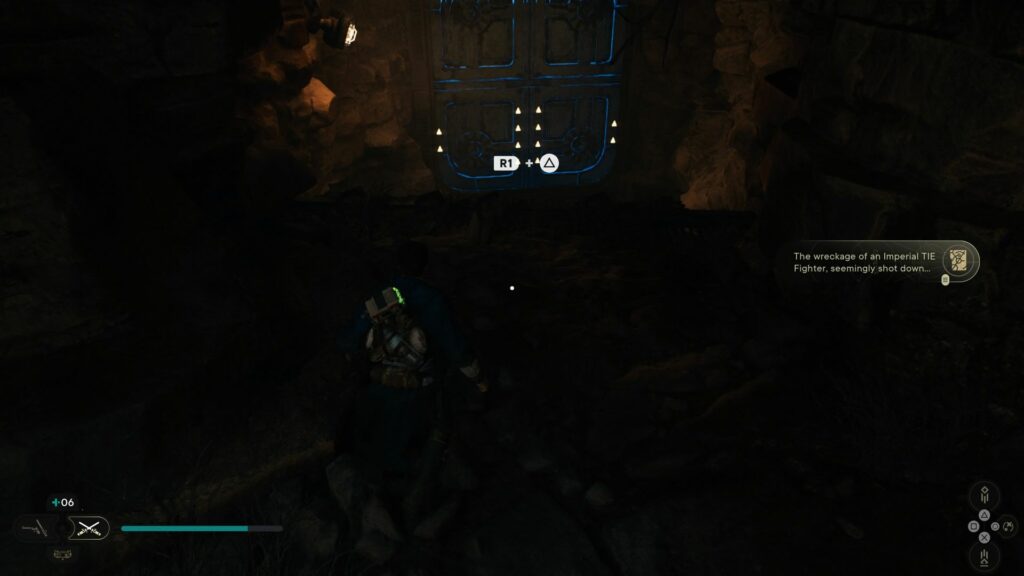
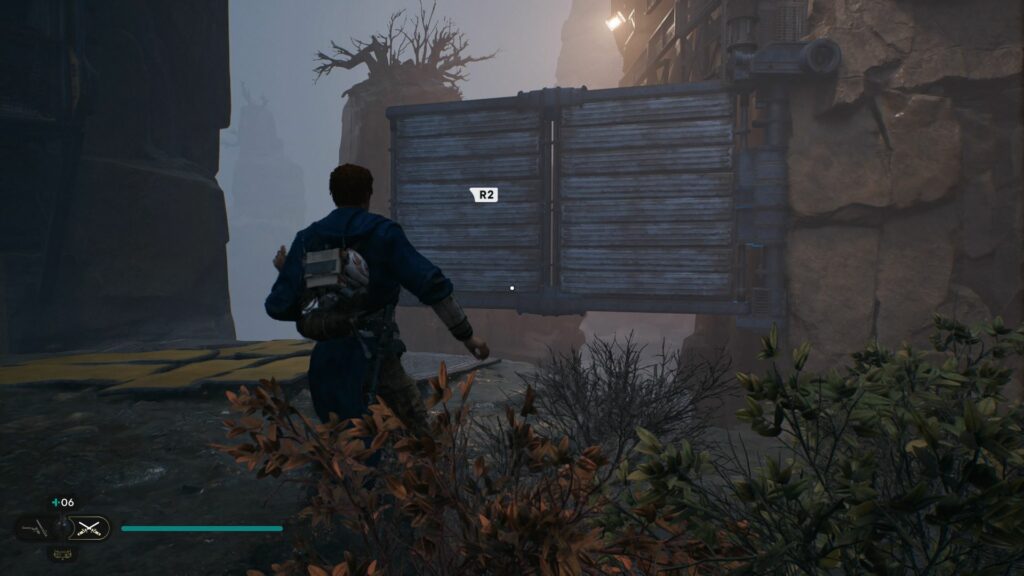
You will see a door that can be pulled open.
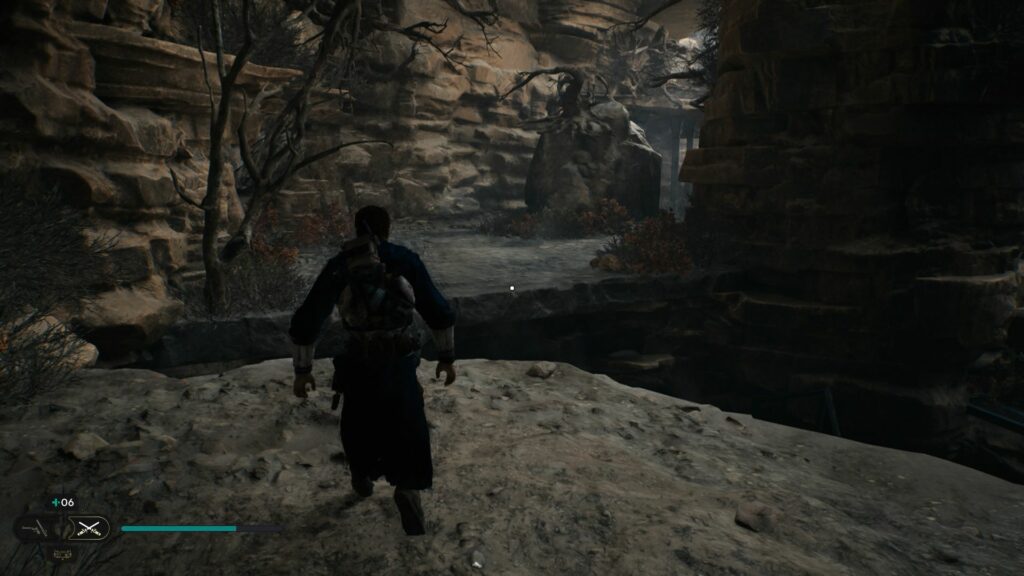
Jump over the gap and continue ahead.
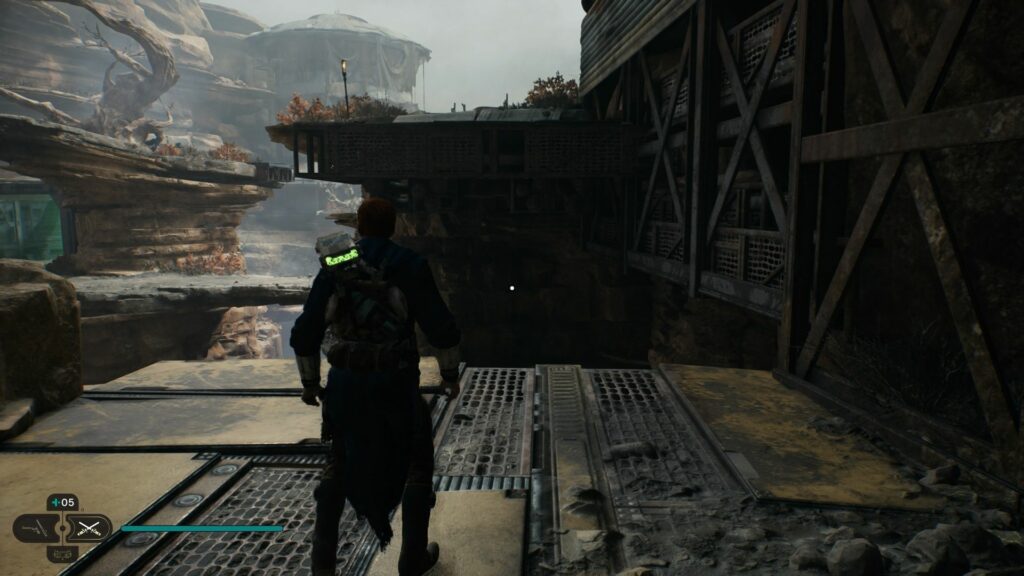
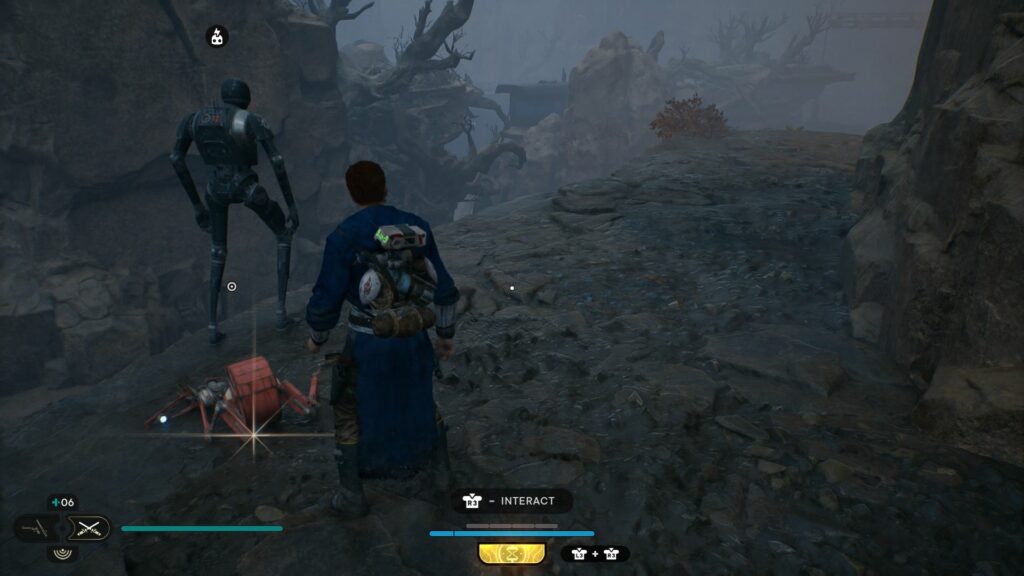
There are two paths here. Use the other path to get a Priorite Shard.
Jump over the gap.
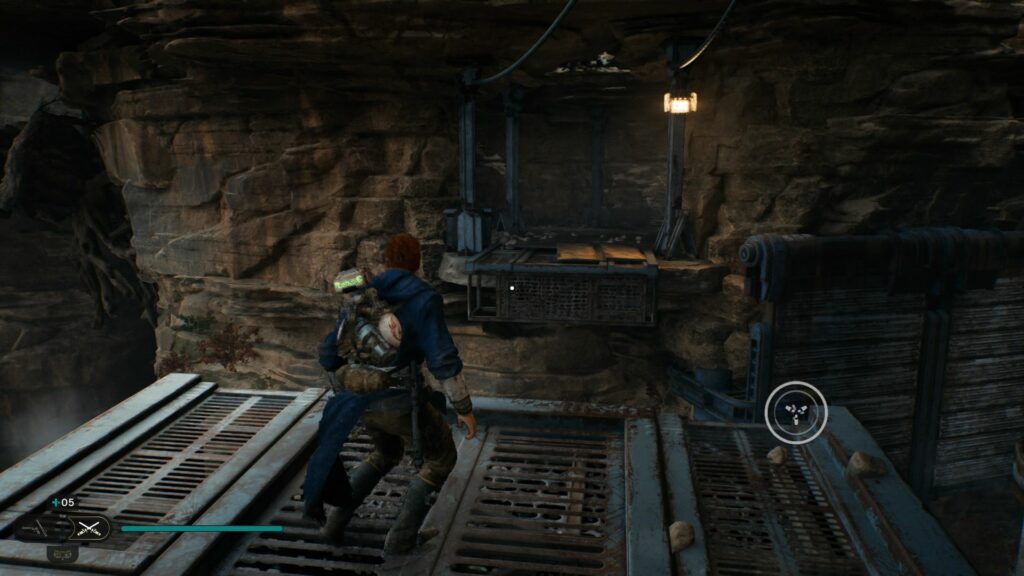
You will then see a Priorite Shard.
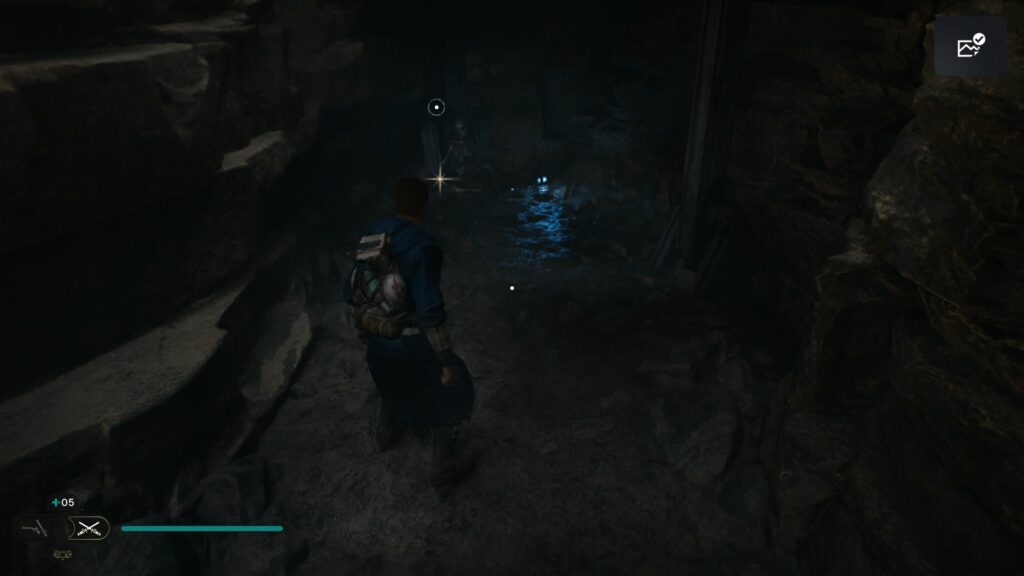
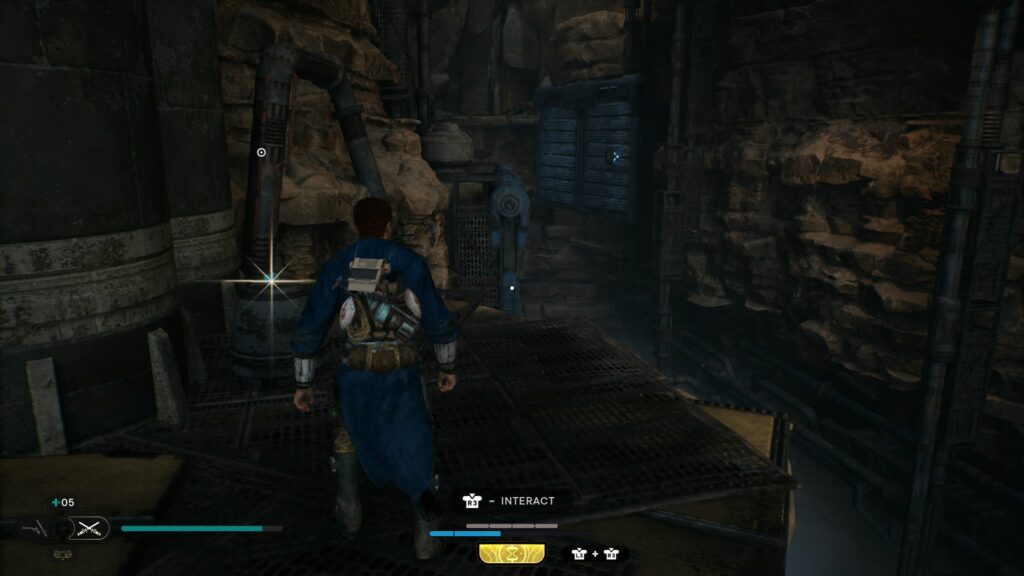
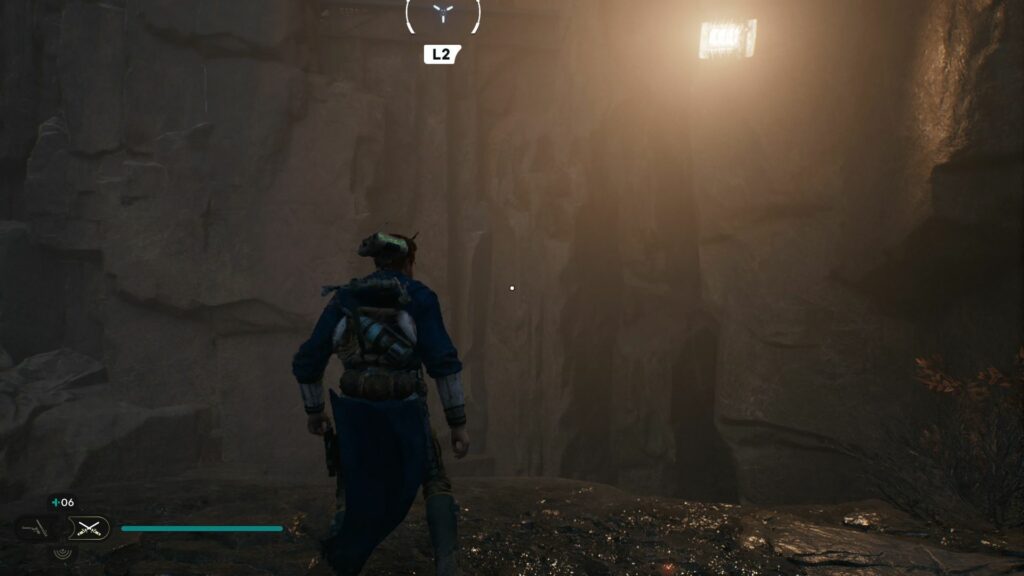
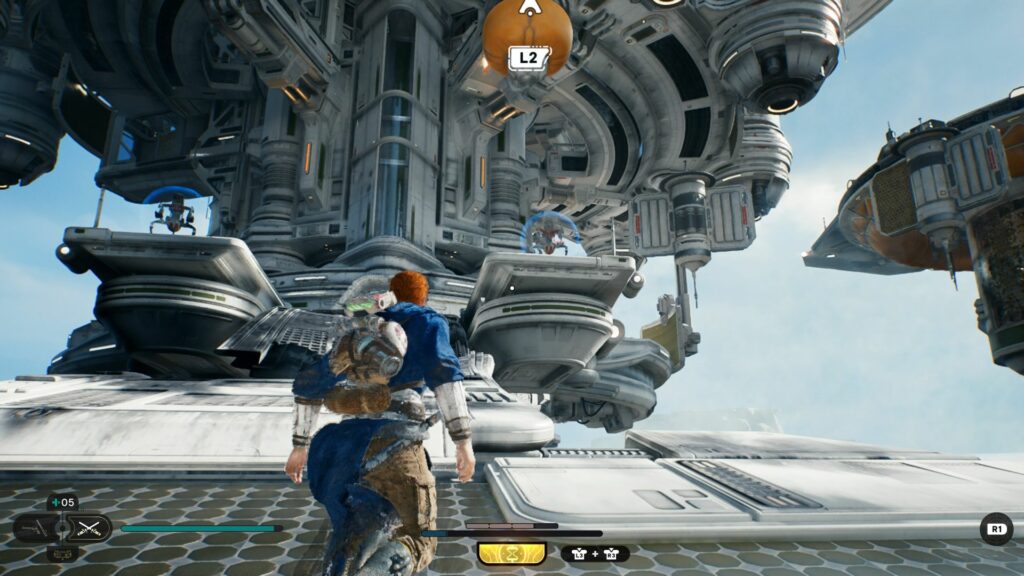
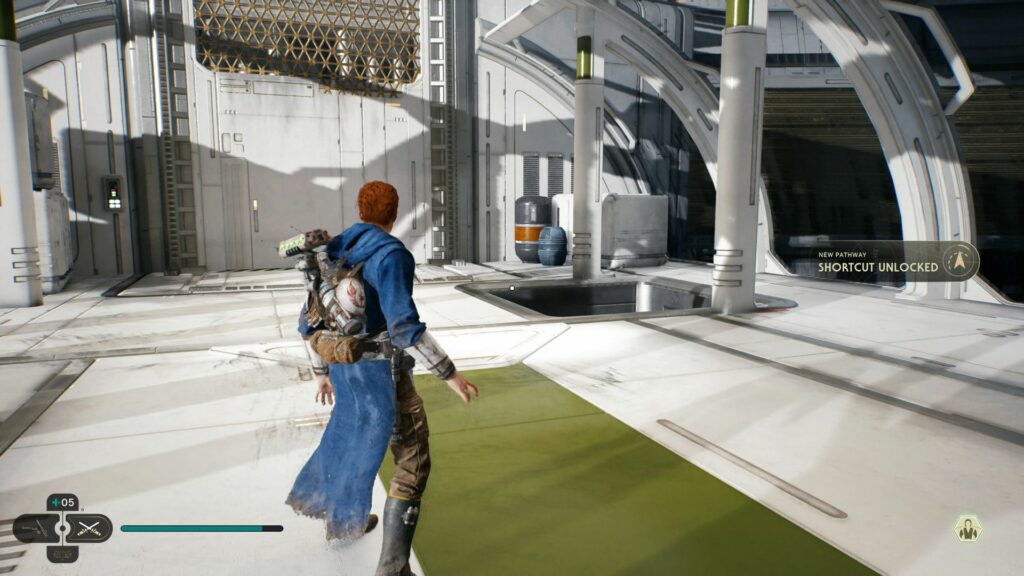
Keep going and you’ll see a device for you to make a shortcut.
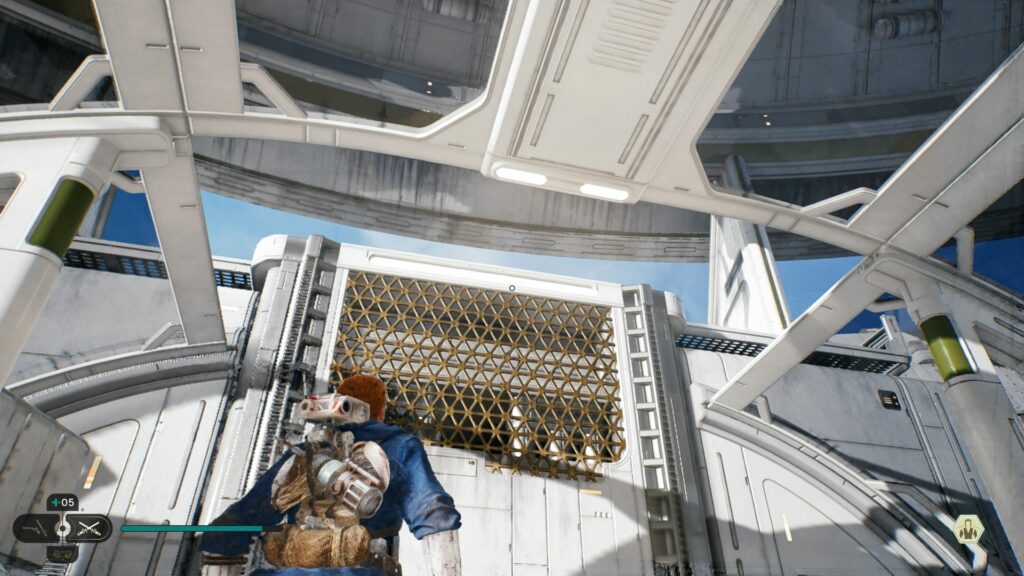
This part’s optional. Use the wall to wall run to the other side.
Go up and you can lift and slam the device. You’ll get a BD-1 item.
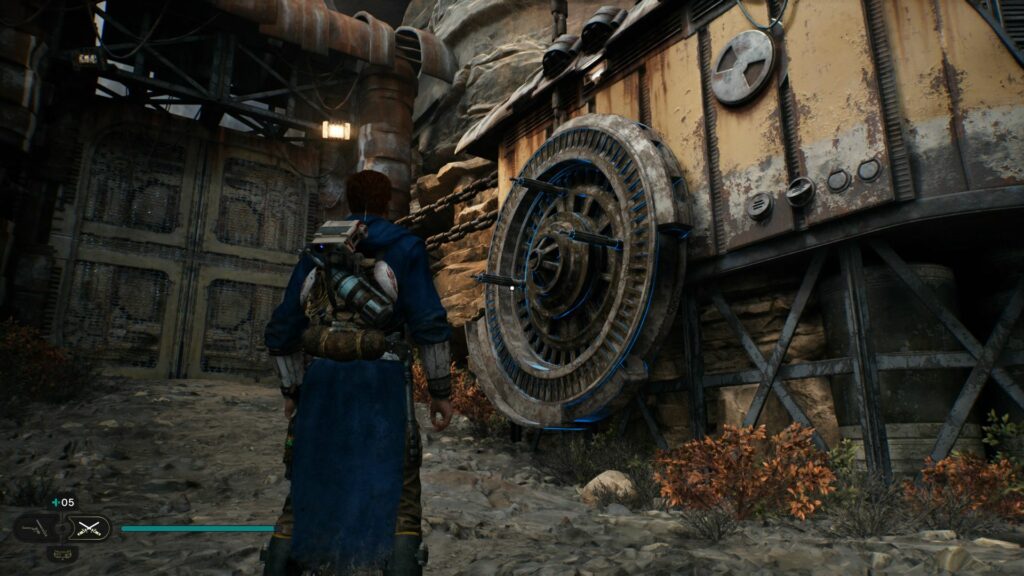
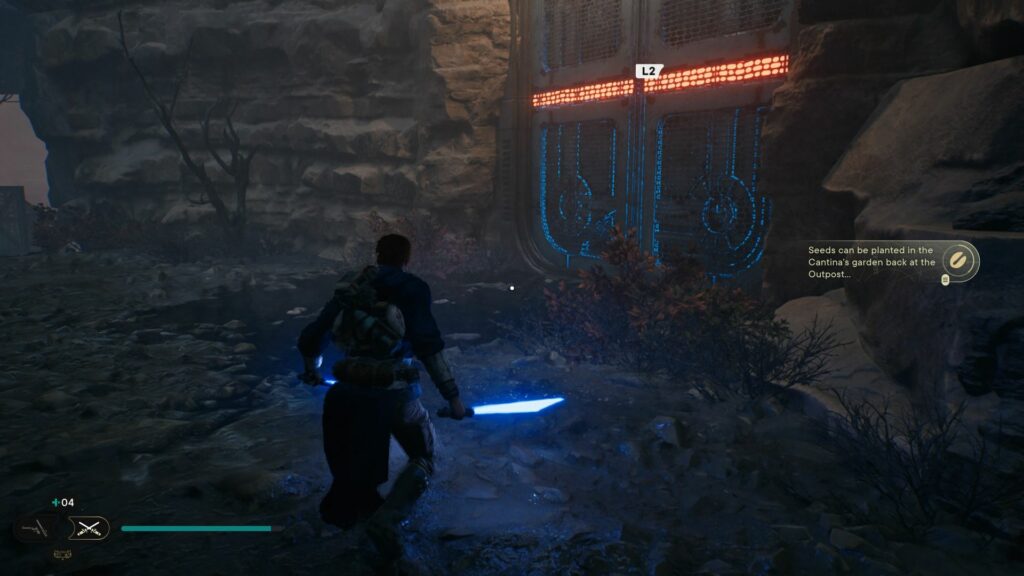
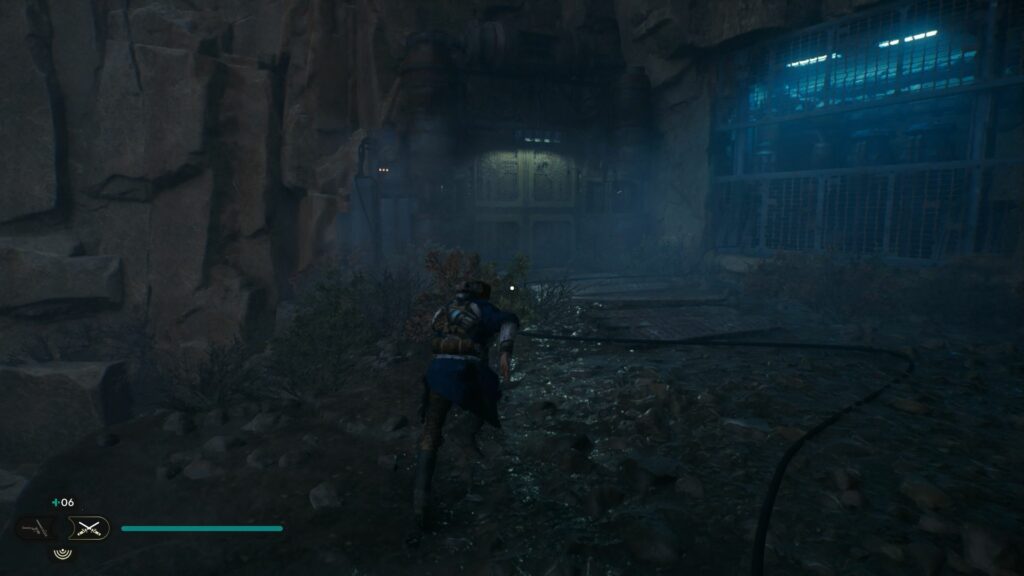
Open the gate
To open the gate, use the force on the cog at the side a few times.
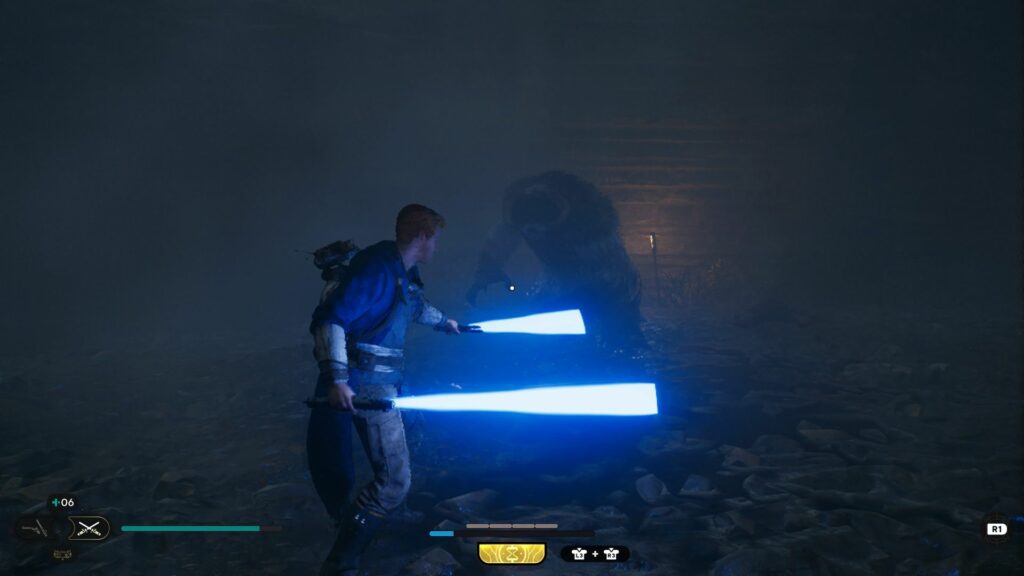
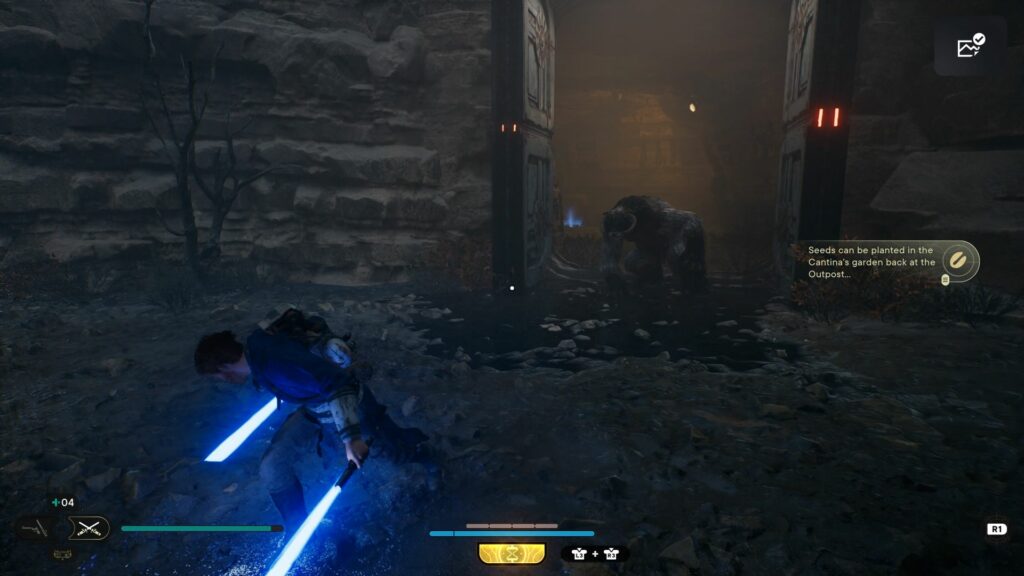
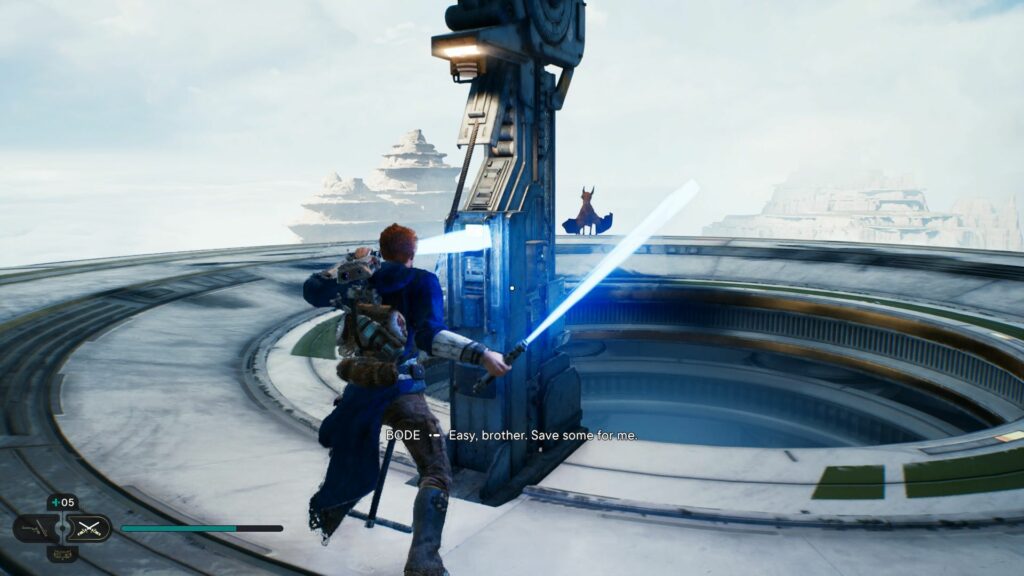
Get past the beasts
After the gate opens, you will see two beasts. You can make one fight the other and then leave the area.

Get the shard and continue to wall run ahead.
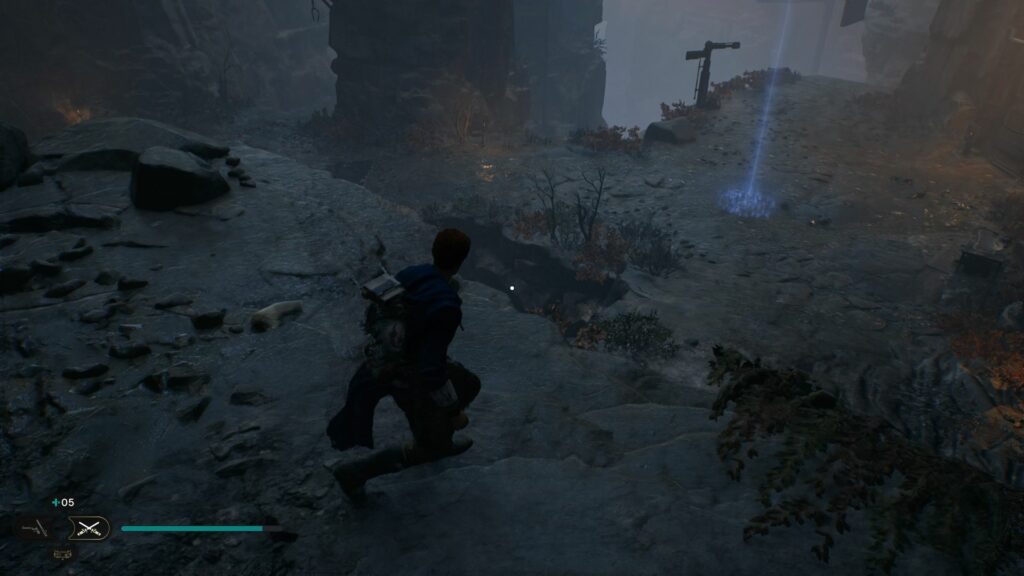
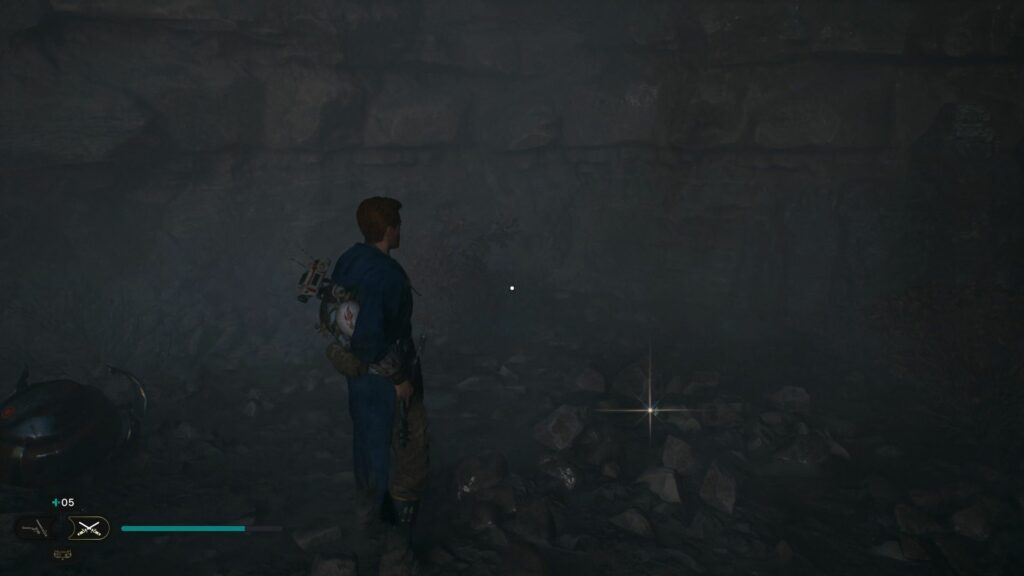
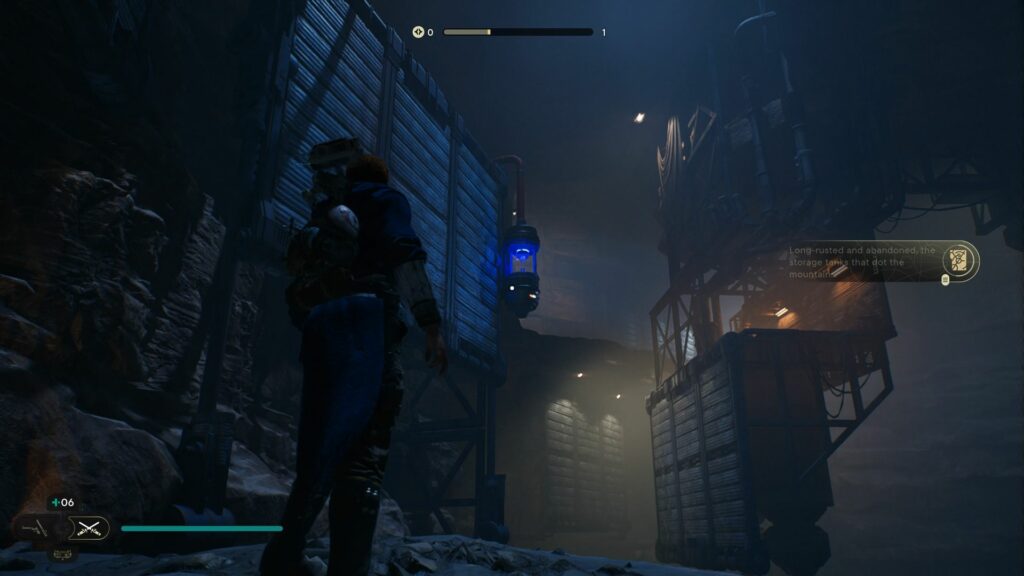
You will now reach a foggy area.
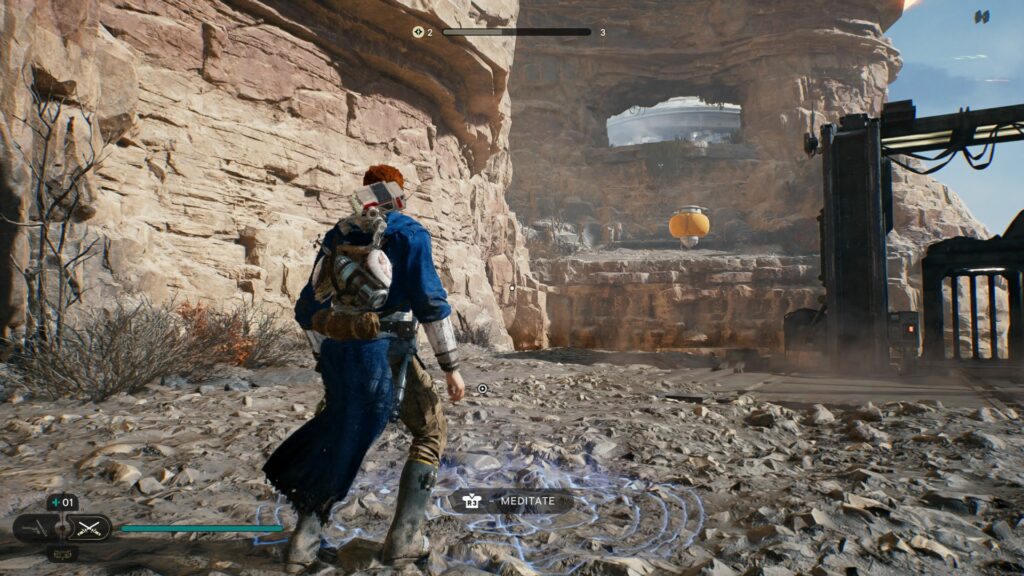
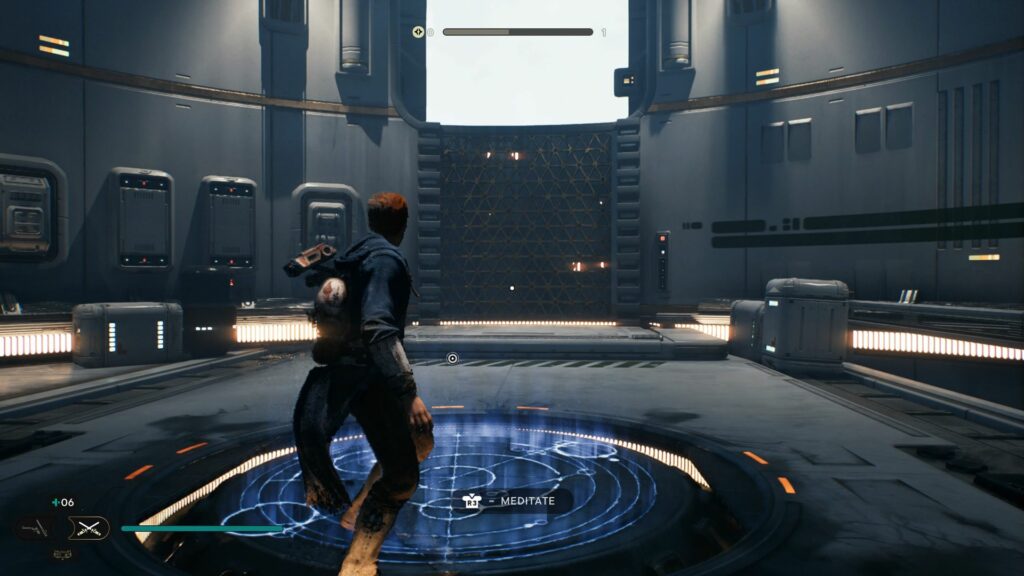
Get the meditation point
There are two paths now. You can ignore the one on the left first as you’ll revisit later. Go down to the meditation point.
Continue ahead
Follow the designated path. There’s a creature lurking in the fog.
Walk around and you’ll see a Priorite Shard.
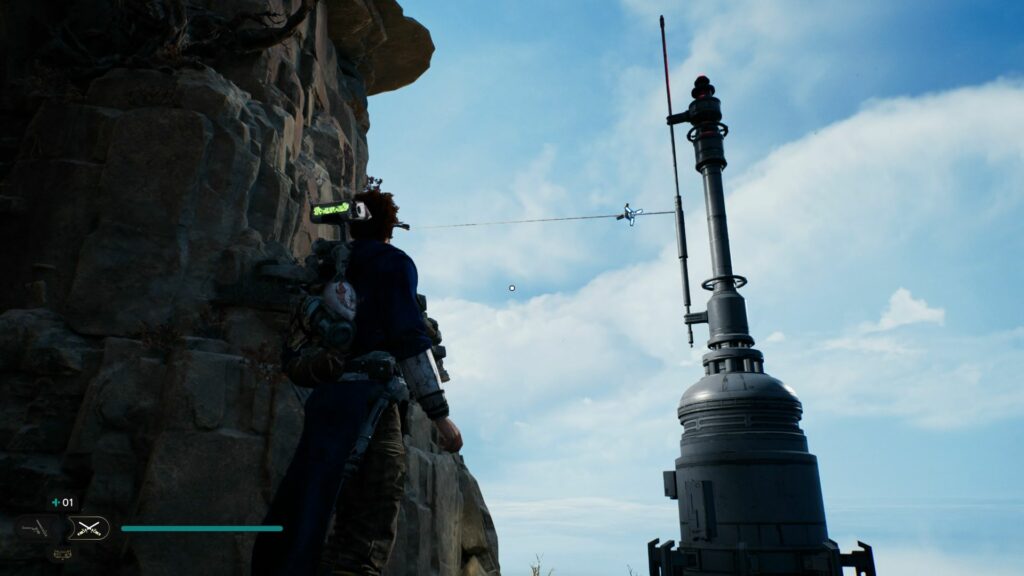
Head to the other side and use the hook to proceed ahead.
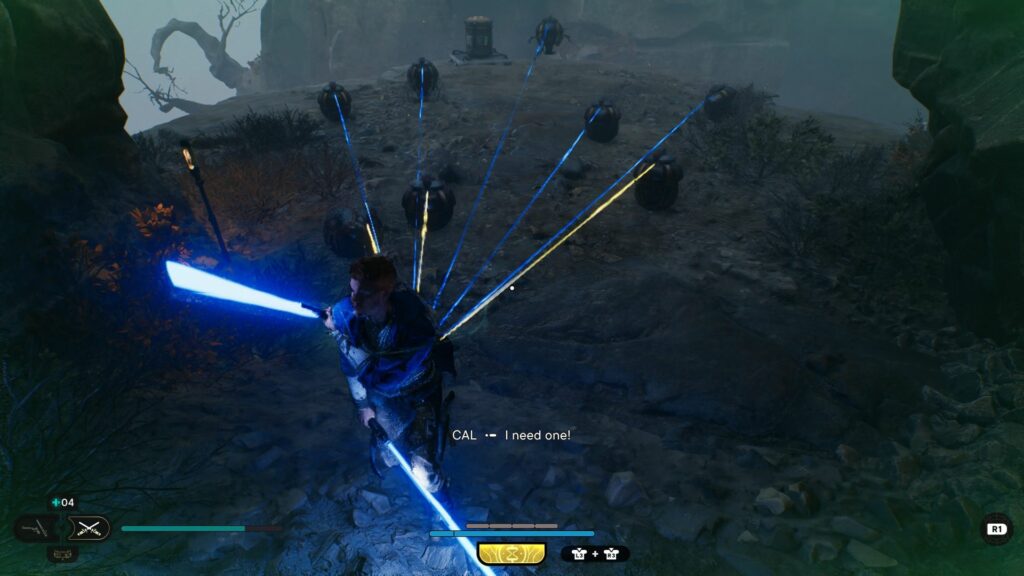
In some areas, you’ll be ambushed by bombs. Force push them to detonate all of them.
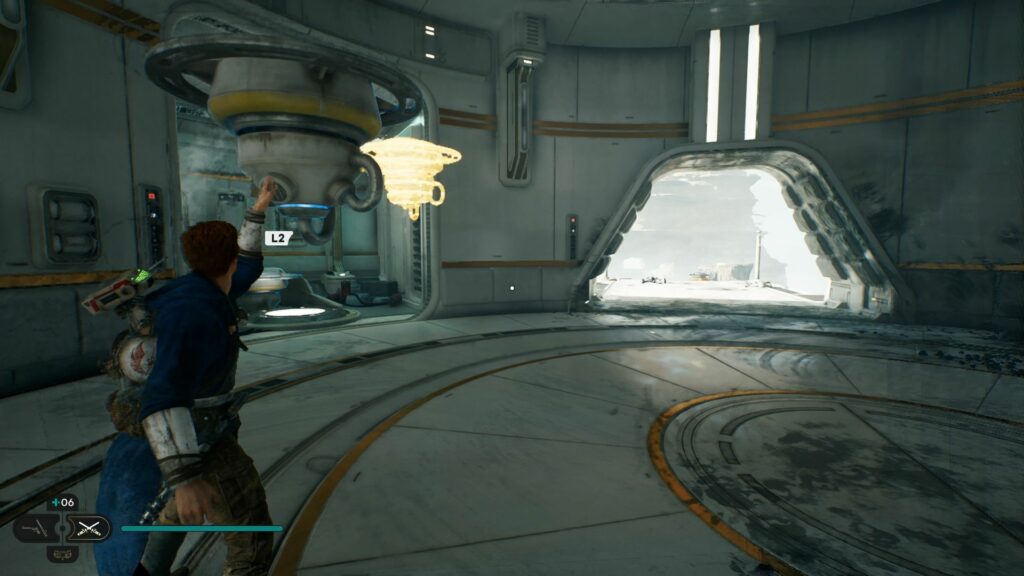
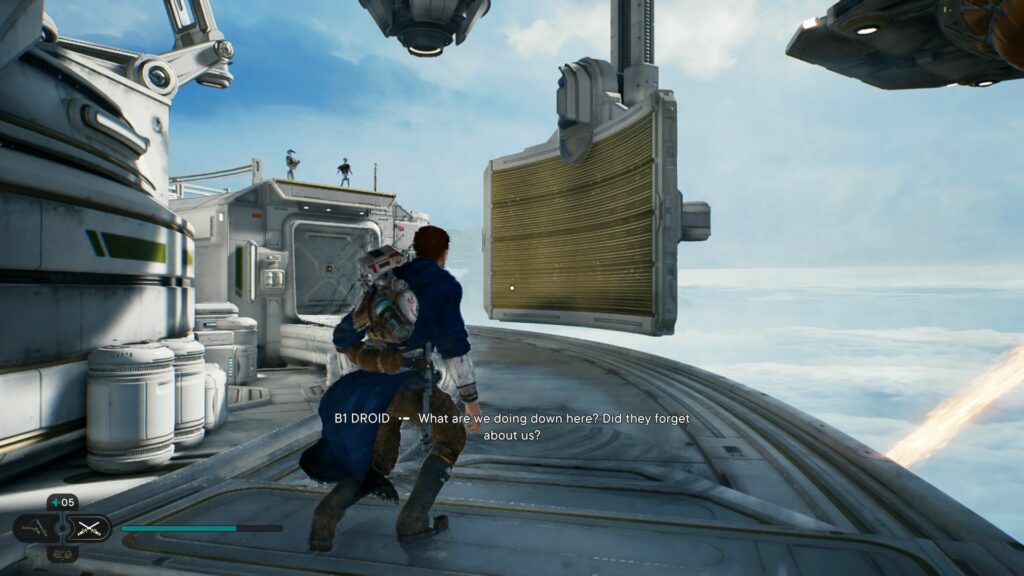
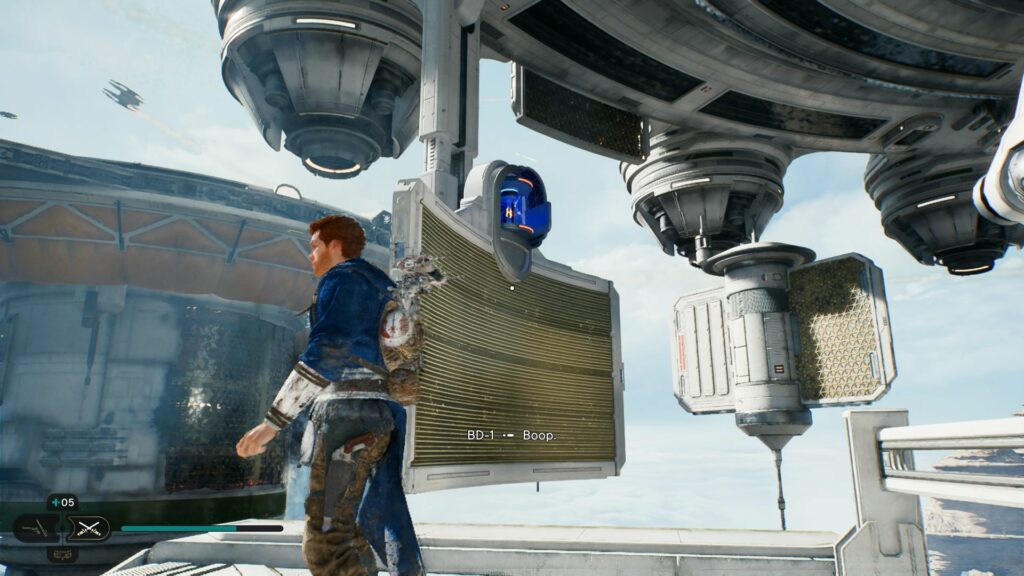
Lift and slam the device to get the BD-1 item.
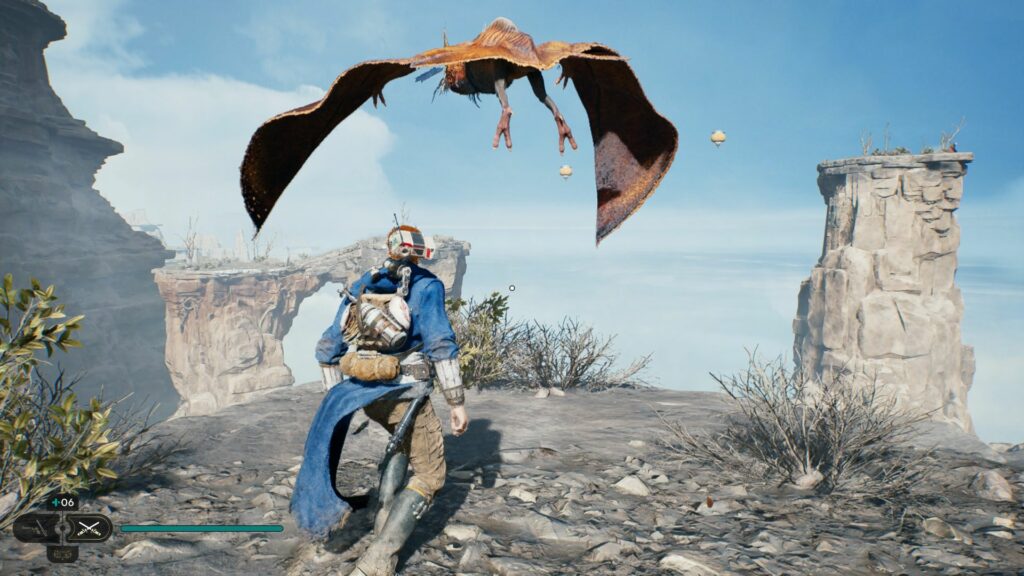
In the next area, pull the door down but be prepared for a beast behind it.
There’ll be a monkey creature like the one before. You can just get past him.
Follow the path and climb using the top vines.
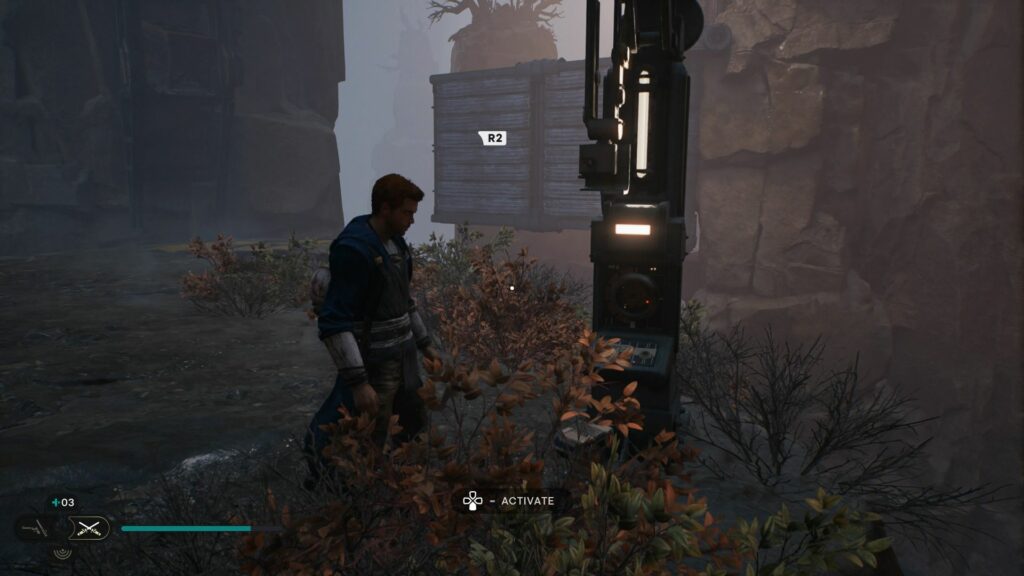
Go down and activate the device to make a shortcut.
Then, continue to push the metal surface with the force.
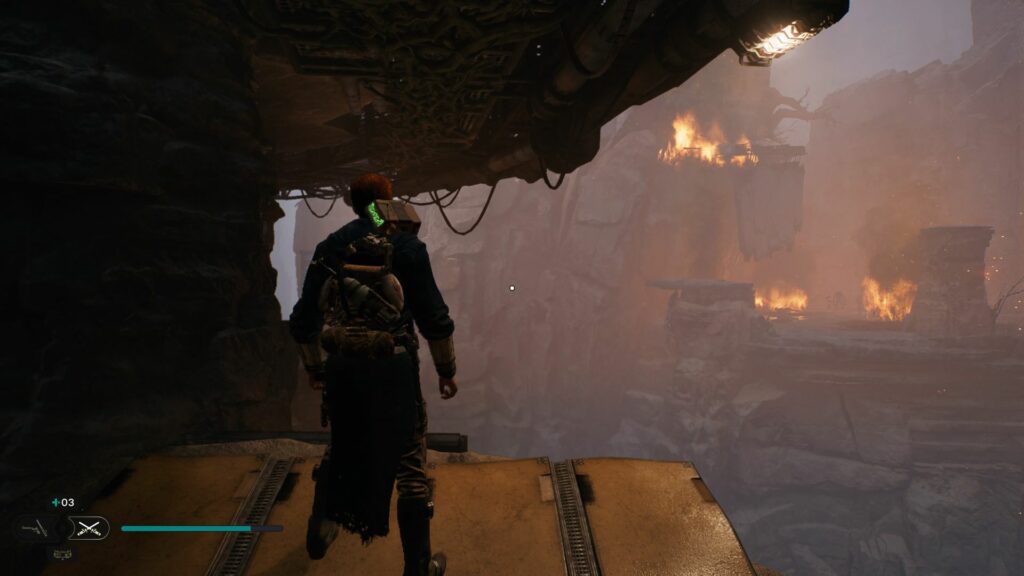
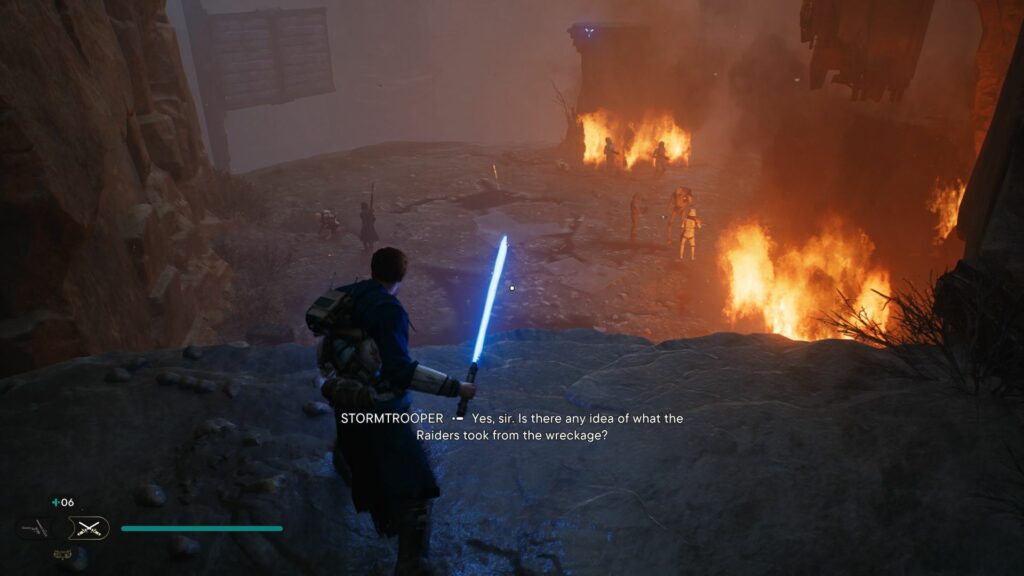
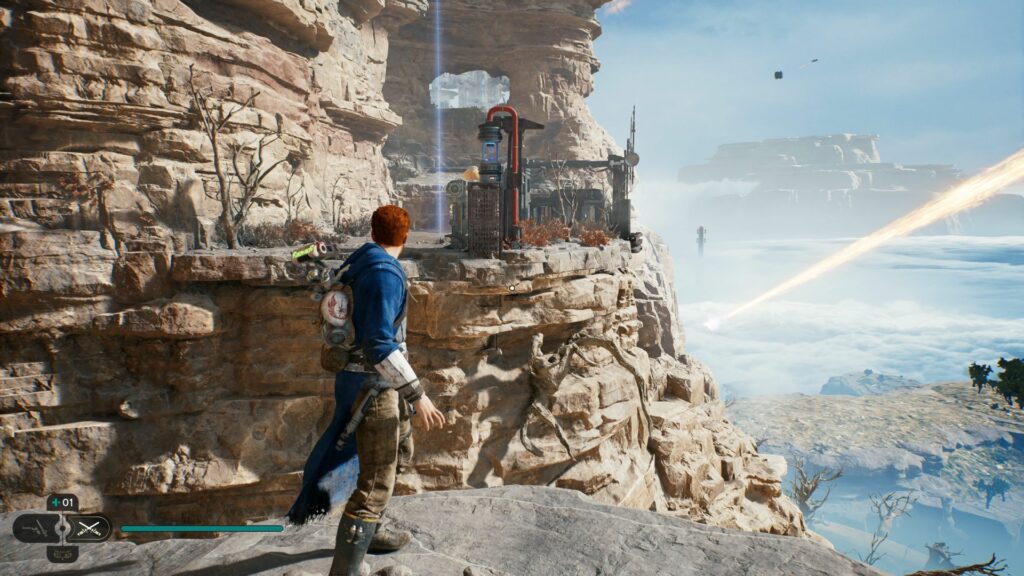
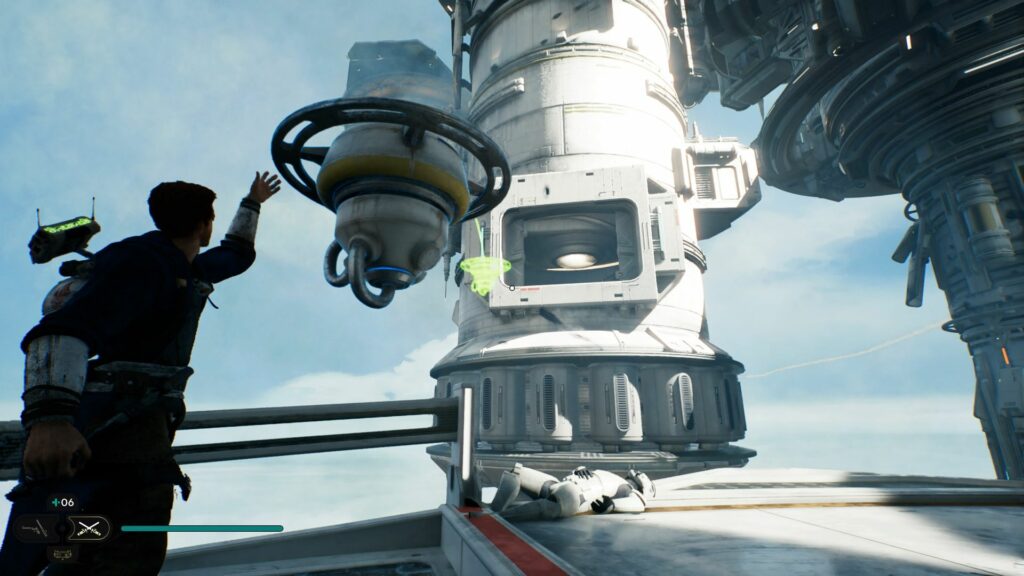
Go further and you’ll see troops down there. Take them all out.
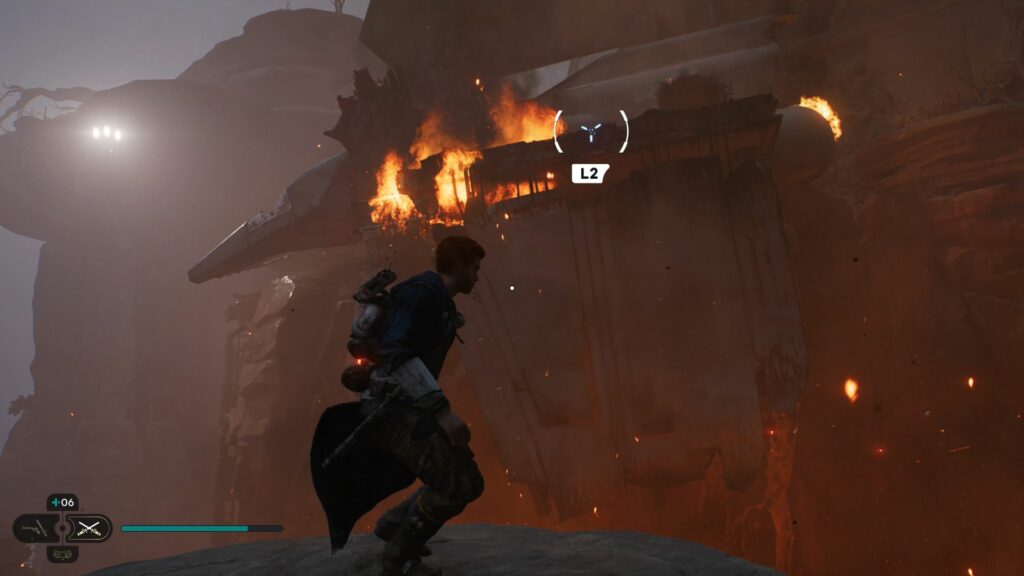
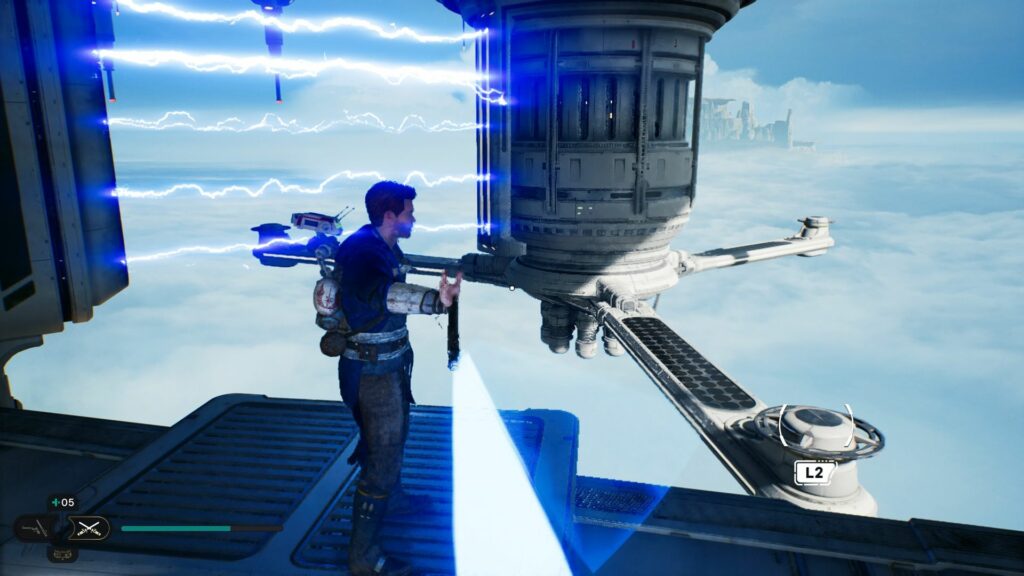
Head to the crashed ship using the hook.
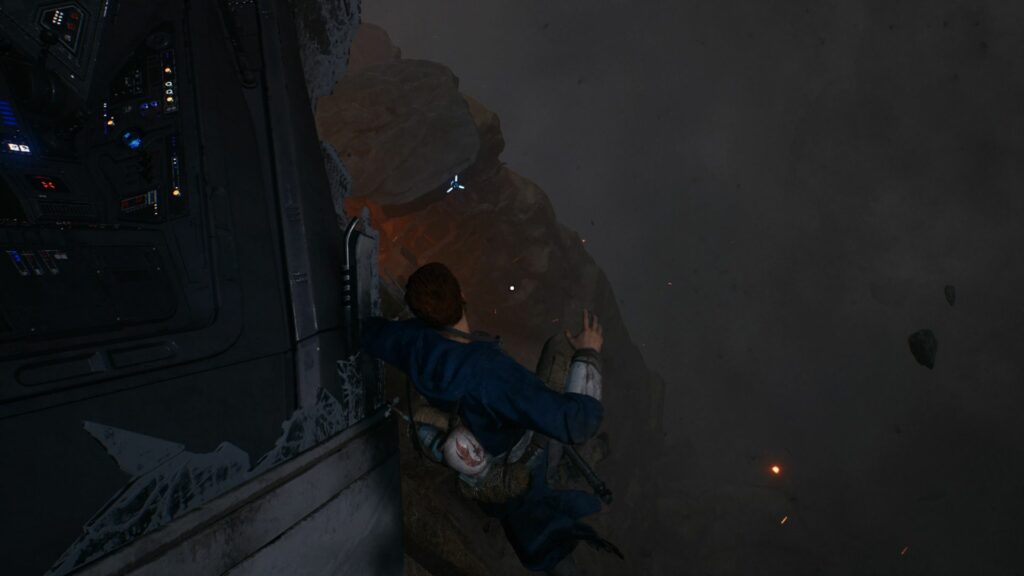
After the ship explodes, jump and hook to the bottom.
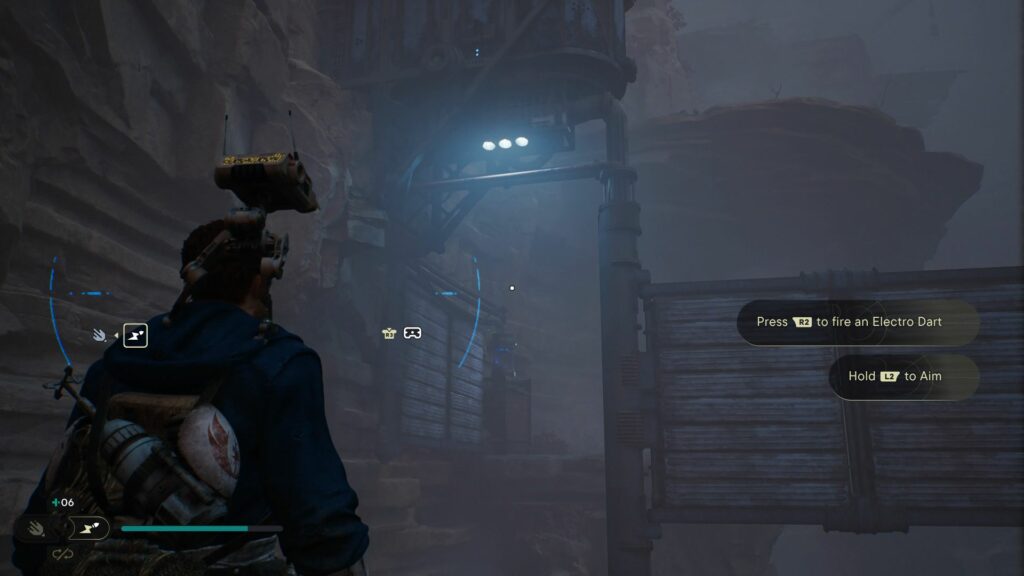
You will now unlock the BD-1 Electro Dart.
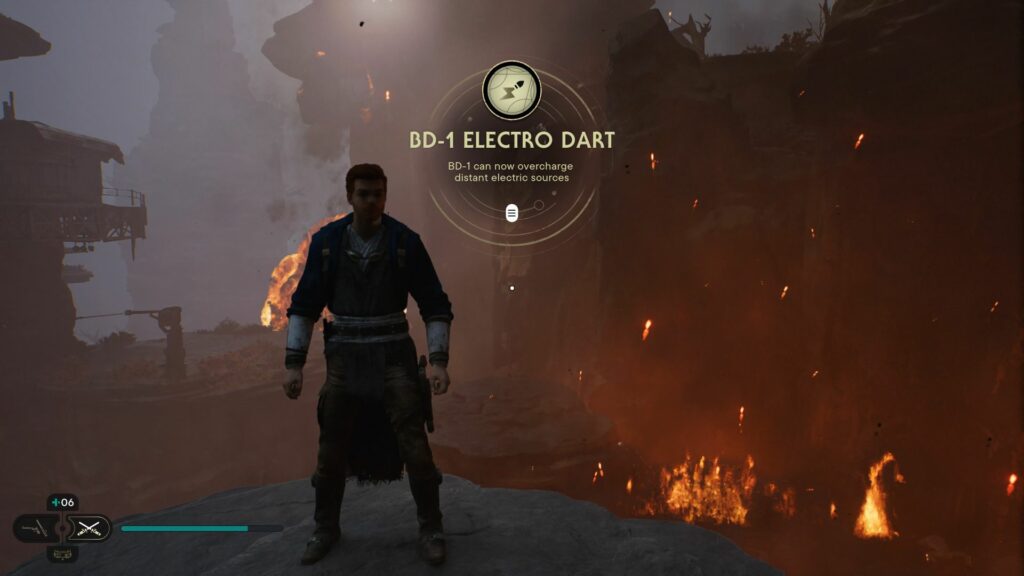
Unlock the next area
With the new electro dart, you can go to new places.
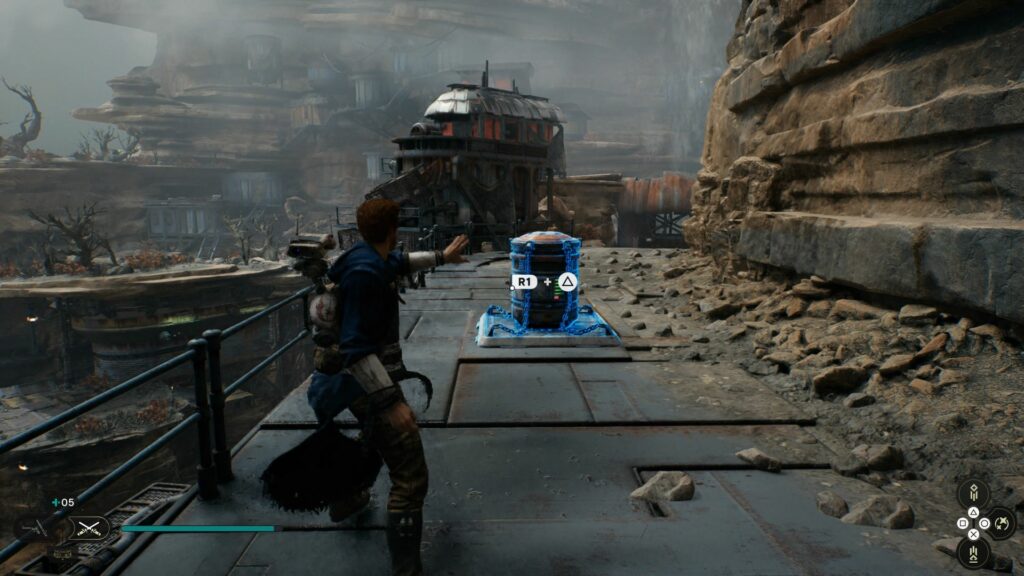
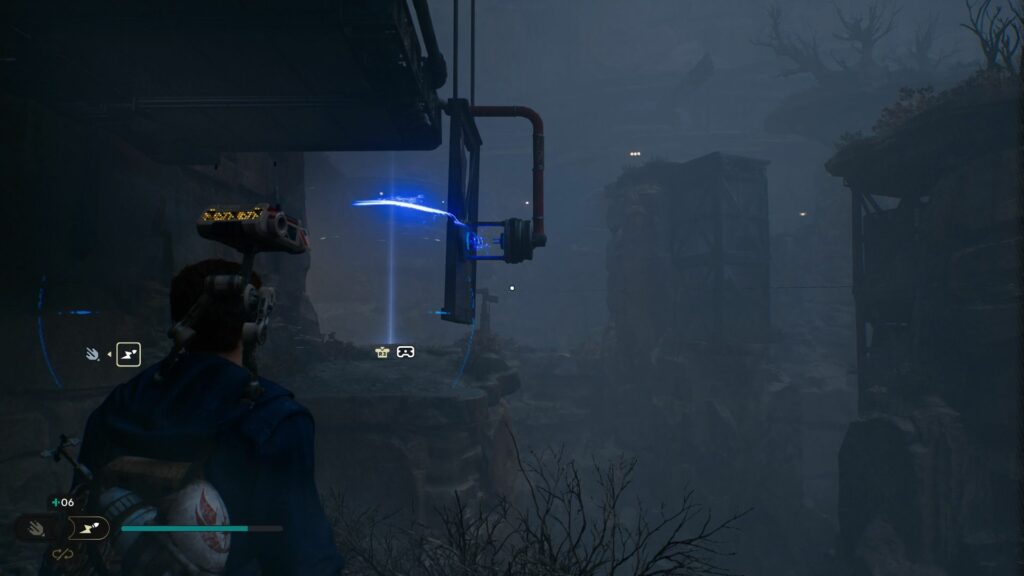
Use the dart on the blue device and it will move the structure. Wall run to the end.
Use the dart again to move the structure.
You will now be back at the start.
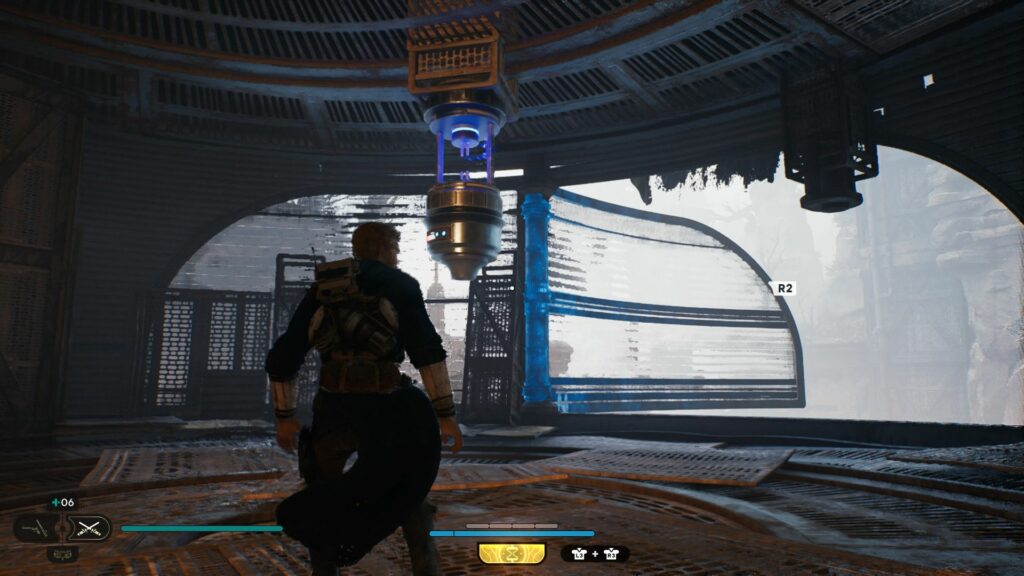
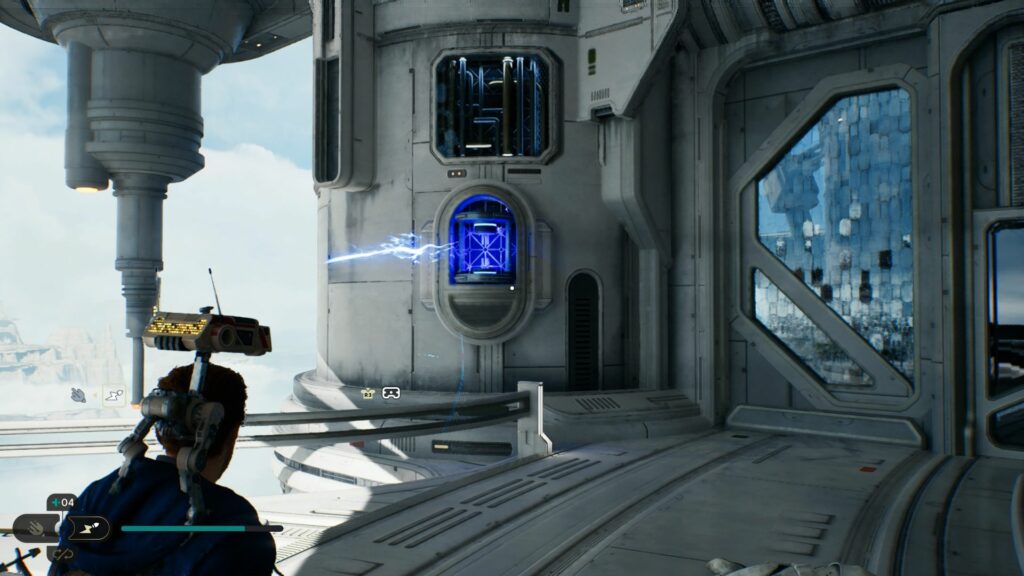
From the meditation point, head to the area where you need to wall run. Go to the top and you’ll see another electric device.
Push open the wall first and then use the electro dart. When the device is activated, a wall will come from the left to right but it’ll return.
Activate the device and then you’ll need to wall run on the inner wall first and jump to the moving wall.
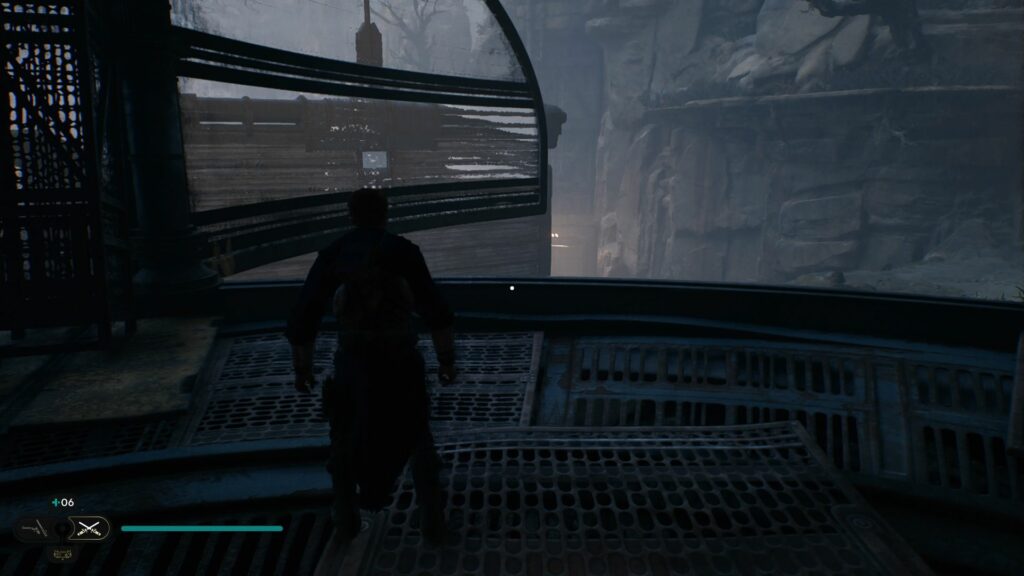
Instead of following the same direction, you need to use the moving wall and head to the left instead to a new area.
Keep going and you’ll meet more enemies. Destroy the small red droid to get a Priorite Shard.
Continue ahead using the hook.
Keep going and you’ll see a door.
Enter the area. Use the electro dart again and do some platforming.
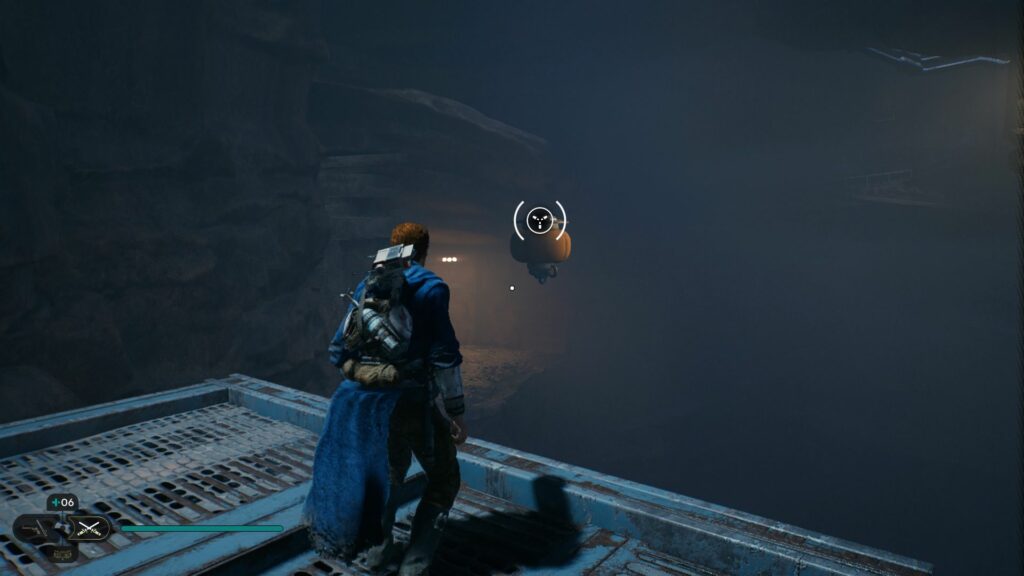
(Optional) Fractured Power
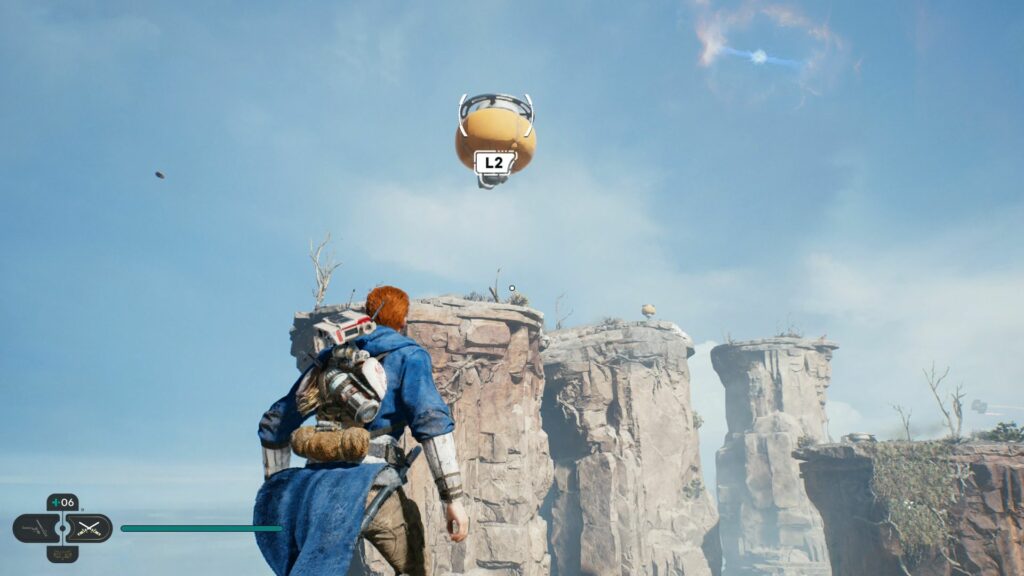
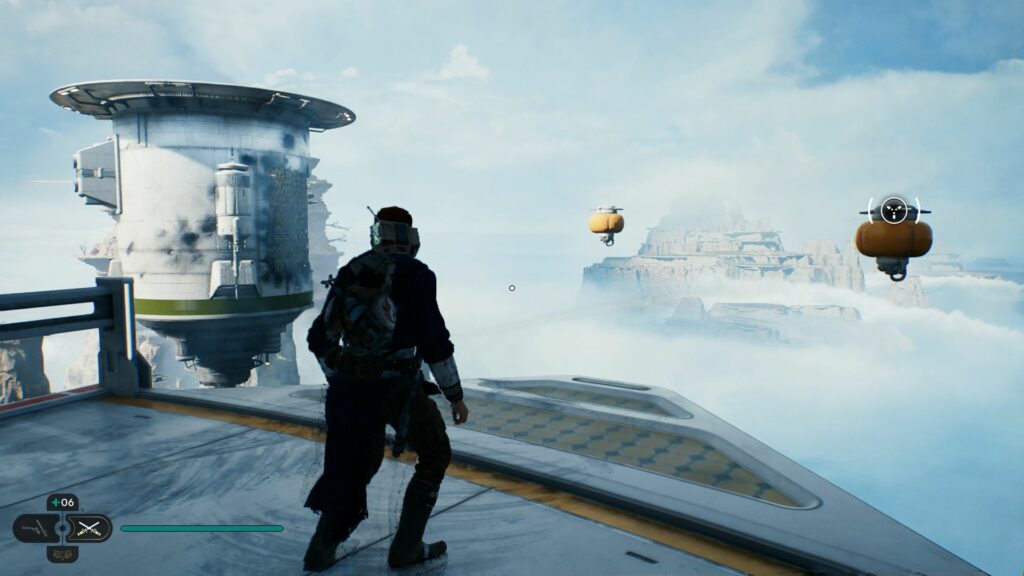
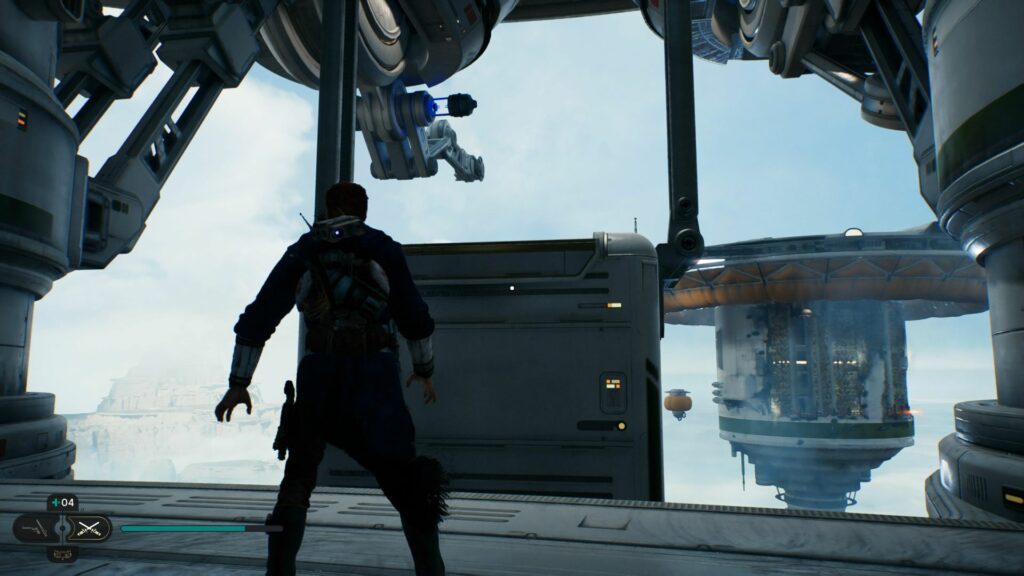
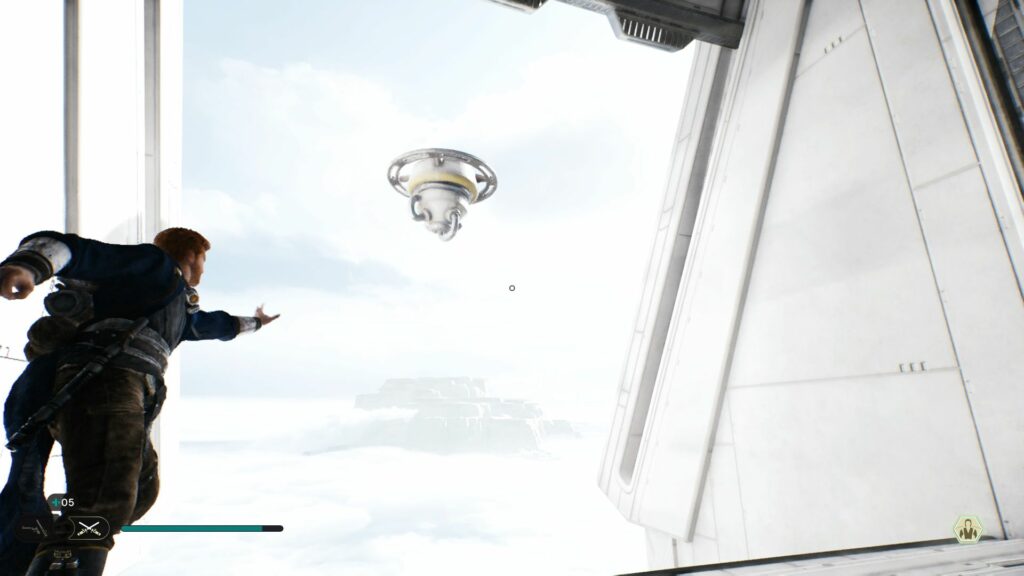
You will see a balloon in the air. This part’s optional.
Use the balloon and jump to the other side.
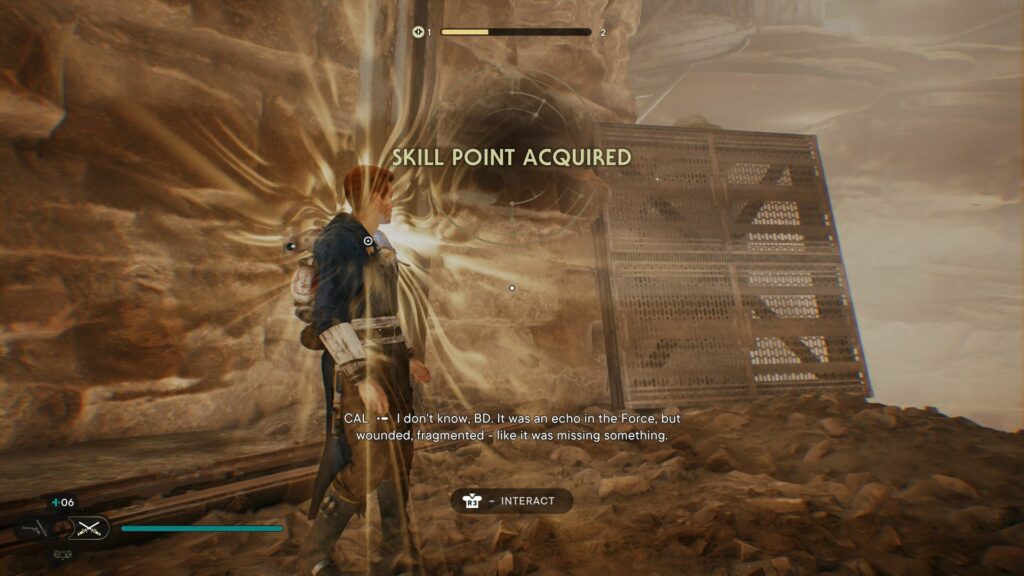
You’ll see a glowing purple energy. Interact with it to begin a challenge.
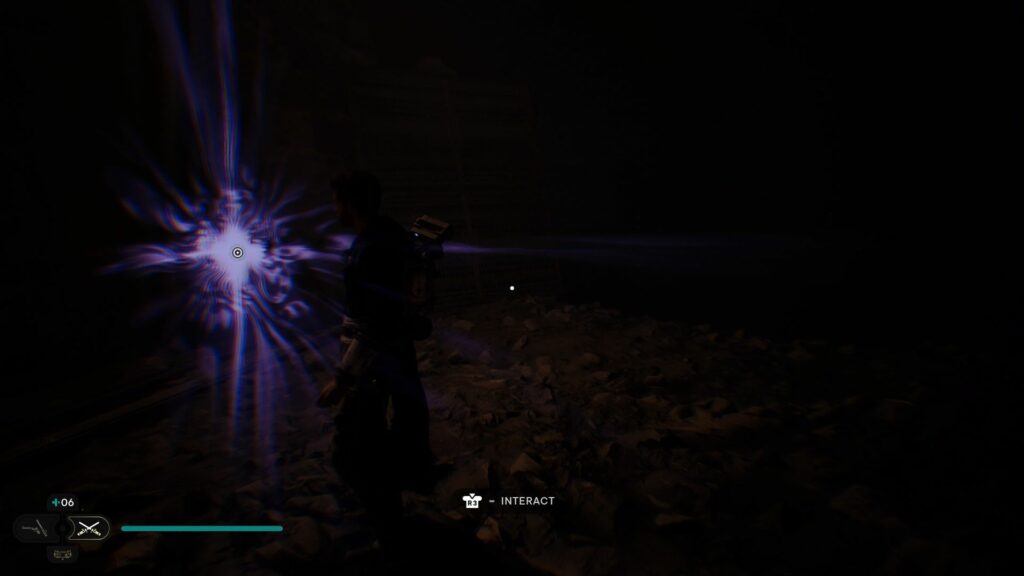
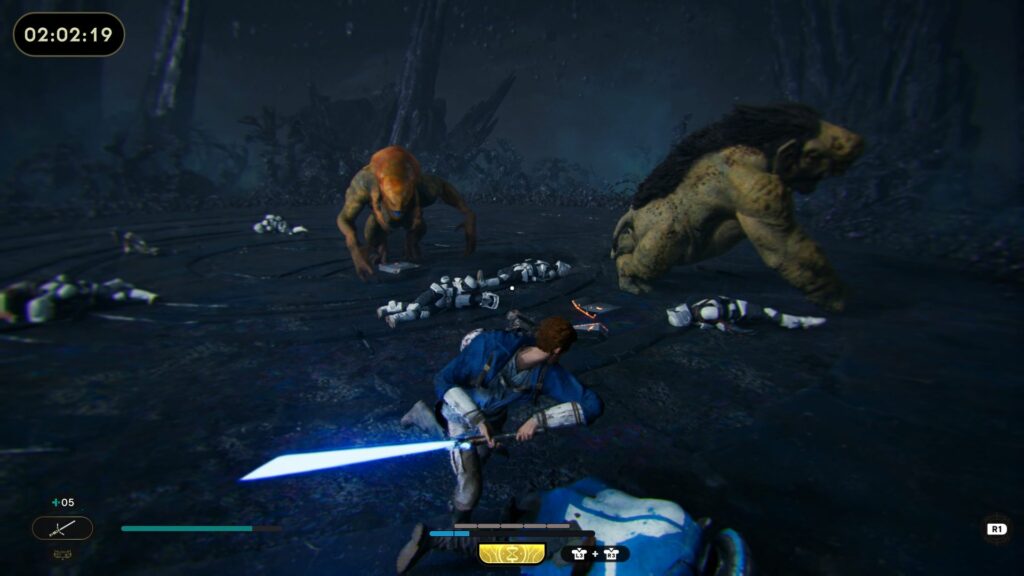
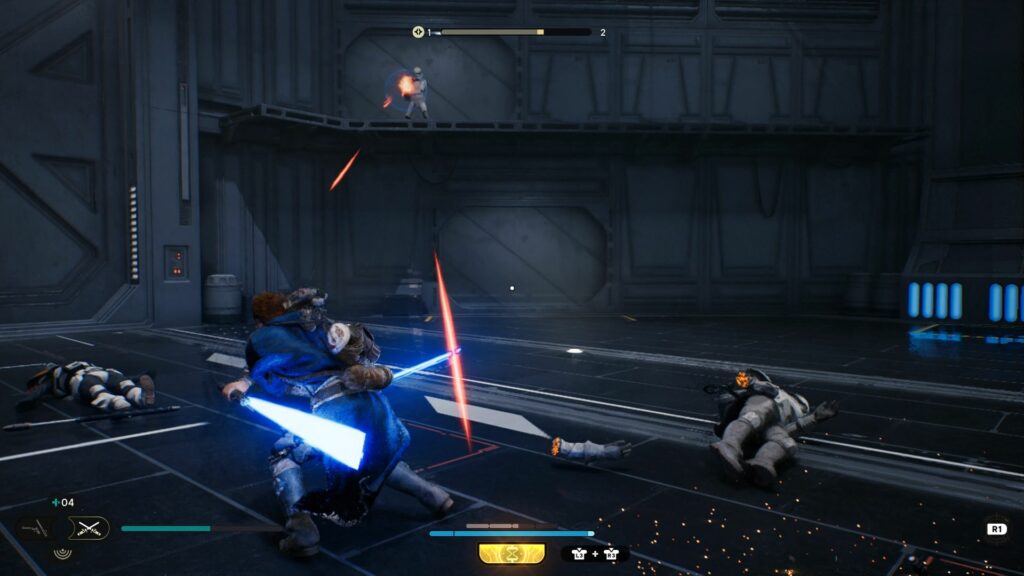
It’s called Fractured Power and it has four rounds of enemies.
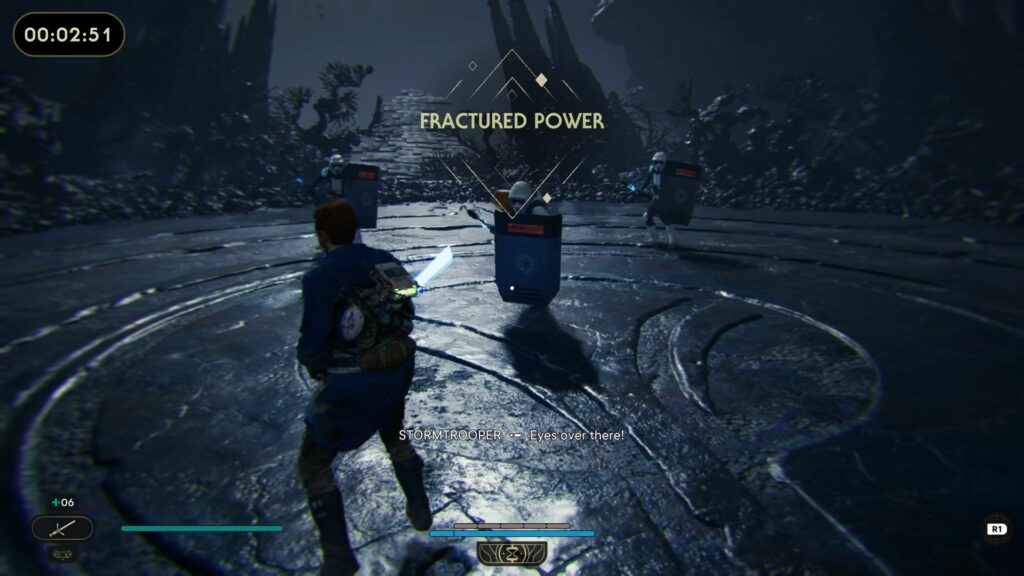
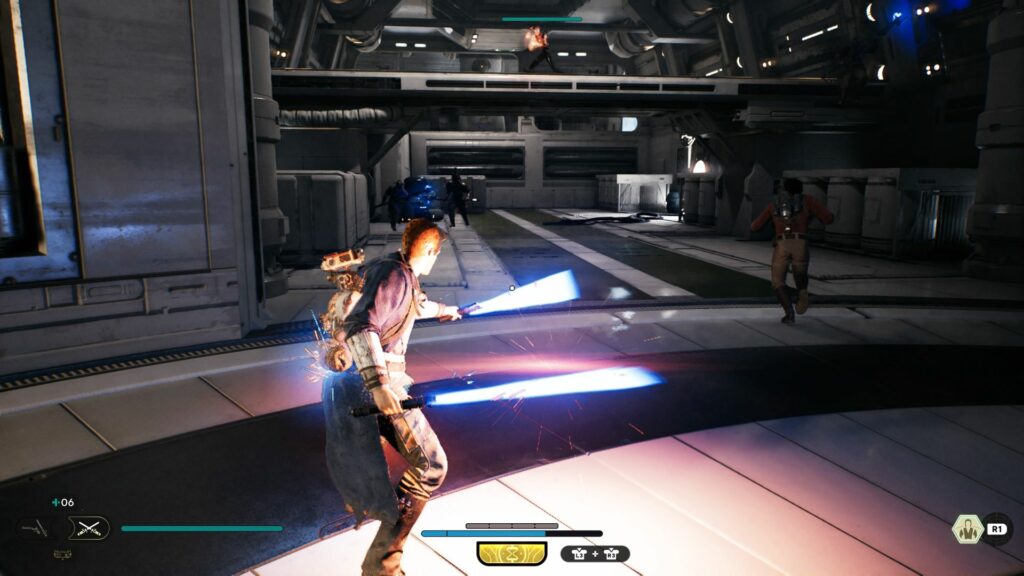
The last round are two creatures. Use the confusion ability to get one of them to attack the other. It makes the fight easier.
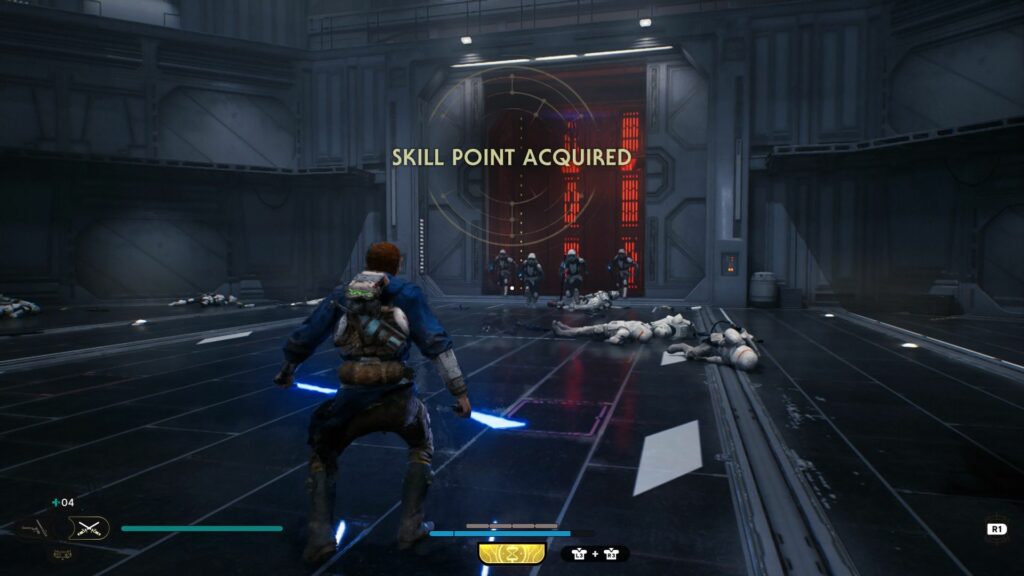
After finishing, you’ll acquire a skill point.
Proceed ahead
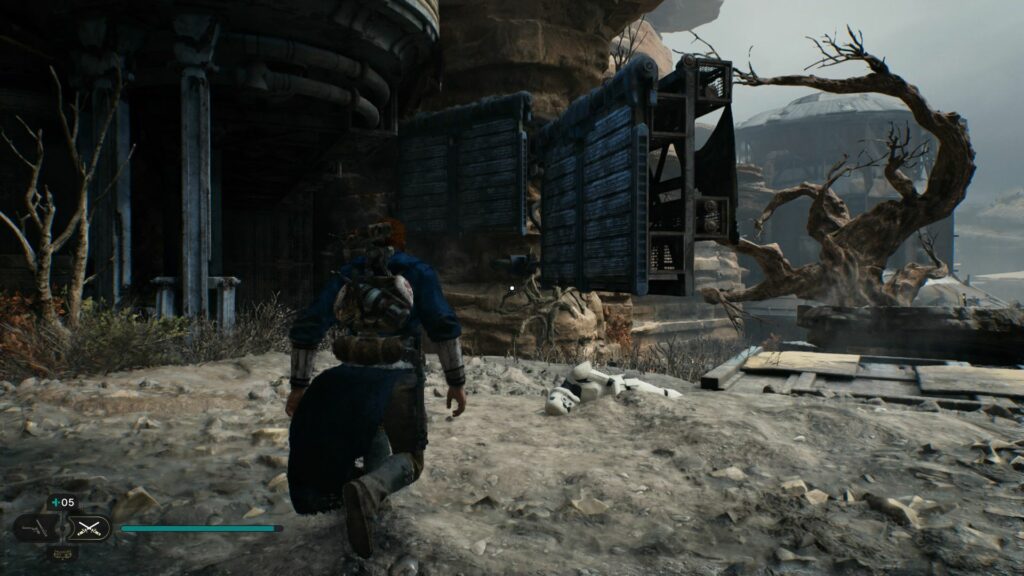
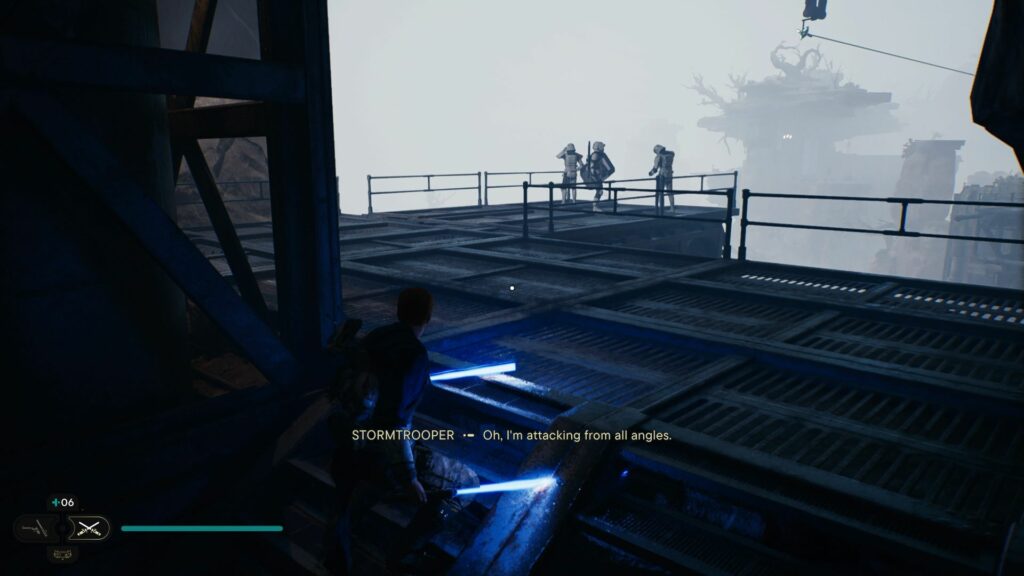
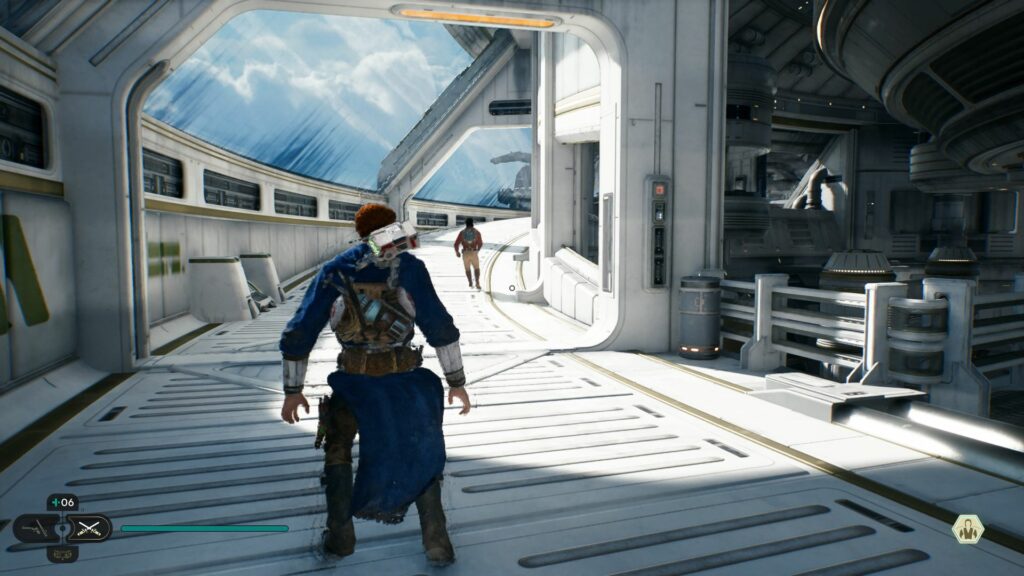
Follow the intended path and you’ll reach some Stormtroopers outside.
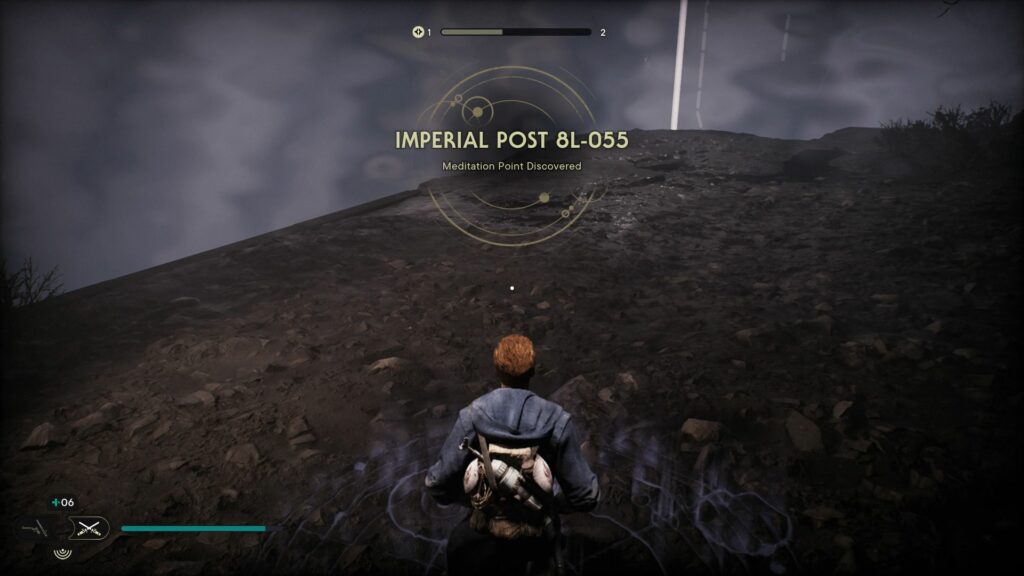
Now, head to the next platform using the hook.
You’ll reach the Imperial Post 8L-055 meditation point.
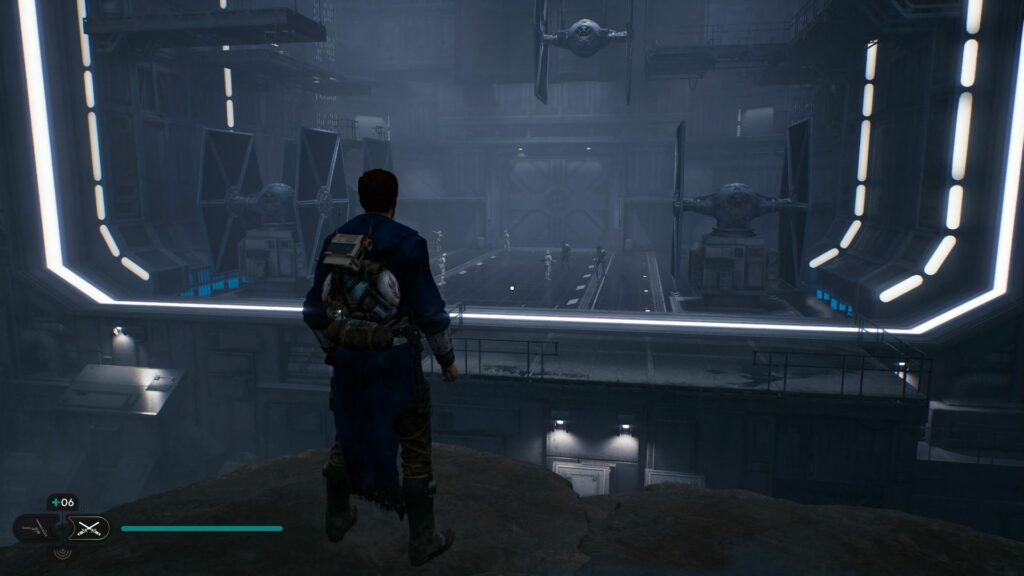
Defeat the Imperial forces
The next part can be tough. You’ll need to face a few waves of Imperial troops. There are plenty of them so you may want to get rid of the laser shooting ones first.
Some will use rockets towards you. Use the force to push the rockets back and kill them.
Continue fighting until all the waves are cleared.

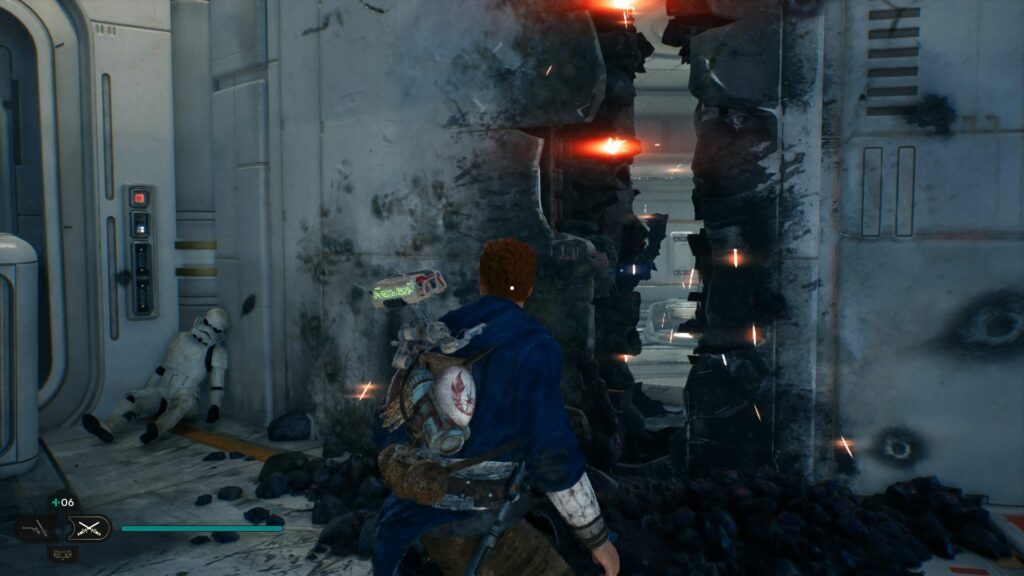
After the battle, enter the building.
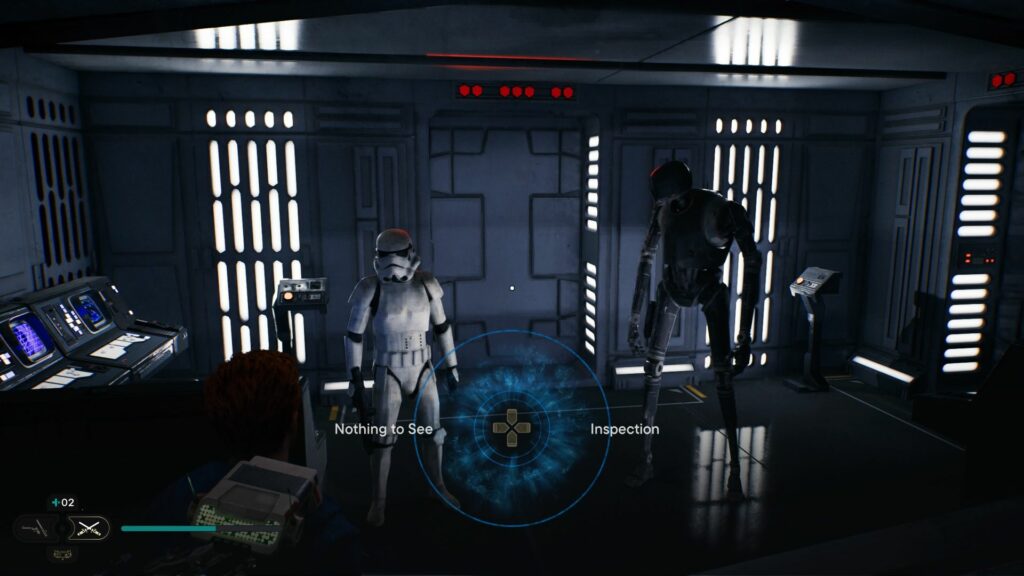
You’ll see a Stormtrooper behind a glass wall.
Convince him to open the door.
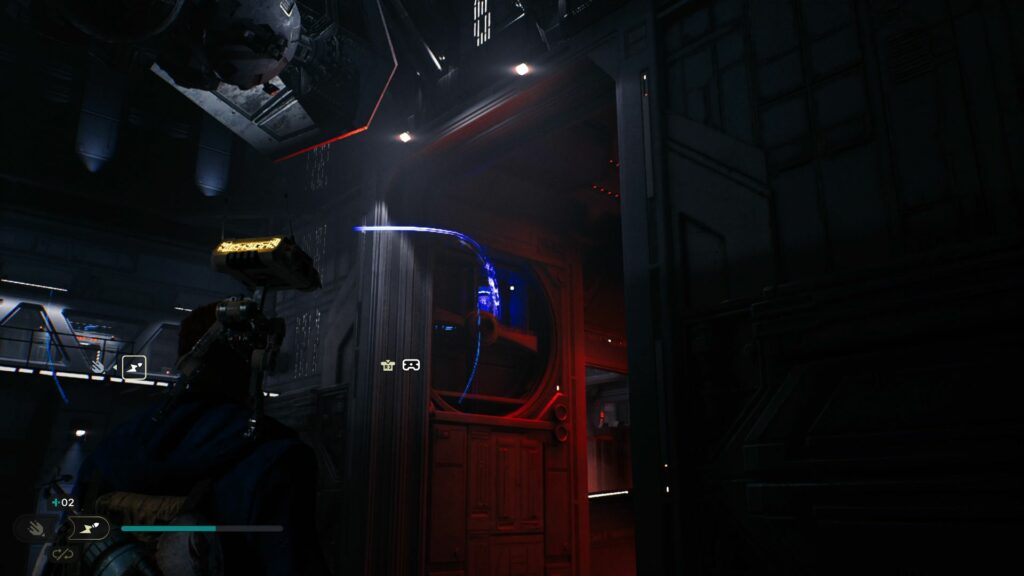
Keep going inside.
You’ll then reach an area where you see an electric device on the side where a fan is. Shoot the electro dart.
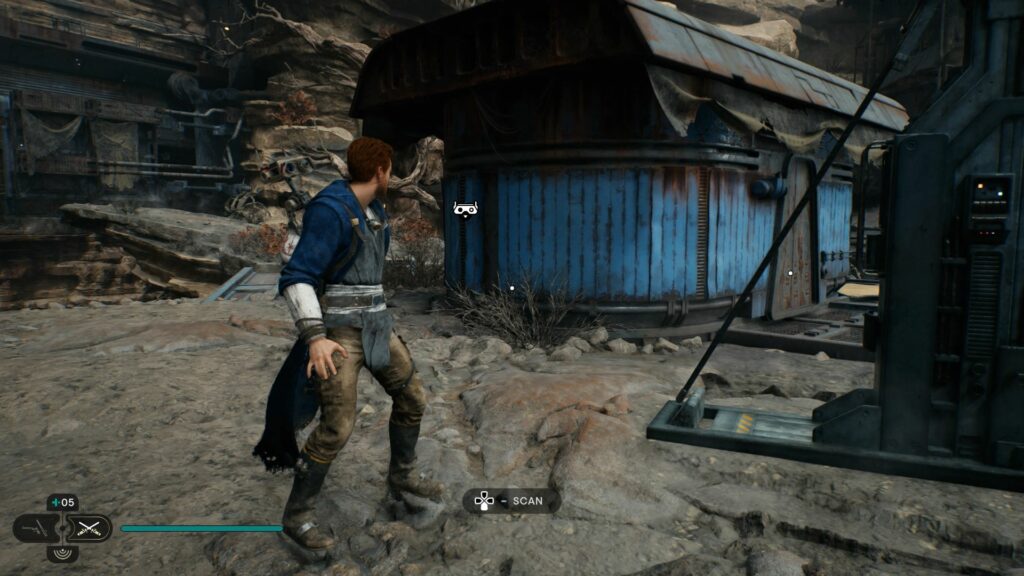
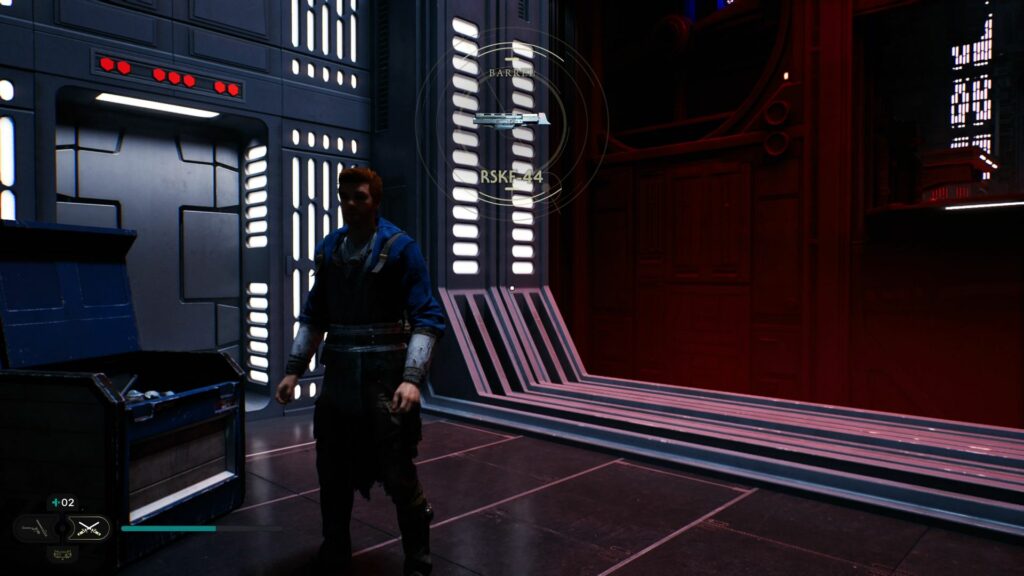
Get to the other side and you’ll find a RSKF-44.
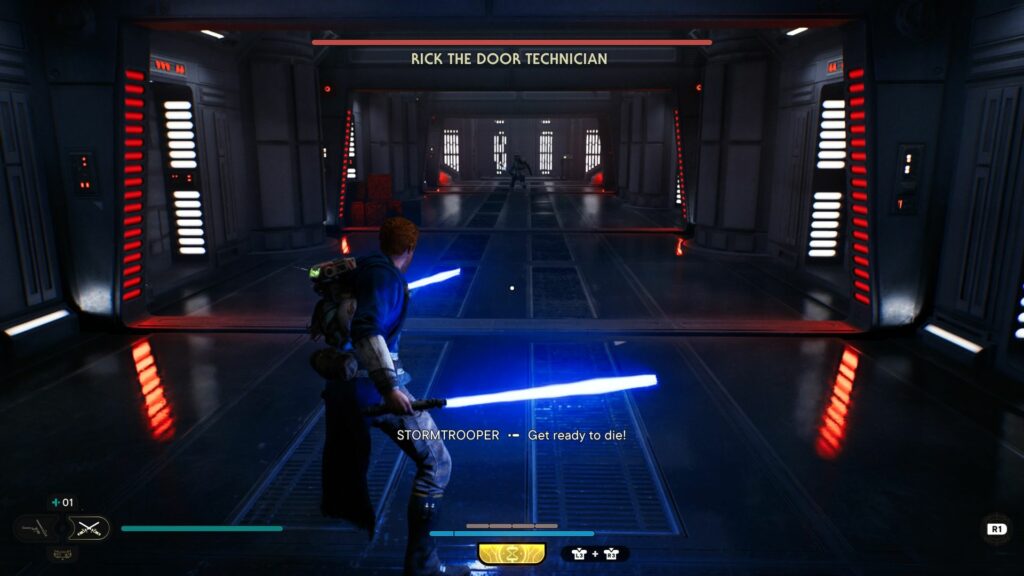
Defeat Rick the Door Technician
This one’s a meme as Rick is the easiest boss ever.
Make your way up
Now, use the hook to go up to the zipline.
Head to the next side using dash and jump.
Use the meditation point to save.
Continue to use the balloon to go over.
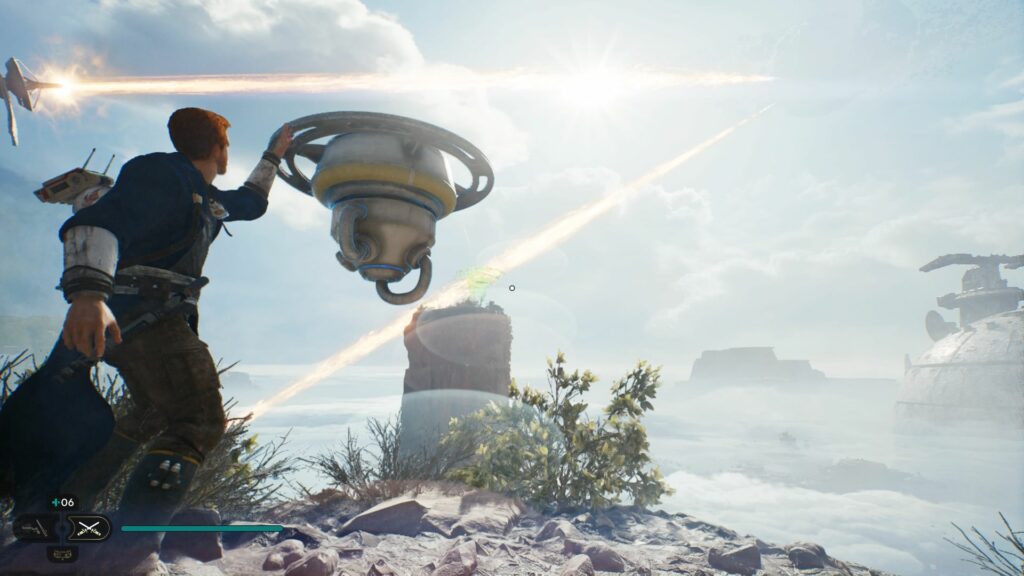
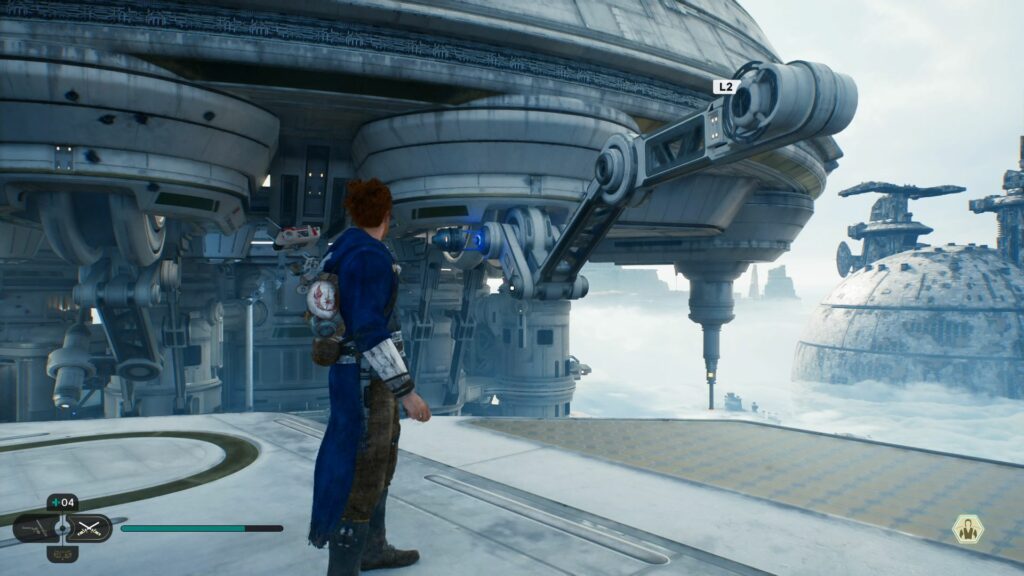
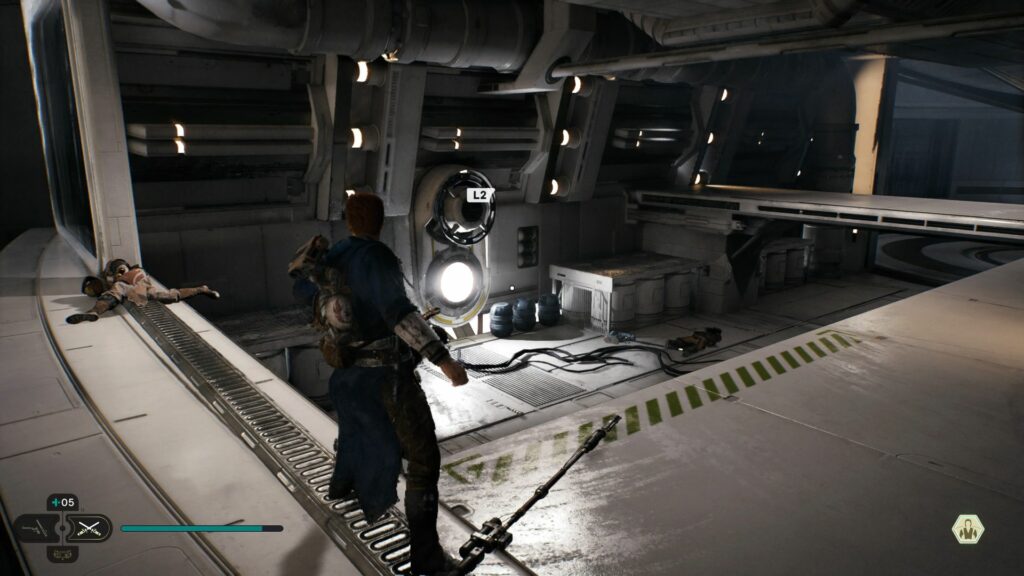
You will then see a new device.
You can basically summon temporary balloons.
Throw the balloon at the nearest platform and use it to cross over.
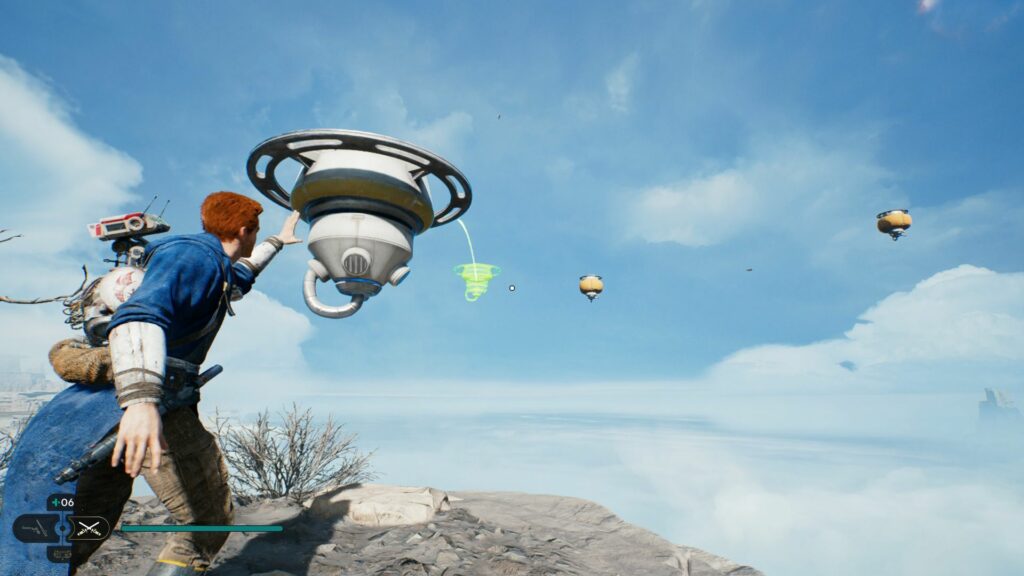
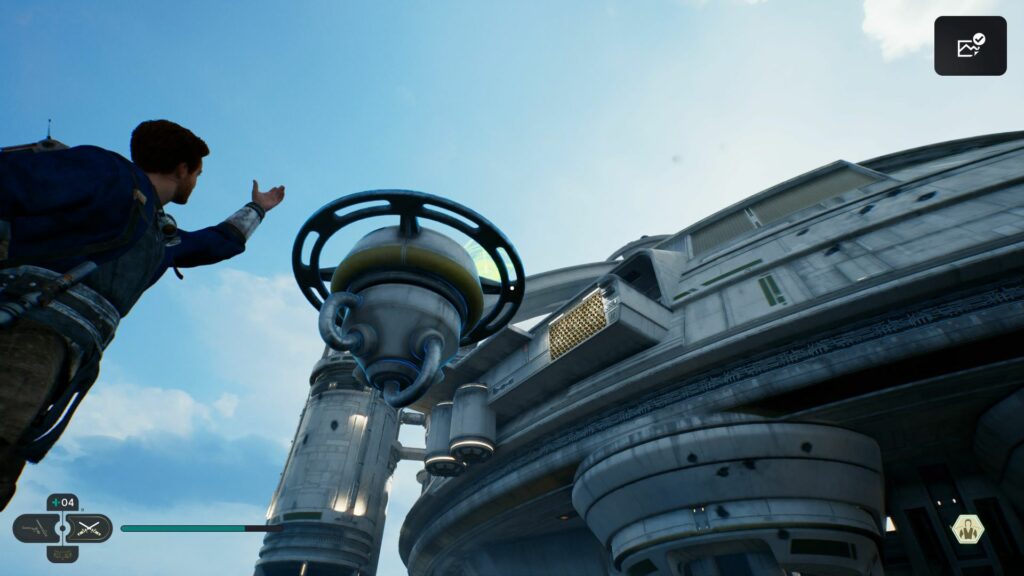
You will reach another balloon device. Now use it and place the balloon towards the tall pillar.
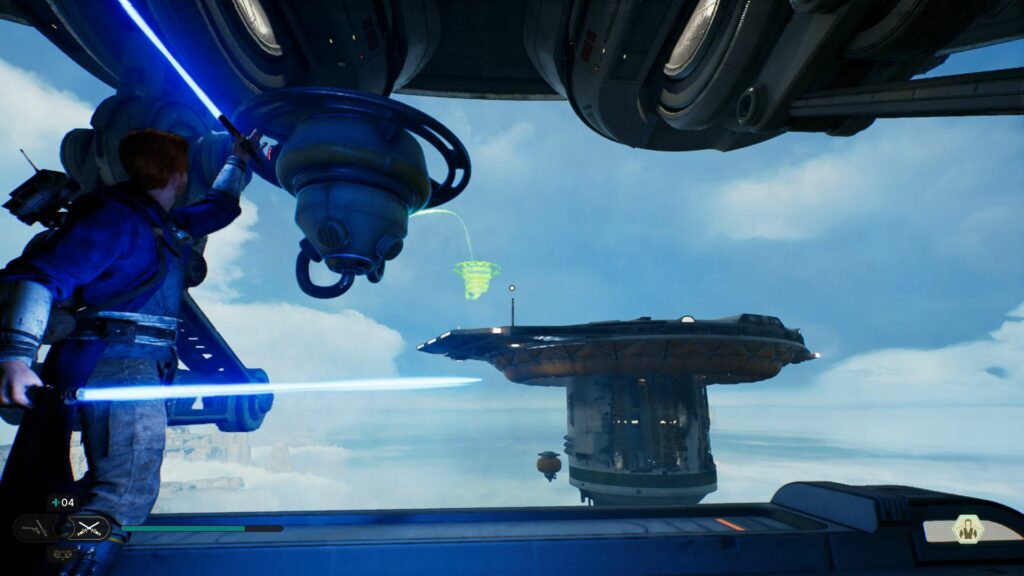
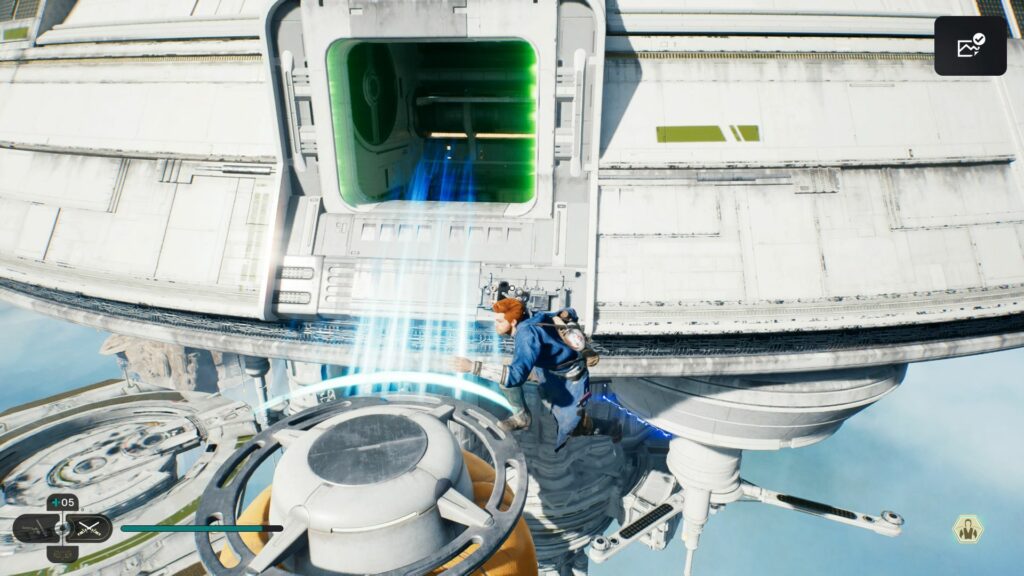
Jump towards the pillar to get an item. Jump on the relter to return.
Use the device again but this time deploy the balloon near the two other balloons. Use them to get to the next area.
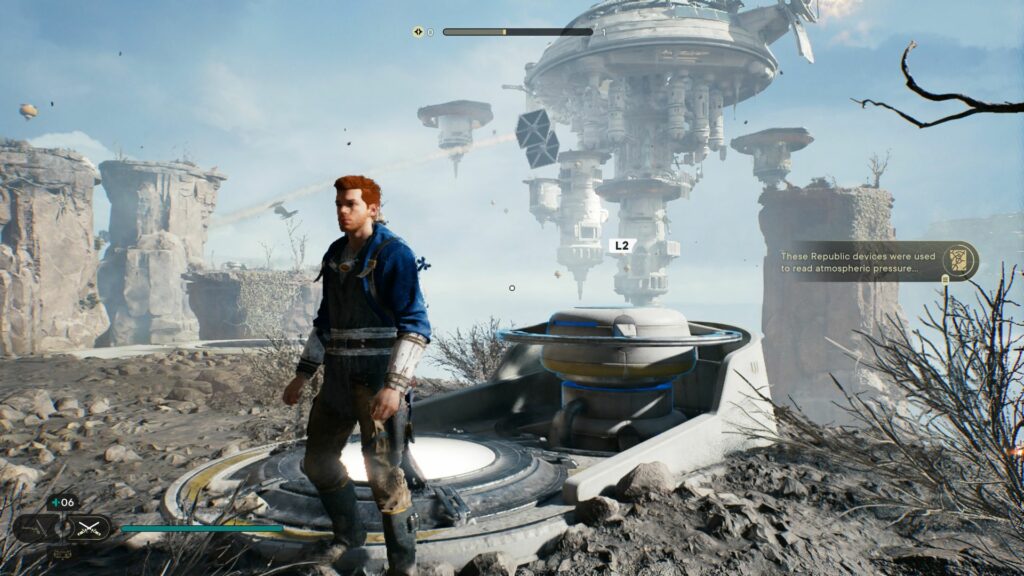
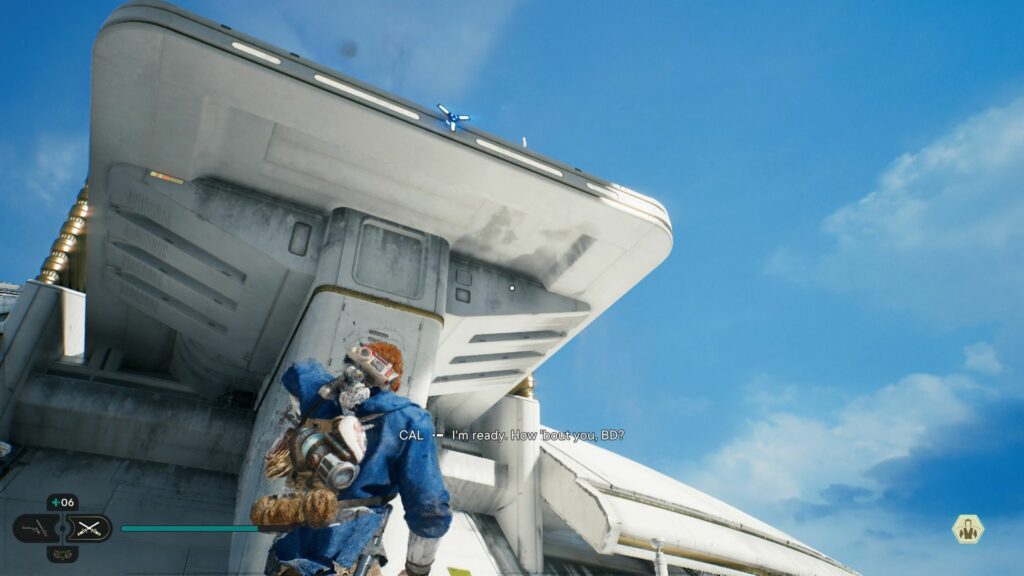
Then, use the relter to reach the observatory.
At the base, you’ll meet more Imperial forces. Take them out.
Get rid of the Koboh matter
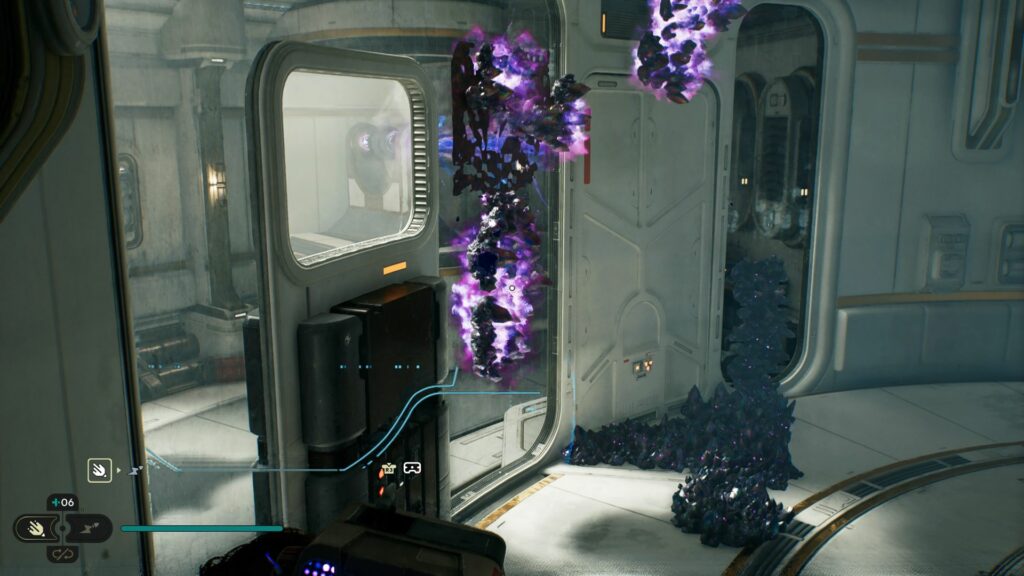
Enter the room via the small gap.
Use the force and then use the electro dart on the device.

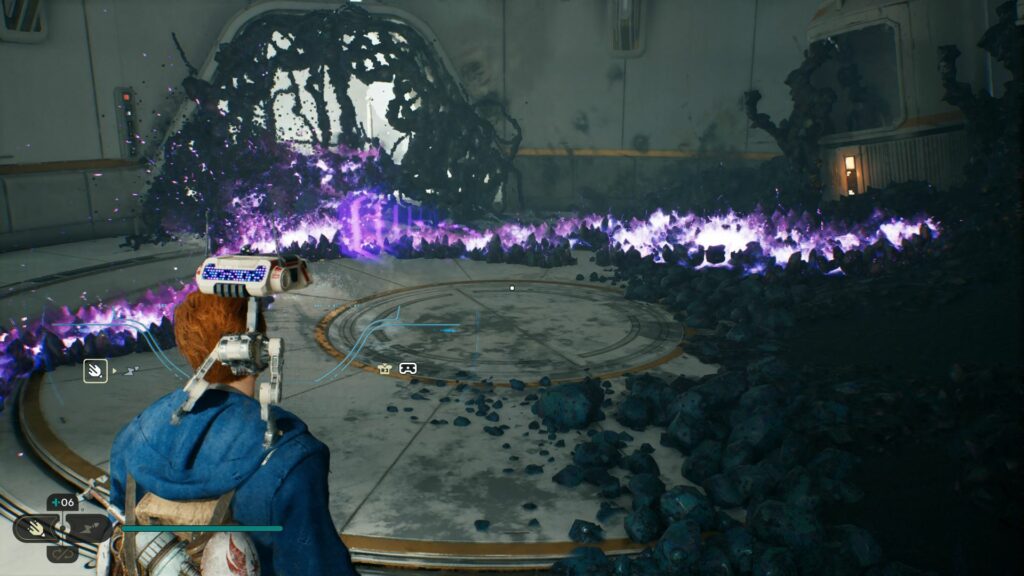
Then, use the Koboh grinder to spray Koboh matter on the door that is locked. The laser effect goes through the door and will burn the matter.
Spray all the way to the exit.
Now, drag the balloon with you.
Deploy the balloon outside to get to the other side.
You will then reach a meditation point.
Proceed further
Now, use the balloons to get to the next building.
Now, head towards the destroyer droids using the balloon.
Then, get to the device and make a shortcut.
To proceed further, wall run to the top where two droids are.
Use the electro dart on the device to pull up the wall.
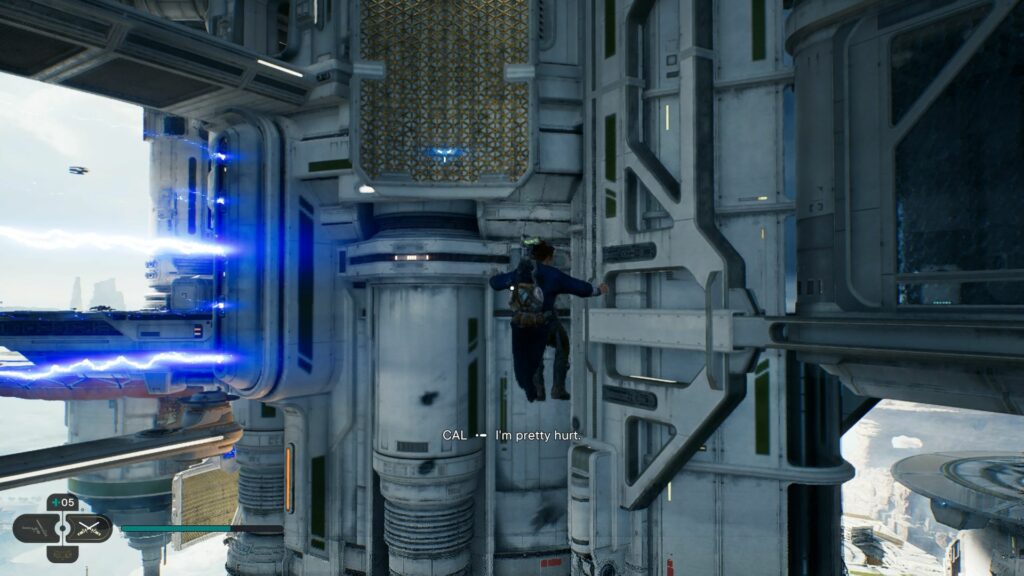
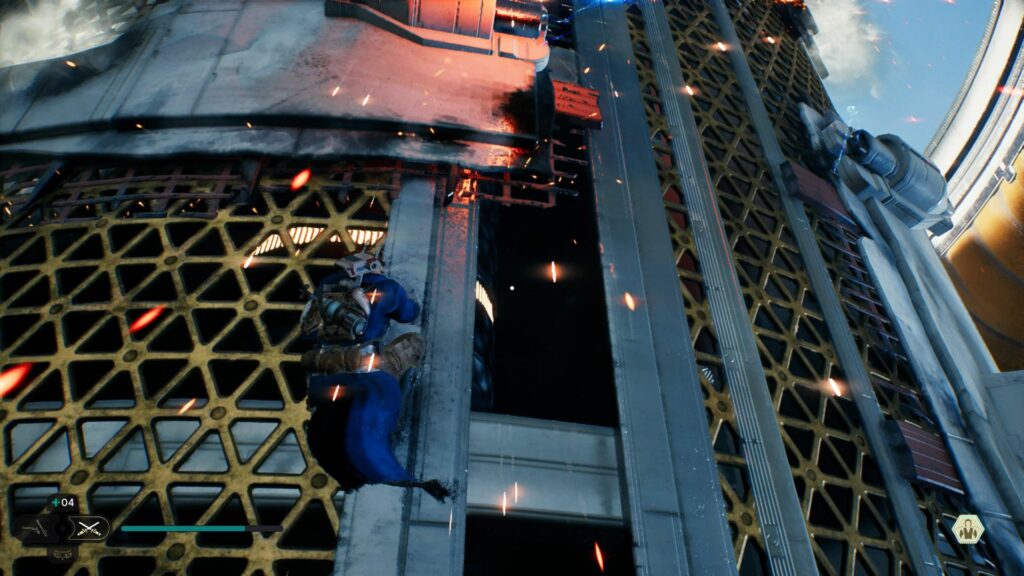
Wall run to reach the metal structure.
You will need to climb onto the metal structure and avoid the obstacles or you’ll fall. Make your way up.
At the top, take down the Imperial forces.

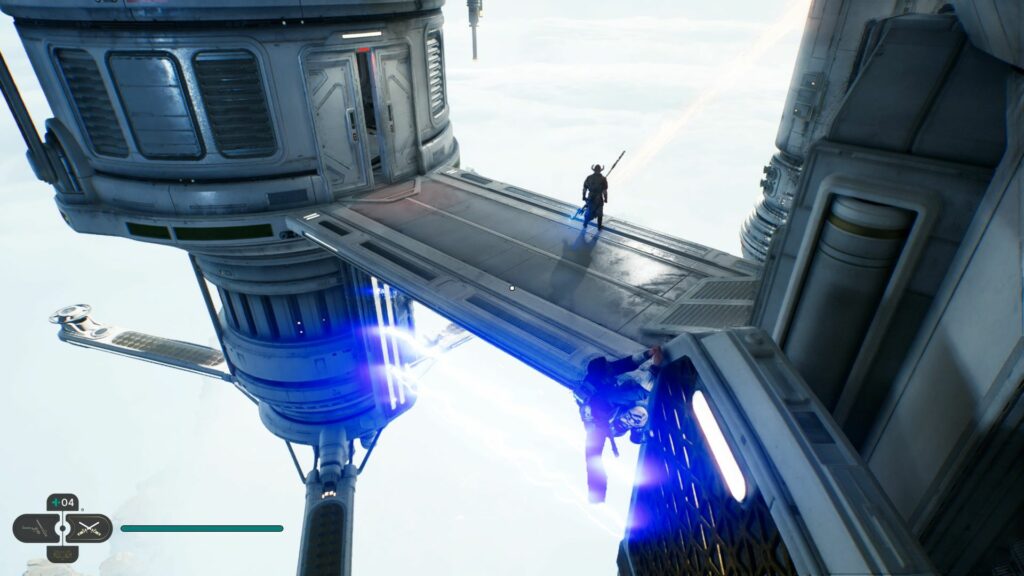
Keep going and you’ll reach an area with a moving rotor and an electric wall. Jump towards the right side and use the balloons.
Go one round and you’ll finally reach the metal structure behind the electric wall. Hook onto it.
Take down the sole raider below.
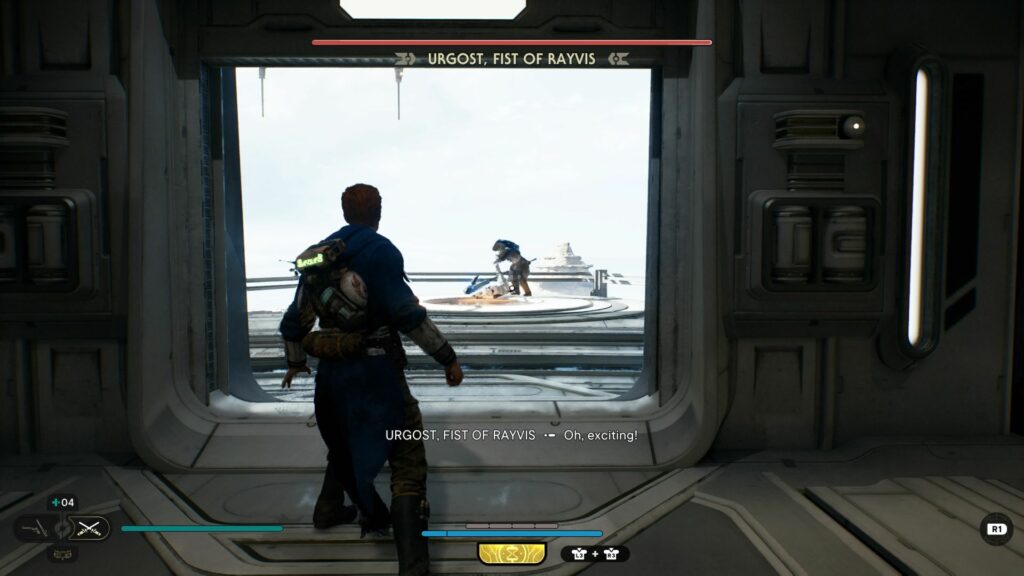
Defeat Urgost, Fist of Rayvis
You will reach a room with a lift. Go to the door at the end and you’ll see Urgost waiting outside. Defeat him first.
Continue further
Use the electro dart on the device.
Then, jump onto the platform.
Deploy the balloon and go over.
Jump onto the metal structure below. Here, you need to move sideways and avoid the obstacles or you’ll fall. Make your way to the top.
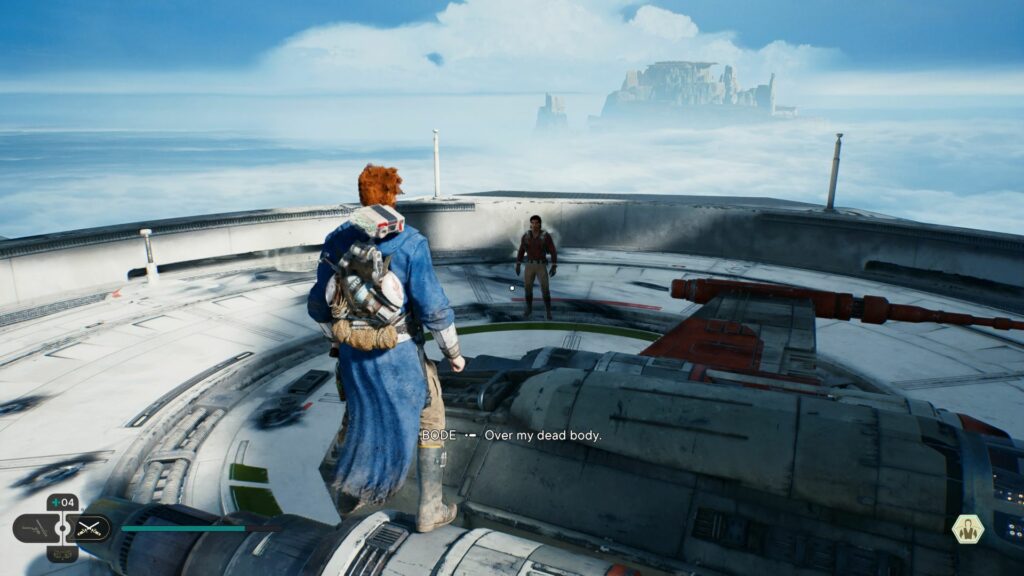
You’ll finally reunite with Bode.
Enter the observatory
Next, you need to head back to the observatory.
Pull the structure towards you.
Summon a balloon and place it near the entrance above you.
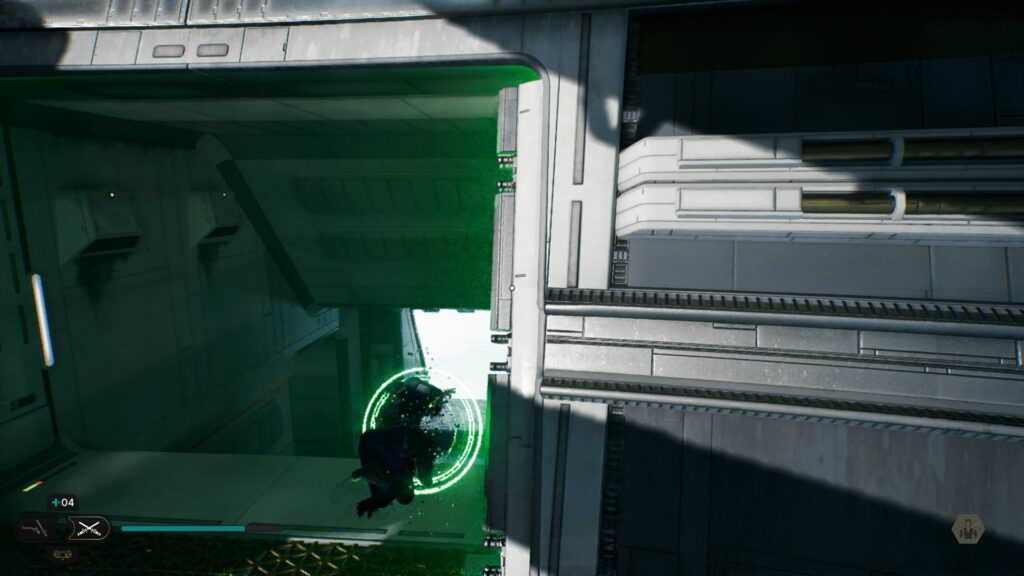
Enter inside and wall run.
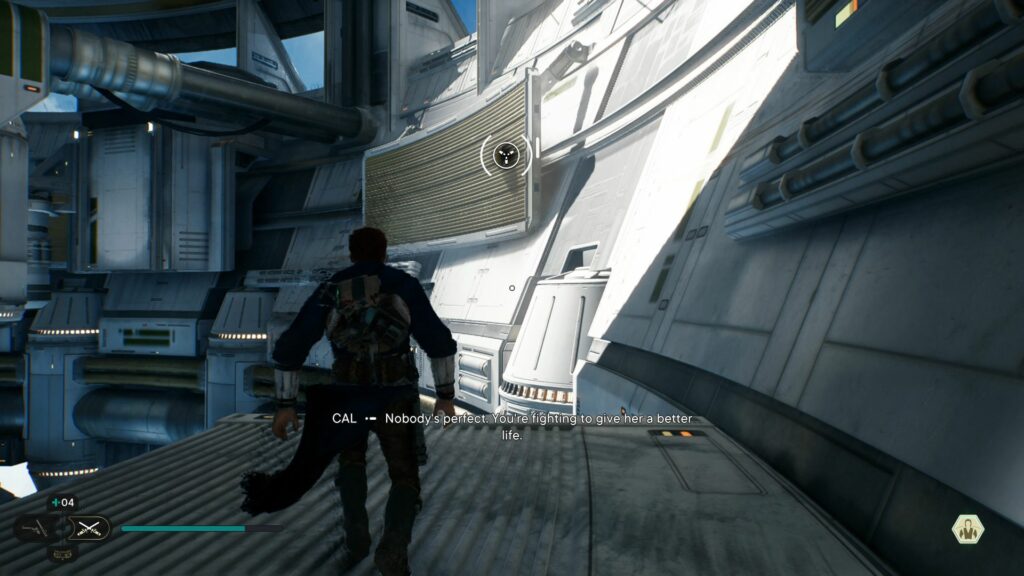
Keep going until you see a green barrier. Enter it.
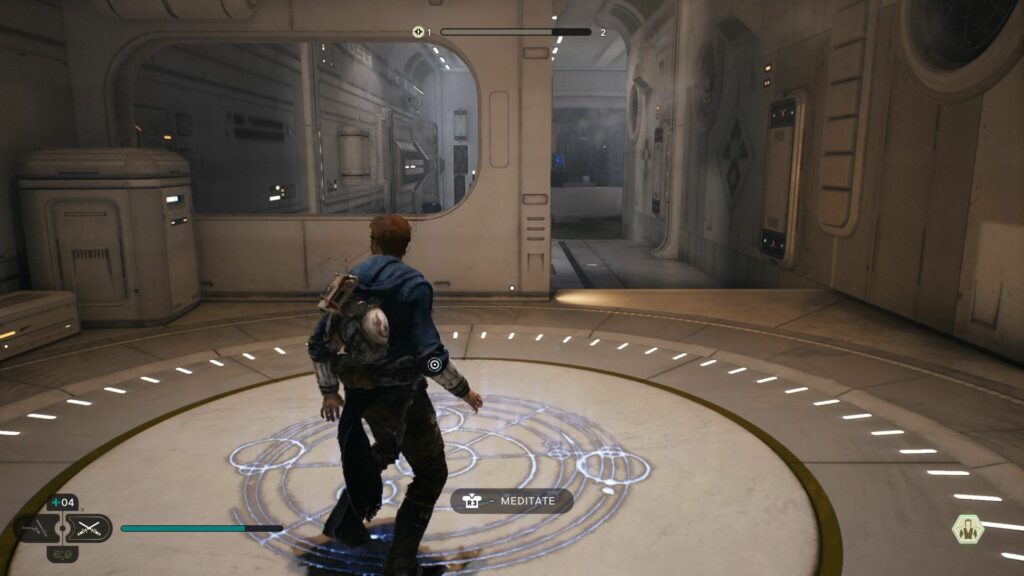
You will eventually reach a meditation point.
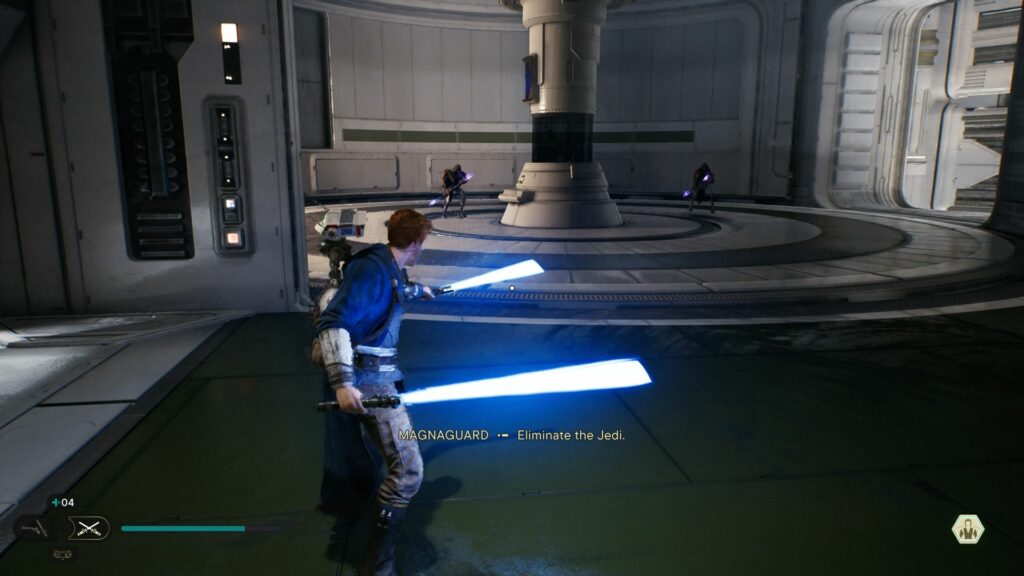
Keep going and you’ll meet two Magnaguards. Eliminate them with Bode’s help.
Use the electro dart to turn the room around.

You will come across more enemies. Take them out.
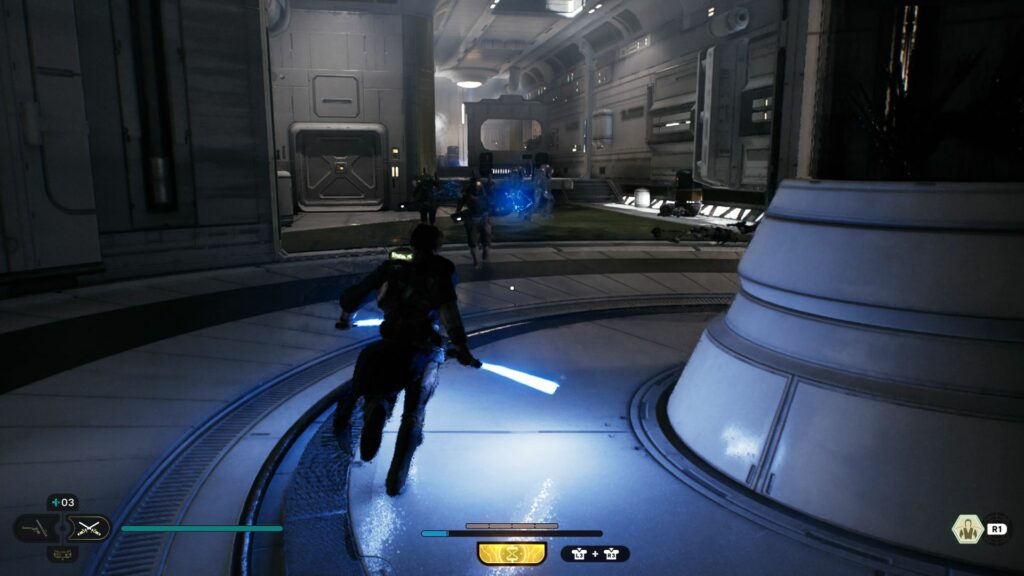
Then, turn the room around again for round 3.
After the fight, drag the balloon with you.
Deploy it outside the building.
Jump outside and you’ll see another balloon. Use it.

Enter the green barrier.
Get the blue glowing thing. Open the door to make a shortcut.
Return to the middle where the electric device is.
Turn the room again. This time, deploy the balloon within the observatory.

Use it and wall run out.
Use the slam ability to open a new shortcut below.
Climb up.
Defeat Mads Gresh and San Dersen
You will now reach another boss fight. Take out both Mads Gresh and San Dersen with Bode’s help.

After the fight, open the big door and proceed ahead.
Go up using the hook.
Defeat Dagan Gera
Finally, you’ll meet Dagan Gera. You may want to find a meditation point before this if you wish to have max stim.
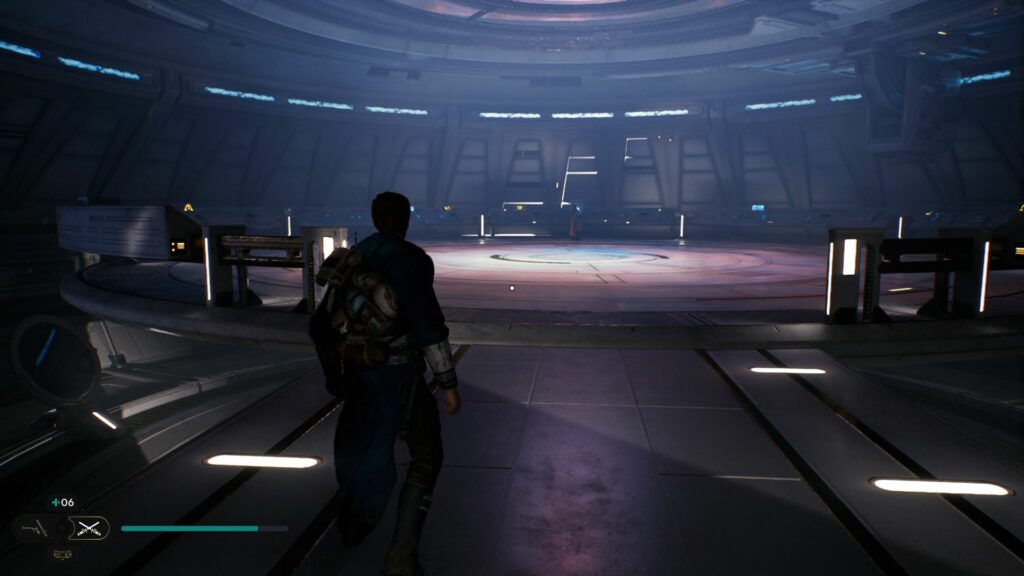
Enter the room and the fight begins.
You’ll start the fight with Bode beside you first.

After the first stage, you’ll fight Dagan alone. He has new abilities like wave attacks that can be avoided by jumping.

After beating him, claim the perk and leave the planet.
Related posts:
Star Wars Jedi Survivor: Pursue Rayvis Walkthrough & Guide
Star Wars Jedi Survivor: Locate Rayvis On The Shattered Moon